How to manage DNS Zones in the Azure portal
This article shows you how to manage your DNS zones by using the Azure portal. You can also manage your DNS zones using the cross-platform Azure CLI or the Azure PowerShell.
Create a DNS zone
Sign in to the Azure portal.
On the top left-hand side of the screen, select Create a resource and search for DNS zone. Then select Create.
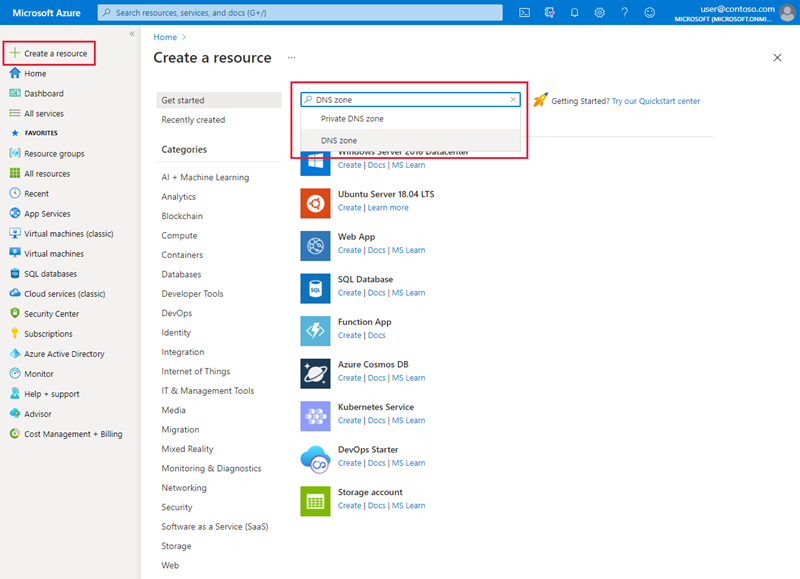
On the Create DNS zone page enter the following values, then select Create:
Setting Details Subscription Select a subscription to create the DNS zone in. Resource group Select or create a new resource group. To learn more about resource groups, read the Resource Manager overview article. Name Enter a name for the DNS zone. For example: contoso.com. Location Select the location for the resource group. The location will already be selected if you're using a previously created resource group.
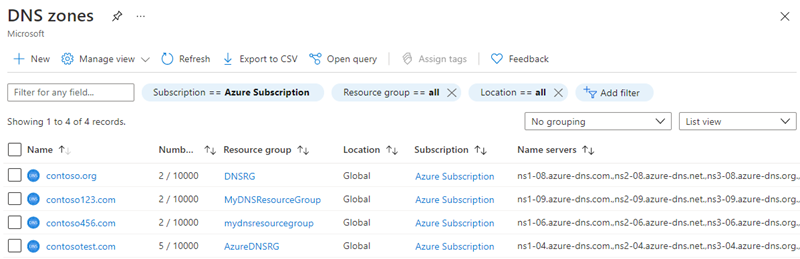
List DNS zones
In the search resources at the top of the Azure portal, search for DNS zones. Each DNS zone is its own resource. Information such as number of record-sets and name servers are viewable from this page. The column Name servers isn't in the default view. To add it, select Managed view > Edit columns > + Add Column, then from the drop-down select Name servers. Select Save to apply the new column.
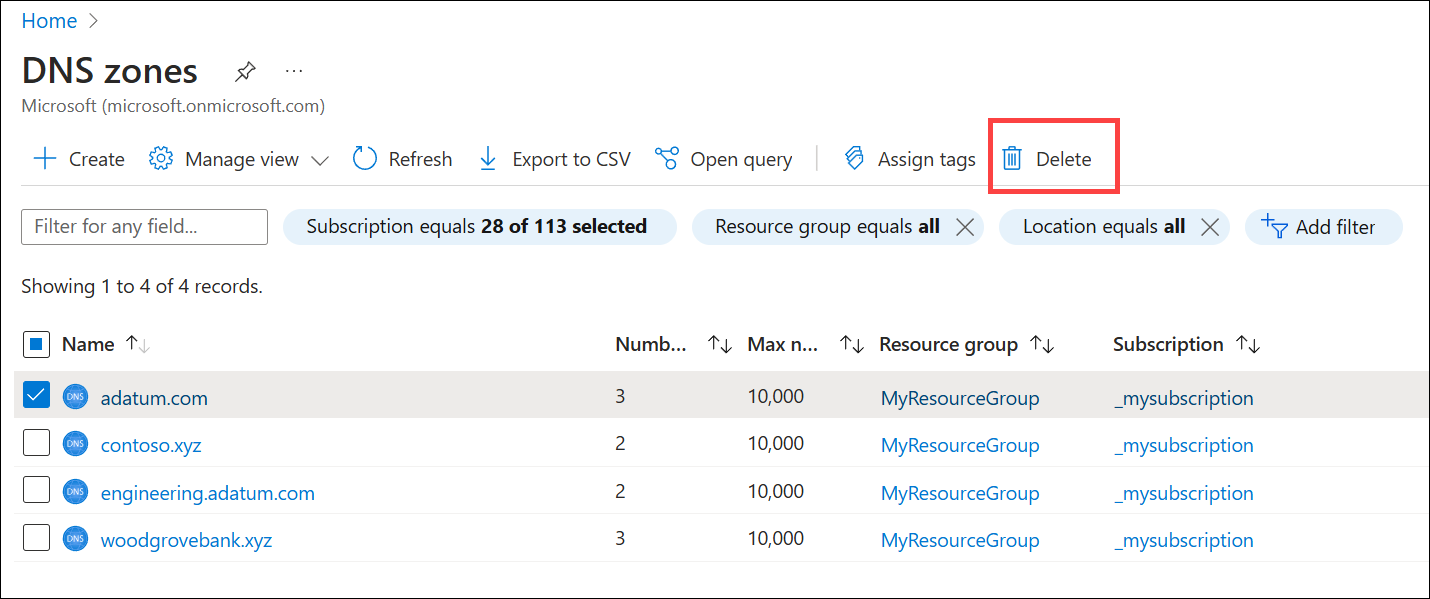
Delete a DNS zone
Navigate to a DNS zone in the portal. On the selected DNS zone overview page, select Delete zone. You're then prompted to confirm that you want to delete the DNS zone. Deleting a DNS zone also deletes all records that are contained in the zone.
No comments:
Post a Comment