Monday 9 August 2021

Create Your First Application on AWS EKS Cluster


Create Your First Application on AWS EKS Cluster


This article guides you to set up your Kubernetes cluster in AWS EKS and to create your very first application in EKS Cluster. AWS EKS allows you to create your own Kubernetes clusters in the AWS cloud very quickly and easily.

First, let’s look at how to create the AWS EKS Kubernetes cluster.

Section One: Creating Kubernetes Cluster

  1. Create an AWS IAM service role

You need to create an IAM role that allows Kubernetes to create AWS resources.

Navigate to AWS IAM Console and to “Roles” section and click “Create Role”. Select “AWS services” as the trusted entity and “EKS” as the service type and select “EKS” as the use case.

Then click “Permissions” and proceed until you get the below window at the 4th step and then give a suitable name .

Then give a suitable description for the role and click “Create Role”. You can use this role in the 3rd step when creating the EKS cluster.

2. Create a VPC to deploy the cluster

Navigate to “AWS CloudFormation” and click on “Create Stack” and give below URL as “Amazon S3 URL”.

https://amazon-eks.s3-us-west-2.amazonaws.com/cloudformation/2019-02-11/amazon-eks-vpc-sample.yaml

After giving the stack name review the details and click “Create” to proceed.

Once the stack creation completes, go to outputs and copy the contents to a local file. There you can have the SecurityGroups, VpcId and SubnetIds details. This information is needed when creating an EKS cluster in the next steps.

3. Create AWS EKS Cluster

Navigate to “AWS EKS” service and click “Create cluster”.

Give any name as the “Cluster name” and give the previously created Role name as the “Role name”. Now give the information obtained in step 2 to complete the VPC details as shown below and click “Create cluster”.

4. Configure kubectl for Amazon EKS

In this point, I assume you have already installed kubectl and aws-cli in your machine. If you don’t install it yet please refer below documents to do so.

Install Kubectl: https://kubernetes.io/docs/tasks/tools/install-kubectl/

Install AWS CLI: https://docs.aws.amazon.com/cli/latest/userguide/cli-chap-configure.html

Once you setup kubectl and AWS-CLI in your machine run below command to configure kubectl for AWS EKS.

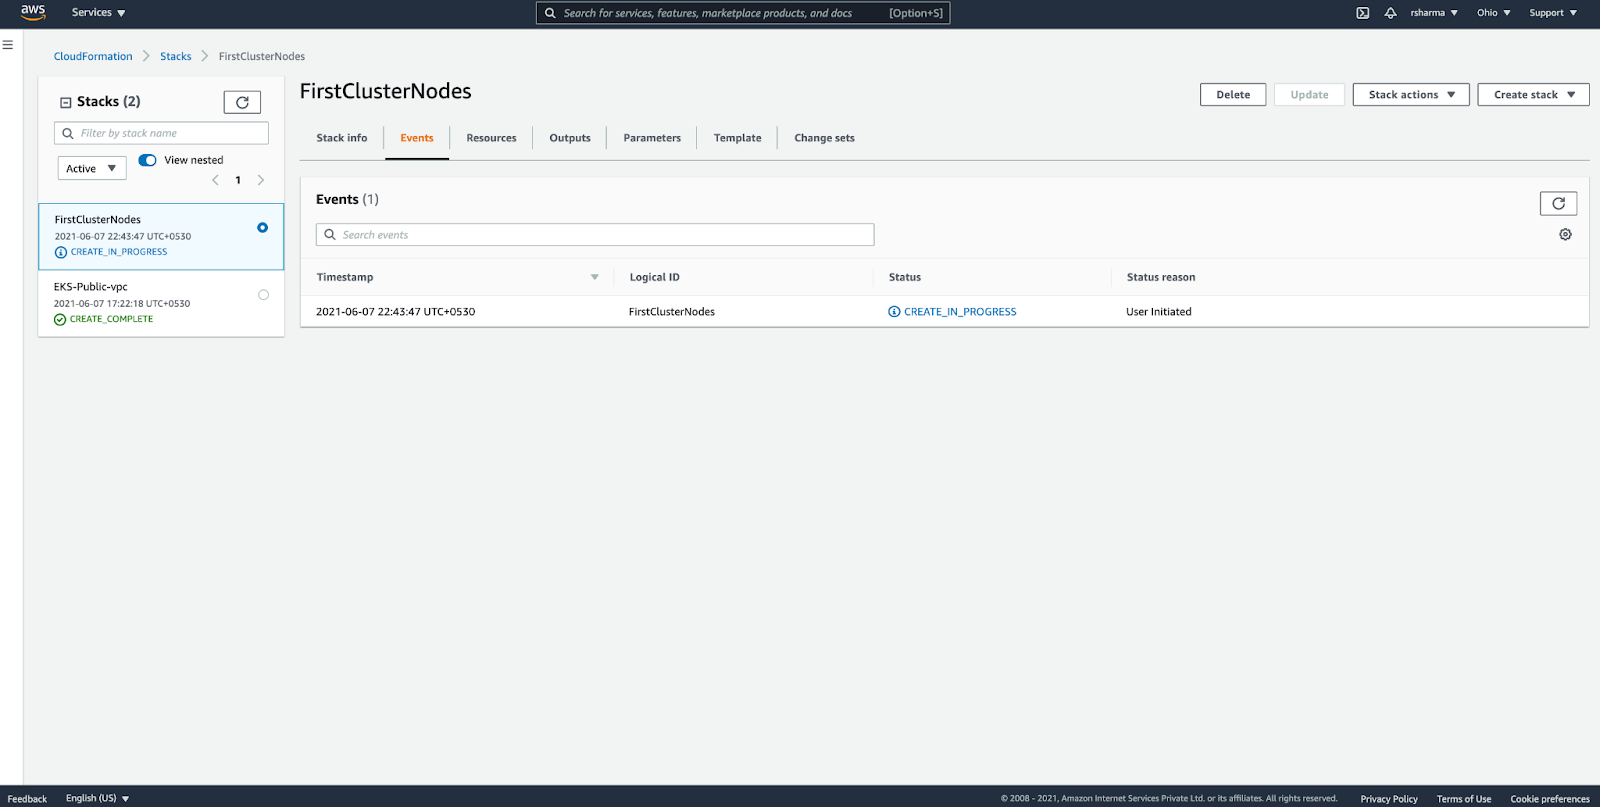
aws eks --region <region> update-kubeconfig --name <clusterName>

Now we need to create worker nodes to join the Kubernetes cluster. To create them, navigate again to AWS CloudFormation and click on “Create stack”.

Give the below URL as the Amazon S3 URL and click Next.

https://amazon-eks.s3-us-west-2.amazonaws.com/cloudformation/2019-02-11/amazon-eks-nodegroup.yaml

In the next page, you need to fill the required information as below.

Stack name: GIve any unique name to the stack

ClusterName: Give the previously created Kubernetes cluster name

ClusterControlPlaneSecurityGroup: Give the SecurityGroup value obtained from the outputs in step 2.

NodeGroupName: Give any unique name

NodeAutoScalingGroupMinSize: 1

NodeAutoScalingGroupDesiredCapacity: 3

NodeAutoScalingGroupMaxSize: 4

NodeInstanceType : t3.medium

NodeImageId: Give a suitable Node image ID. Use the below table to choose the correct image-id according to the region you used. Refer the EKS AMI document to find the correct AMI ID. (EX: NodeImageID for 1.16 version Sydney region is ami-09e7454072d169c9b)

KeyName: An EC2 Key Pair to allow SSH access to the instances.

VpcId: Give the VpcId value obtained from the outputs in step 2.

Subnets: Give the SubnetIds values obtained from the outputs in step 2.

After giving the above-required information, then click on “Create stack” to launch the worker node stack.

After creating the worker node stack, go to stack outputs and copy the “NodeInstanceRole” value.

Now you need to enable worker nodes to join your cluster.

vim ~/.kube/aws-auth-cm.yaml

Create the above file and fill it with the below content and replace the <ARN of instance role> snippet with the NodeInstanceRole taken from outputs above.

apiVersion: v1
kind: ConfigMap
metadata:
name: aws-auth
namespace: kube-system
data:
mapRoles: |
- rolearn: <ARN of instance role>
username: system:node:{{EC2PrivateDNSName}}
groups:
- system:bootstrappers
- system:nodes

Then run below commands to apply the configurations.

kubectl apply -f ~/.kube/aws-auth-cm.yaml

Now your AWS EKS Cluster is ready to create your favorite application on your Kubernetes cluster.

Section Two: Launch your app in Kubernetes

To launch an app in Kubernetes, you need to deploy a deployment file and a service file.

Create a helloworld.yaml file and use the below content in it.

---
apiVersion: apps/v1
kind: Deployment
metadata:
name: helloworld-deployment
labels:
app: helloworld
spec:
replicas: 1
selector:
matchLabels:
app: helloworld
template:
metadata:
labels:
app: helloworld
spec:
containers:
- name: helloworld
image: dockercloud/hello-world
ports:
- containerPort: 80

And then create a service file with the name helloworld-service.yaml and use the below content in it.

apiVersion: v1
kind: Service
metadata:
name: "service-helloworld"
spec:
selector:
app: helloworld
type: LoadBalancer
ports:
- protocol: TCP
port: 80
targetPort: 80

Then launch the above deployment and the service in your Kubernetes cluster as follows.

kubectl apply -f helloworld.yaml
kubectl apply -f helloworld-service.yaml

Now get the details of the running helloworld service in your cluster.

kubectl get svc service-helloworld -o yaml

It will give the below content,

apiVersion: v1
kind: Service
metadata:
annotations:
kubectl.kubernetes.io/last-applied-configuration: |
{"apiVersion":"v1","kind":"Service","metadata":{"annotations":{},"name":"service-helloworld","namespace":"default"},"spec":{"ports":[{"port":80,"protocol":"TCP","targetPort":80}],"selector":{"app":"helloworld"},"type":"LoadBalancer"}}
creationTimestamp: 2019-06-14T06:45:24Z
name: service-helloworld
namespace: default
resourceVersion: "10463"
selfLink: /api/v1/namespaces/default/services/service-helloworld
uid: fccb03b3-8e6f-11e9-81eb-0216dc268822
spec:
clusterIP: 10.100.73.199
externalTrafficPolicy: Cluster
ports:
- nodePort: 32322
port: 80
protocol: TCP
targetPort: 80
selector:
app: helloworld
sessionAffinity: None
type: LoadBalancer
status:
loadBalancer:
ingress:
- hostname: afccb03b38e6f11e981eb0216dc26882-2016688520.us-west-2.elb.amazonaws.com

There you can get the hostname as the bolted above. Now you can access the service with that hostname in the browser. Just type this hostname in your favorite browser, it will show your hello world service :)

Getting Started with Amazon EKS


Getting Started with Amazon EKS

Kubernetes is the leading container orchestration engine. It excels in executing application containers and supports many operational aspects like scalability, self-recovery, service-discovery, secrets configuration, workload management and batch execution, rolling updates, etc.

All of this results in distributed systems with exceptional flexibility in responding to changing business demands.

However, Kubernetes also has its fair share of challenges. For example, it can be challenging to deploy and manage Kubernetes clusters as the setup requires significant configuration. Not only that, but Kubernetes also needs maintenance patches and security fixes to make sure it is well secured.

Amazon Elastic Kubernetes Service (EKS) provides solutions to Kubernetes operational challenges by offloading this overhead to the Amazon Web Services Platform. As a result, organizations can focus on their container adaptation plans while leveraging AWS-managed Kubernetes.

A Brief History of Amazon EKS

AWS launched Amazon EKS in June 2018. Amazon EKS was built on the open-source Kubernetes version by following the principle of shared responsibility:

AWS provides a Kubernetes control plane while AWS customers control their worker Nodes.

Initially, the EKS cluster provided a managed control plane while its users needed to manage EC2 instances for their application containers. Since then, the EKS service has matured the offering to deploy auto-scaled EC2 nodes.

Amazon EKS Cluster Architecture

A Kubernetes cluster is based on distributed components that offer either of the following services:

  • Configure and Manage Kubernetes services, also known as Kubernetes Control Plane
    Configure and Manage user applications, also known as Worker Nodes
  • An EKS cluster consists of the above components deployed in two separate VPCs.

AWS manages the VPC, which hosts the Control Plane. The user operates the second VPC, which hosts the Worker Nodes.

The Worker Nodes must connect to the Control Plane to register them for a cluster. The second VPC hosts all enterprise applications and must be reachable from its clients.

The following diagram shows a typical EKS topology:

Control plane

When you create an EKS cluster, a control plane is automatically created and configured. The control plane infrastructure is not shared across different AWS clusters. Control plane components for a cluster can’t view or receive communication from other clusters or other AWS accounts, except as authorized with Kubernetes RBAC policies.

Worker Nodes

EKS provides the following ways to configure worker nodes for executing application containers:

  • Self-Managed: The user has to provision EC2 instances which are associated with the cluster. This gives you flexibility in configuring worker nodes.
  • Managed: Managed node groups automate the provisioning and lifecycle management of nodes (Amazon EC2 instances) for Amazon EKS Kubernetes clusters.
  • Fargate: AWS Fargate is a serverless compute engine managed by AWS to run container workloads without actively managing servers to run them.


5 Key Features of Amazon EKS

Several enterprises have adapted the AWS cloud platform for their various needs. EKS provides features to take full advantage of the reliability, availability, and performance of the Kubernetes platform without getting taxed for its operational challenges.

  1. Managed Control Plane
    EKS manages the high availability and scalability of a Kubernetes control plane. It archives this by deploying Kubernetes API services and Etcd across different Amazon Availability Zones.
  2. Managed Worker Nodes
    EKS provides diverse options to provision and manages worker nodes. For example, organizations can have complete control by using self-managed configurations or relying on auto scaling groups to have a fully managed setup.
  3. Command Line
    eksctl is a convenient command-line utility built to manage EKS clusters. The utility enables users to perform all operations from their OS terminal instead of using the web interface.
  4. Service Discovery
    EKS supports organization-wide unified-service discovery using Cloud Map. You can use the service discovery to connect services deployed across different zones and clusters.
  5. VPC Networking
    EKS maintains isolation between different clusters using VPC. Furthermore, the network traffic inside each VPC is secured by using security groups.

The above listed are only a few of the several other benefits that organizations reap while using EKS.

In this guide, we’re going to create an EKS cluster on the AWS cloud platform. If you would like to follow along, make sure you have access to the AWS cloud platform.

How to Create an Amazon EKS Cluster

An EKS cluster needs the following prerequisites before it can be created.

IAM Role

AWS has the concept of IAM roles for authentication and authorization purposes. Essentially, the EKS cluster needs a role with AWSEKSClusterPolicy permissions.

You can create the role using the IAM management console.

  1. Open the Create Role Console, and select AWS service as the type of trusted entity.
  2. You must click EKS service and select EKS-Cluster as the use case.
  3. Click on next to validate the permission as AWSEKSClusterPolicy
  4. You can skip adding tags and move to the review page
  5. You must provide a Role name like eksClusterRole and click Create Role to add the new role

VPC

AWS will host EKS Nodes and Control Plane in two separate VPCs. Therefore, you must add a VPC for the EKS cluster. In addition, VPC needs to create multiple AWS resources like Route Table, Security groups, subnets, etc.

AWS has already published cloud-formation templates for this purpose. You can create a public subnet VPC using the steps below:

  1. Open the AWS CloudFormation console and click create a stack.
  2. Next, select Specify an Amazon S3 template URL and provide the Public template S3 location.
  3. Provide a stack name like eks-public-vpc on the specified details page. You can skip the other optional details.
  4. Click Create on the Review page.

CloudFormation will take some time to create the required components. Then, it will update the console with the latest state of the stack. Once the process is completed, you can check in the resources table to determine the created components.

AWS CLI

You will have to use AWS Command Line version 2.0 to interact with AWS EKS services. You can run the cli using the following docker command:

$ docker run --rm -it amazon/aws-cli --version
aws-cli/2.2.9 Python/3.8.8 Linux/5.10.25-linuxkit 
docker/x86_64.amzn.2 prompt/off

The CLI container can’t access your host files so you must mount the host system’s ~/ .aws directory to the container at /root/ .aws with the -v flag.

You can configure it using the command below:

$ docker run --rm -it -v ~/.aws:/root/.aws amazon/aws-cli configure
AWS Access Key ID [****************5K7M]: 
AWS Secret Access Key [****************RCAC]: 
Default region name [None]: us-east-2
Default output format [yaml]: 


EKS

Create the cluster by executing the create-cluster command with the following information:

  • VPC subnet ids – copy the required subnet-ids from Subnet console
  • IAM service role – copy the Role ARN for eksclusterRole from AWS IAM console
  • Cluster name
$ docker run --rm -it -v ~/.aws:/root/.aws amazon/aws-cli eks 
create-cluster  --region us-east-2 --name first-cluster 
--kubernetes-version 1.20 --role-arn 
arn:aws:iam::44xxxxxxxxxx:role/eksClusterRole --resources-vpc-config 
subnetIds=subnet-0636aeb0ac1ceef3a,subnet-0a5f8c53b54964f85,subnet-04339c3fae7f96e31

The creation will take time you can check the cluster status using the eks describe-cluster command:

$ docker run --rm -it -v ~/.aws:/root/.aws amazon/aws-cli eks 
describe-cluster --region us-east-2 --name first-cluster --query 
"cluster.status"
"ACTIVE"


Configure kubectl

Once a cluster becomes Active, it can be operated using the kubectl command. You can configure kubectl using the update-kubeconfig command. Unfortunately, the CLI container can’t access your host files, so you must mount the host system’s ~/.kube directory to the container at /root/.kube with the -v flag.

$ docker run --rm -it -v ~/.aws:/root/.aws -v ~/.kube:/root/.kube 
amazon/aws-cli eks --region us-east-2 update-kubeconfig --name 
first-cluster

After this you must enable the EKS cluster and use Kubectl commands as shown below:

$ kubectl config use-context arn:aws:eks:us-east-2:[Insert AWS Account Number]44xxxxxxxxxx:cluster/first-cluster
Switched to context "arn:aws:eks:us-east-2:44xxxxxxxxxx:cluster/first-cluster"

$ kubectl get all
NAME                 TYPE        CLUSTER-IP   EXTERNAL-IP   PORT(S)   AGE
service/kubernetes   ClusterIP   10.100.0.1           443/TCP   55m


Worker Nodes

You must create AutoScalingNodeGroups so that the EKS can perform worker node management. Create a public subnet VPC using the steps below:

  1. Open the AWS CloudFormation console and click create a stack.
  2. Next, select Specify an Upload template and provide github location
  3. Specify Stack name, ClusterName, ClusterControlPlaneSecurityGroup, NodeInstanceType, VpcId, Subnets
  4. Click Create on the Review page.

CloudFormation will take some time to create the required components. Then, it will update the console with the latest state of the stack. Once the process is completed, you can look in the resources table to determine the created components.

After this, you must update the AWS IAM Authenticator configuration map to enable the addition of Nodes.

  1. Download the configuration map from S3 location
  2. Update the Map with NodeInstanceRole information
  3. Apply the map to the Kubernetes cluster using kubectl apply -f aws-auth-cm.yaml

After completing the above steps, EKS will add nodes to the cluster. Then, you can look up their status using kubectl get nodes –watch.

Rafay Kubernetes Management Cloud

At this point, you have deployed your first EKS cluster. The complete process consists of steps across different AWS components. And performing these operations across many clusters can be some work.

Rafay streamlines this by providing a single console to deploy and manage Amazon EKS clusters. You can create the cluster with a single click and standard clusters across your company by using cluster blueprints with minimal required parameters and default values for other parameters.

The following are some of the convenience features offered by Rafay:

  • Create public, private and mixed cluster access modes with a single click toggle across different modes
  • Configure namespaces with built-in pod policies
  • Automate proxy configuration for worker nodes
  • Deploy additional Kubernetes packages using Addons console

Are You Ready to Use EKS?

As you can see, Amazon EKS addresses many operational challenges for Kubernetes adoption. In addition, the AWS Management Console provides convenience to manage individual Kubernetes clusters.

However, enterprises have to replicate these steps for numerous clusters required for diverse development needs, which can be a good deal of work and error-prone, especially when the number of clusters across several regions increases.

Rafay’s visibility, automation and standardization capabilities provide a solution to these challenges. You can learn more by signing up for a free trial of the Rafay Kubernetes Management Cloud here.