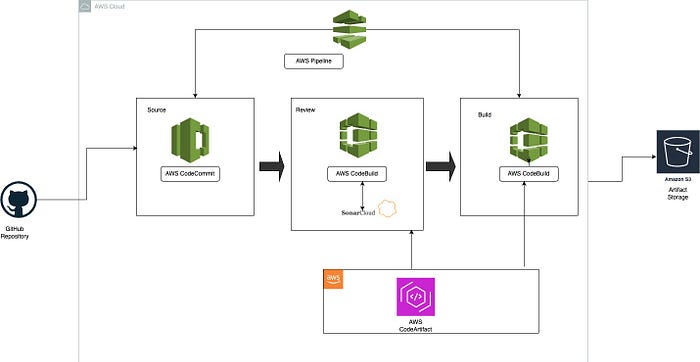
The AWS services we’ll be using include;
- CodeCommit (Version Control System),
- CodeArtifact (Maven Repository for Dependencies)
- CodeBuild (Build service)
- CodeDeploy (Artifact Deployment Service)
- Sonarcloud (SonarQube Cloud Based Tool)
- CodePipeline (Service to Integrate all Jobs)
If you’re excited as I am, then let’s begin!!!!!!!
Flow of Execution
- Login to AWS
- Setup CodeCommit service
- Setup Code Artifact and configure necessary settings
- Create an account on SonarCloud and configure the CodeBuild Job
- Setup the Build Project to upload to S3
- Create notifications for SNS
- Configure the Pipeline and Test the Pipeline

Step One: Setup CodeCommit Service
- Create the CodeCommit Repository: Setup the foundation for version control and development within AWS by creating your CodeCommit repository. To achieve;
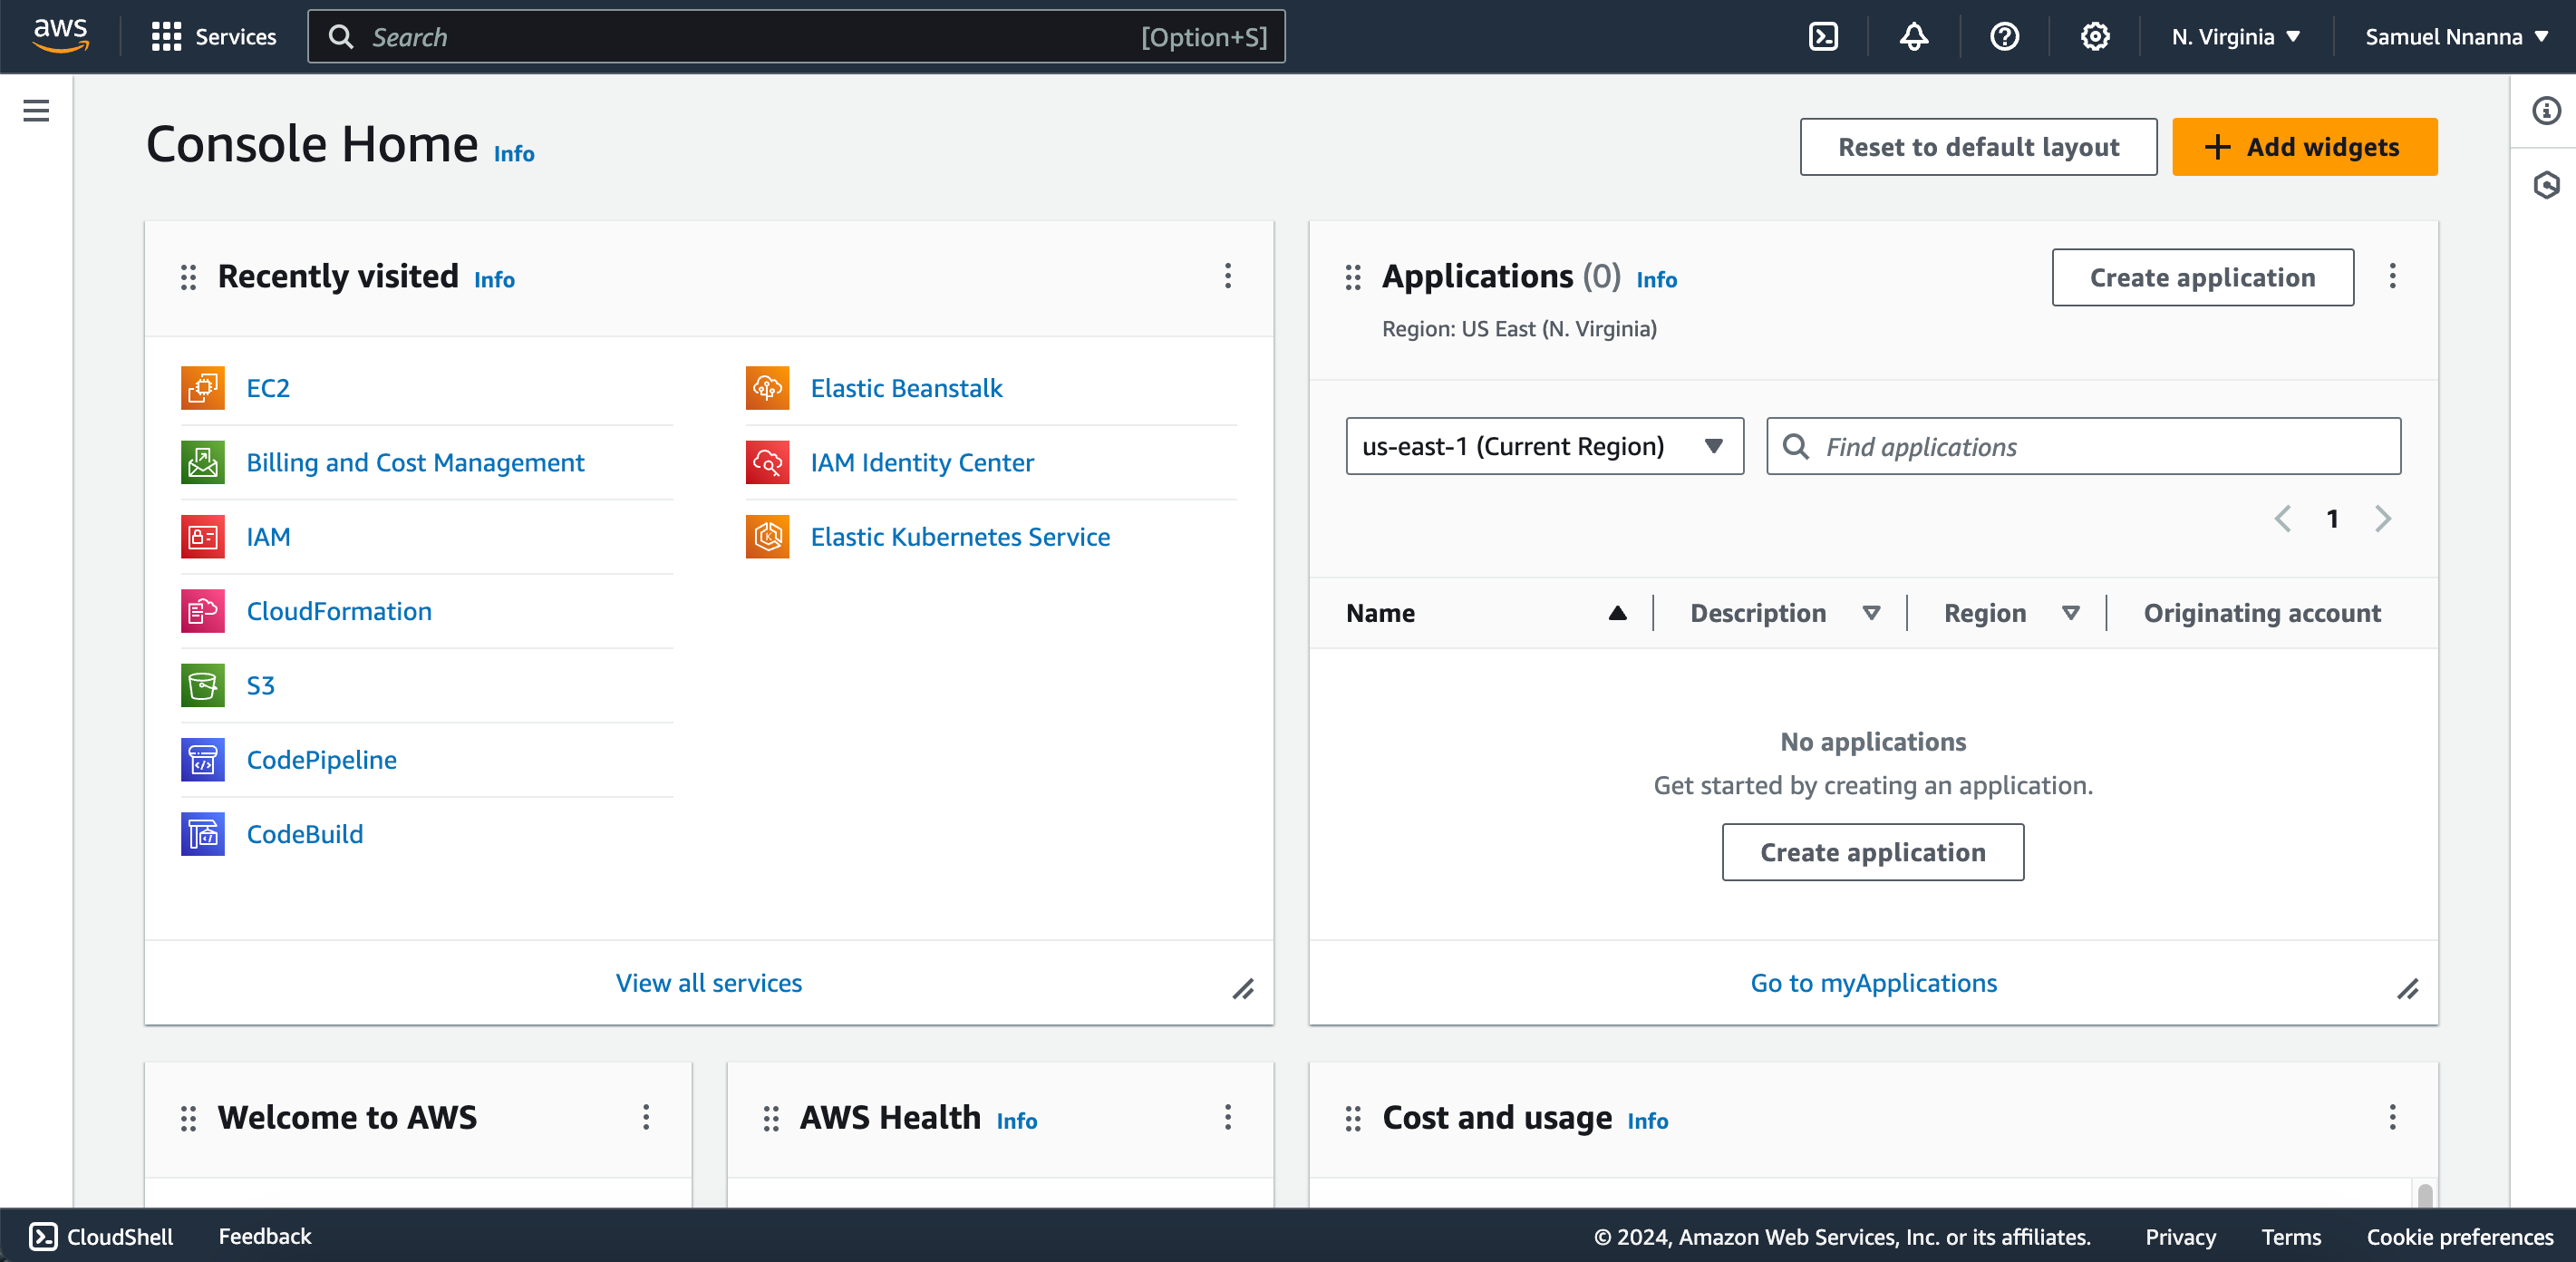
- Login to your AWS account and search for “CodeCommit” in the services box.
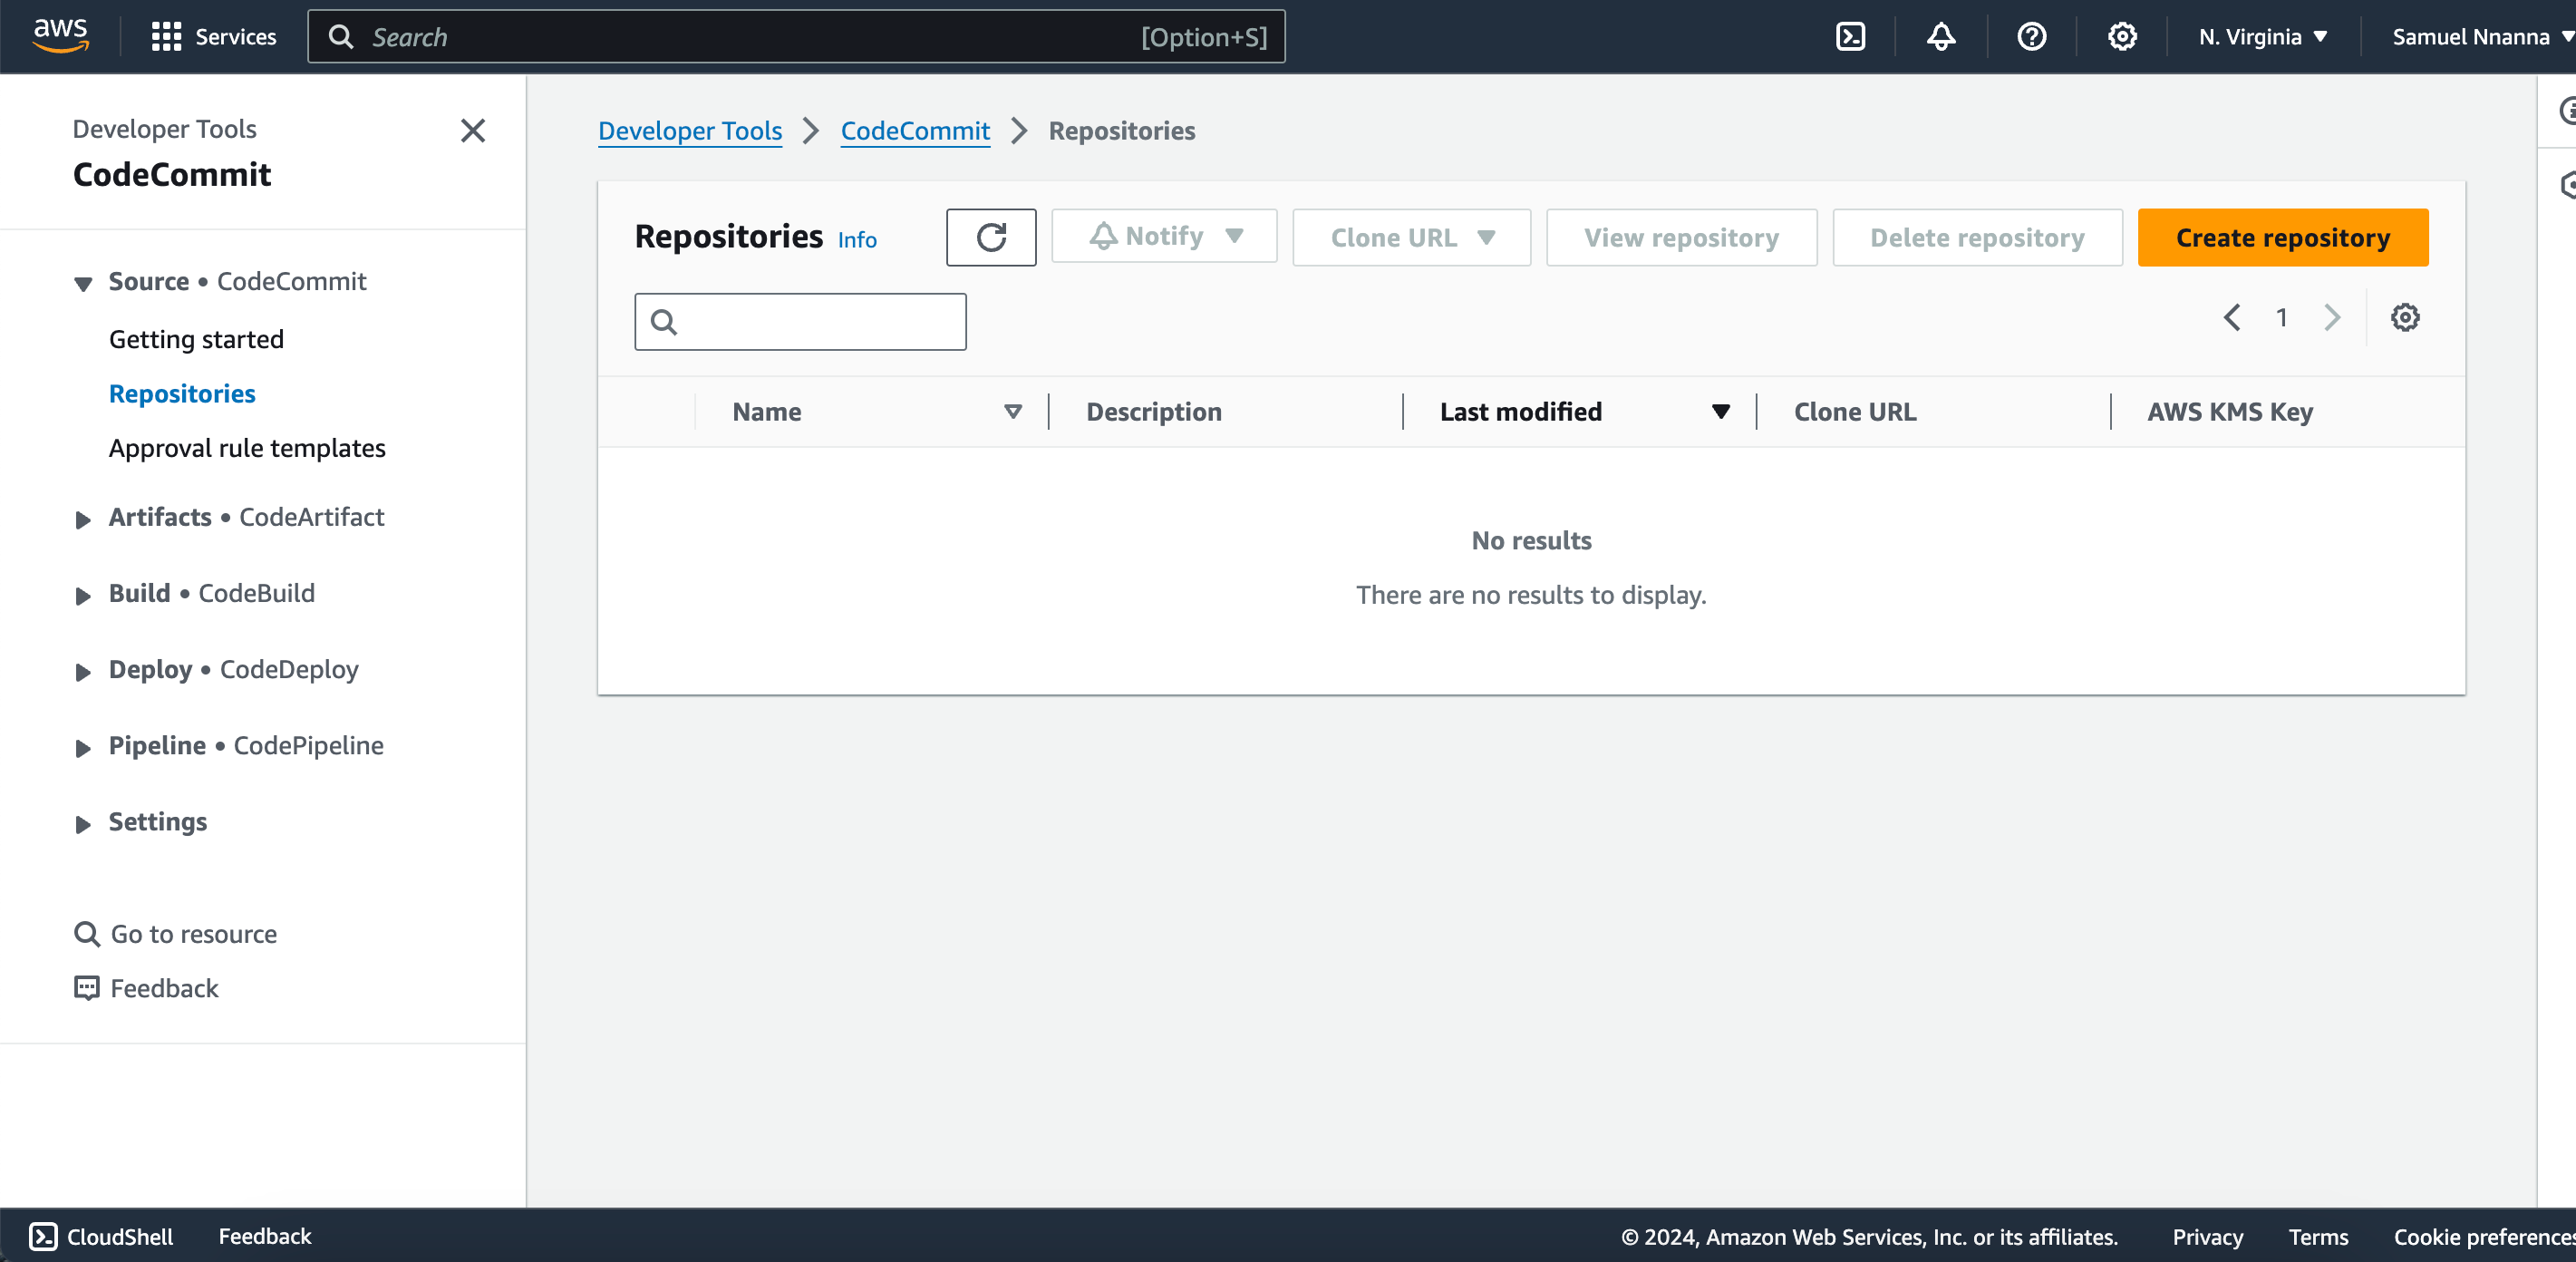
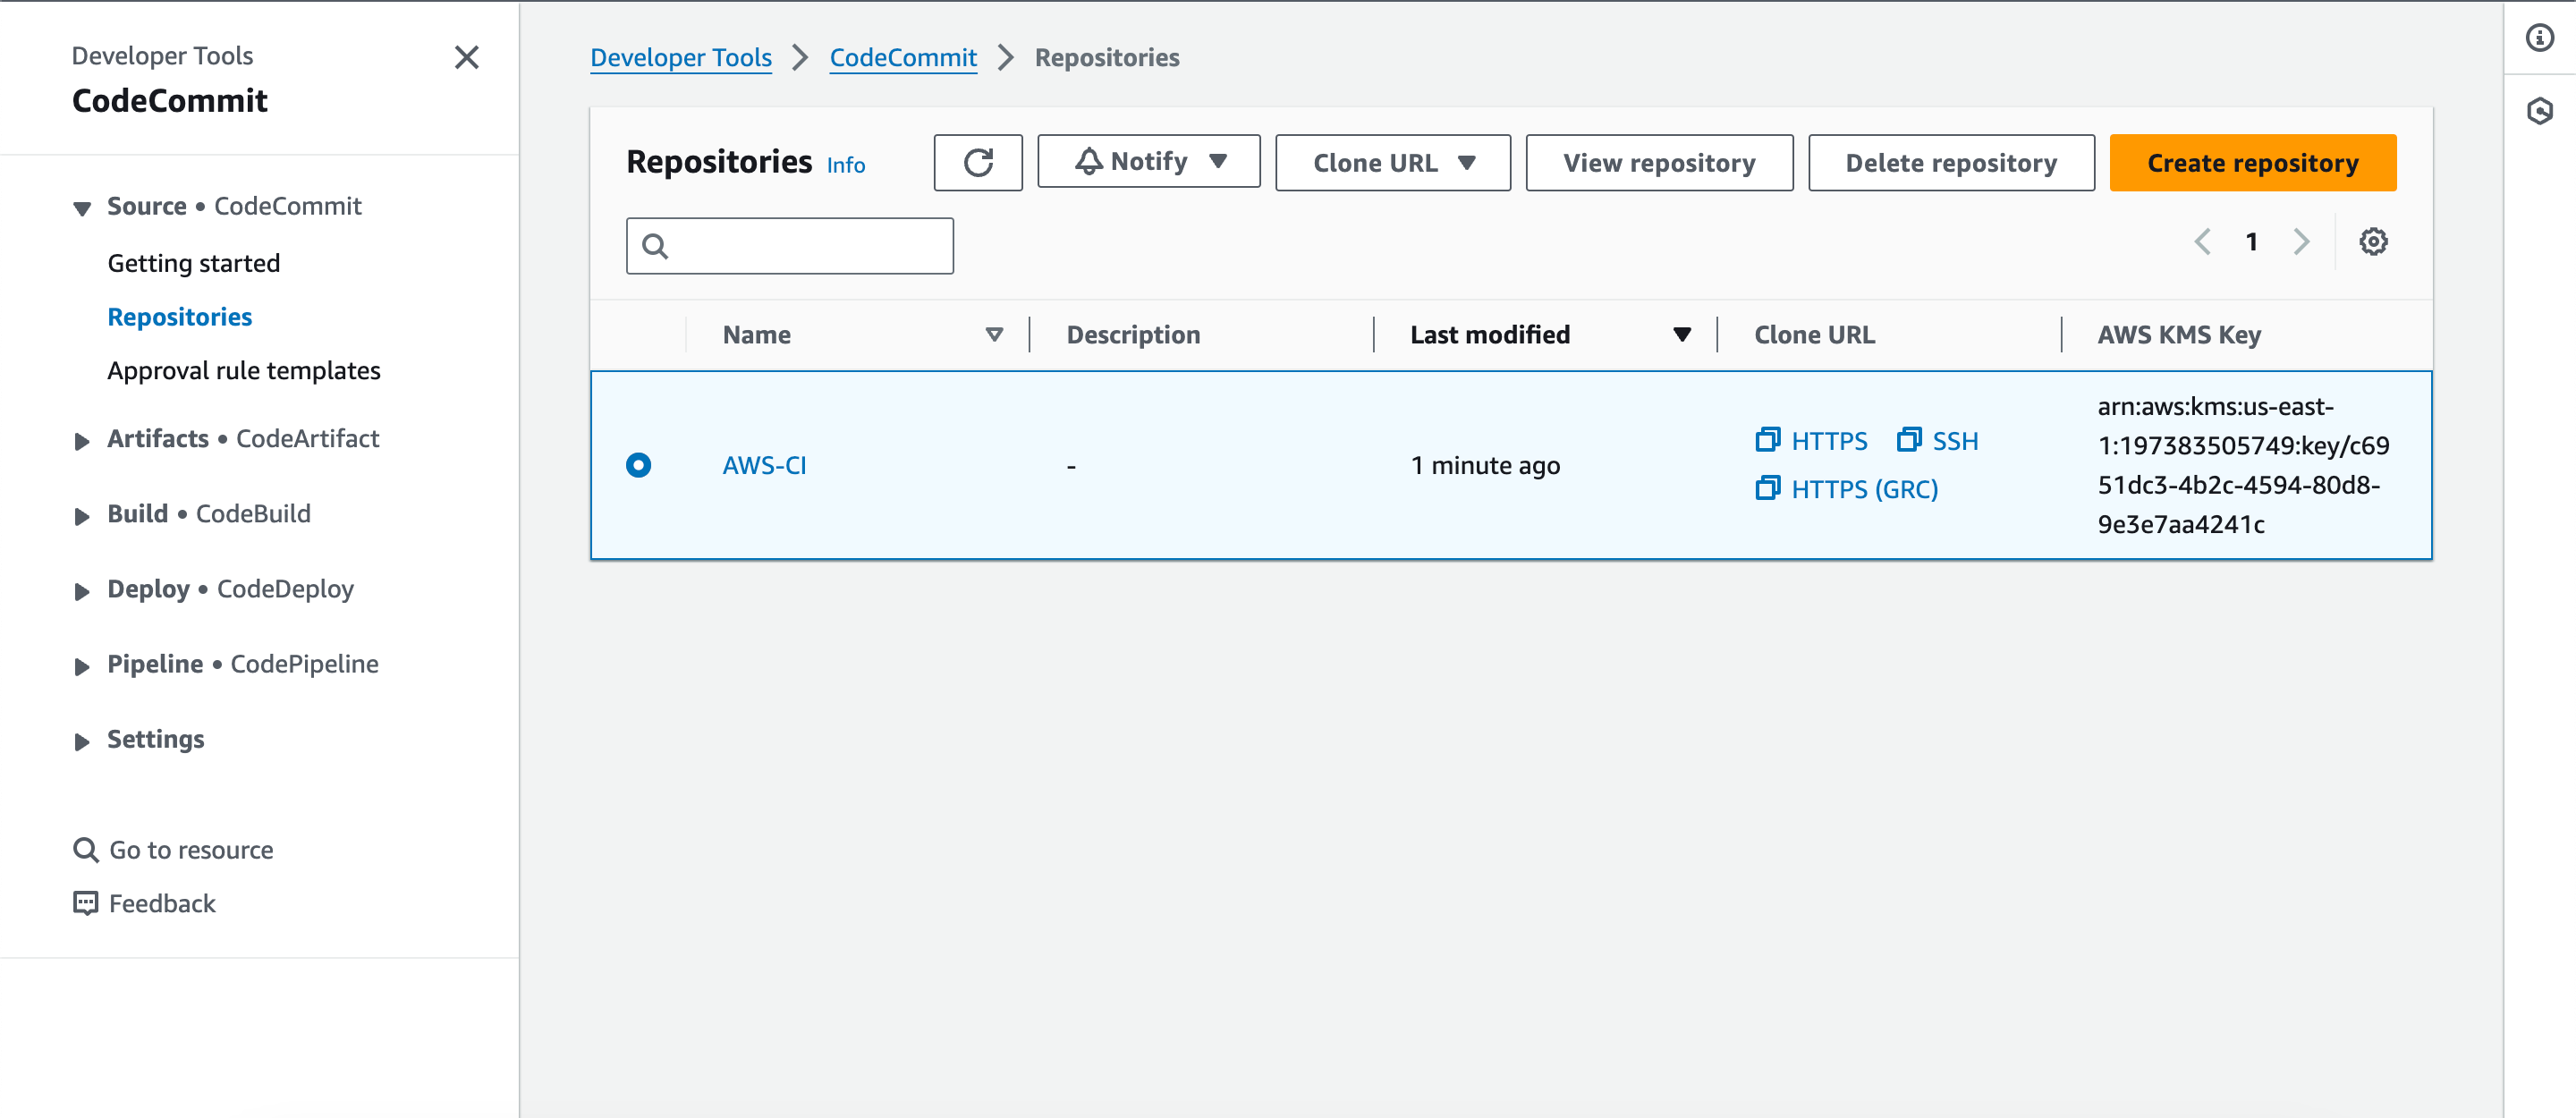
- On the CodeCommit dashboard, click on “create repository”
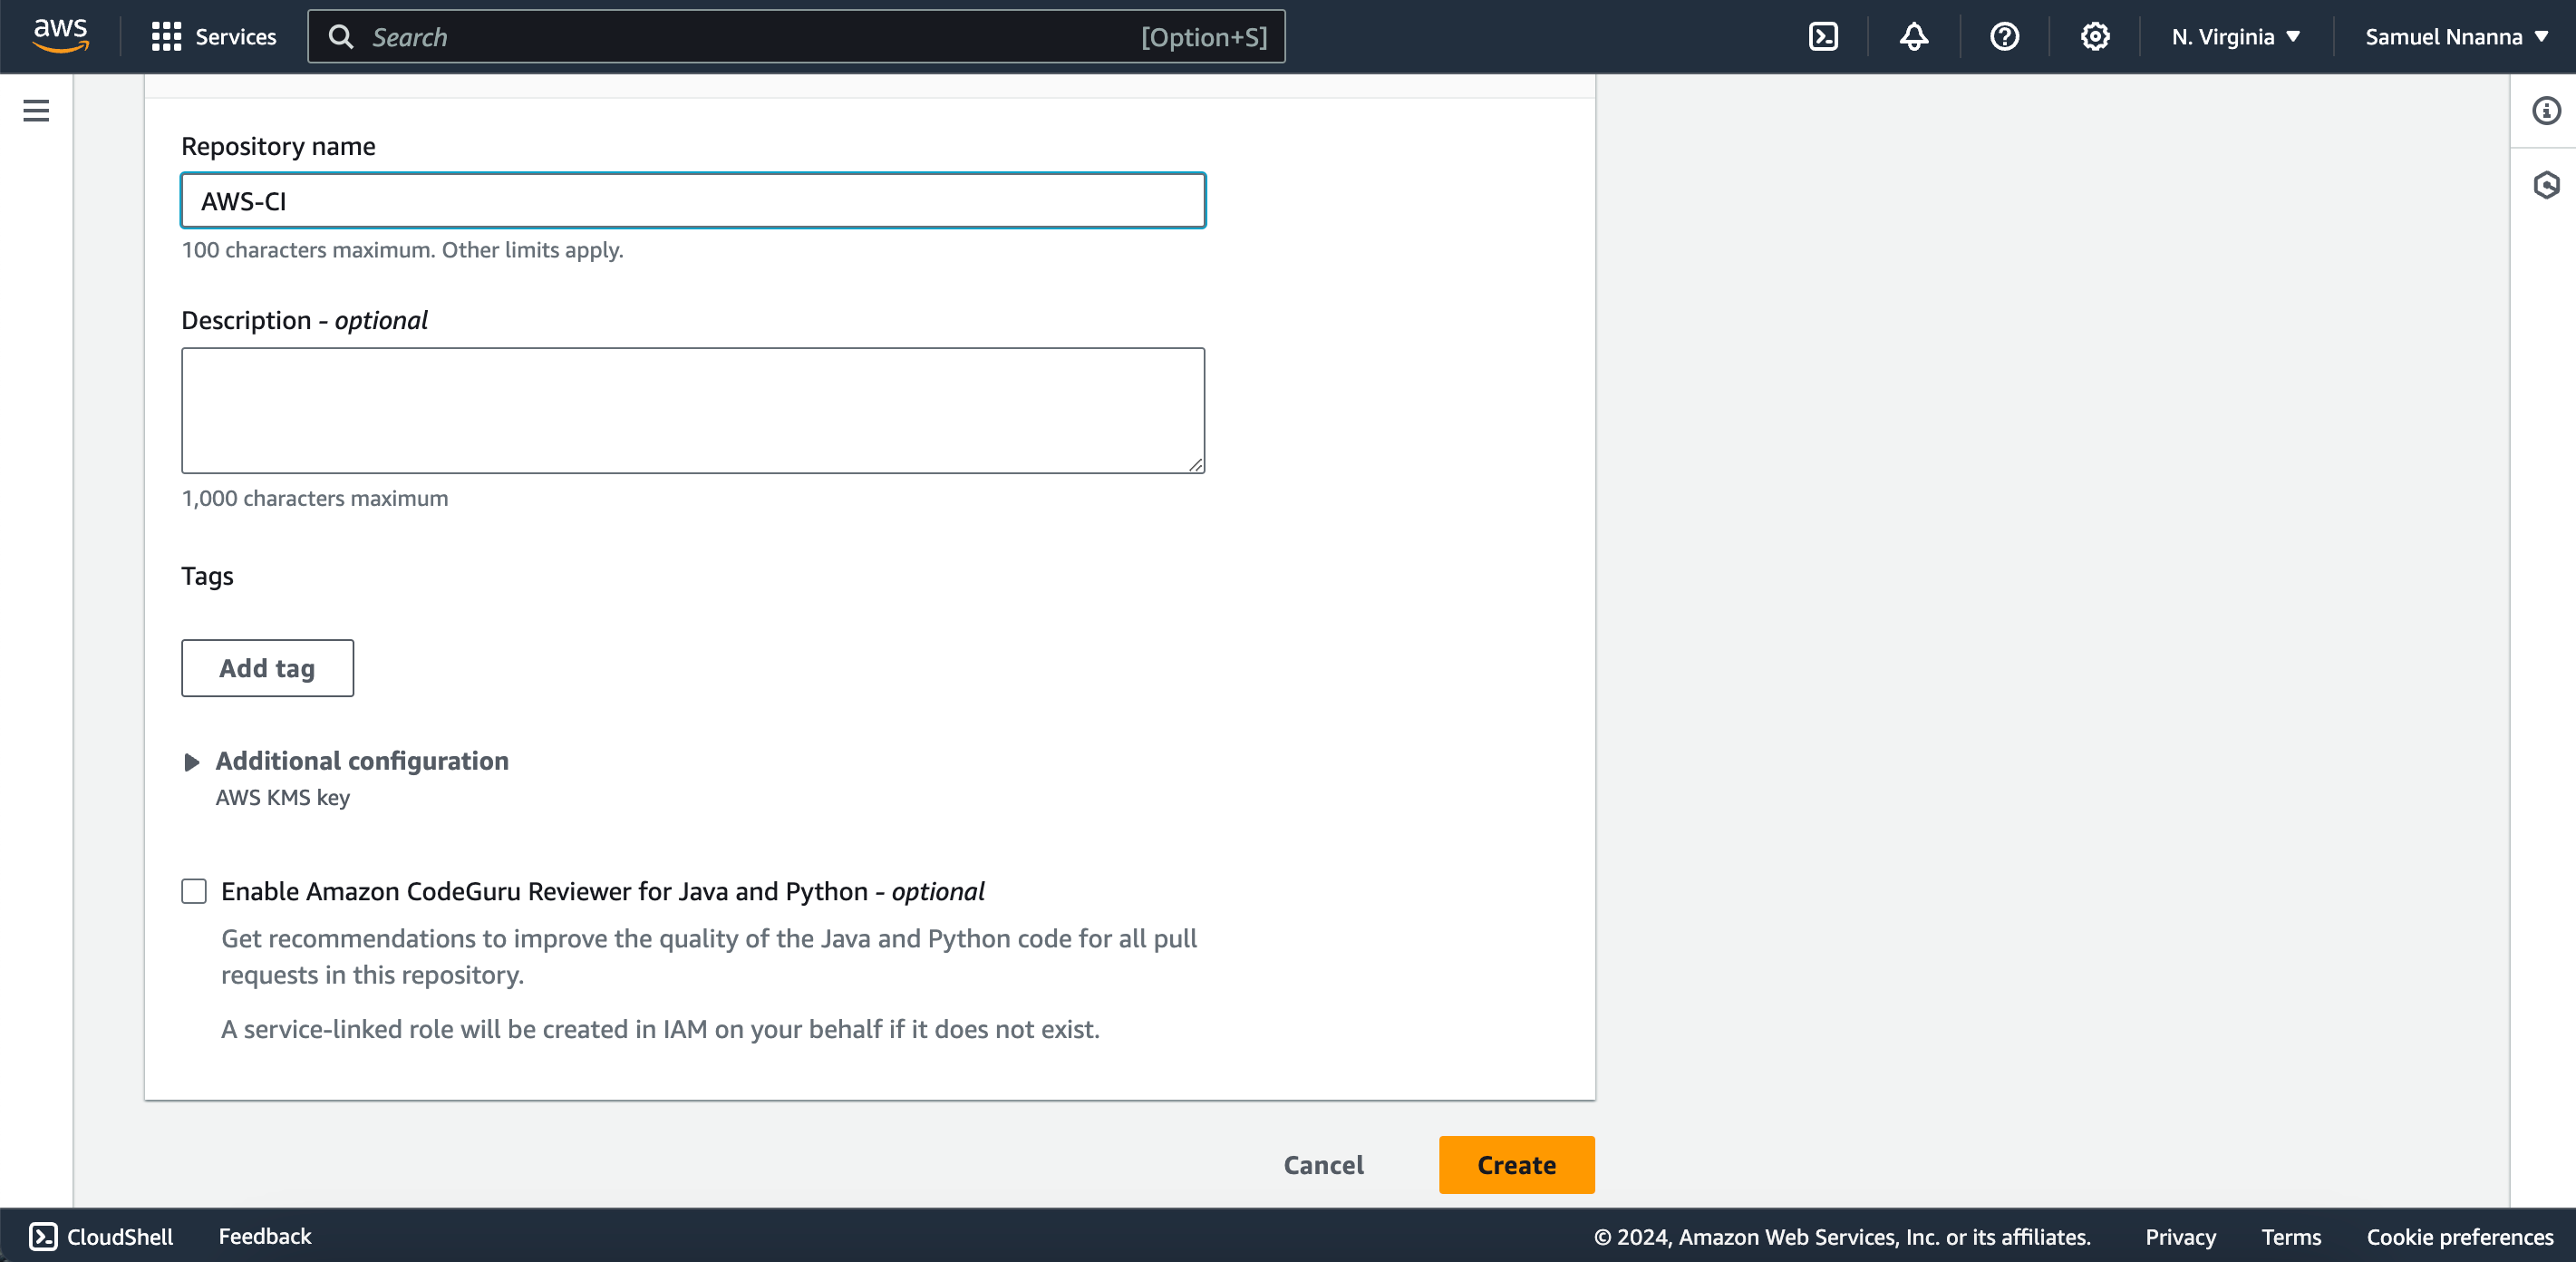
- Give the Repository as name eg., AWS-CI then click on “create”
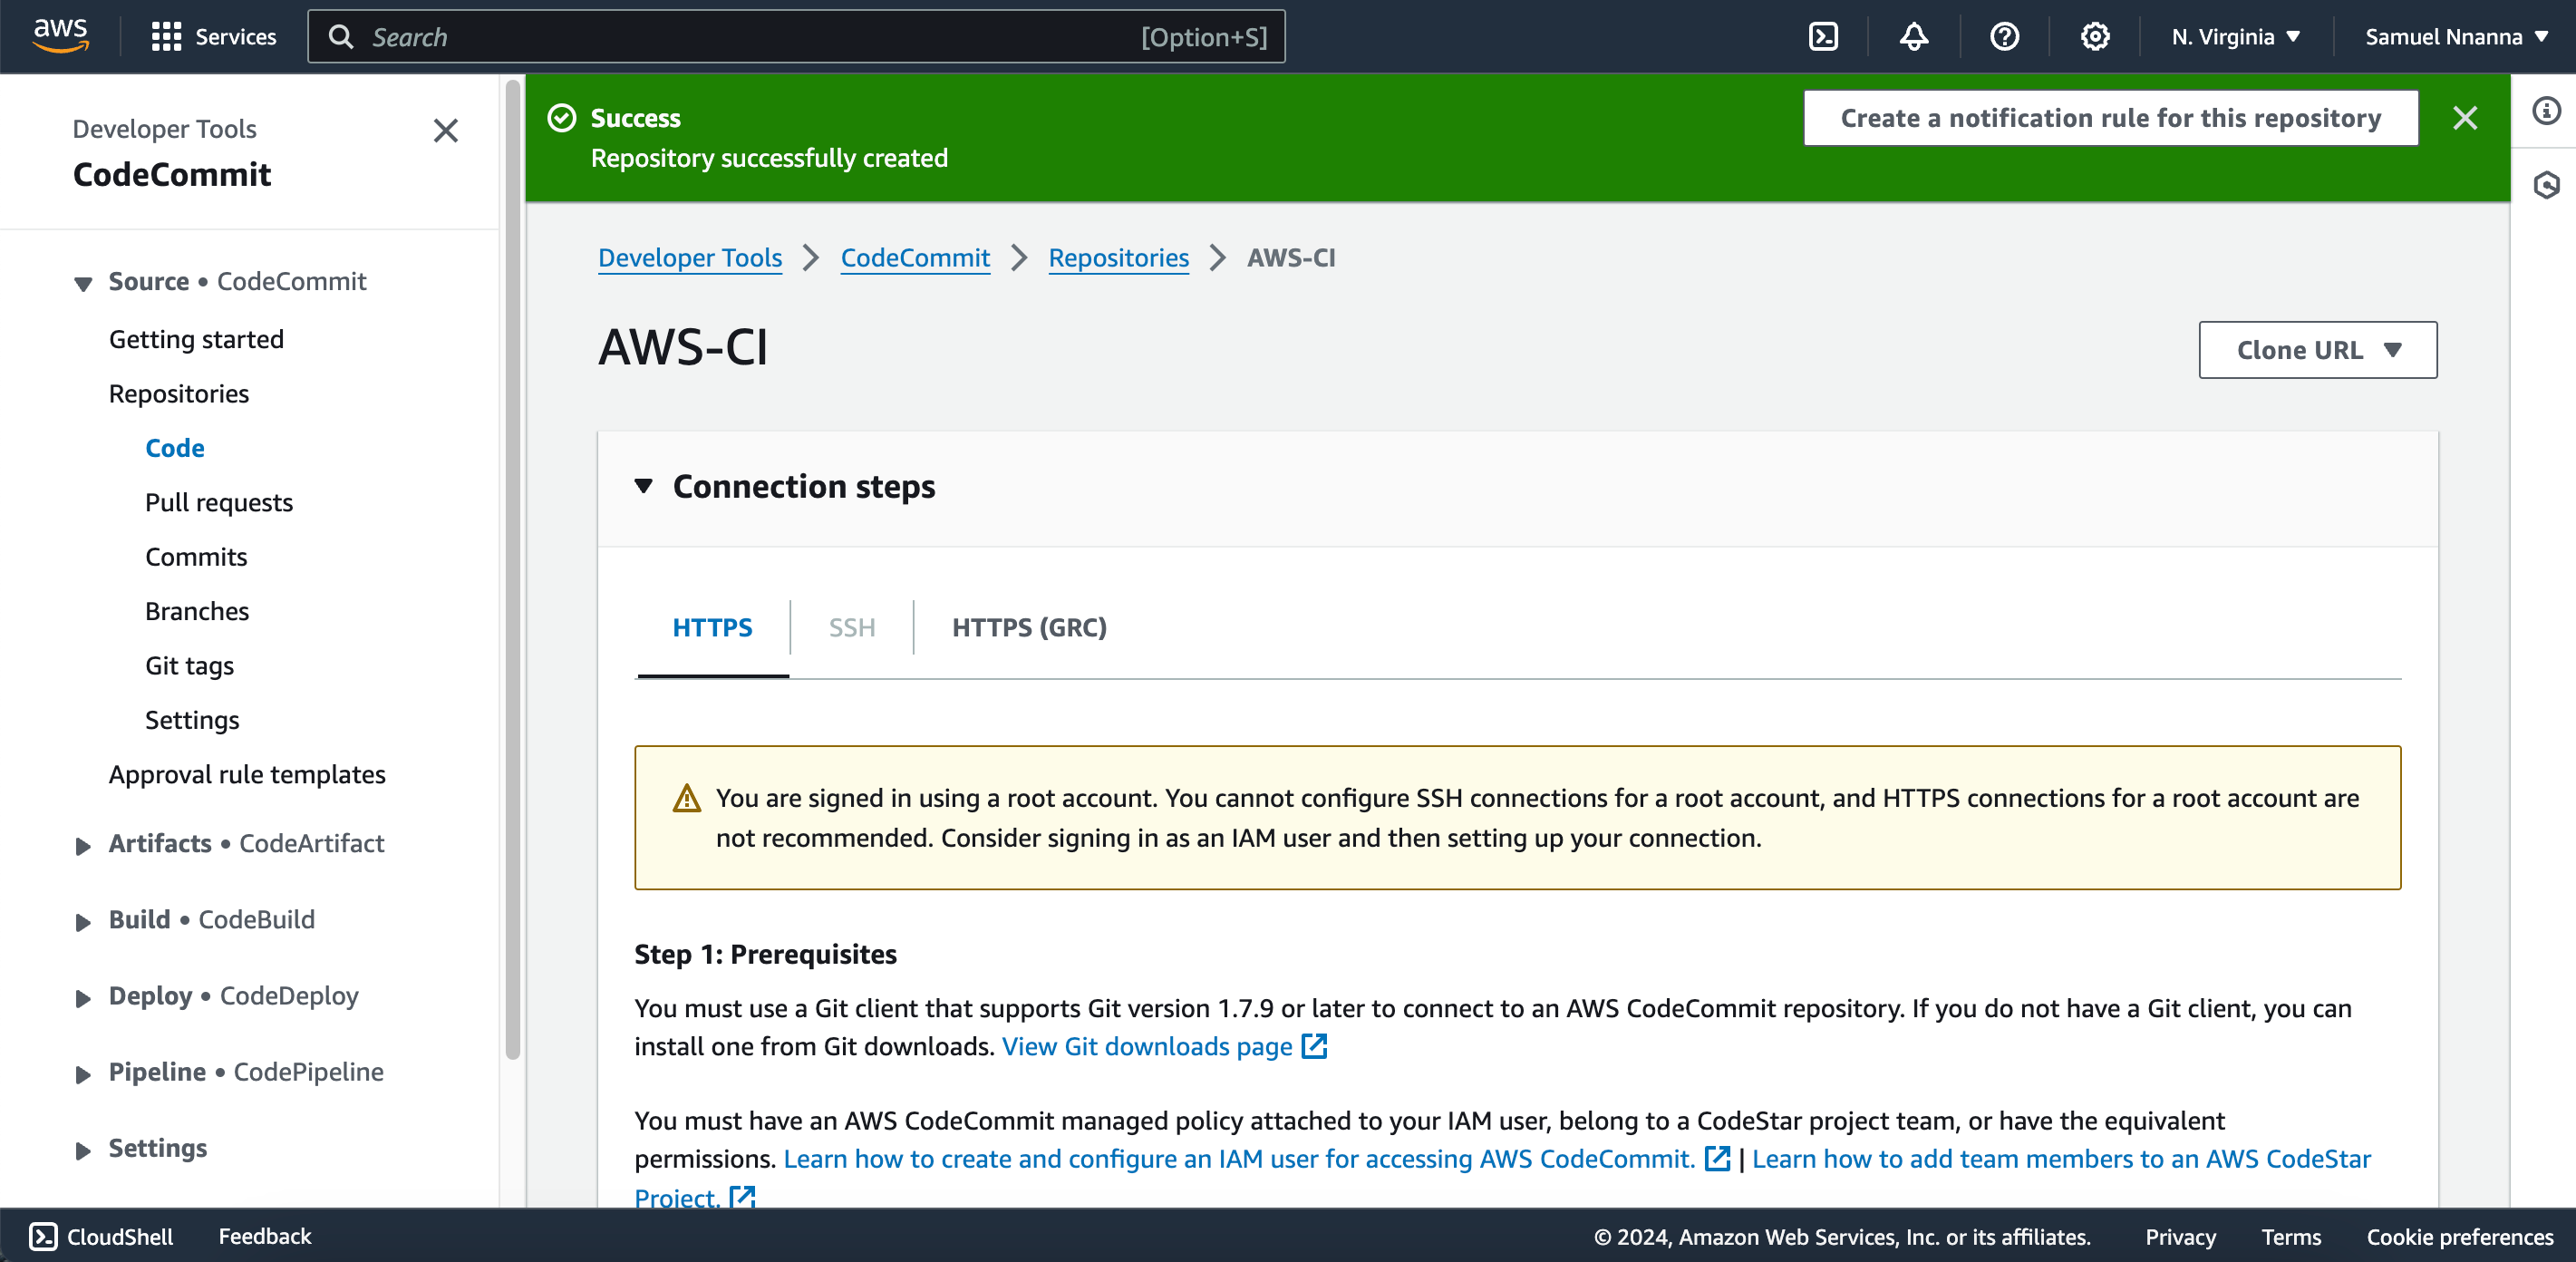
- Granting Access from Local Machines to CodeCommit: Configure access from your local machine to CodeCommit using an IAM user. Tailor custom policies specifically for CodeCommit to ensure secure and controlled access. To do this;
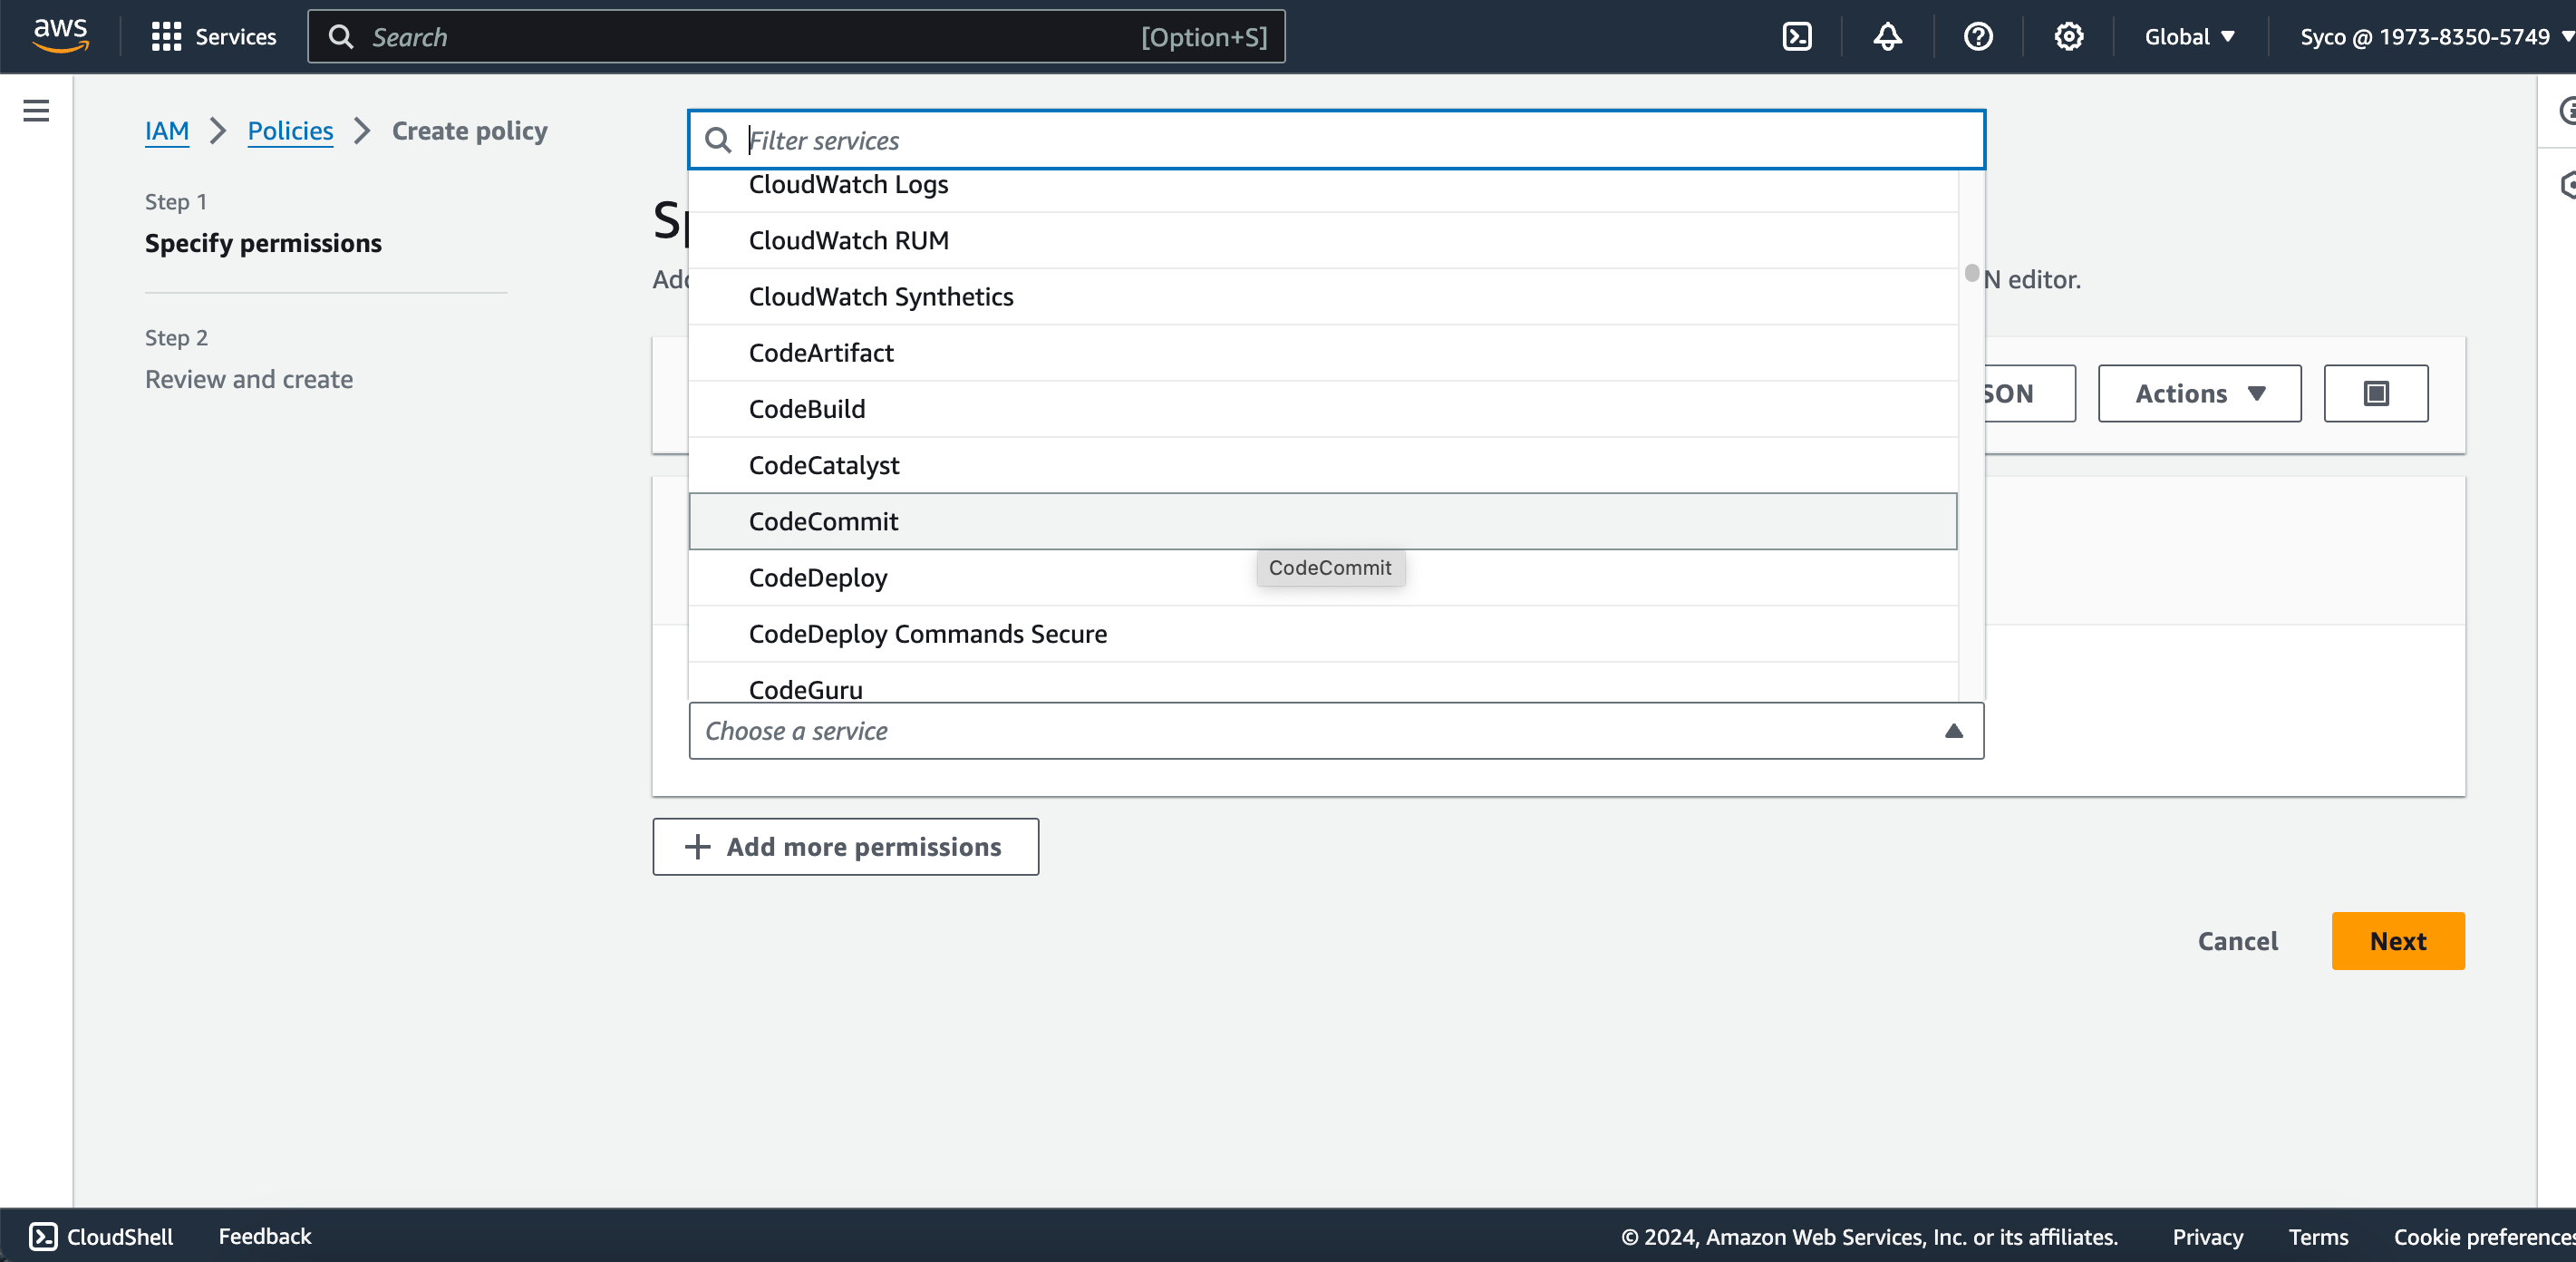
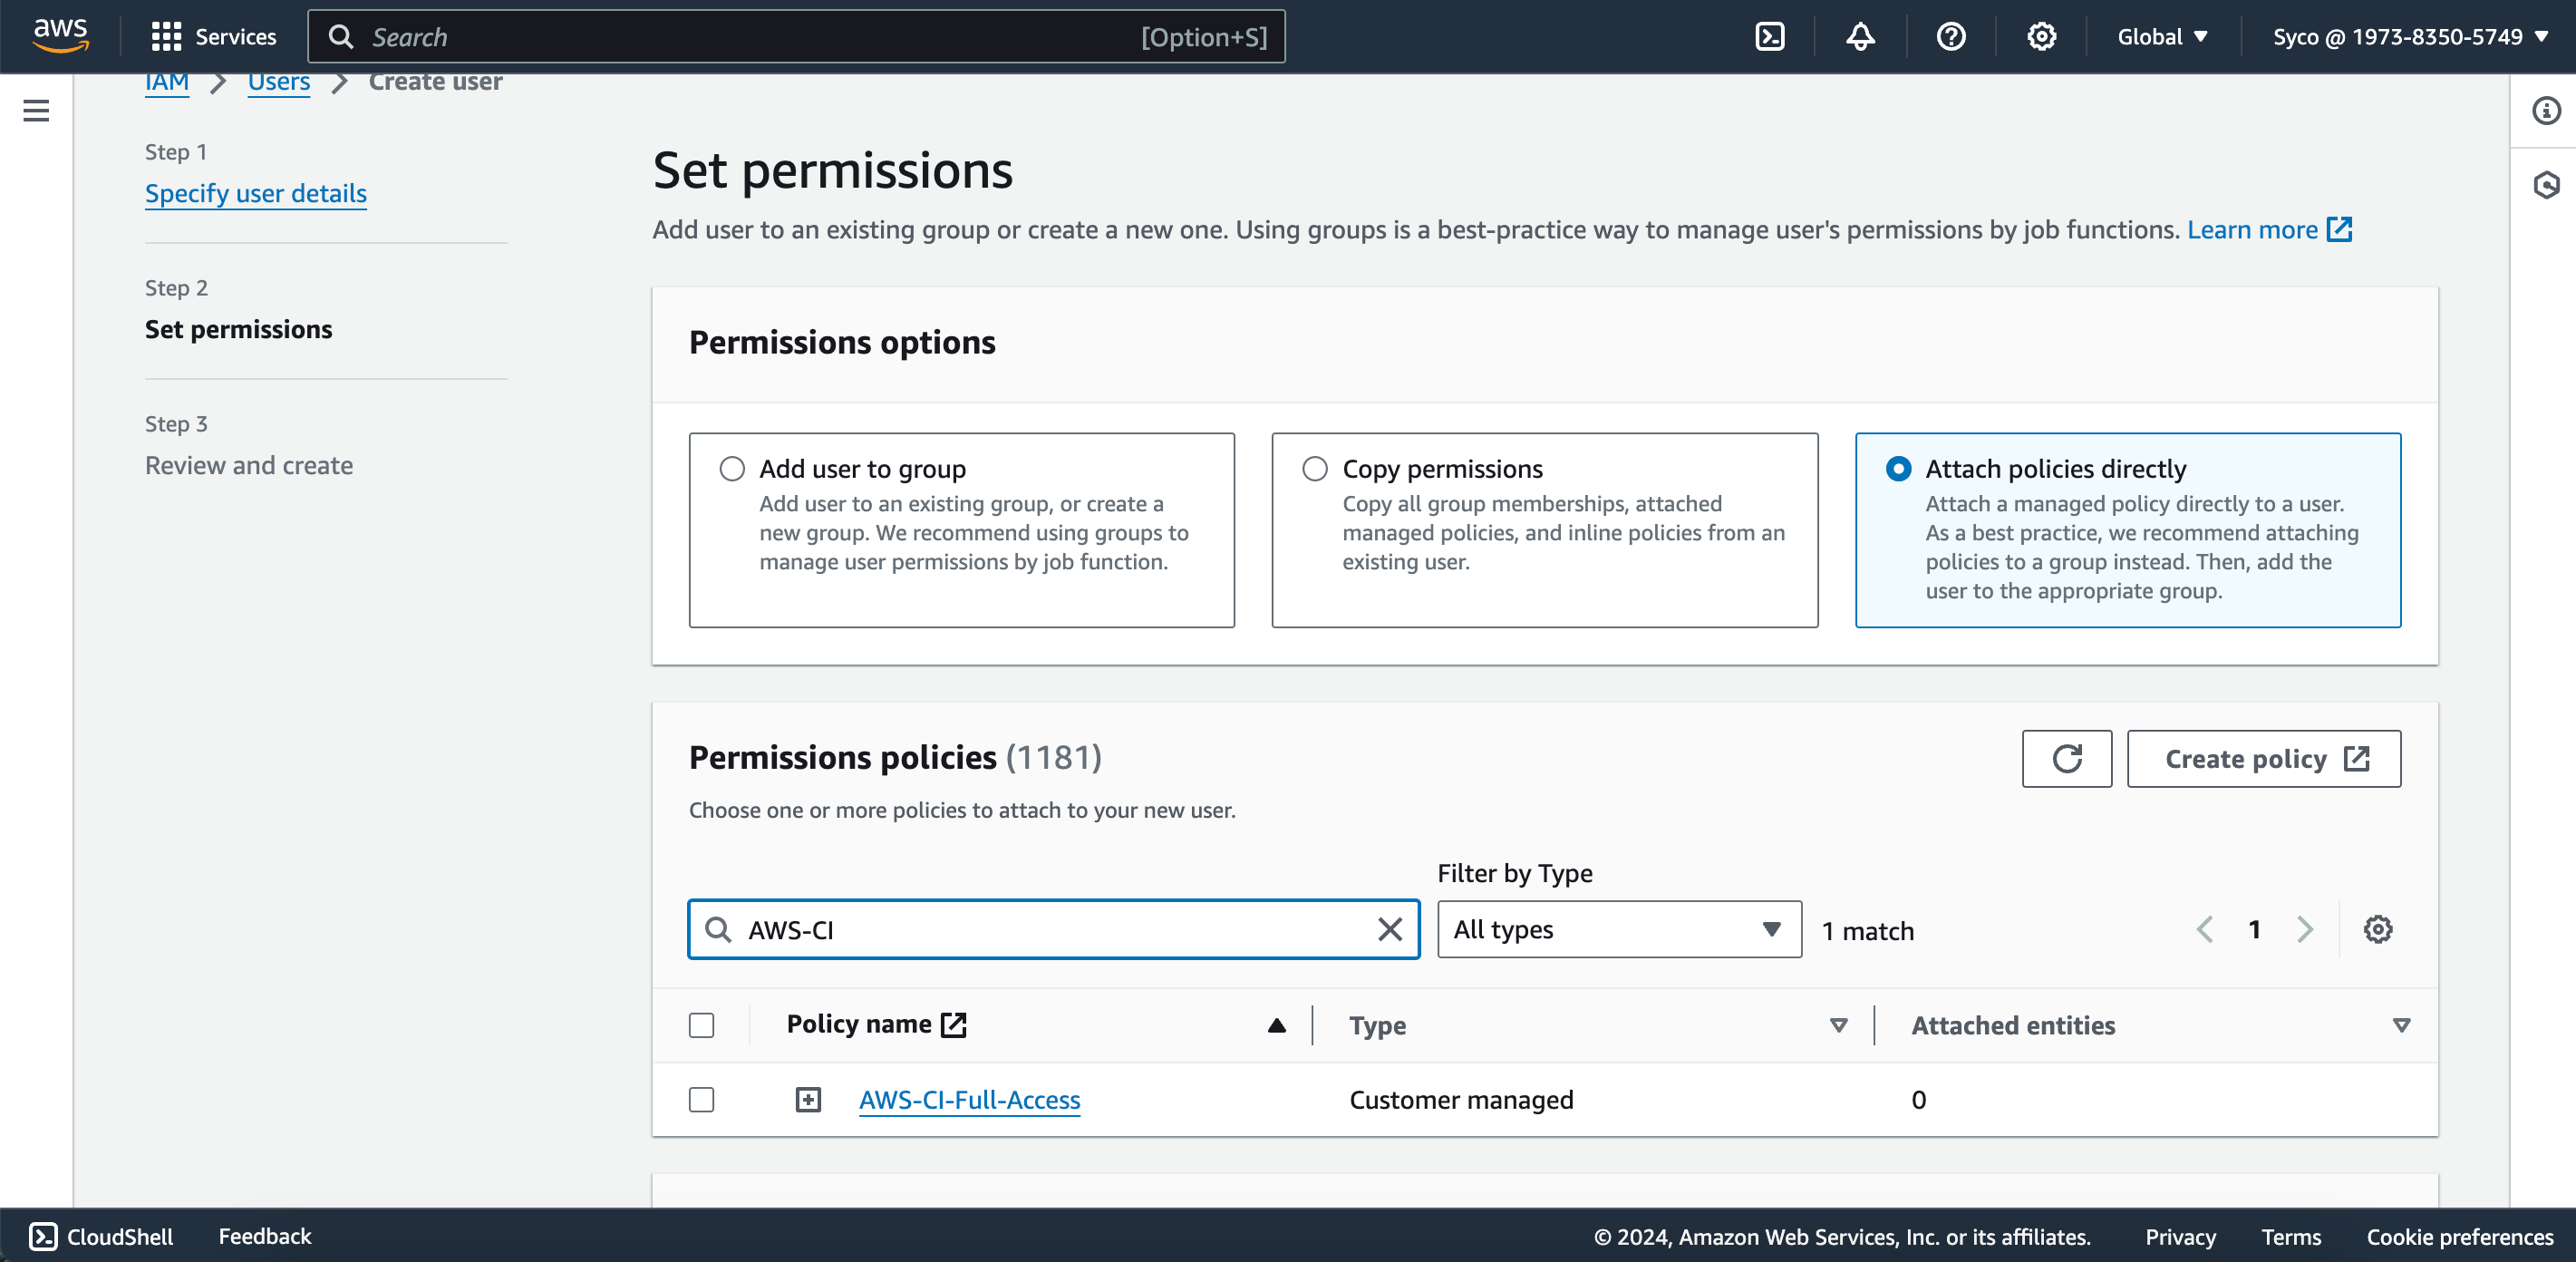
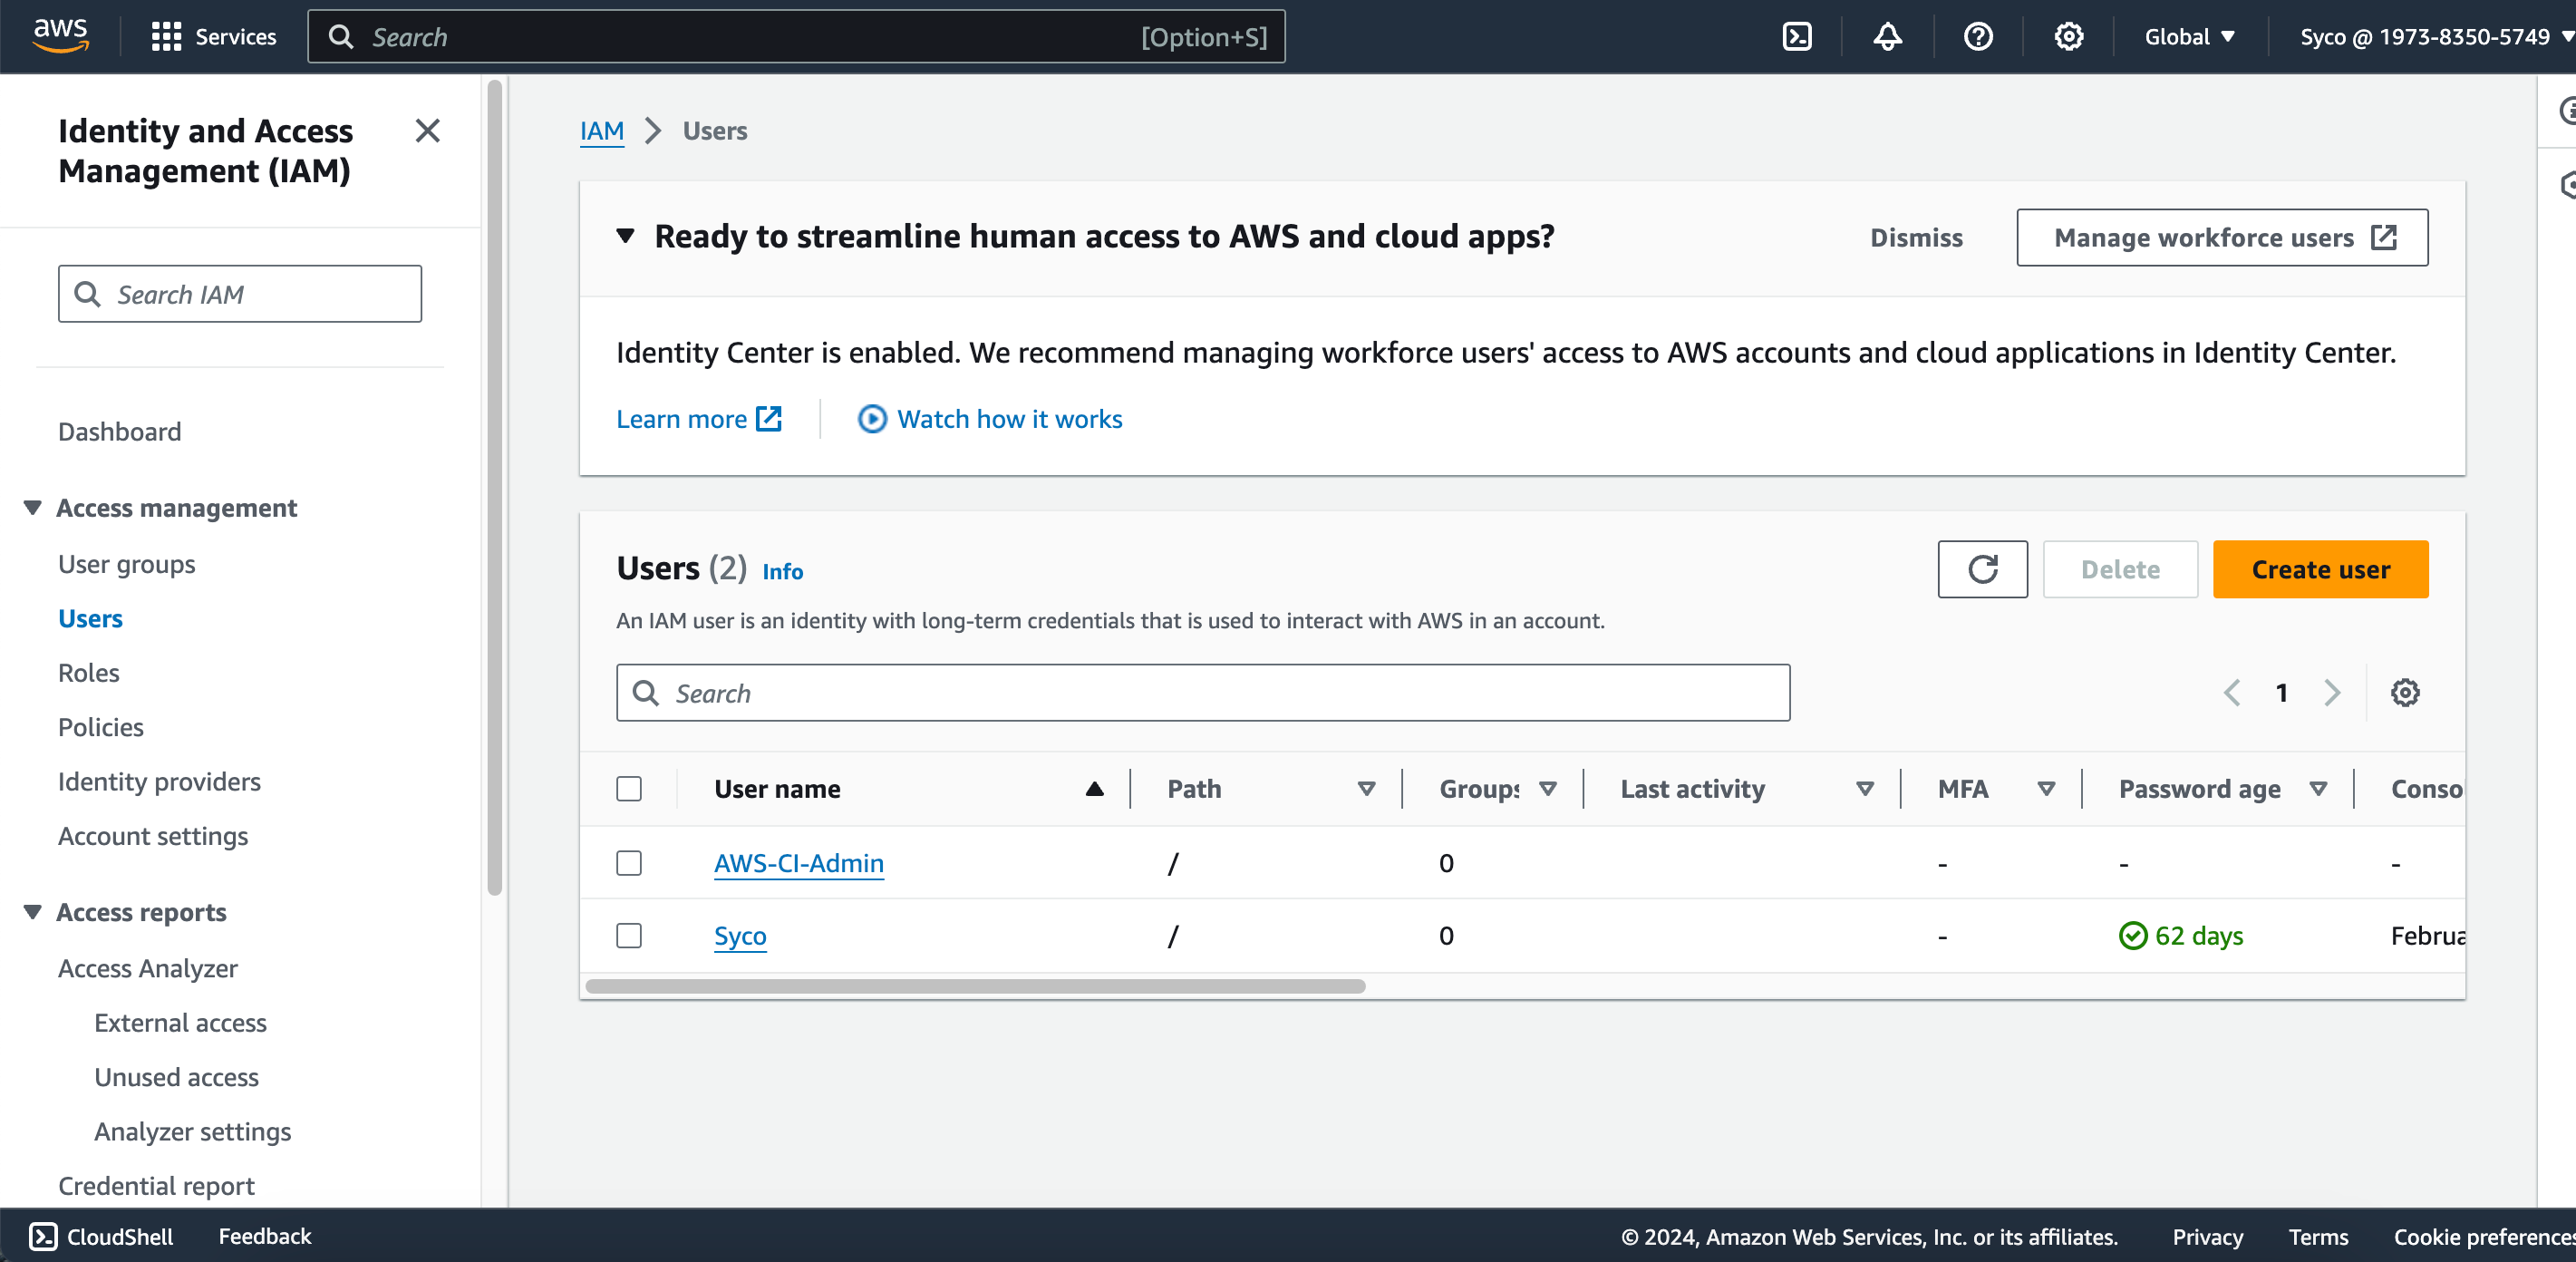
- Open the IAM dashboard and create a new user, for example, “AWS-CI-Admin.” Click on “Attach Policies Directly” and choose “create policy.”
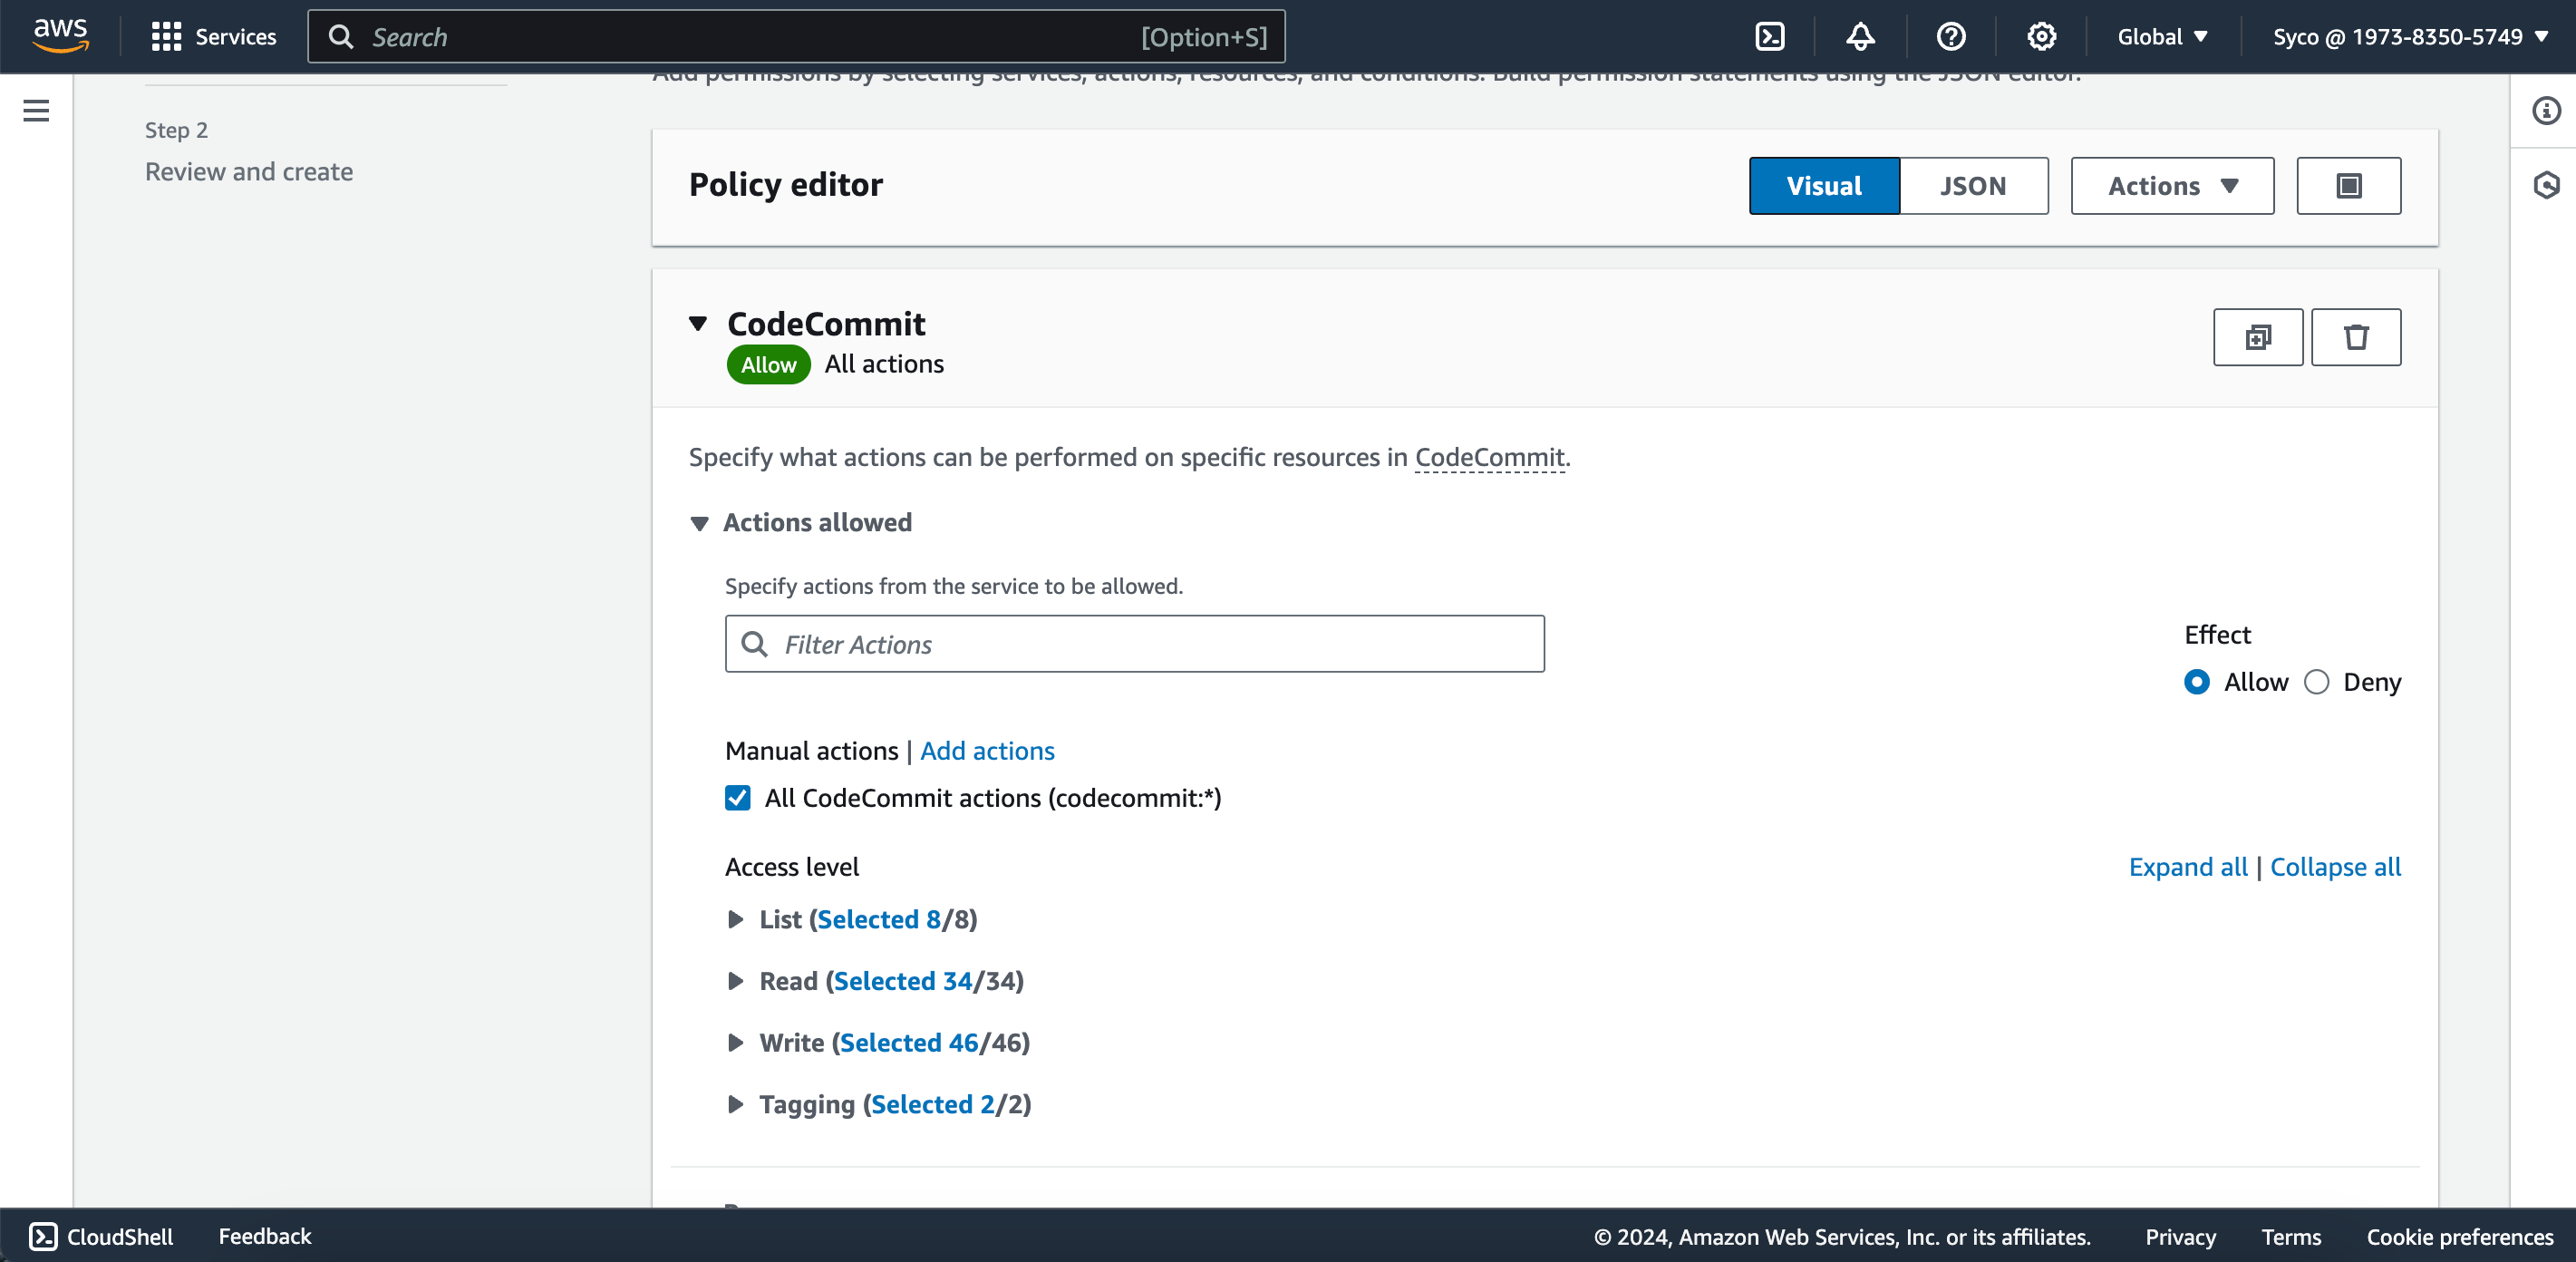
- In the new tab, navigate to services, select CodeCommit, and check the box for “all codecommit actions.” Scroll down and click on “add ARN(s)” to customize the policies for your repository.
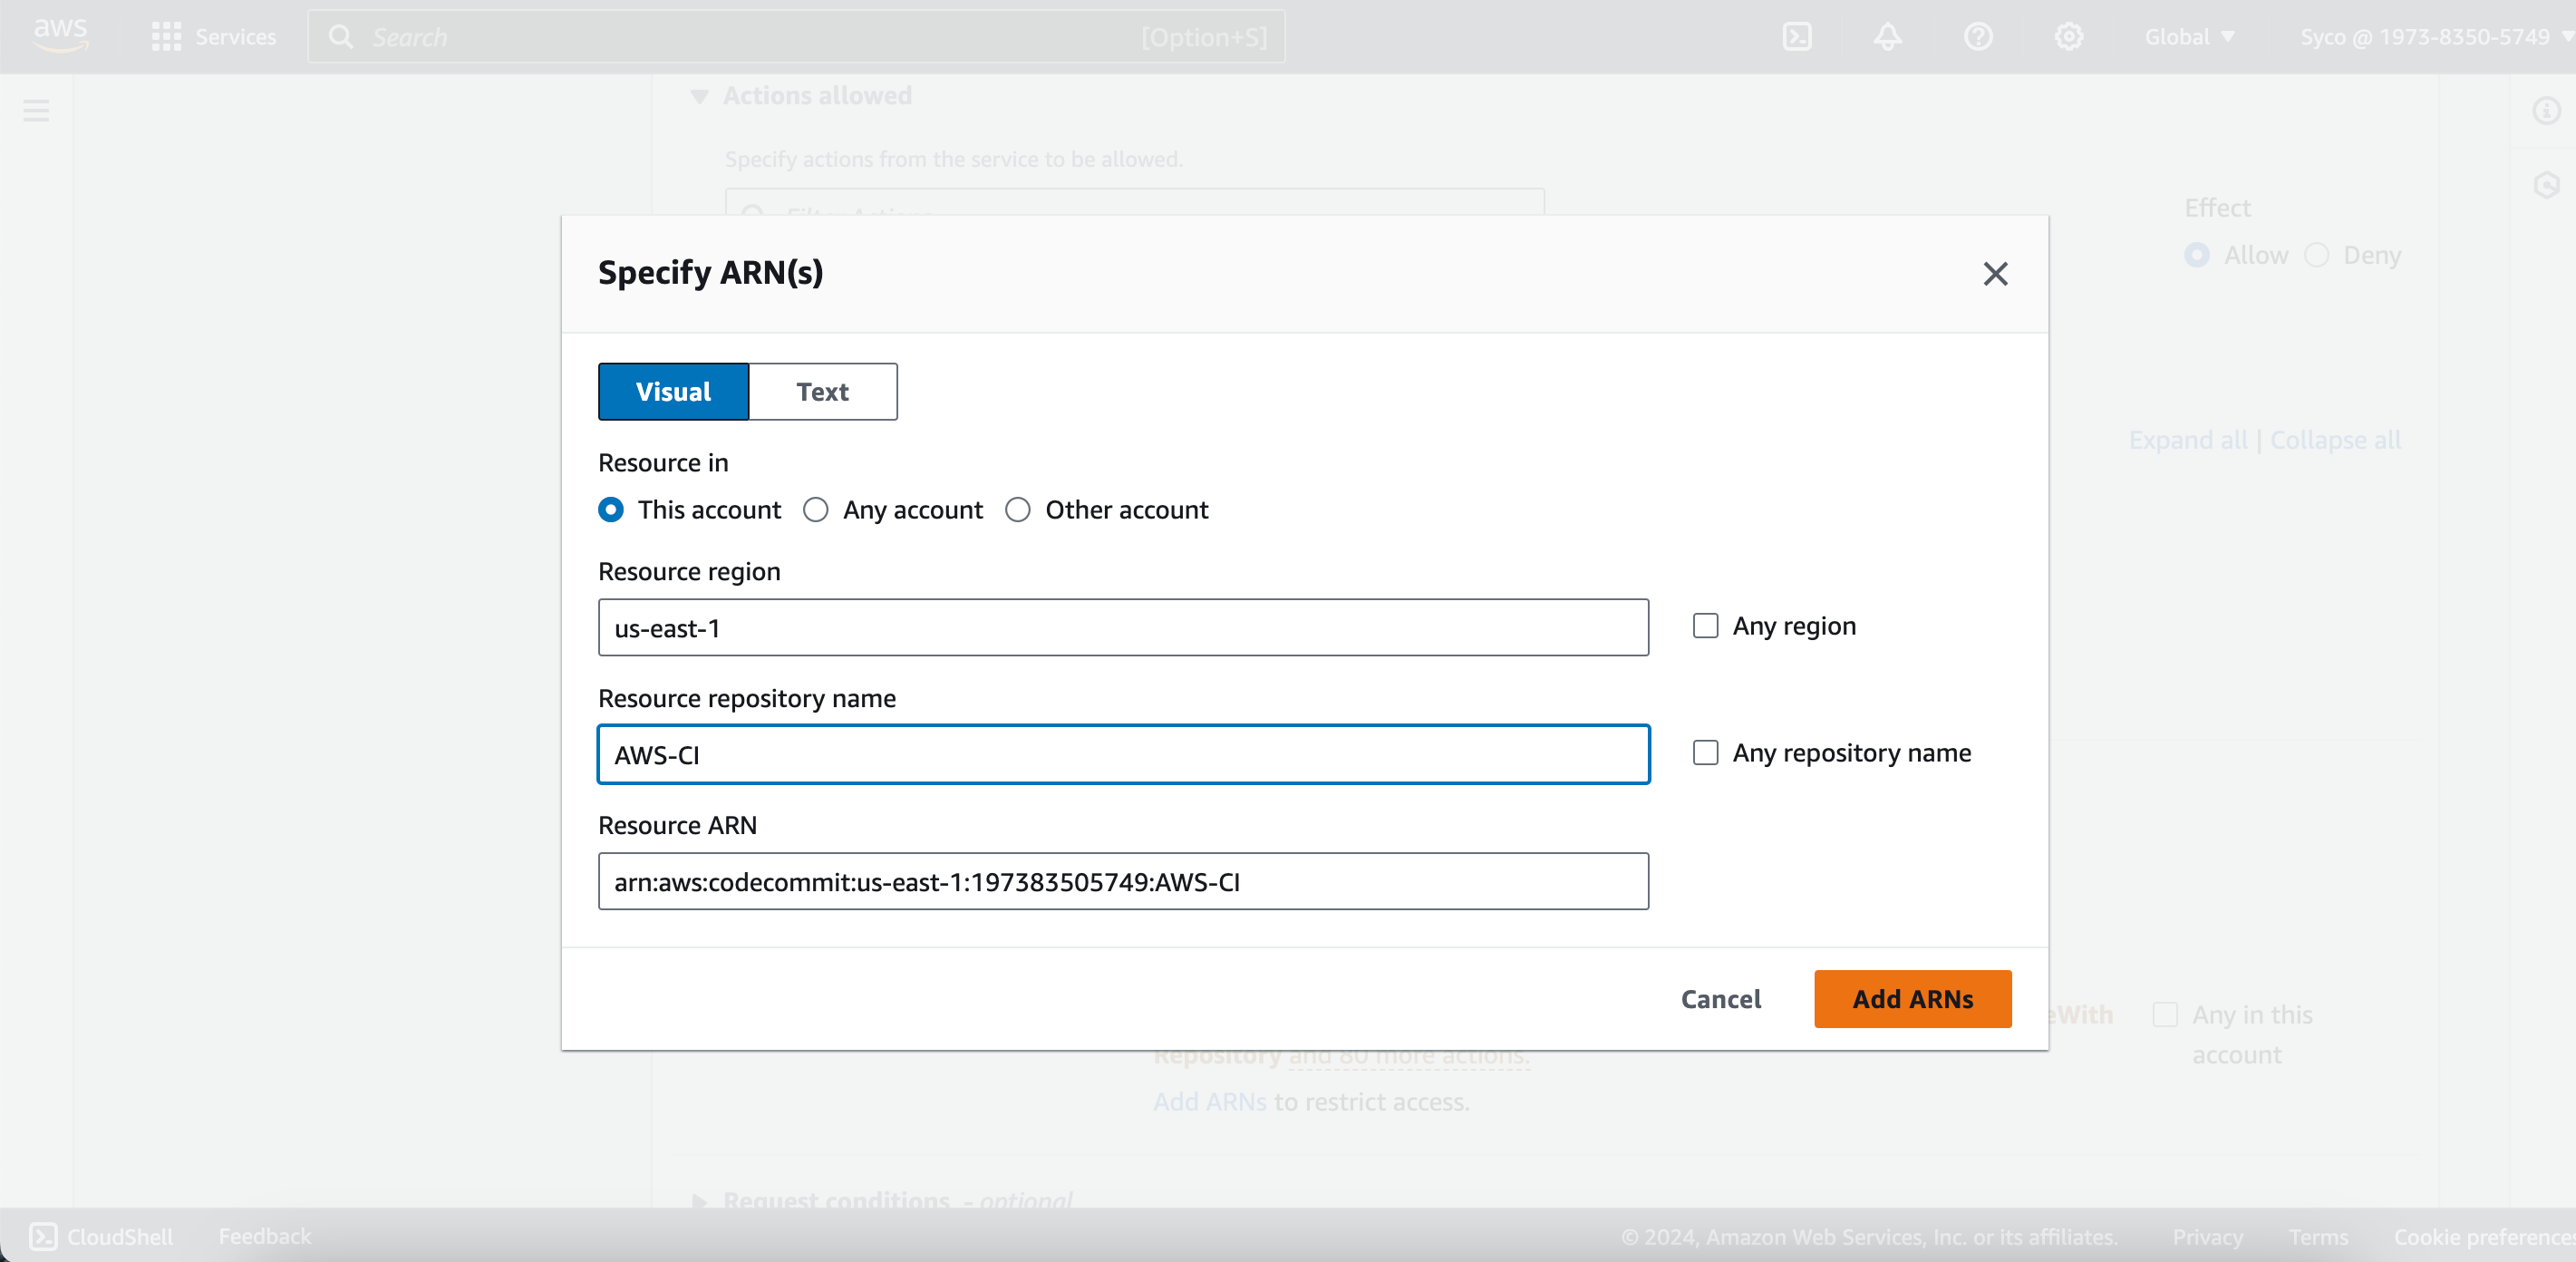
- Under “Resource In,” select “this account,” input your Region code (e.g., us-east-1 for N. Virginia), provide the Repository name, and click on “add ARNs.”
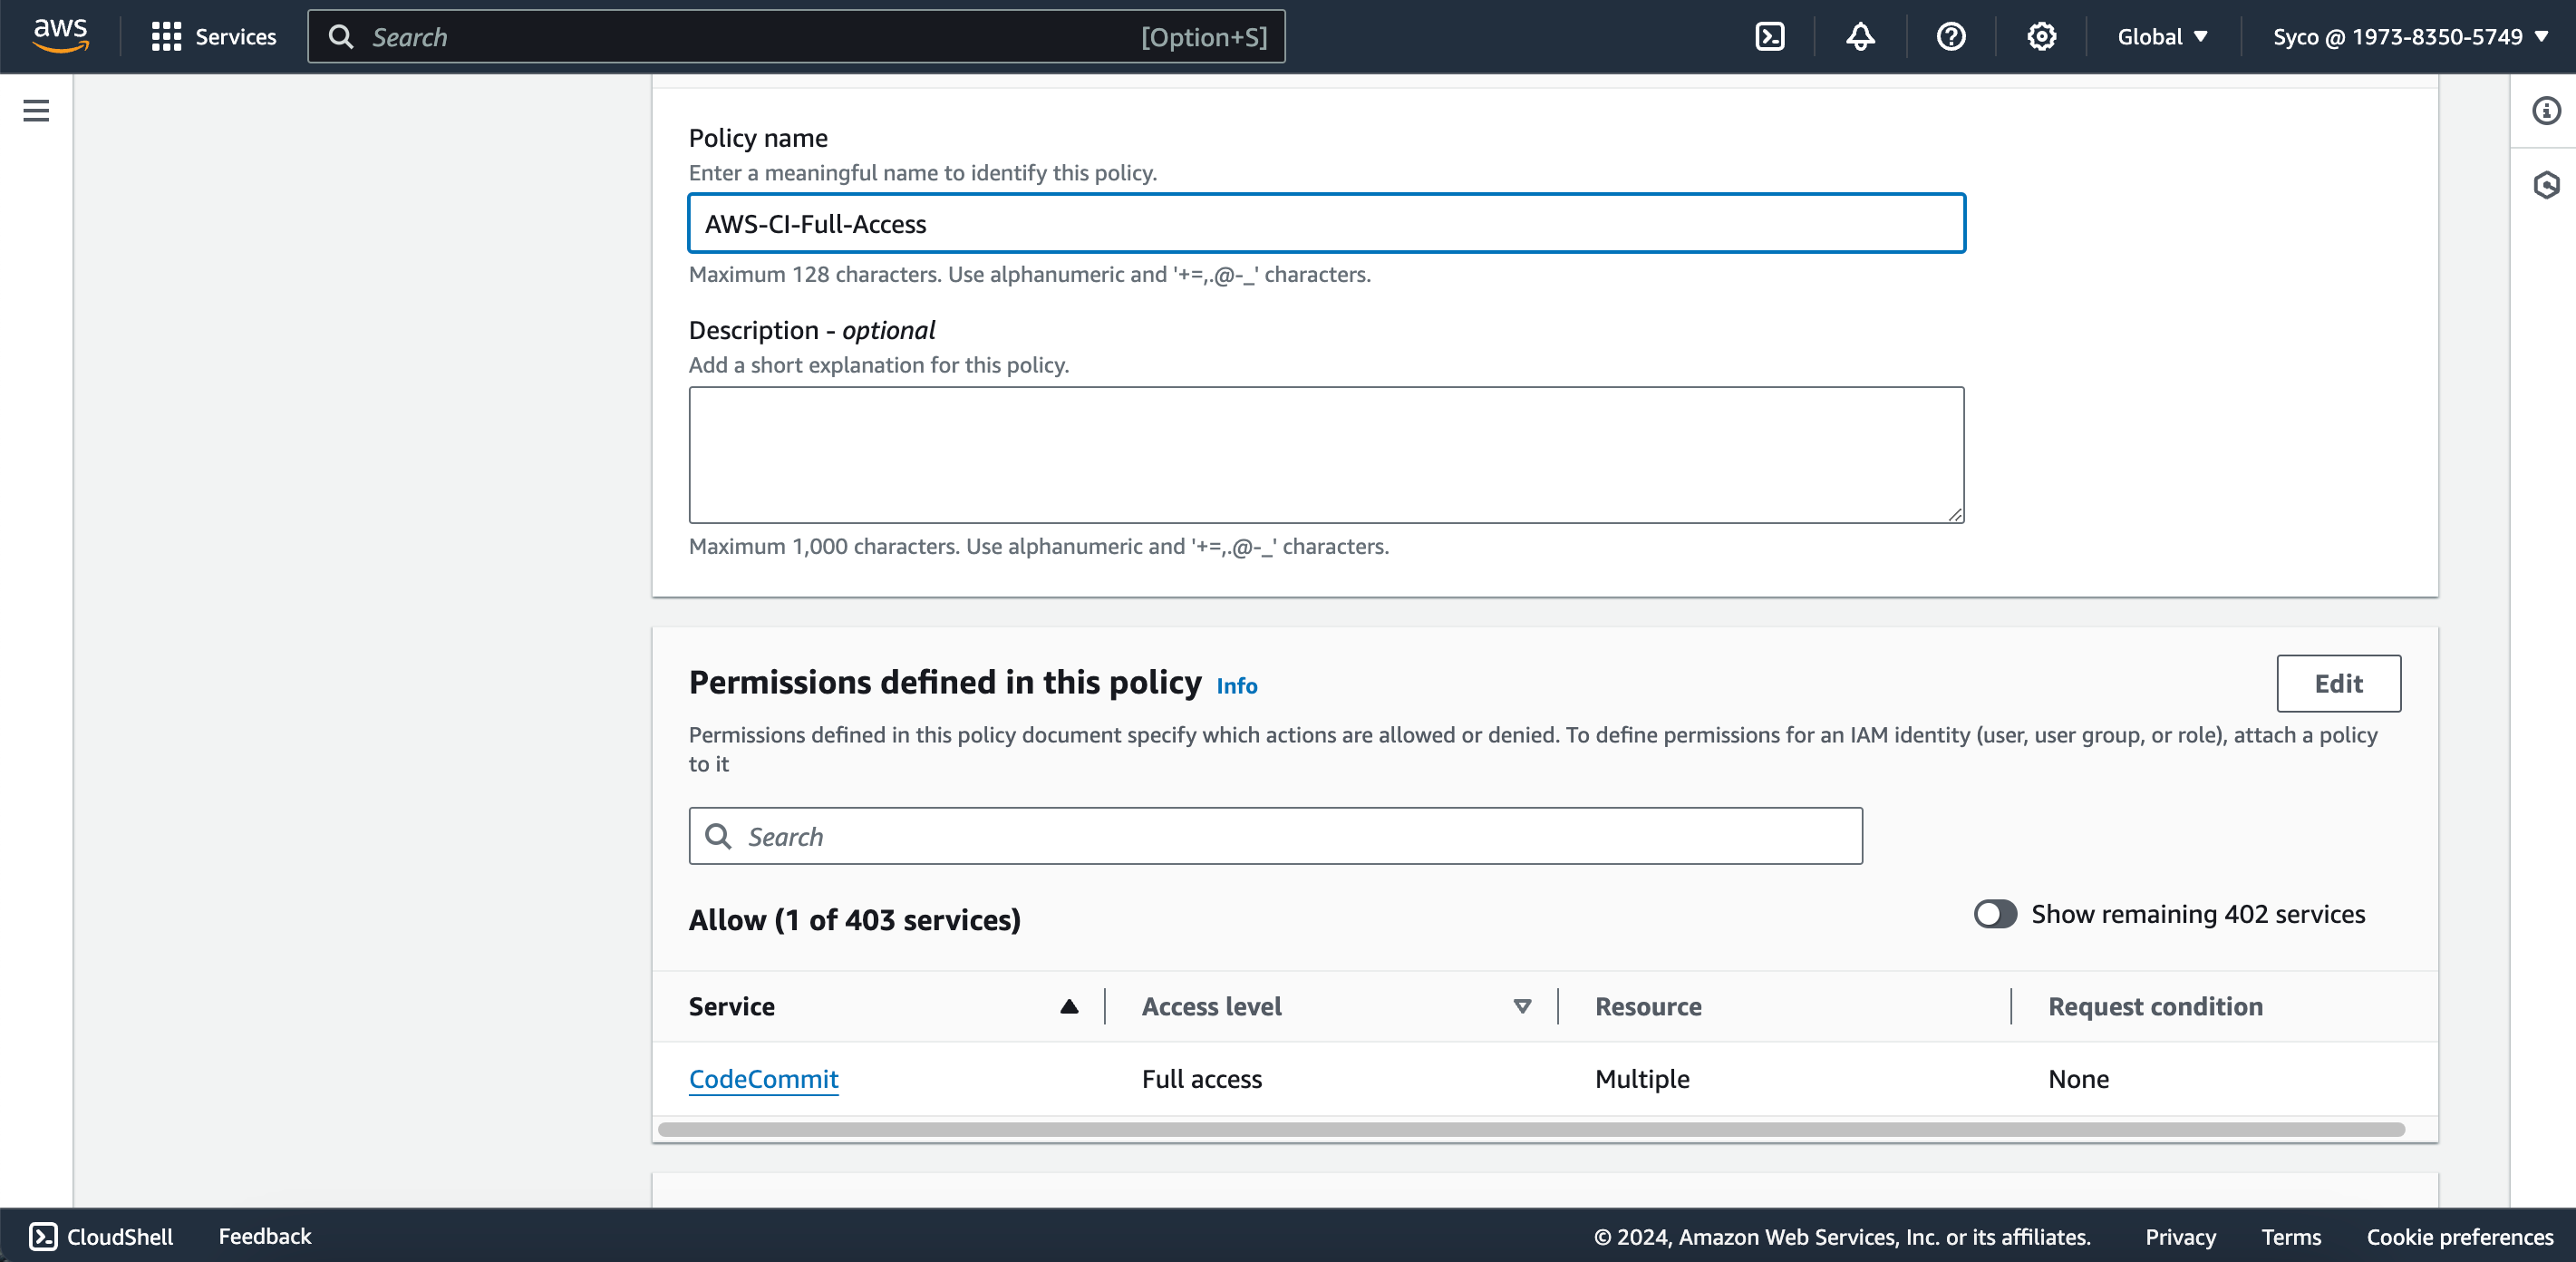
- Give the policy a descriptive name (e.g., AWS-CI-Full-Access) and click on “create policy.” Return to the IAM tab, refresh the page, search for and select the newly created policy, then click on next and create the user.
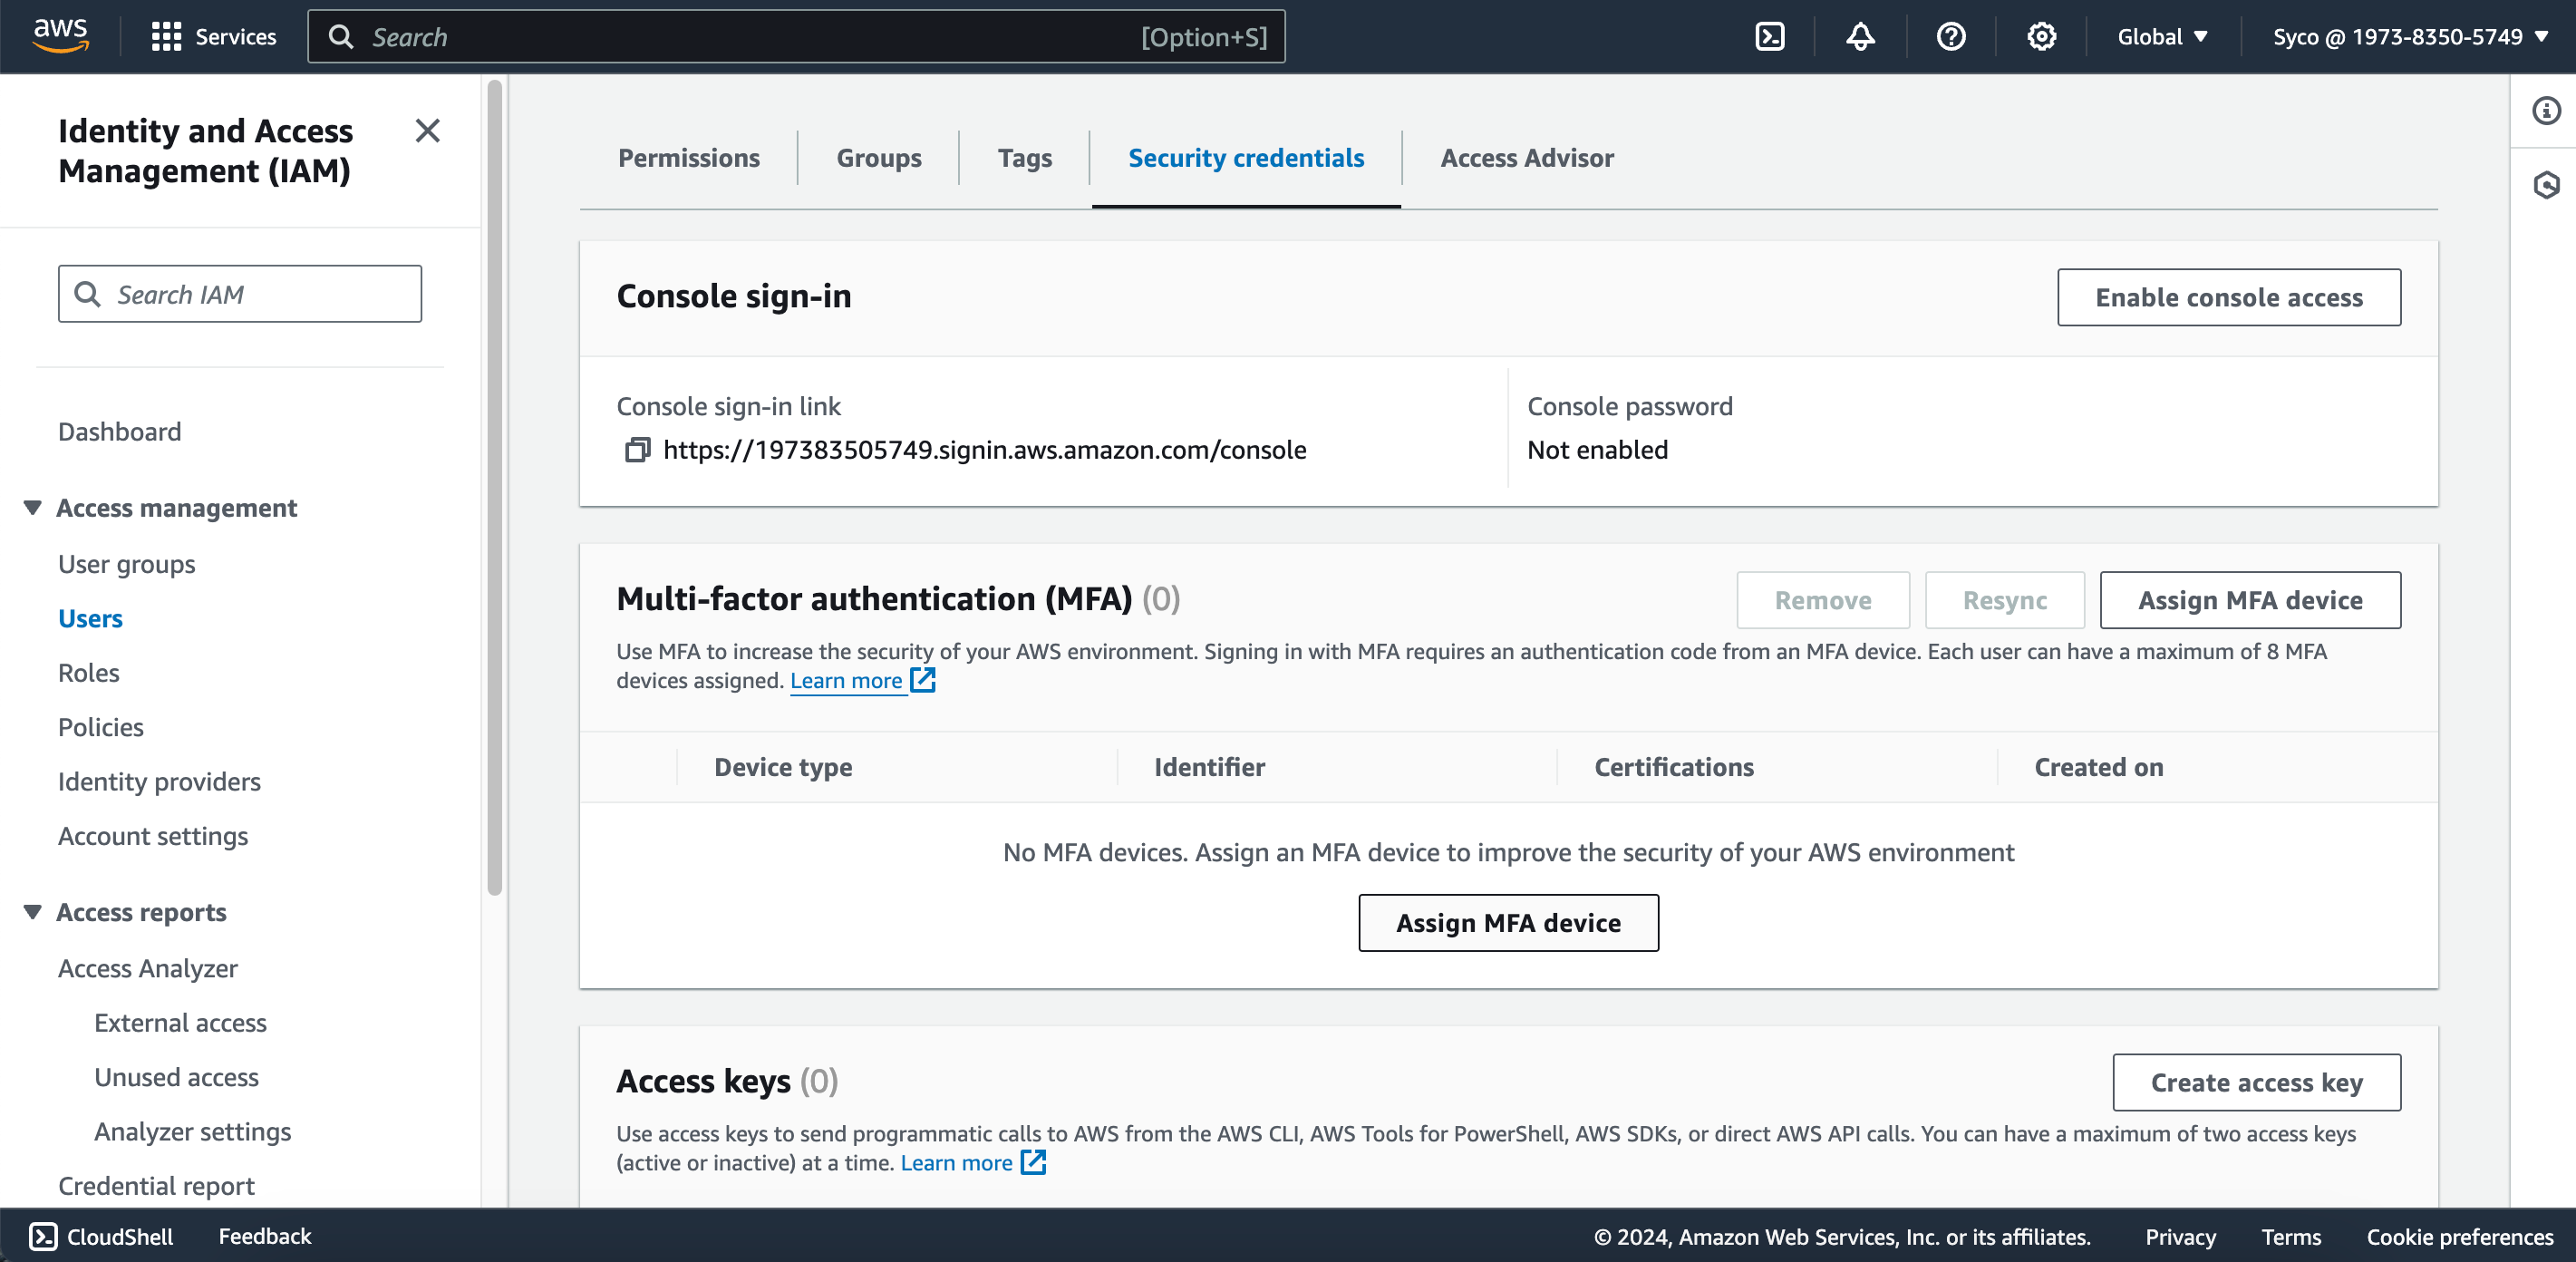
- Open the user and navigate to the security credentials tab.
- Scroll down and click on “create access key.”
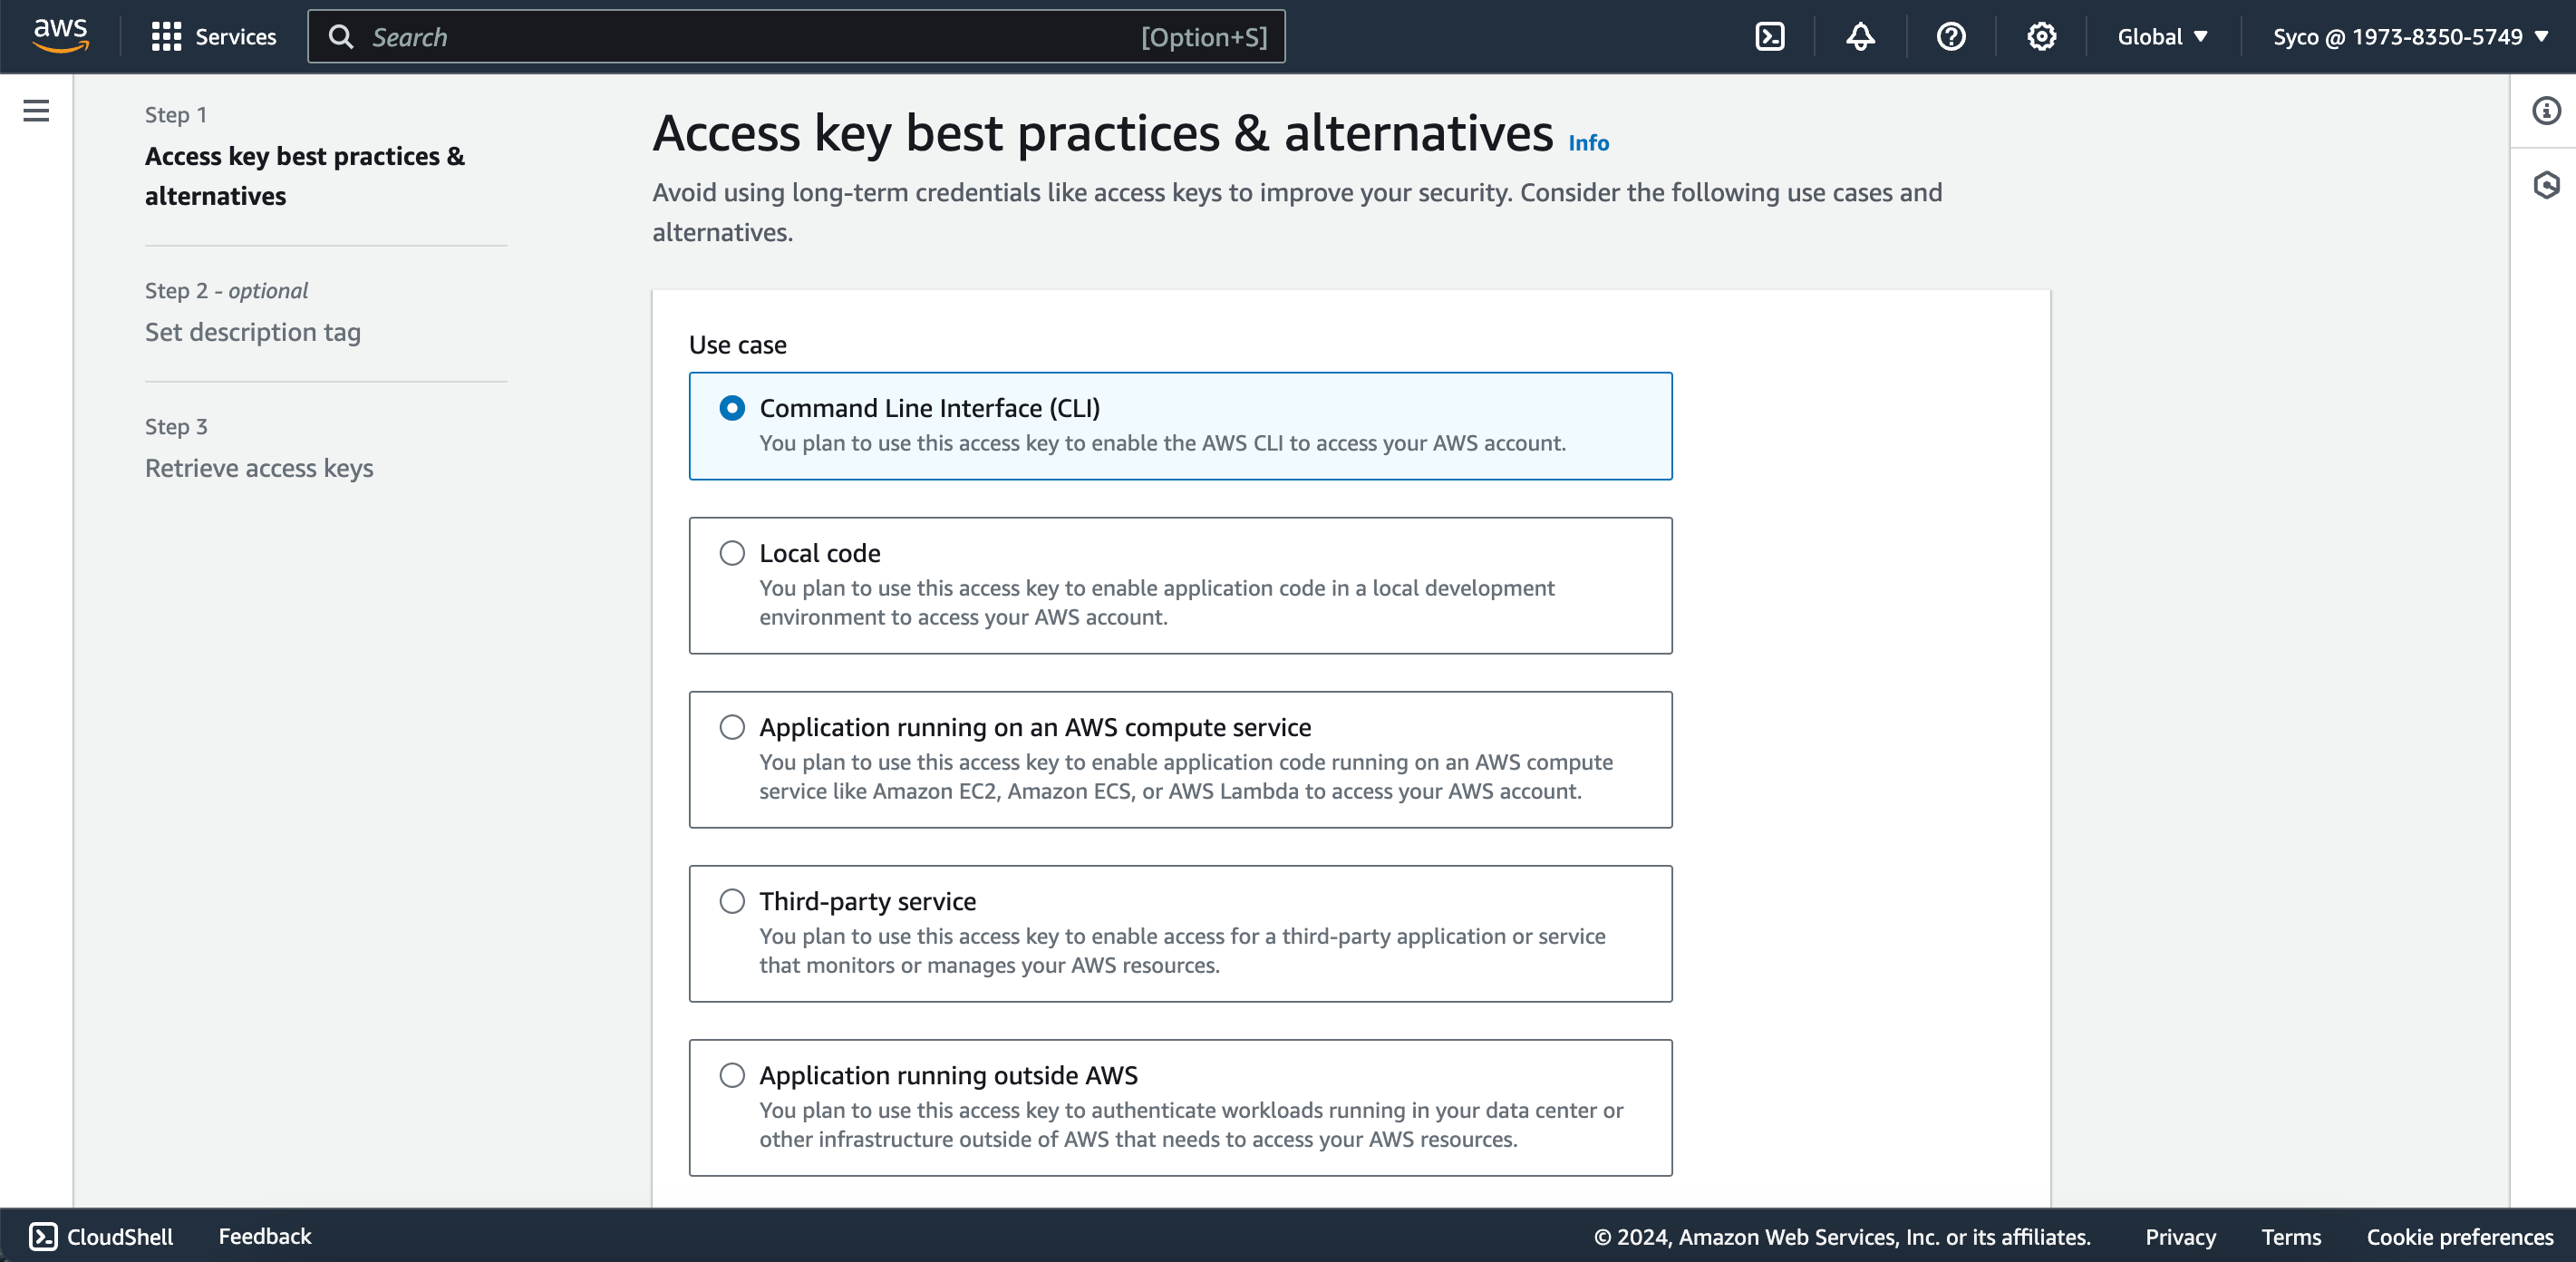
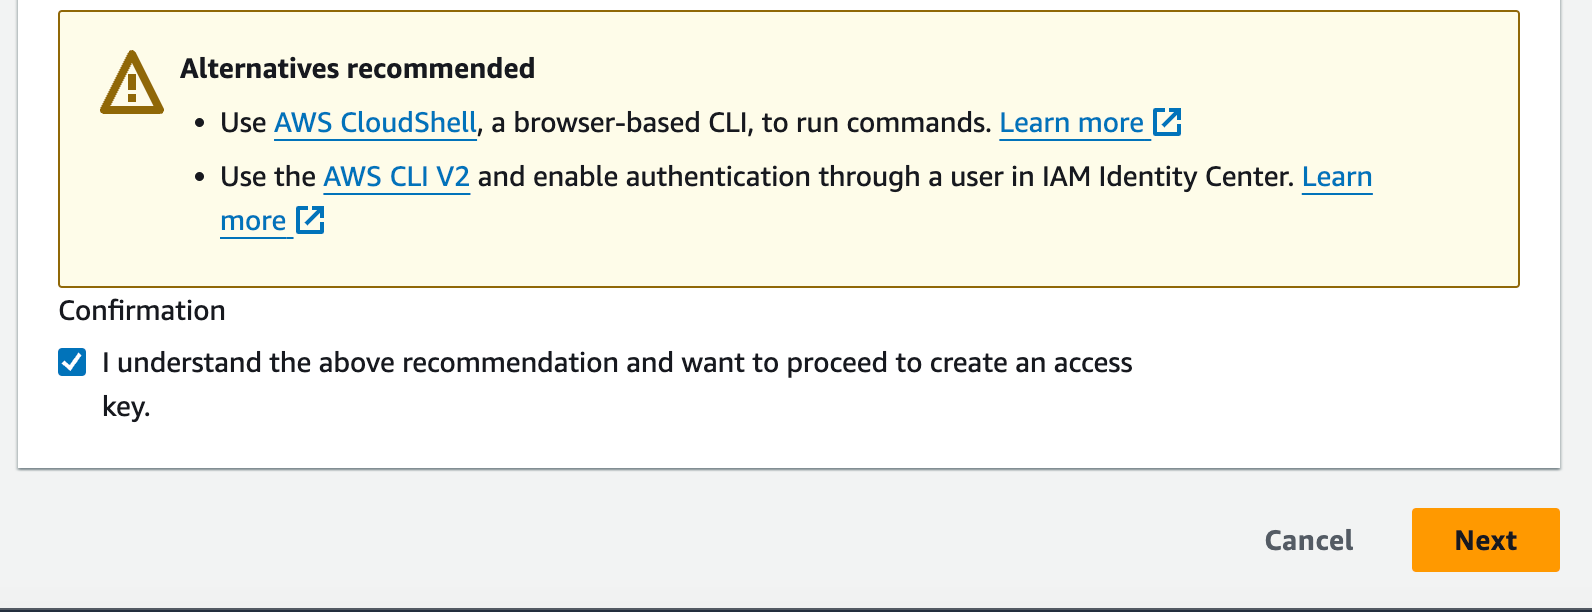
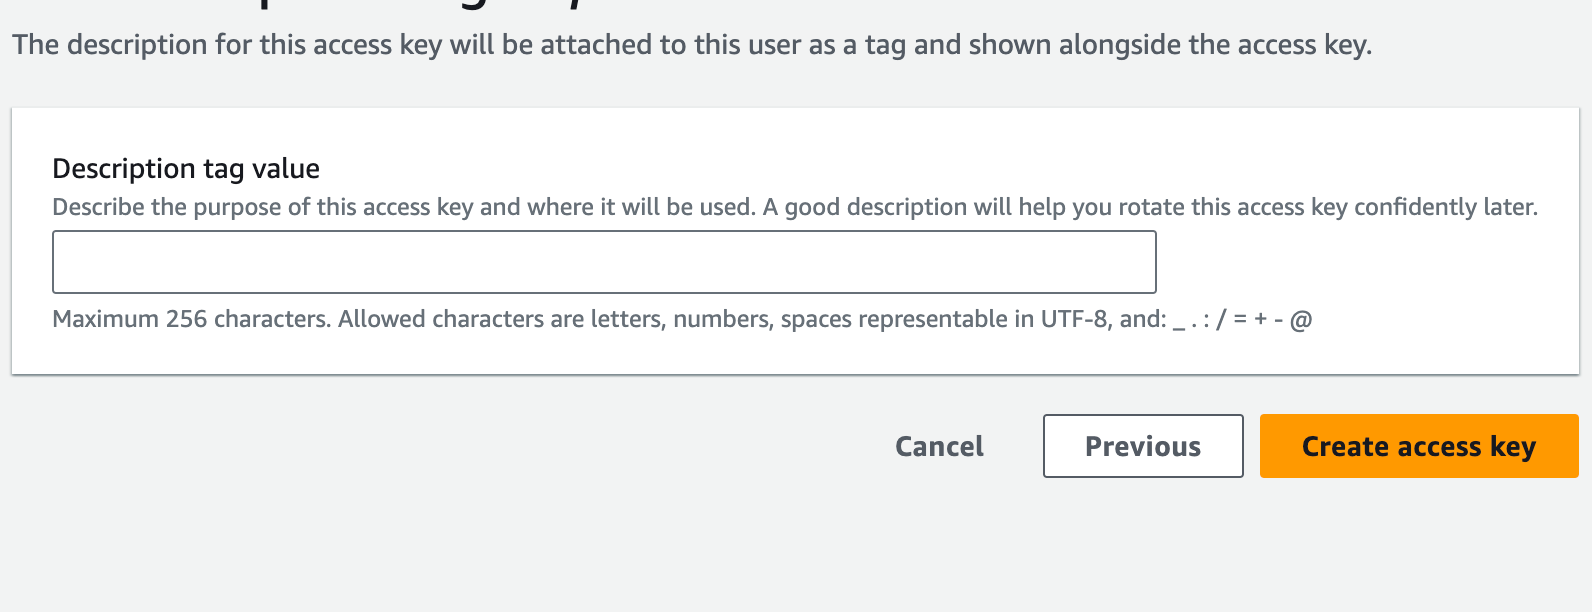
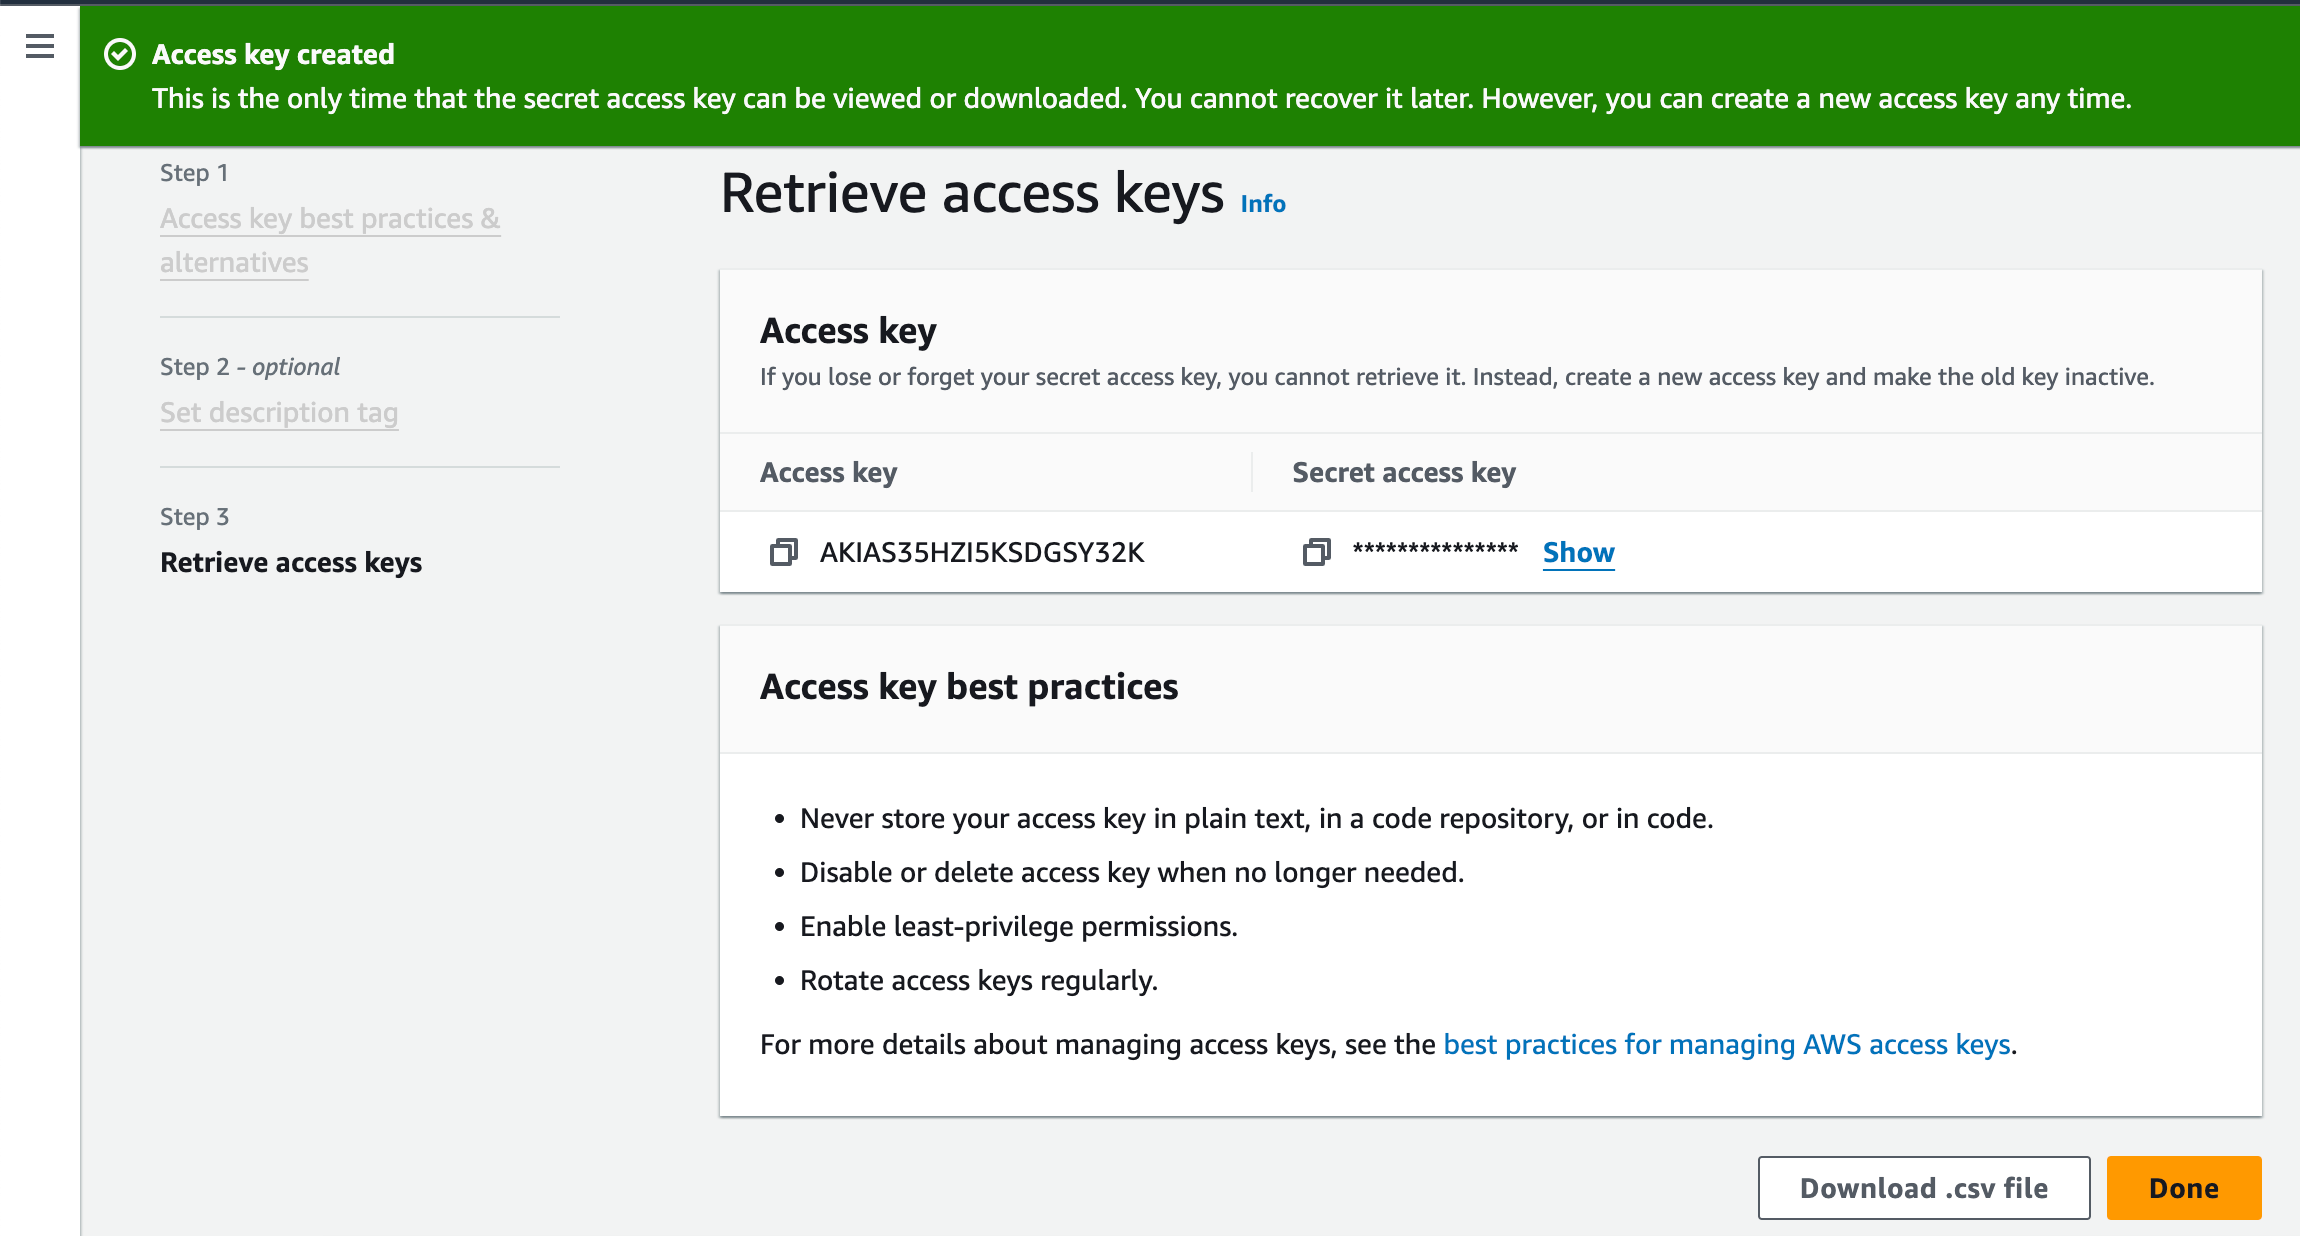
- Select “CLI,” confirm your choice, and create the access key. Download the corresponding .csv file for your records.
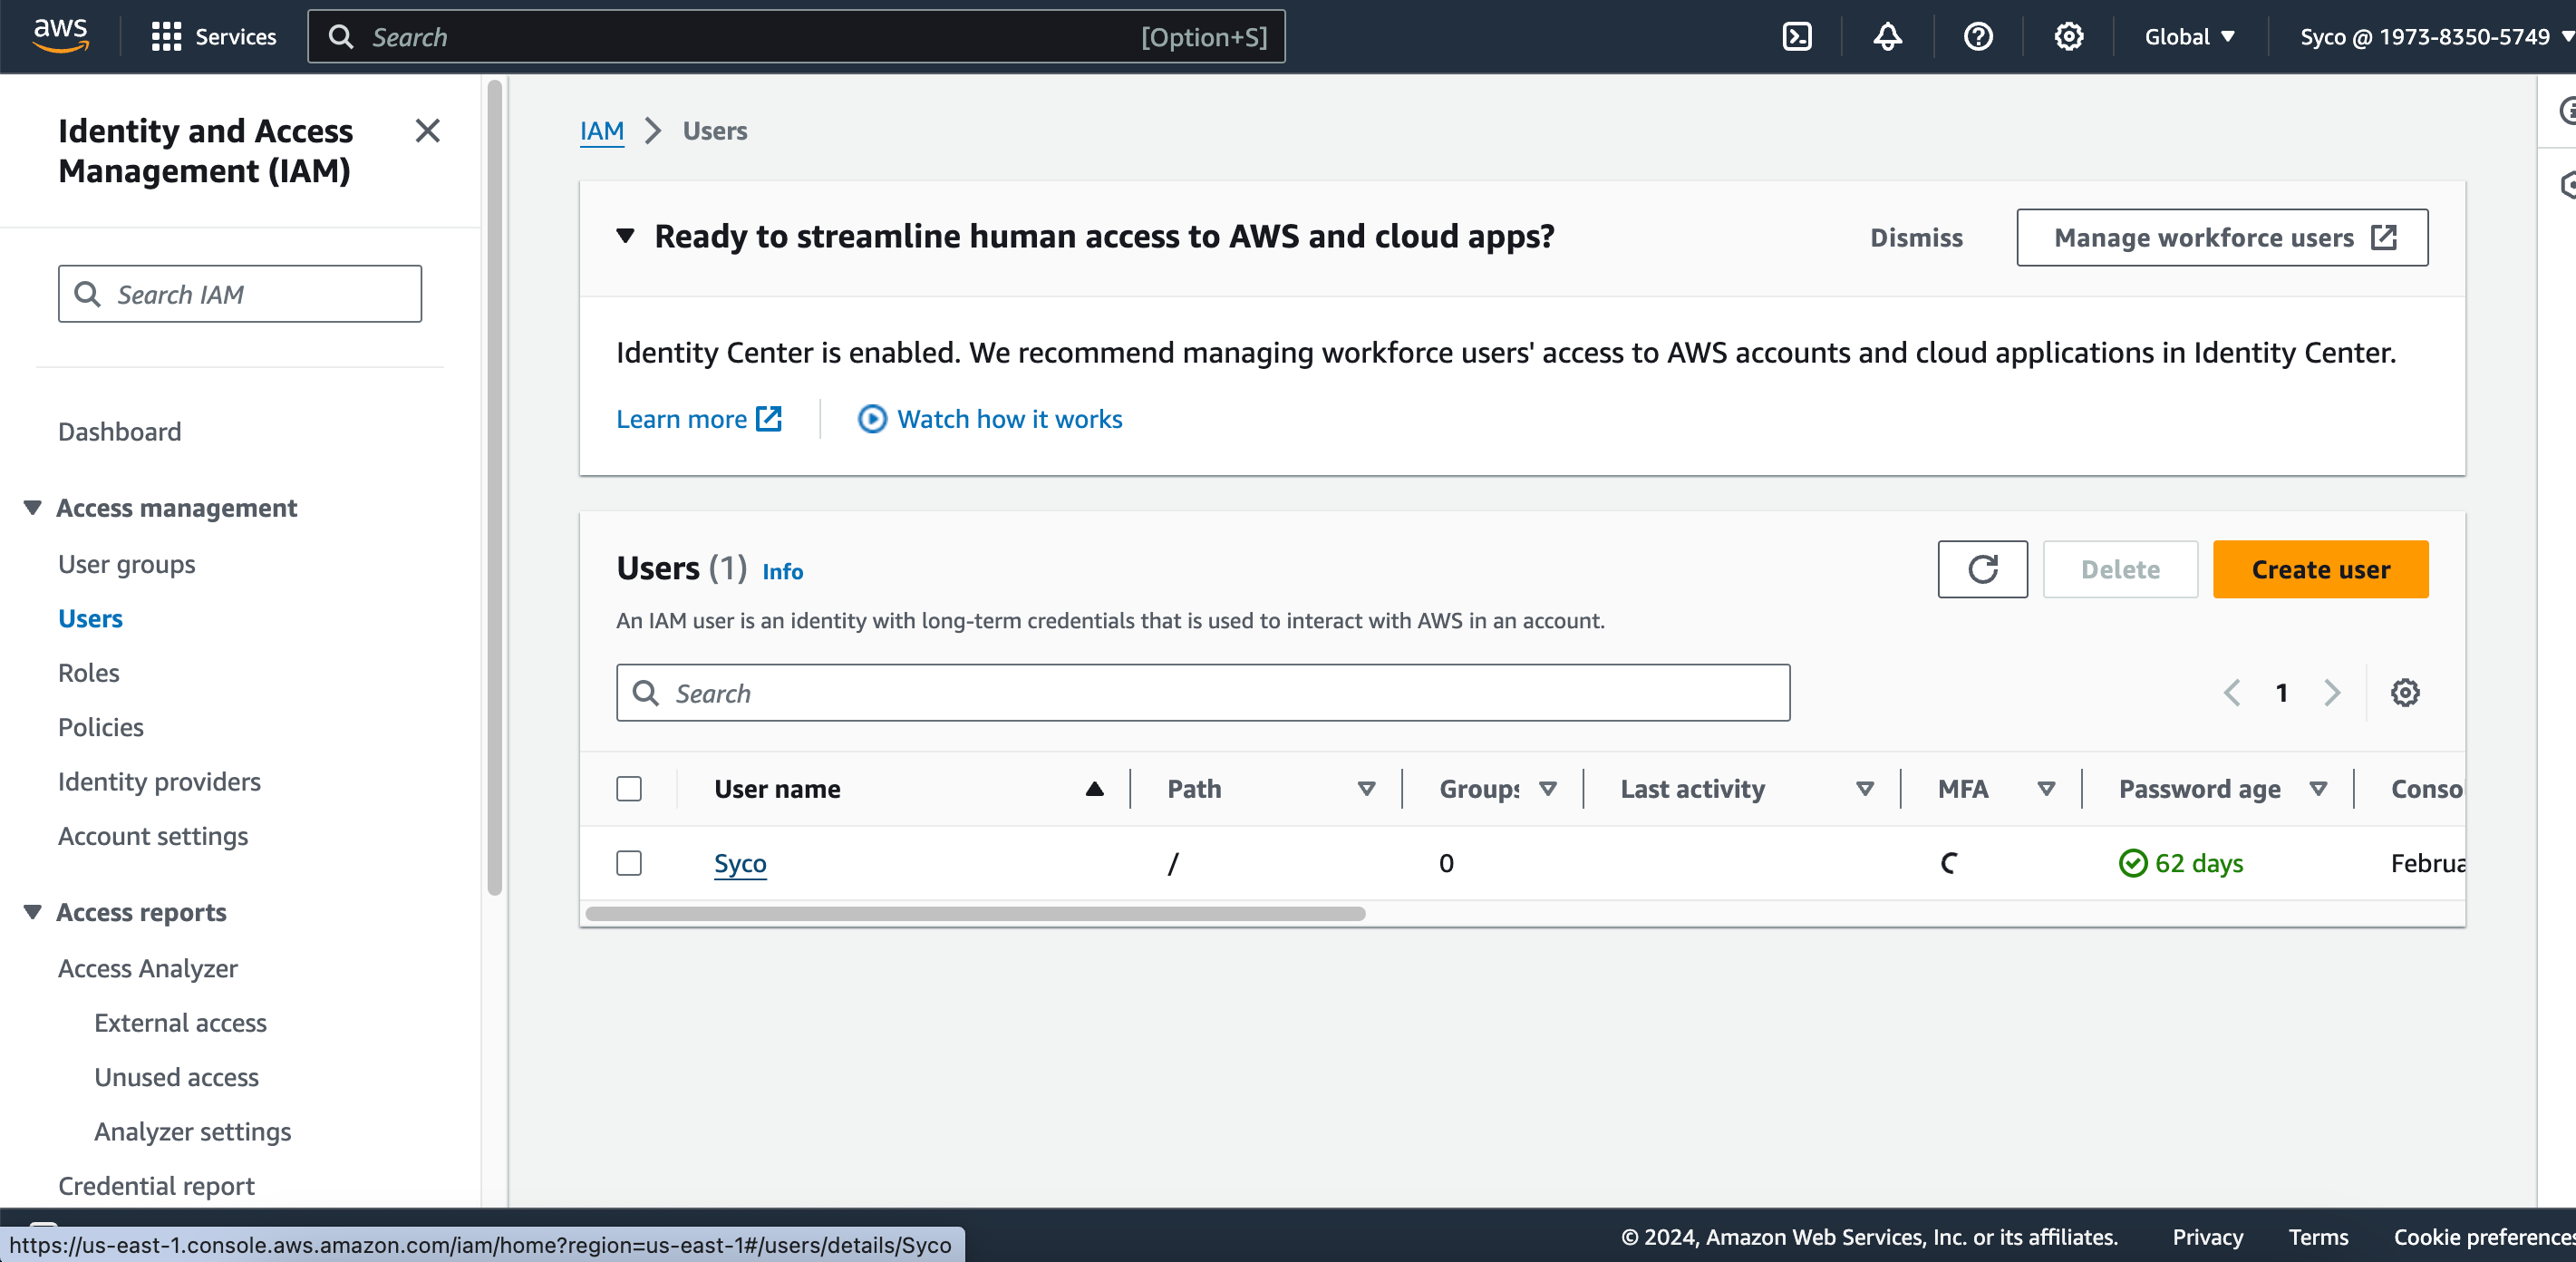
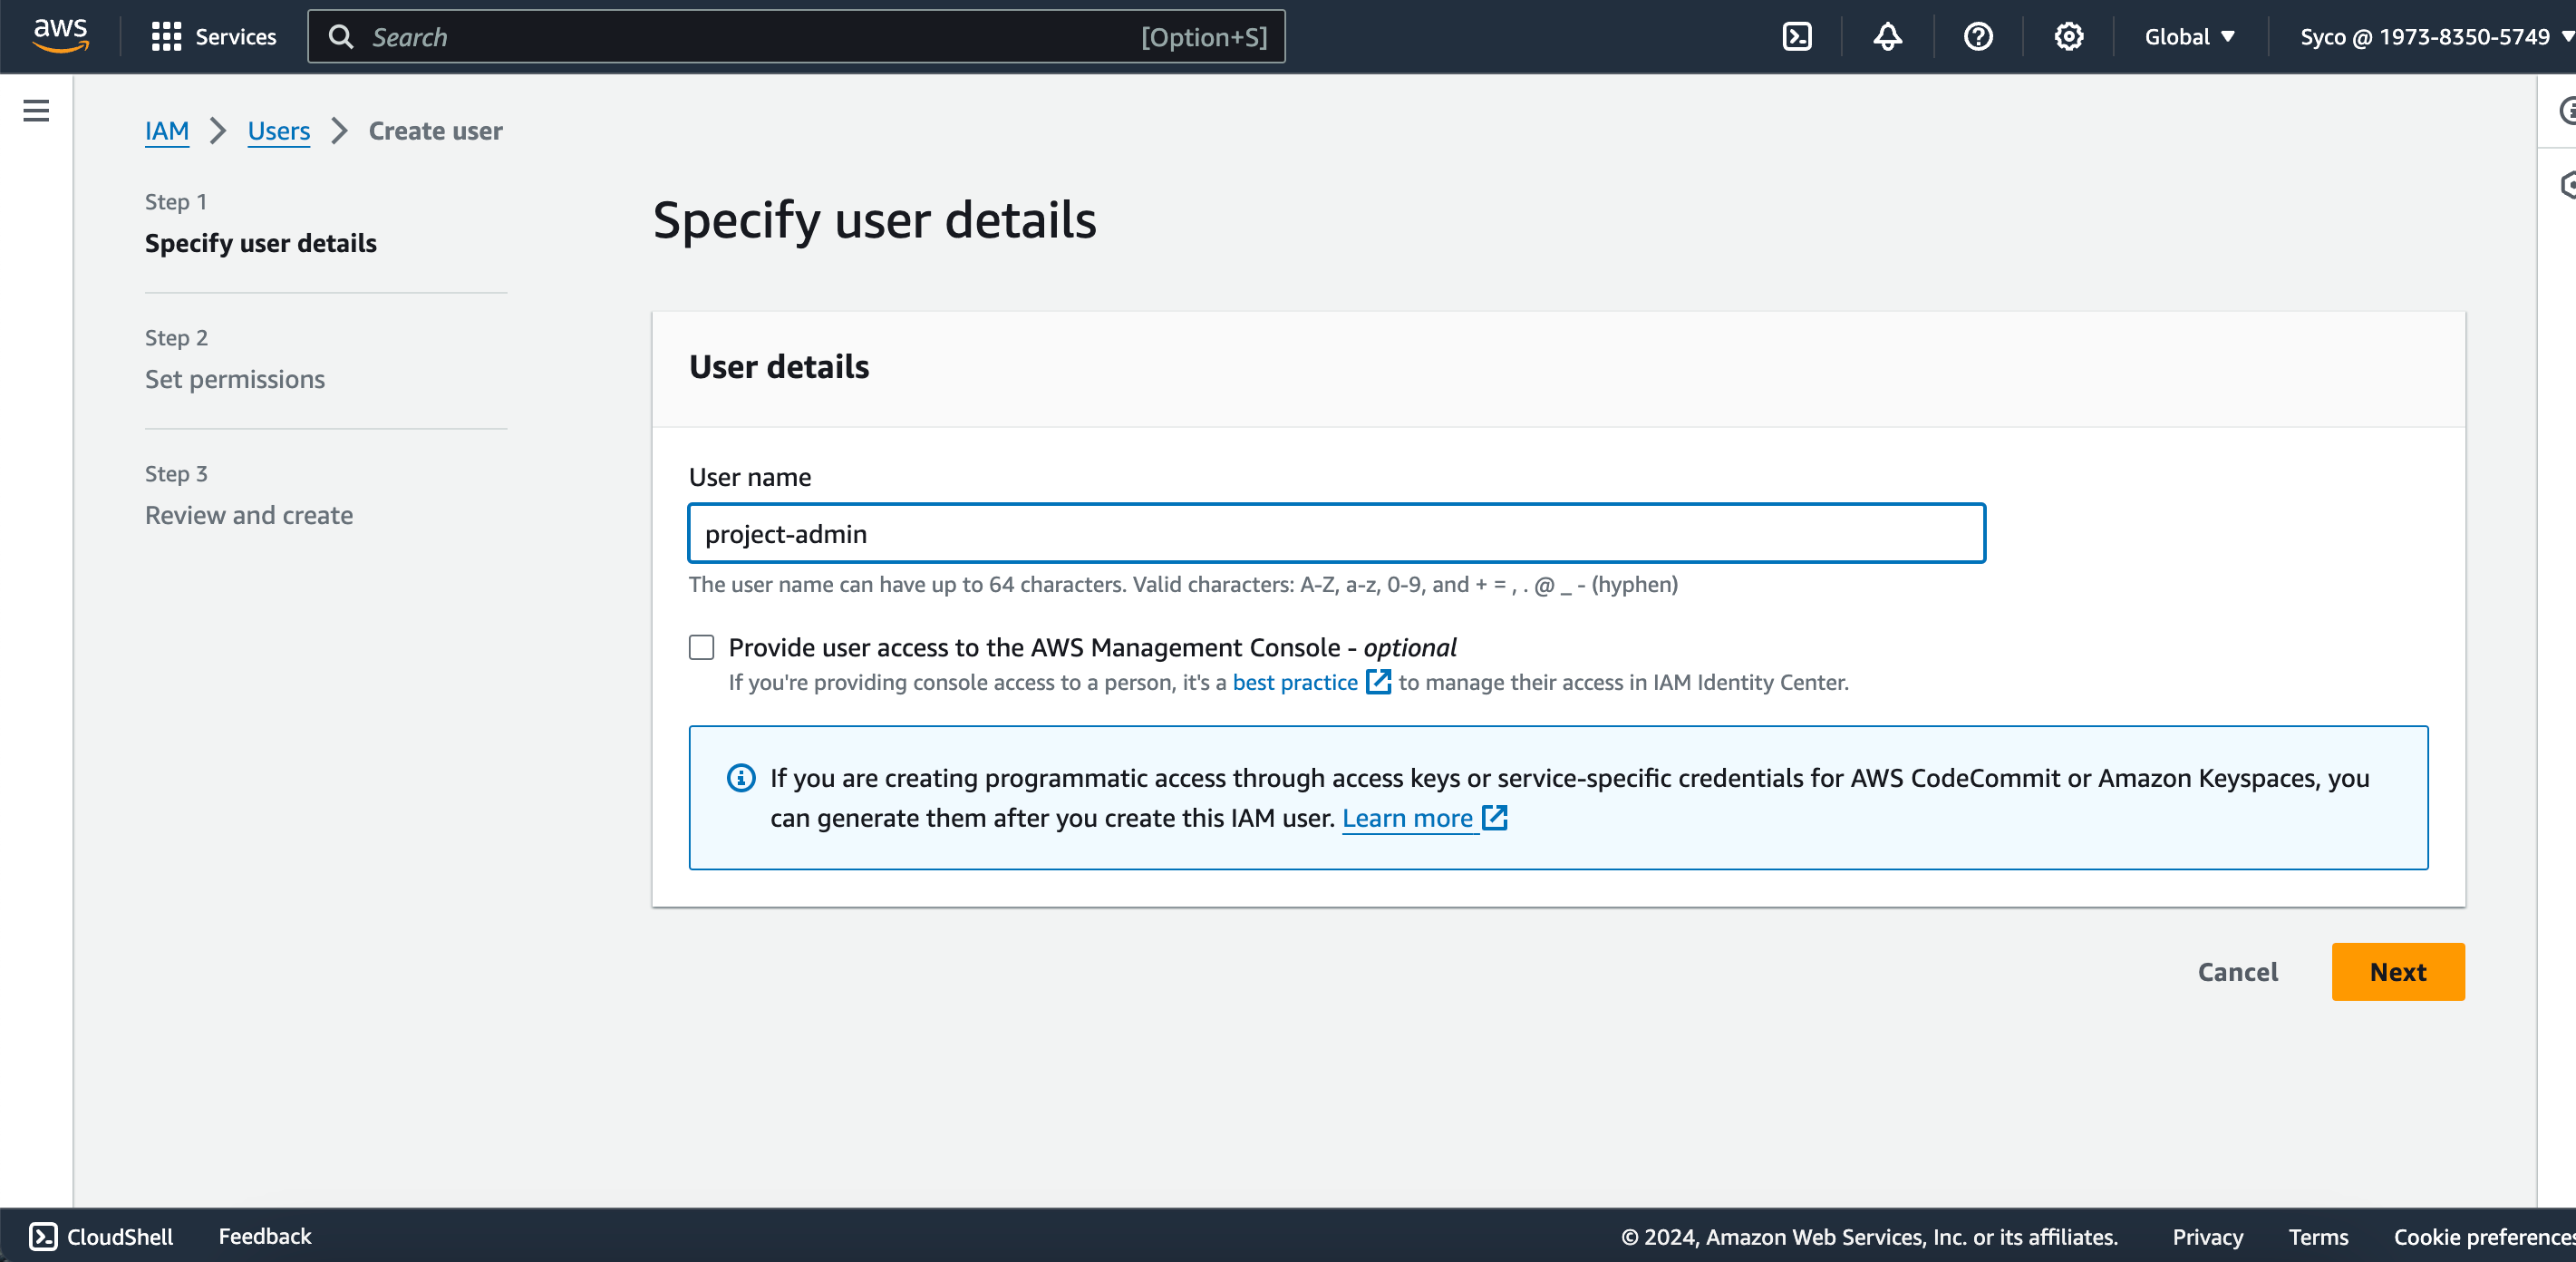
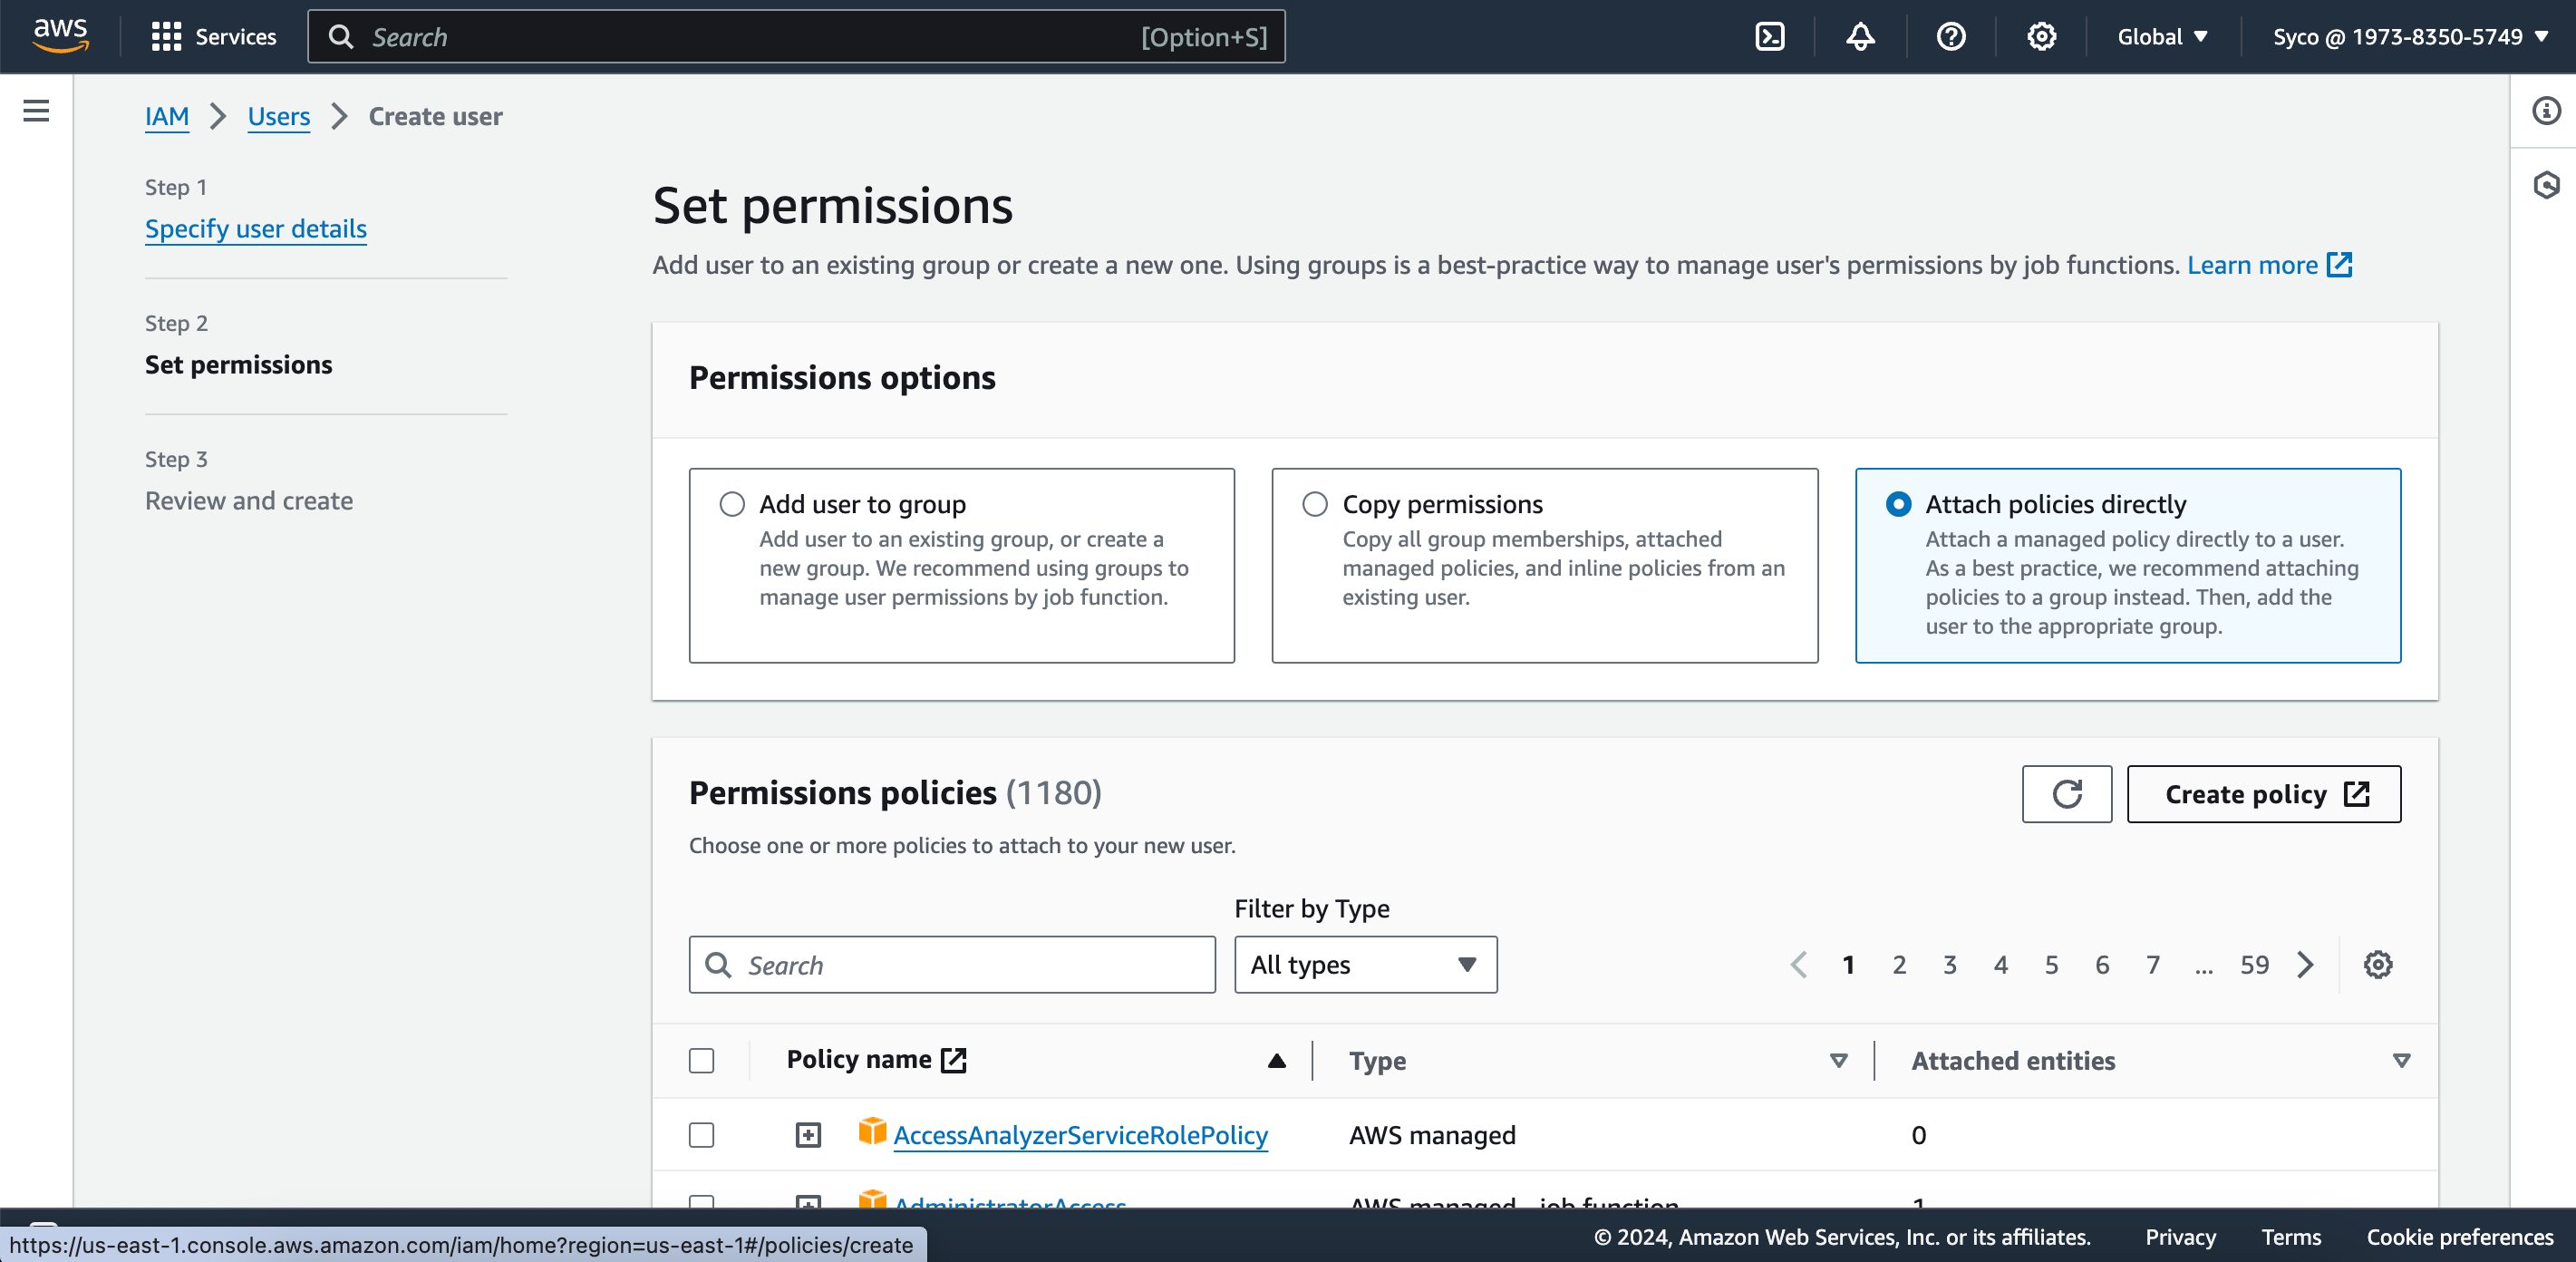
- SSH Authentication for CodeCommit Repository: Implement SSH authentication to enhance the security of your CodeCommit repository. To do this;
- Open terminal or gitbash depending on your OS, make sure you have installed AWS CLI else click here. Open the .csv file downloaded from the previous step, on your terminal run the command below and provide the necessary attributes required;
aws configure

AWS ACCESS KEY ID: <input from .csv file>
AWS SECRET ACCESS KEY: <input from .csv file>
Default region name: <give the region>
Default output format: json
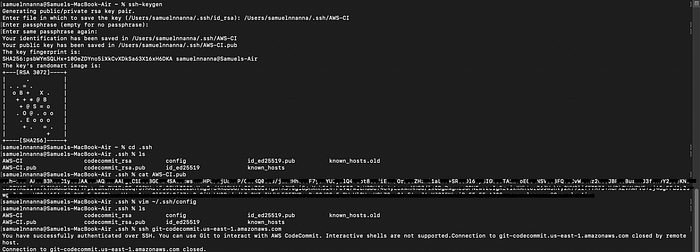
2. Afterwards, generate you ssh key using this command
ssh-keygen
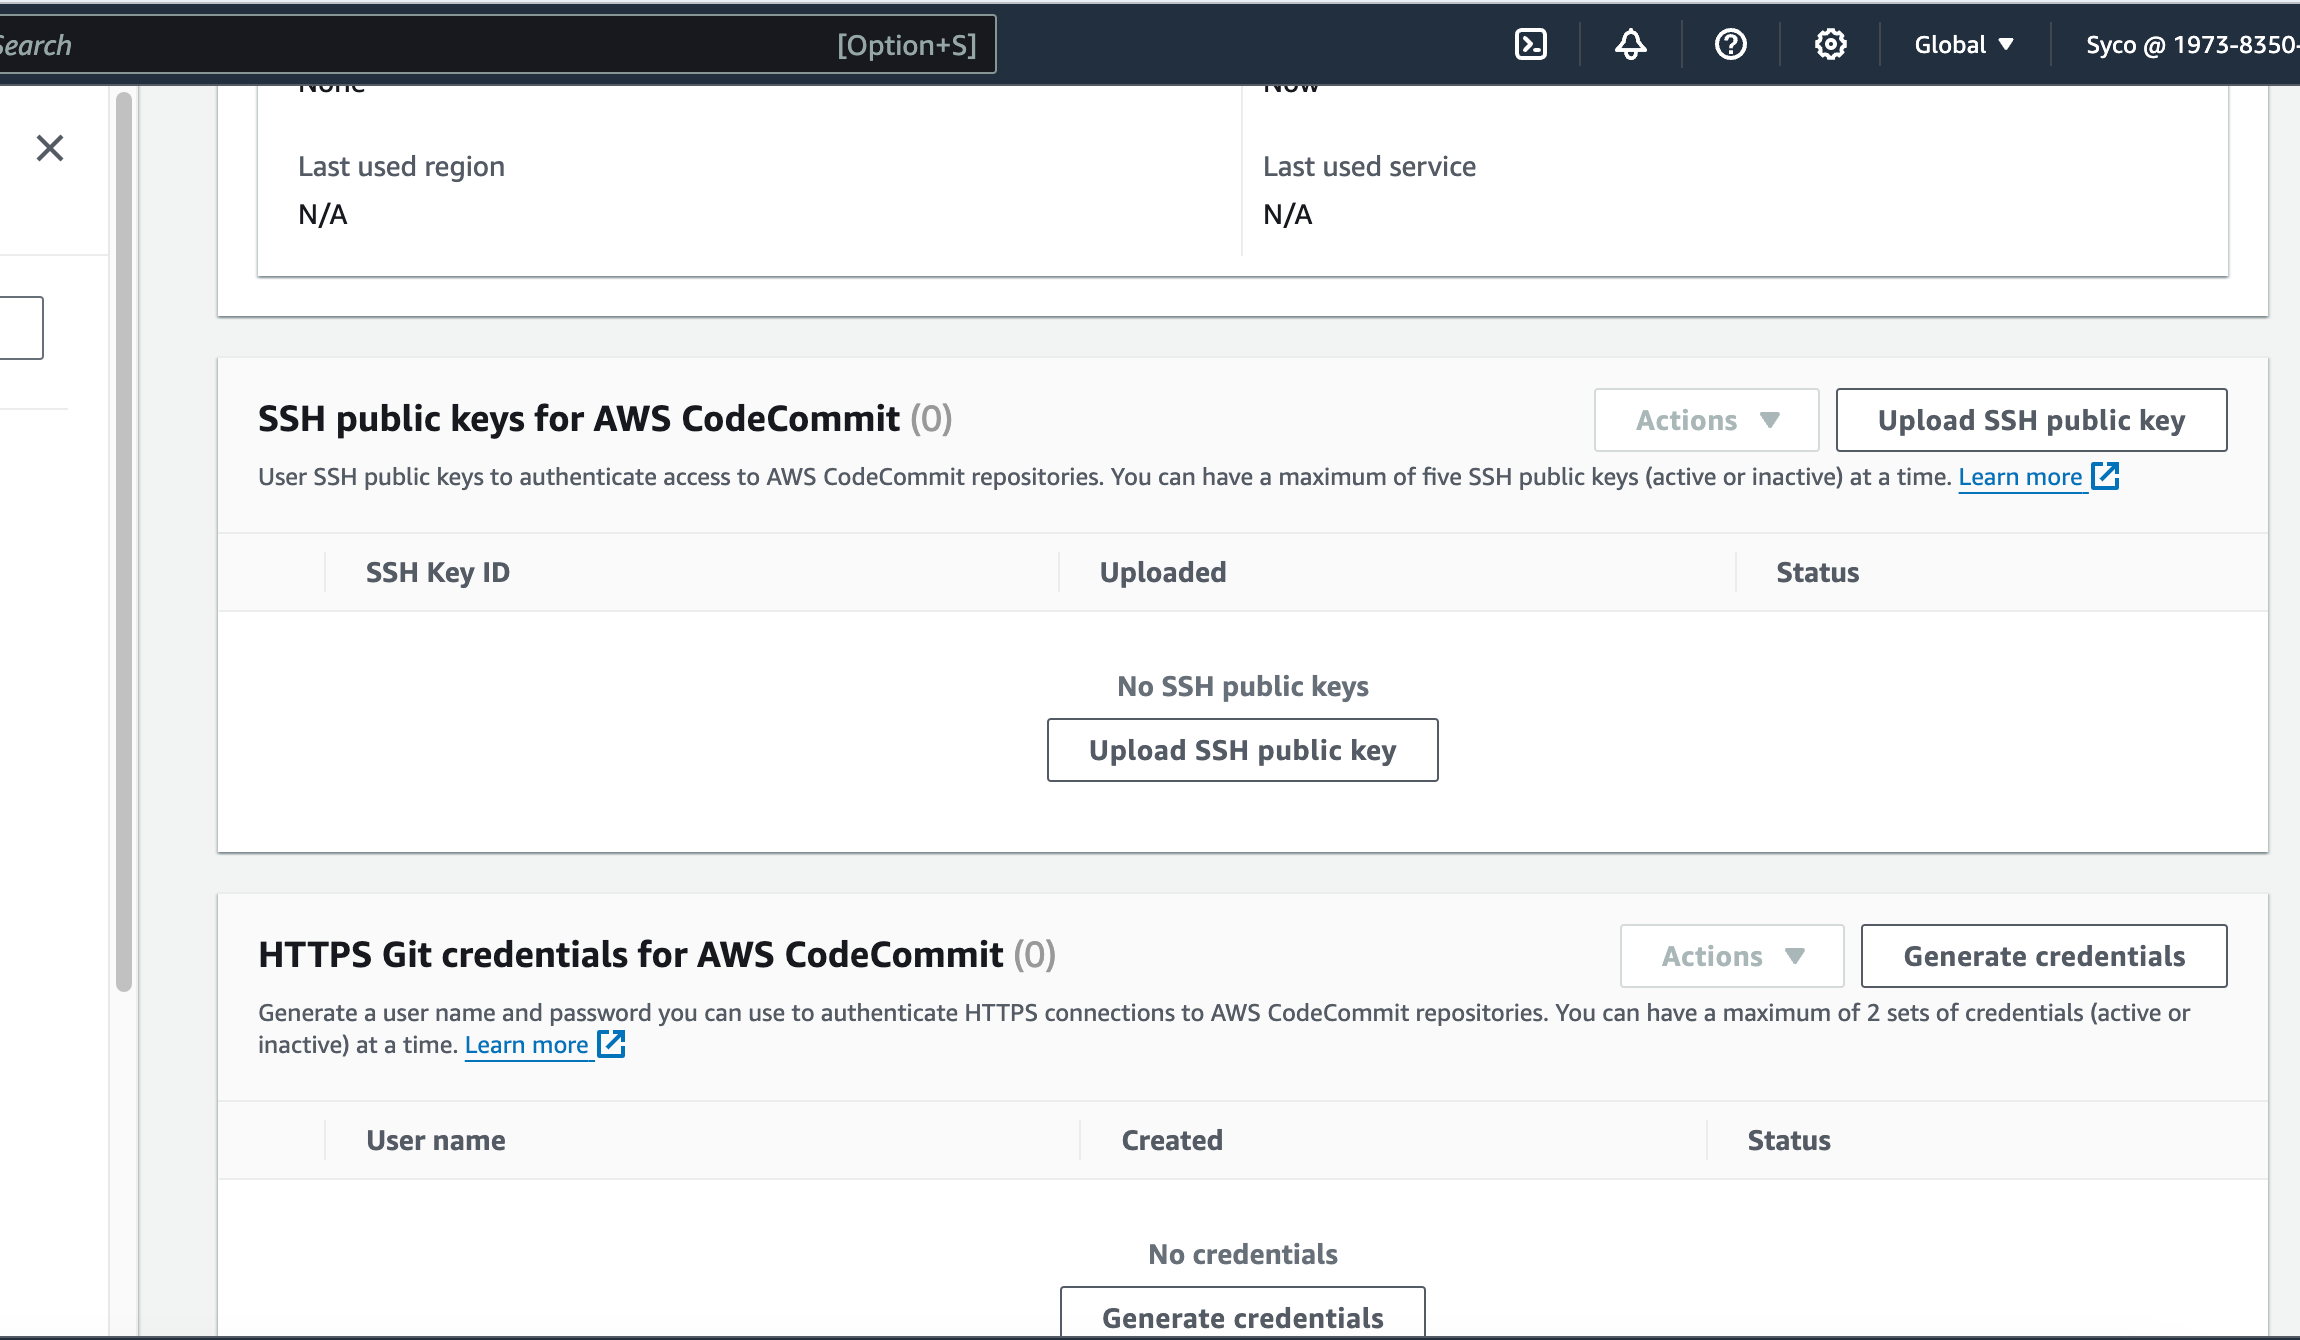
3. Copy the public key, go the IAM user account, under “SSH public key for AWS CodeCommit”, click on “upload SSH public key” then paste the public key. NB. to view your public, on your terminal run this command;
cat <path to public key>4. We need to create a config file so that while access CodeCommit, the generated keys will be used. To do this, on the directory where the keys are saved, run the commands
vim config

insert the text below into the file

Host git-codecommit.*.amazonaws.com
User <ssh key id>
IdentityFile <directory of your private key>

to test the connection
ssh git-codecommit.<regionname>.amazonaws.com



- Migrate the Vprofile-project Repository from GitHub to CodeCommit: Seamlessly transition your existing Vprofile-project repository from GitHub to CodeCommit. This migration centralizes your codebase within AWS. To do this;
- Open your terminal or GitBash and create a Directory eg., ciaws
- Copy the ssh code in the repository “https://github.com/IfeanyiSam/vprofile-project2” and change into the newly created directory, then run the command
git clone git@github.com:IfeanyiSam/vprofile-project2.git3. We have to push all the branches in this repository to our CodeCommit repository. To do this, run the following commands;
cd vprofile-project2 # changes into the repo directory
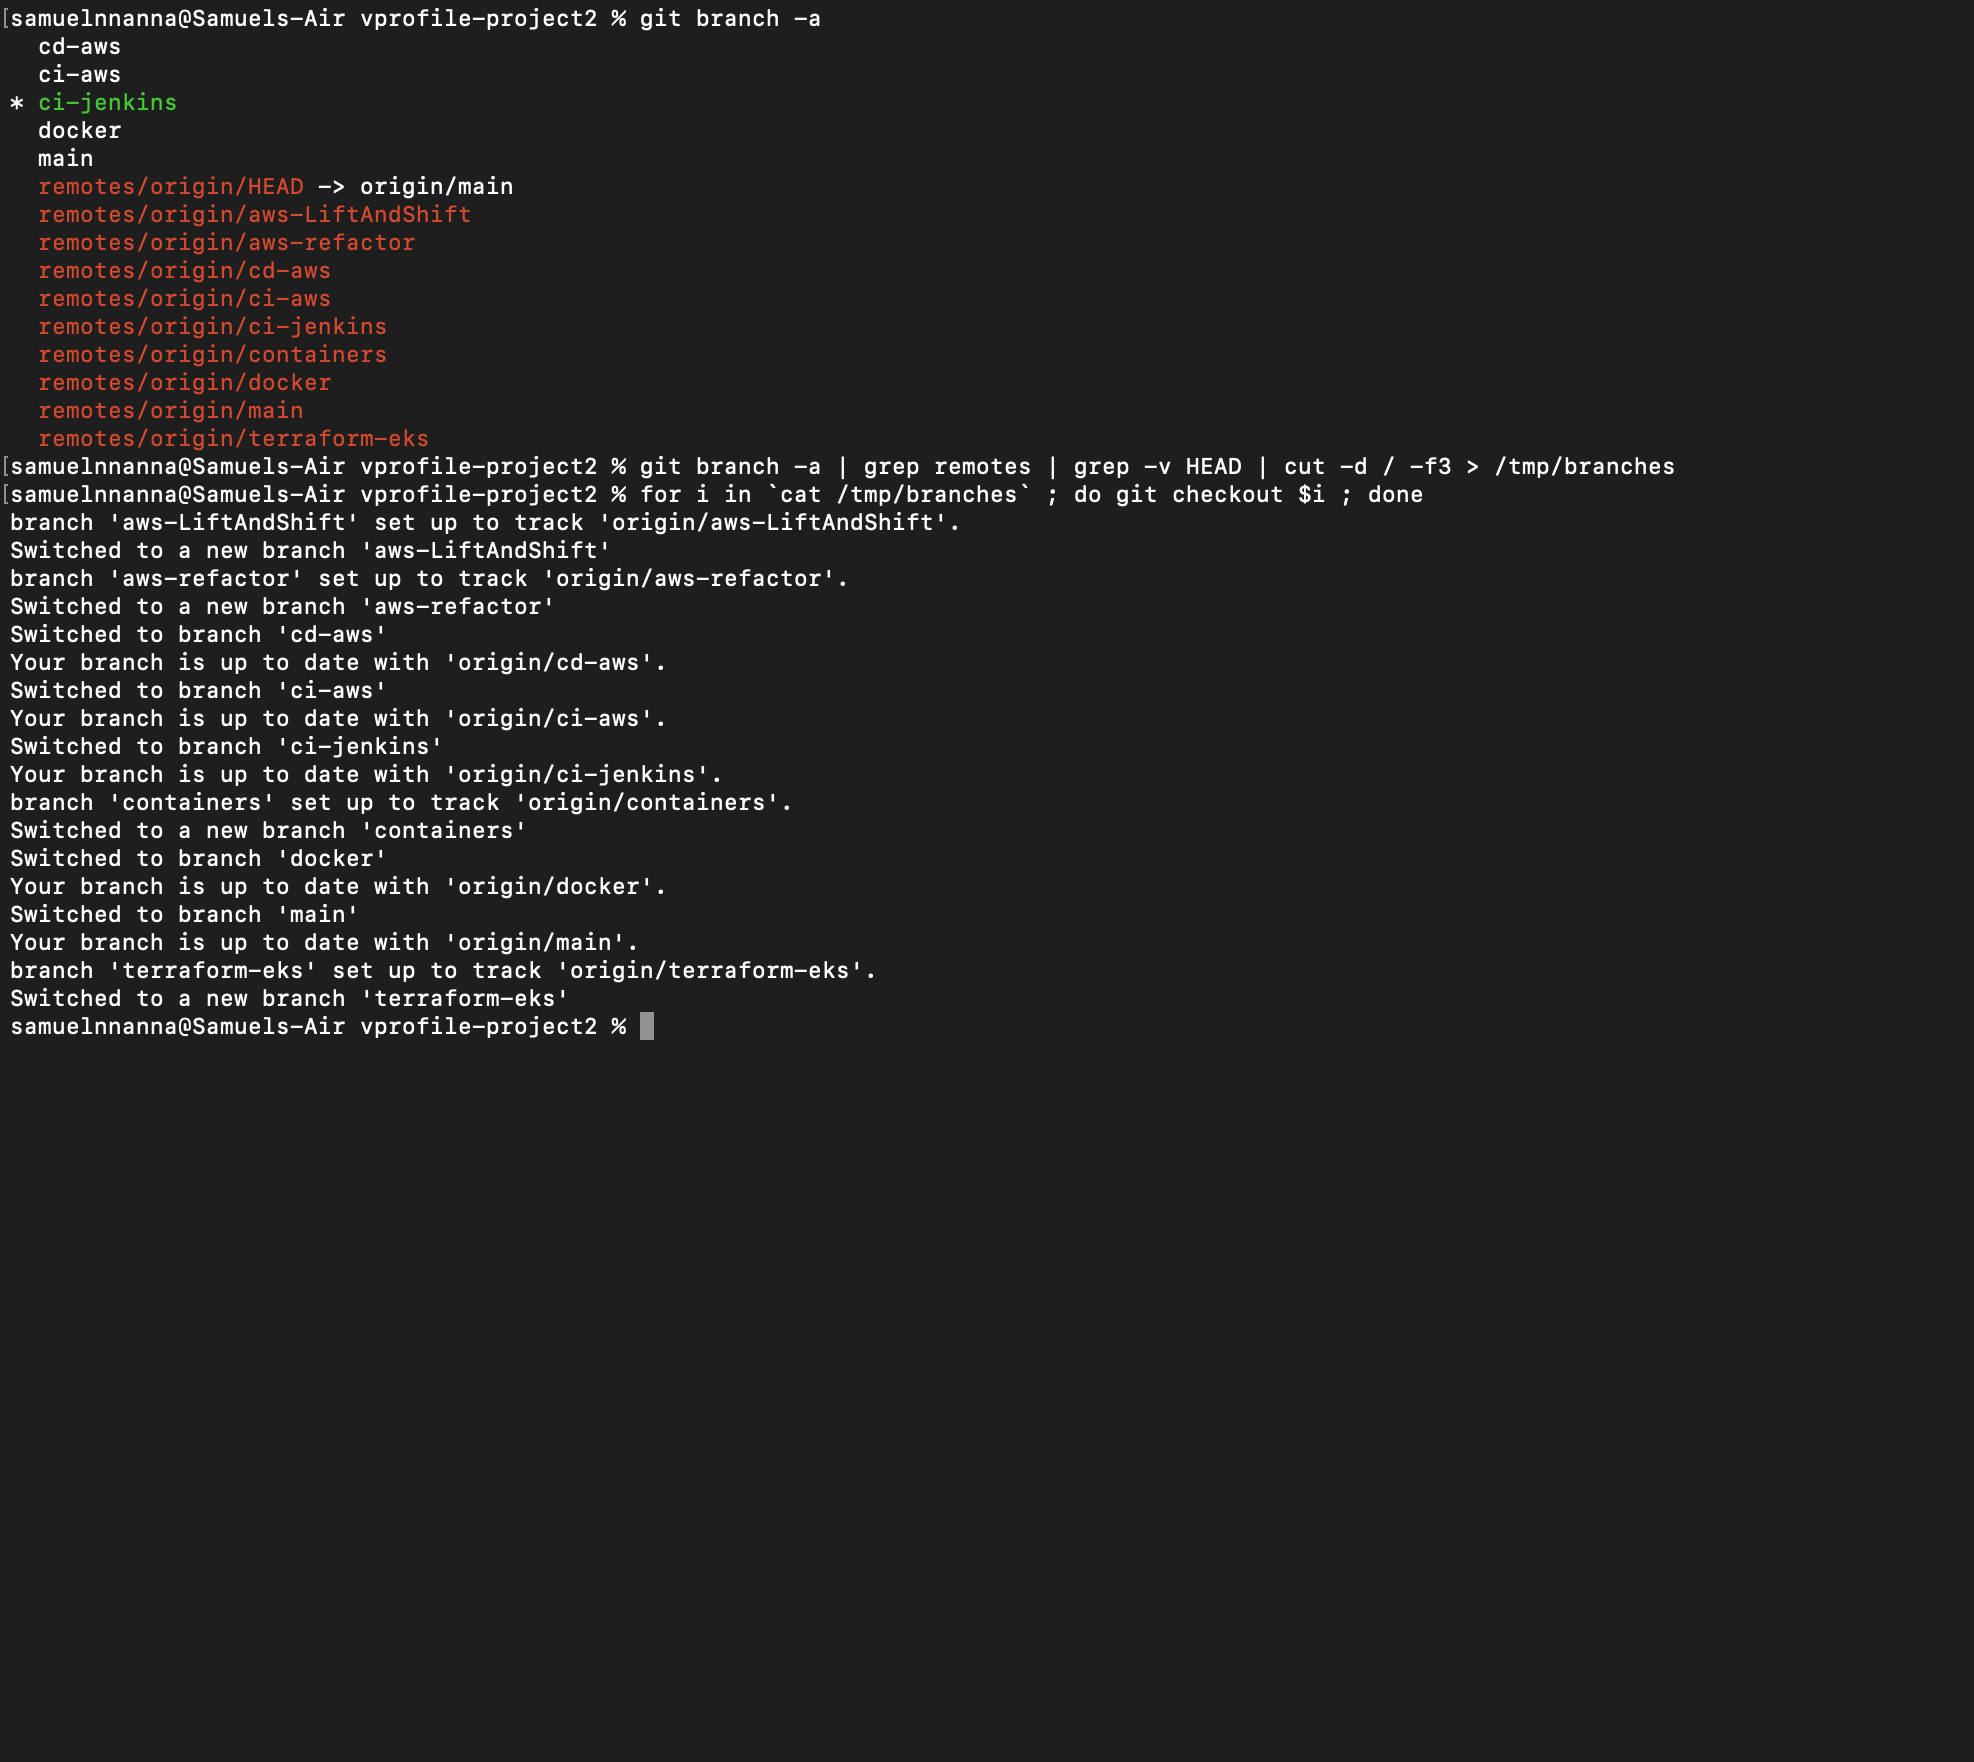
git branch -a # lists all the branches in the repo
git branch -a | grep remotes | grep -v HEAD | cut -d / -f3 > /tmp/branches #puts the name of all branches into a file in the tmp directory called branches
for i in `cat /tmp/branches` ; do git checkout $i ; done # checks out all the branches in the repository
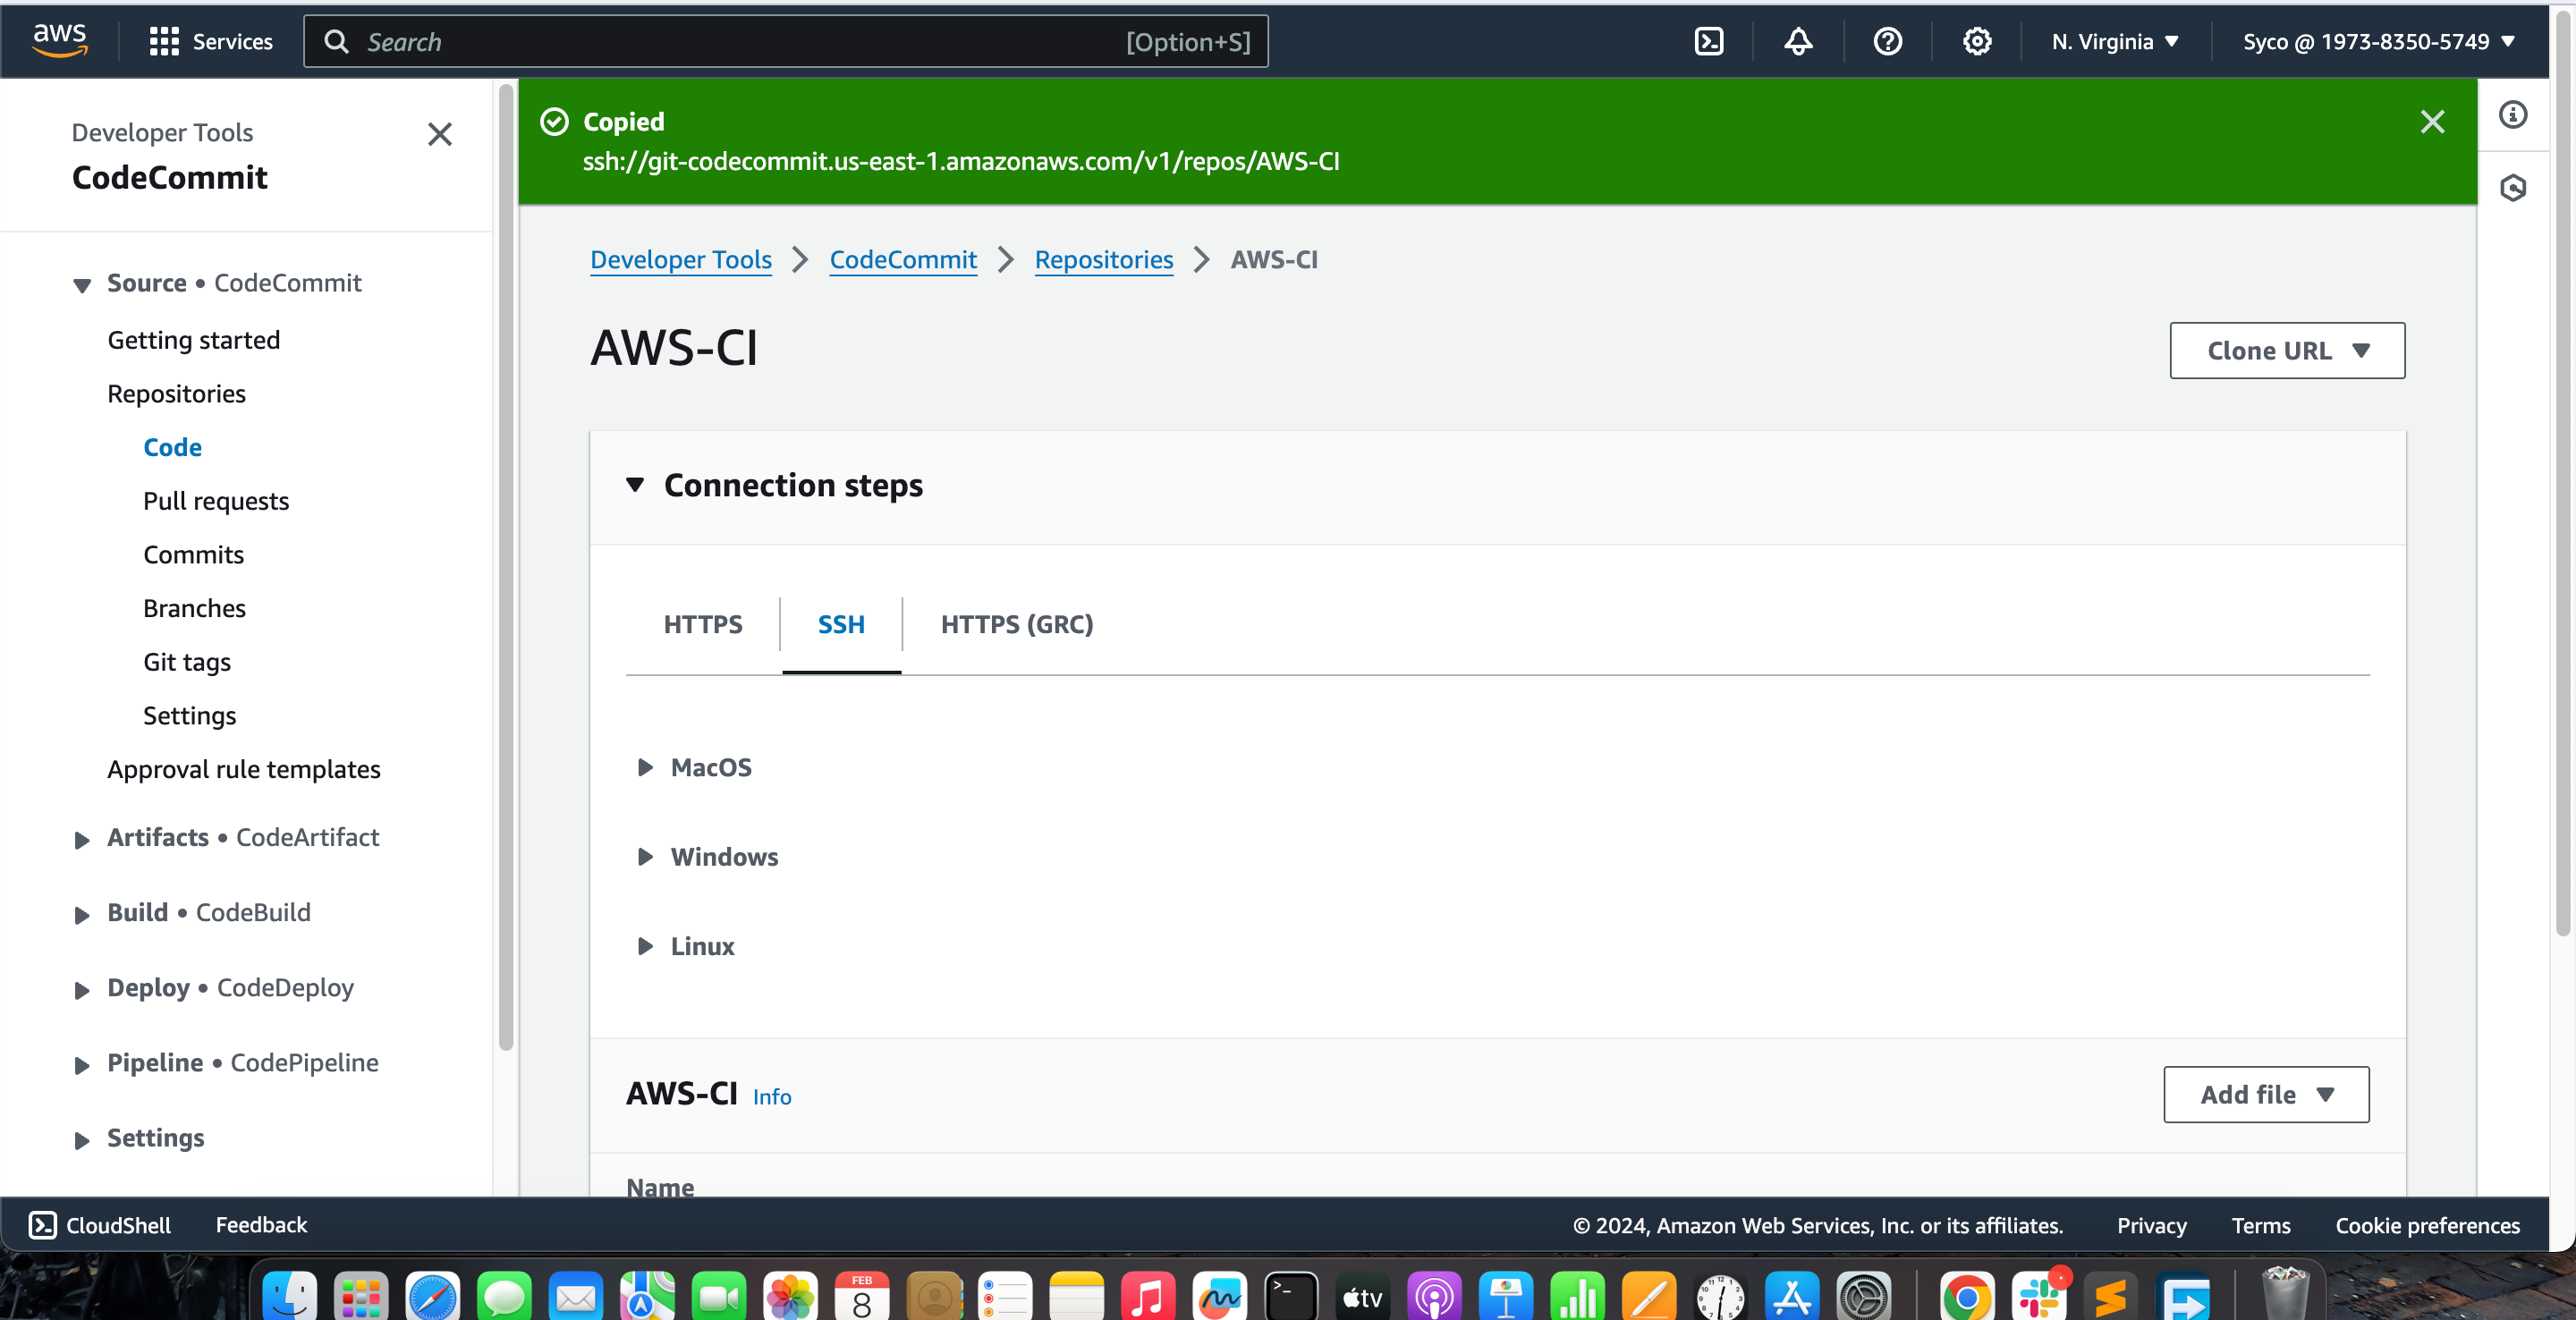
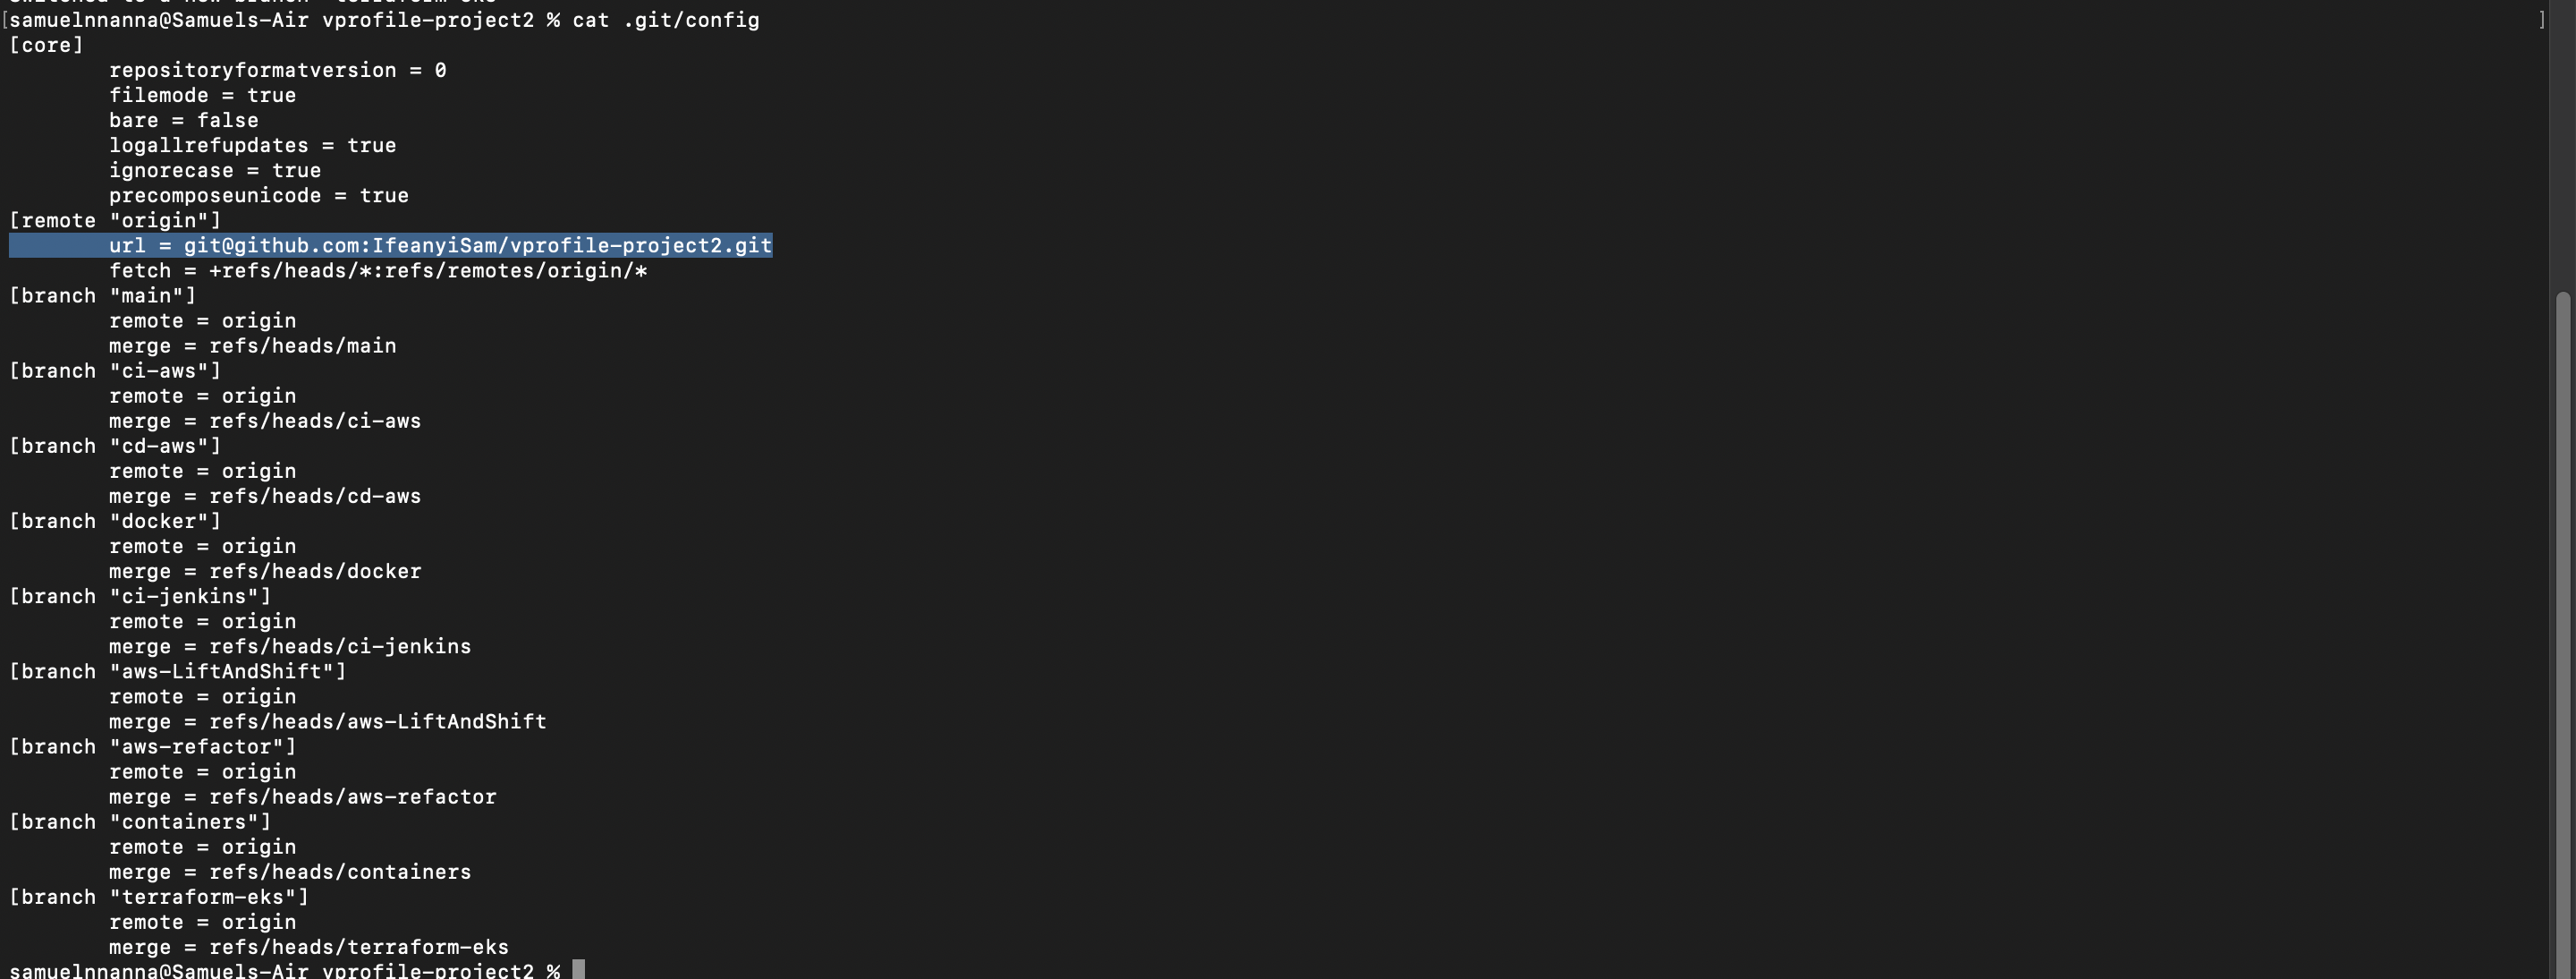
4. Now we have to change the remote url in the “.git/config” file to the url of the CodeCommit repository. NB. to get the codecommit ssh url, click on “Clone URL” in the top right corner. To do this, run the following commands;
git remote rm origin # removes the remote url
git remote add origin ssh://git-codecommit.us-east-1.amazonaws.com/v1/repos/AWS-CI
git push origin --all # pushes all branches to the CodeCommit Repository
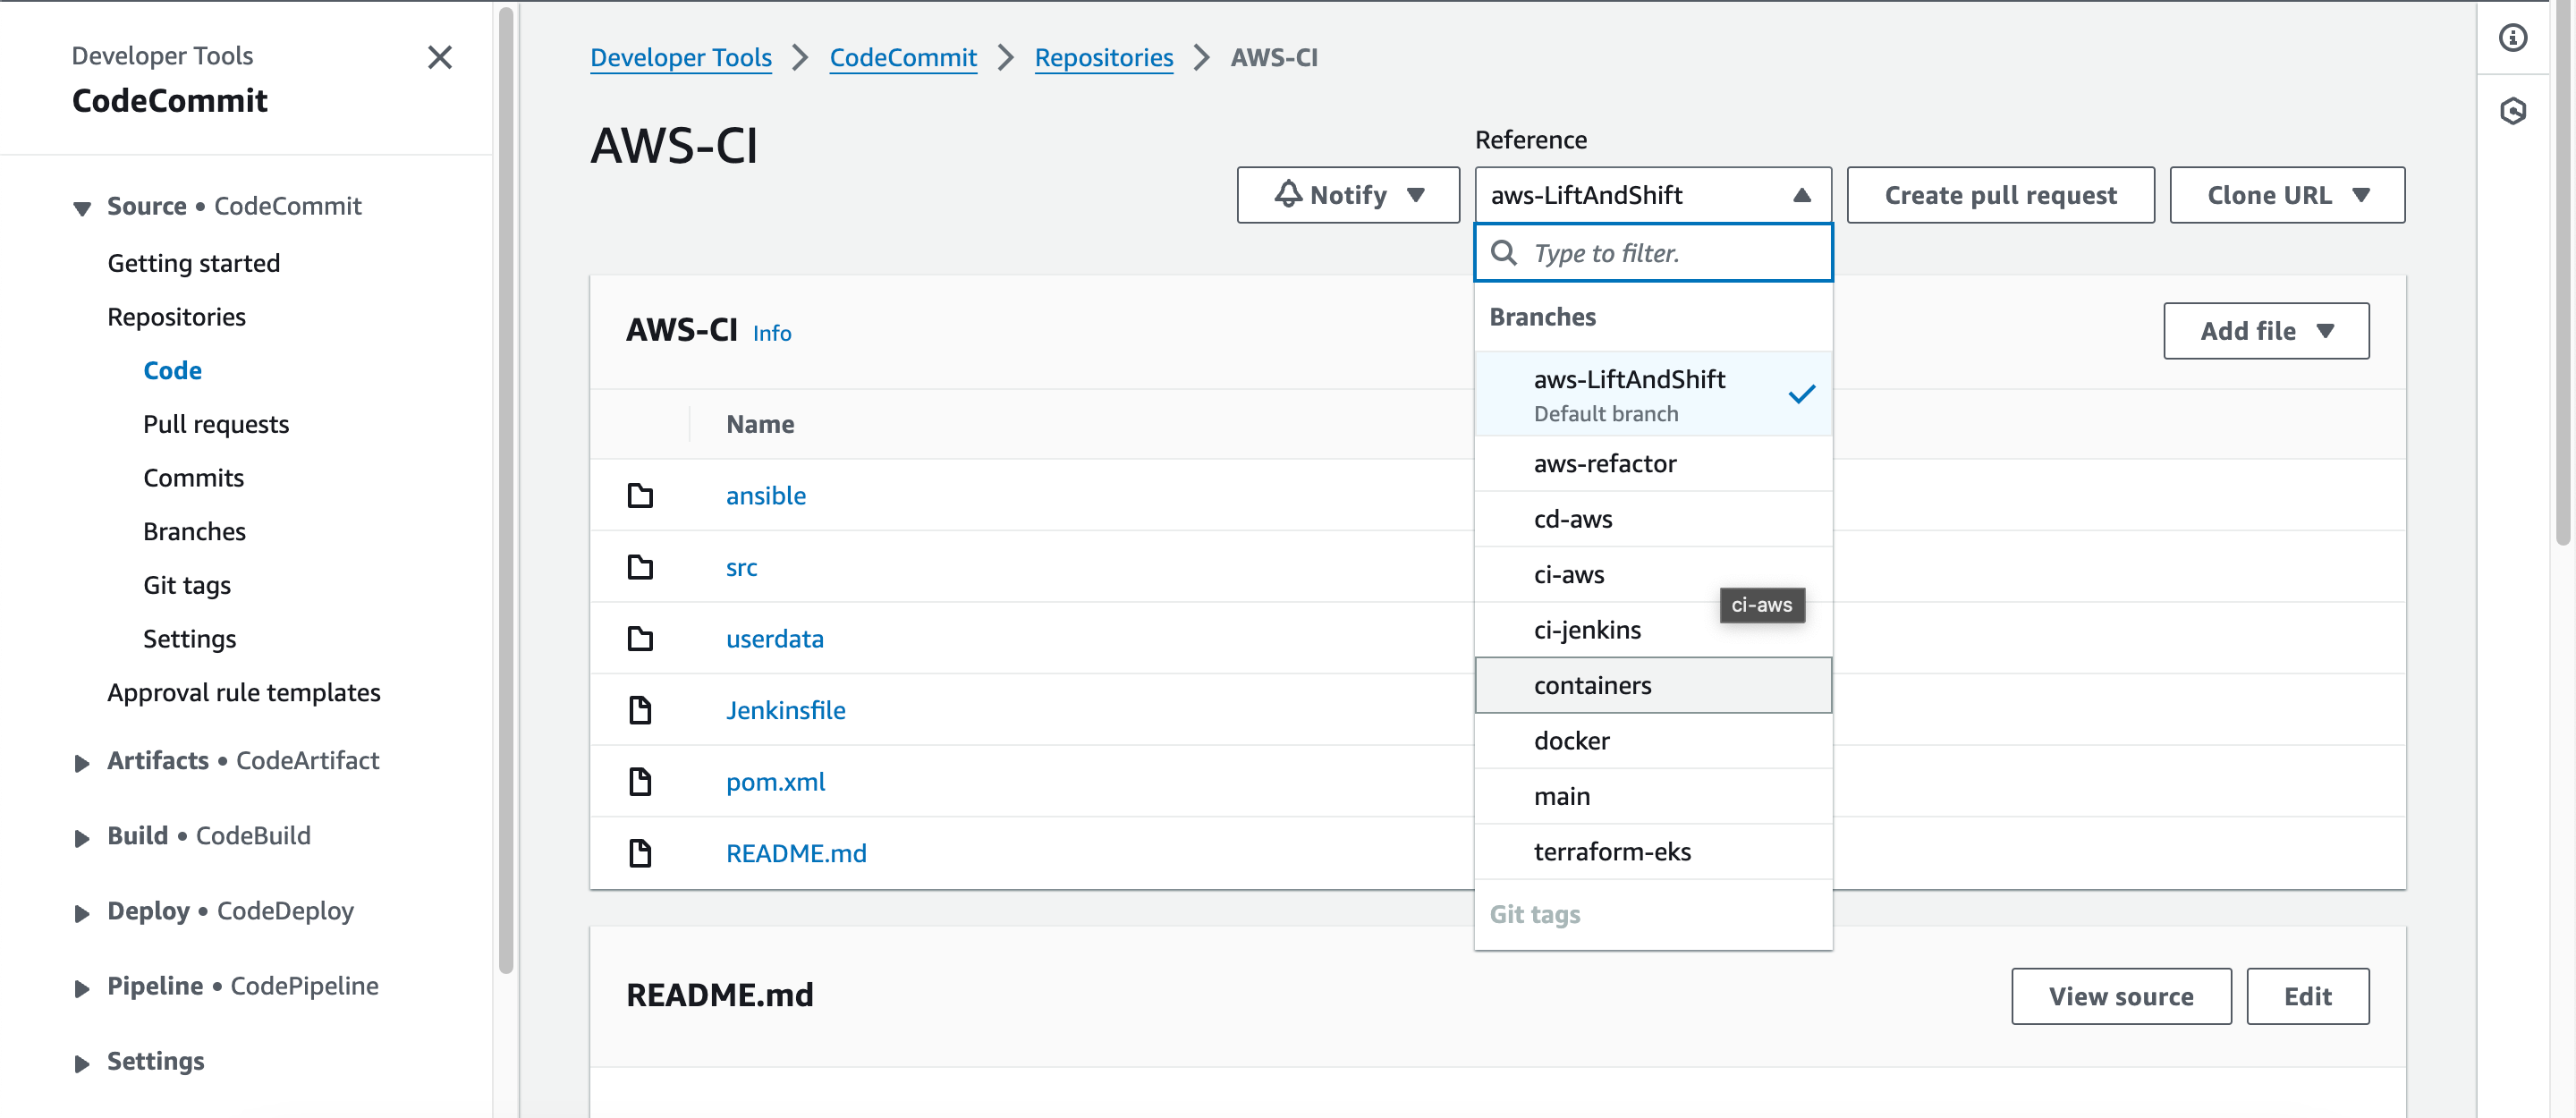
5. Now we can go back to the CodeCommit dashboard and confirm that all branches have been pushed.



Step Two: AWS CodeArtifact Setup
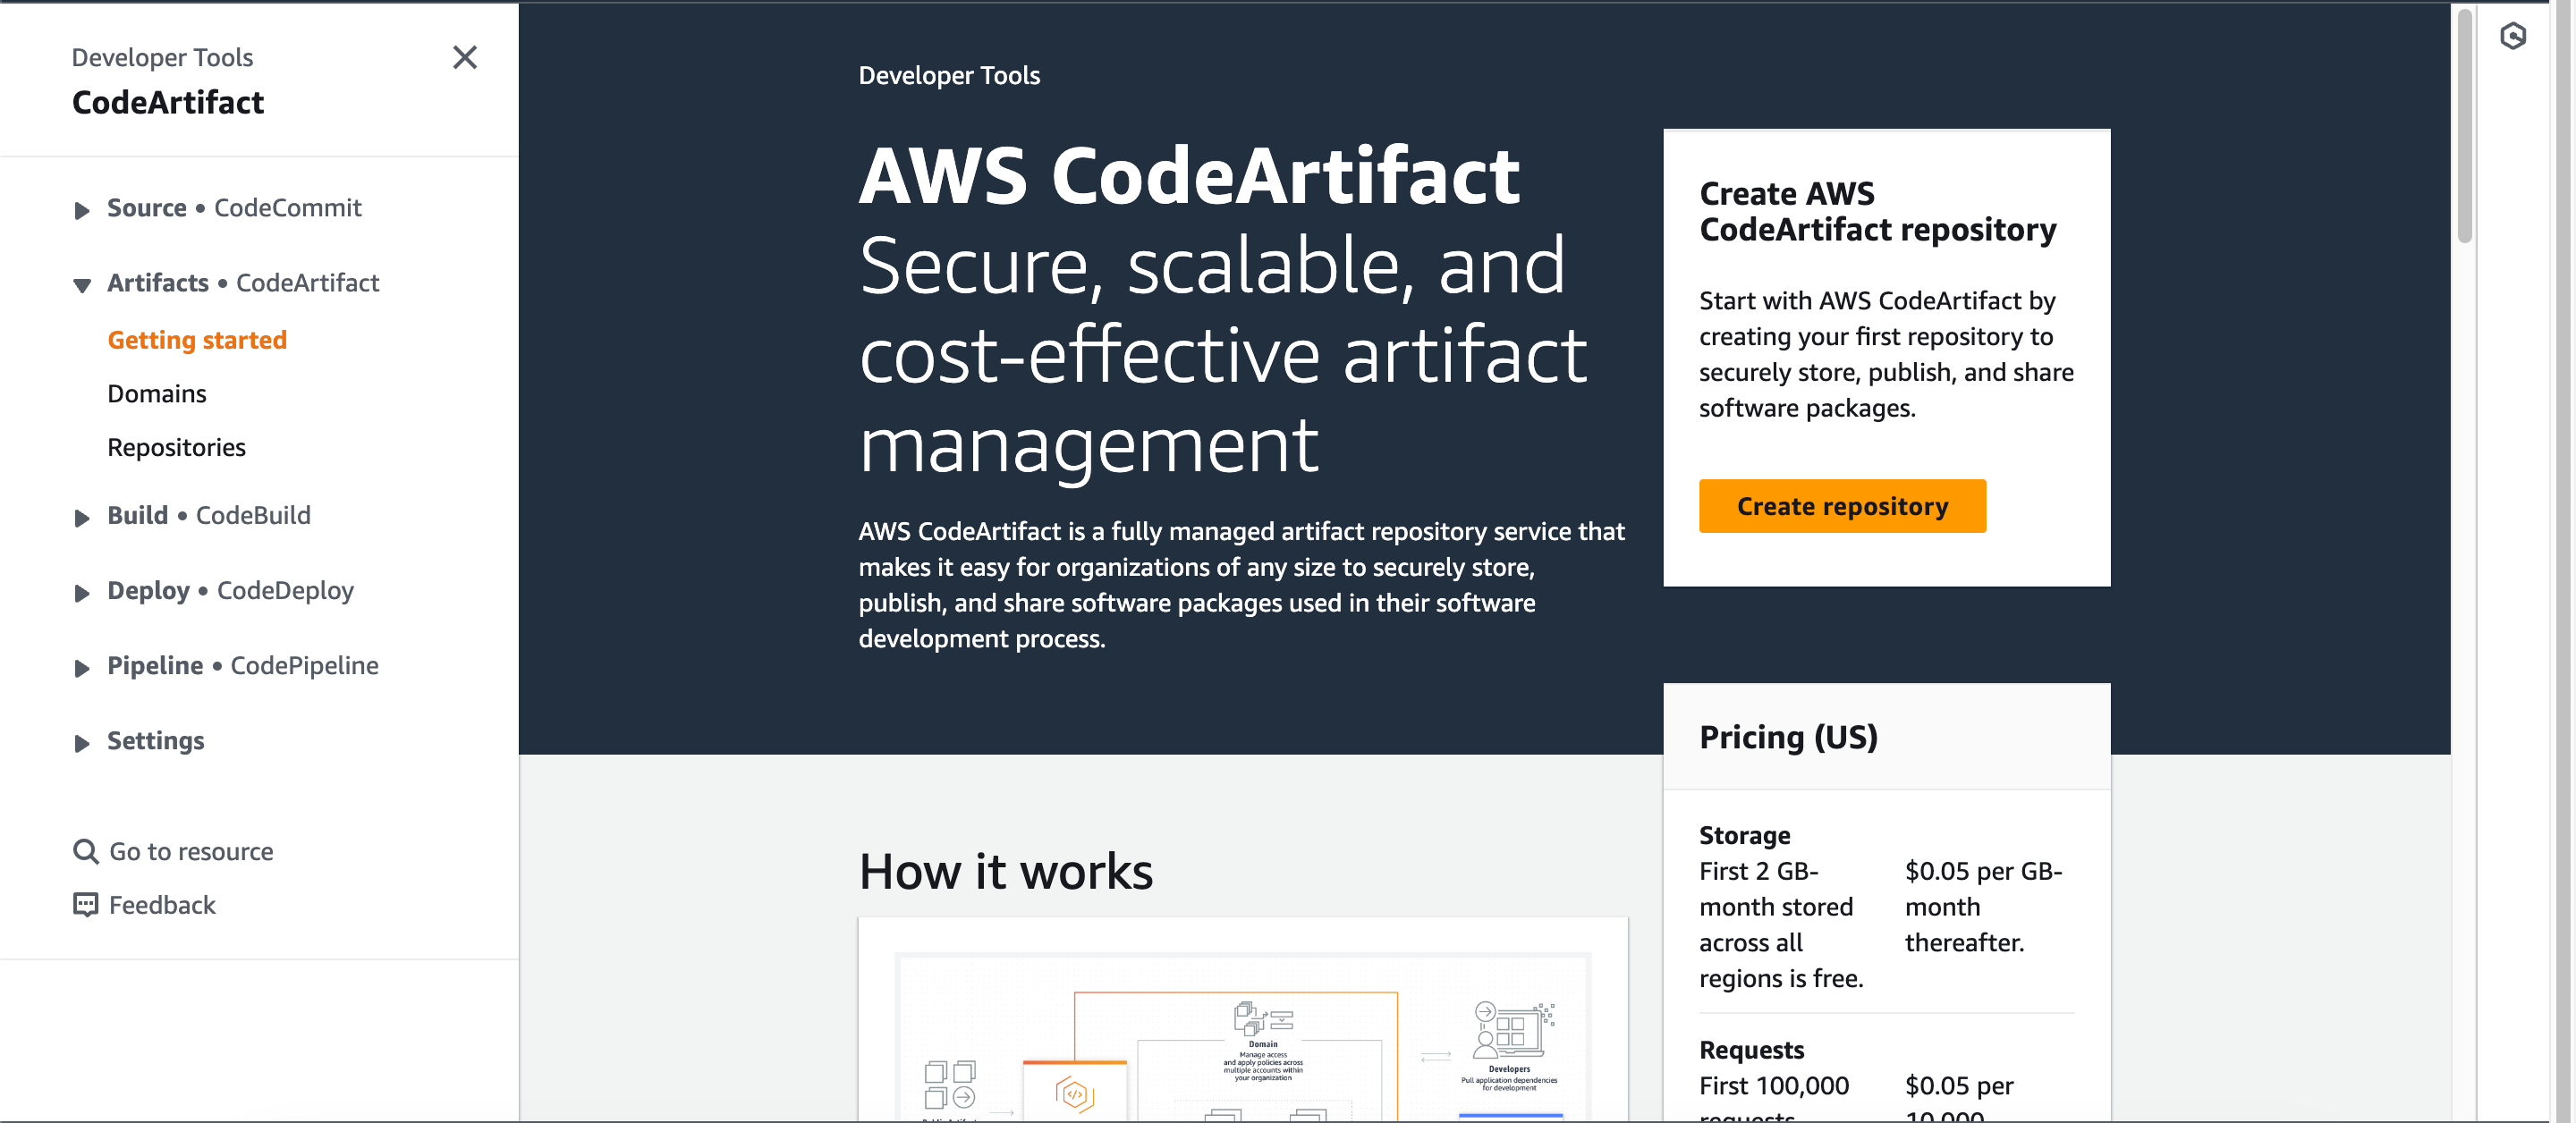
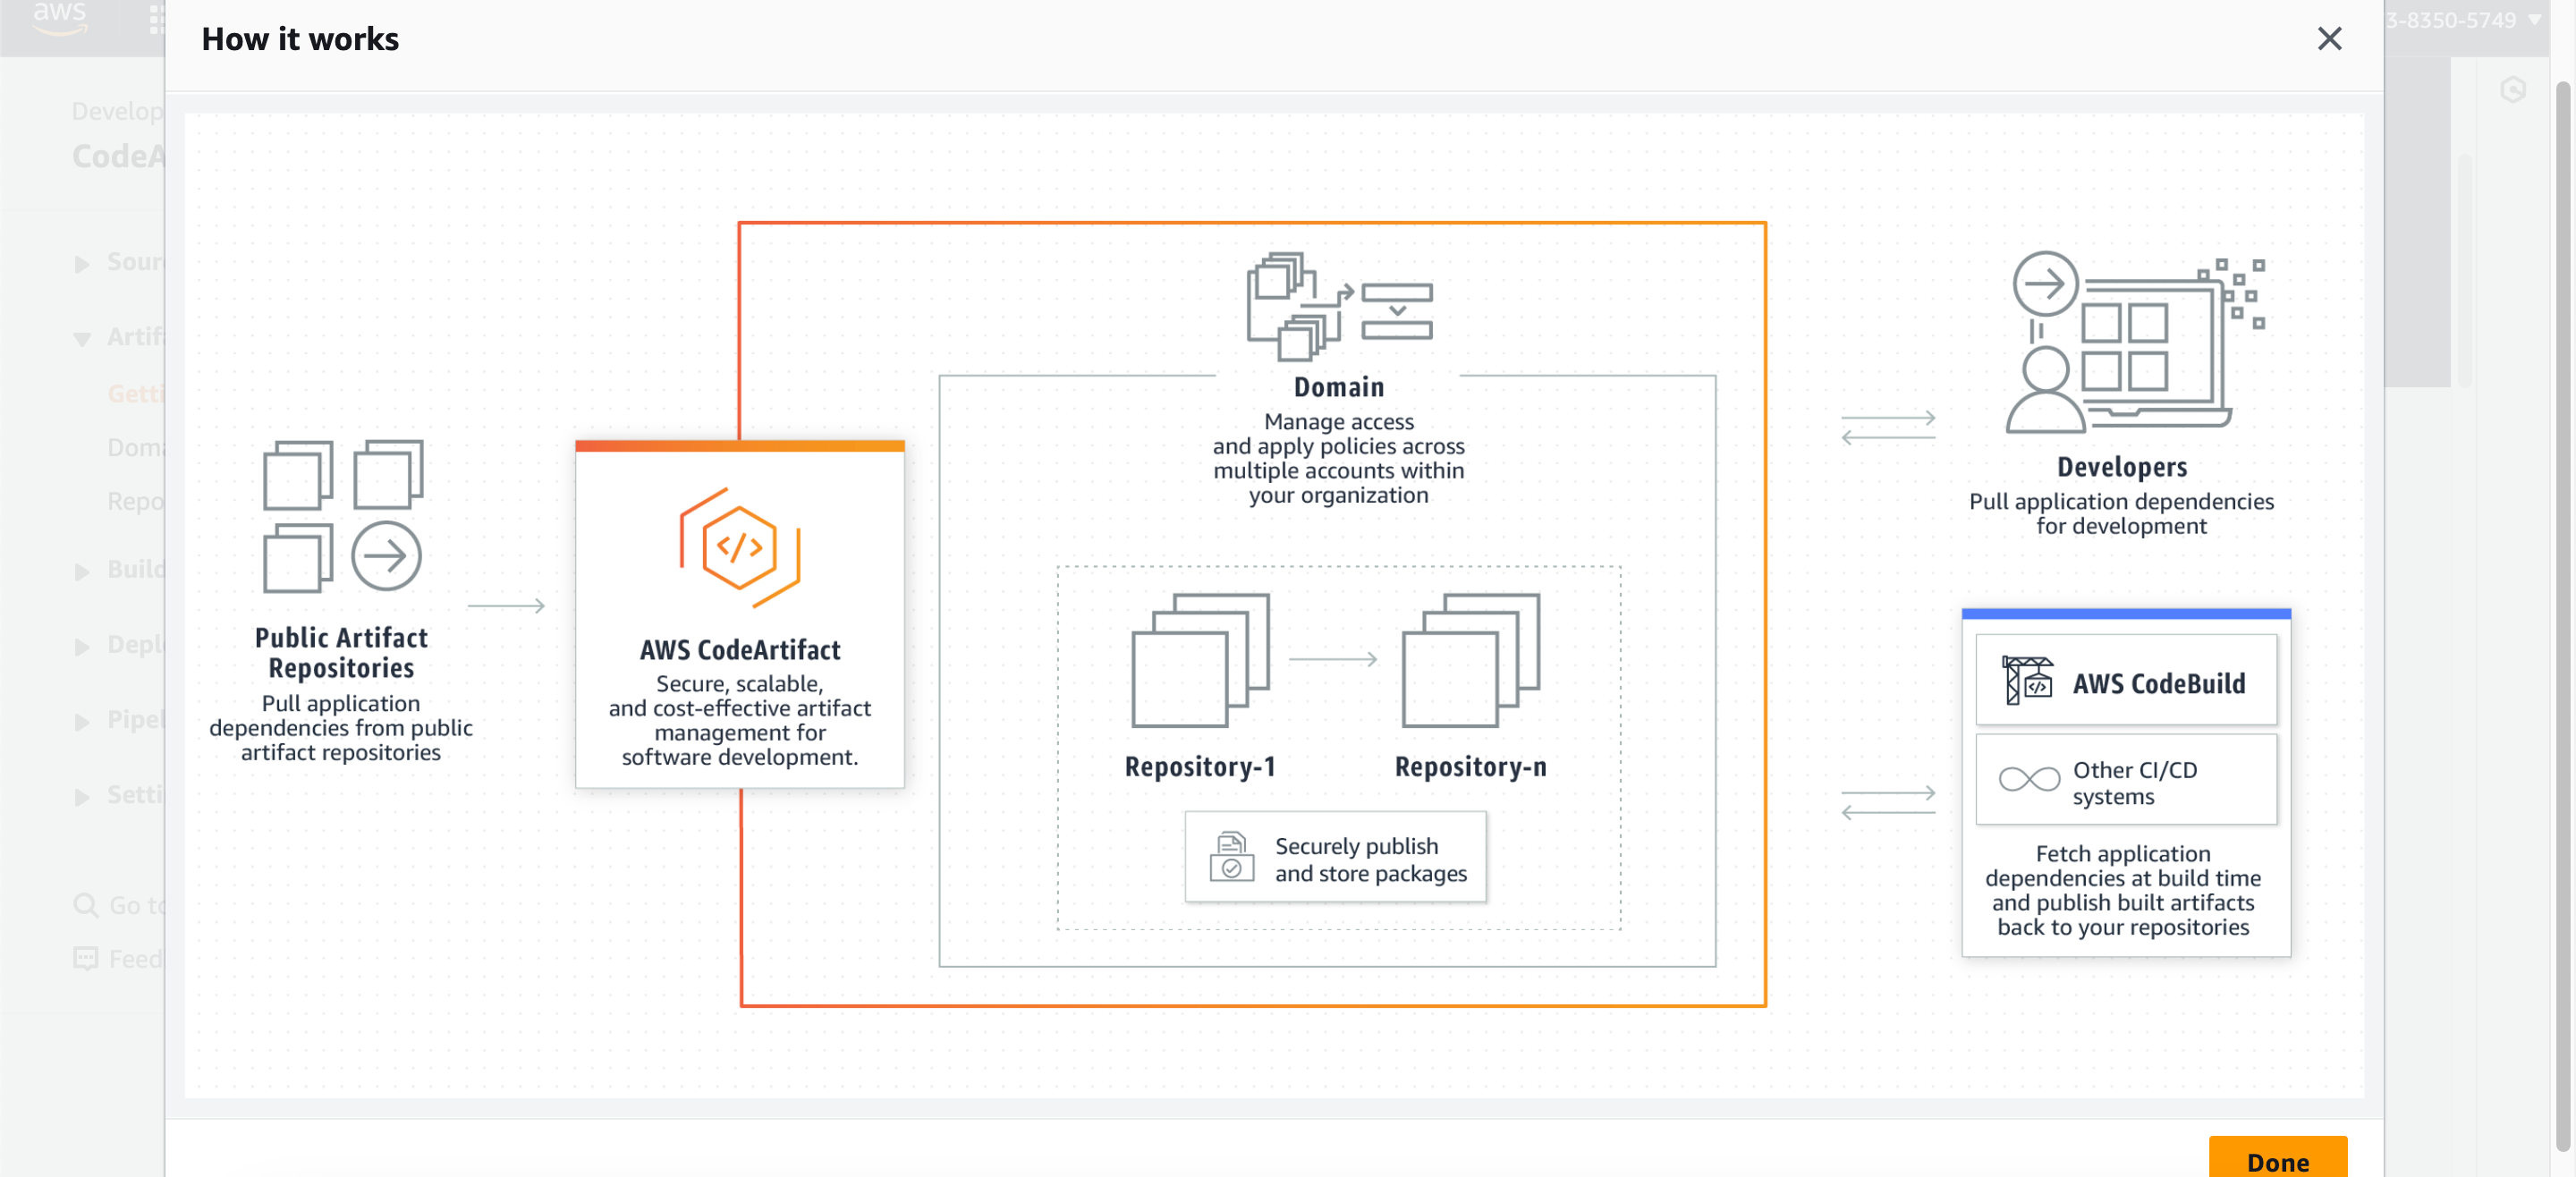
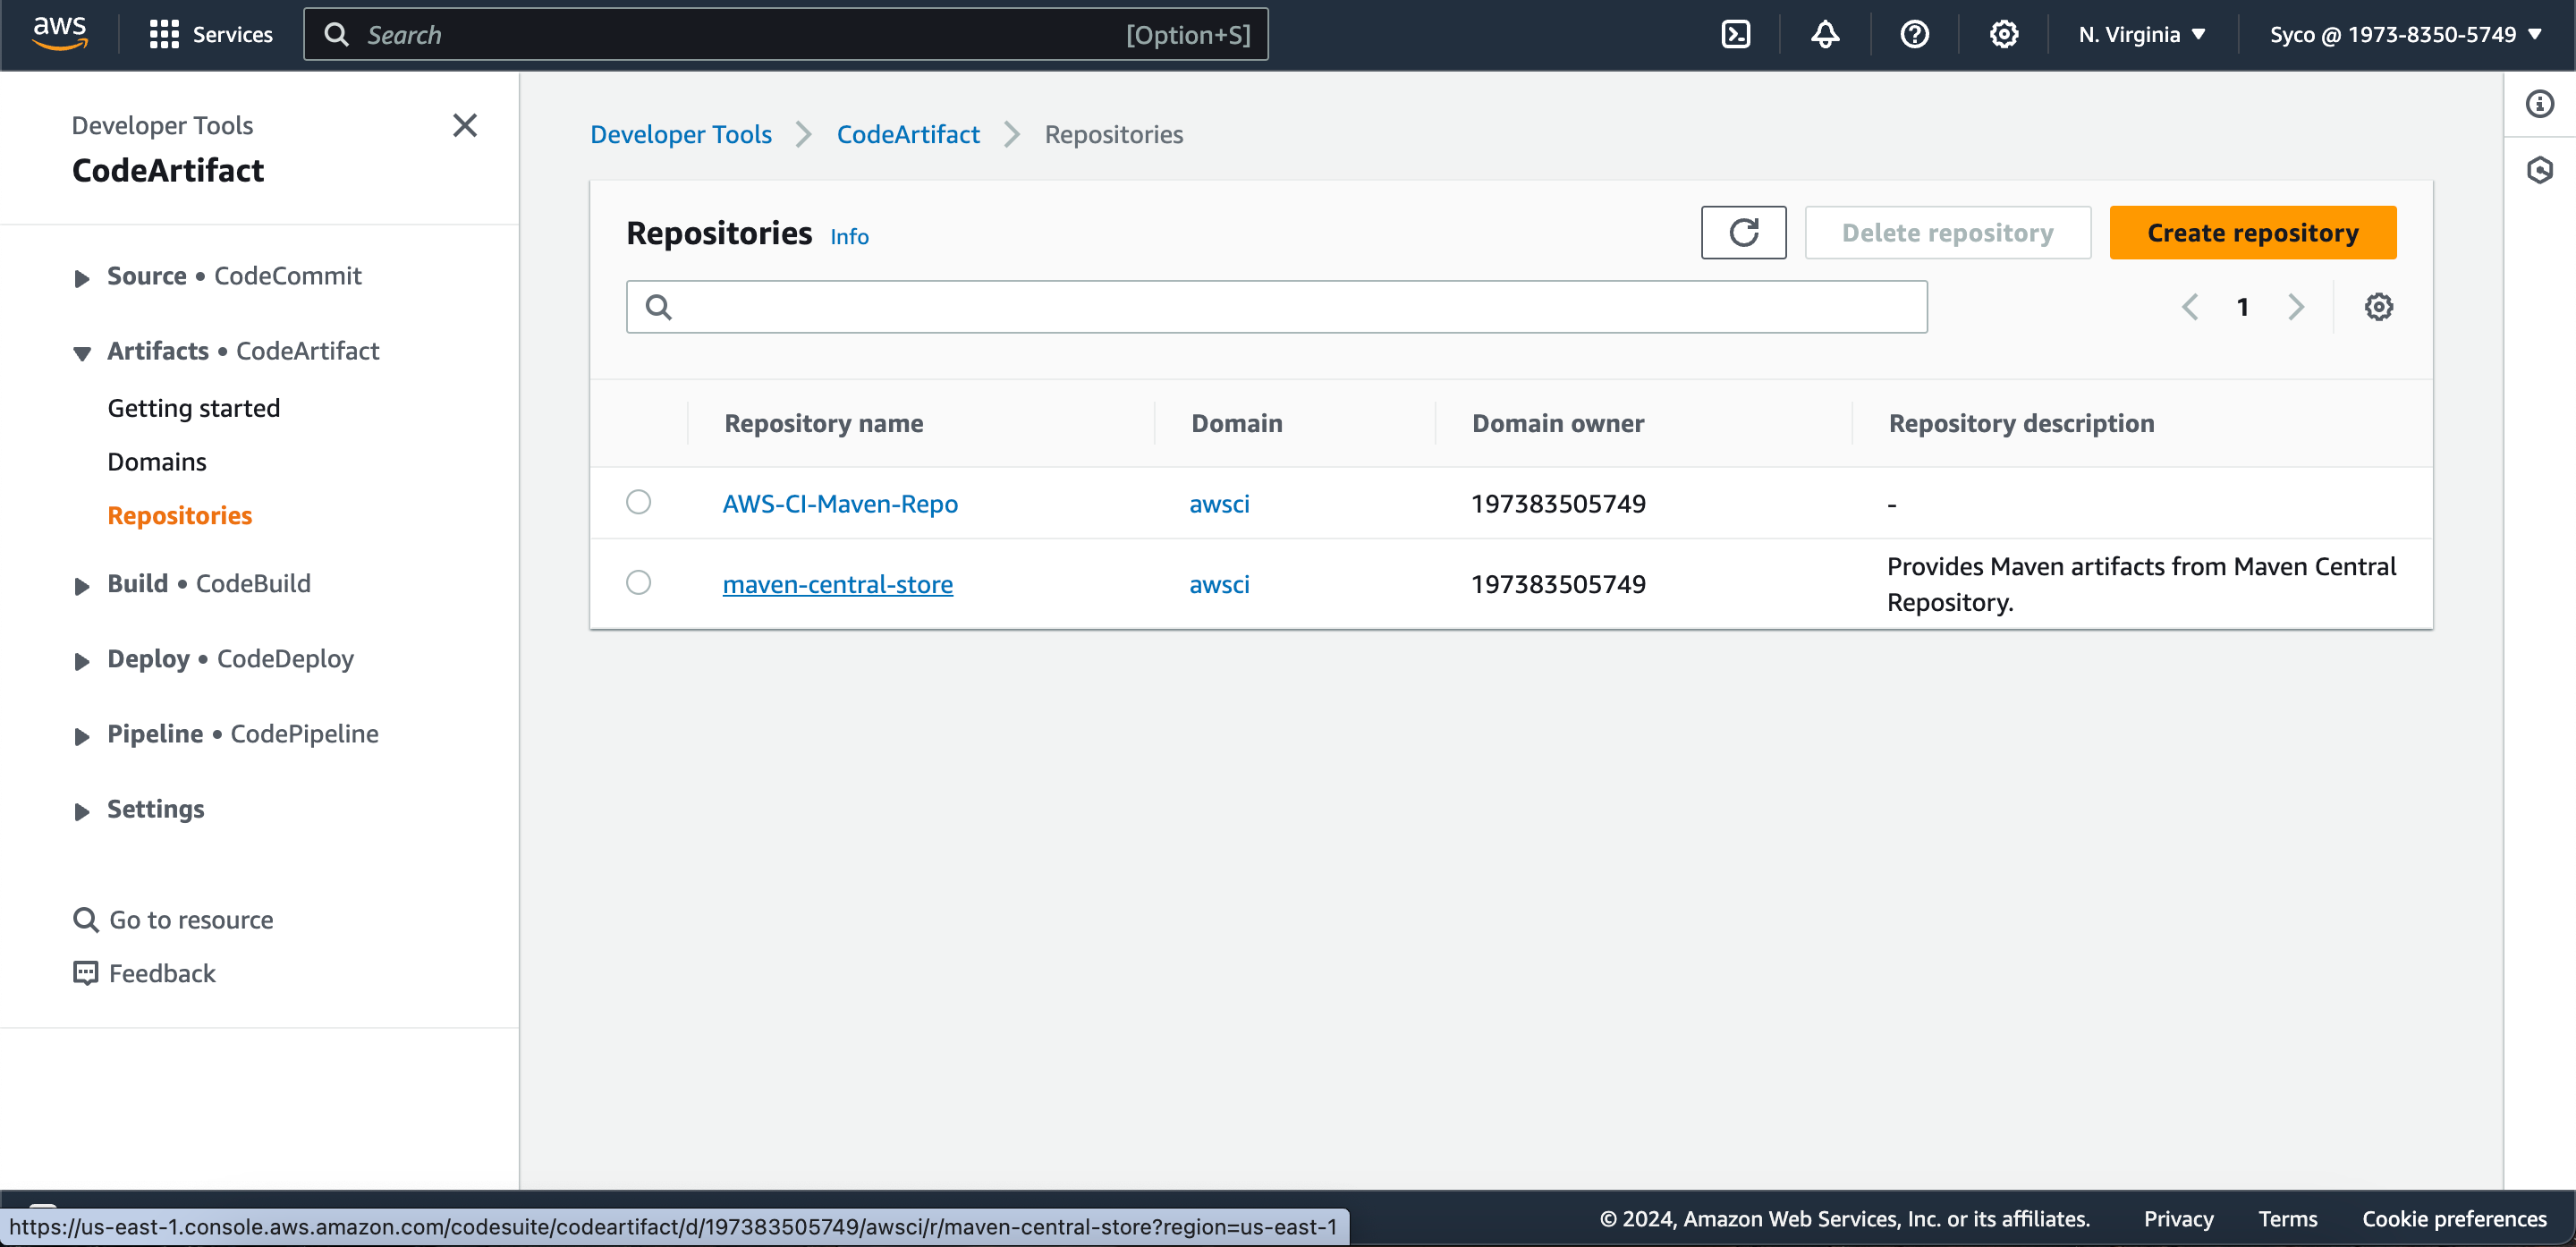
In this phase we are going to create CodeArtifact Repository on AWS which is used to store dependencies for the build tools like Maven. To achieve this;
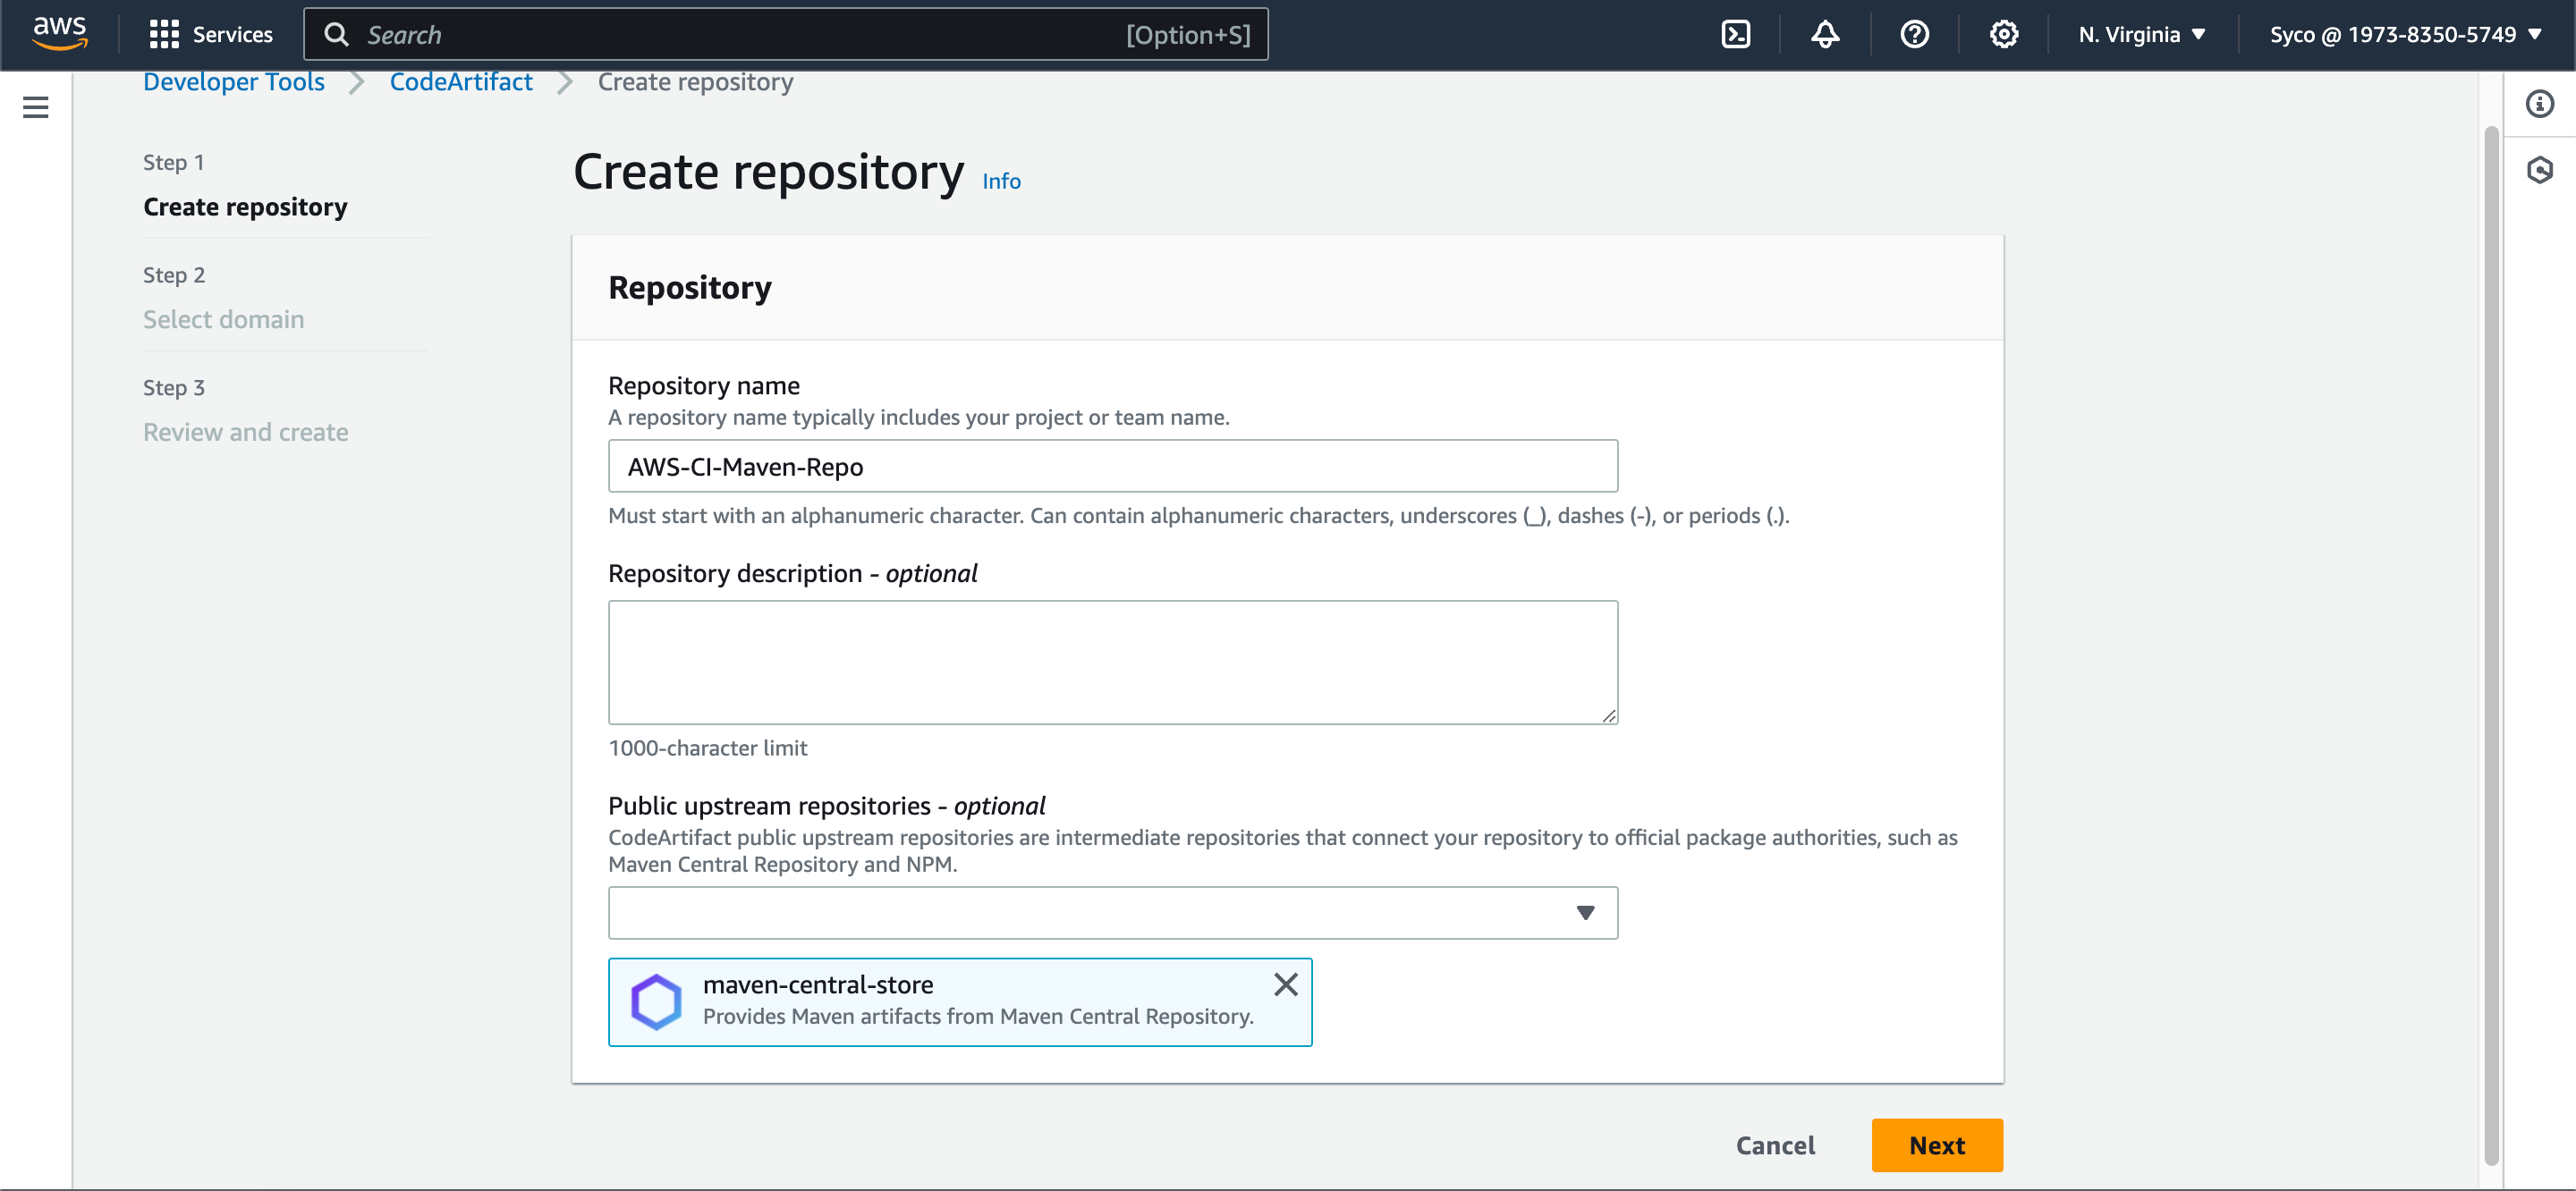
- In the Developer Tools section, navigate to “CodeArtifact.” Click on “Create Repository.”
- Provide a name for the repository, for example, “AWS-CI-Maven-Repo.” Under “Public Upstream Repositories,” select “maven-central-store.”
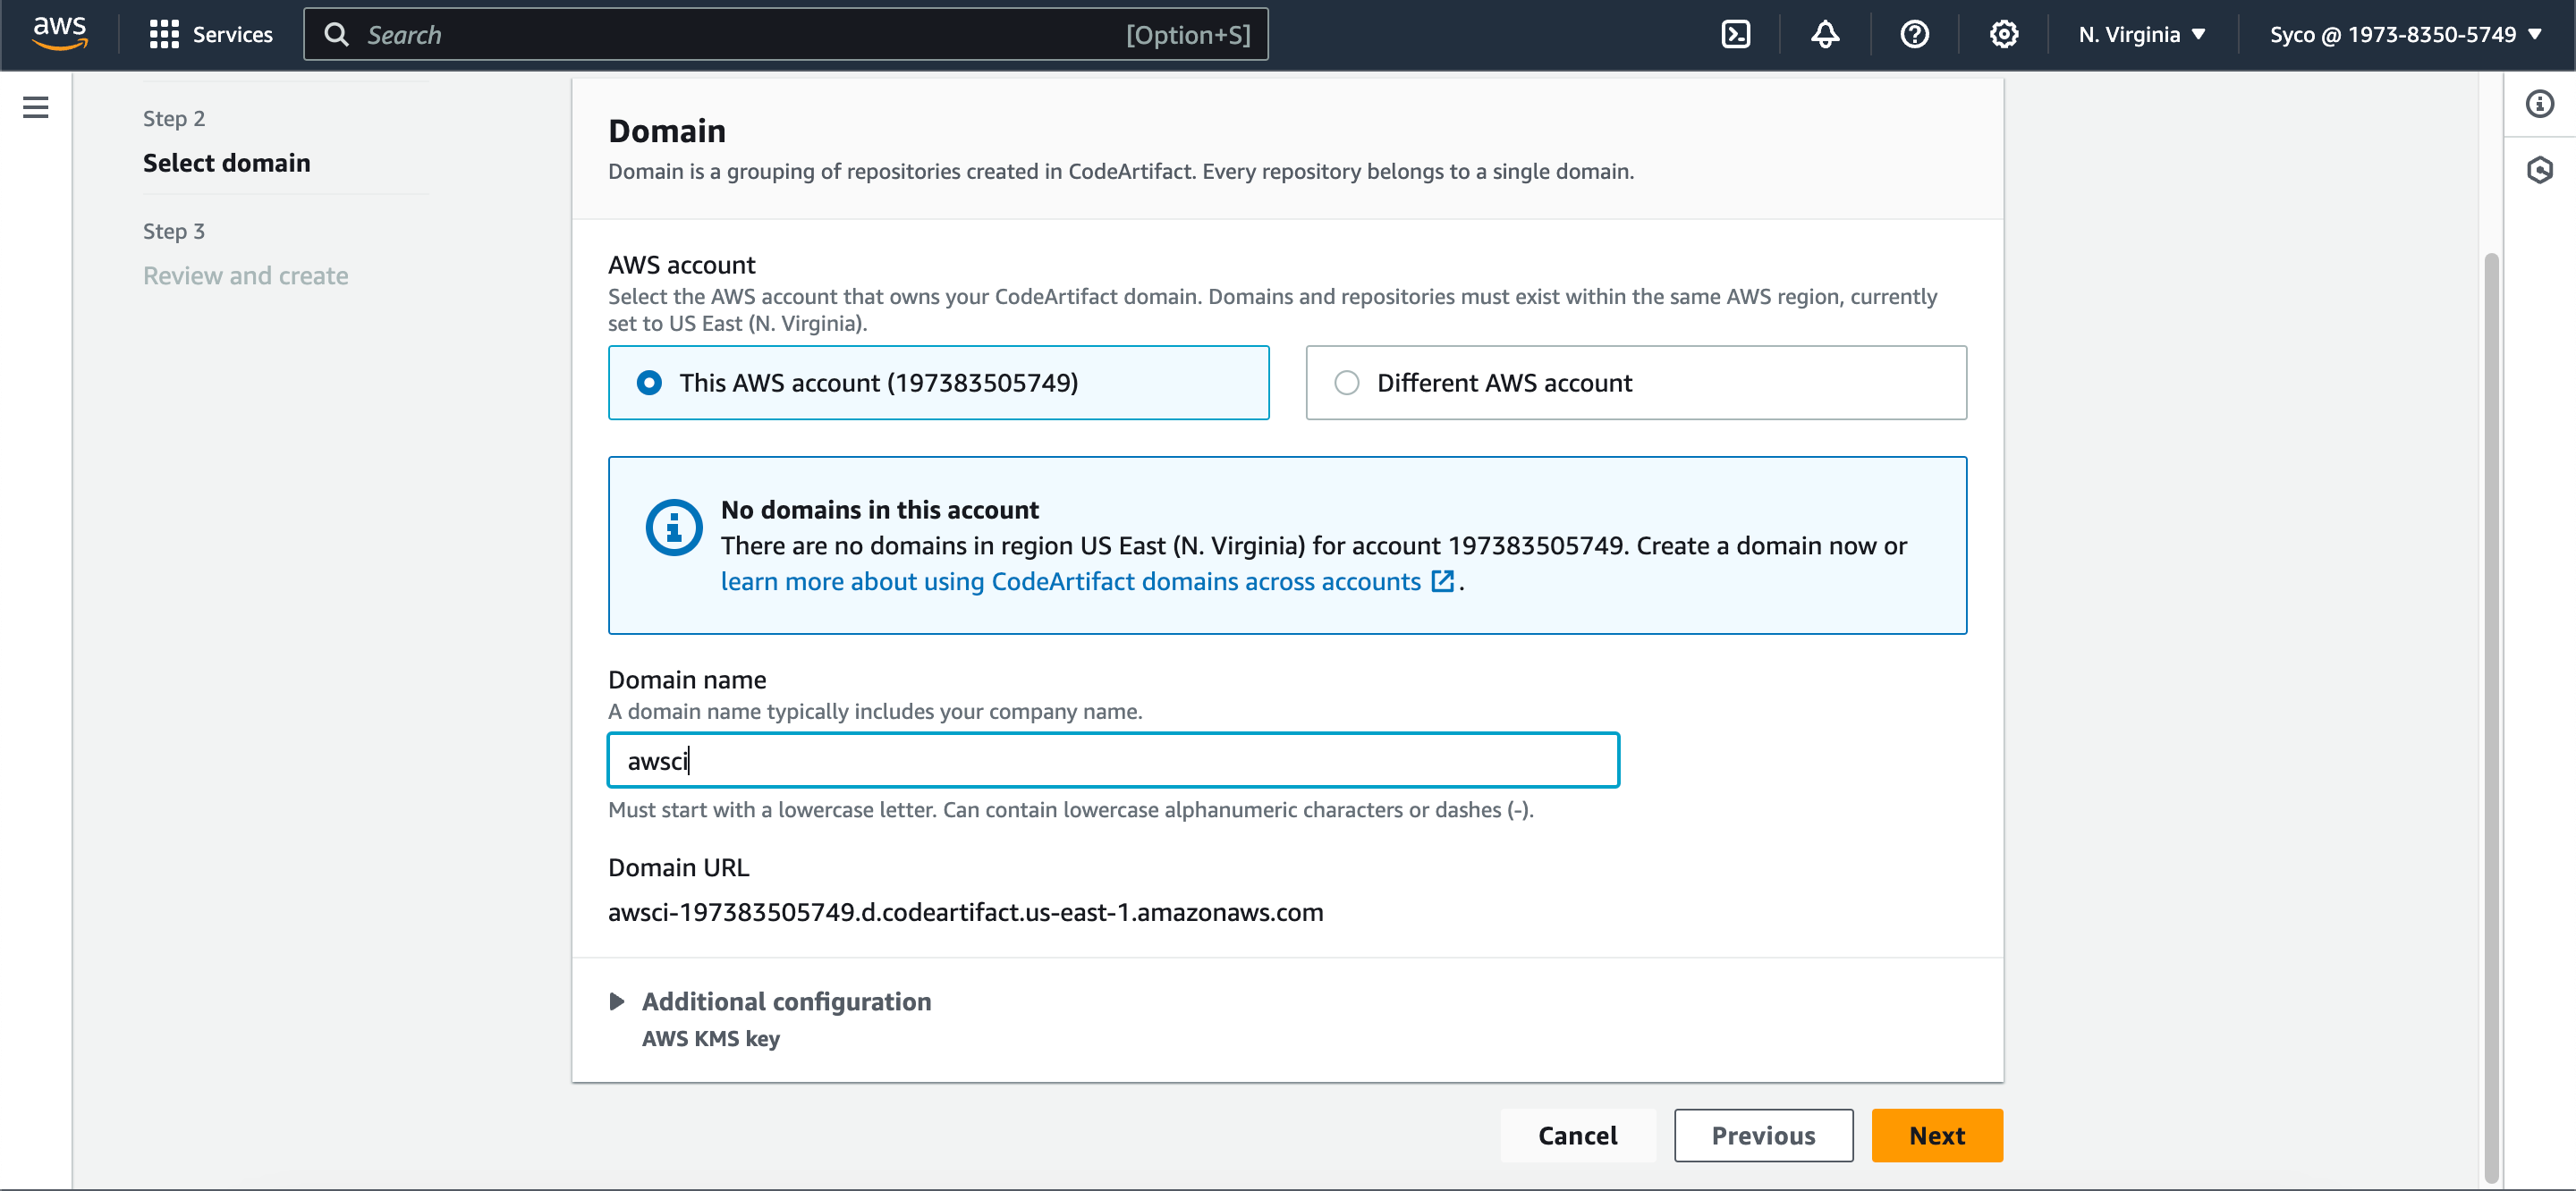
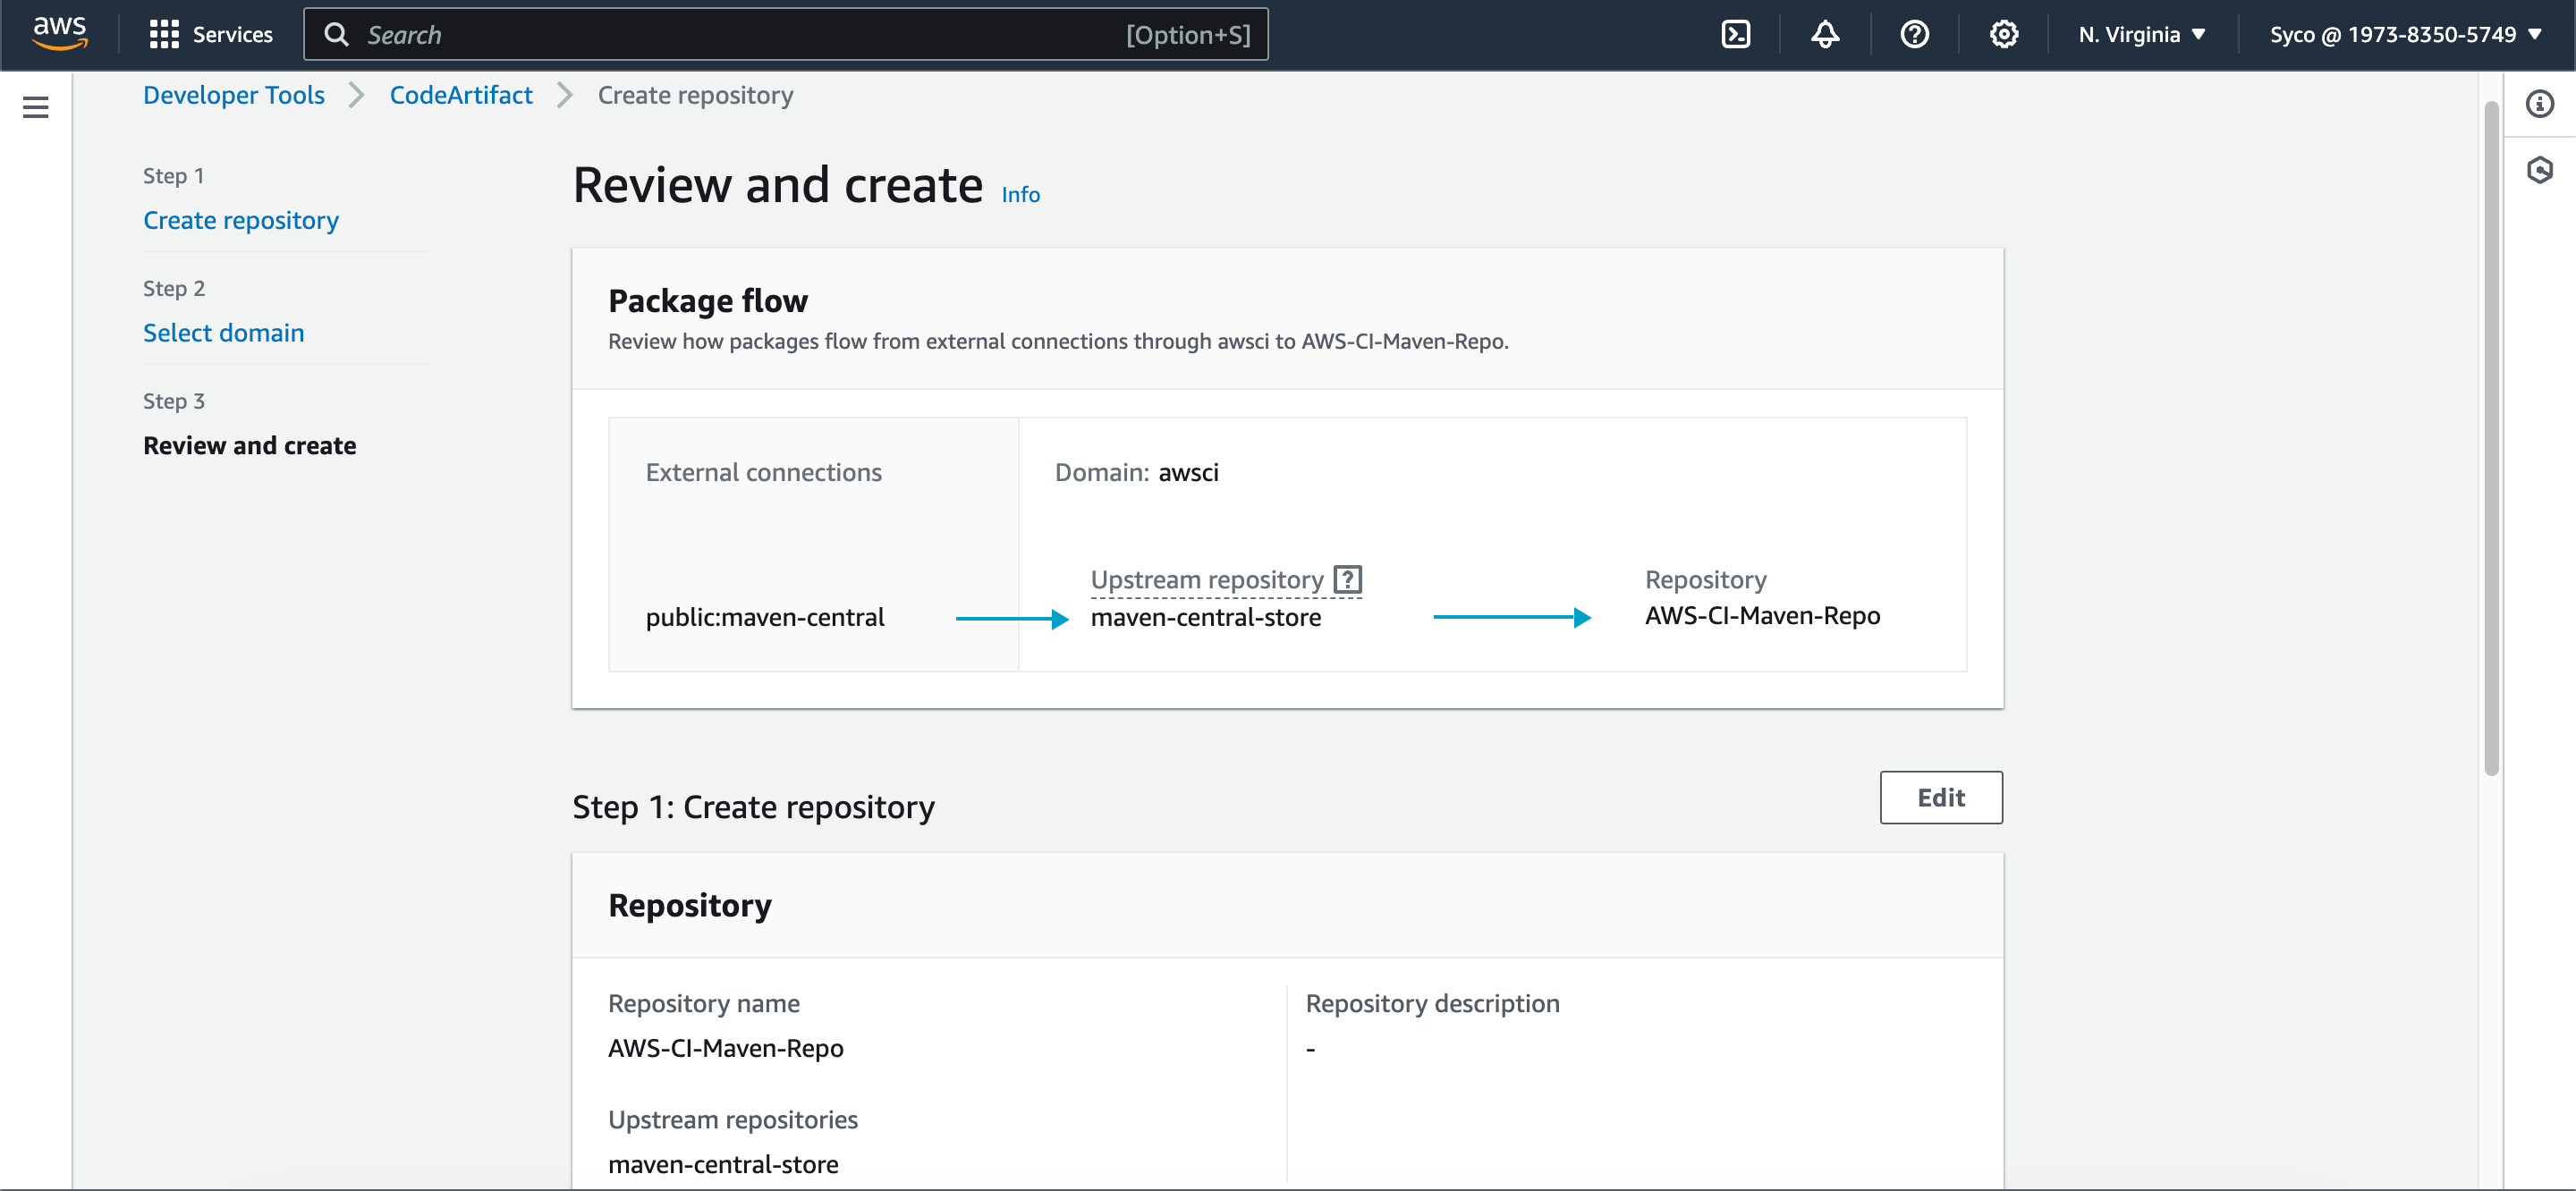
- On the next page, choose “This Account” under the domain settings. Provide a domain name of your choice, such as “awsci.” Review the configuration and click on “Create.”
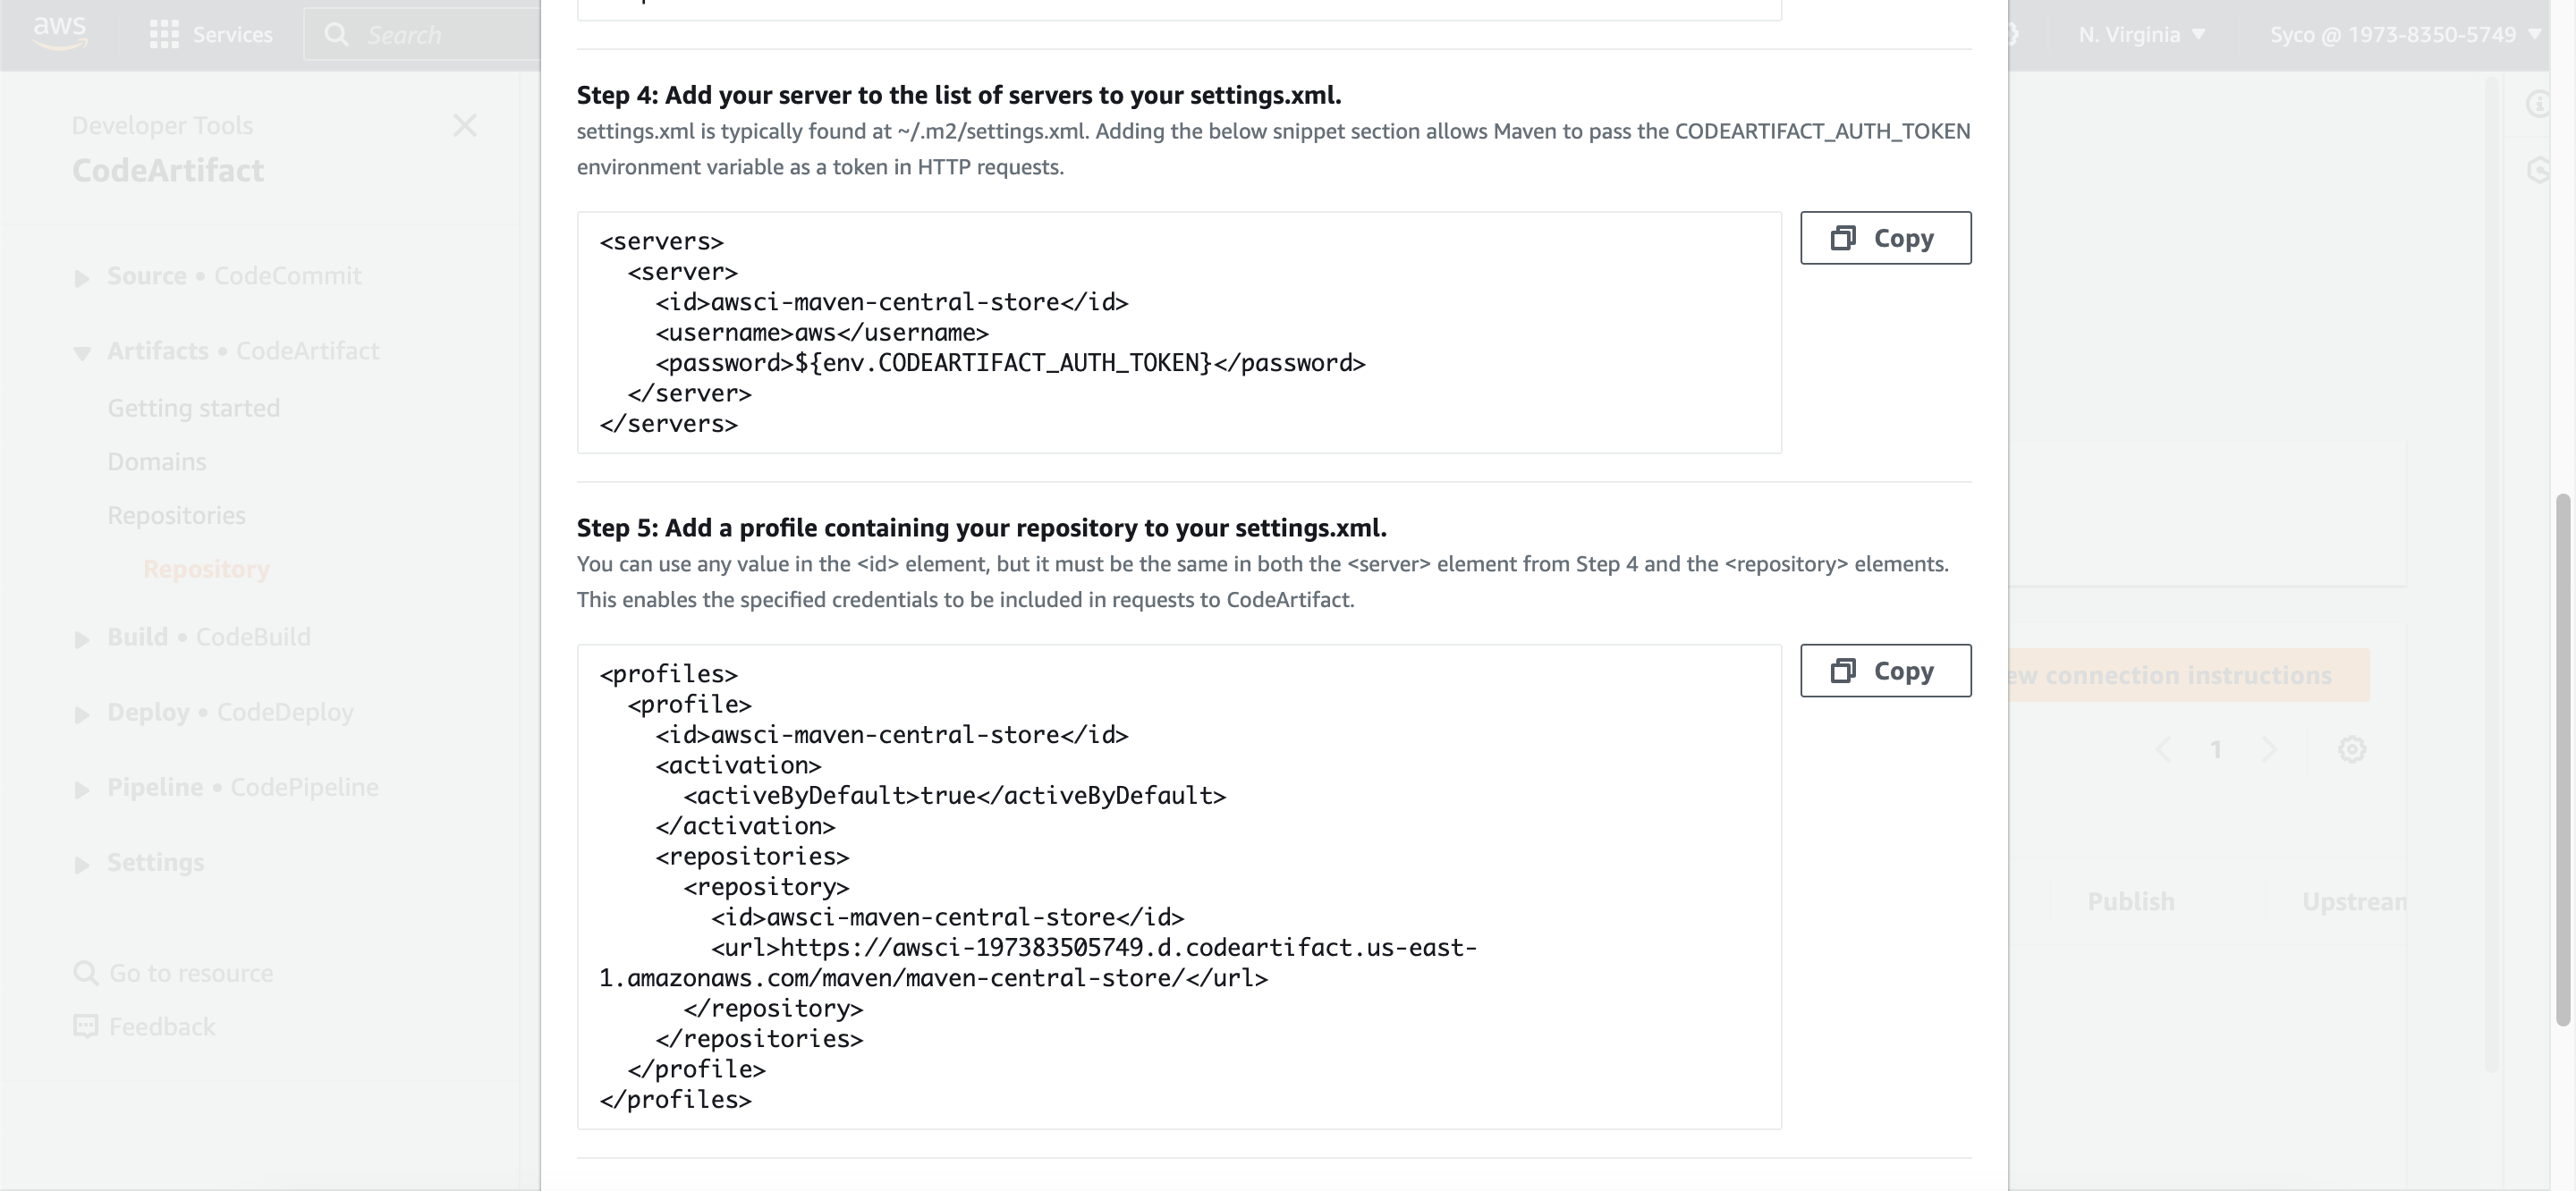
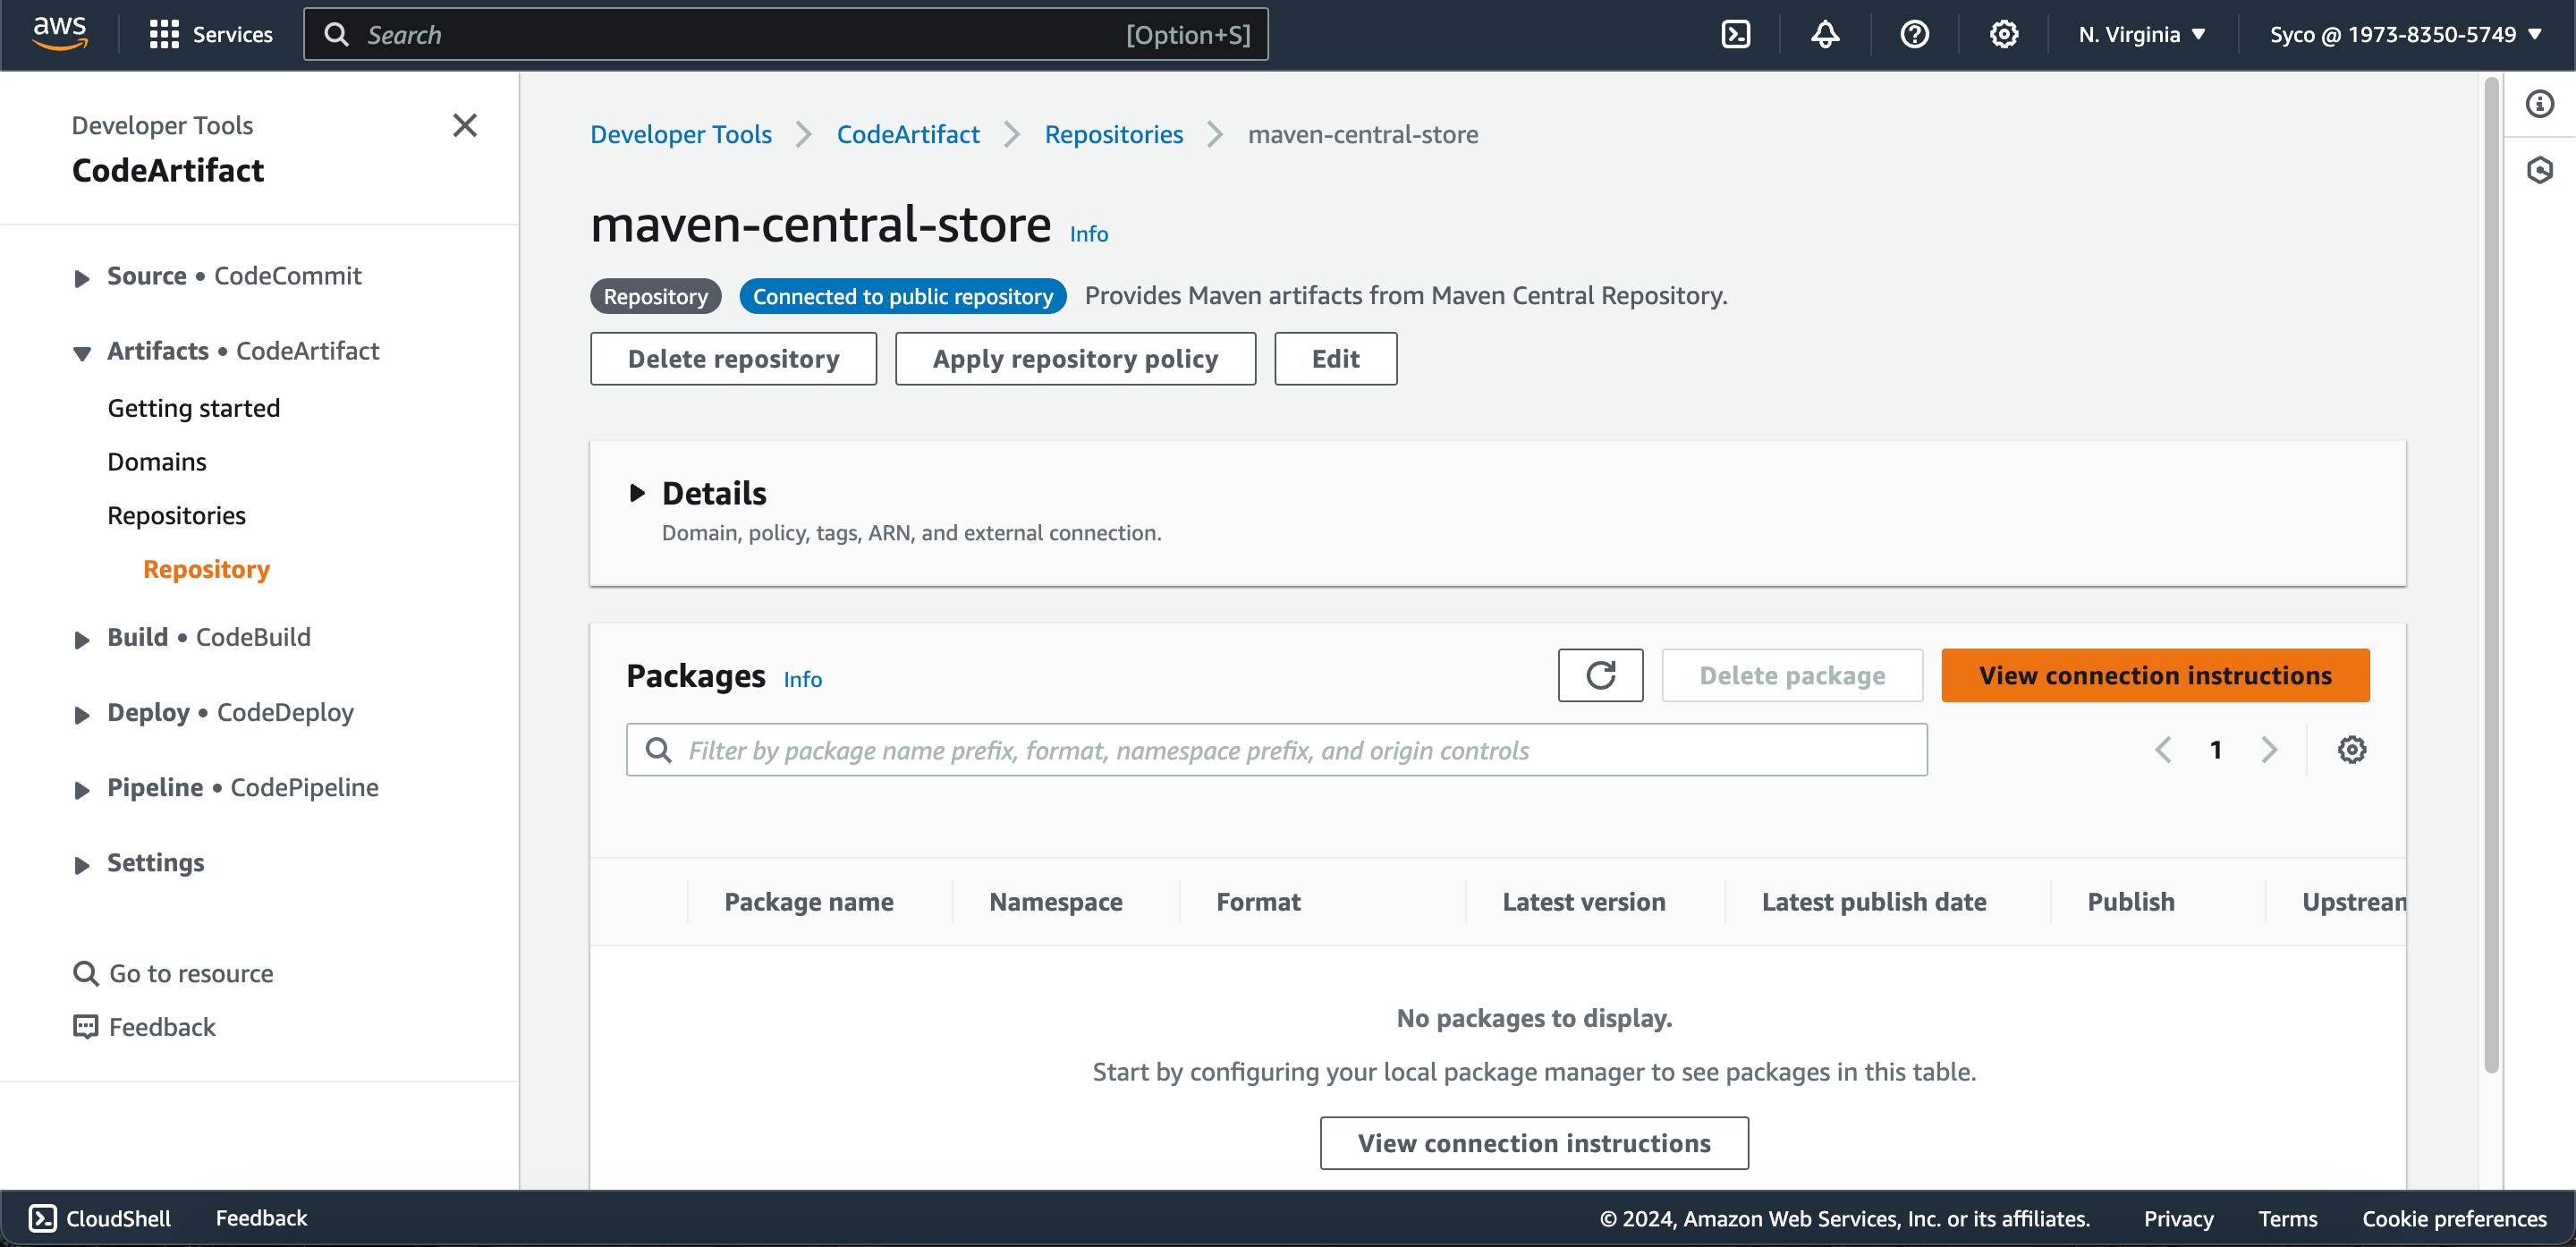
- Two repositories will be created, and we’ll be utilizing the “maven-central-store” repository for our purposes. Point your code to this repository for dependency management.
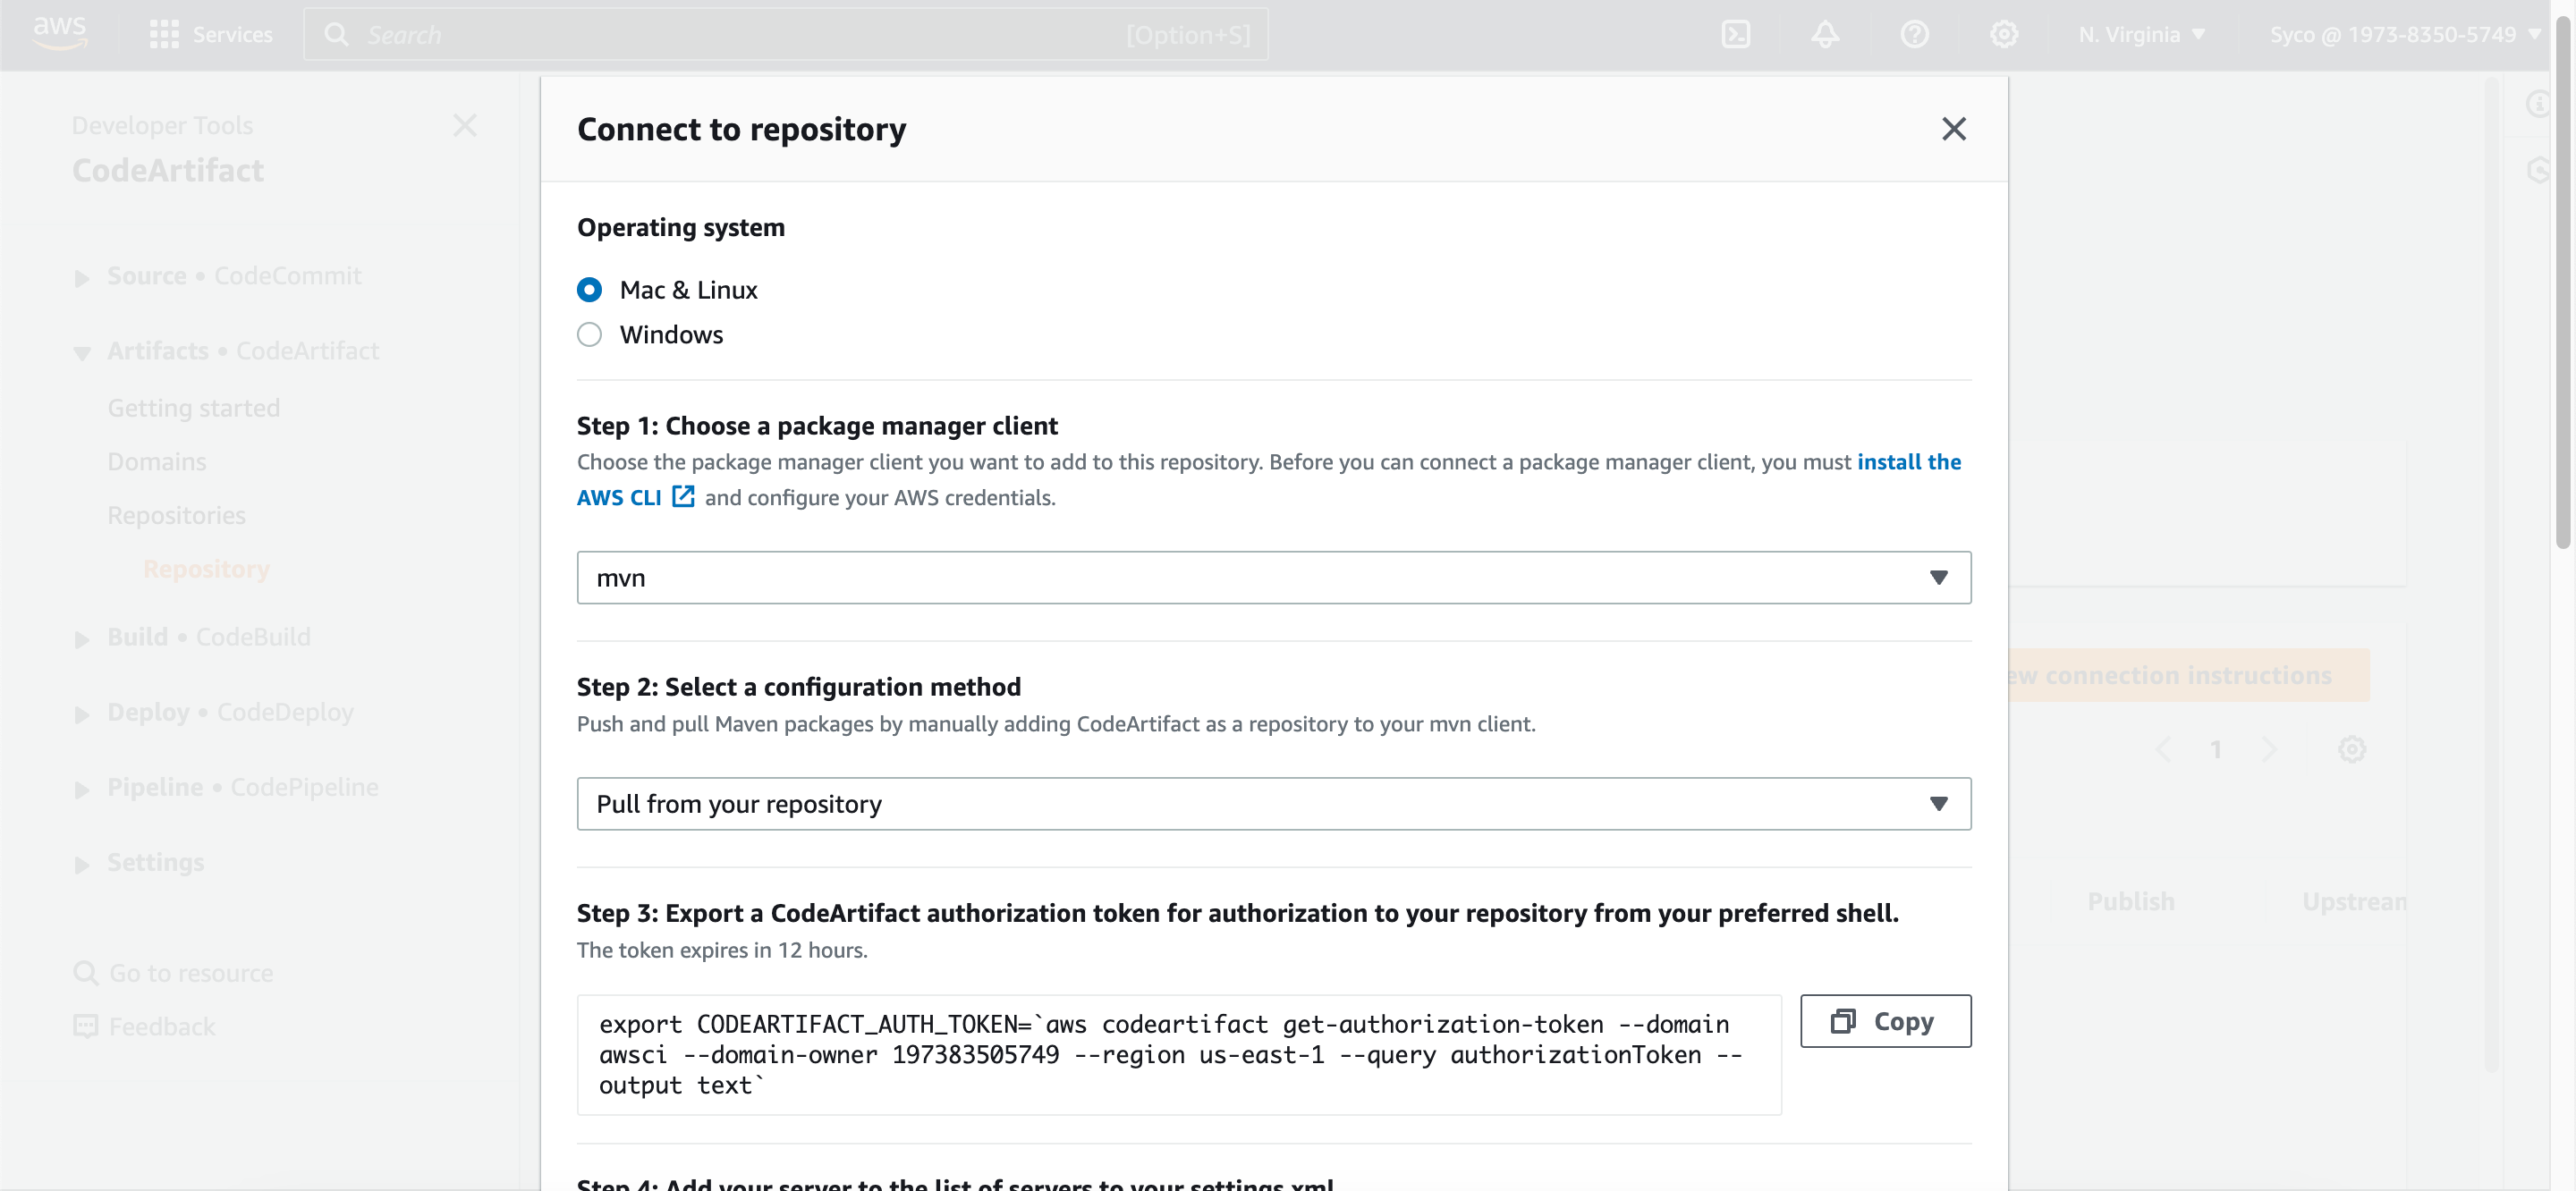
- Additionally, explore the connection instructions to ensure seamless integration with your build tools.
Step Three: SonarCloud Setup & AWS Parameter Store Setup
In the previous project that involved Jenkins, Nexus and SonarQube, we had to provision and set up our own sonar server ourselves, but here, we wouldn’t need to. We’ll be using SonarCloud and once we set it up, the details will be mentioned in the CodeBuild project. To achieve this;
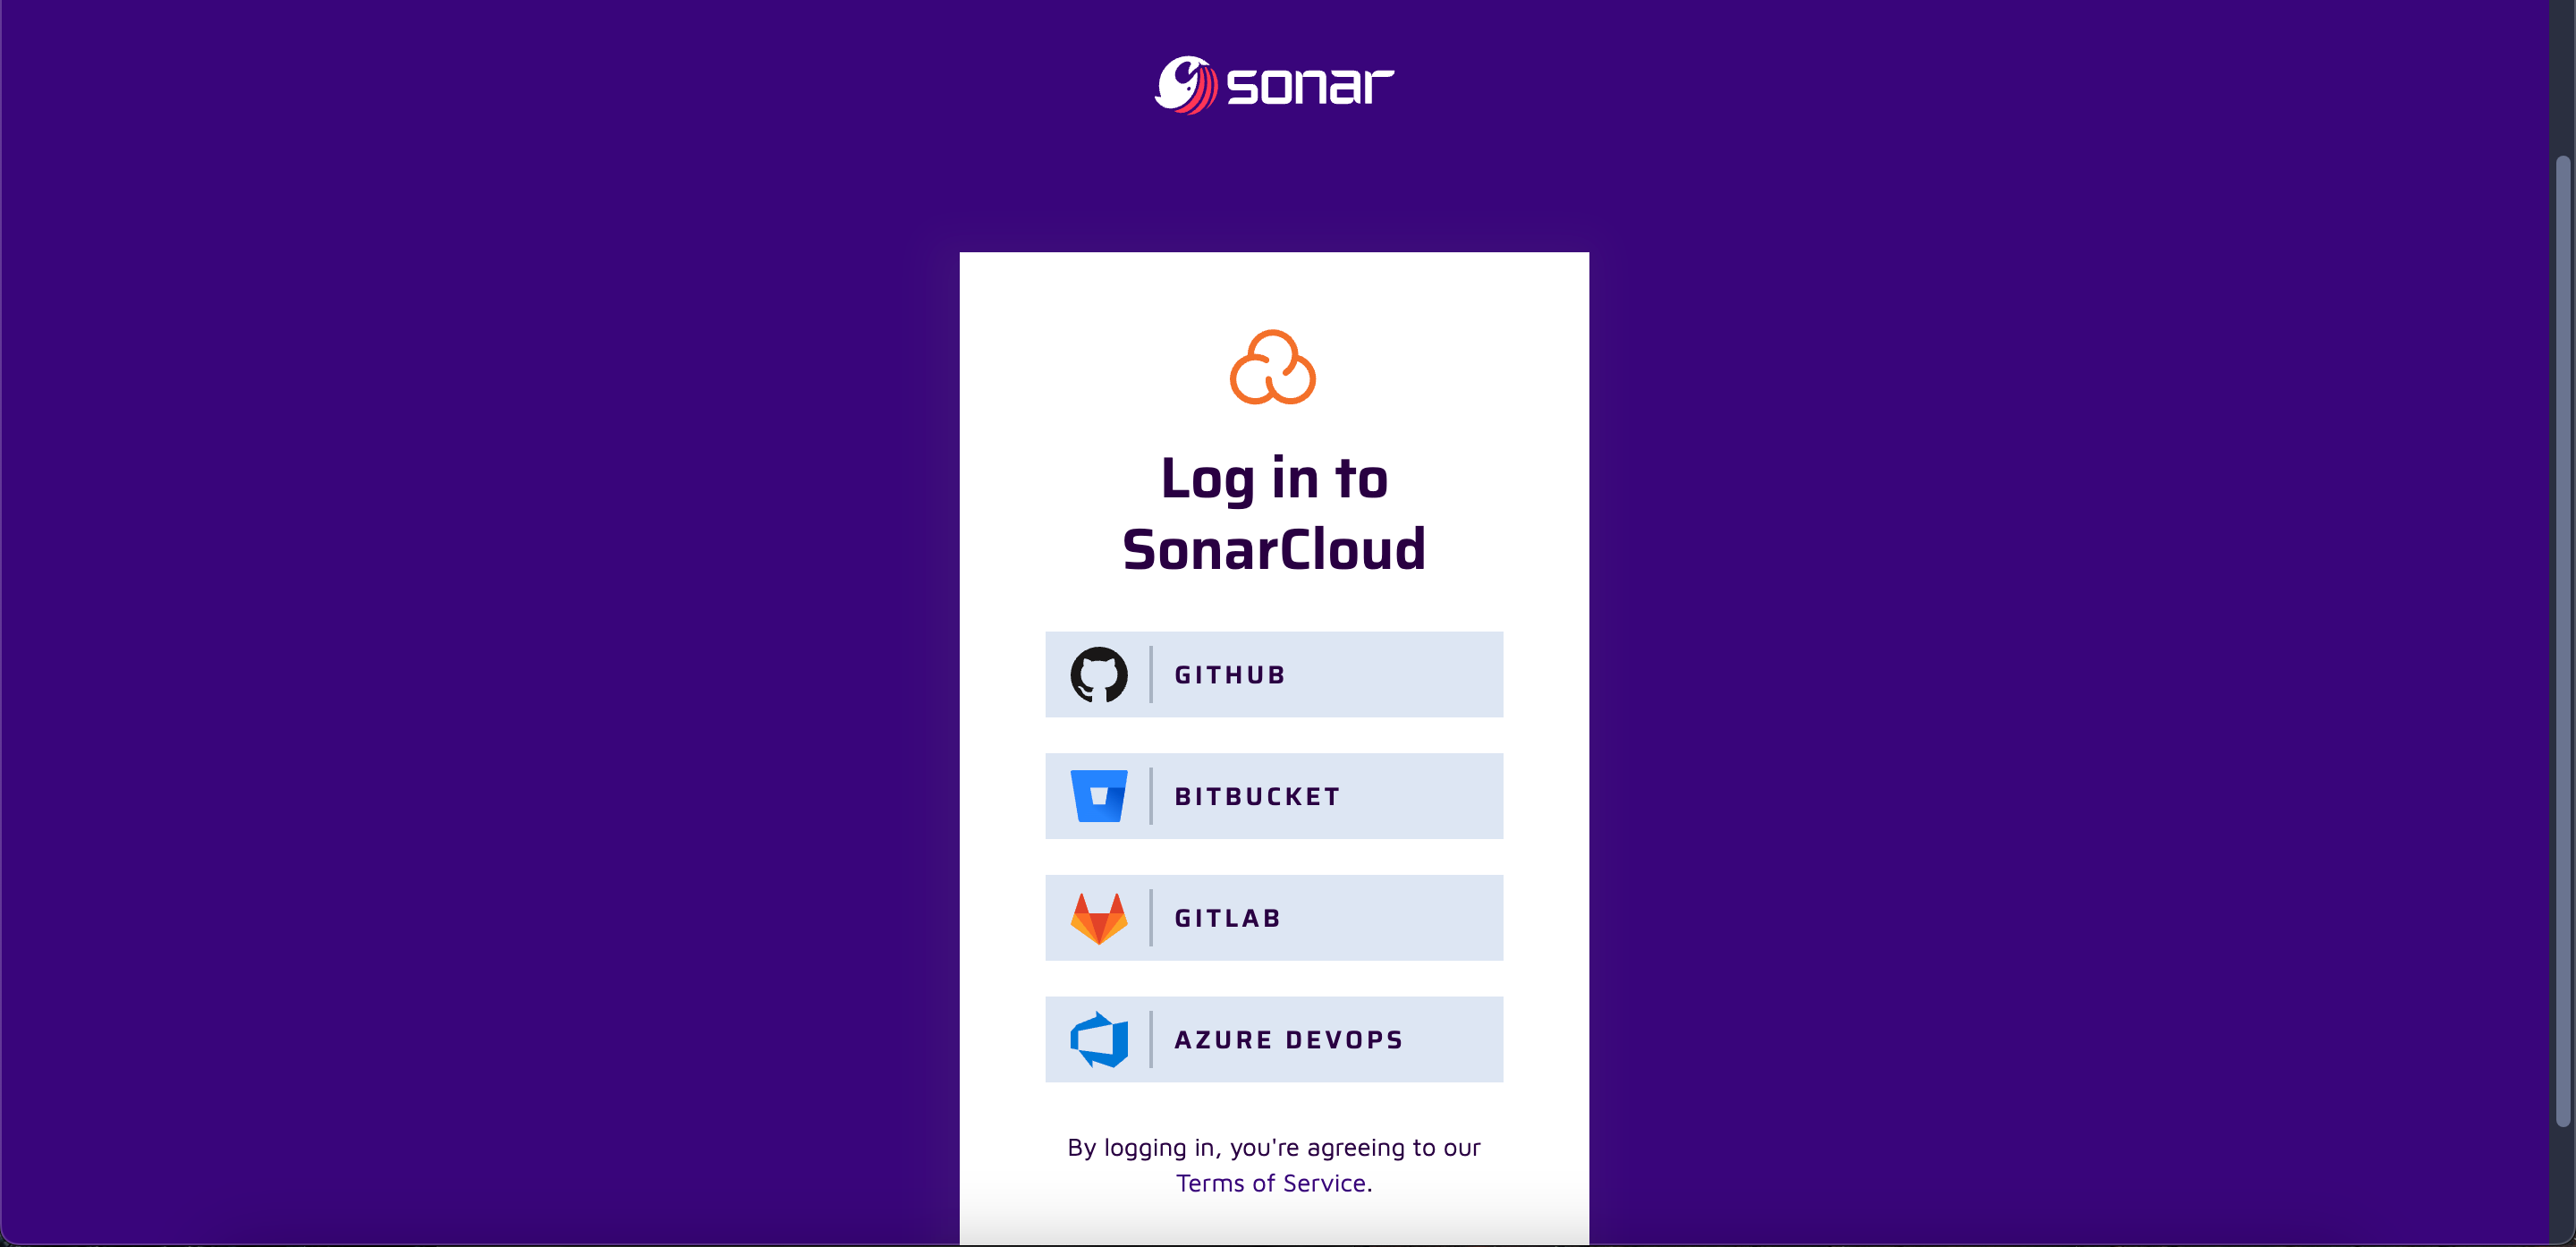
- Open a new tab and search for “SonarCloud.” Access the first result or visit ‘sonarcloud.io.’ Make sure you are logged in to your GitHub account.
- On the SonarCloud login page, choose “GitHub” as the login option. If you don’t have an account, create one.
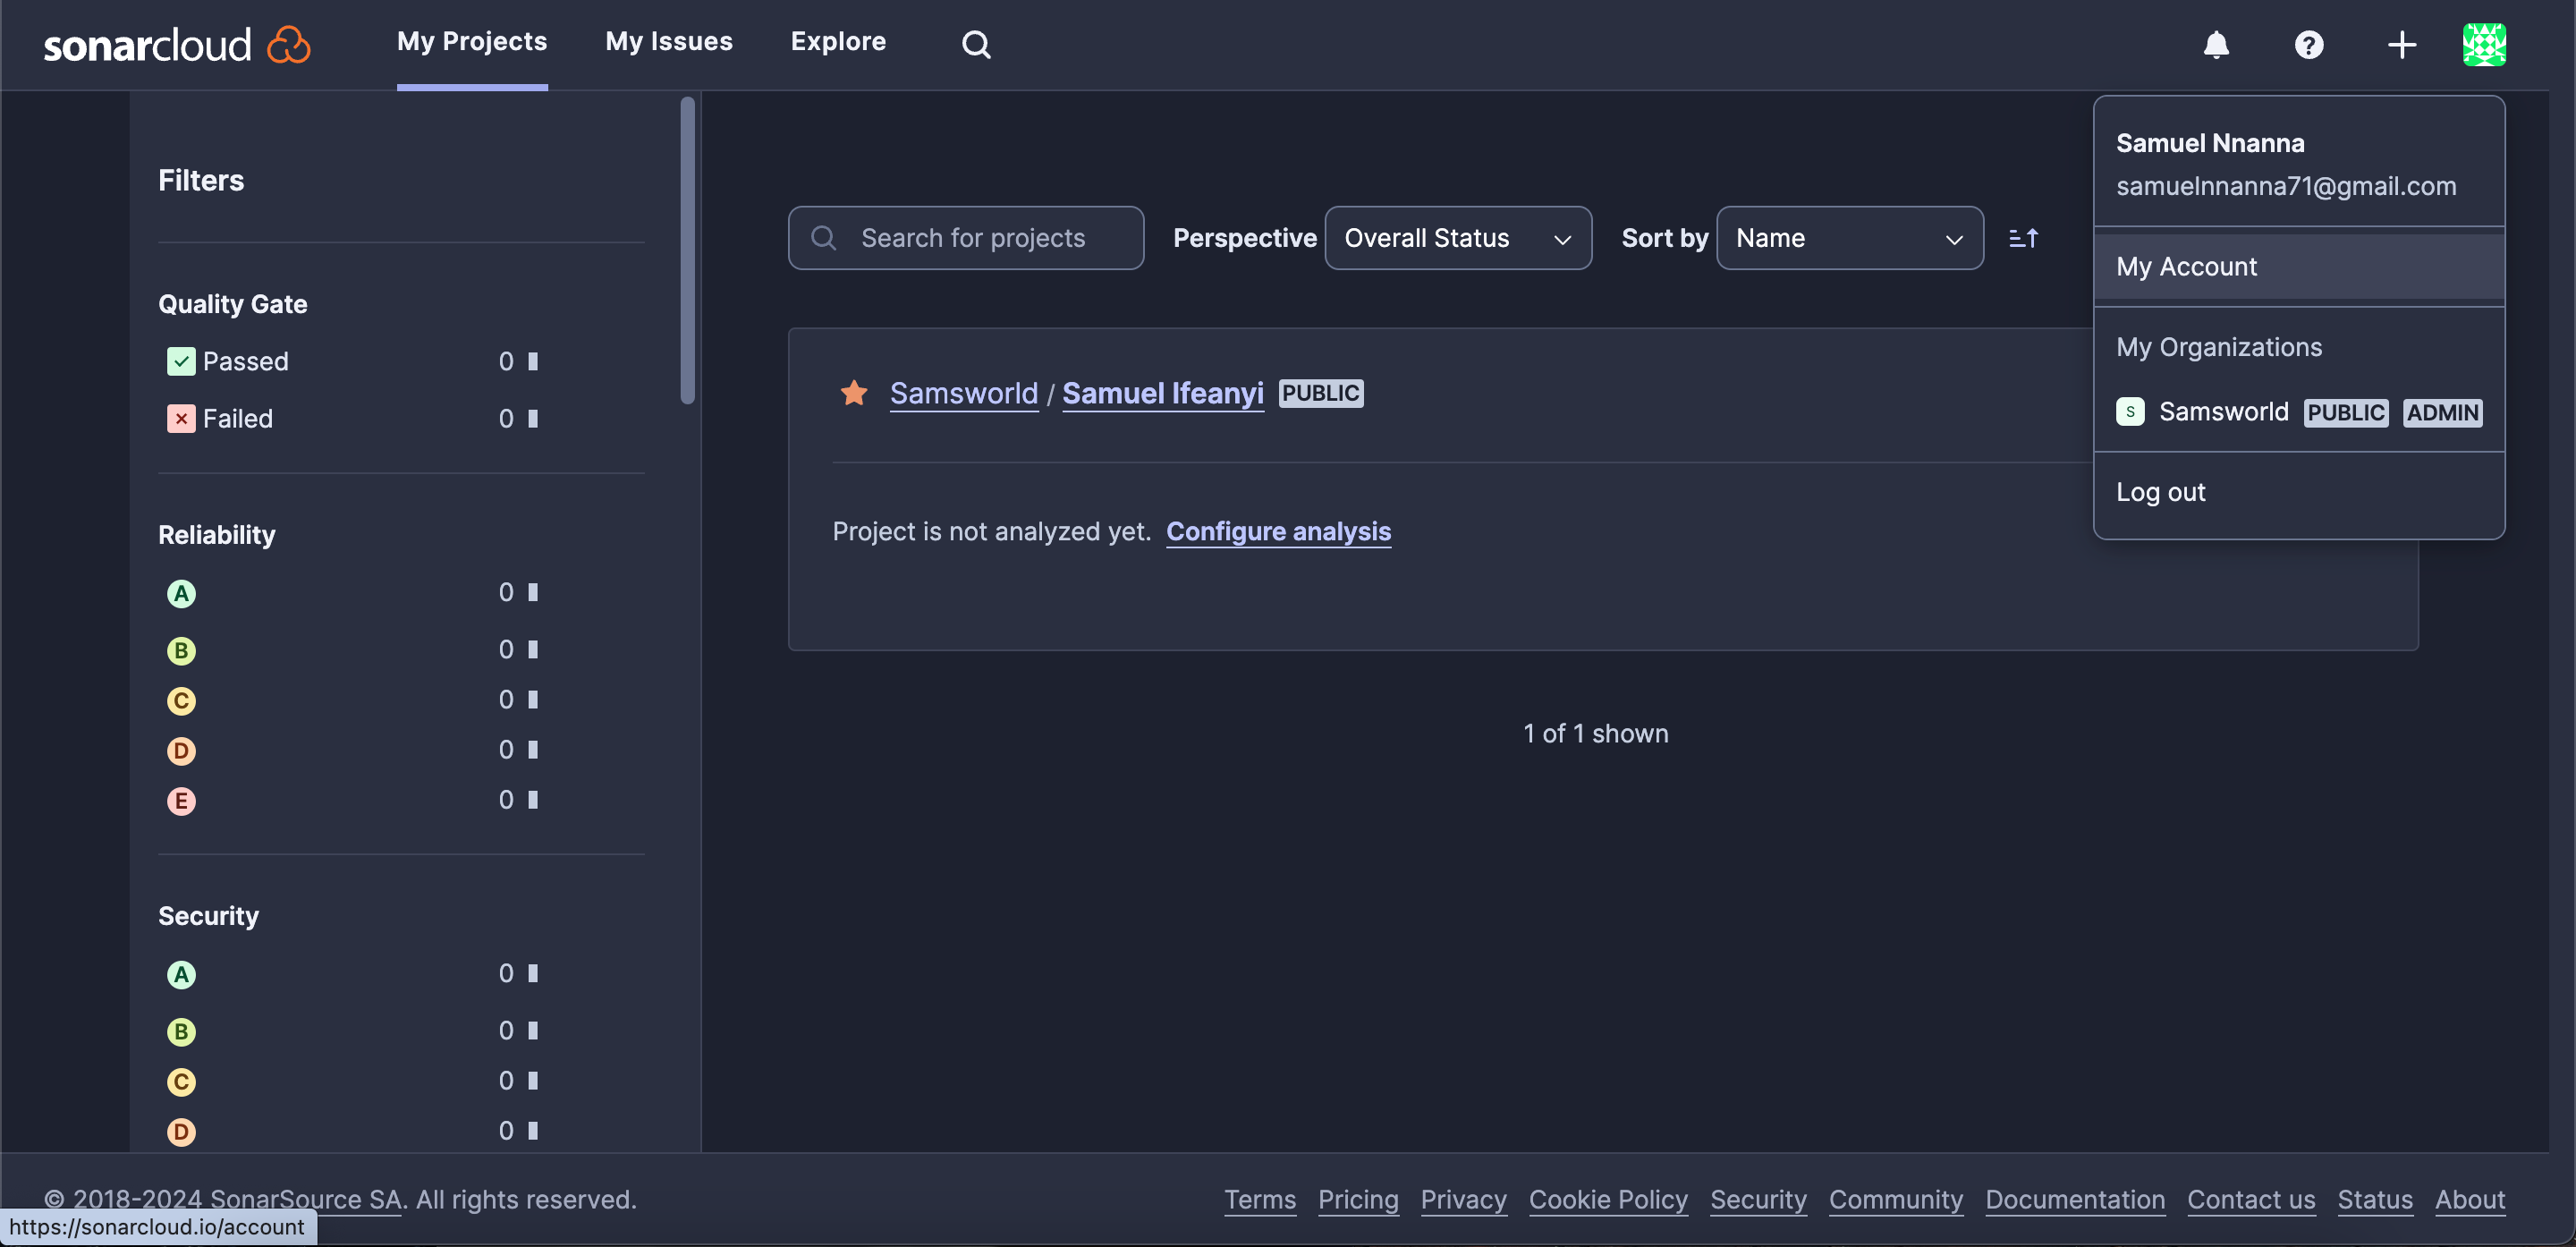
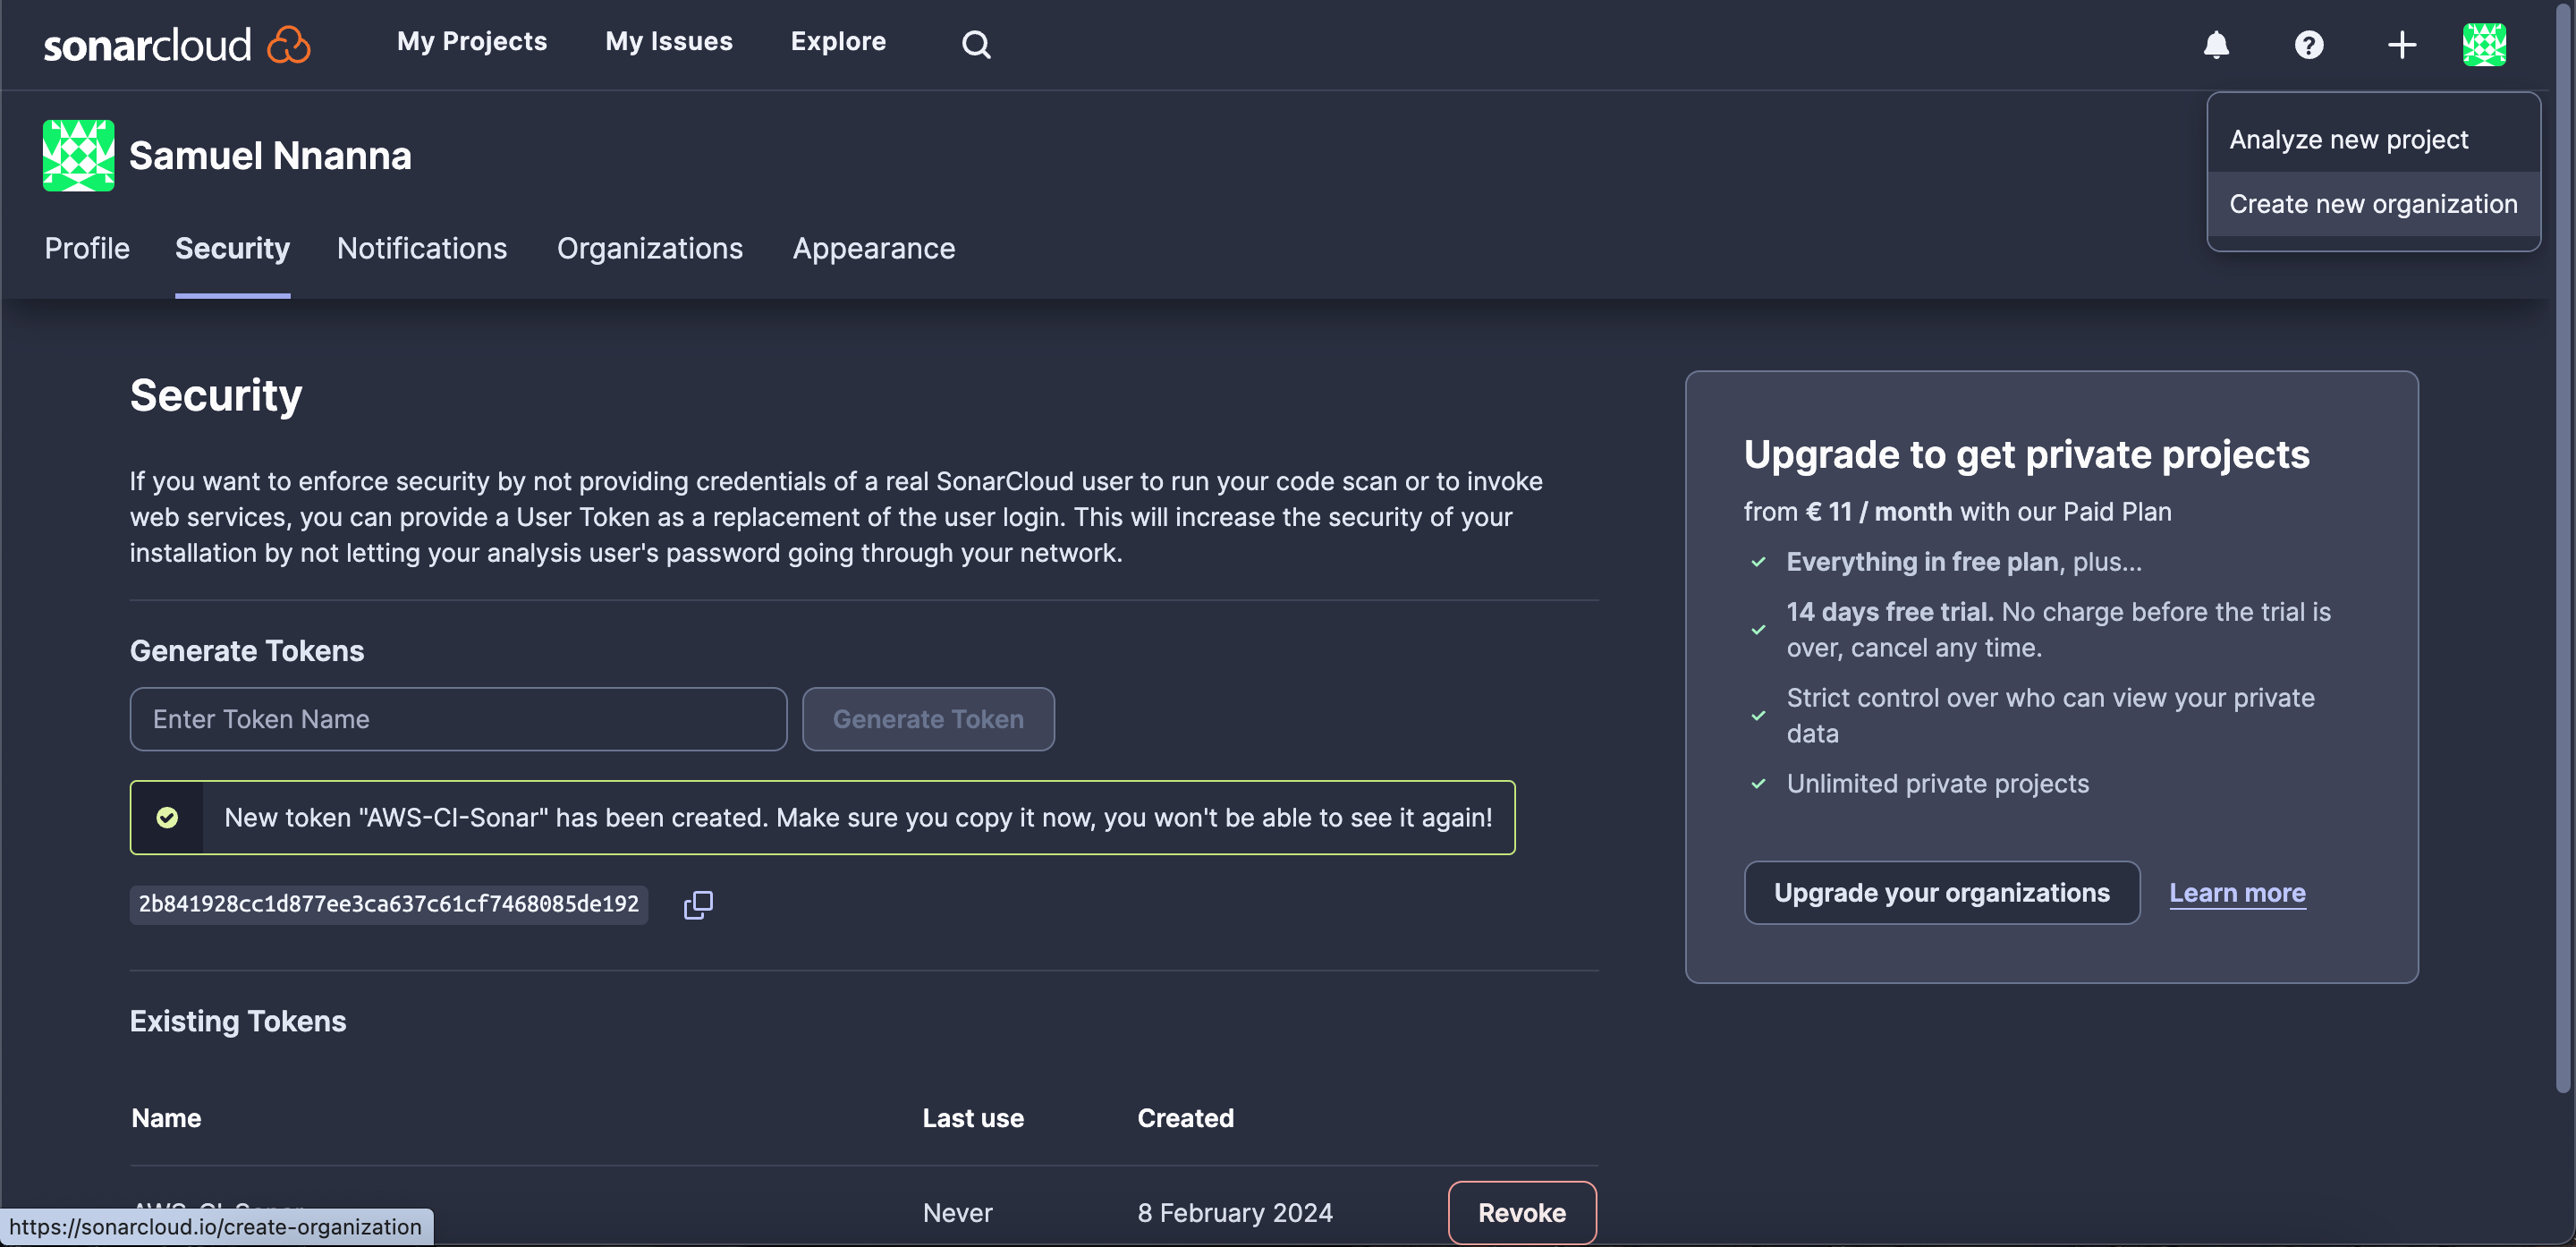
- After successfully logging in, click on the profile icon. Navigate to “My Account,” then go to “Security.” Provide a token name, generate, and save the token.
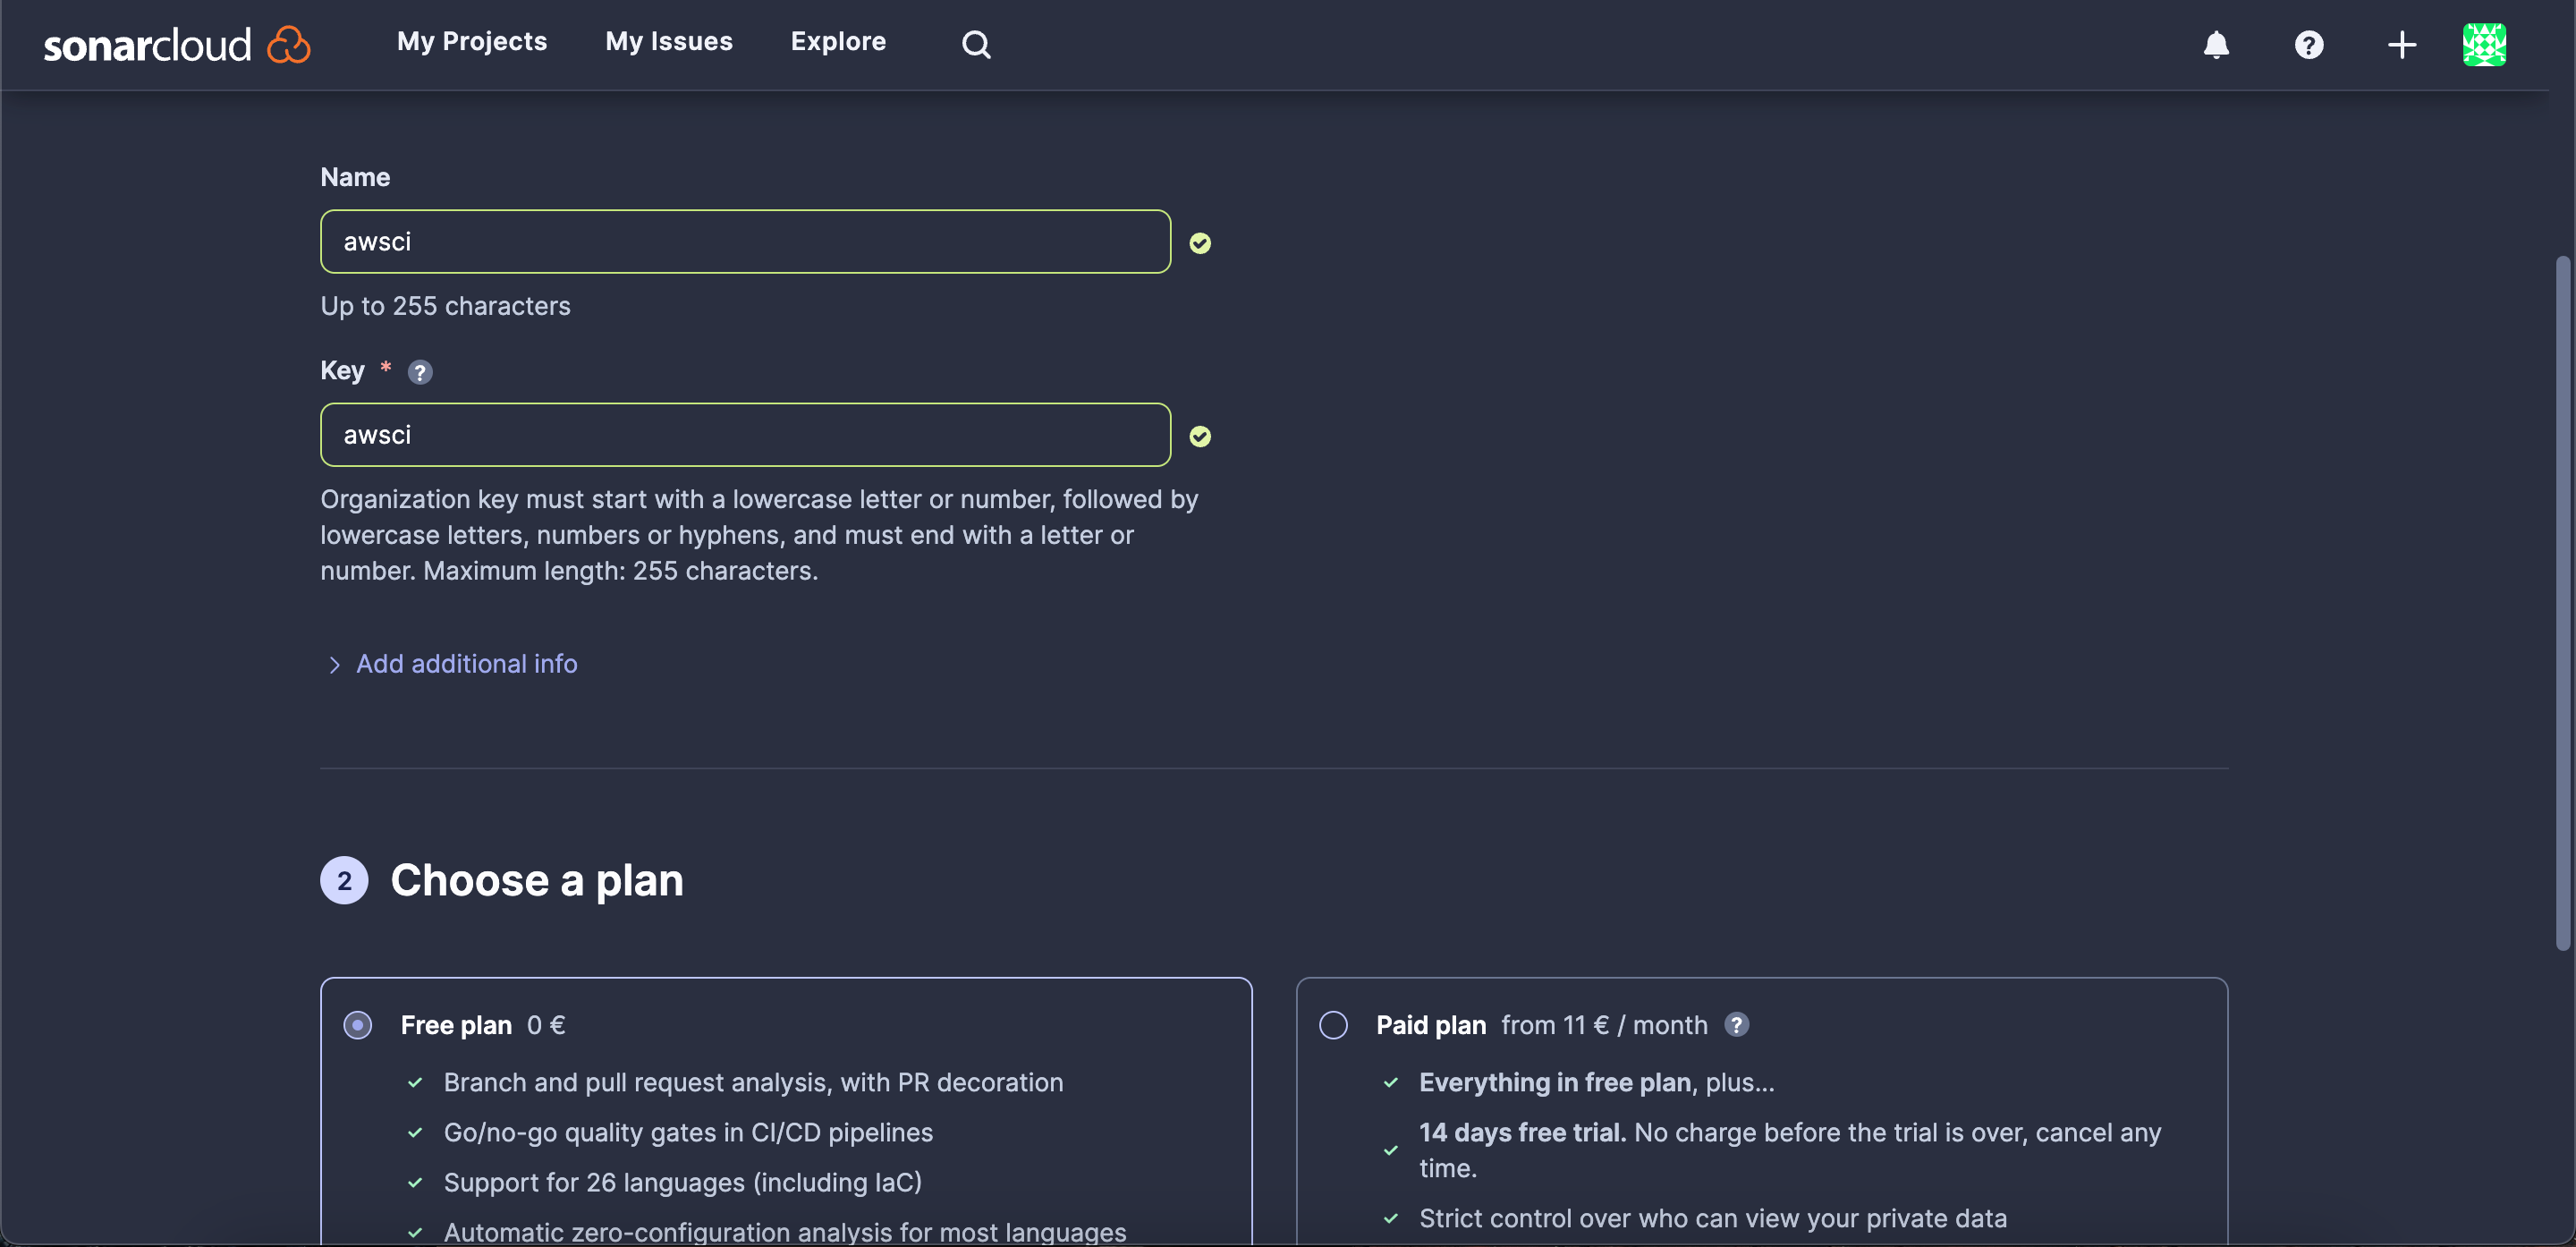
- On the top right corner, click the “+”, then select “Create New Organization.” Opt to create one manually, assign a unique name, choose the free plan, and click on “Create Organization.”
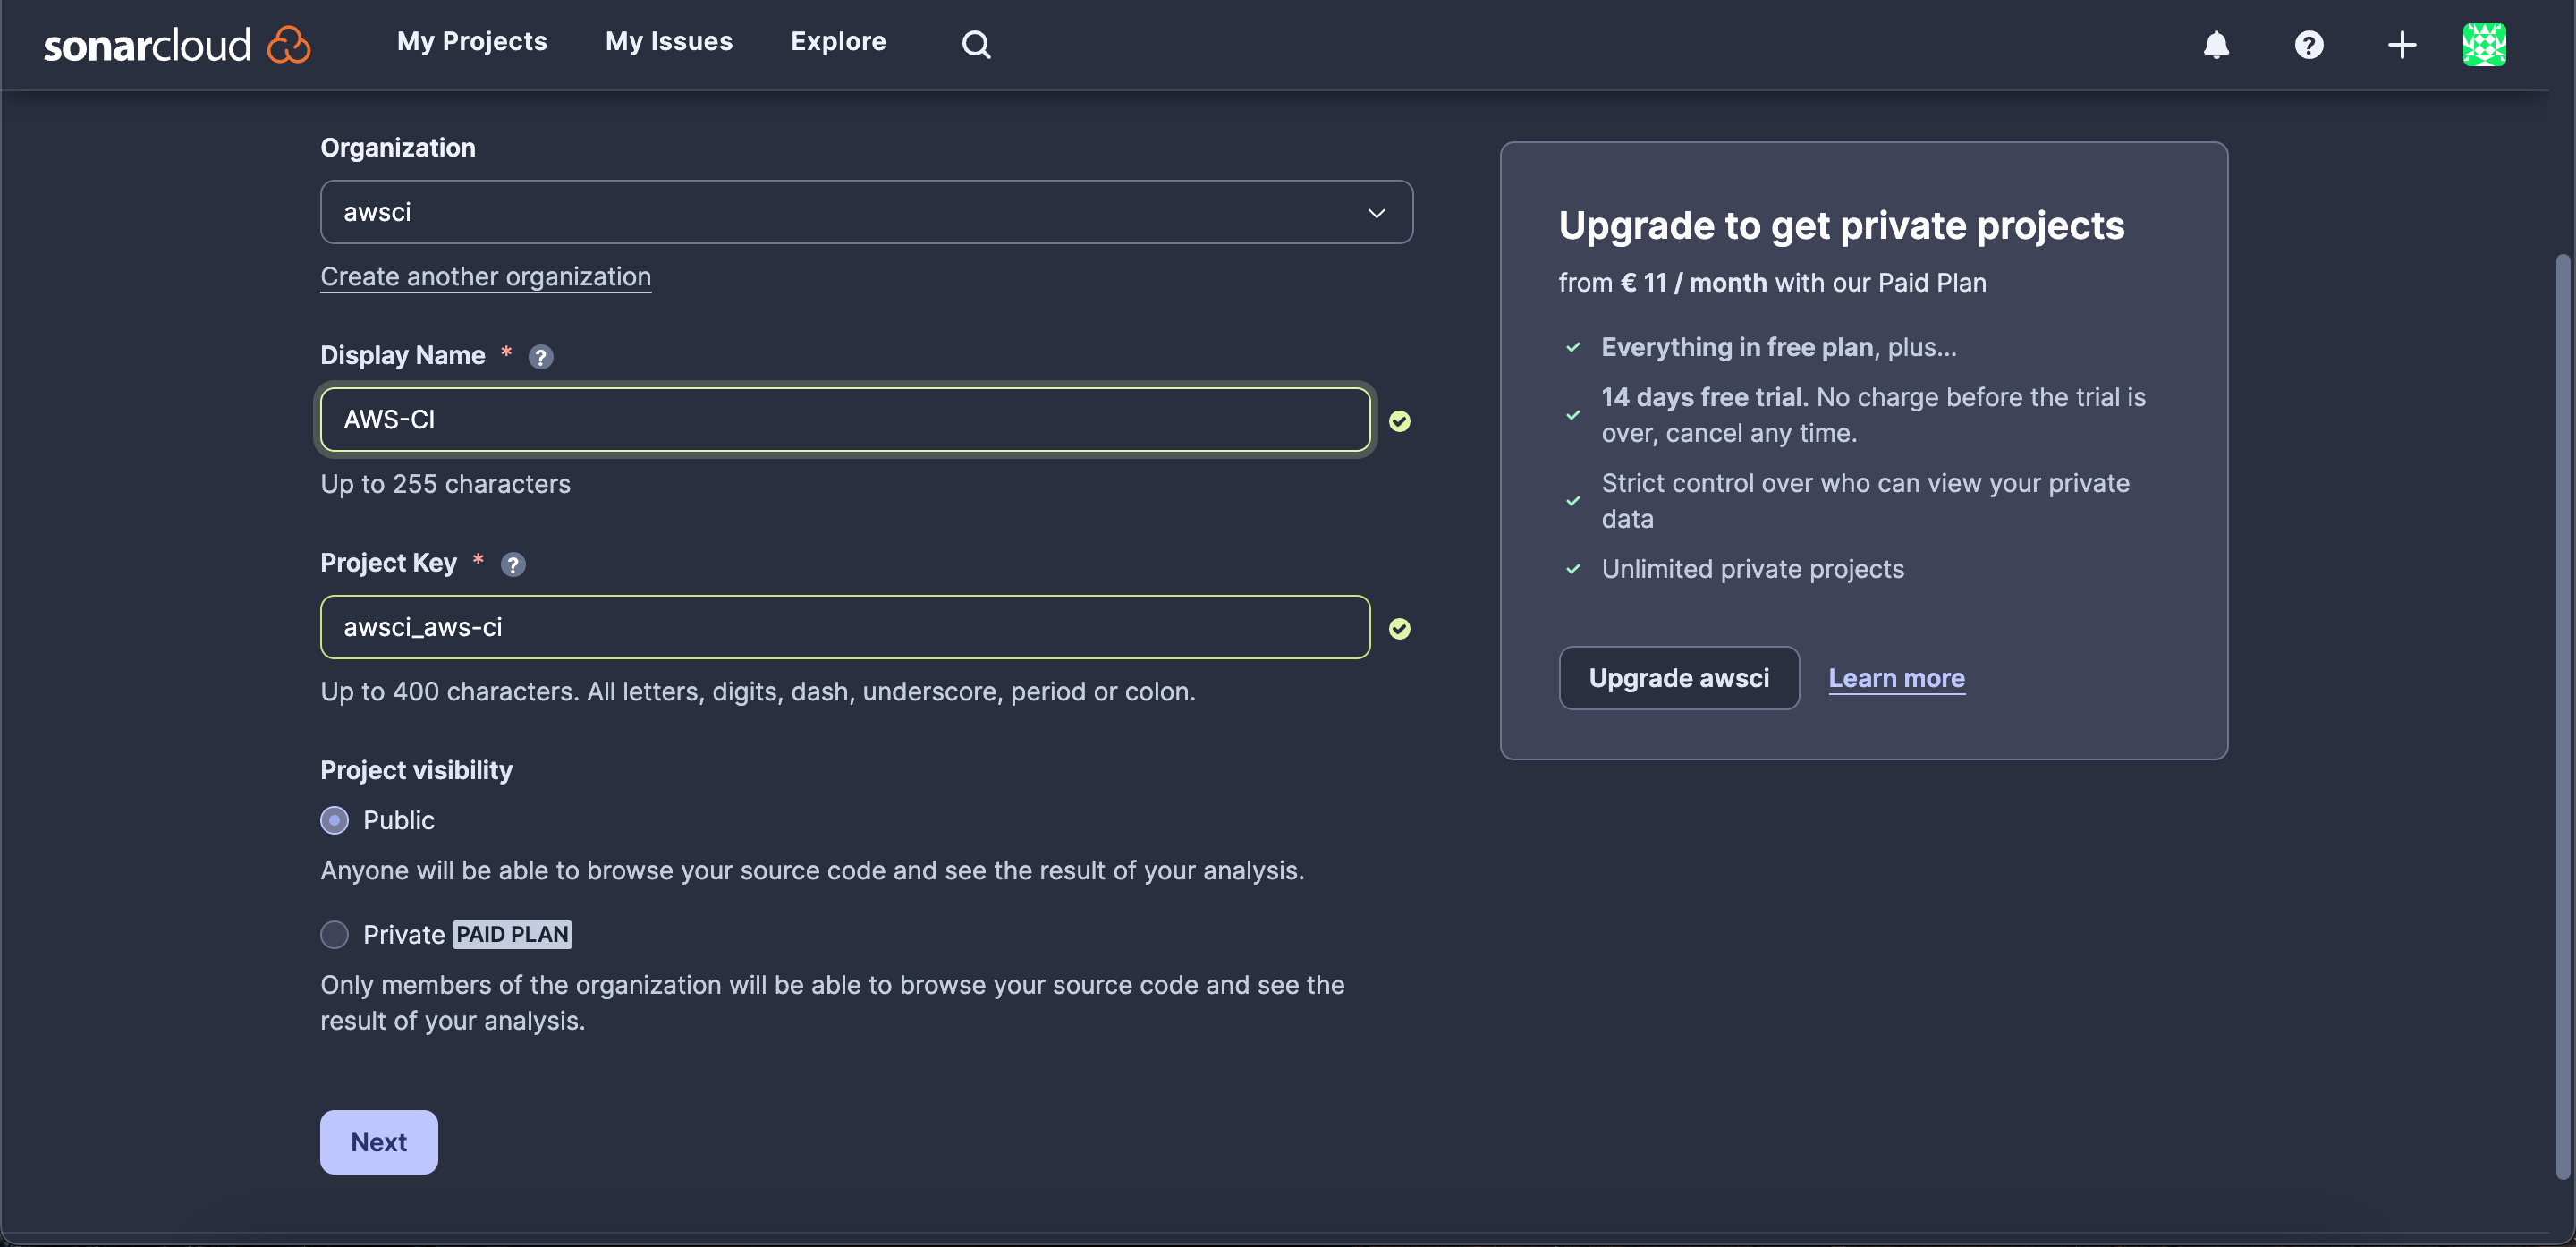
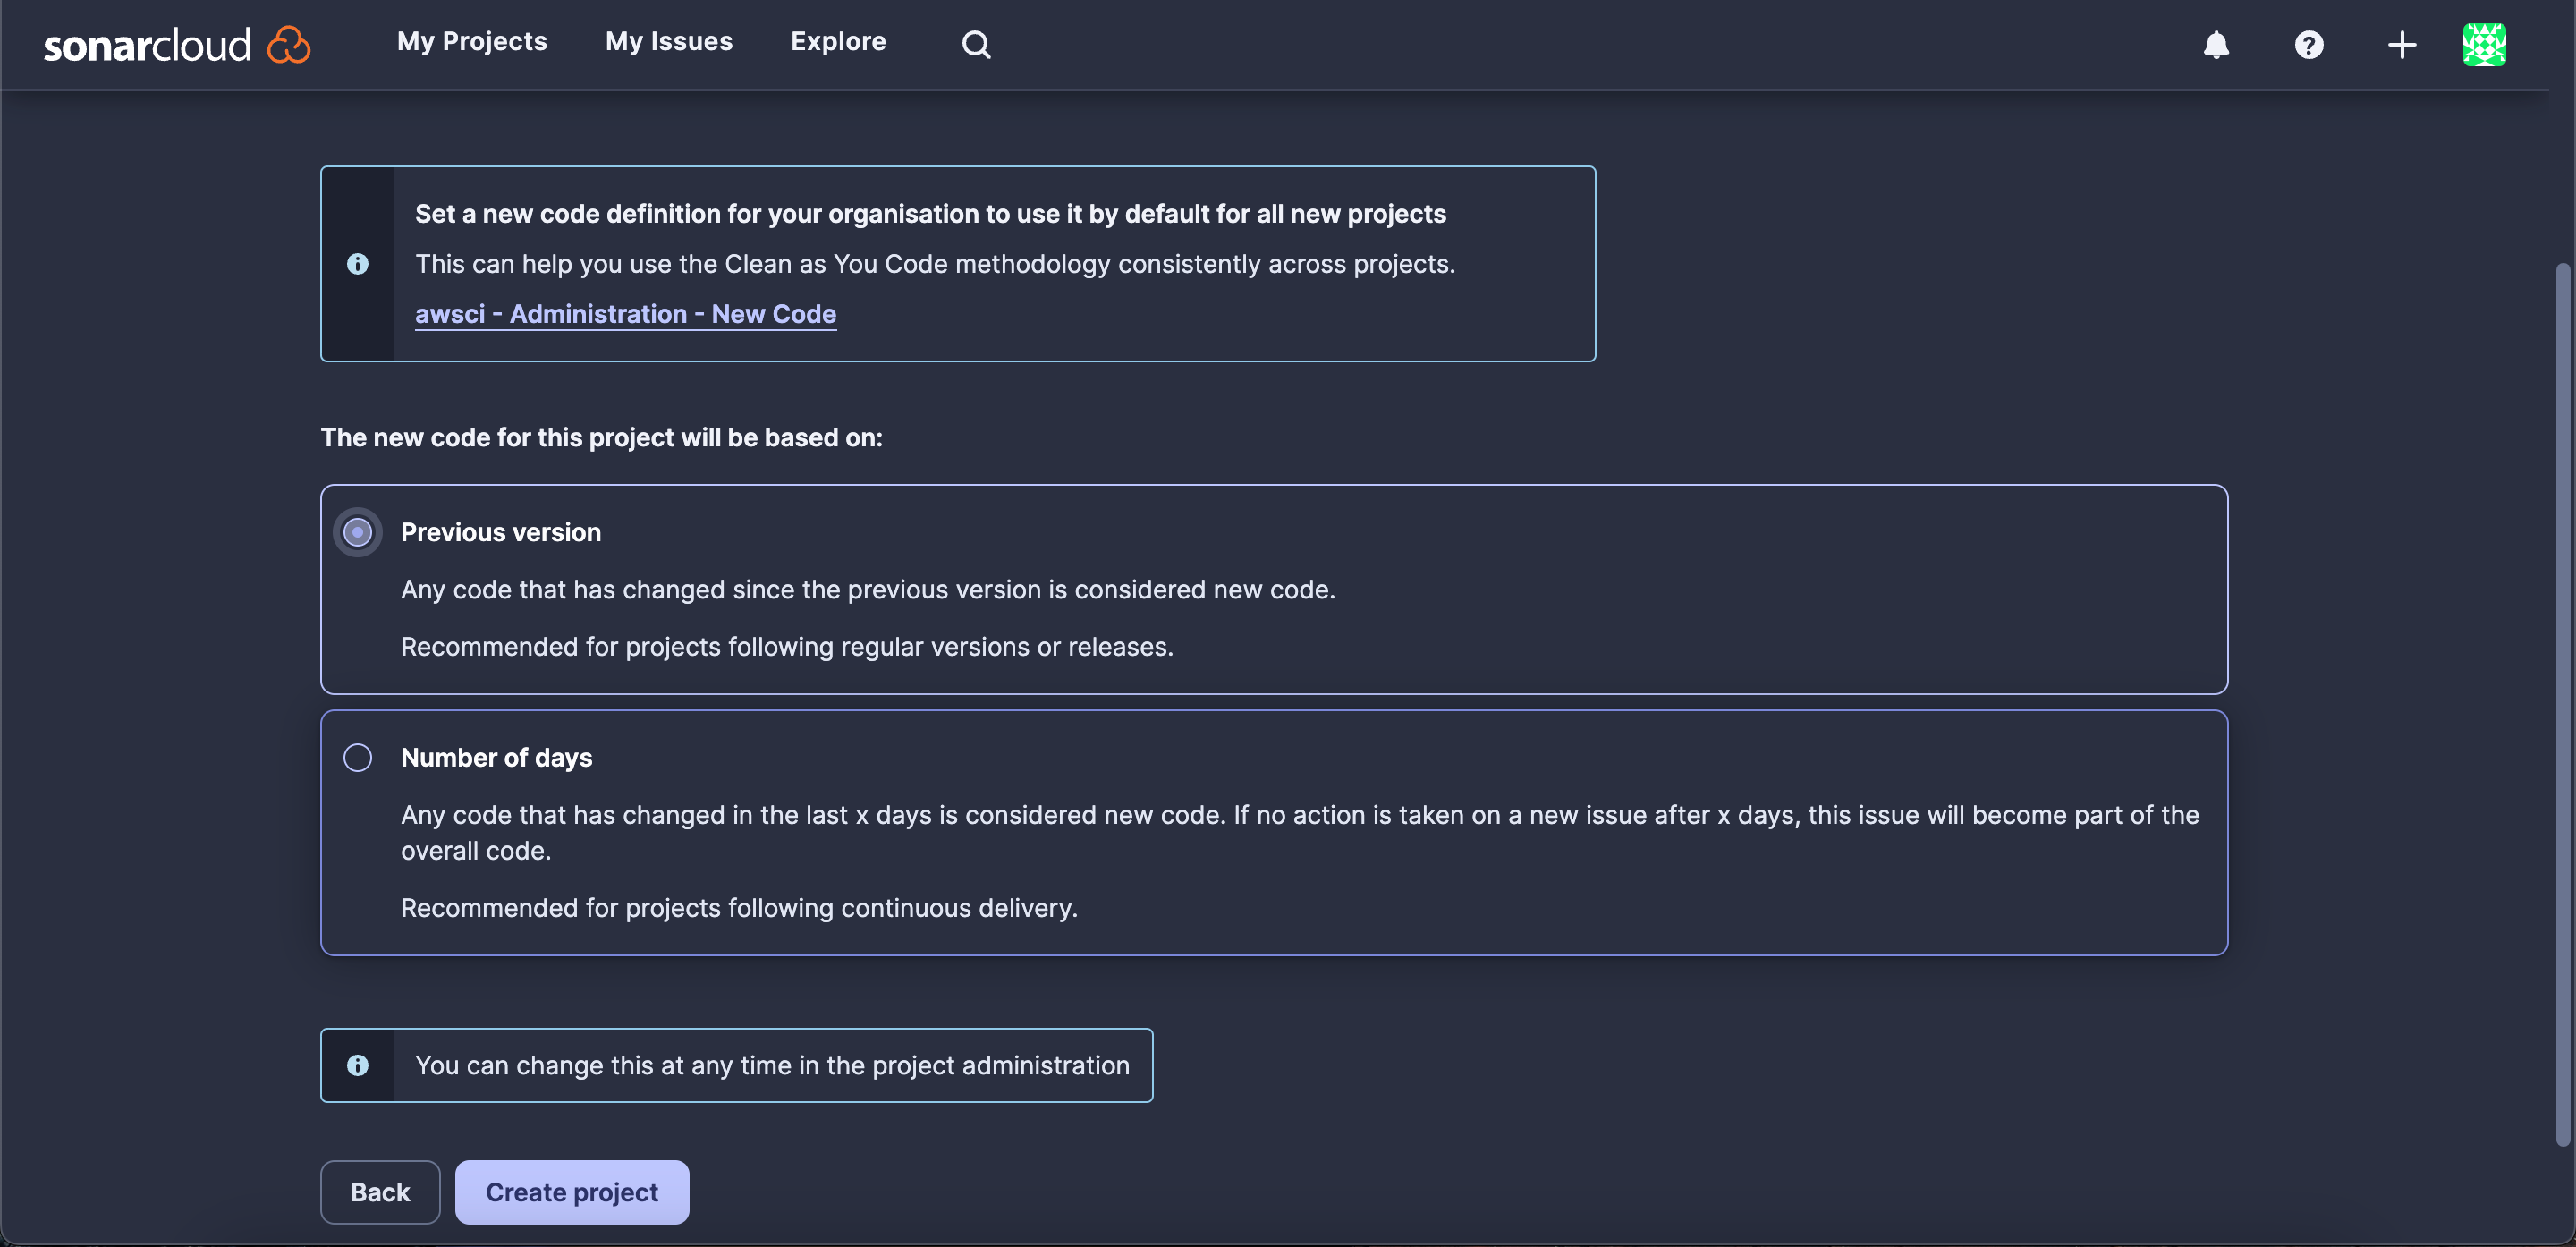
- After creating the organization, click on “Analyze New Project.” Provide a display name and Project key, click on “Next.” Check the radio button for “Previous Version” and click on “Create Project.”
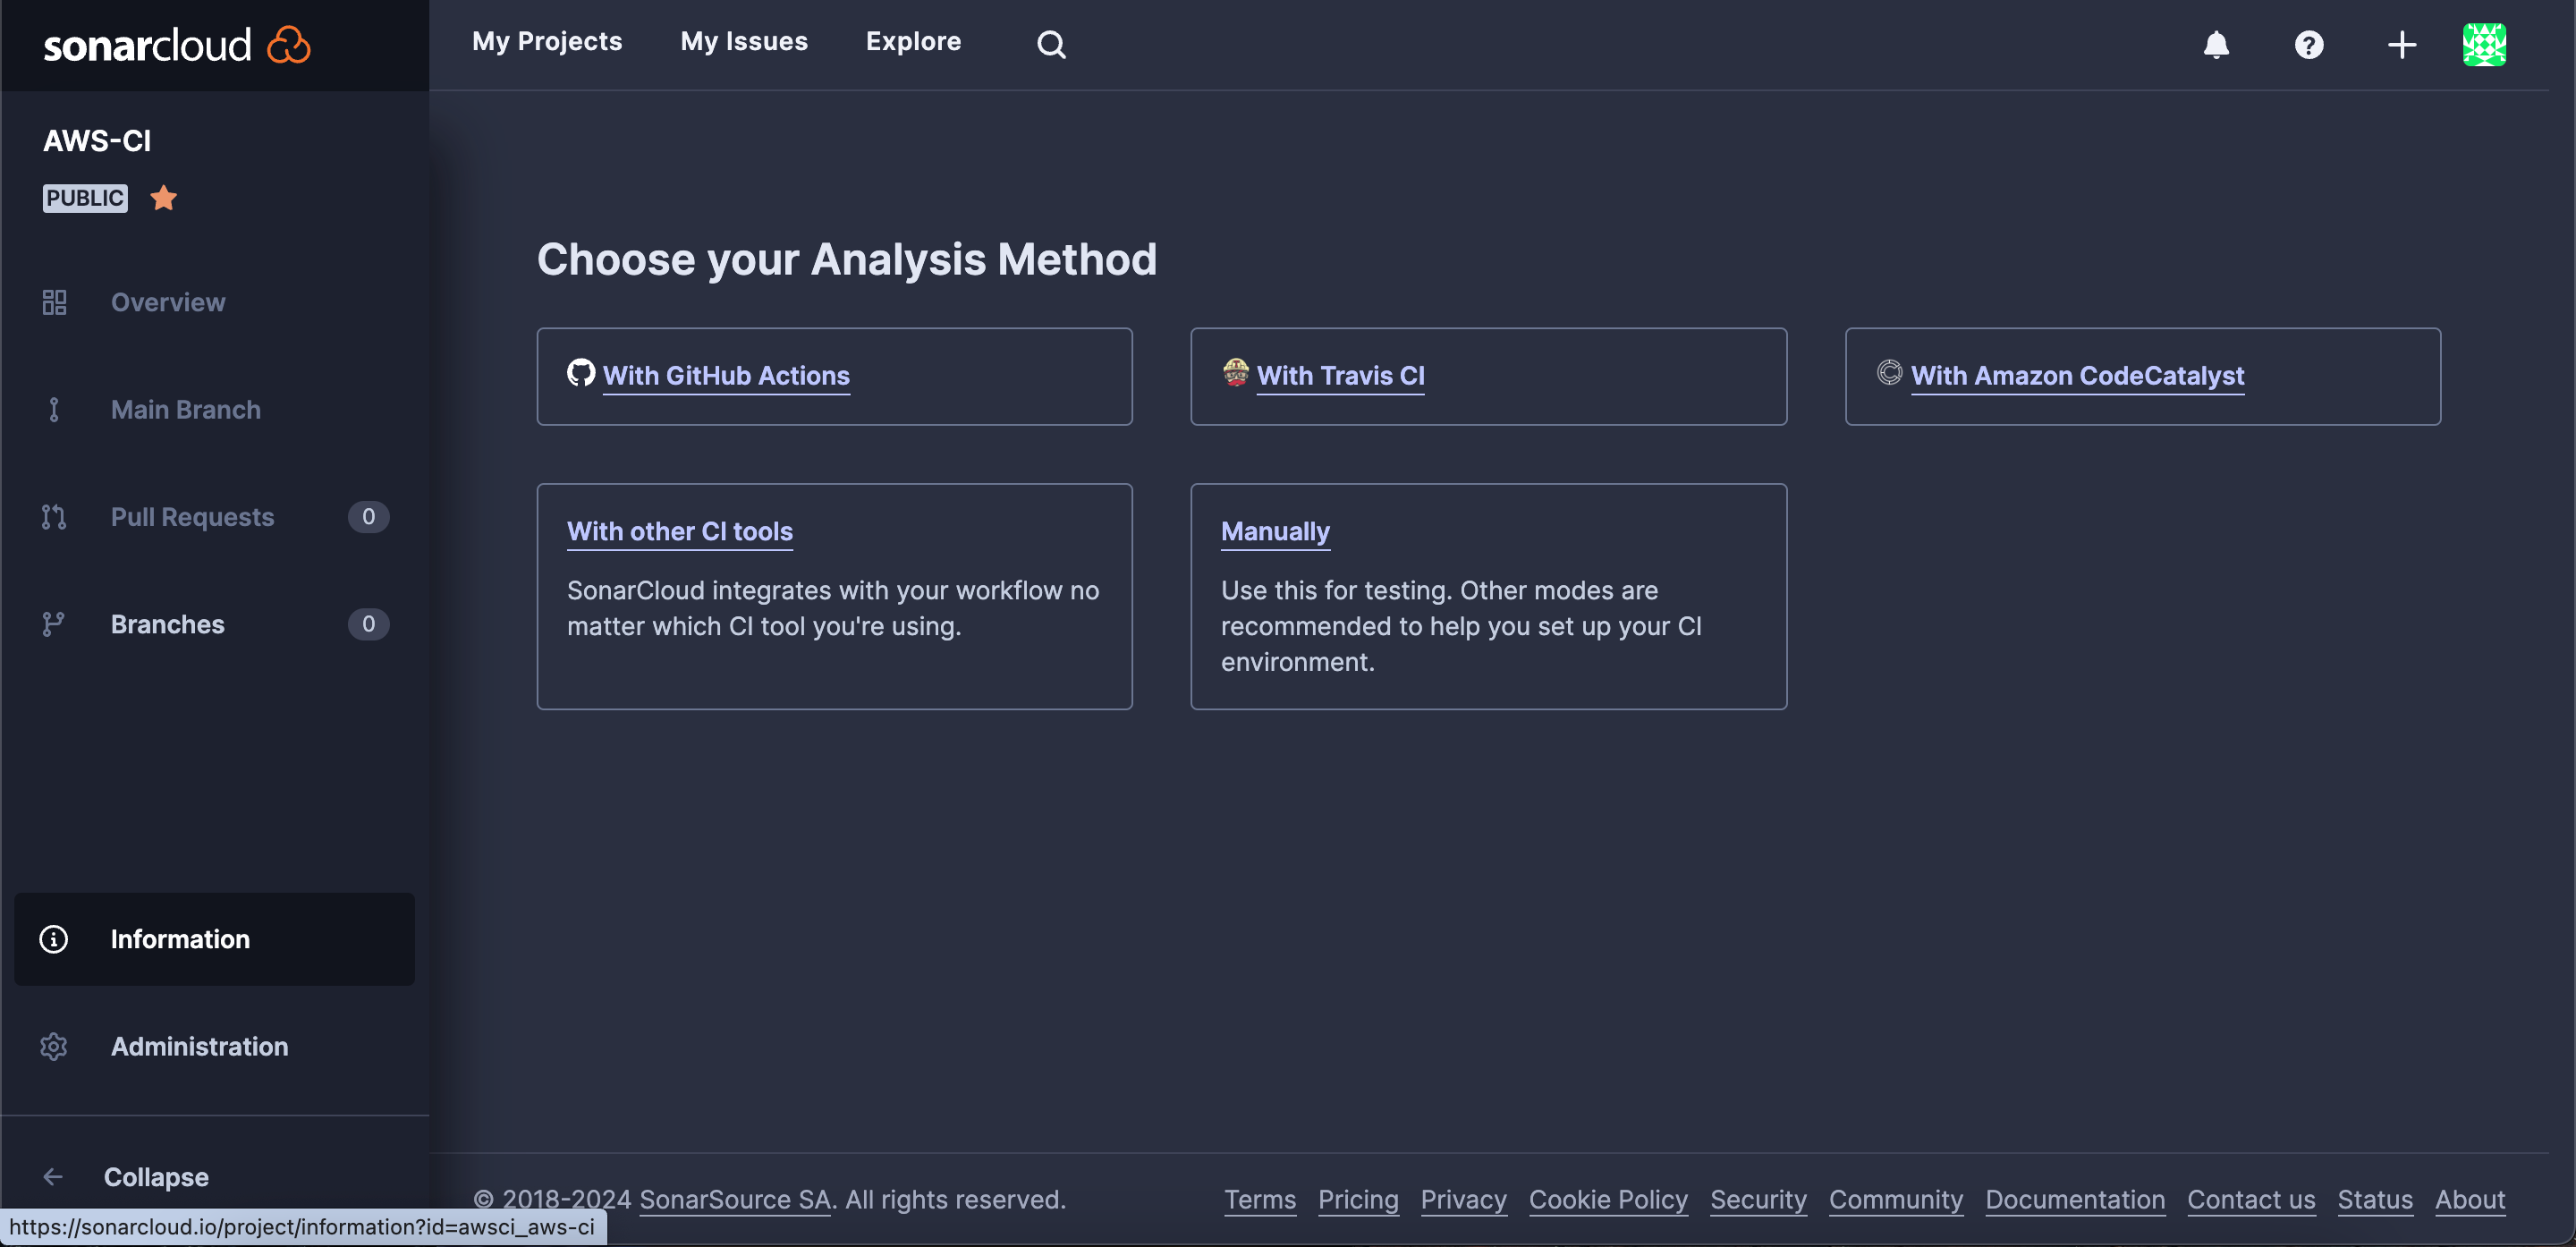
- Navigate to the “Information” tab, copy both the Project Key and Organization Key. Keep these credentials secure as they will be used in the next phase.

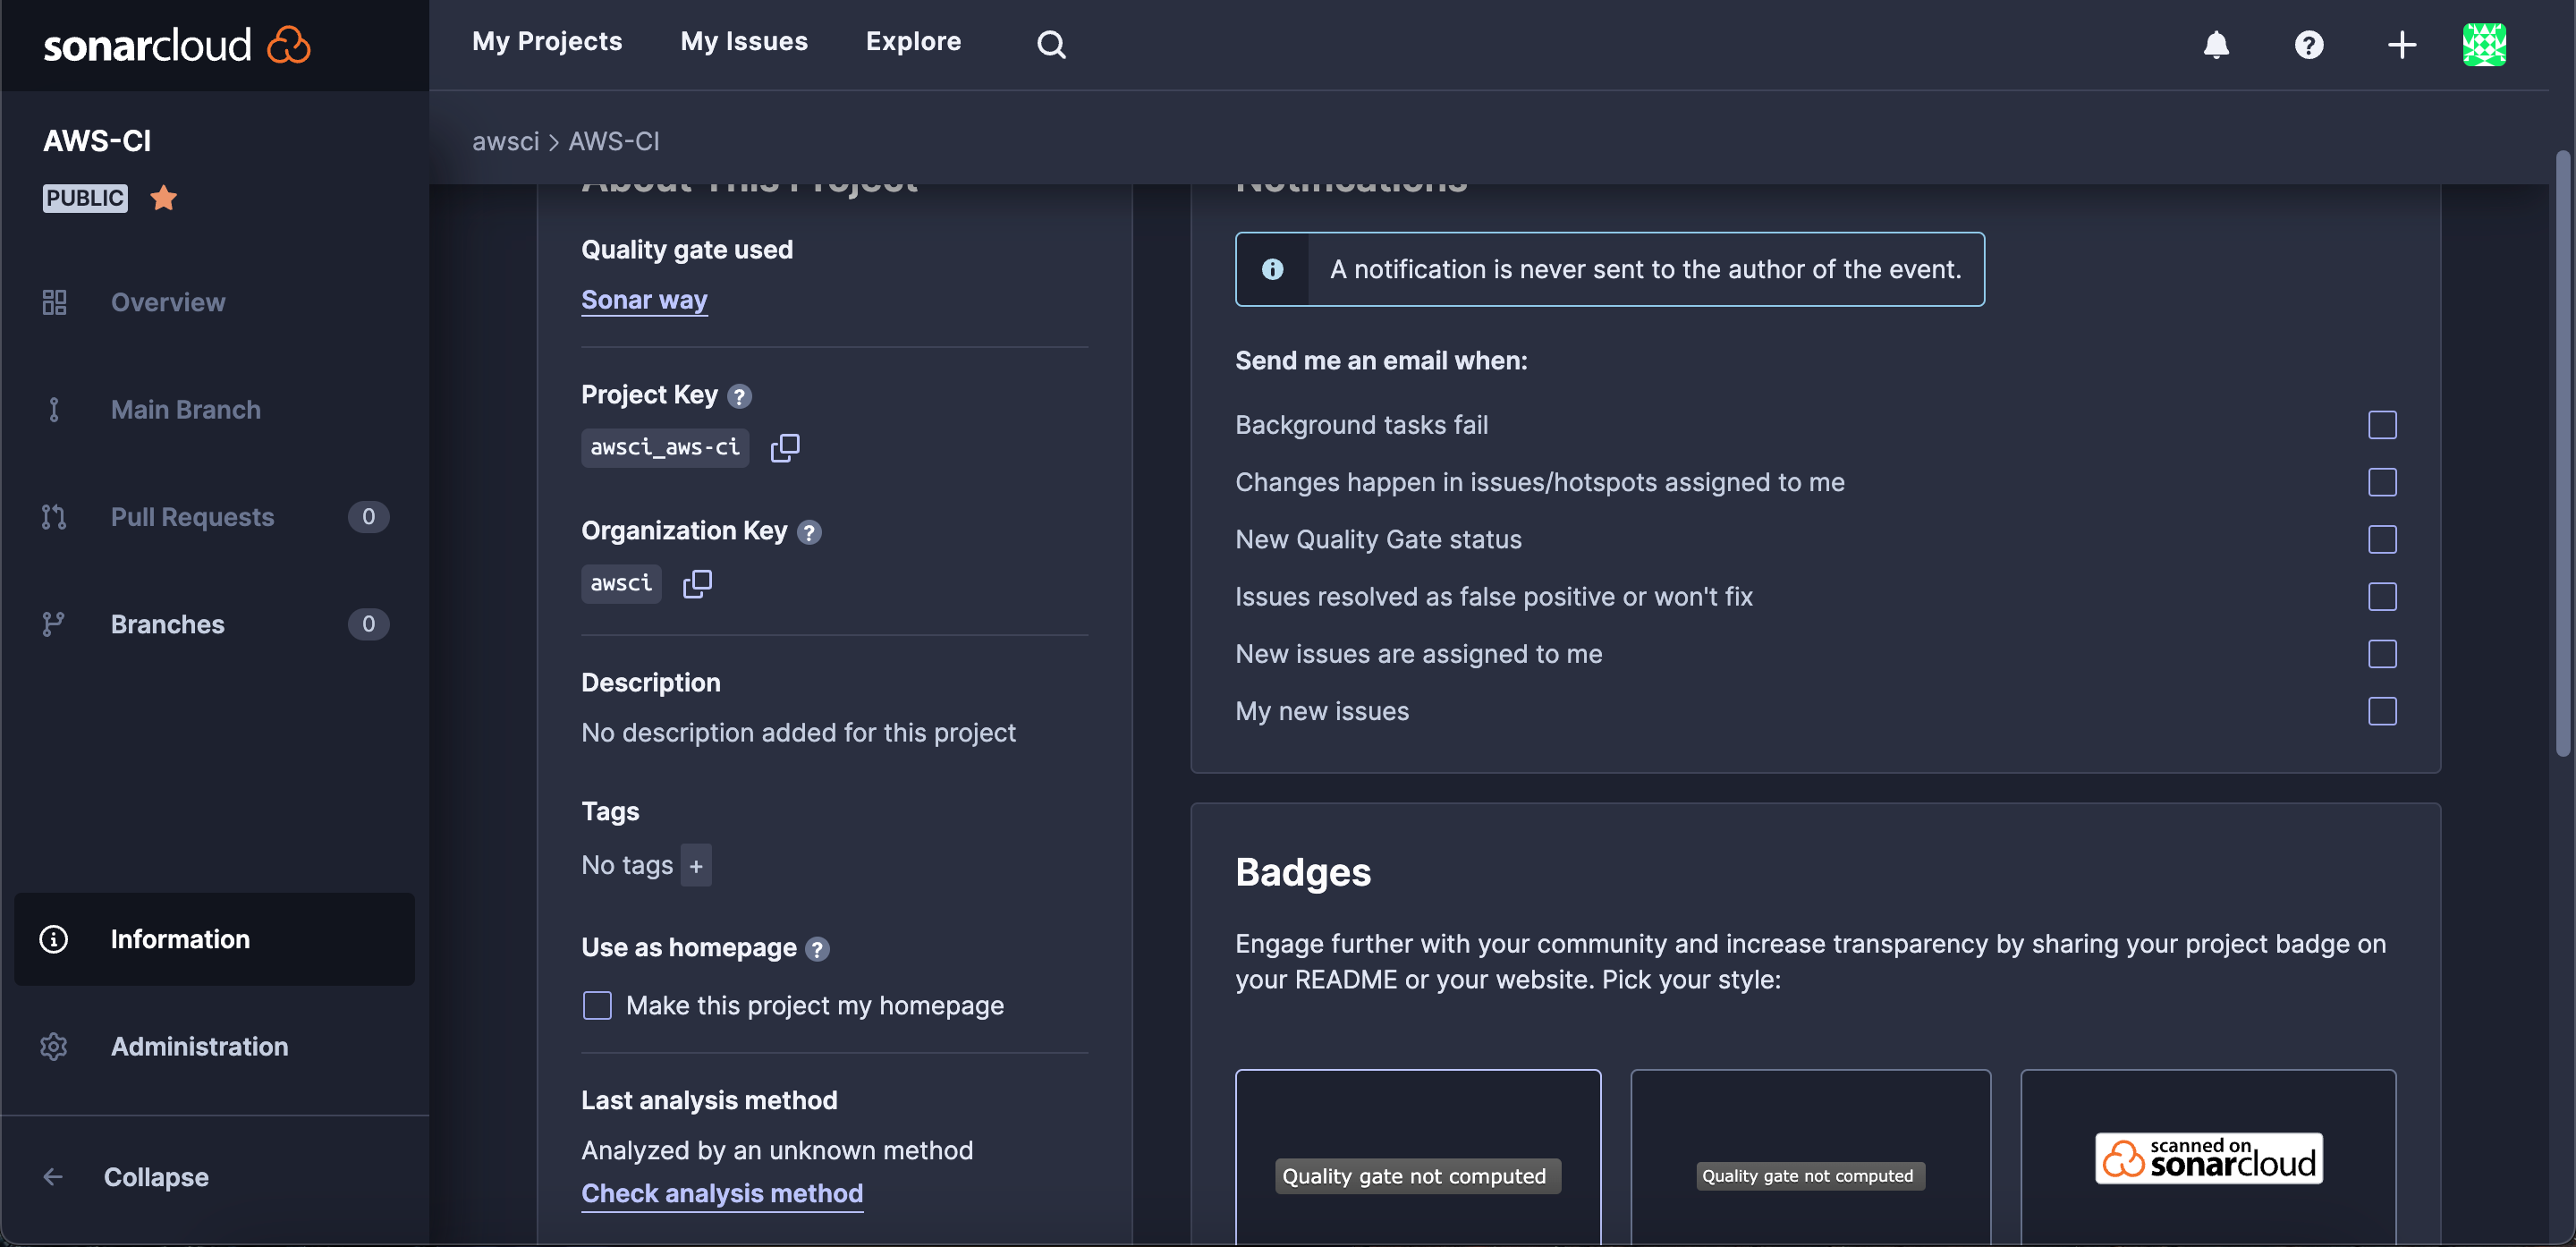
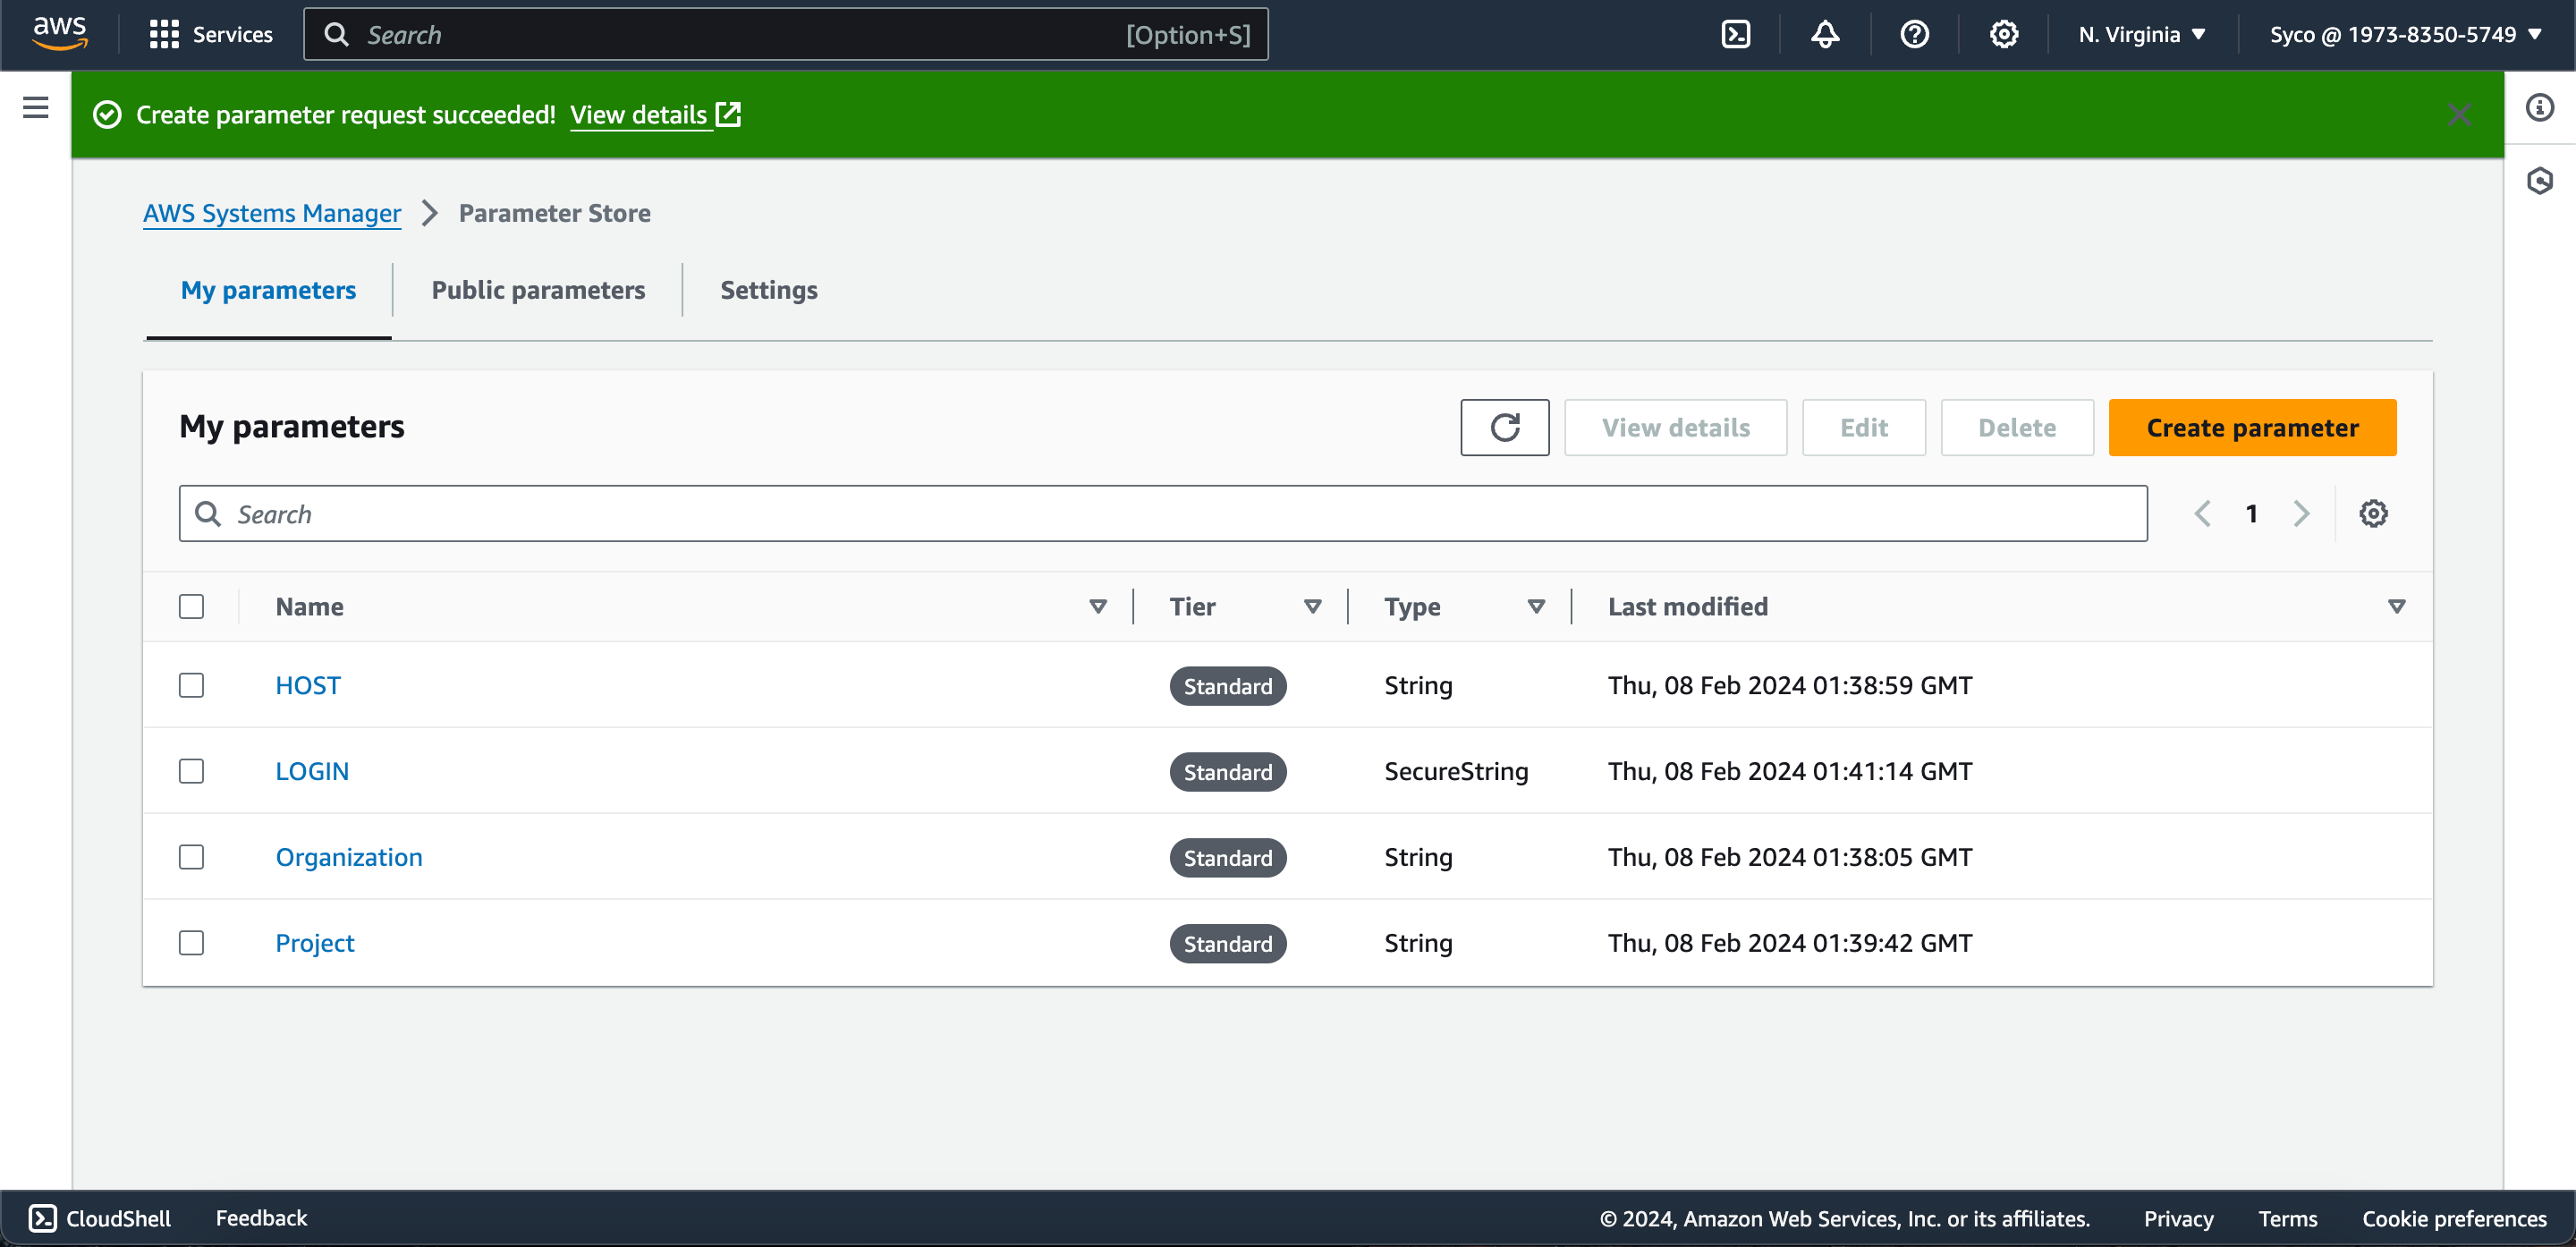
The next thing to do is set up a Parameter Store and its importance is one that can’t be overemphasized. To bolster the security of your code and adhere to DevOps best practices, it’s crucial to set up AWS Parameter Store. This step ensures sensitive access details like usernames, passwords, tokens, etc., are securely stored and managed, preventing the exposure of sensitive information in your codebase. So instead of directly providing sensitive details, they will be passed into the codebase as environment variables, with their values masked as references to the actual values stored in the Parameter Store. To do this;
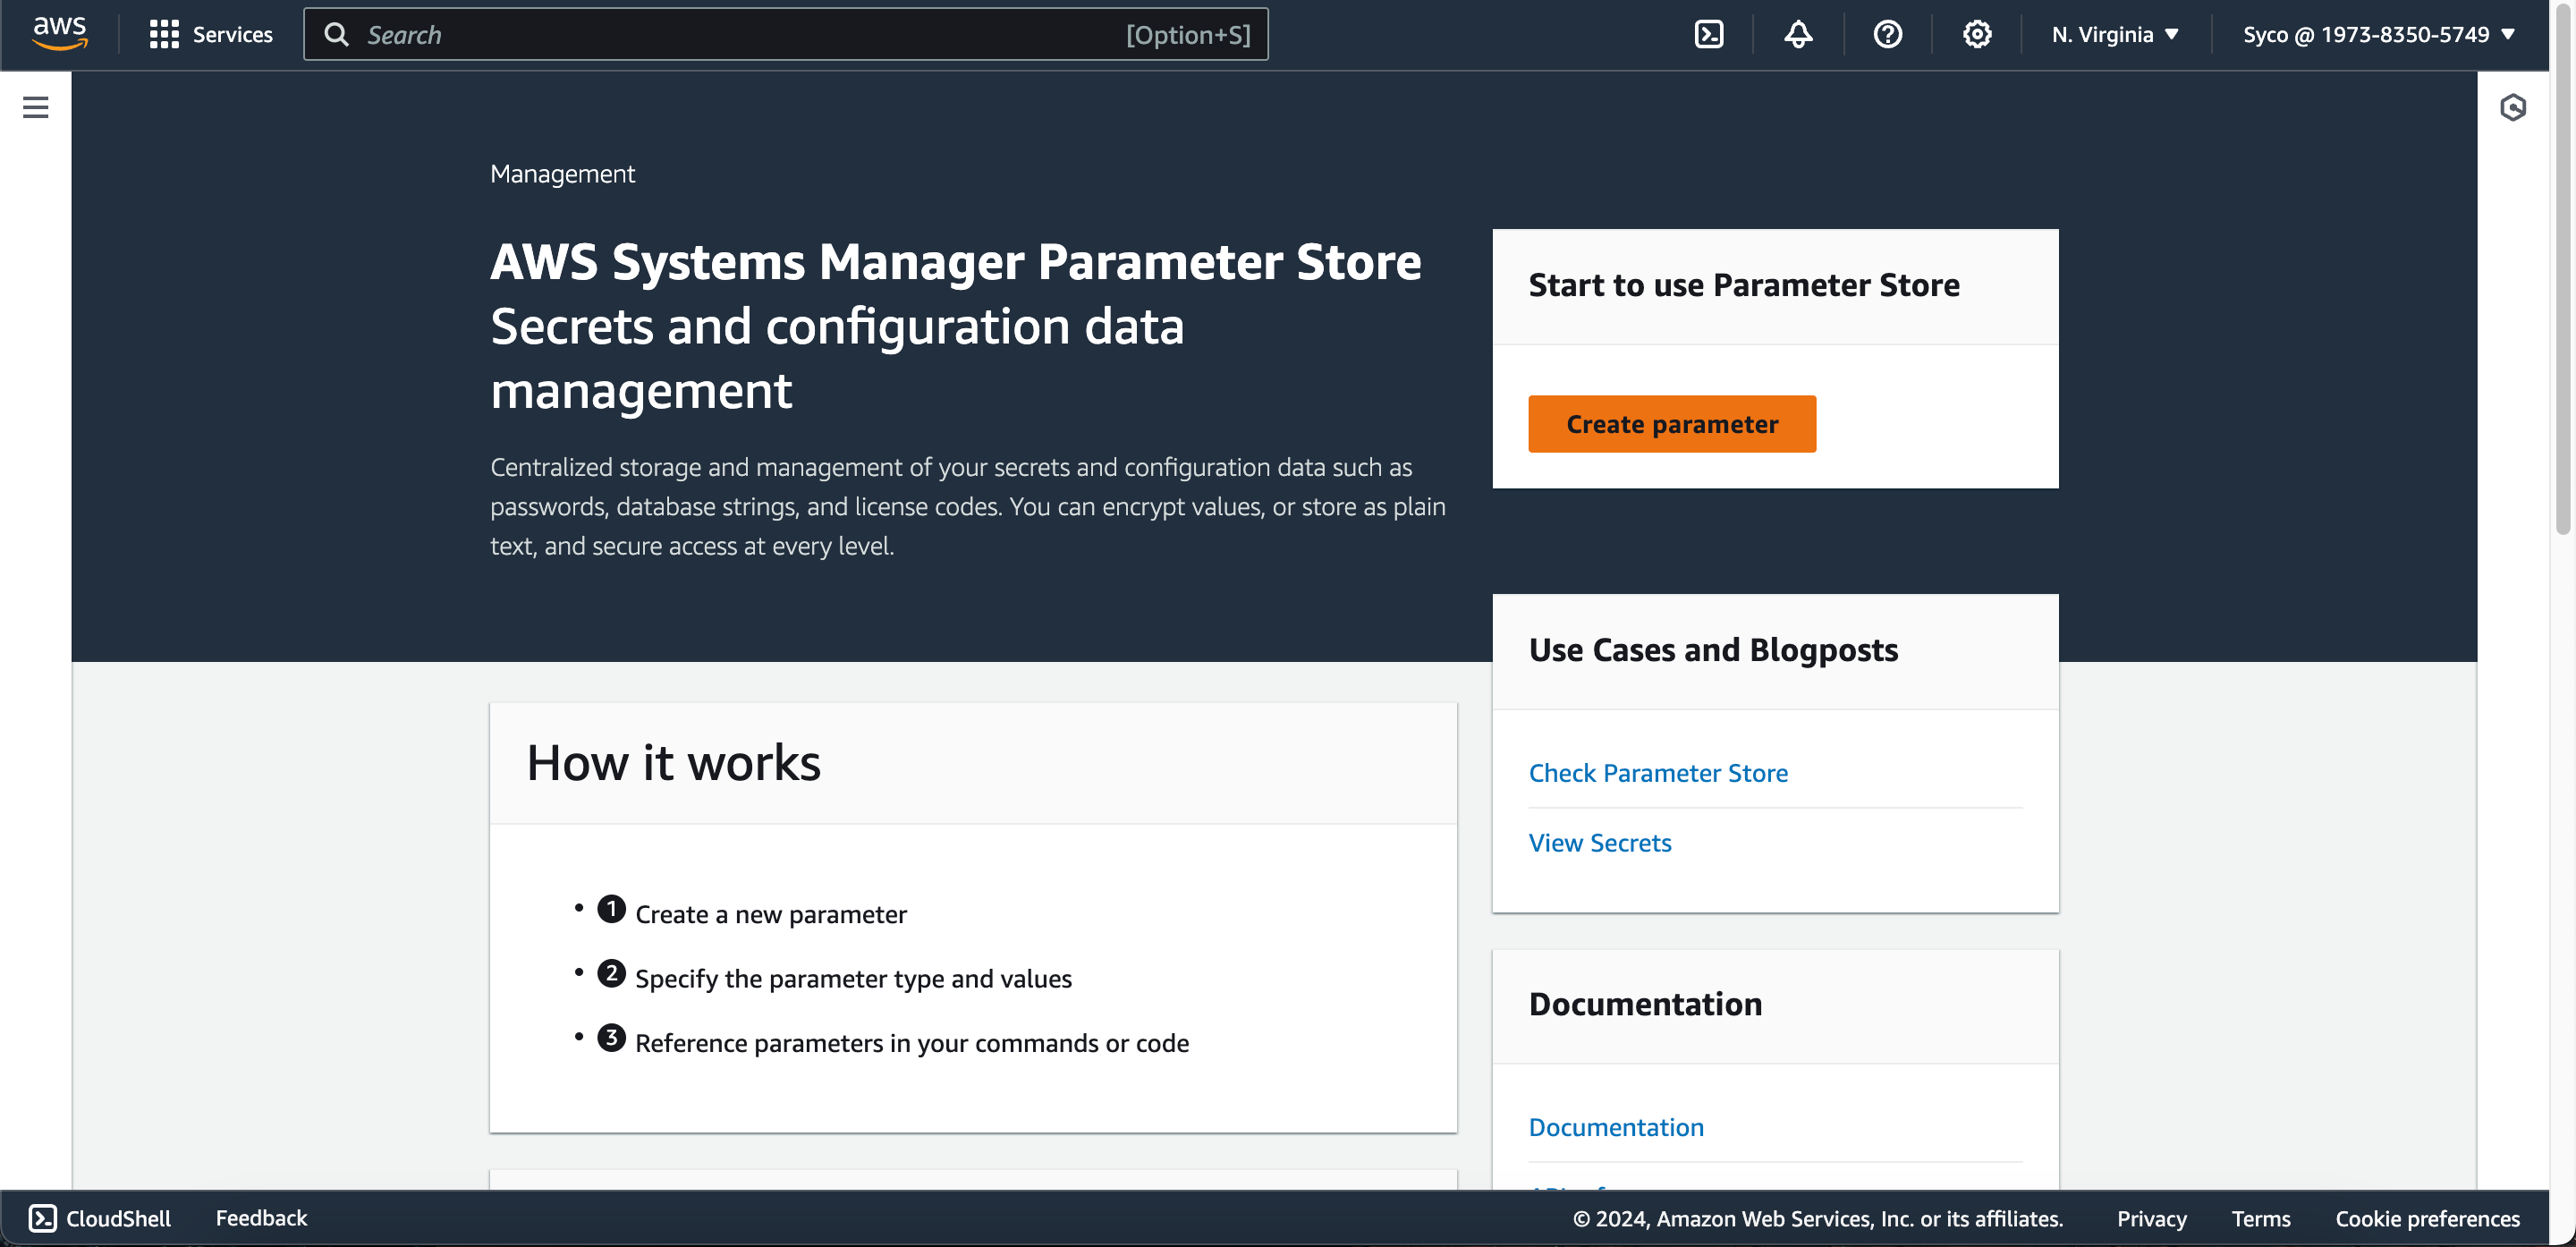
- Open the AWS Management Console and navigate to the Systems Manager service. Select “Parameter Store” from the left-hand menu.
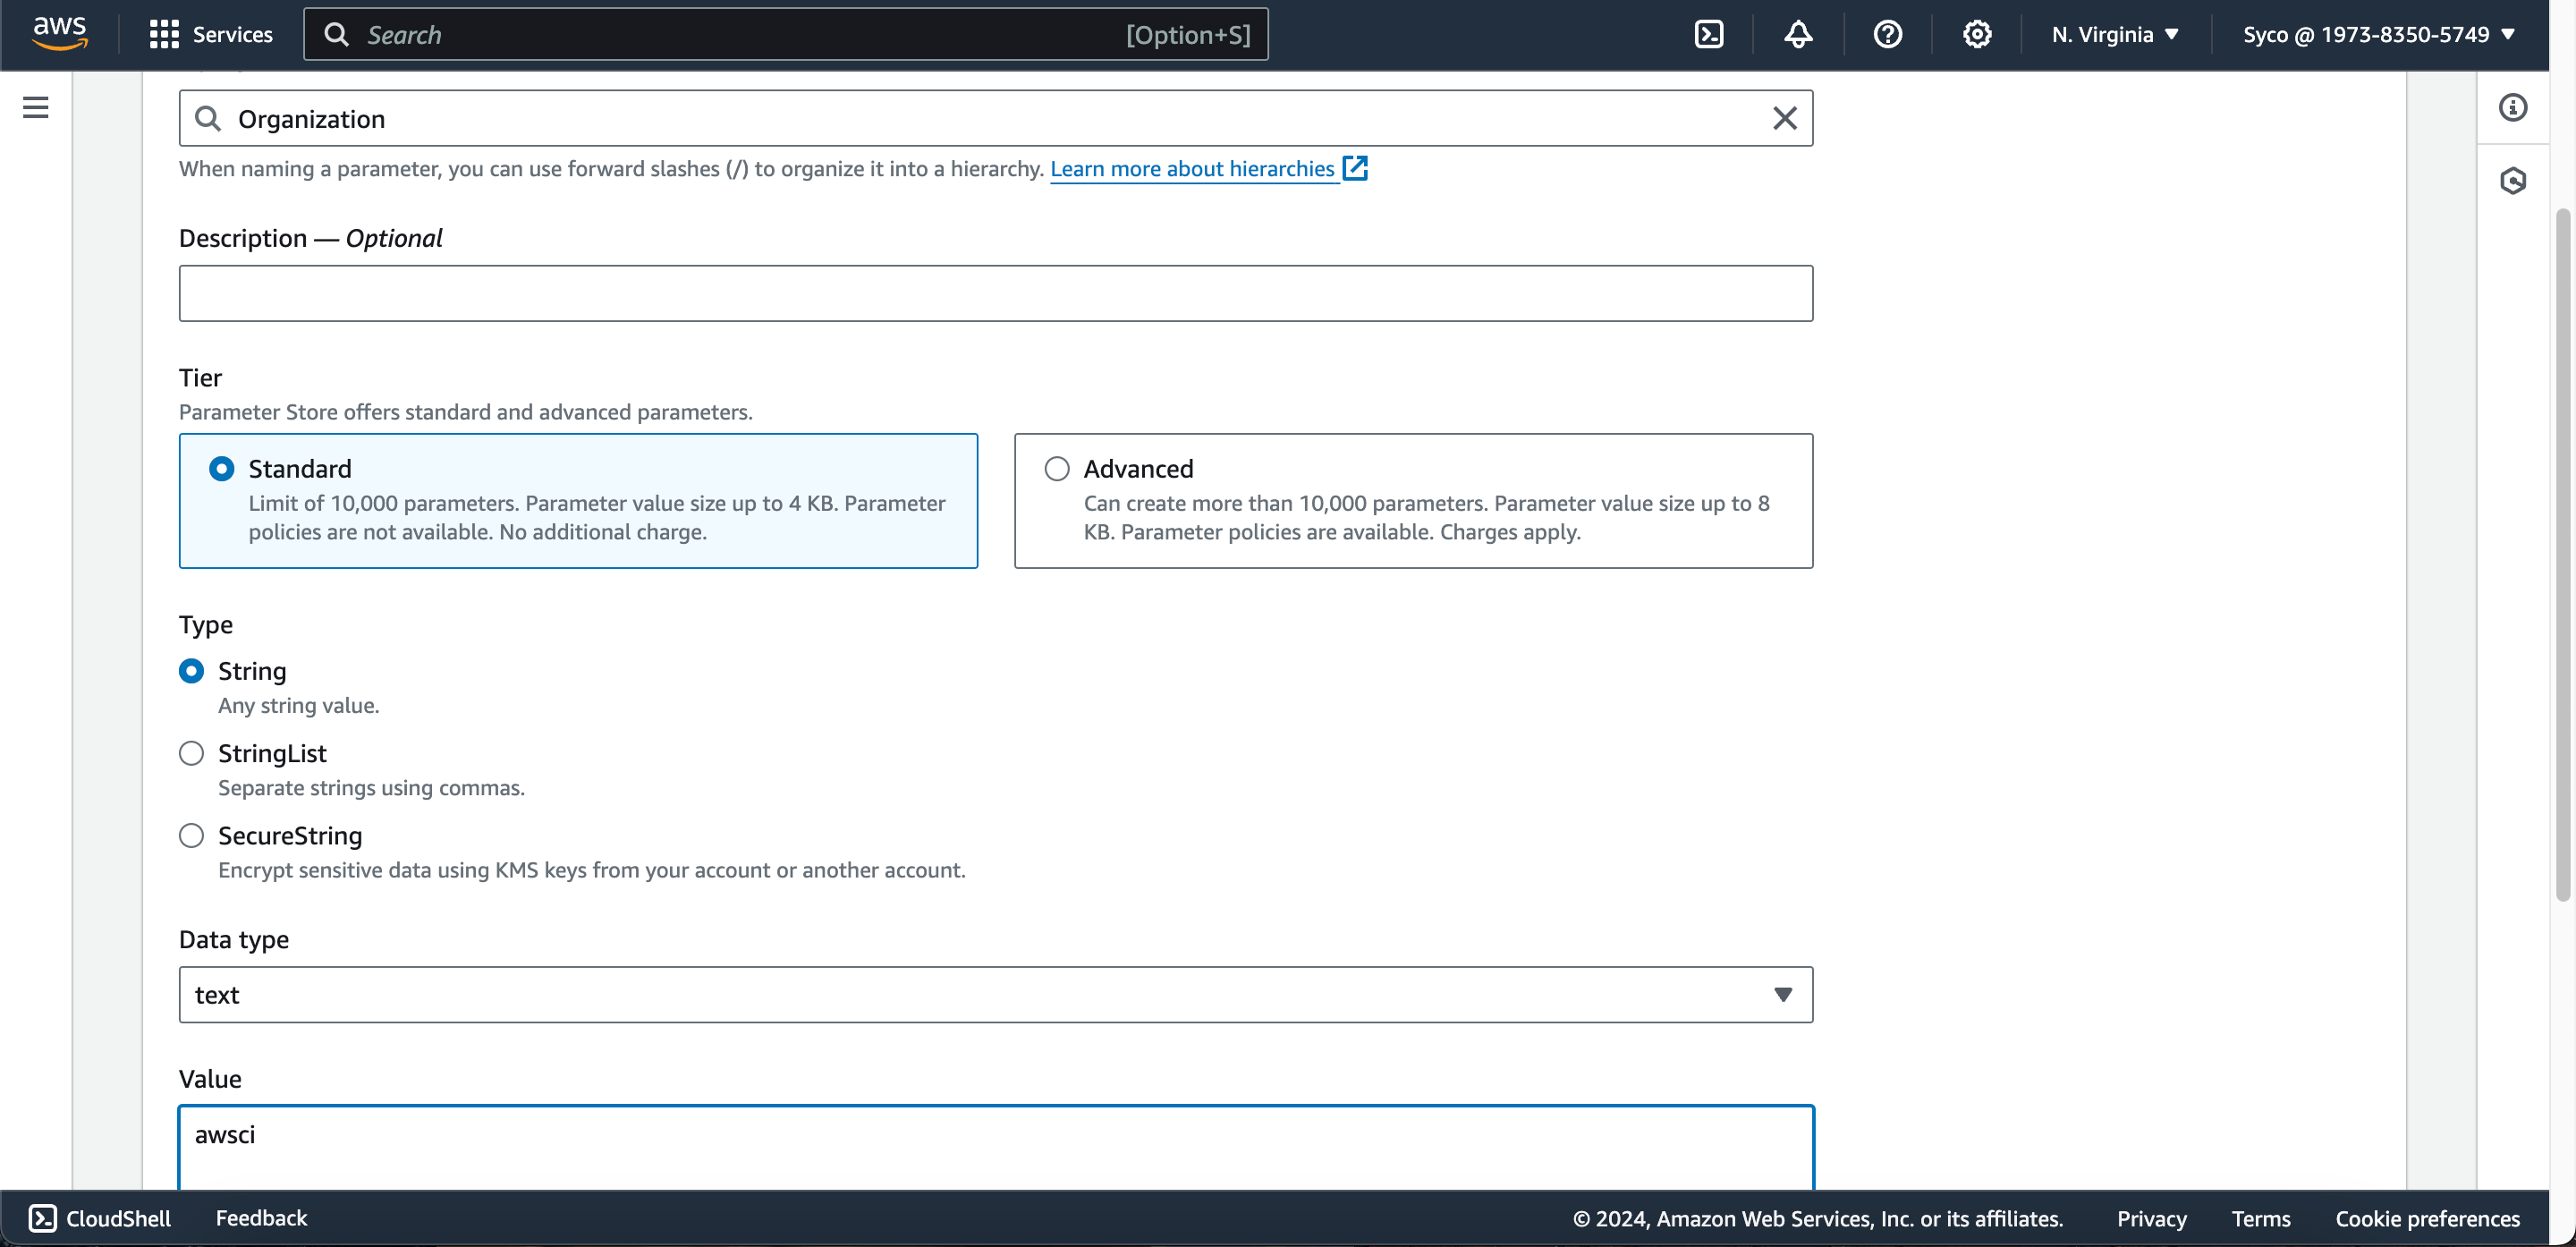
- Click on the “Create Parameter” button and create the following parameters.
Name           Type          Value
Organization   String        <organization key from sonarcloud>
Project        String        <project key from sonarcloud>
HOST           String        https://sonarcloud.io
LOGIN          Secure string <generated token from sonarcloud>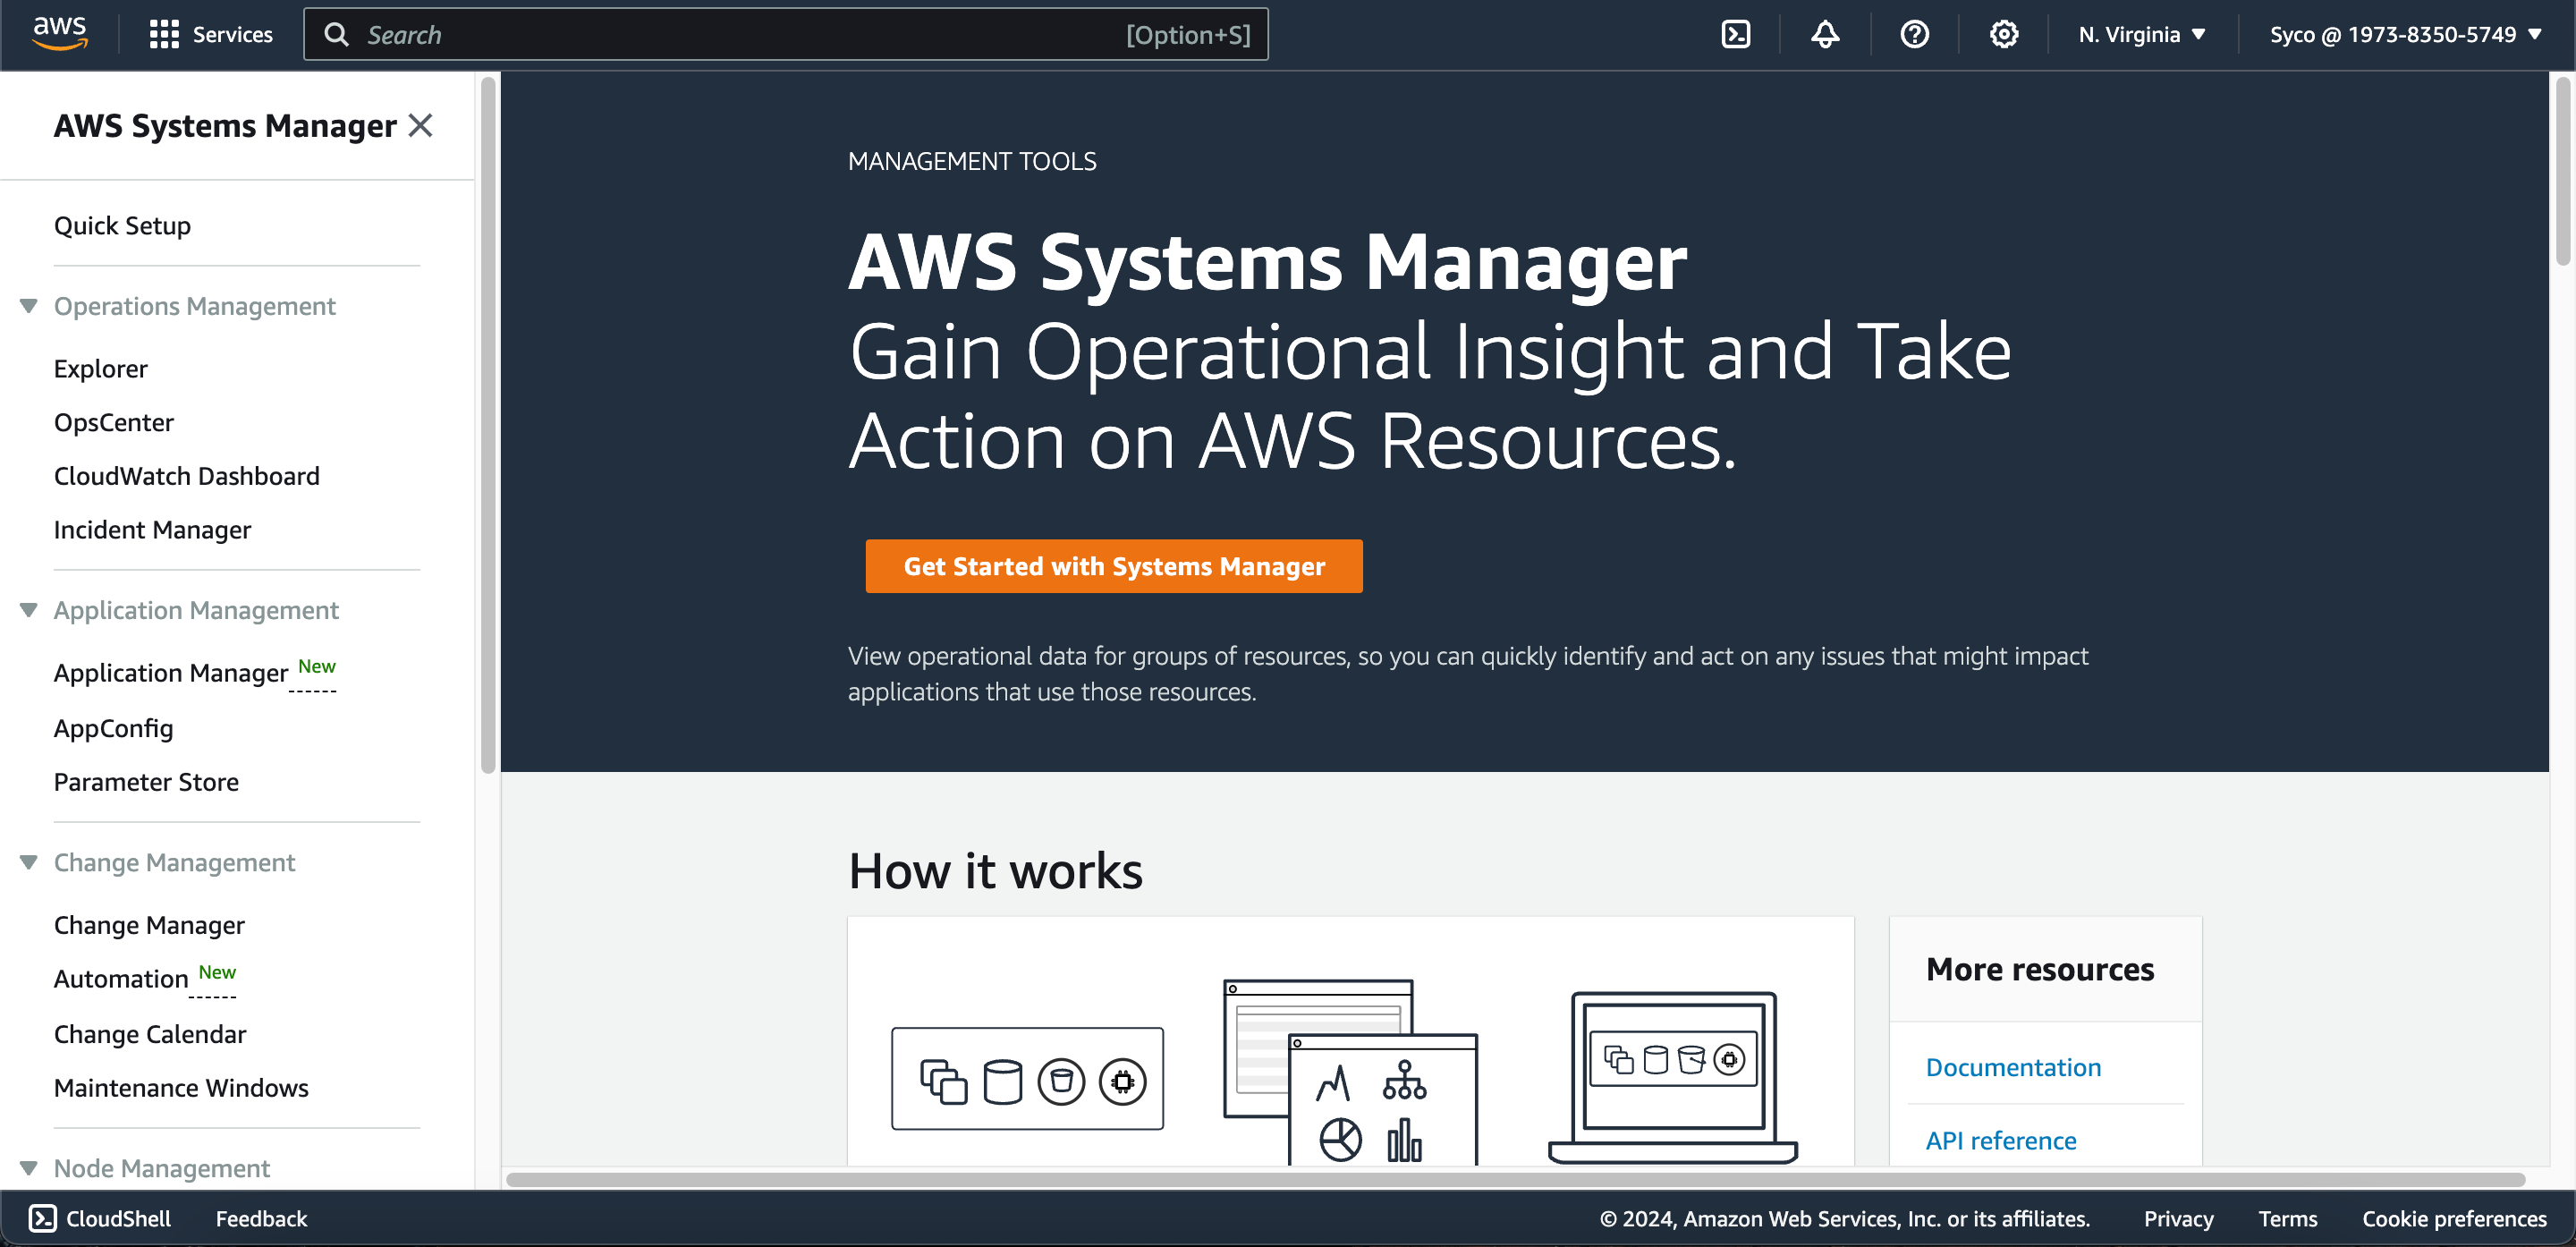
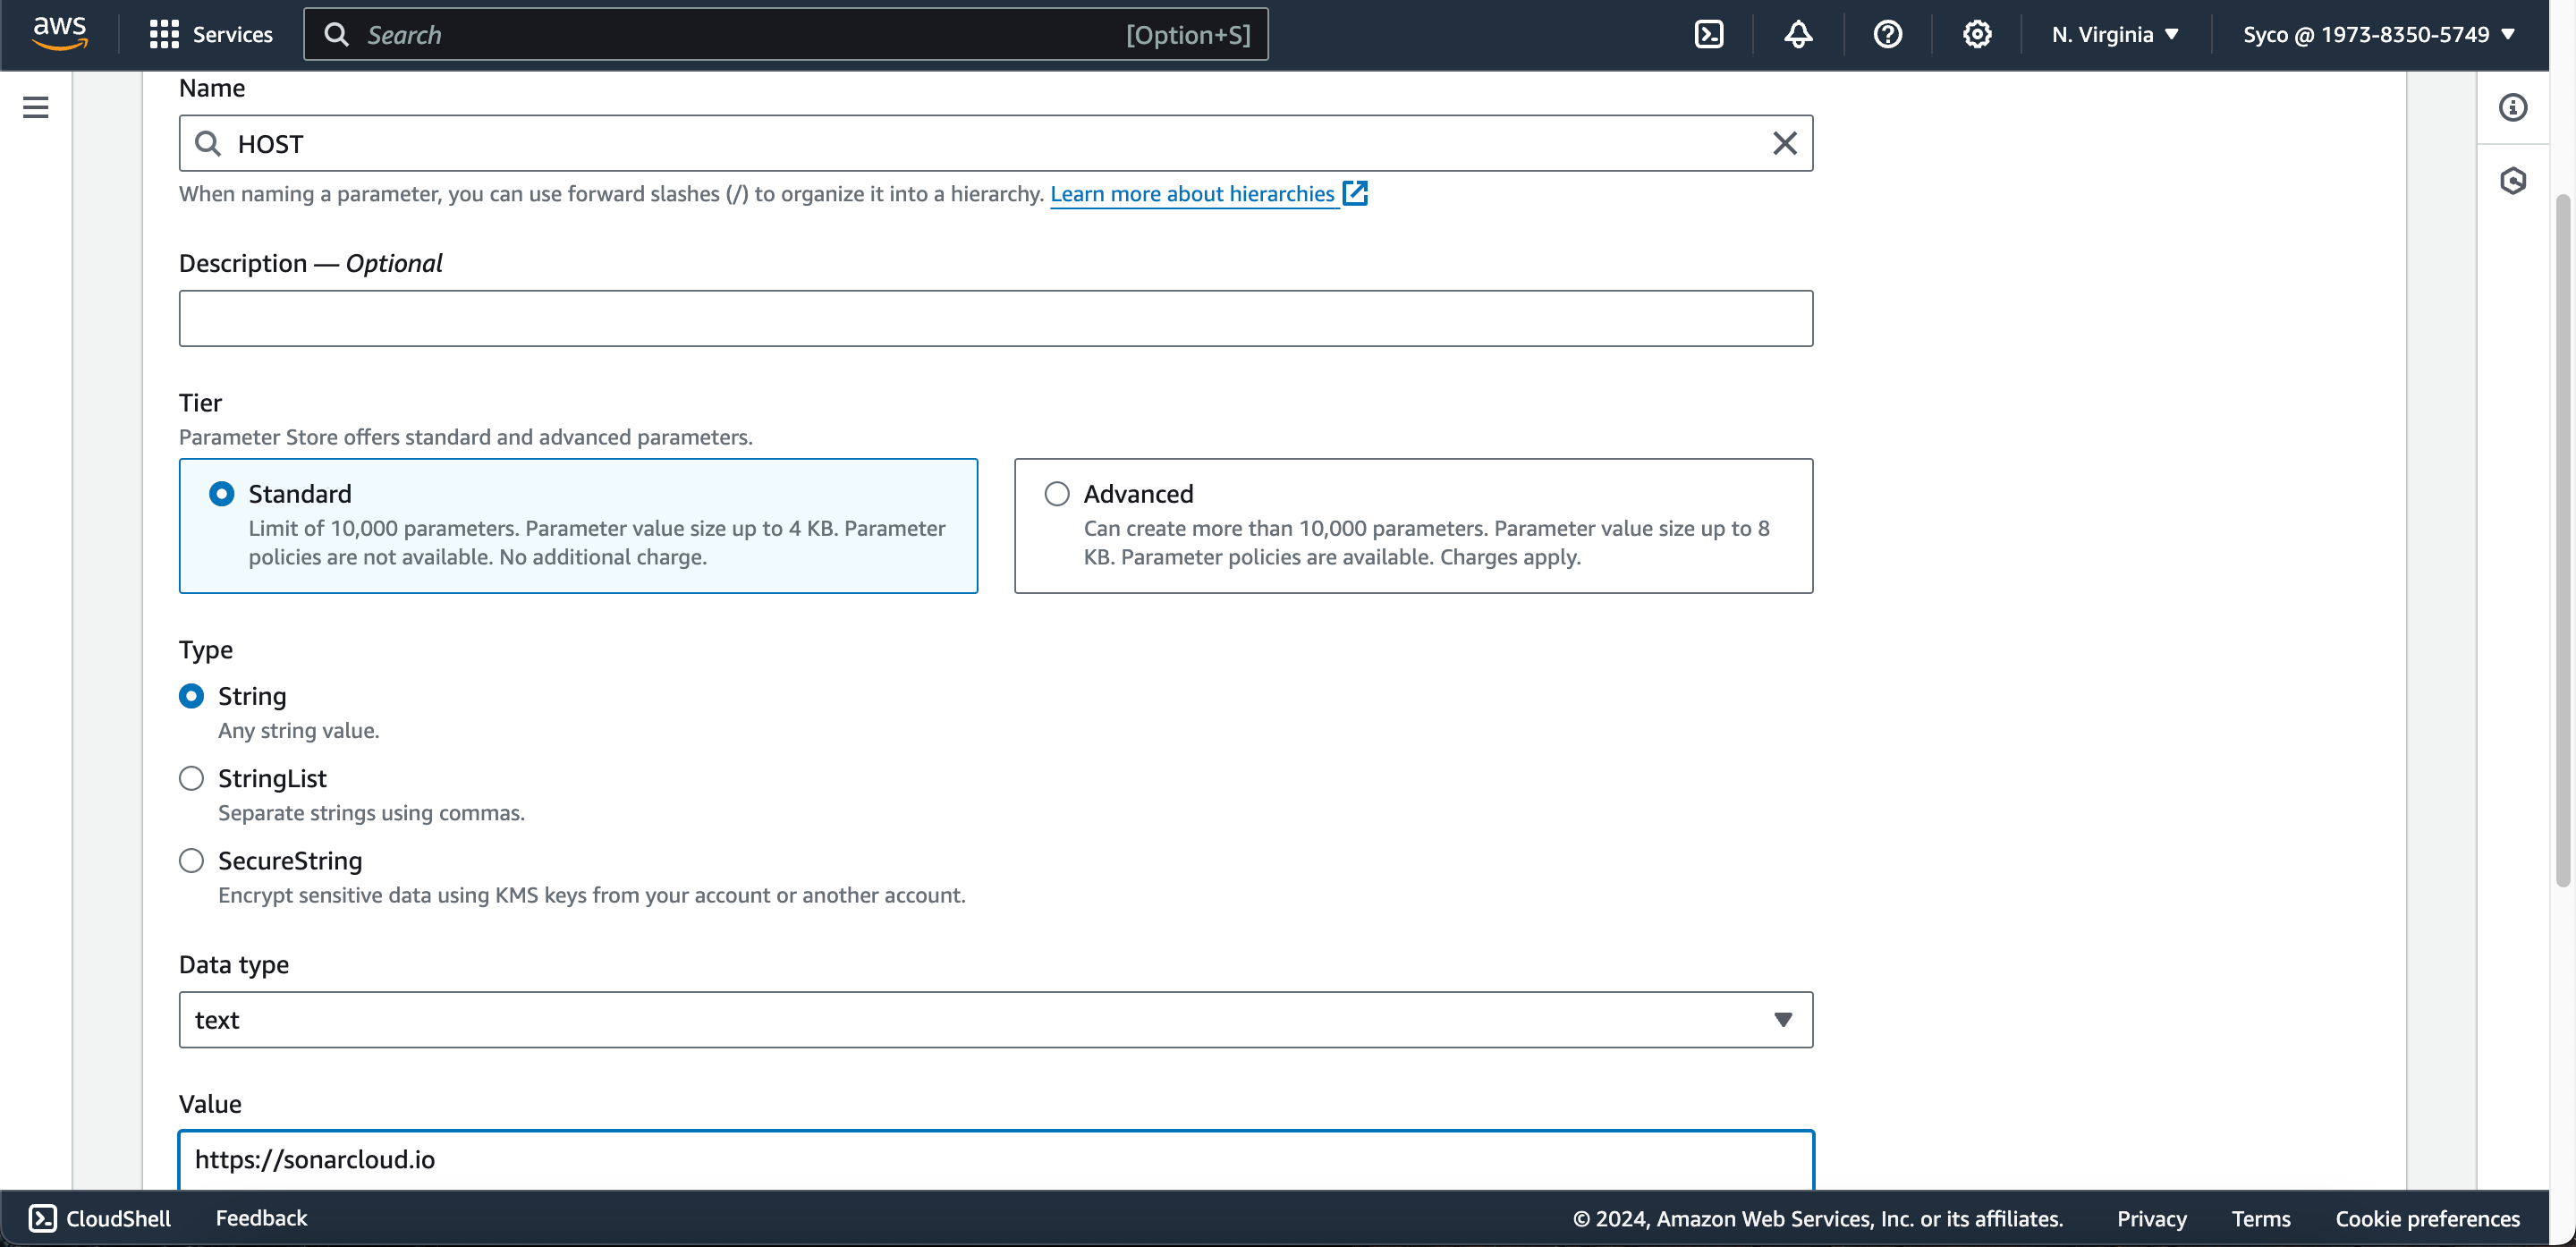
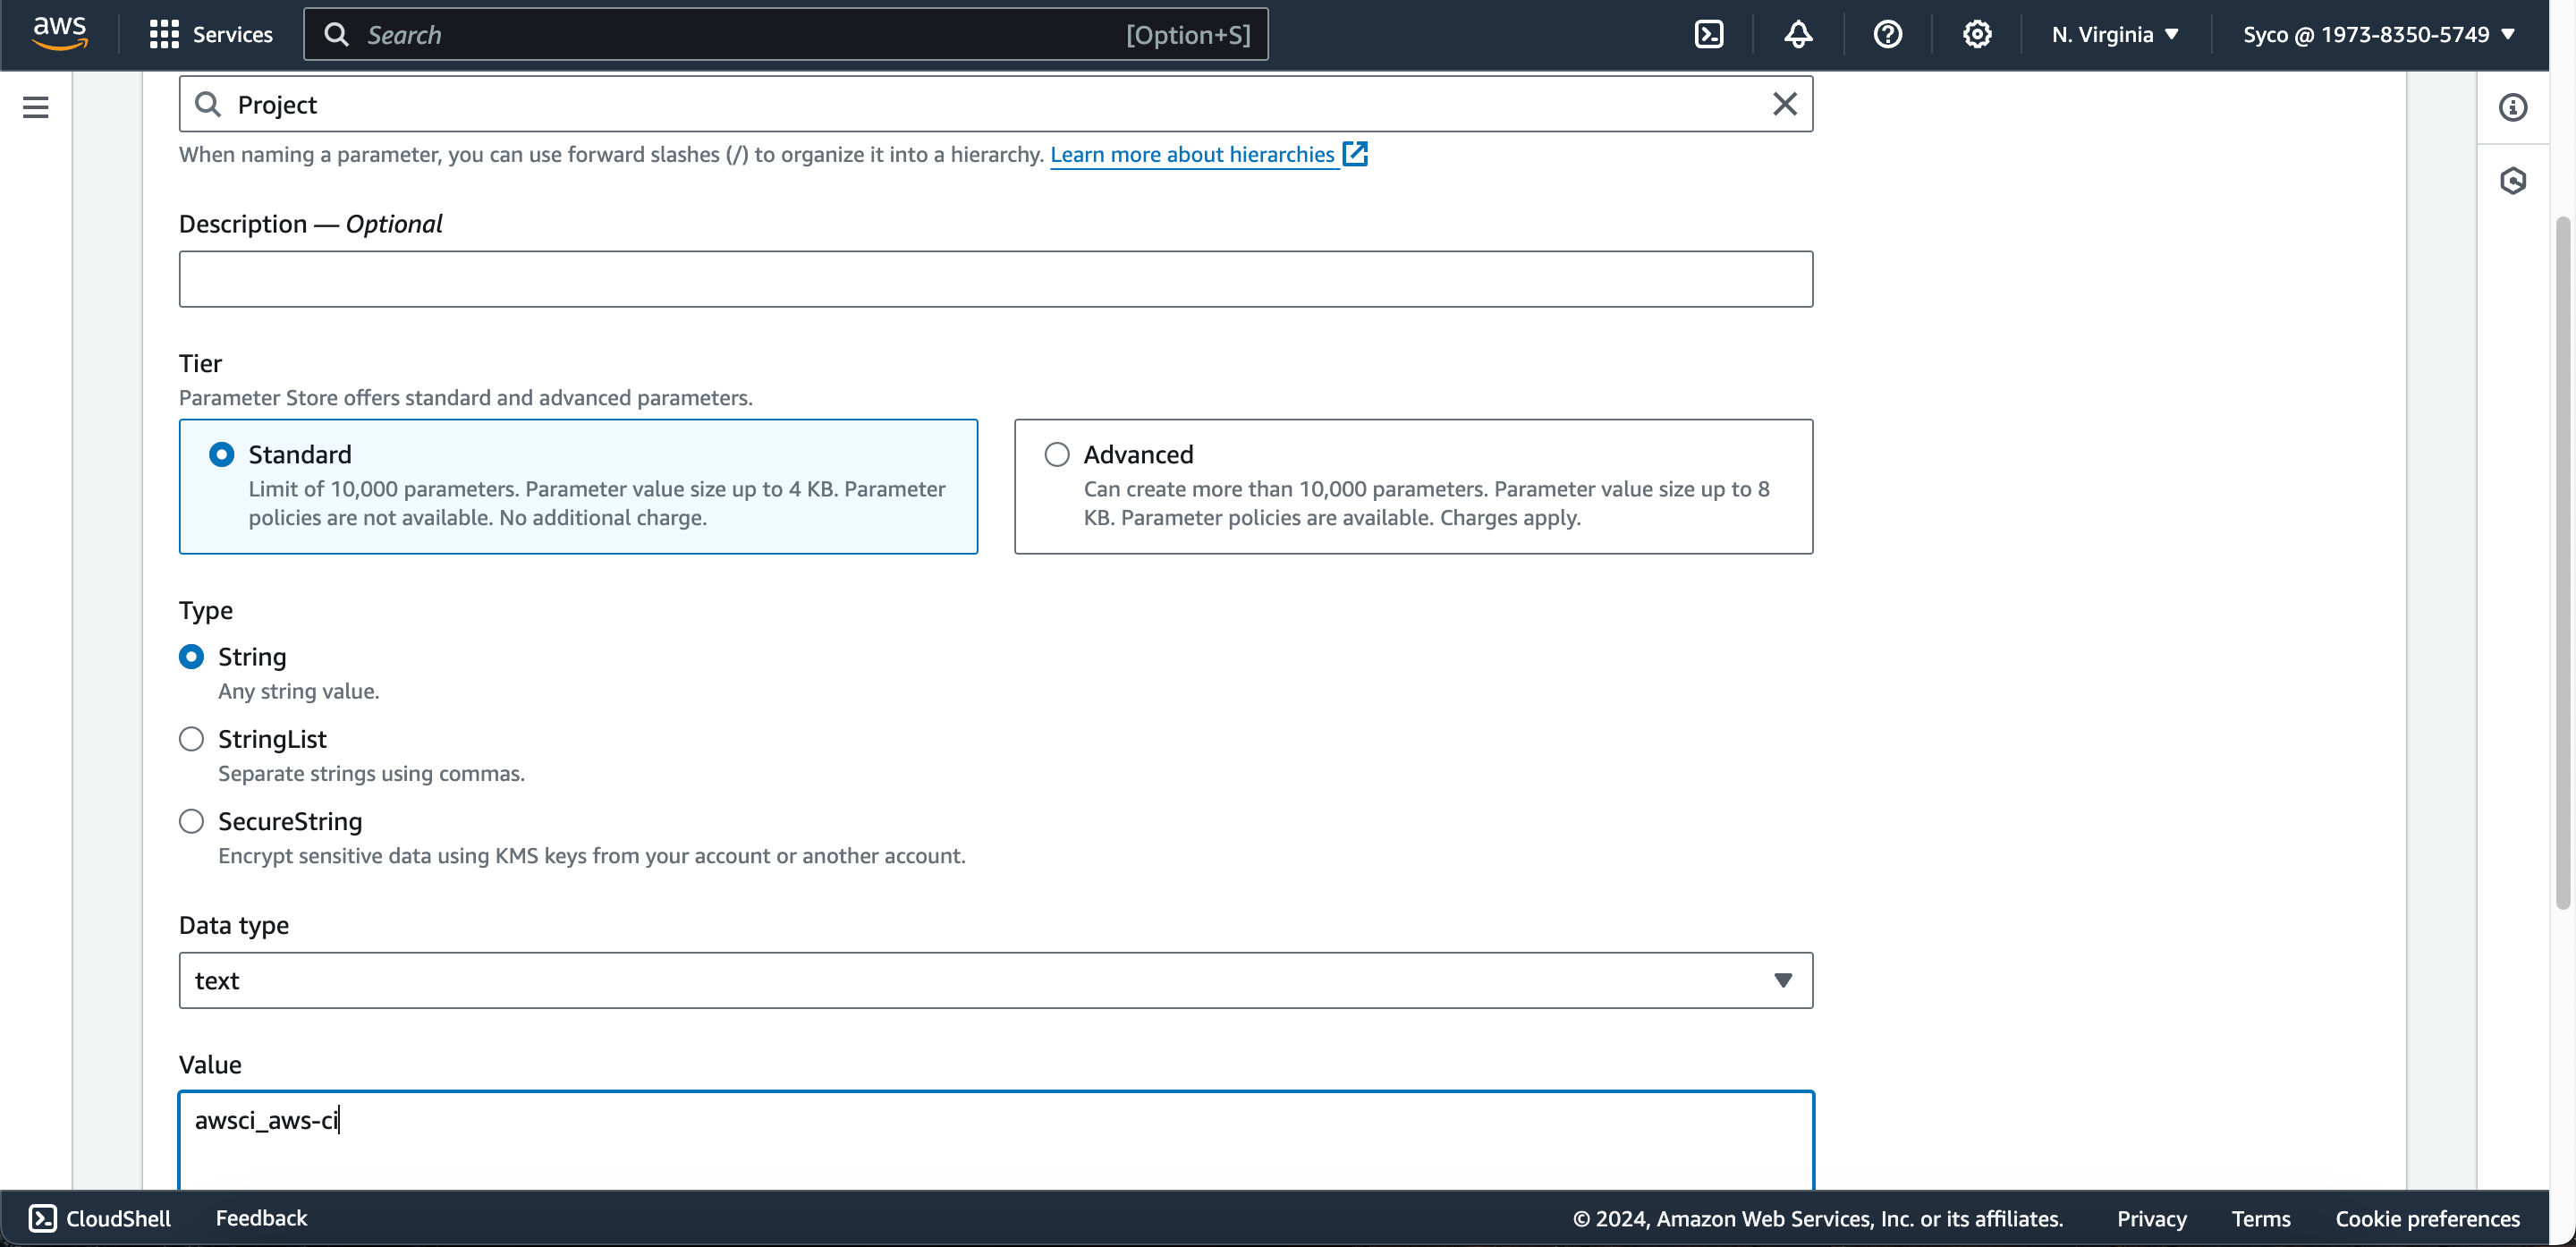
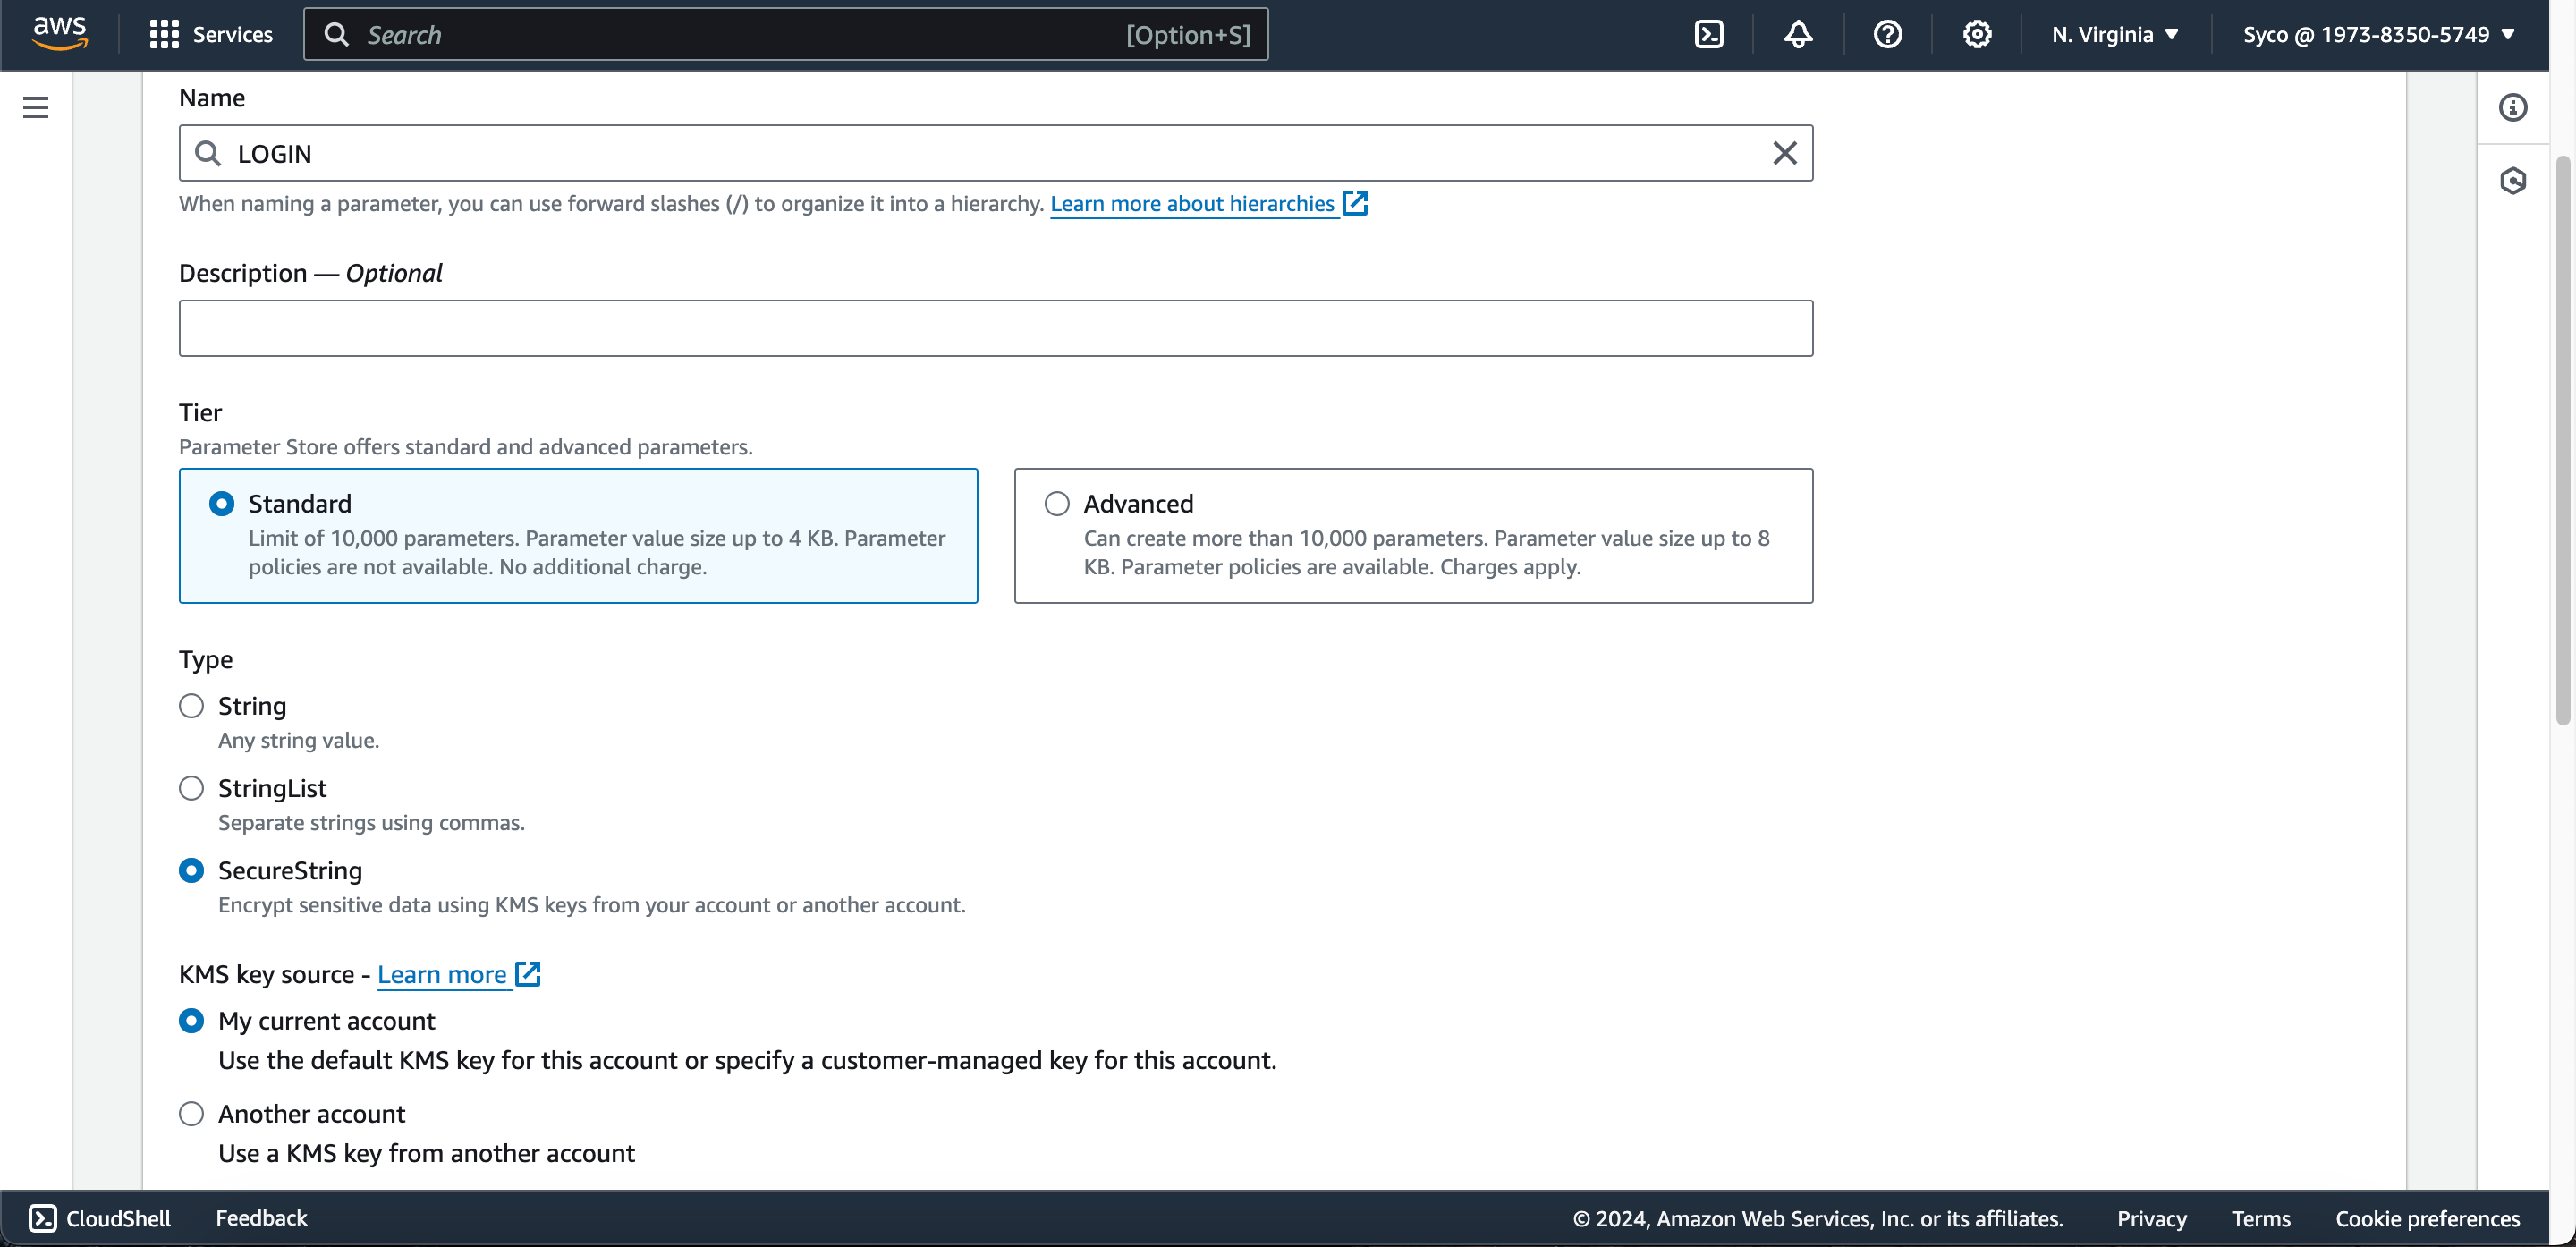
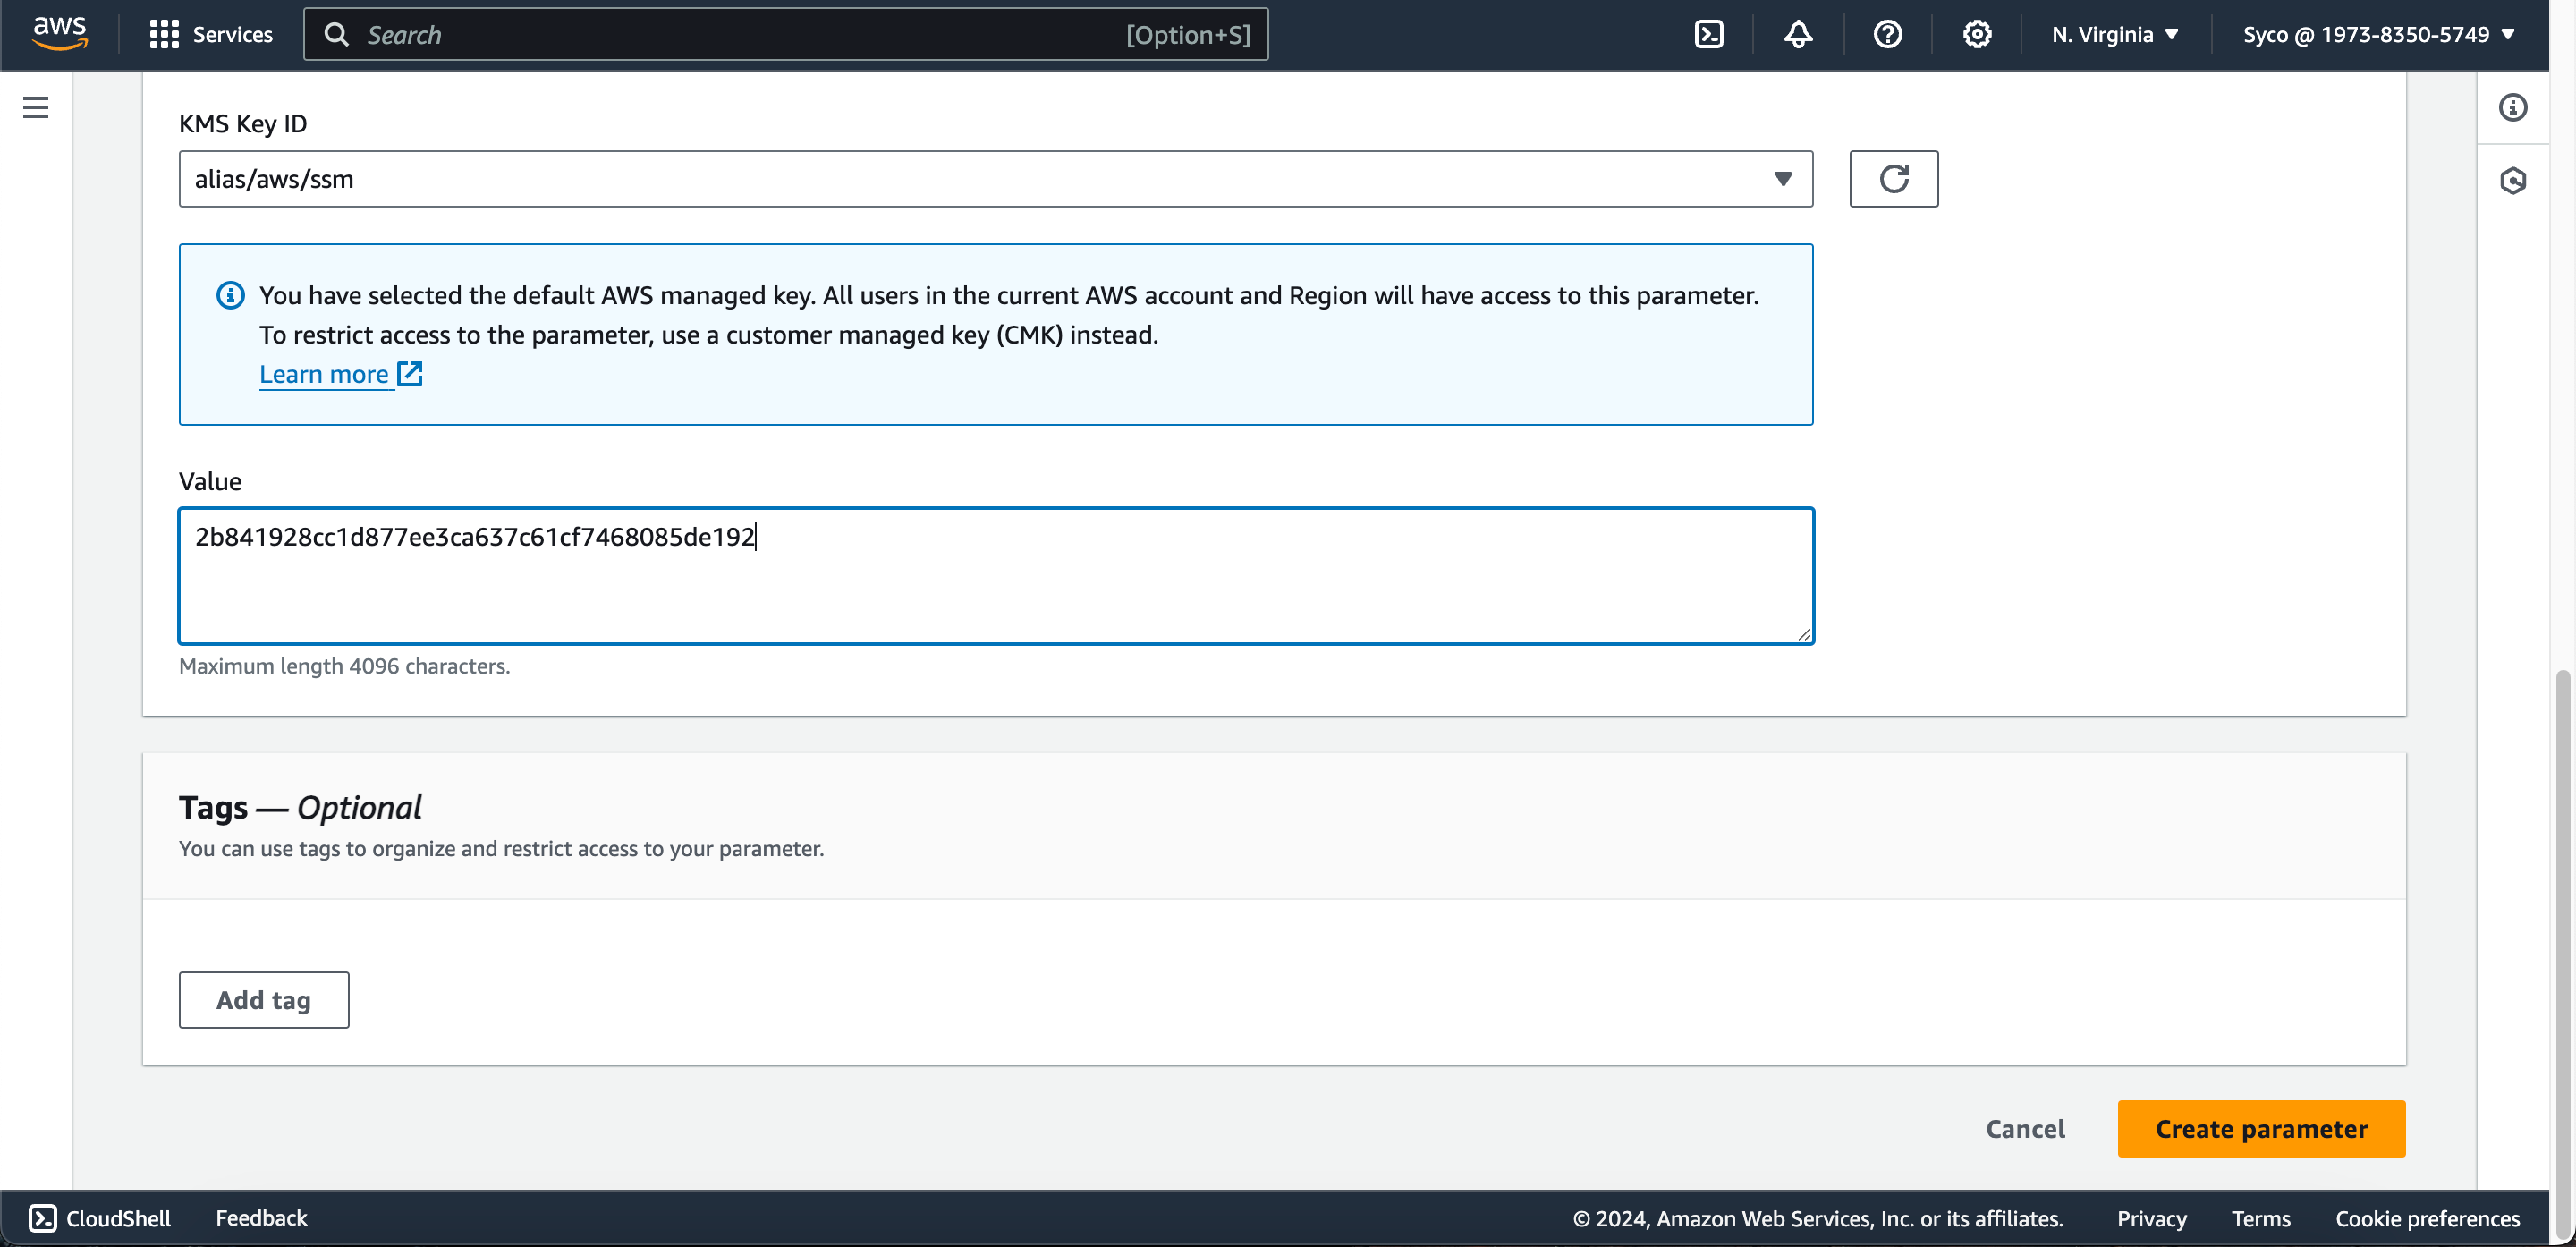
Next we’ll configure our first build Job using CodeBuild and it will take all the necessary steps from a BuildSpec.yml file. In the aws-ci branch of our Repository, we can find one there and we can also learn how to write one through this AWS Documentation here.
CodeBuild basically serves the same purpose as Jenkins just that, we’re not managing anything, AWS is there to save the day. It is scalable and you pay for the build time you use. So let’s get into our VS Code and start making the necessary changes in our files.
- On your terminal, still on the repository directory, type “code .” This command opens VS code for you. Ensure you’re in the aws-ci branch and open the “pox.xml” file.
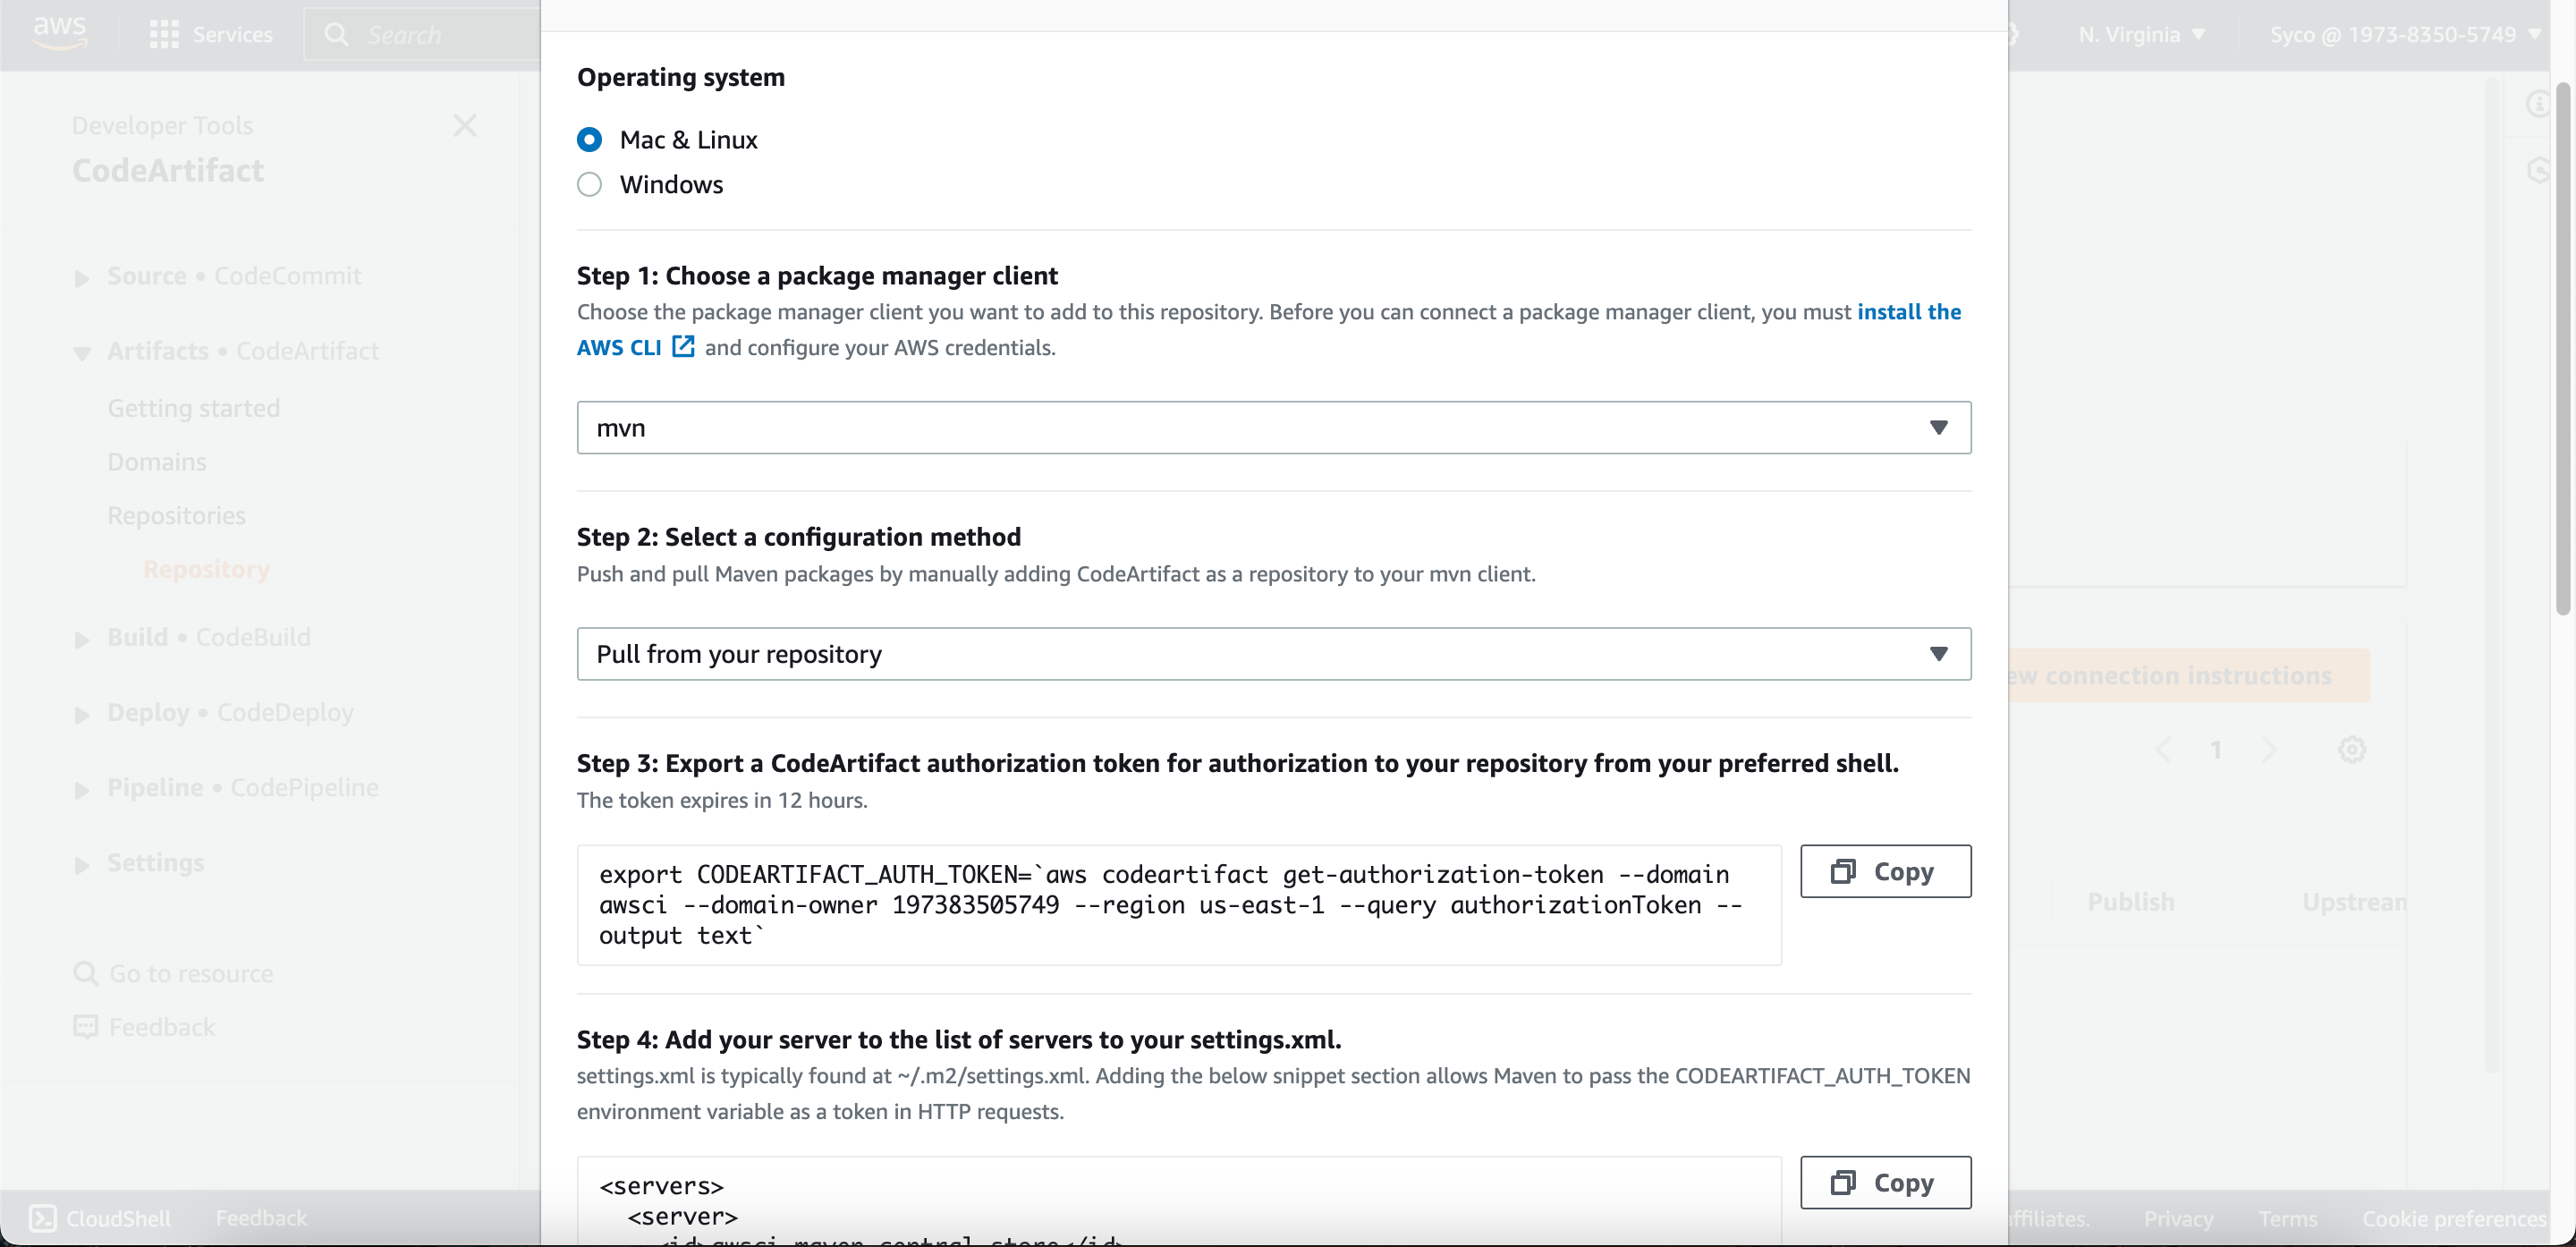
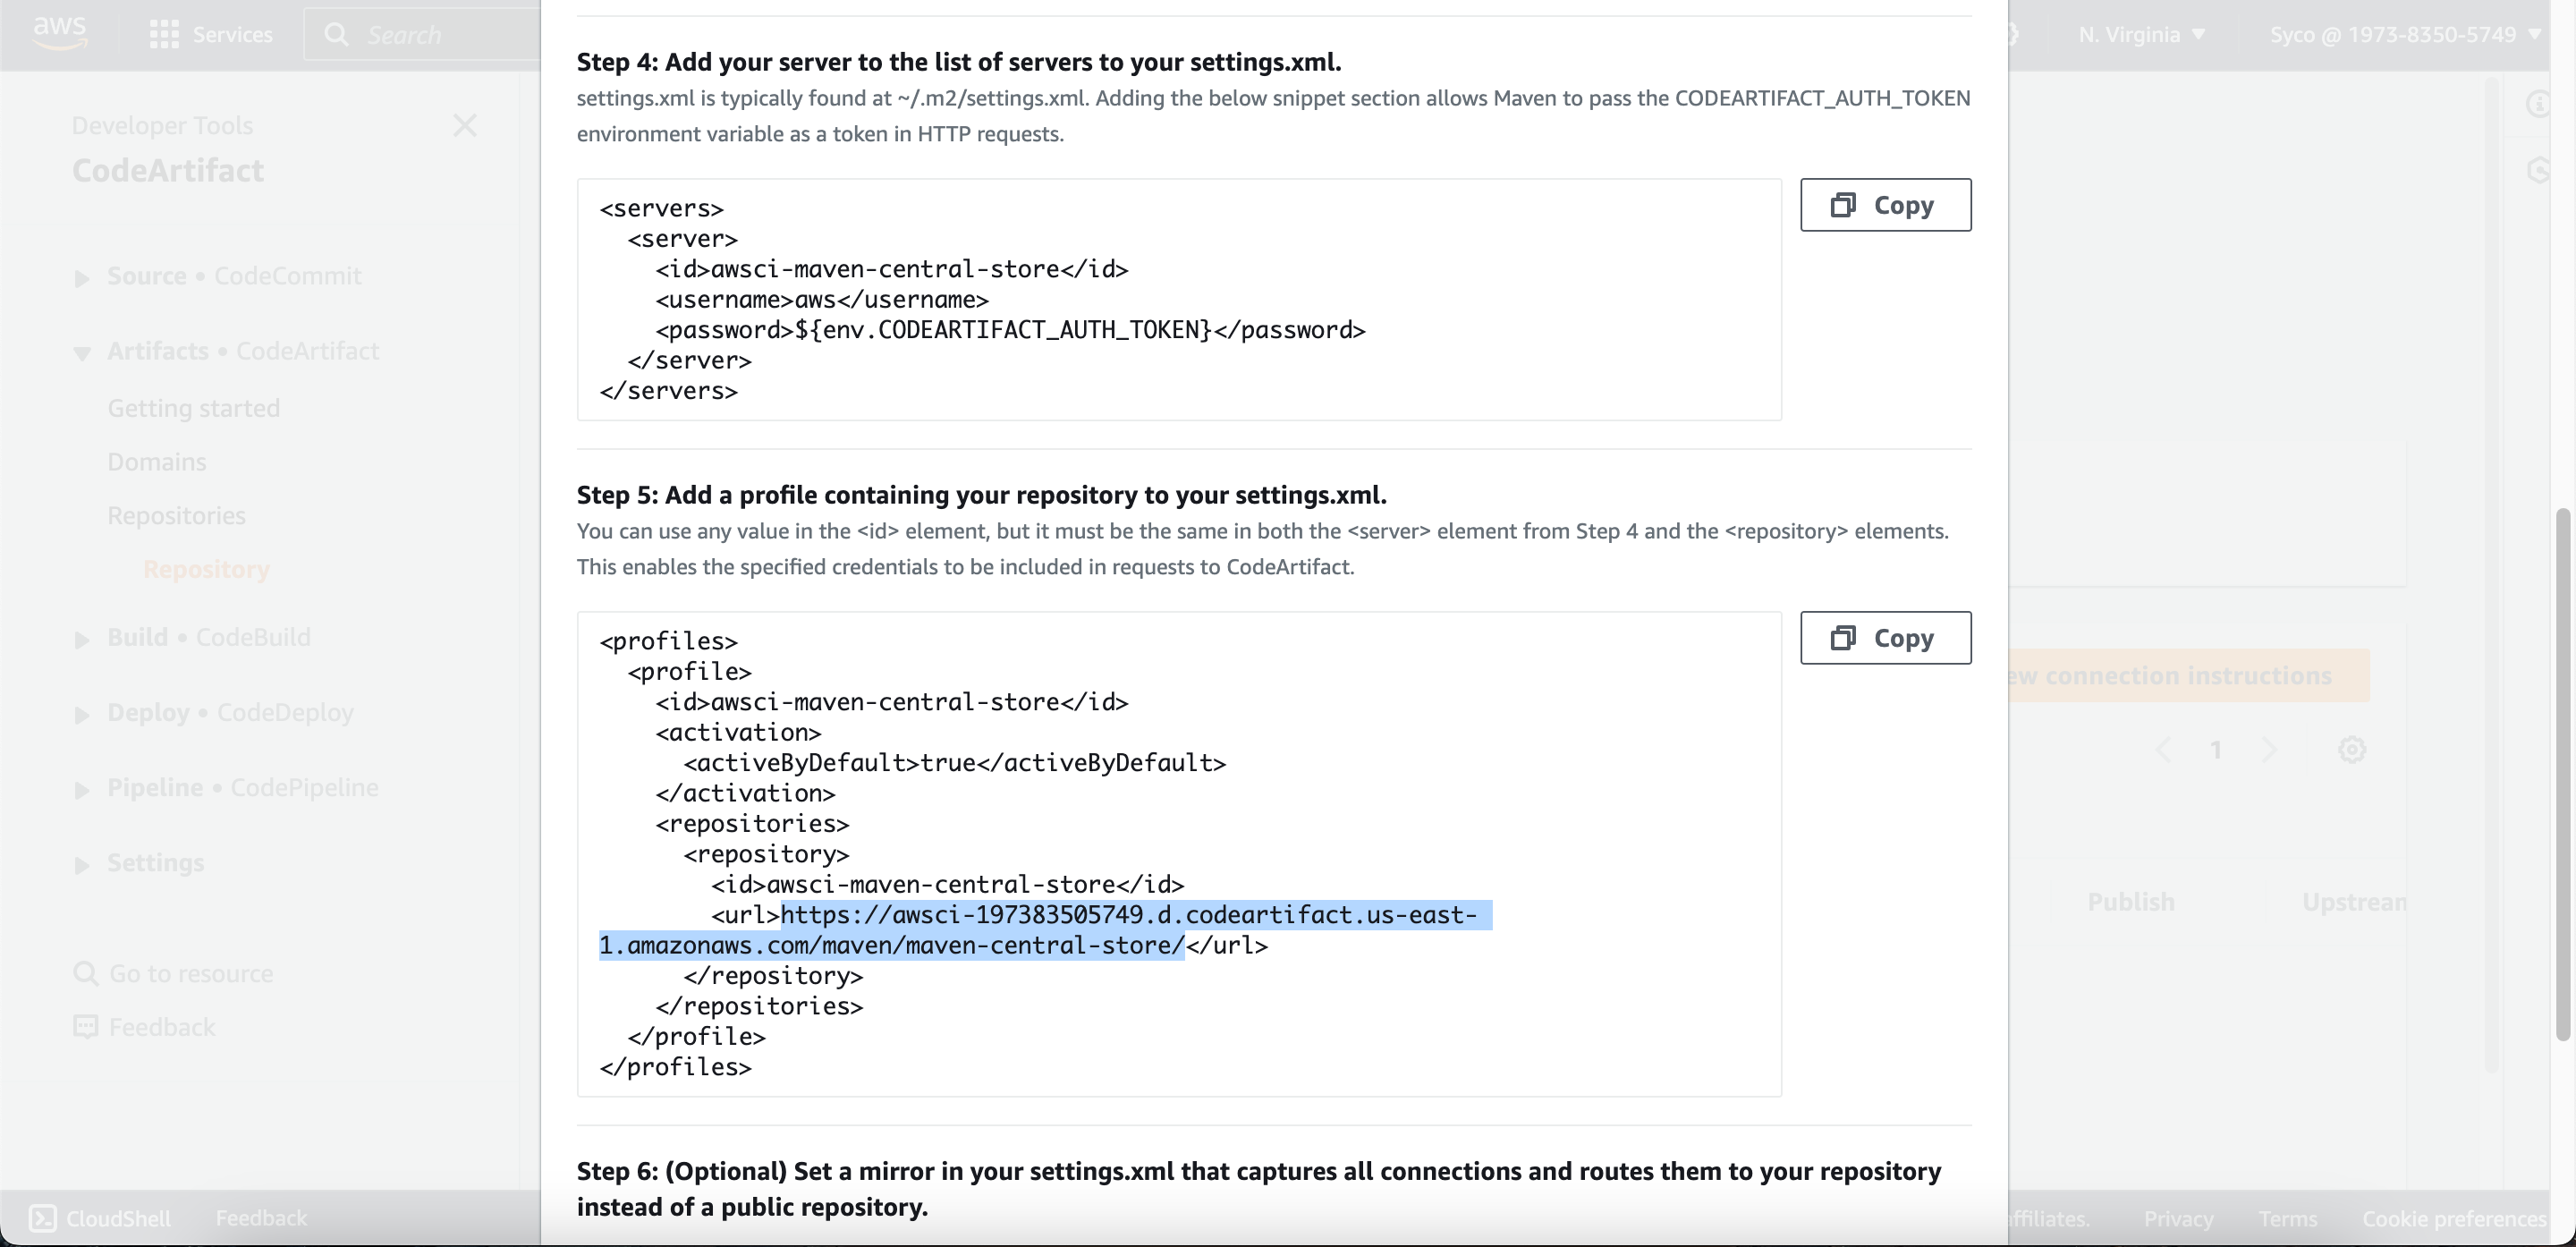
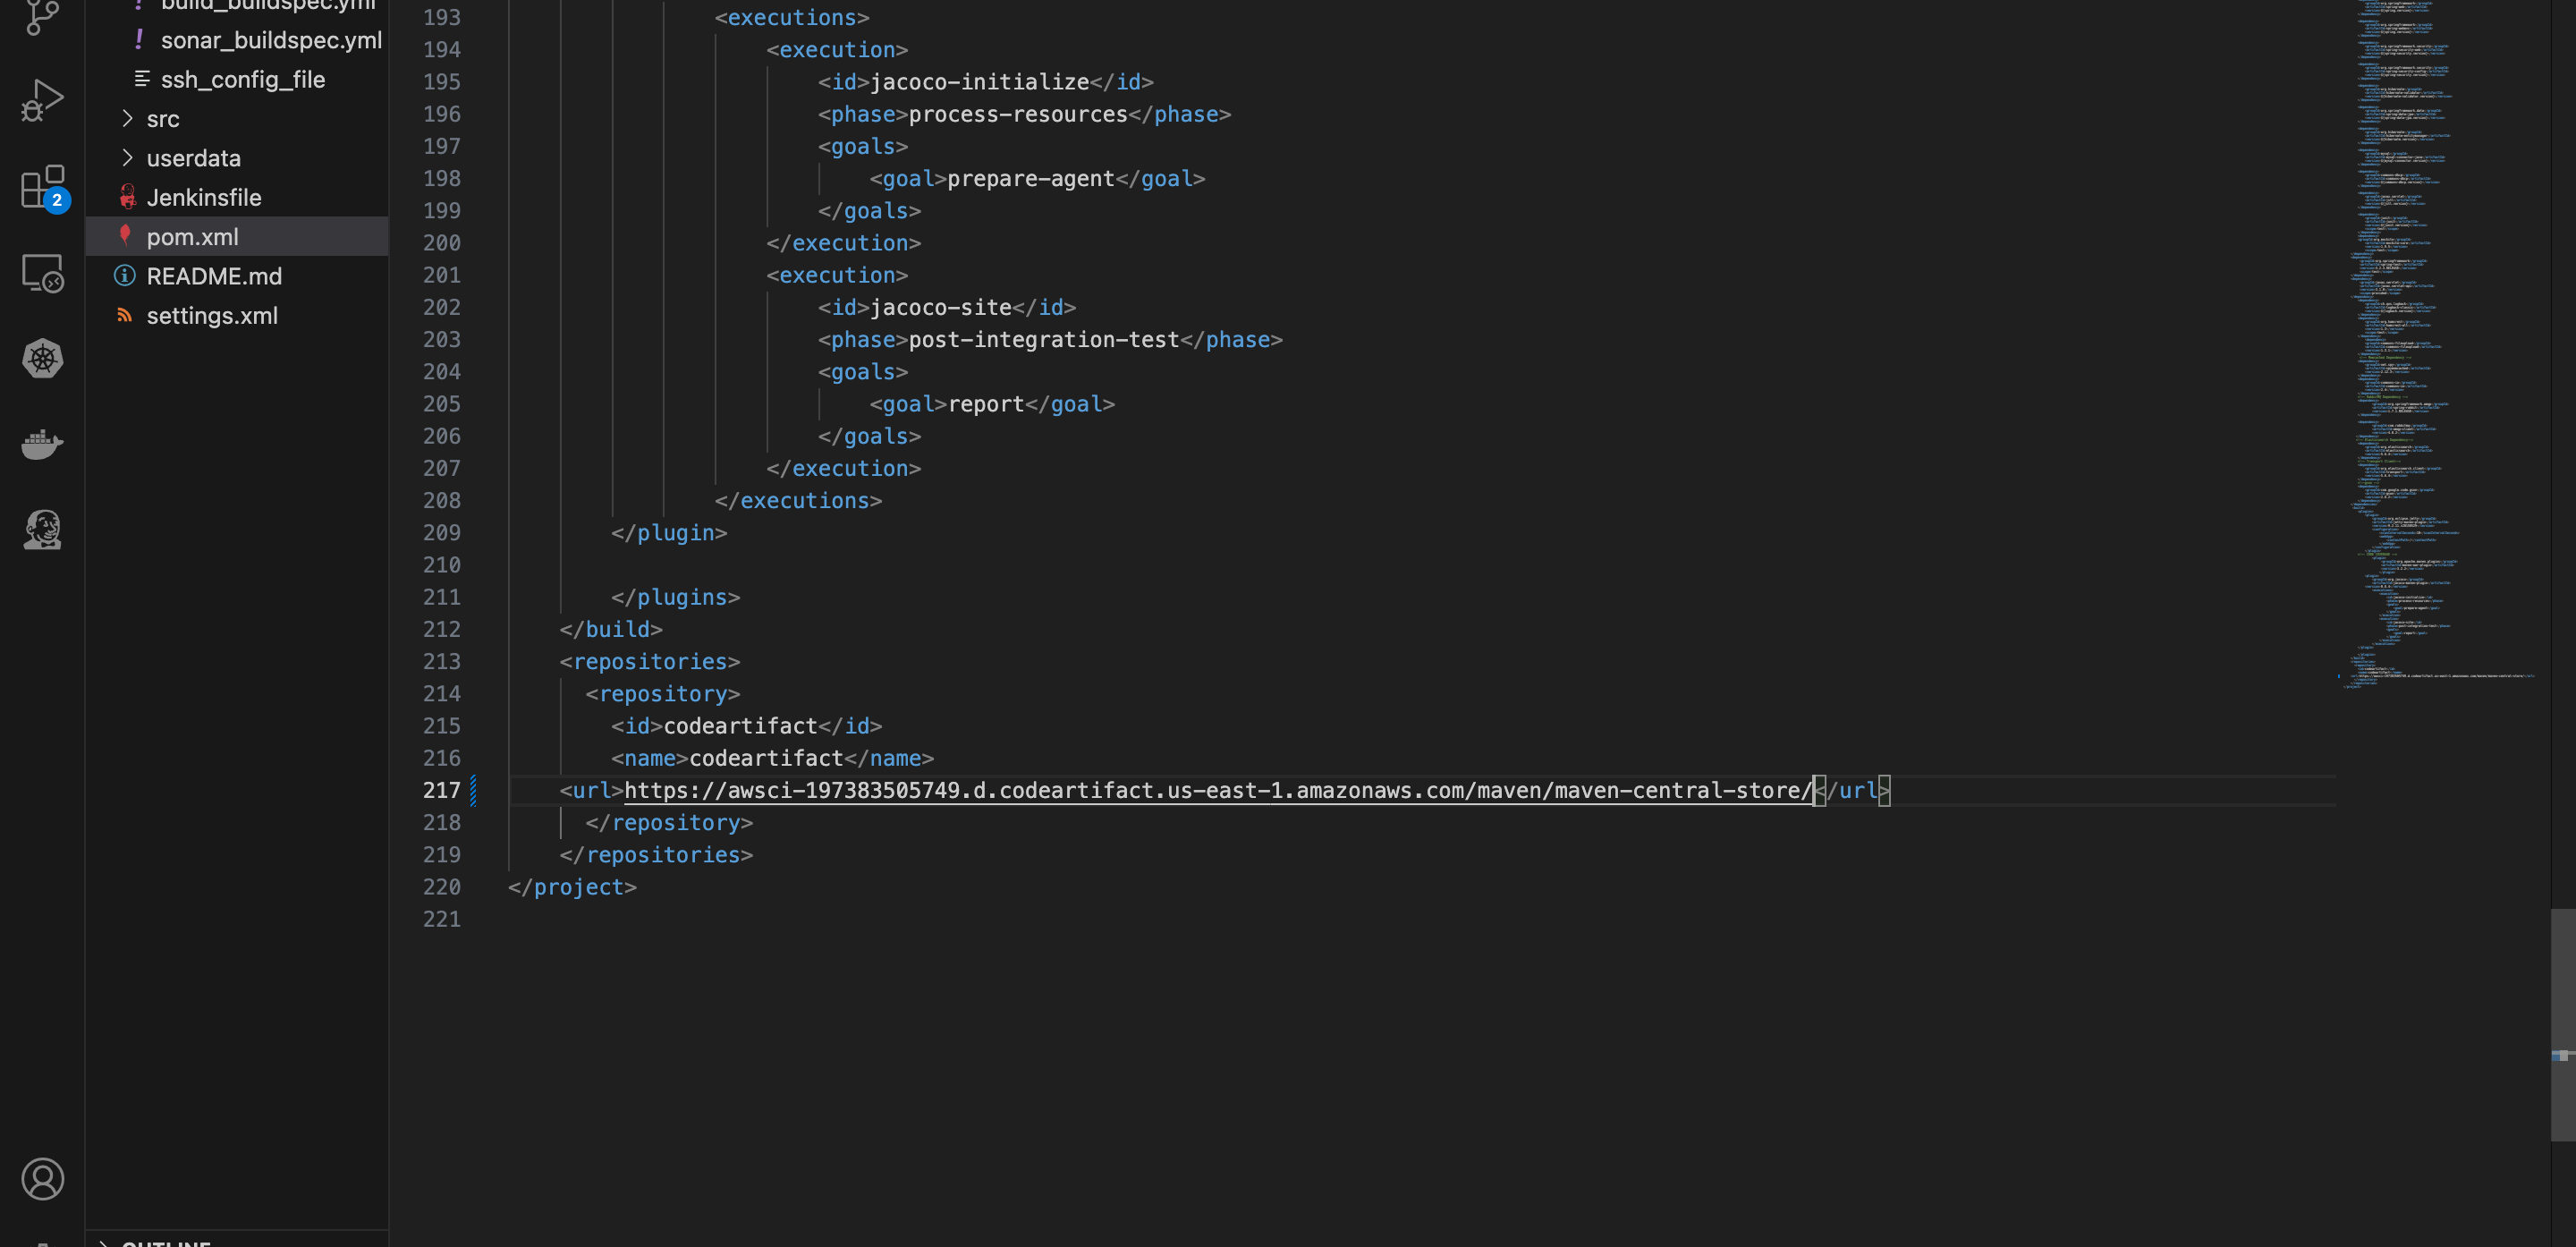
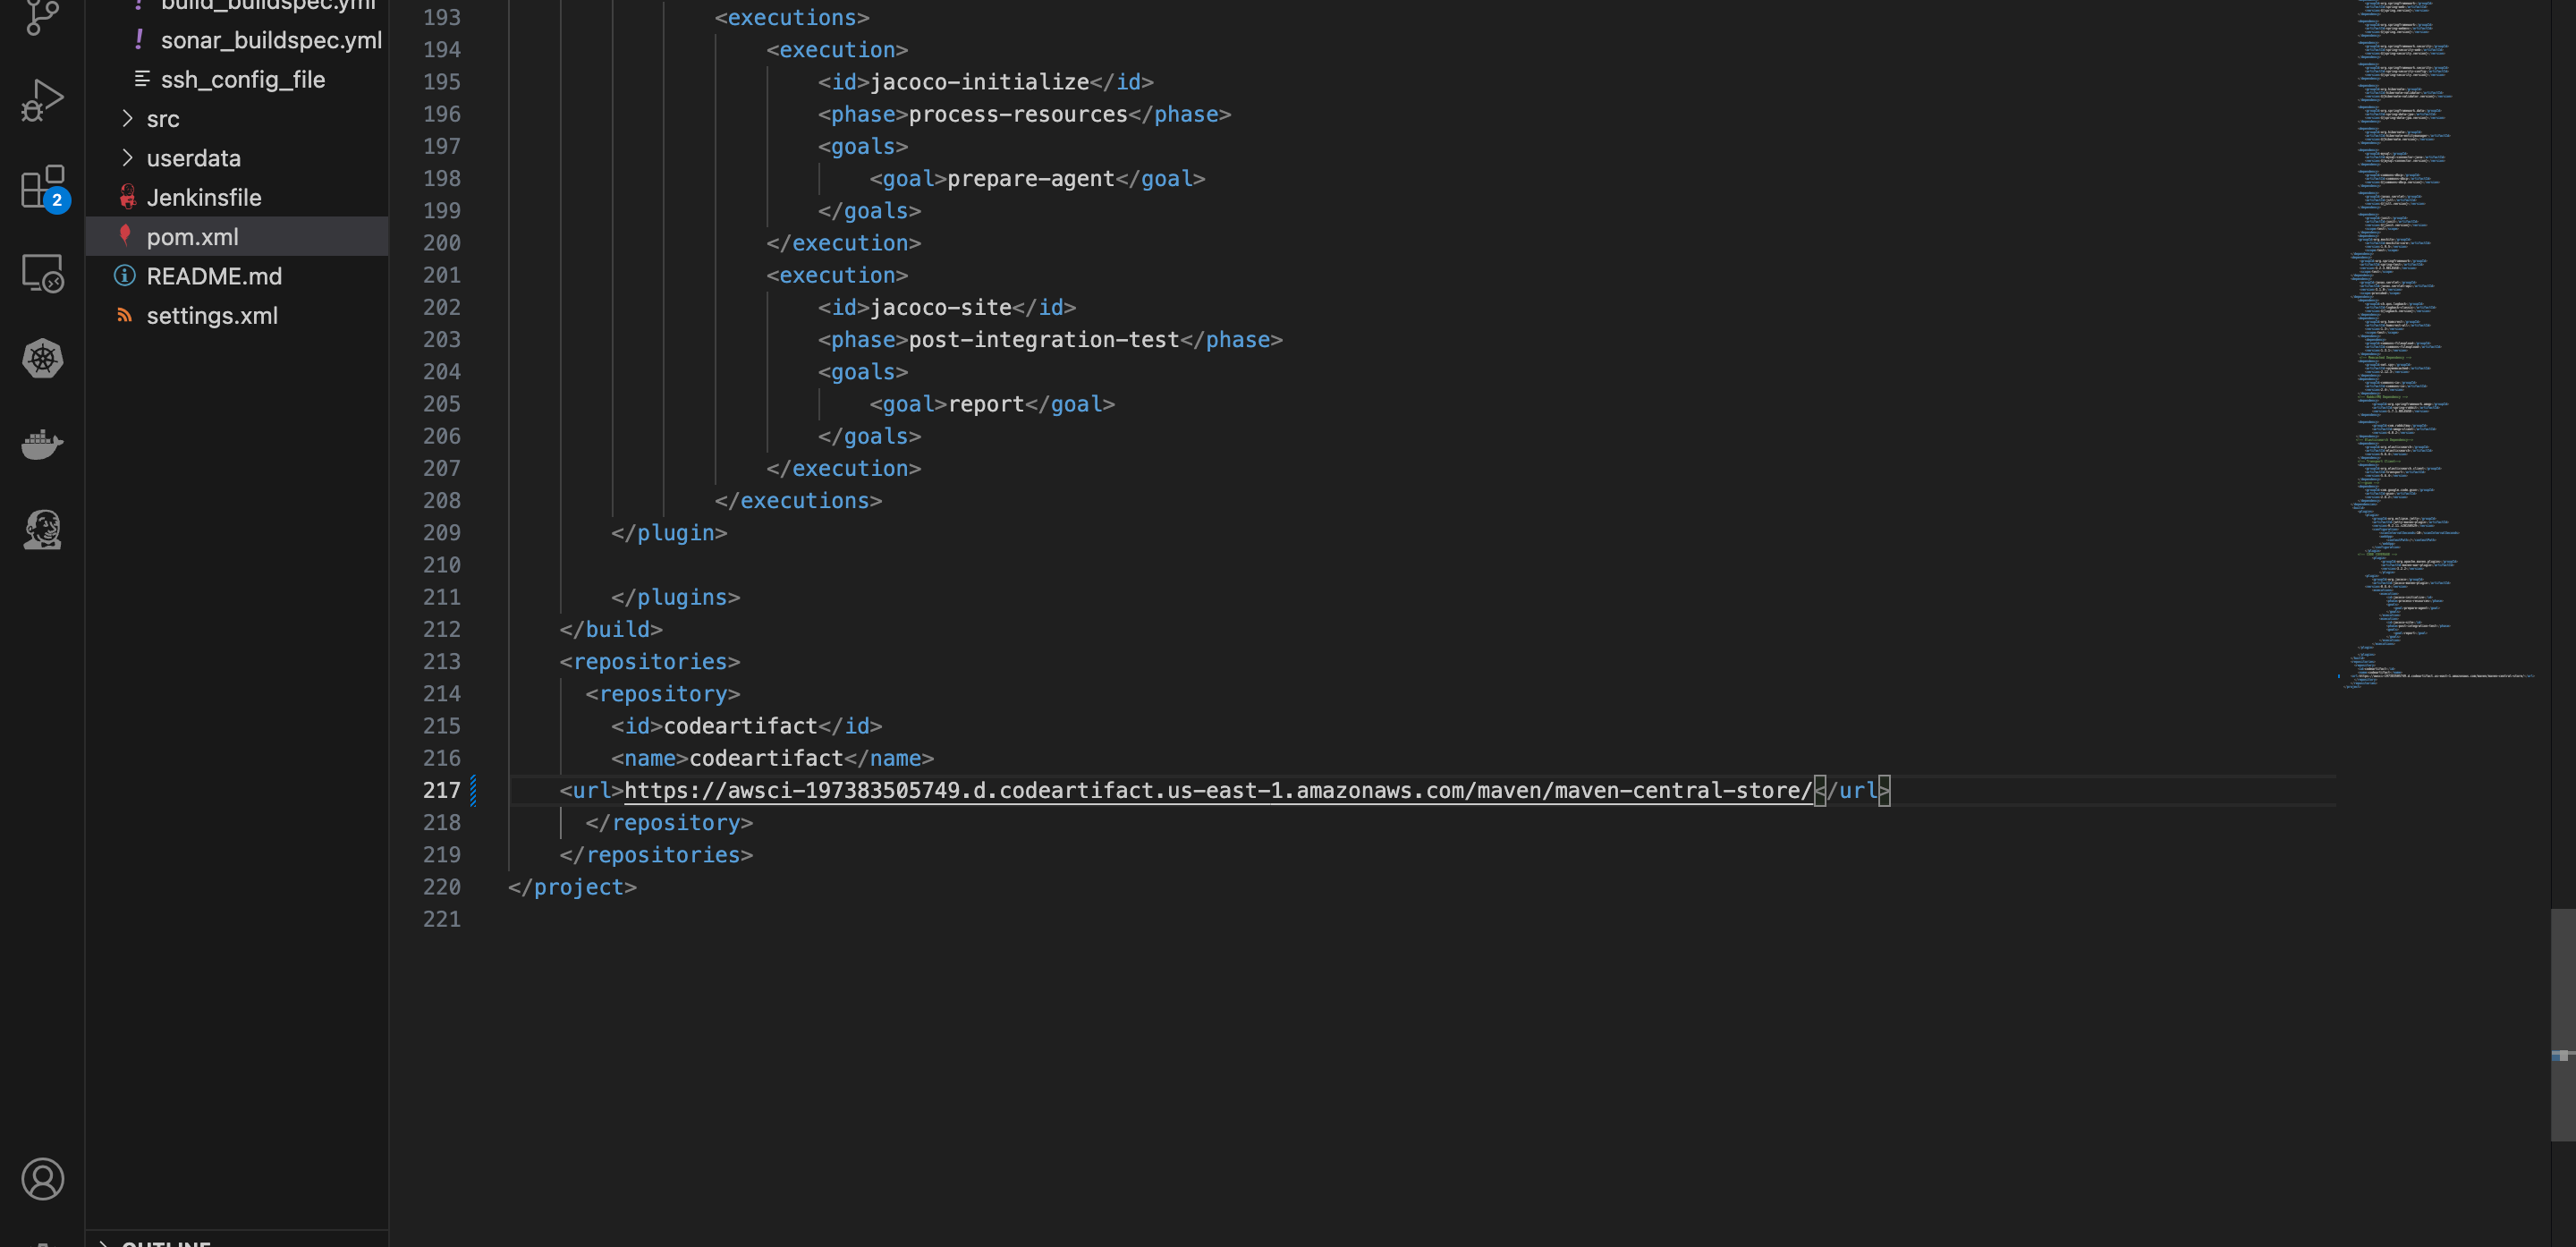
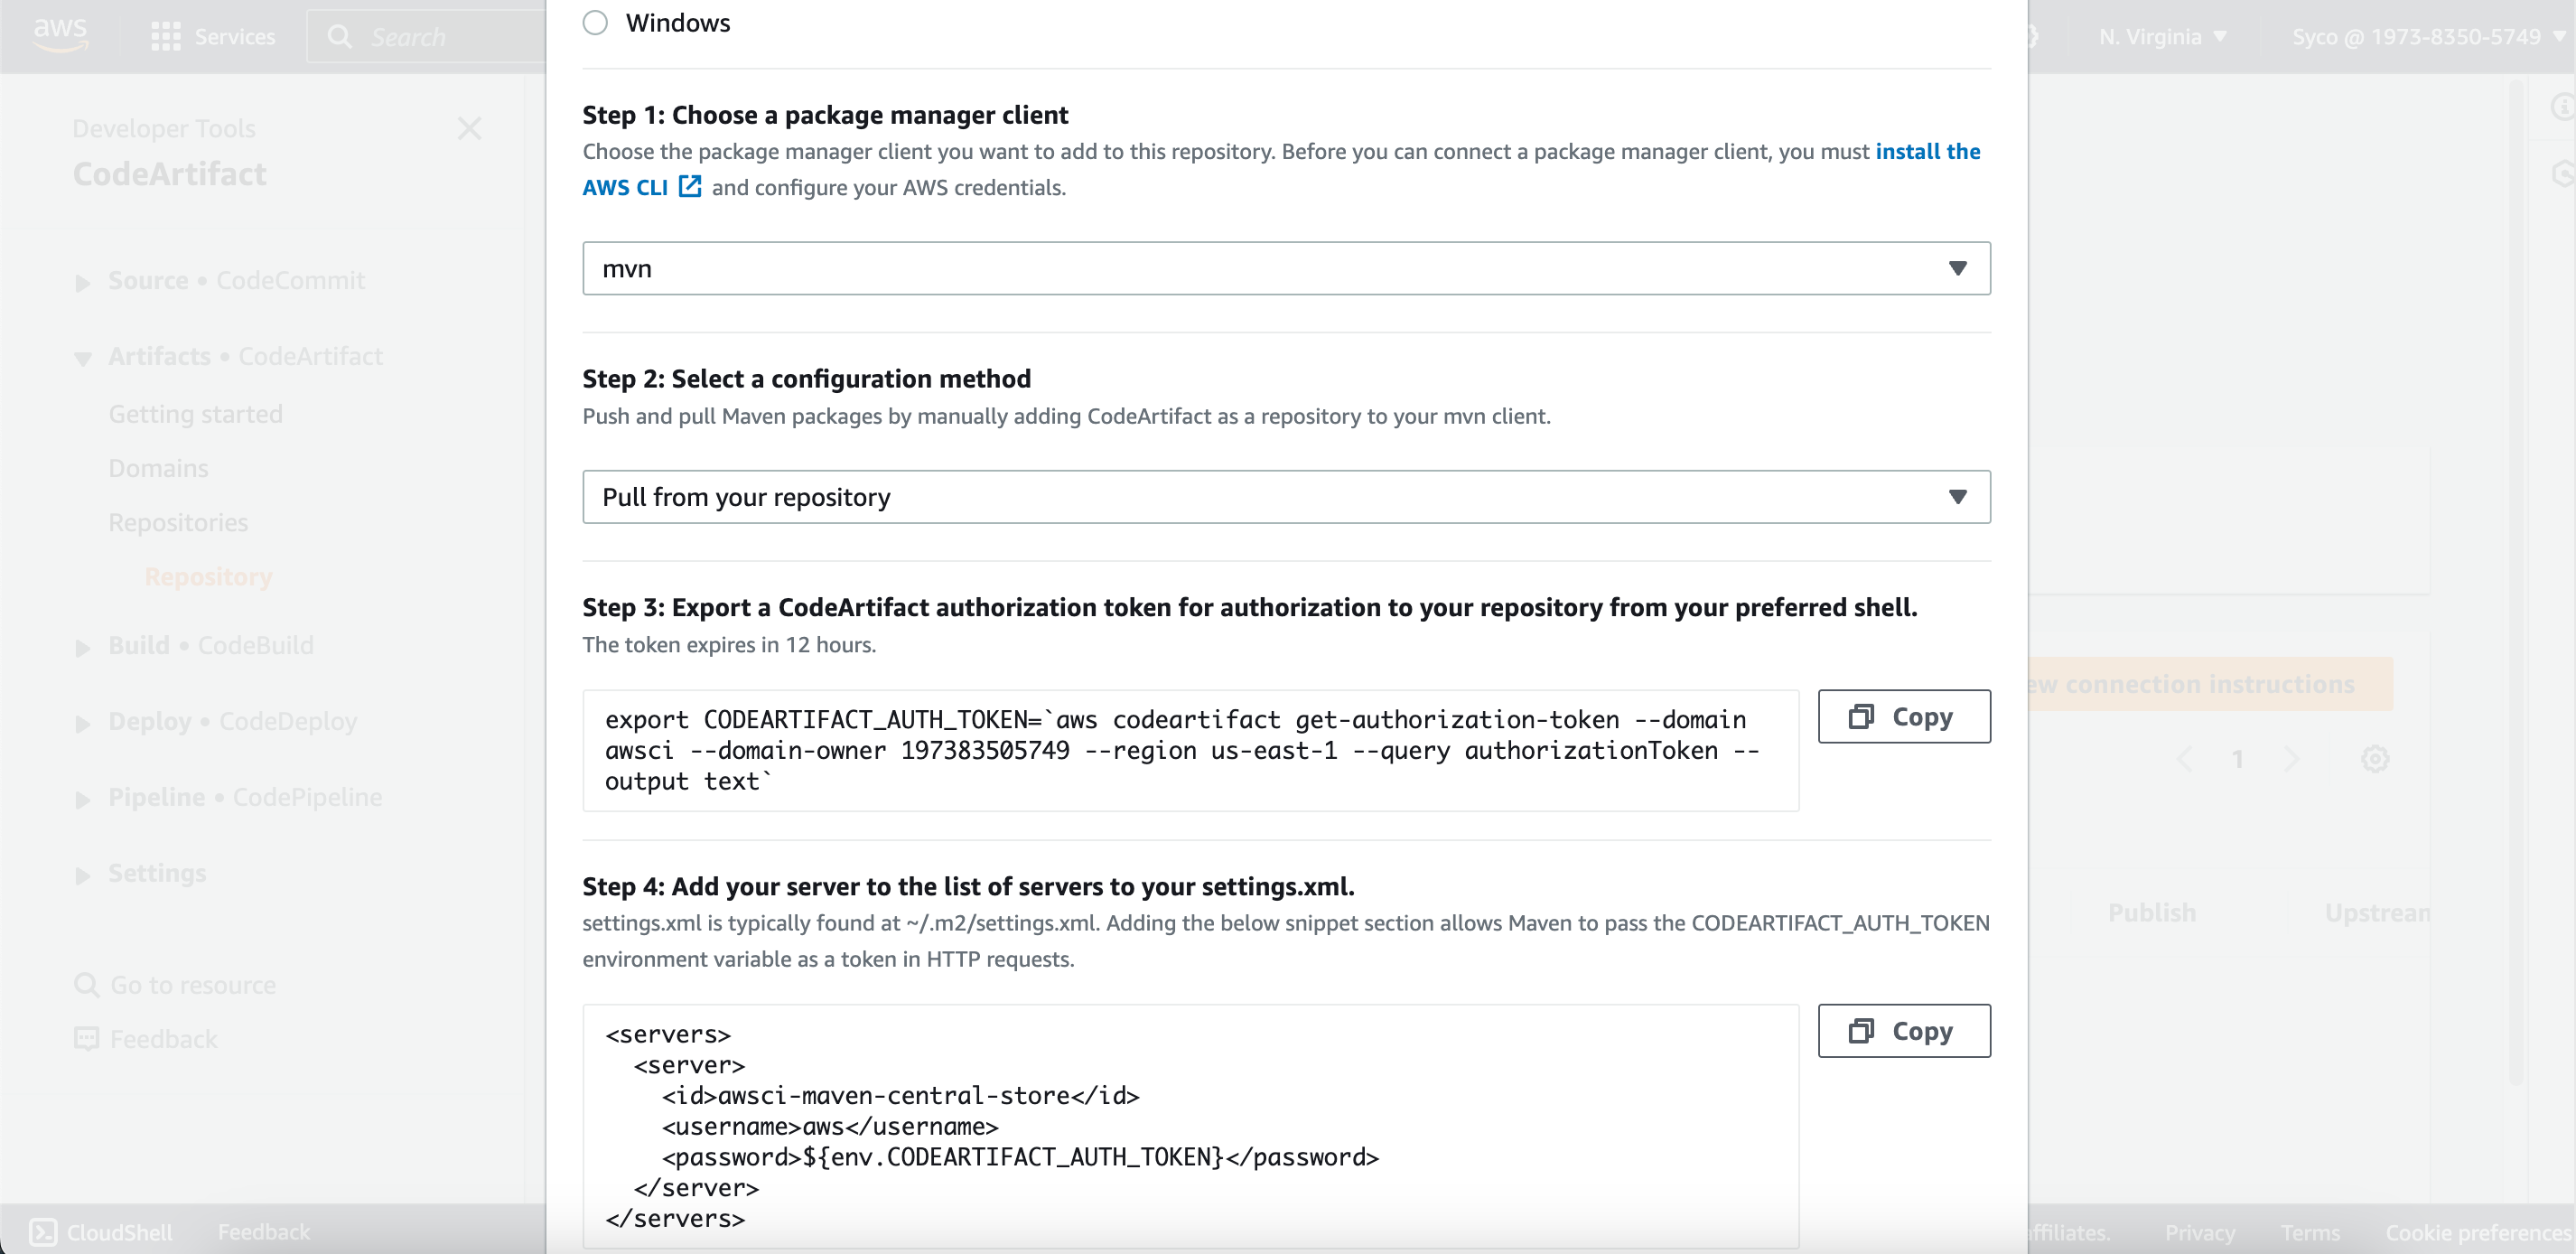
- Open the “maven-central-store” repository in CodeArtifact console and click on “view connection instructions”. Choose mvn as package manager client and linux as your OS. Scroll down to step 5 and copy the url block. On the pom.xml file, scroll down to the url block, remove the existing text and paste the copied url.
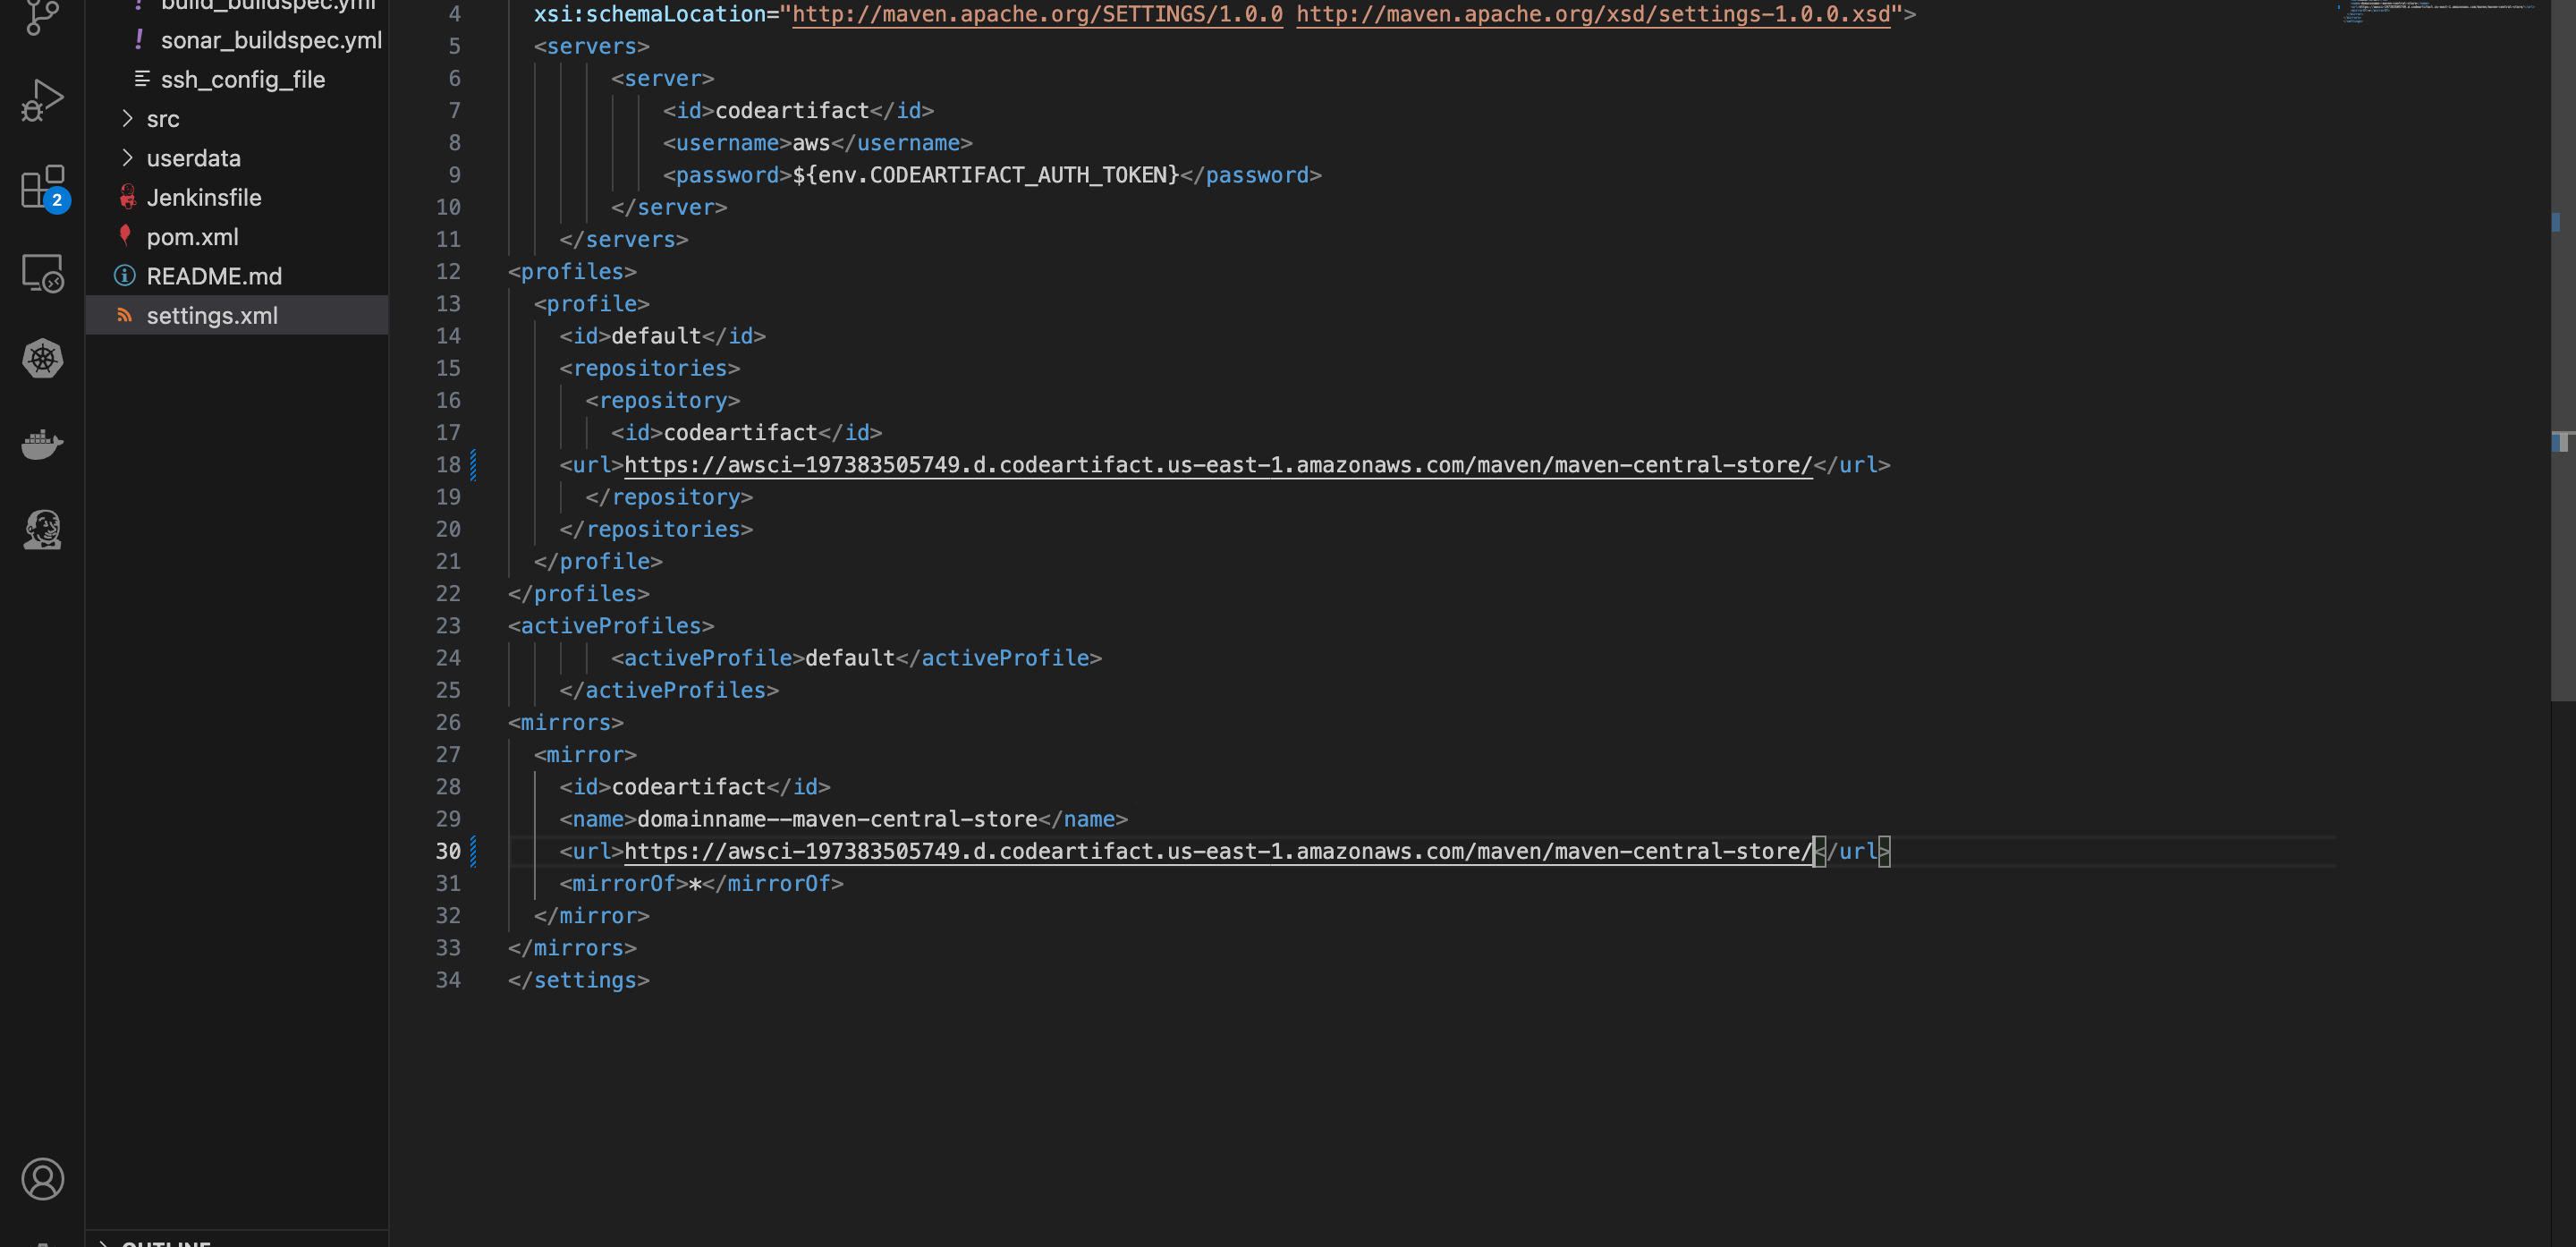
- Go to your settings.xml file, make the same change on the url blocks as well
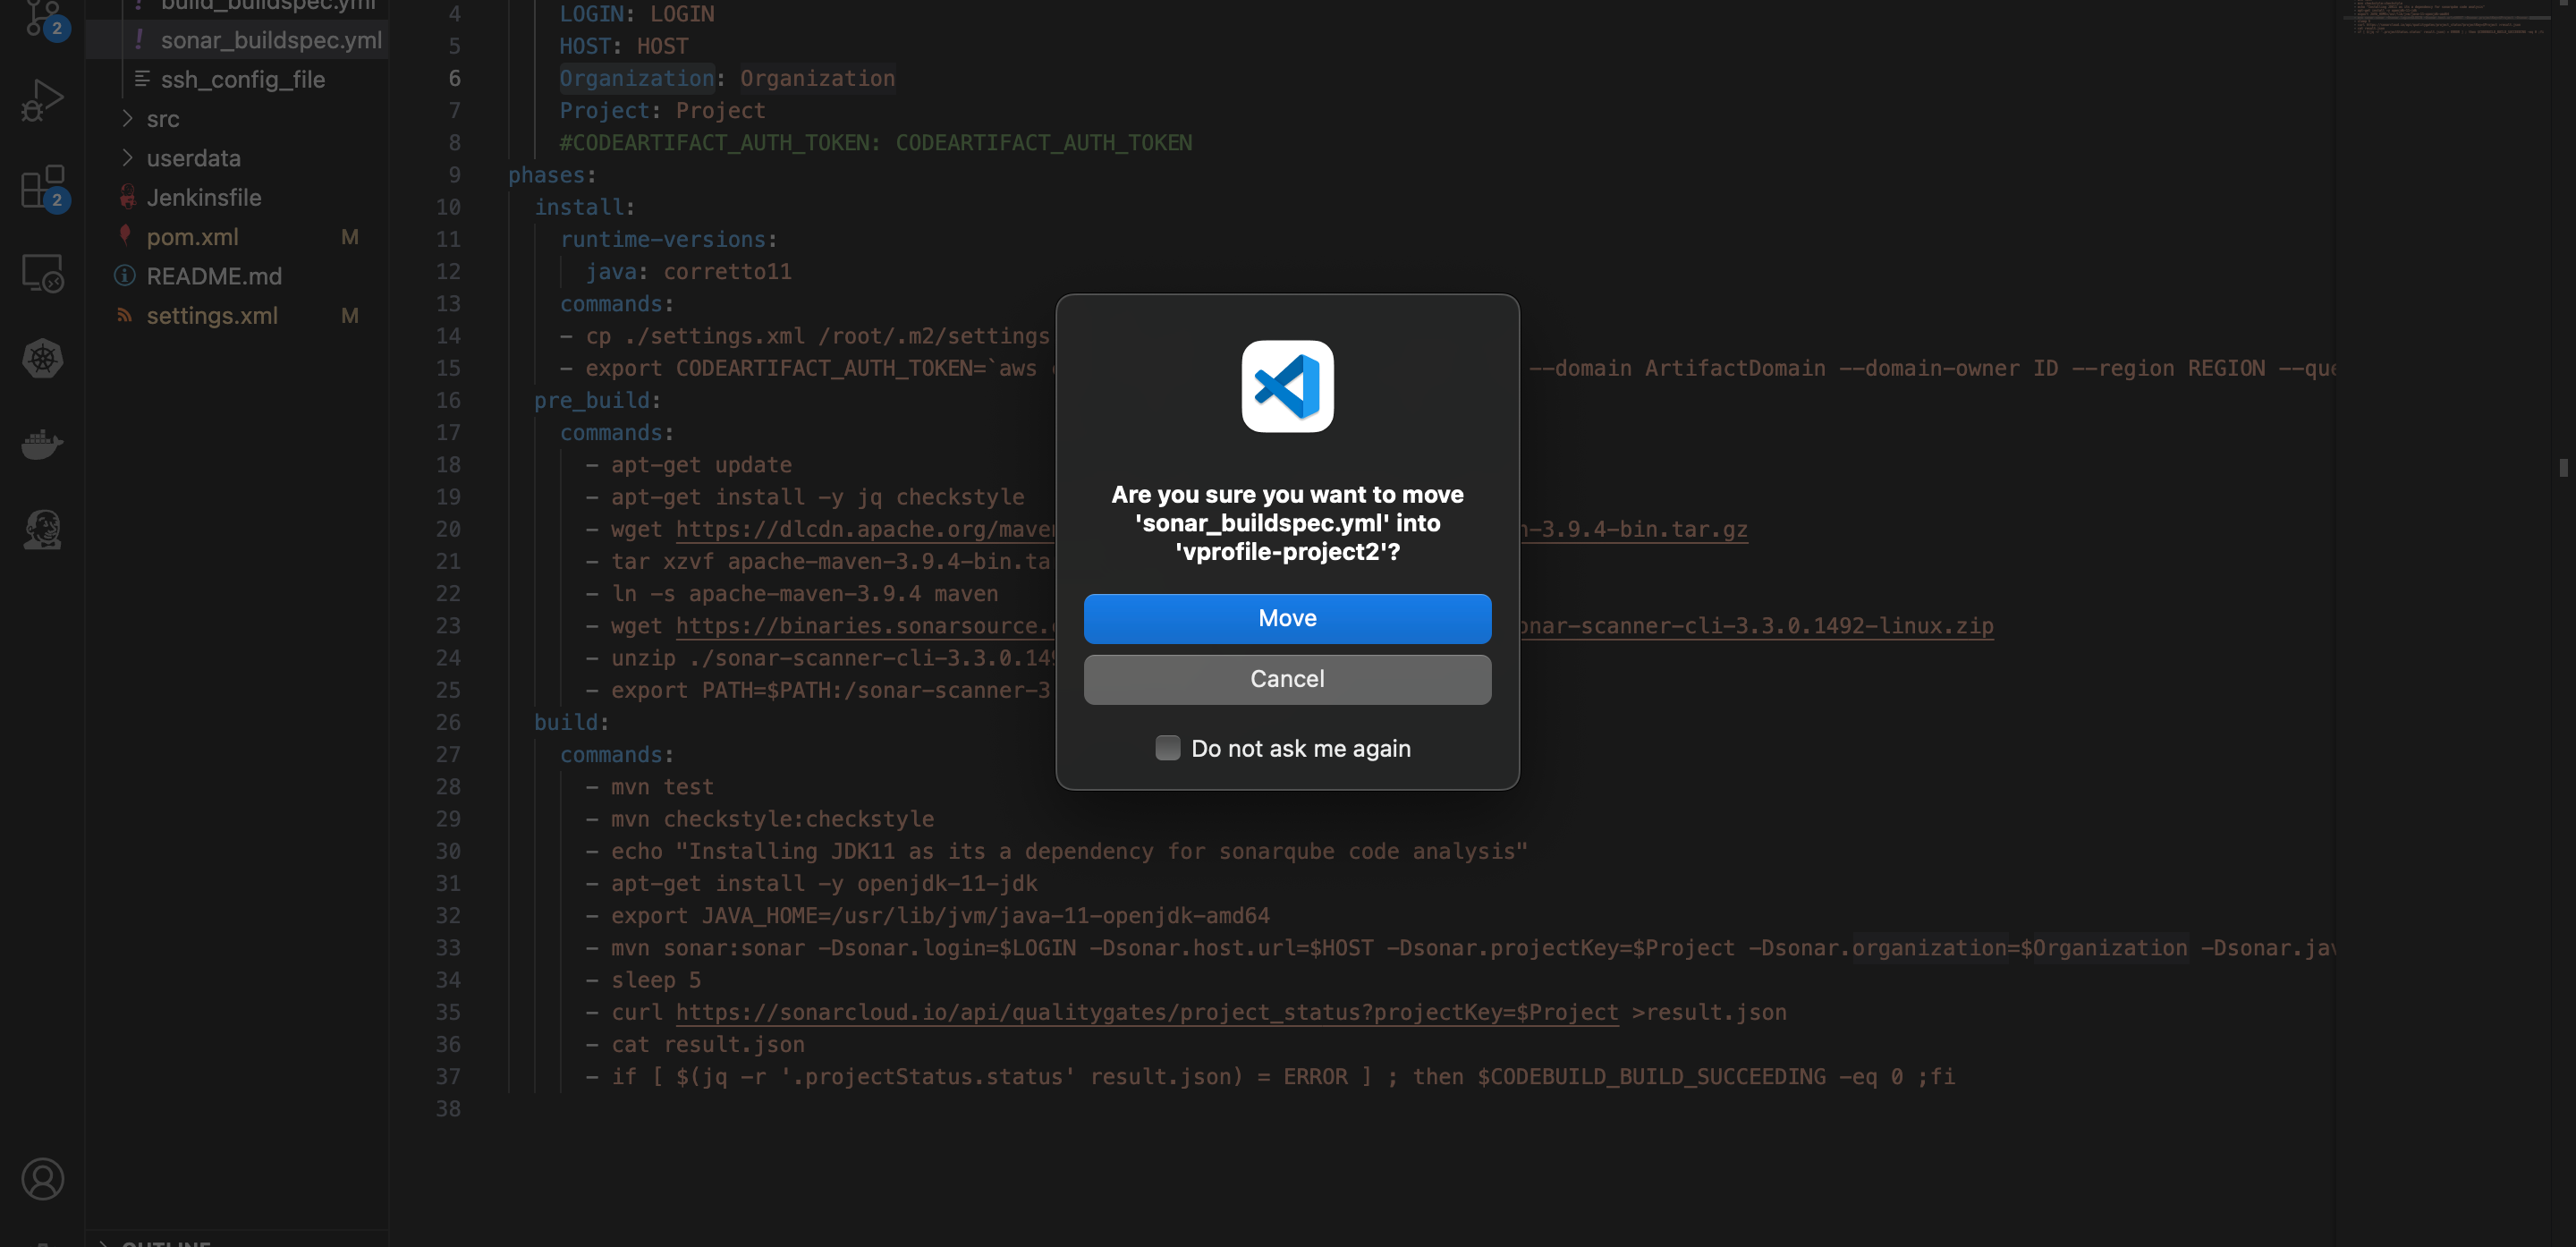
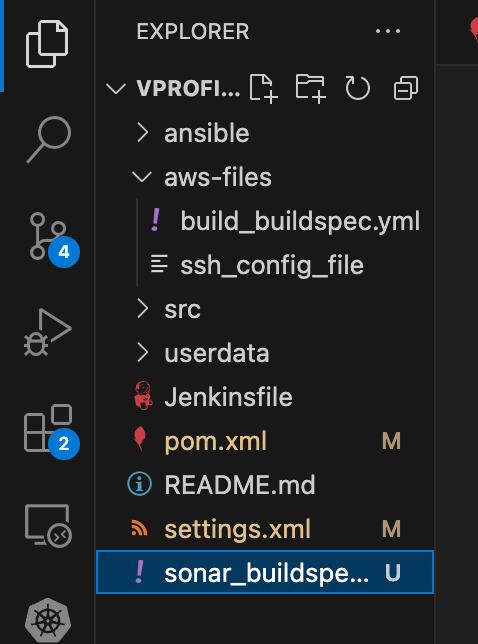
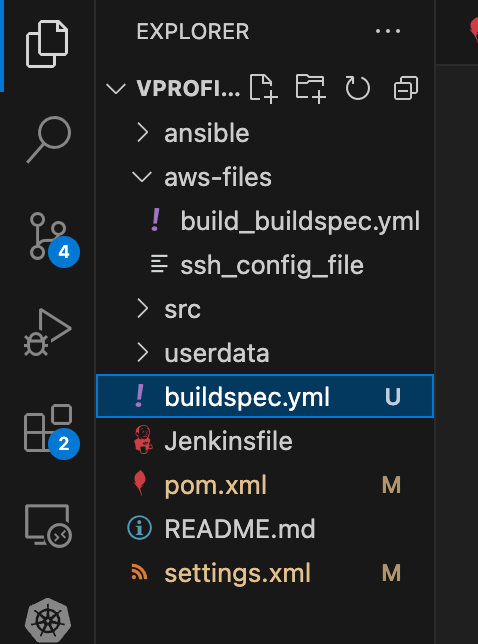
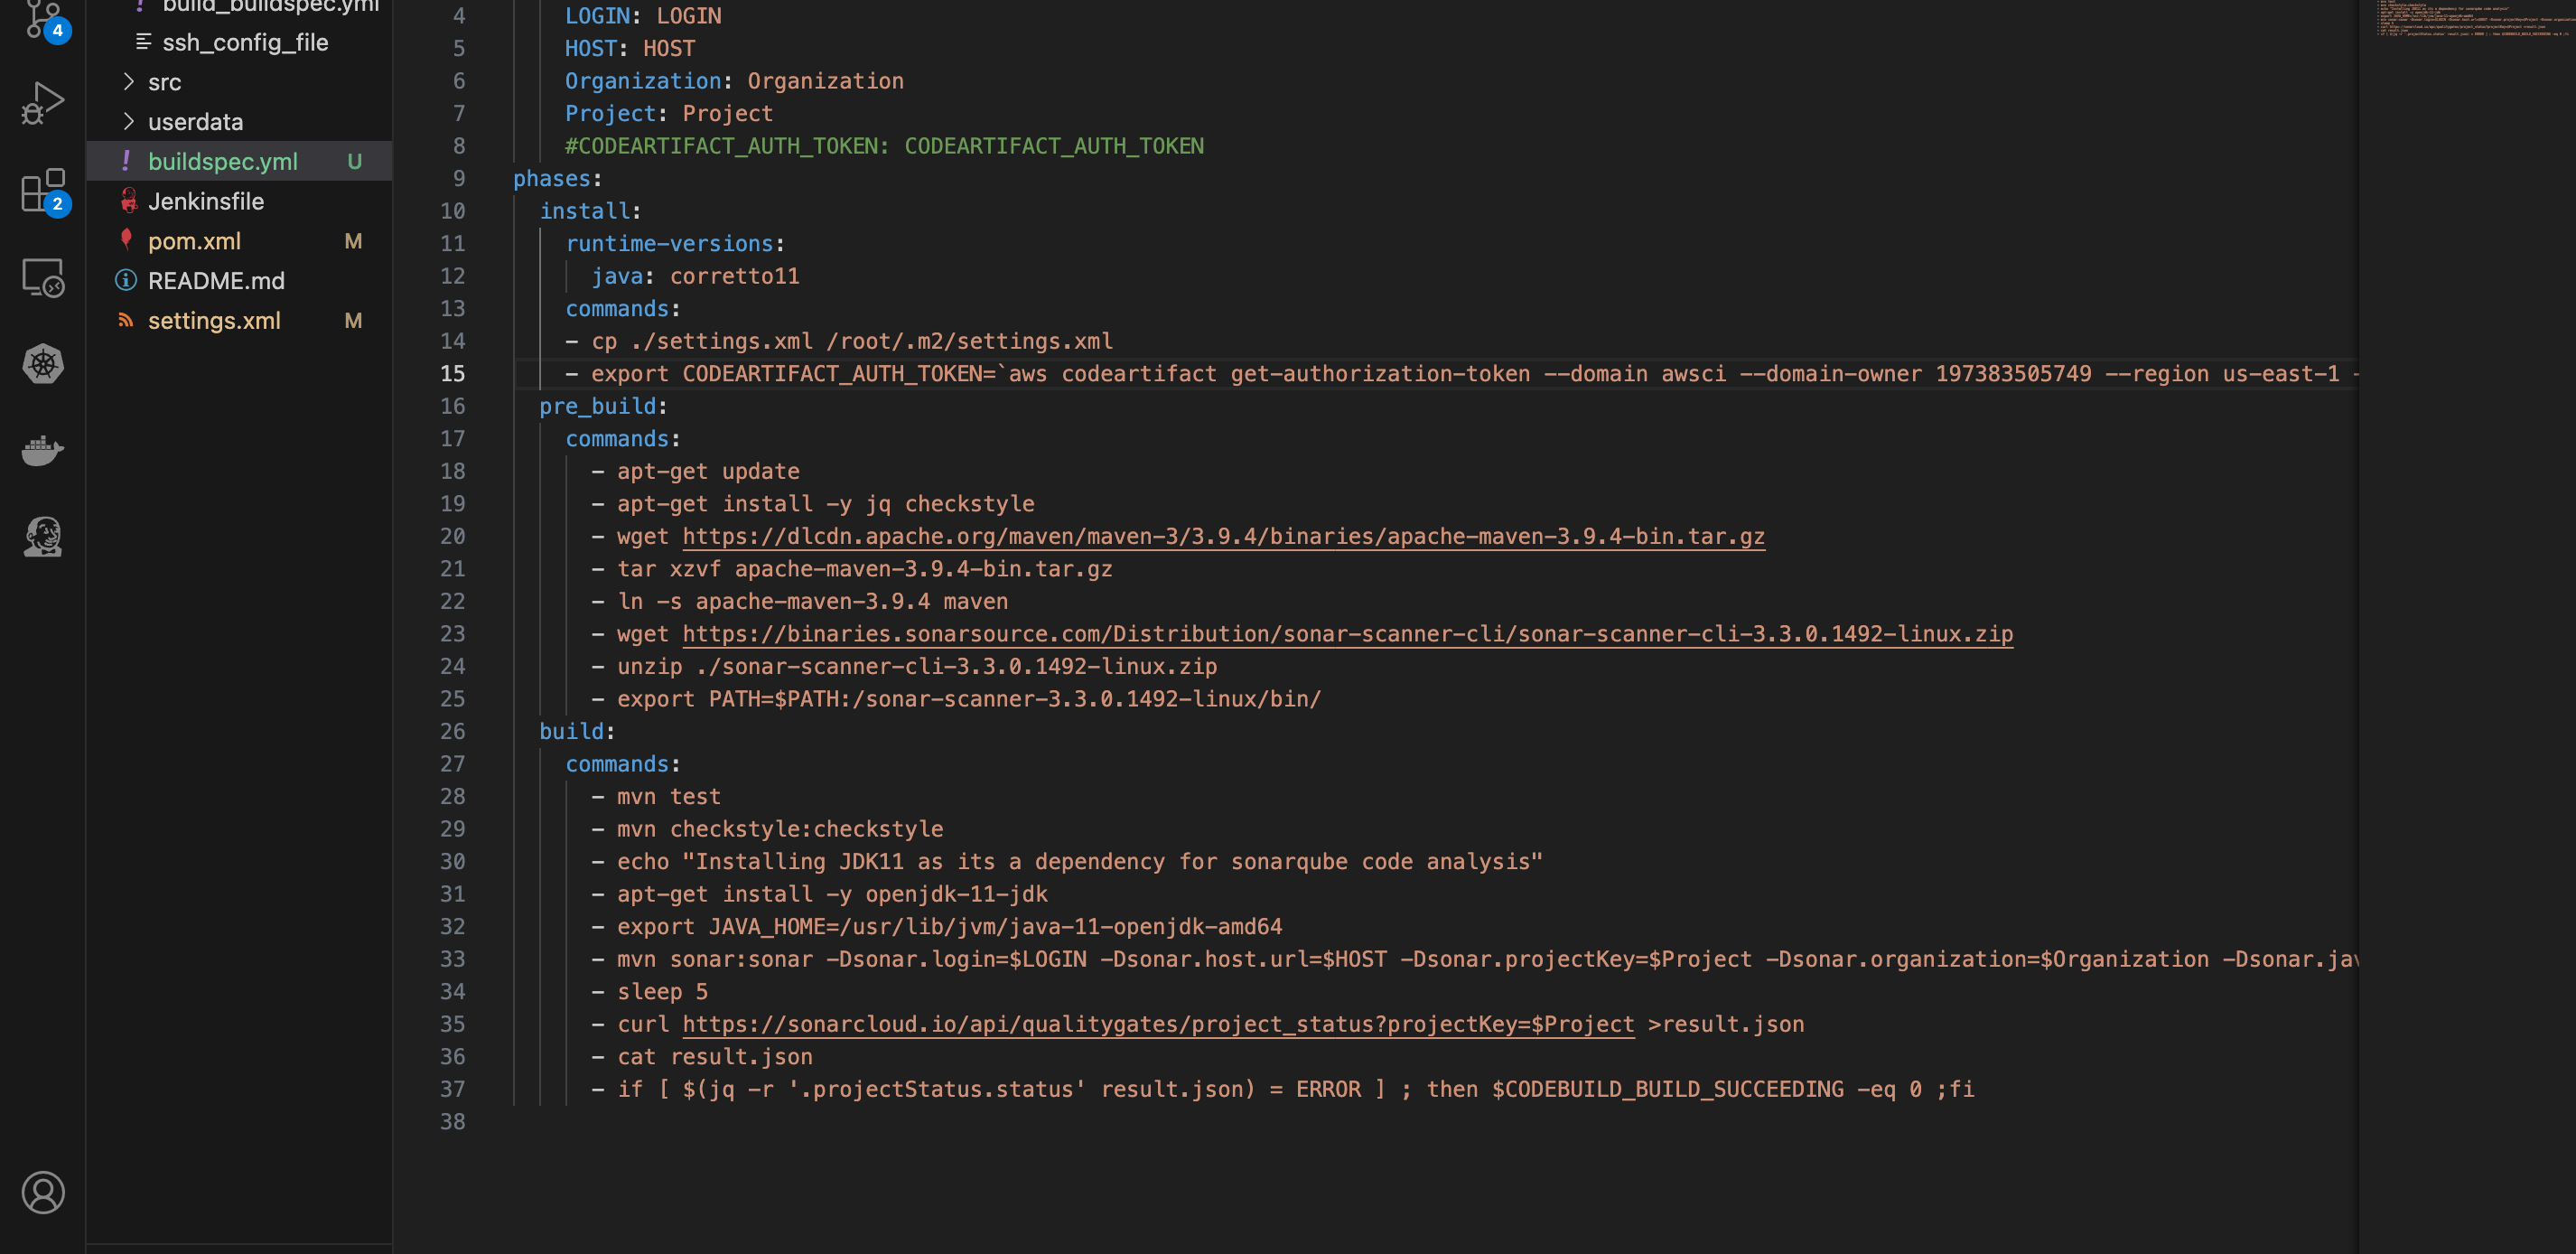
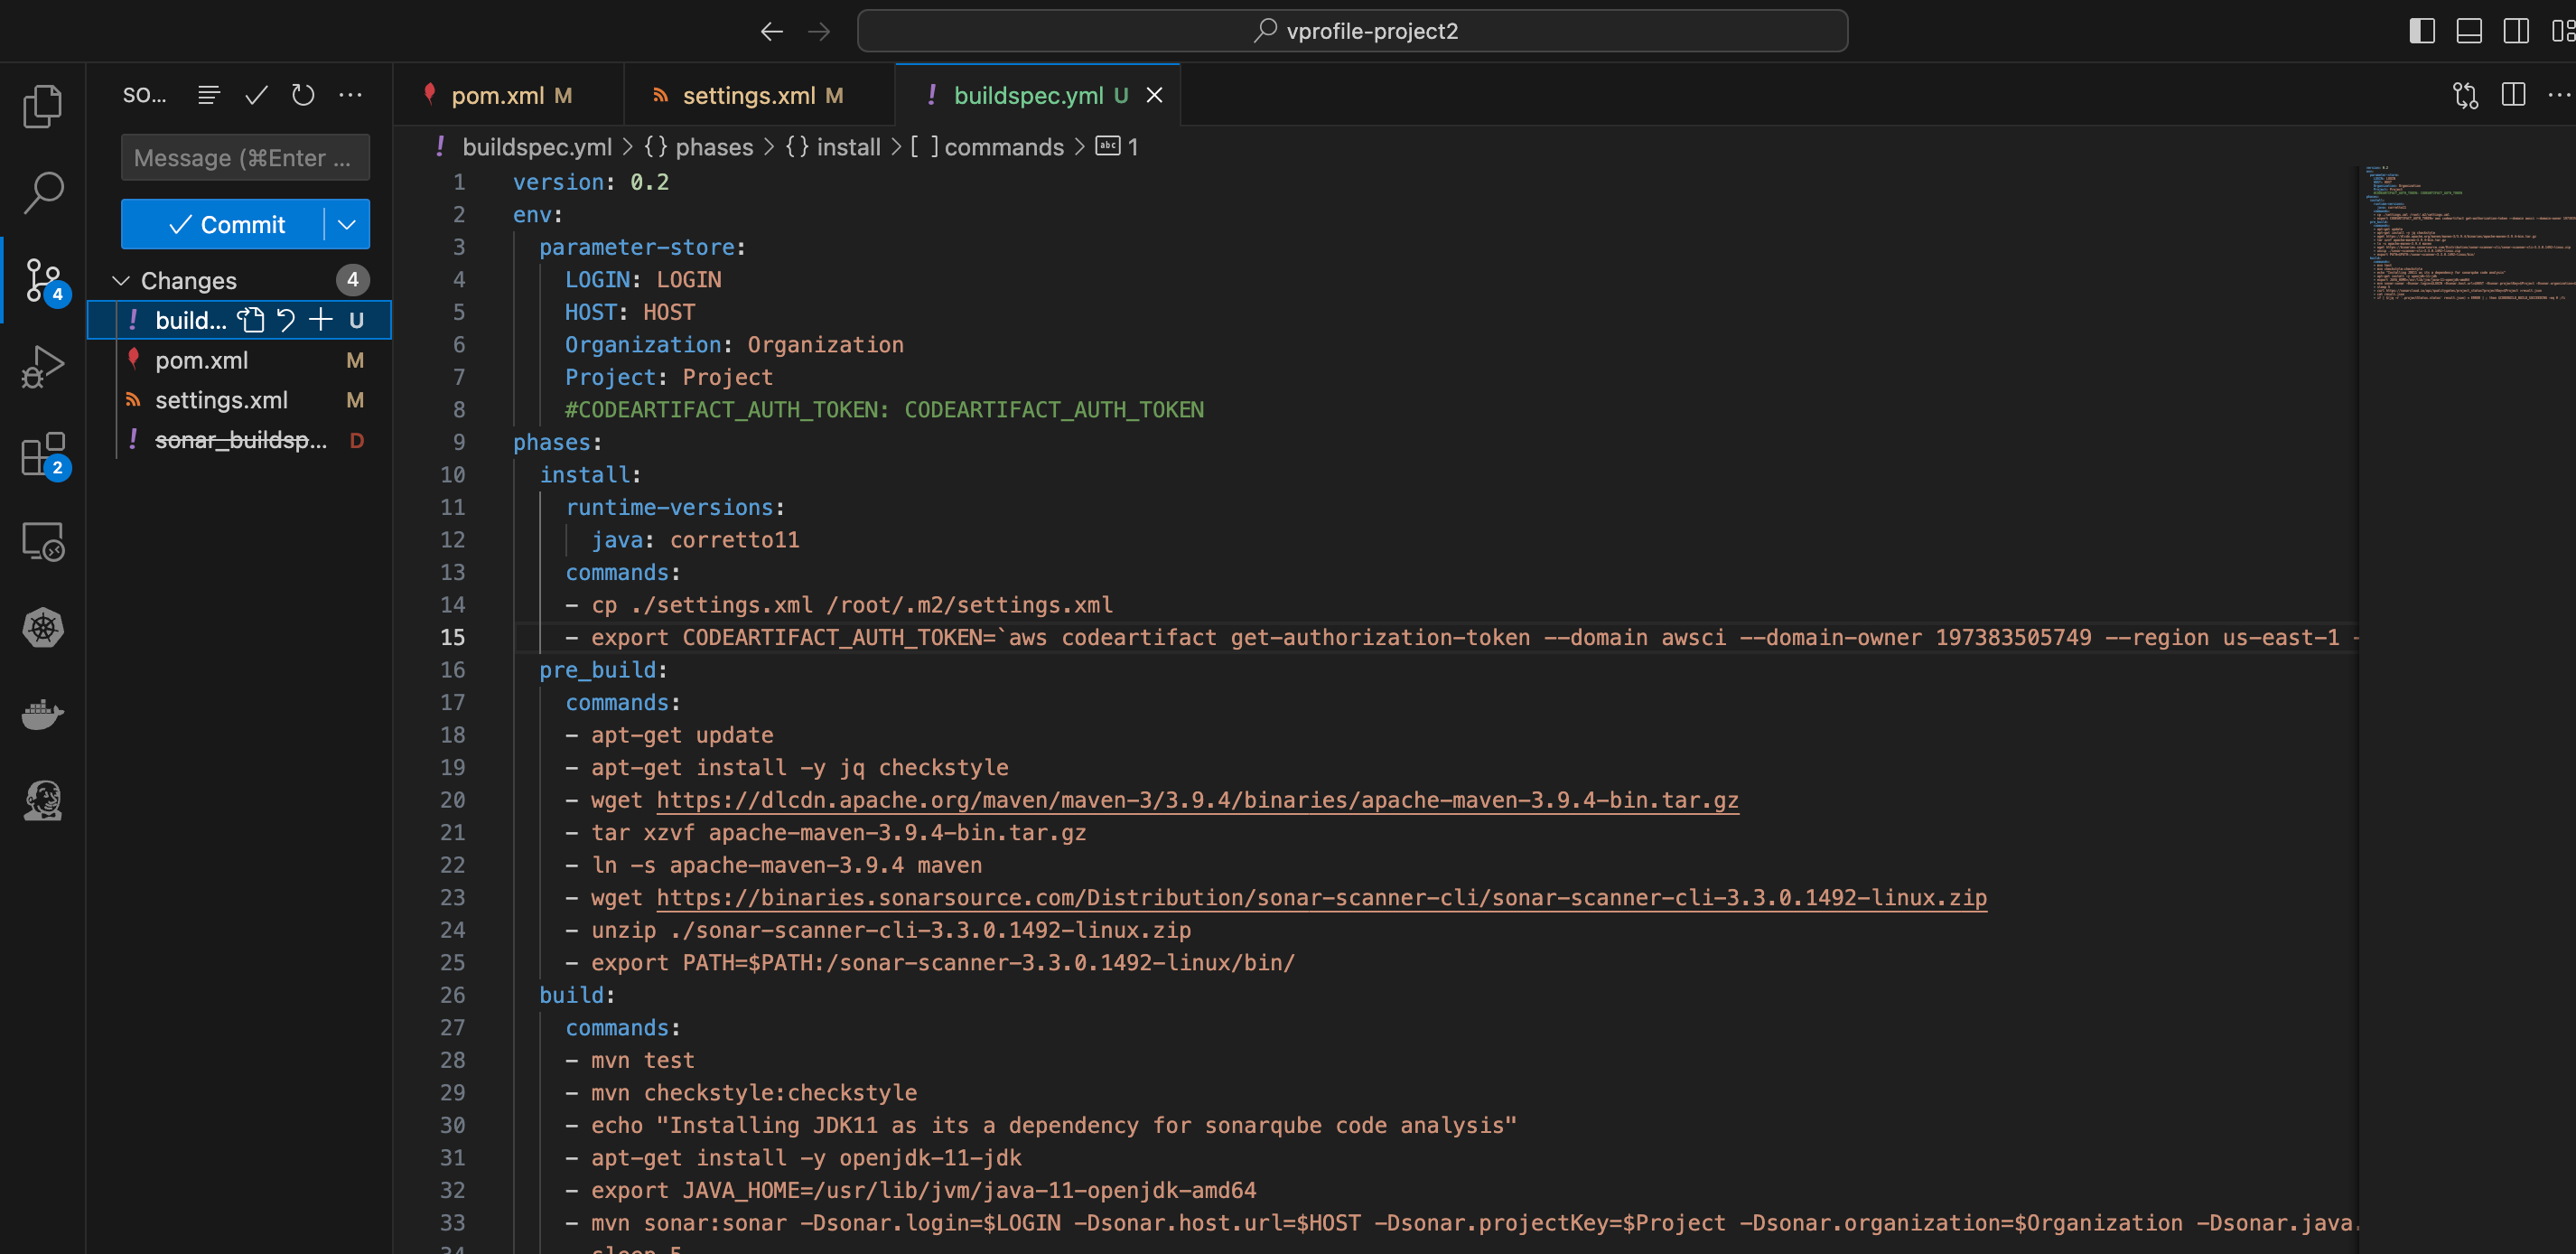
- Open the “aws files” and drag the “sonar_buildspec.yml” file into the root directory, rename the file to “buildspec.yml”.
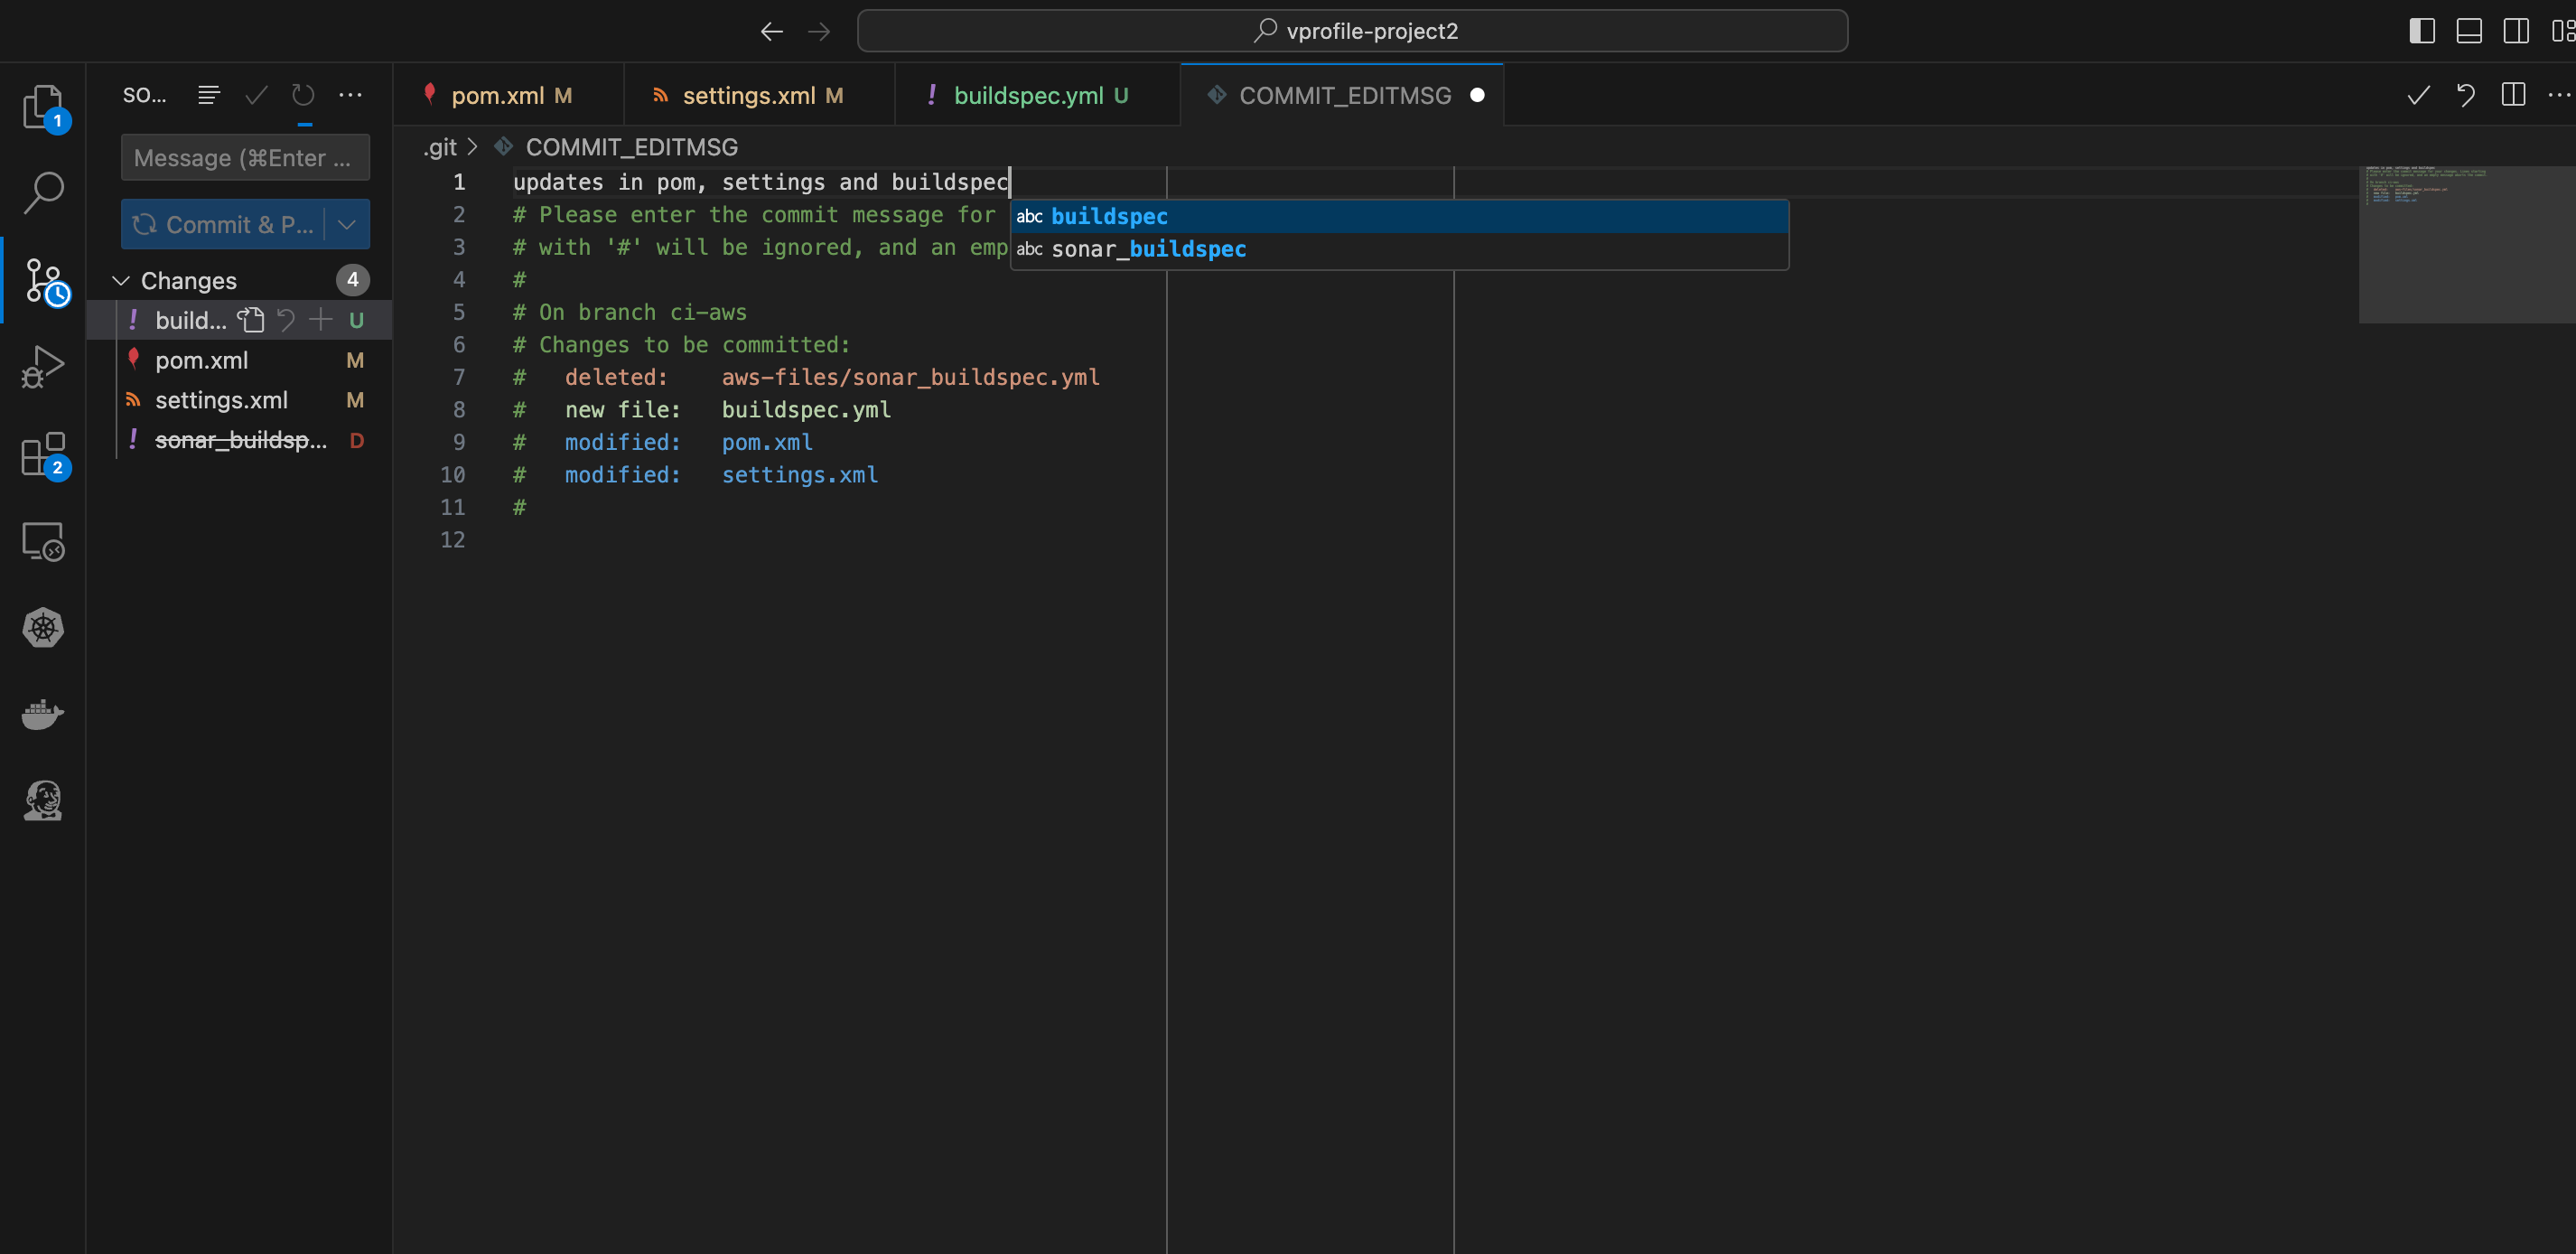
- In the connection instructions of the maven-central-store repository, copy the command in step 3 and on the buildspec.yml file, replace the code on line 15 with the copied code block. Save the changes, commit and push.
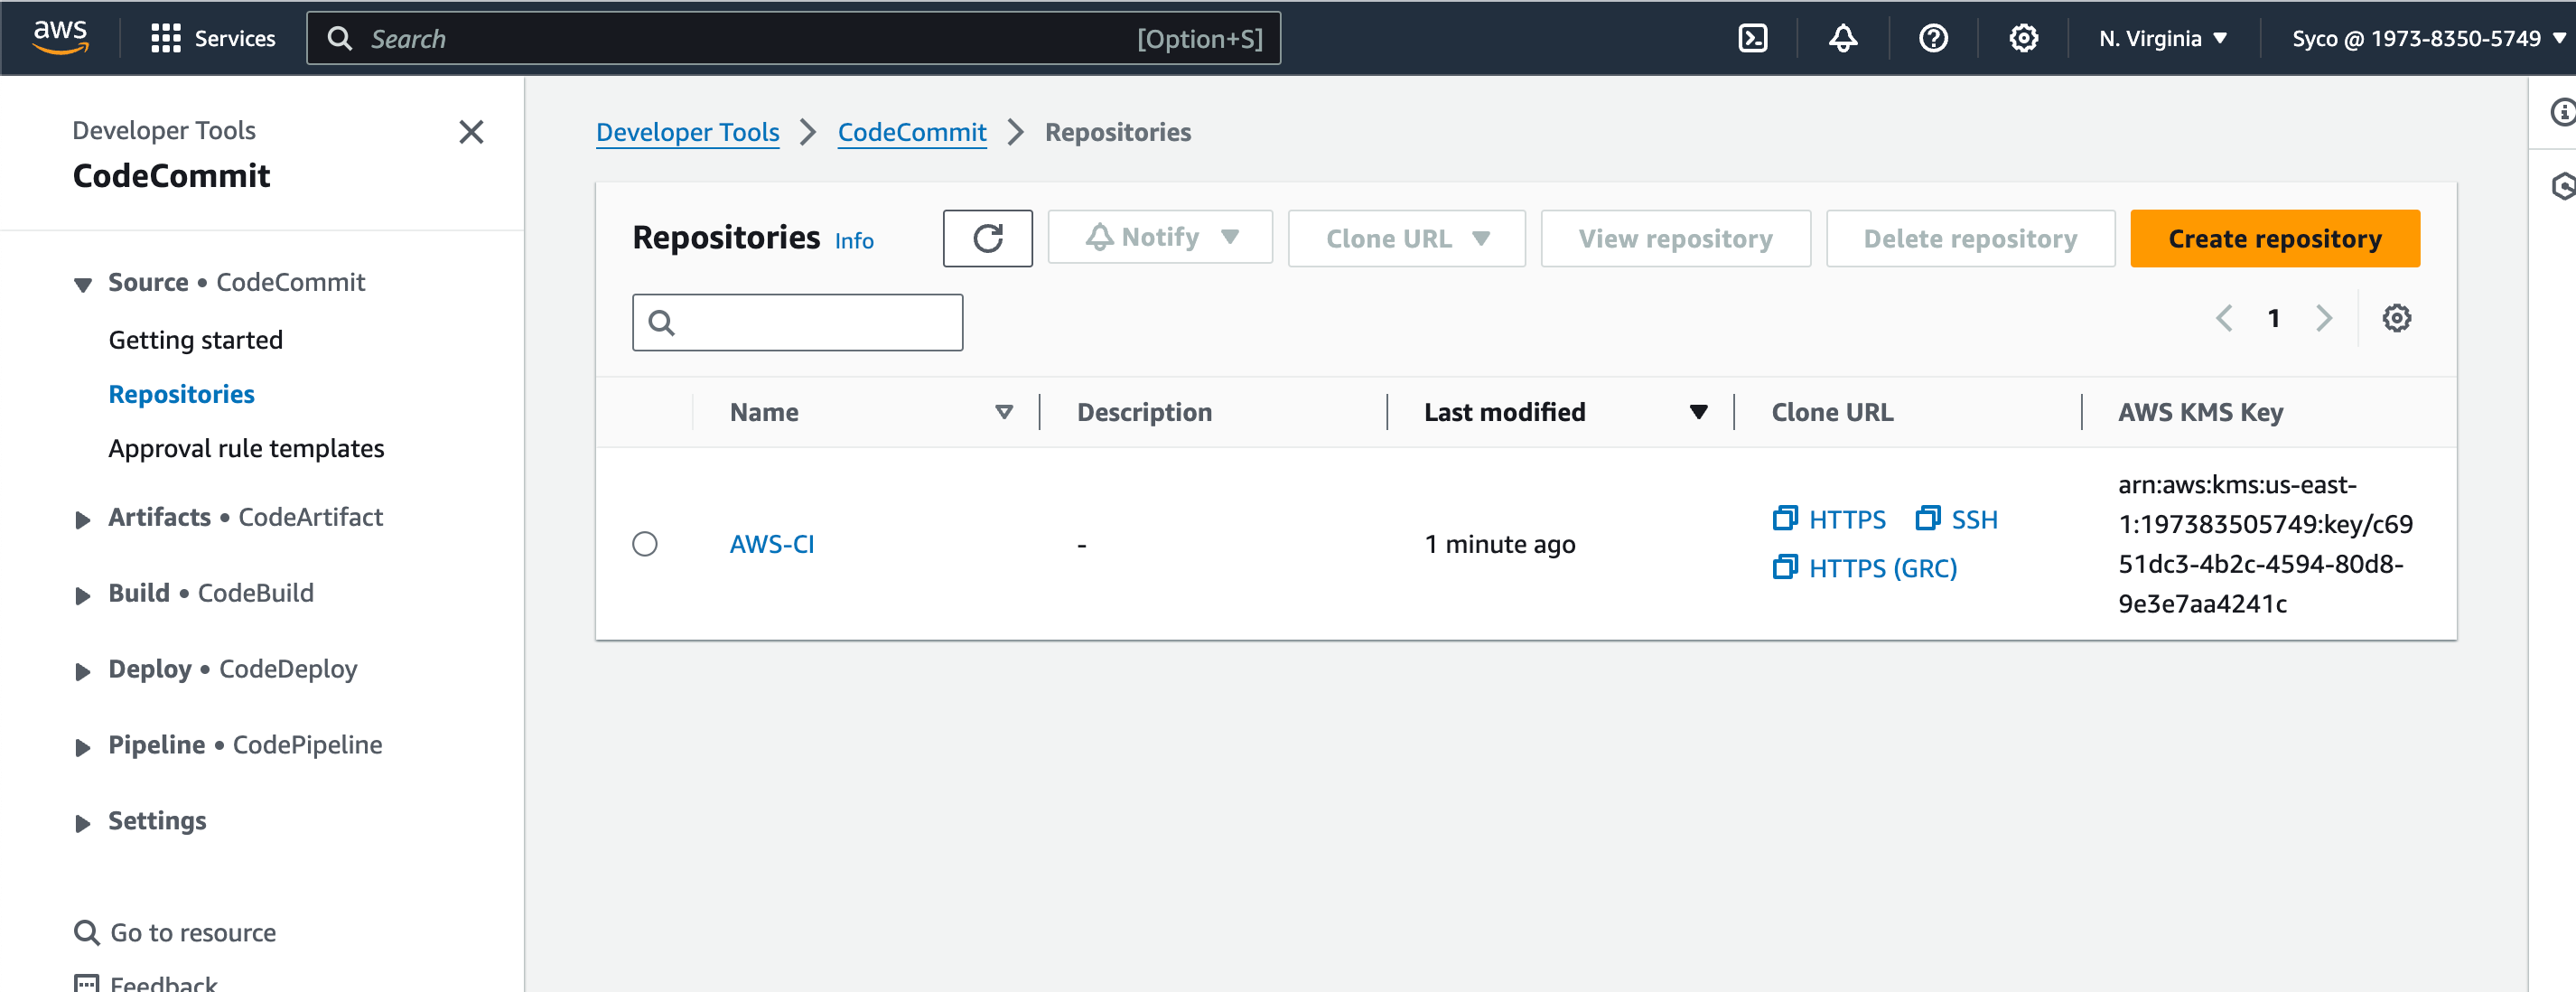
- Check AWS CodeCommit for the changes made locally.
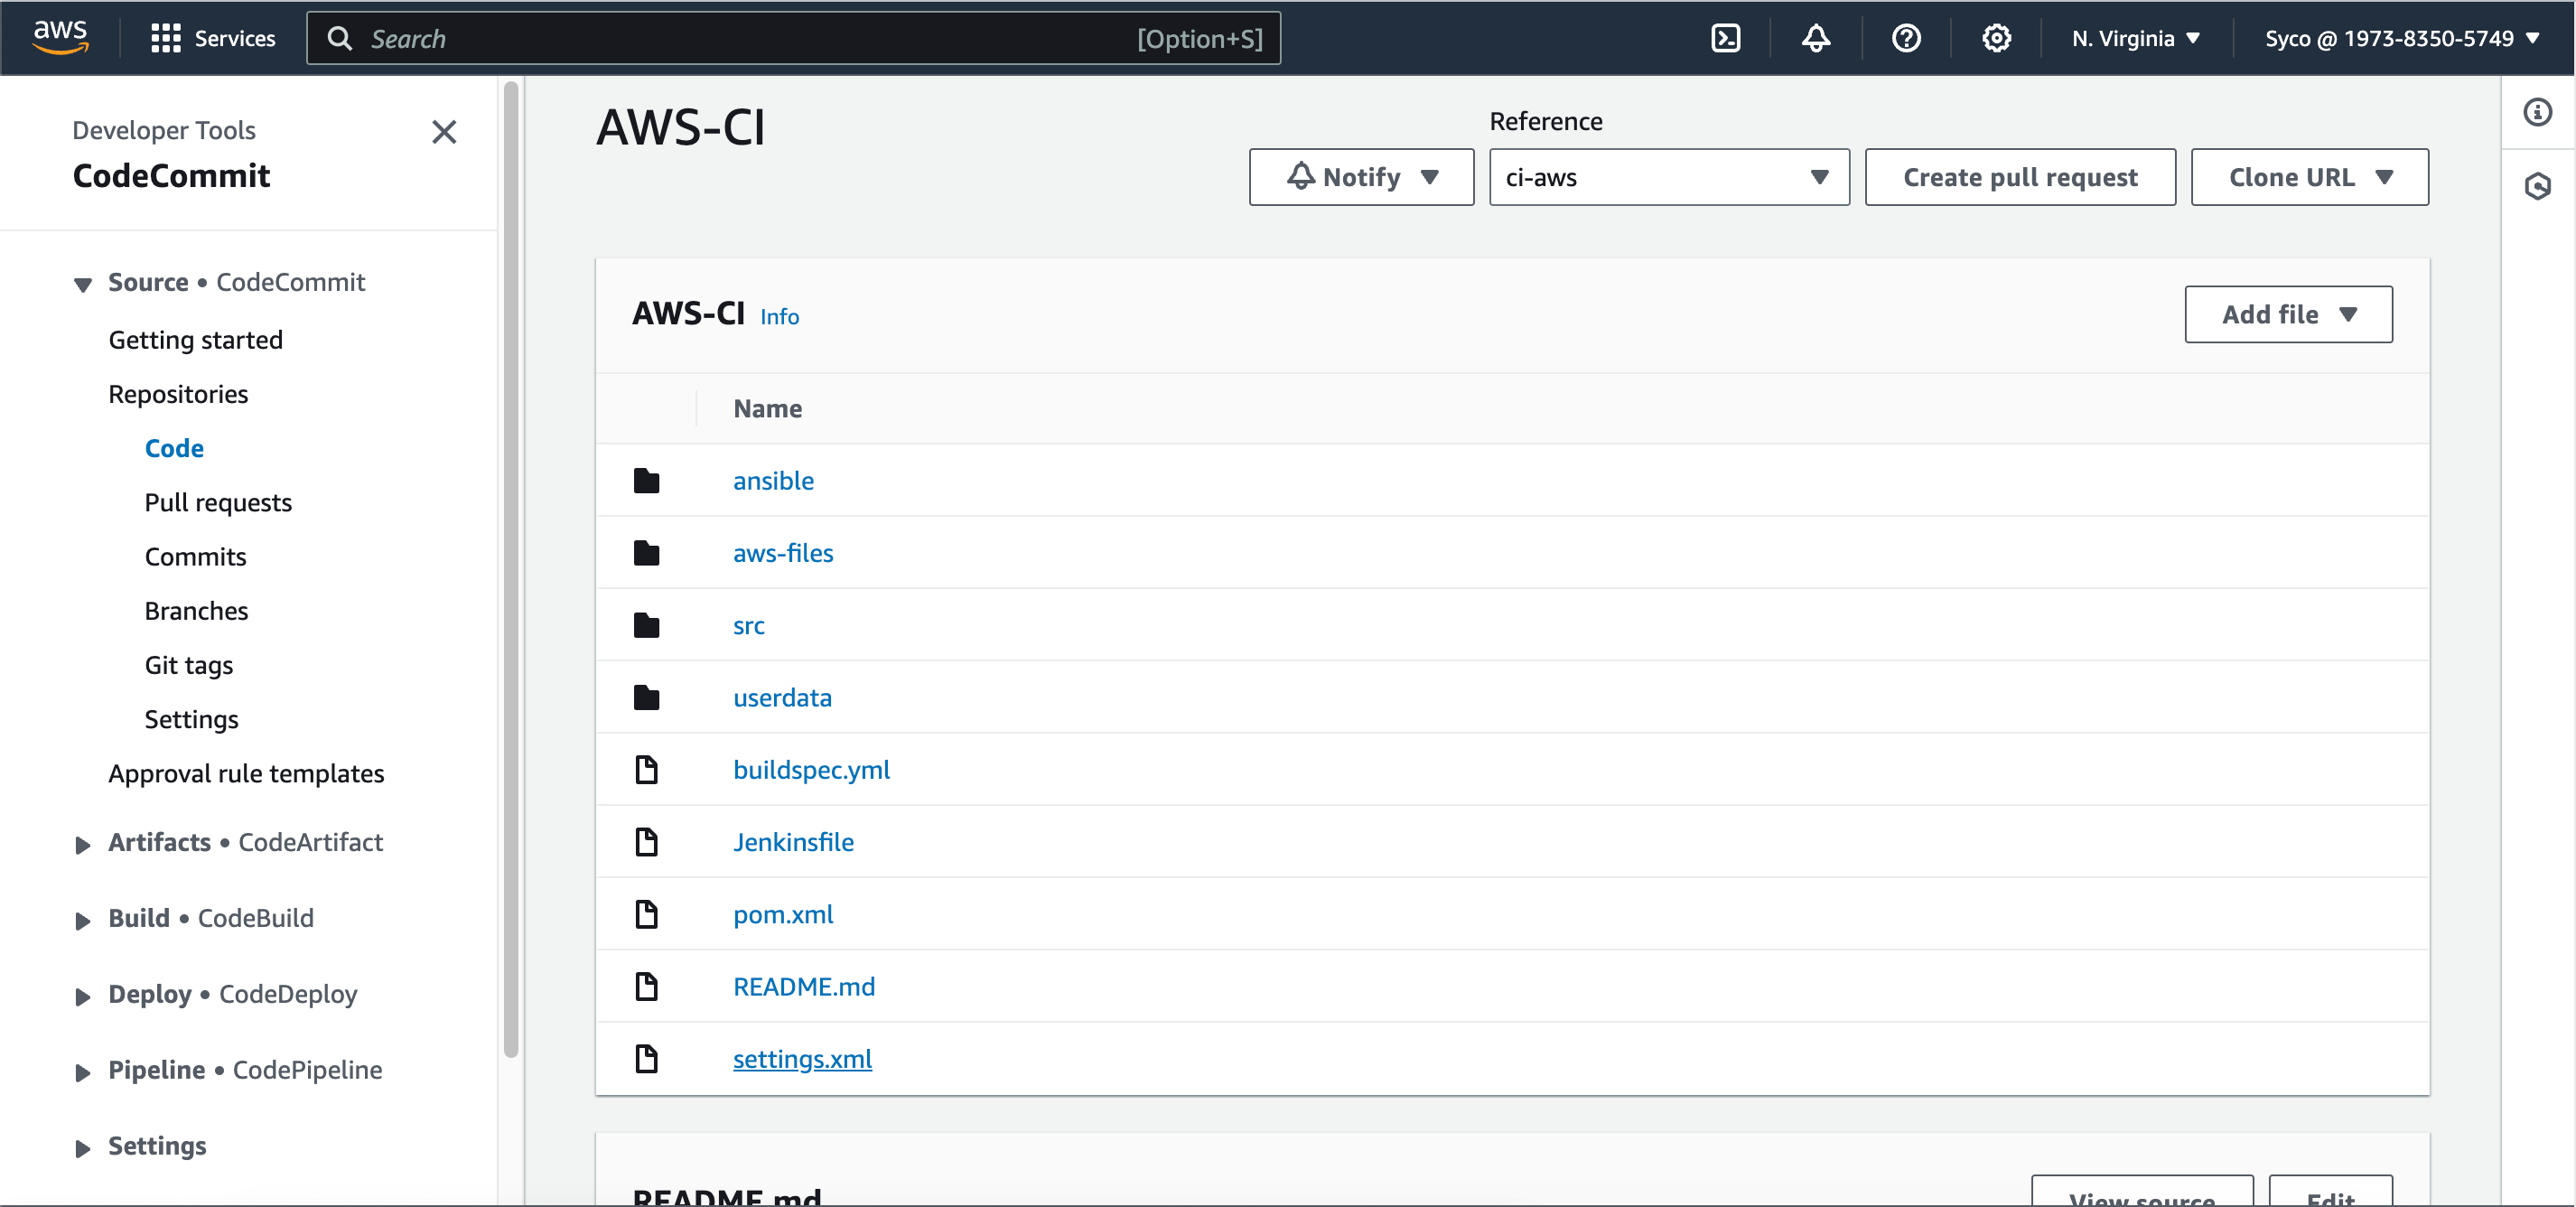
Now to set up our first CodeBuild Project;
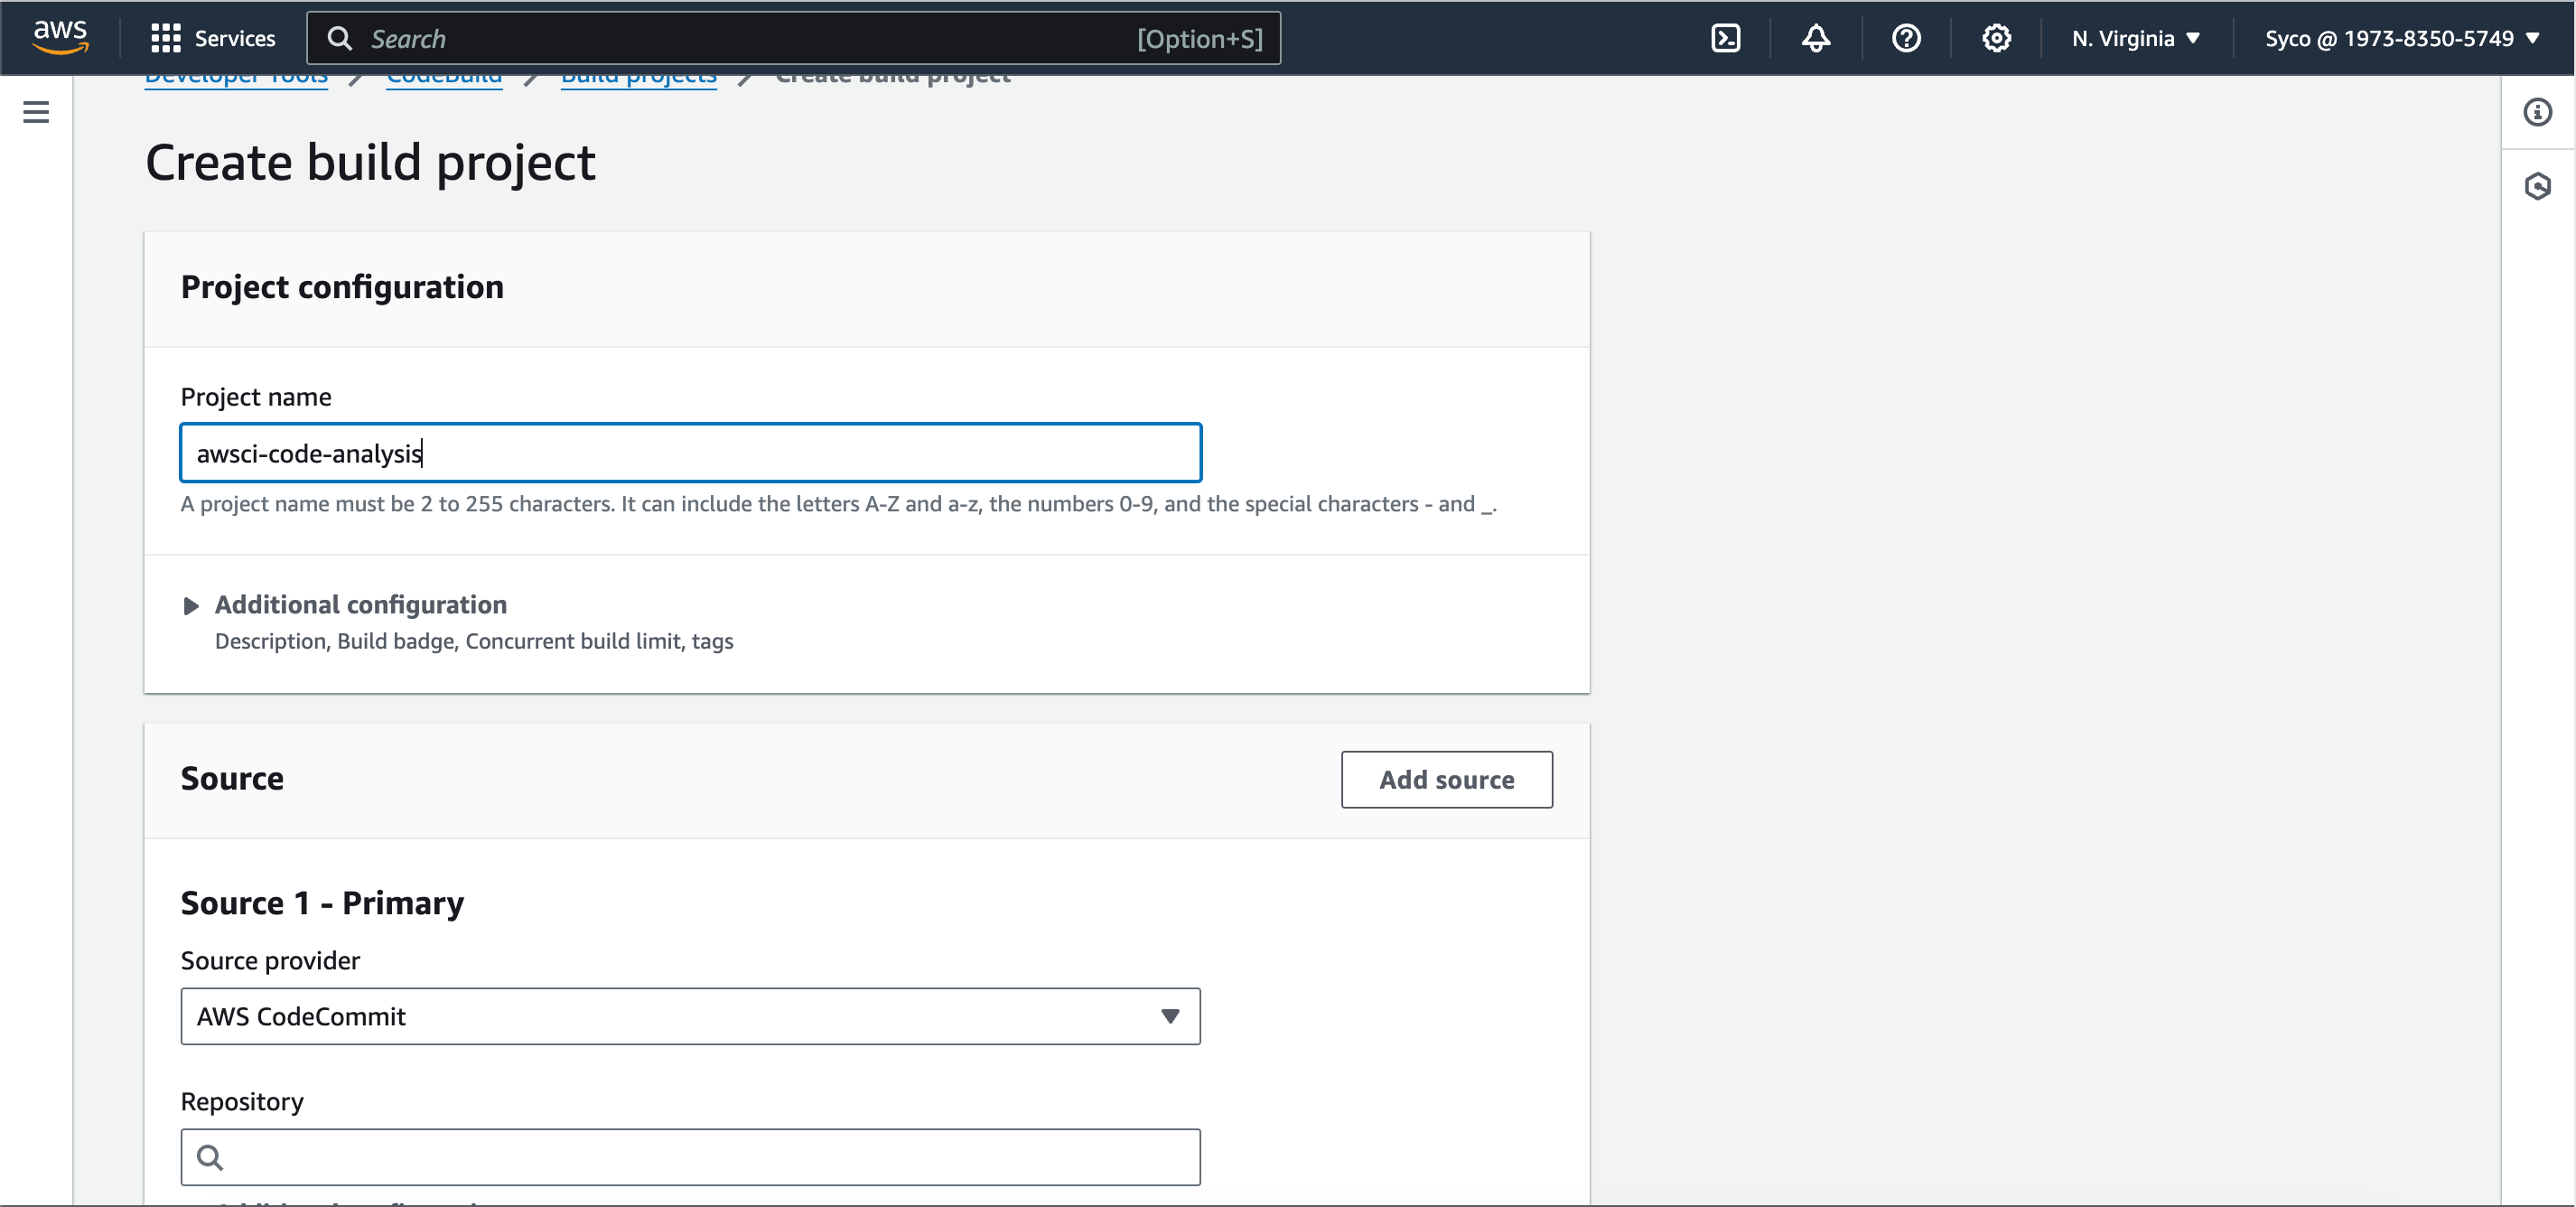
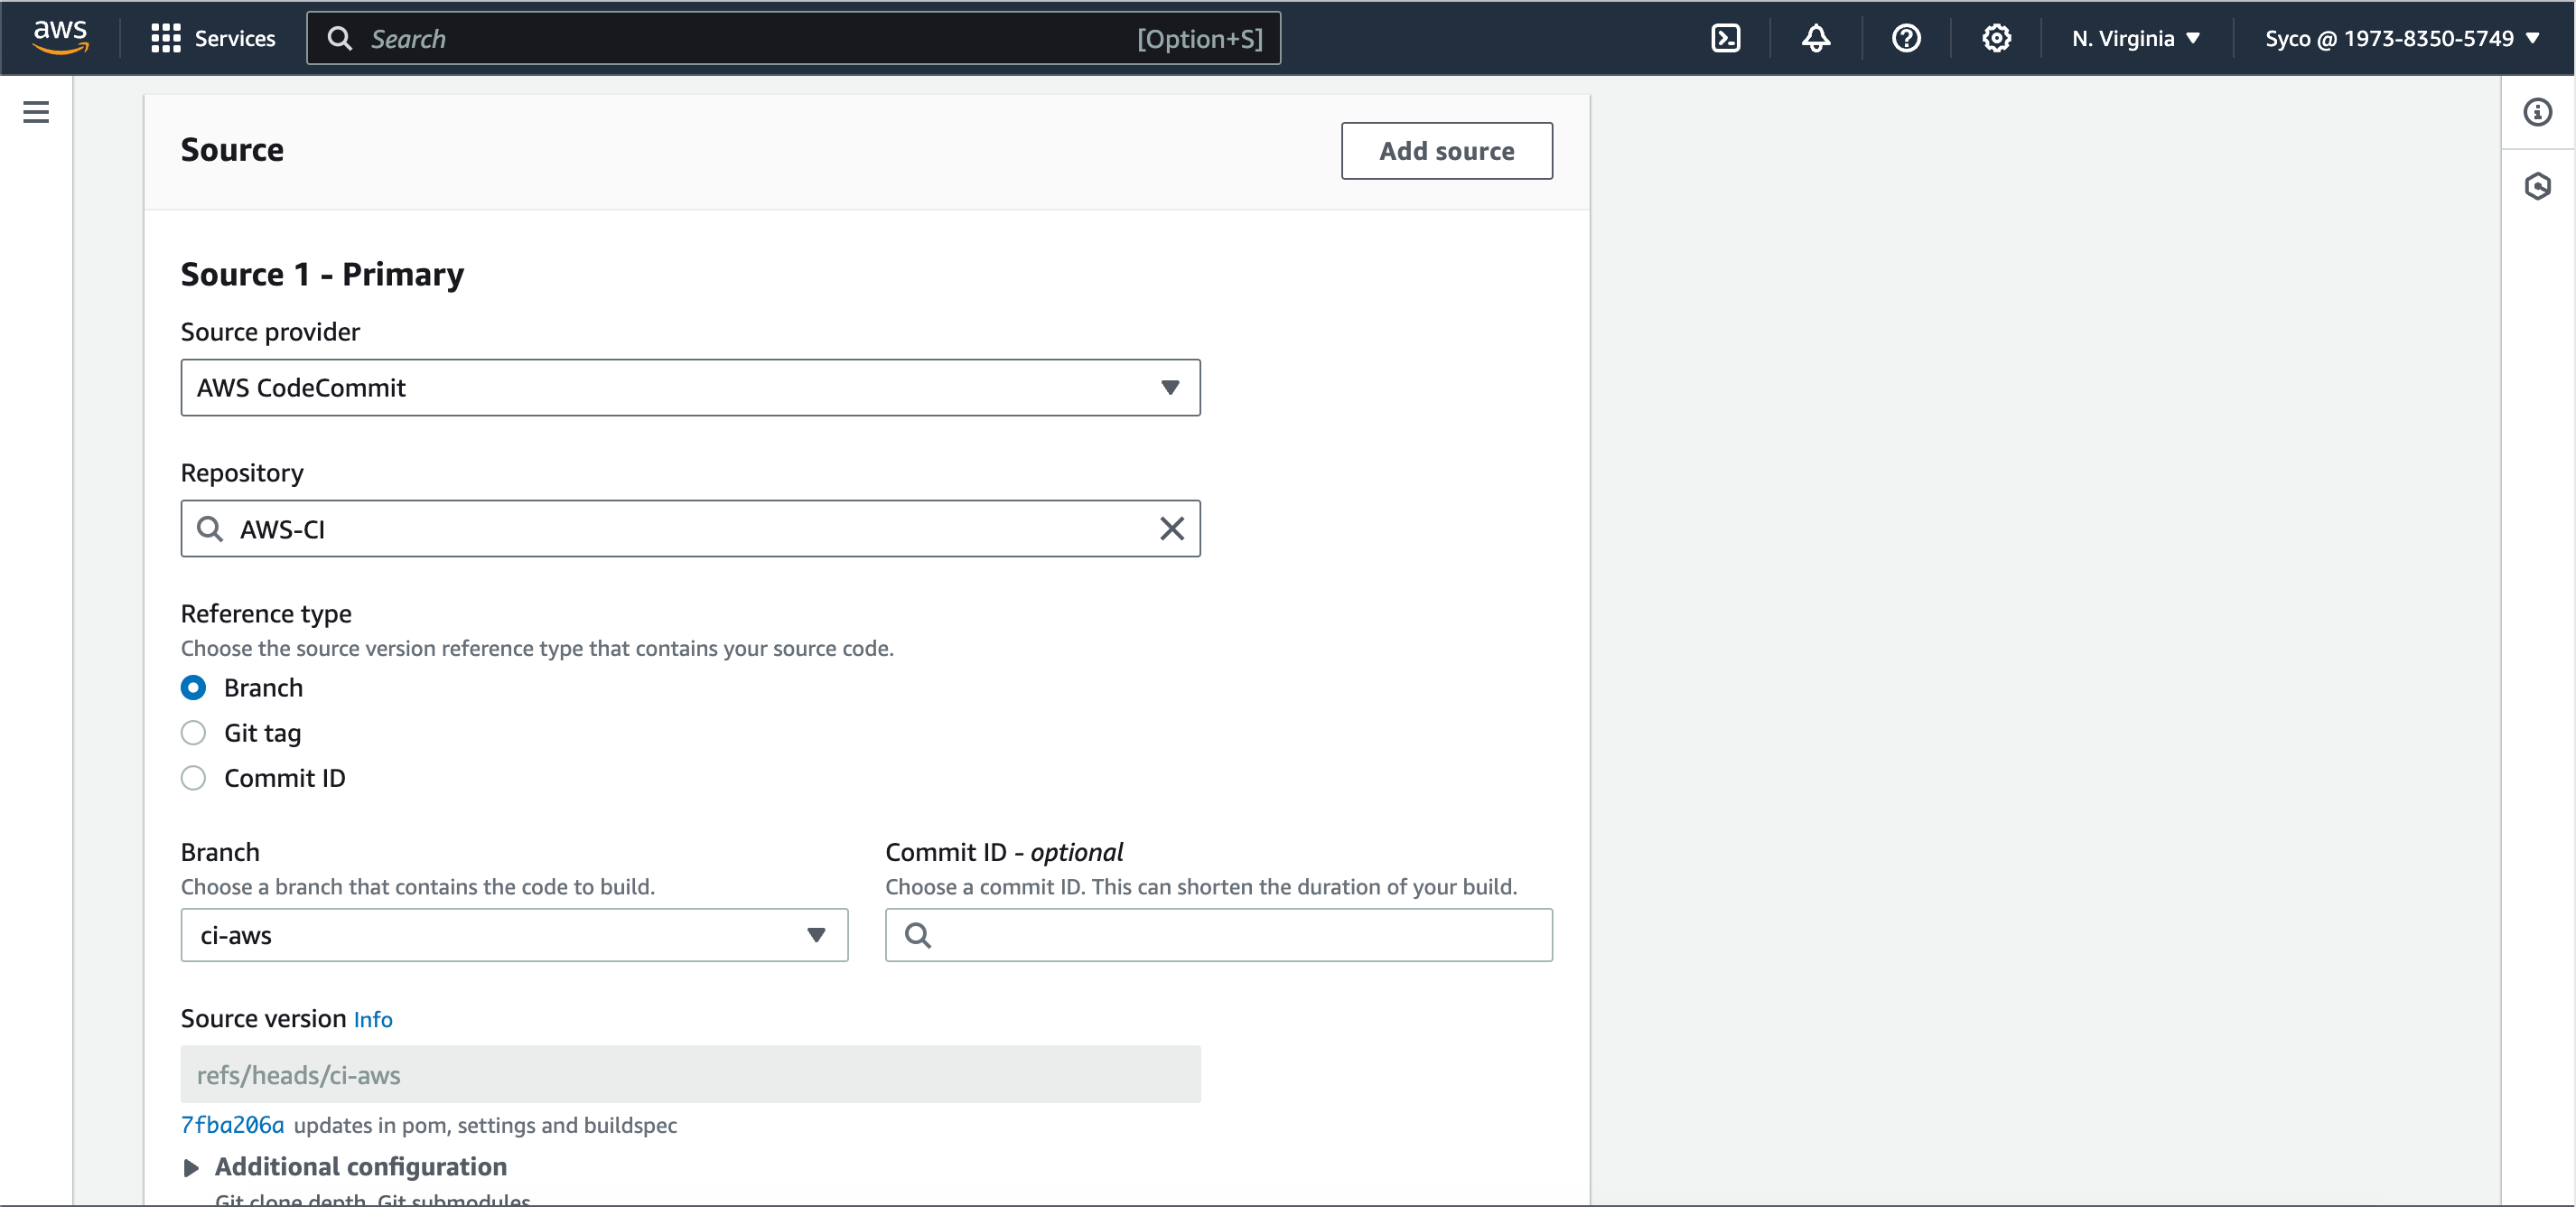
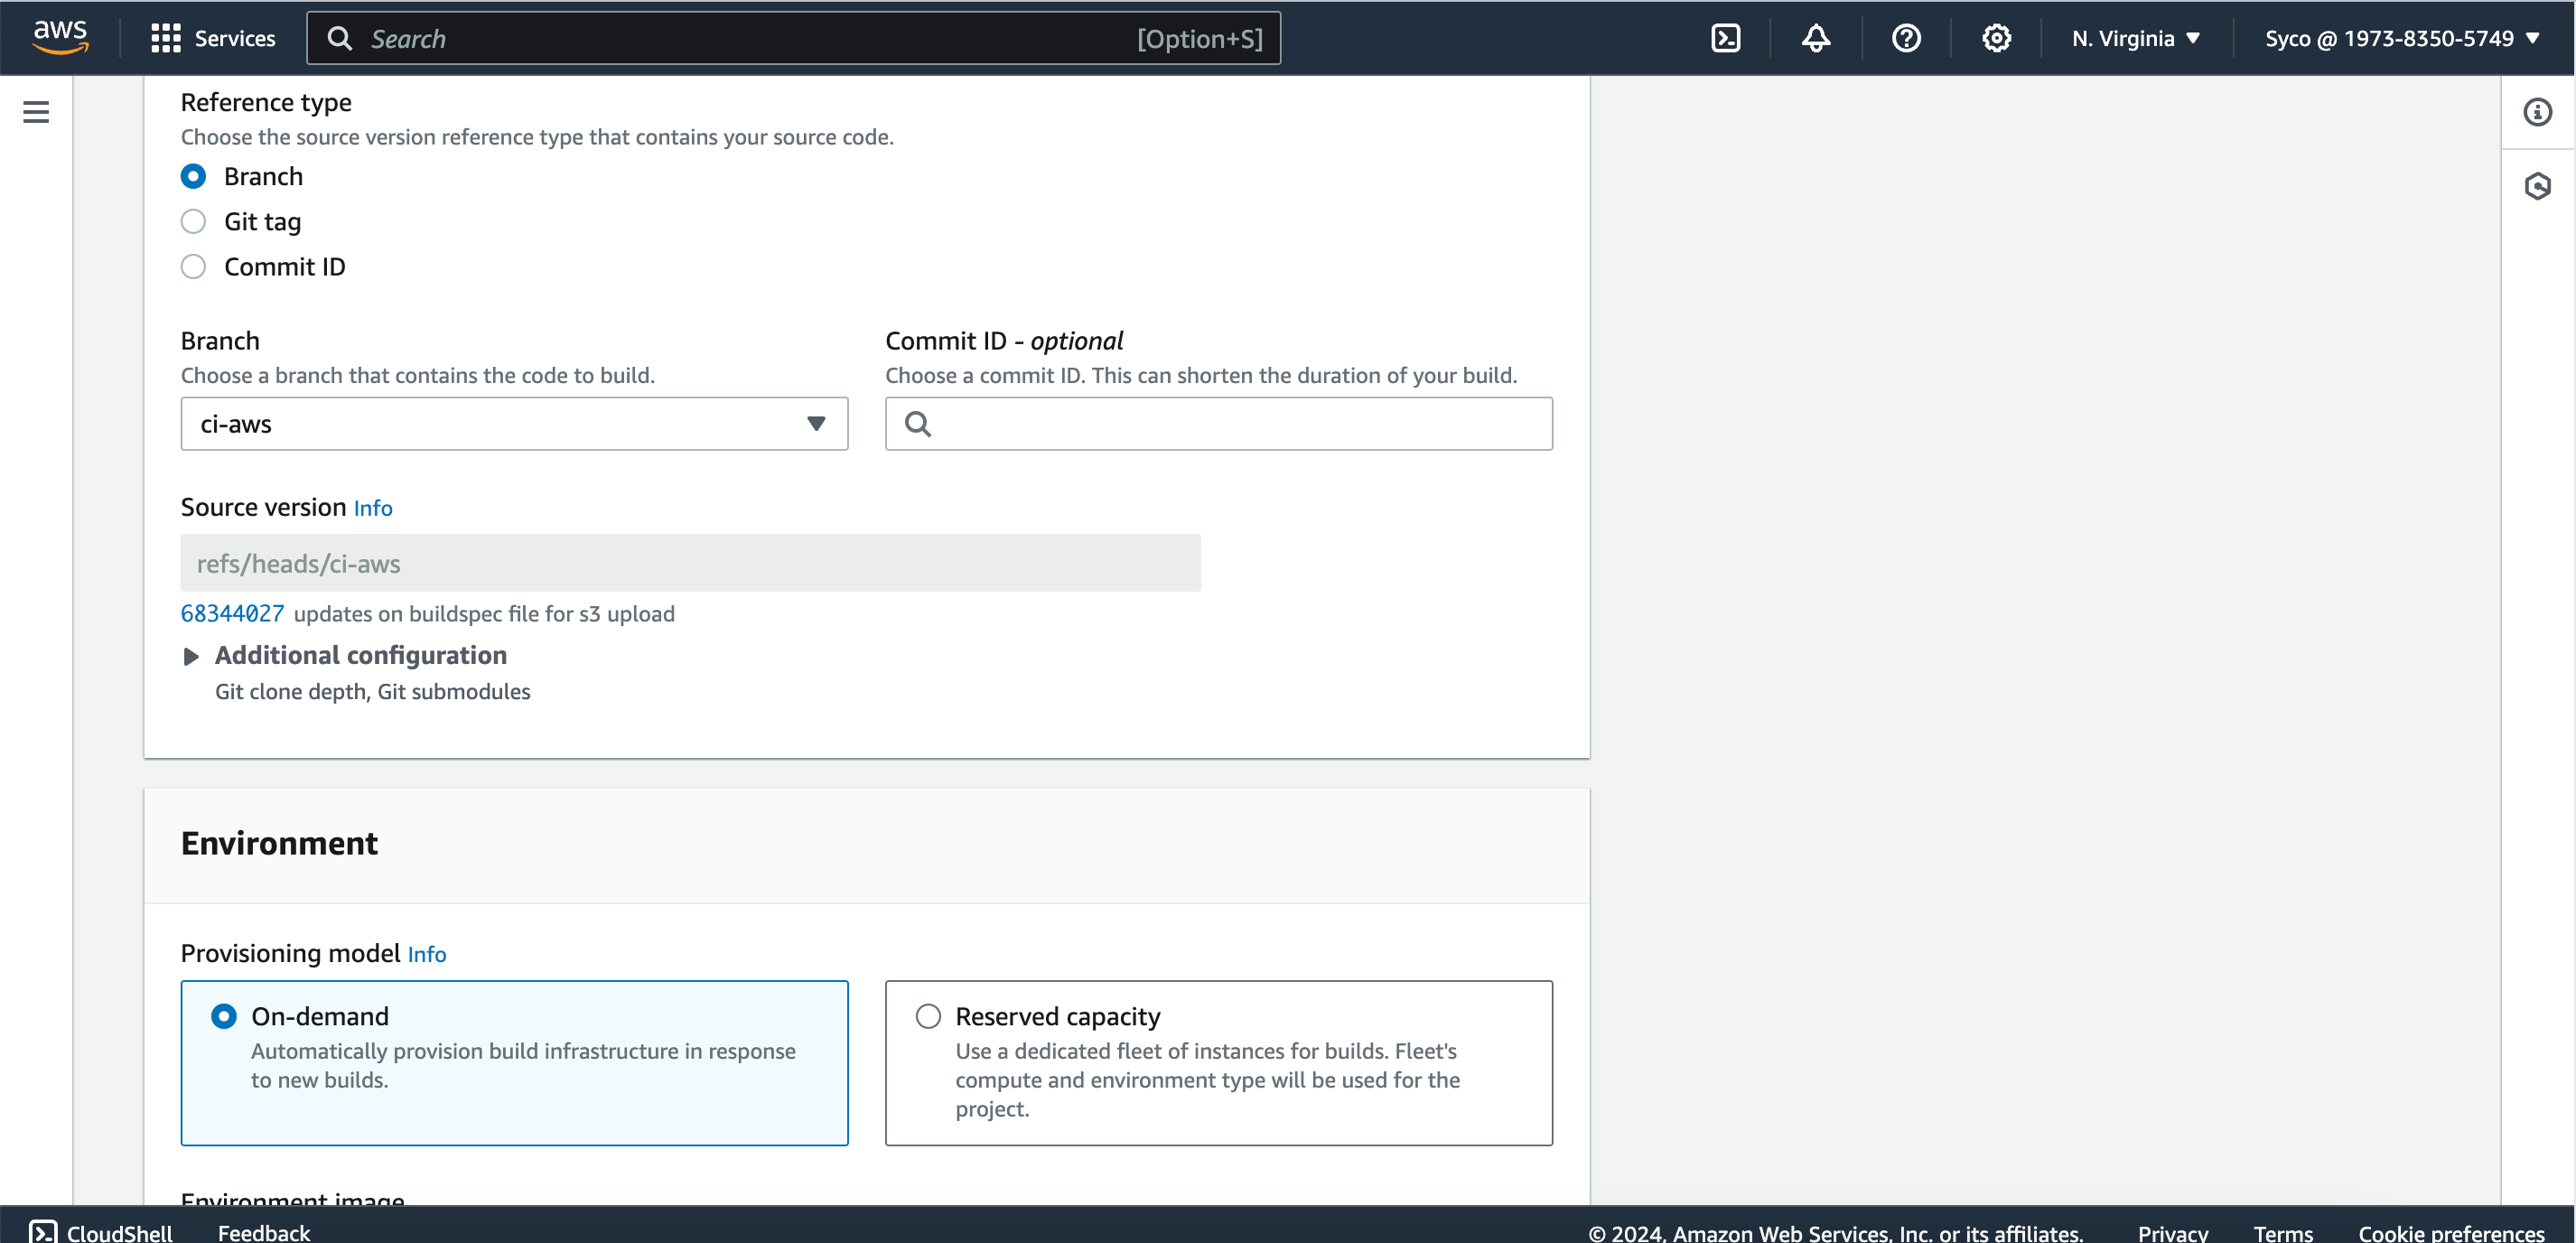
- Open the CodeBuild console, give the project a name, eg., awsci-code-analysis. Under source provider, repository and branch, select AWS CodeCommit, your Repository name and ci-aws respectively.
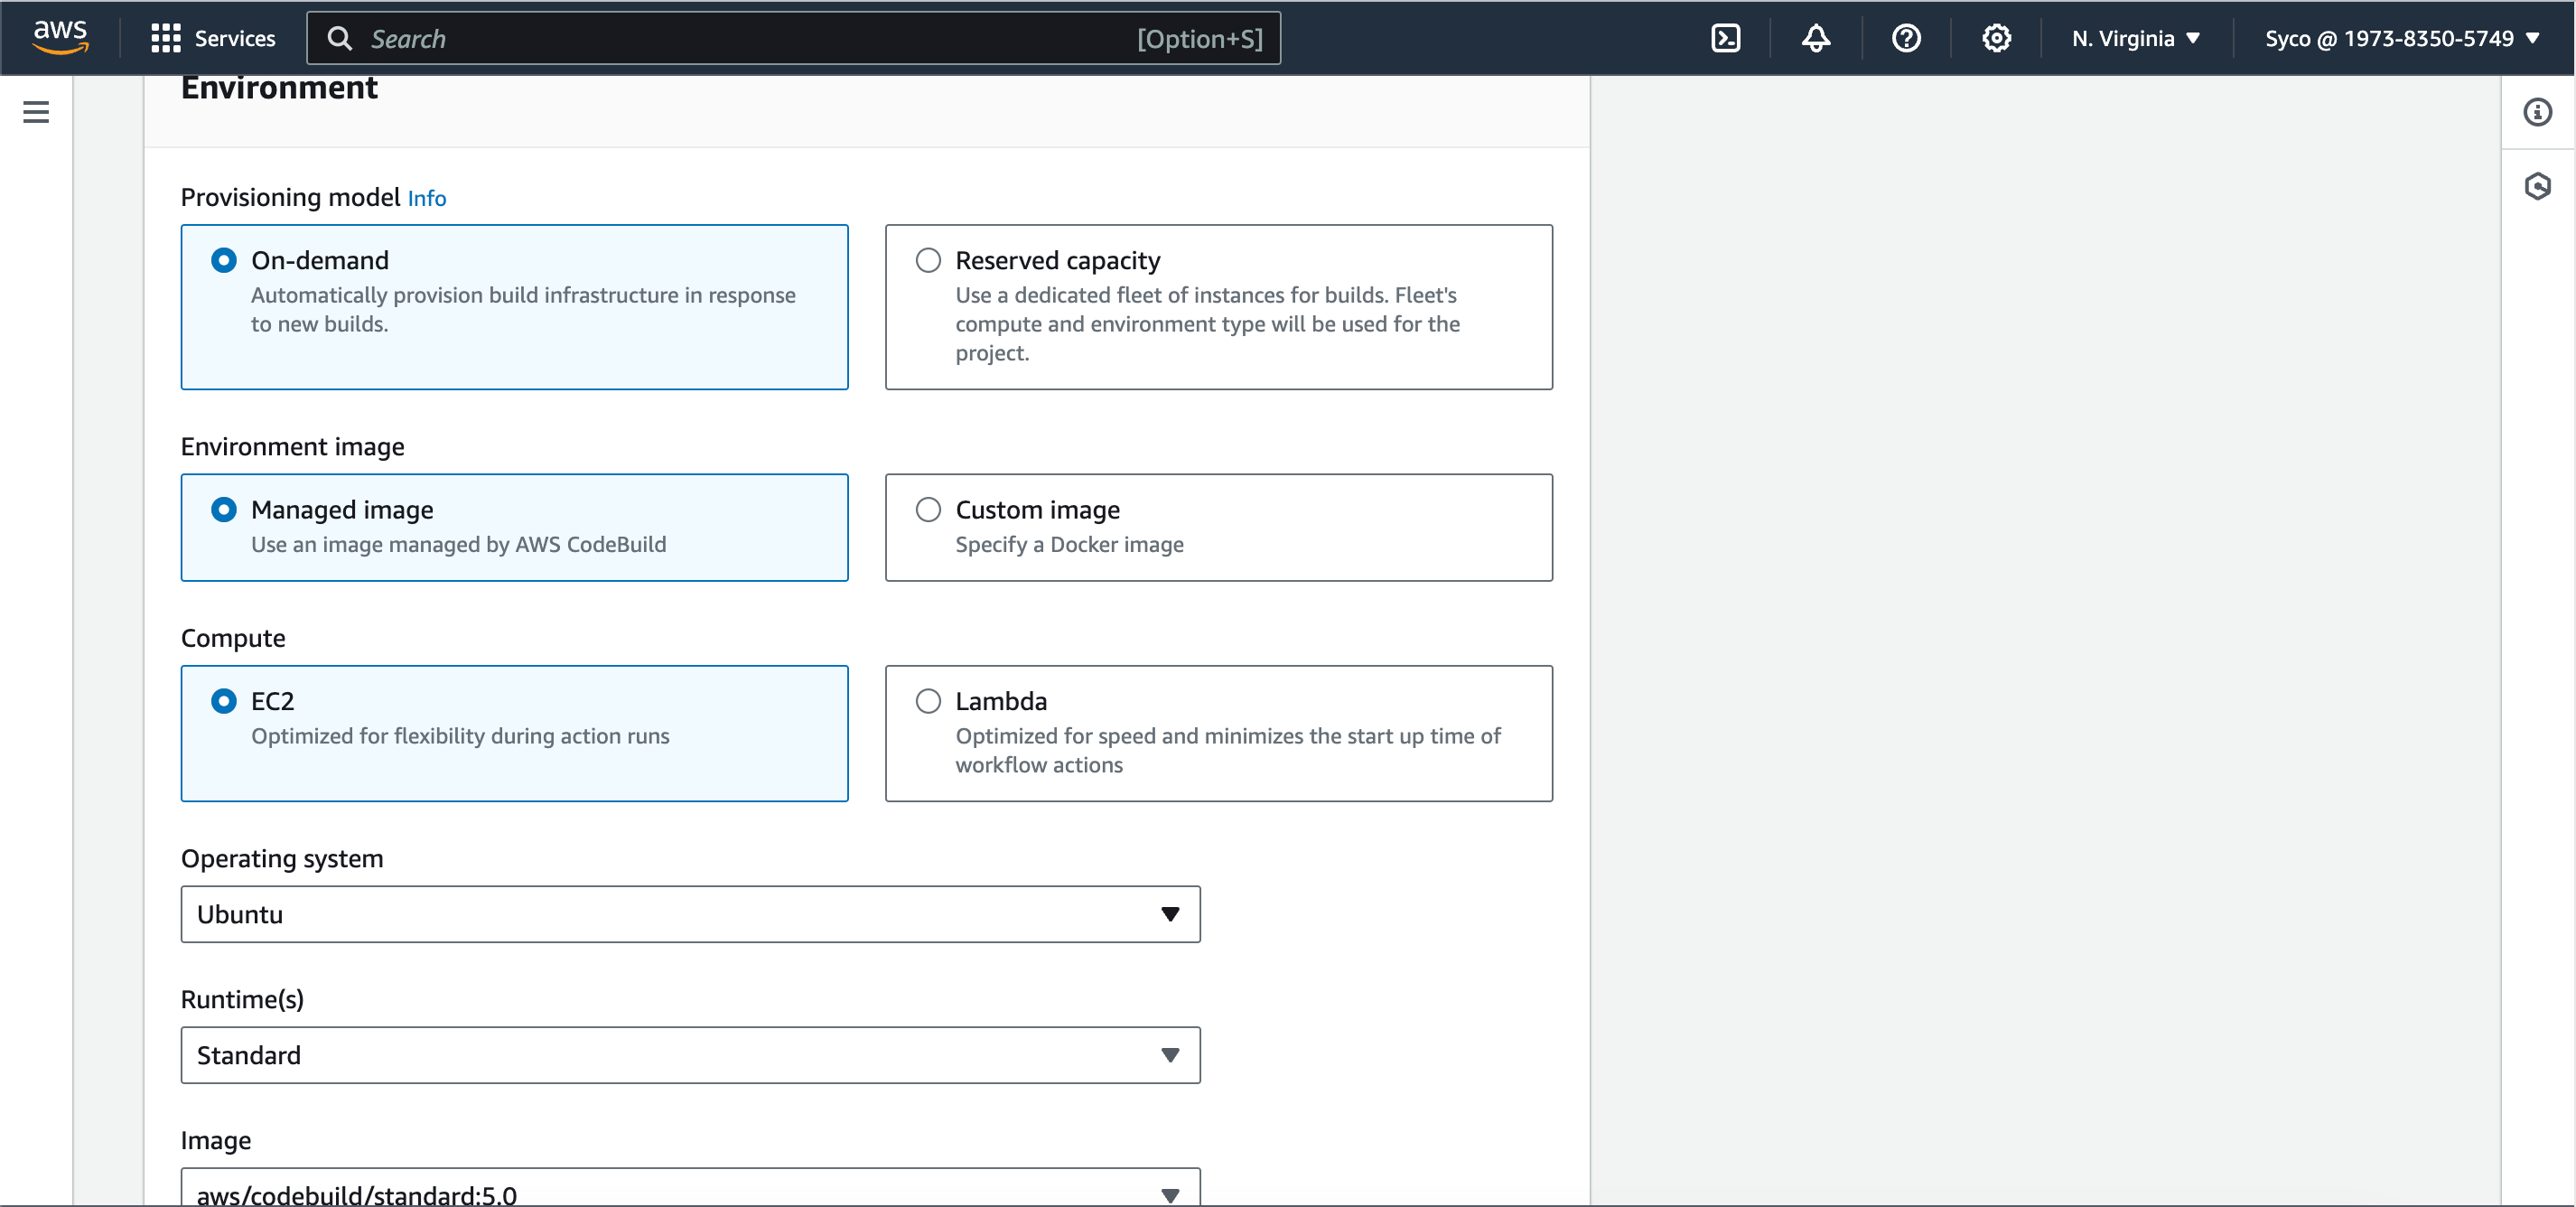
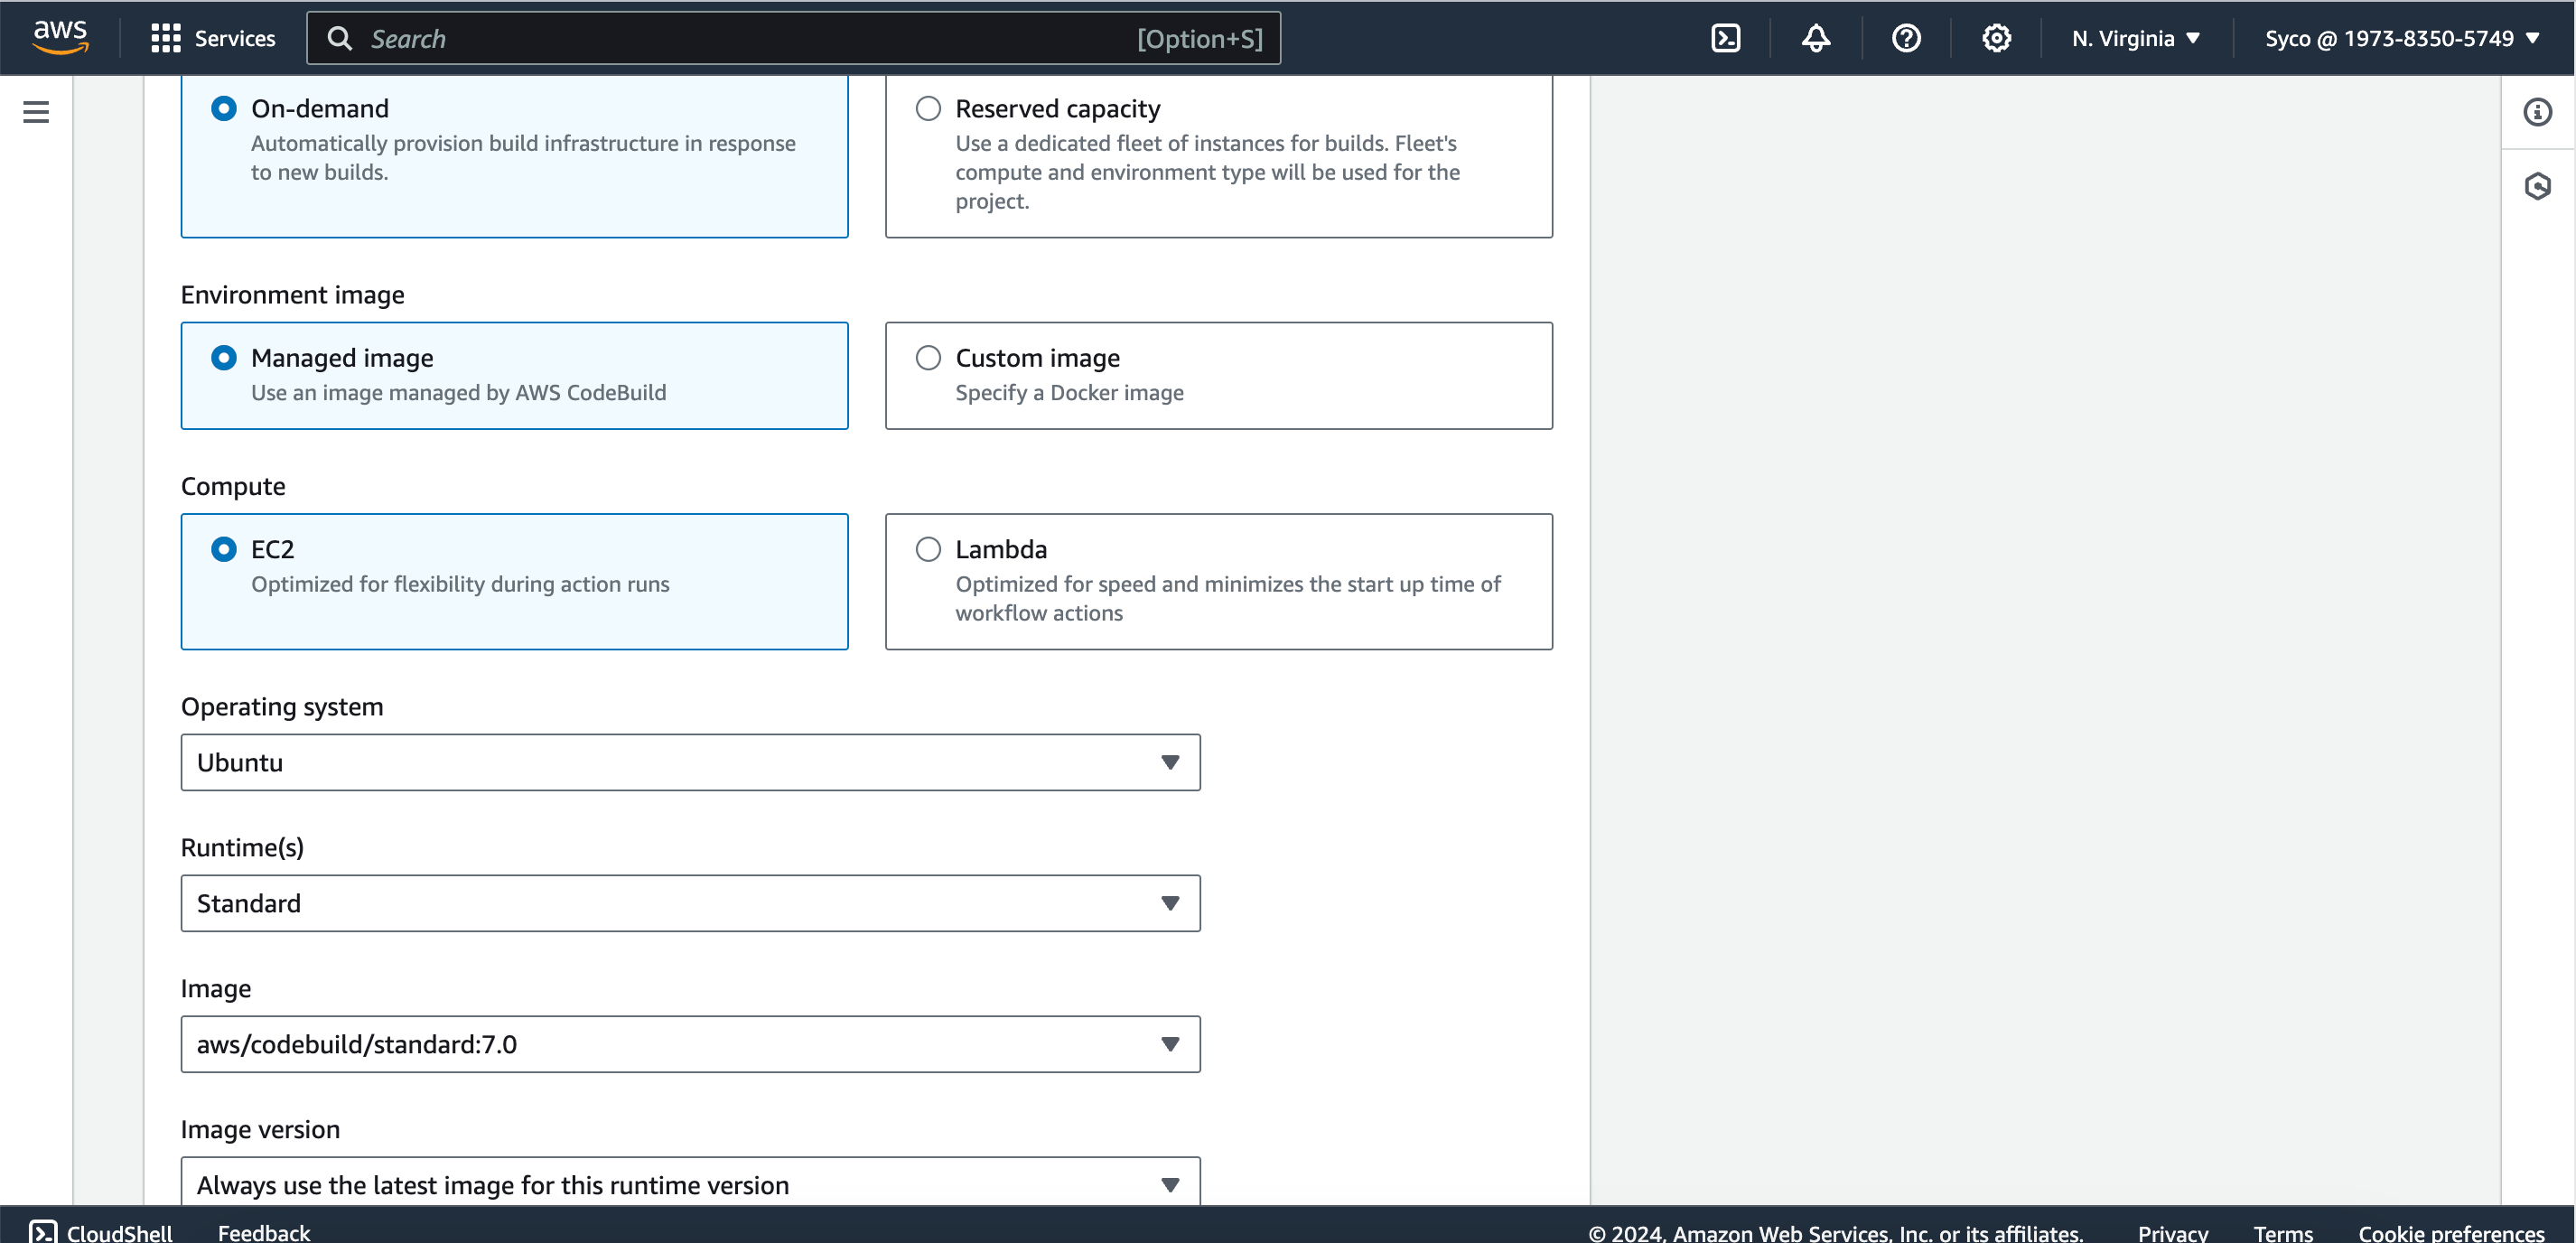
- Under environment, select “managed image”, OS as “Ubuntu”, runtime as “standard”, image as “aws/codebuild/standard:7.0”.
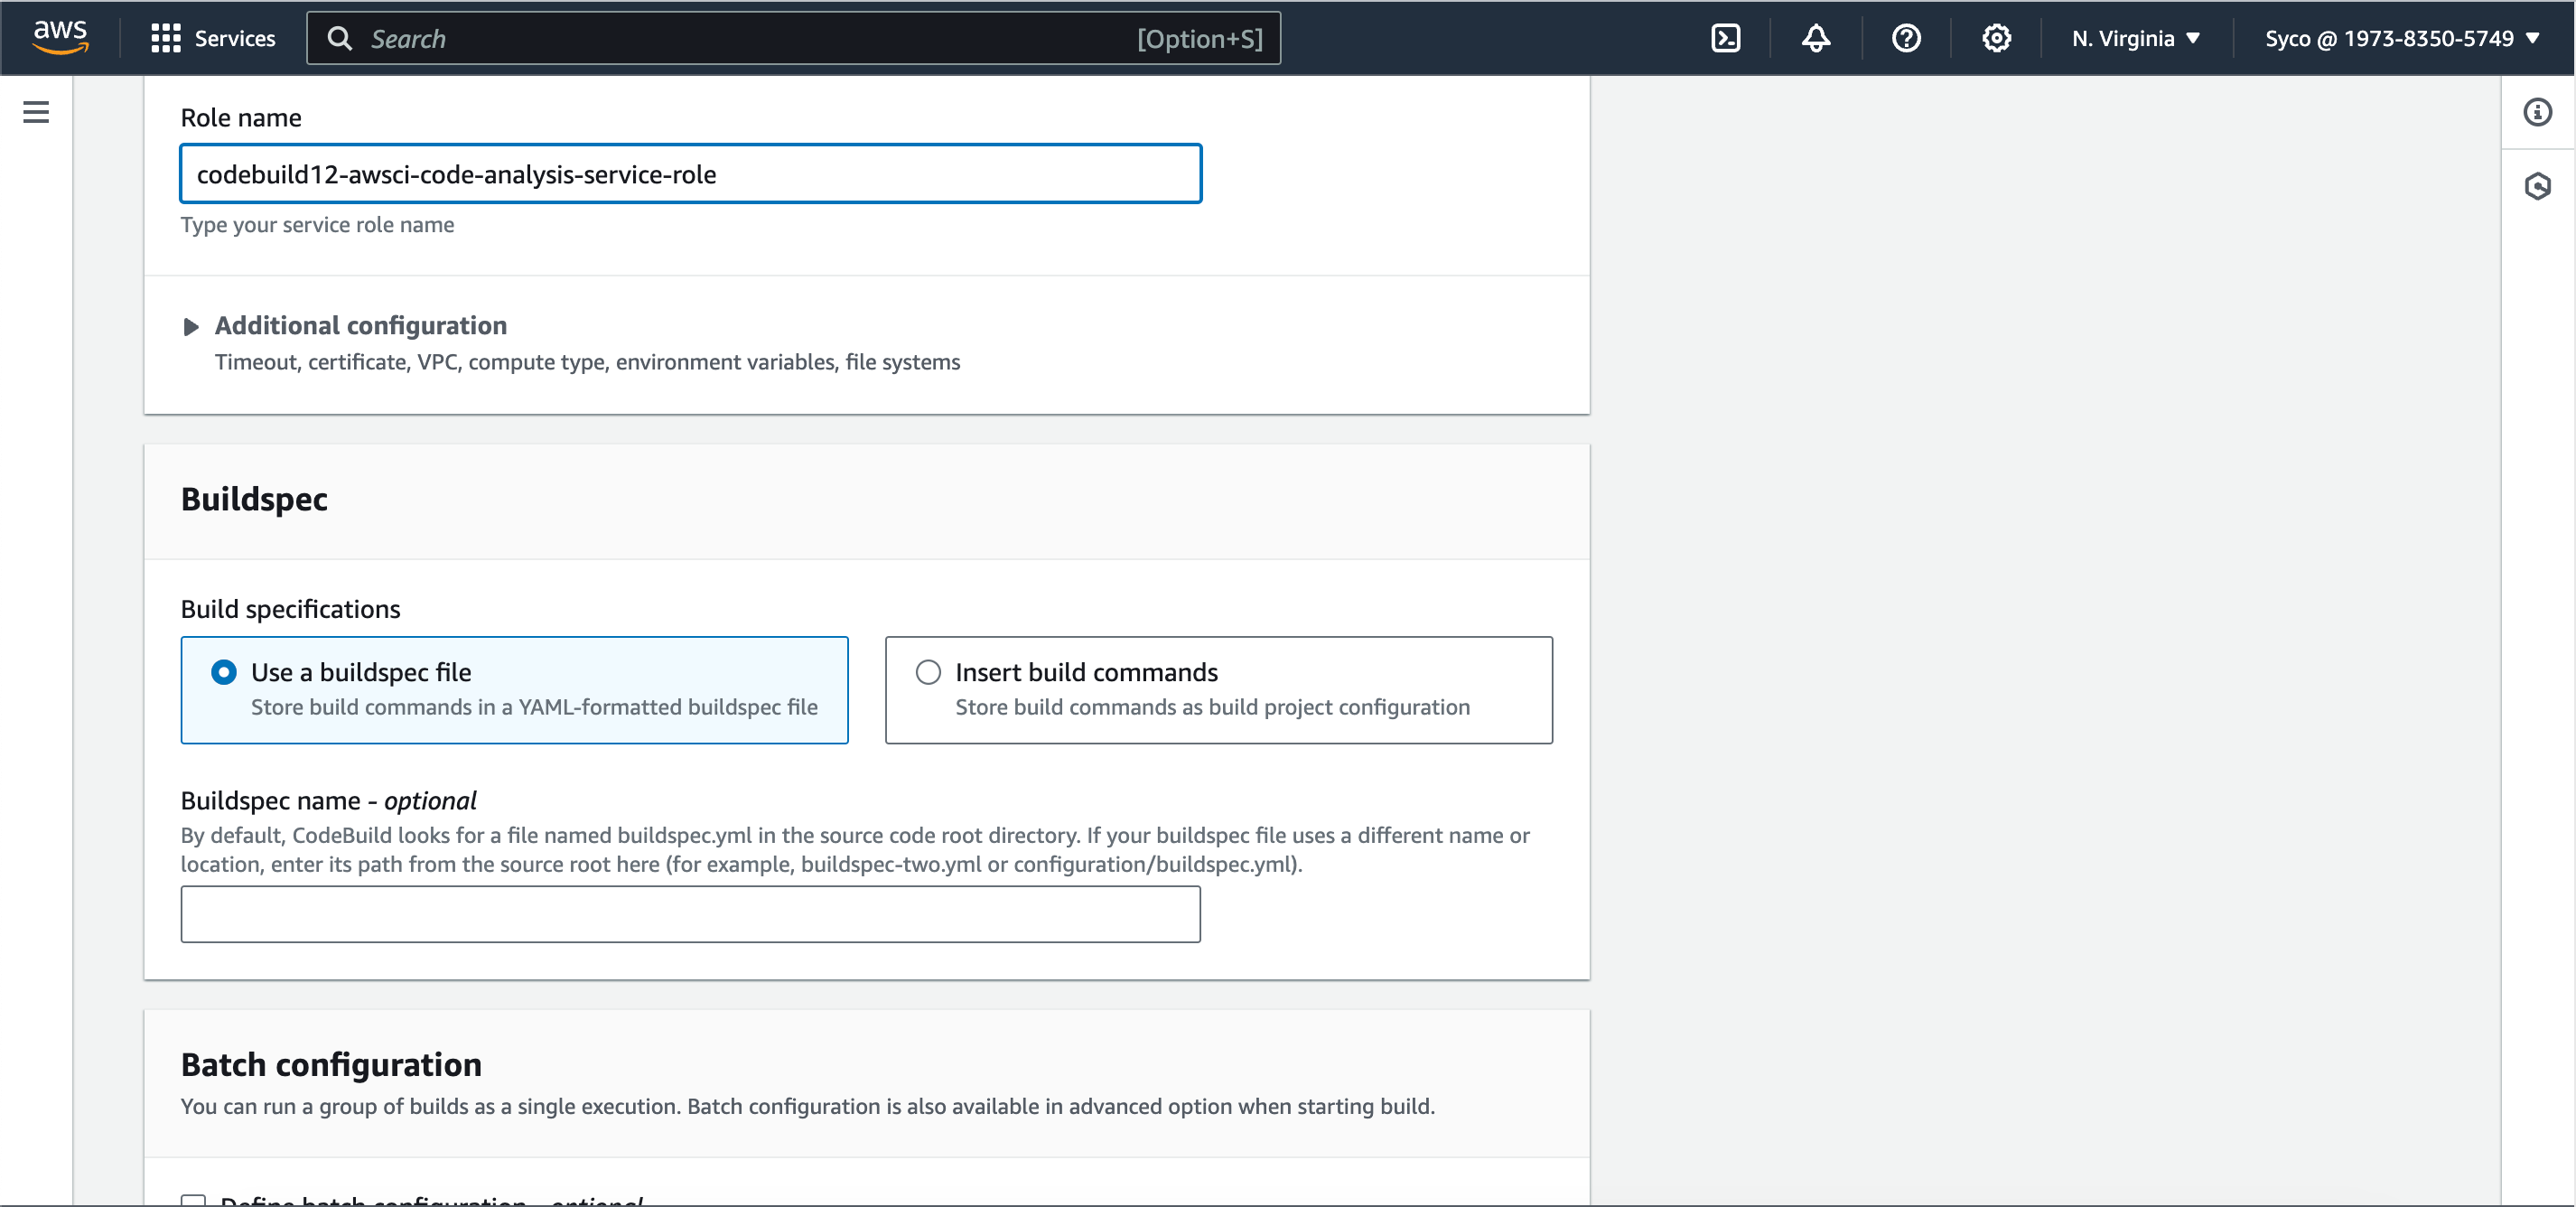
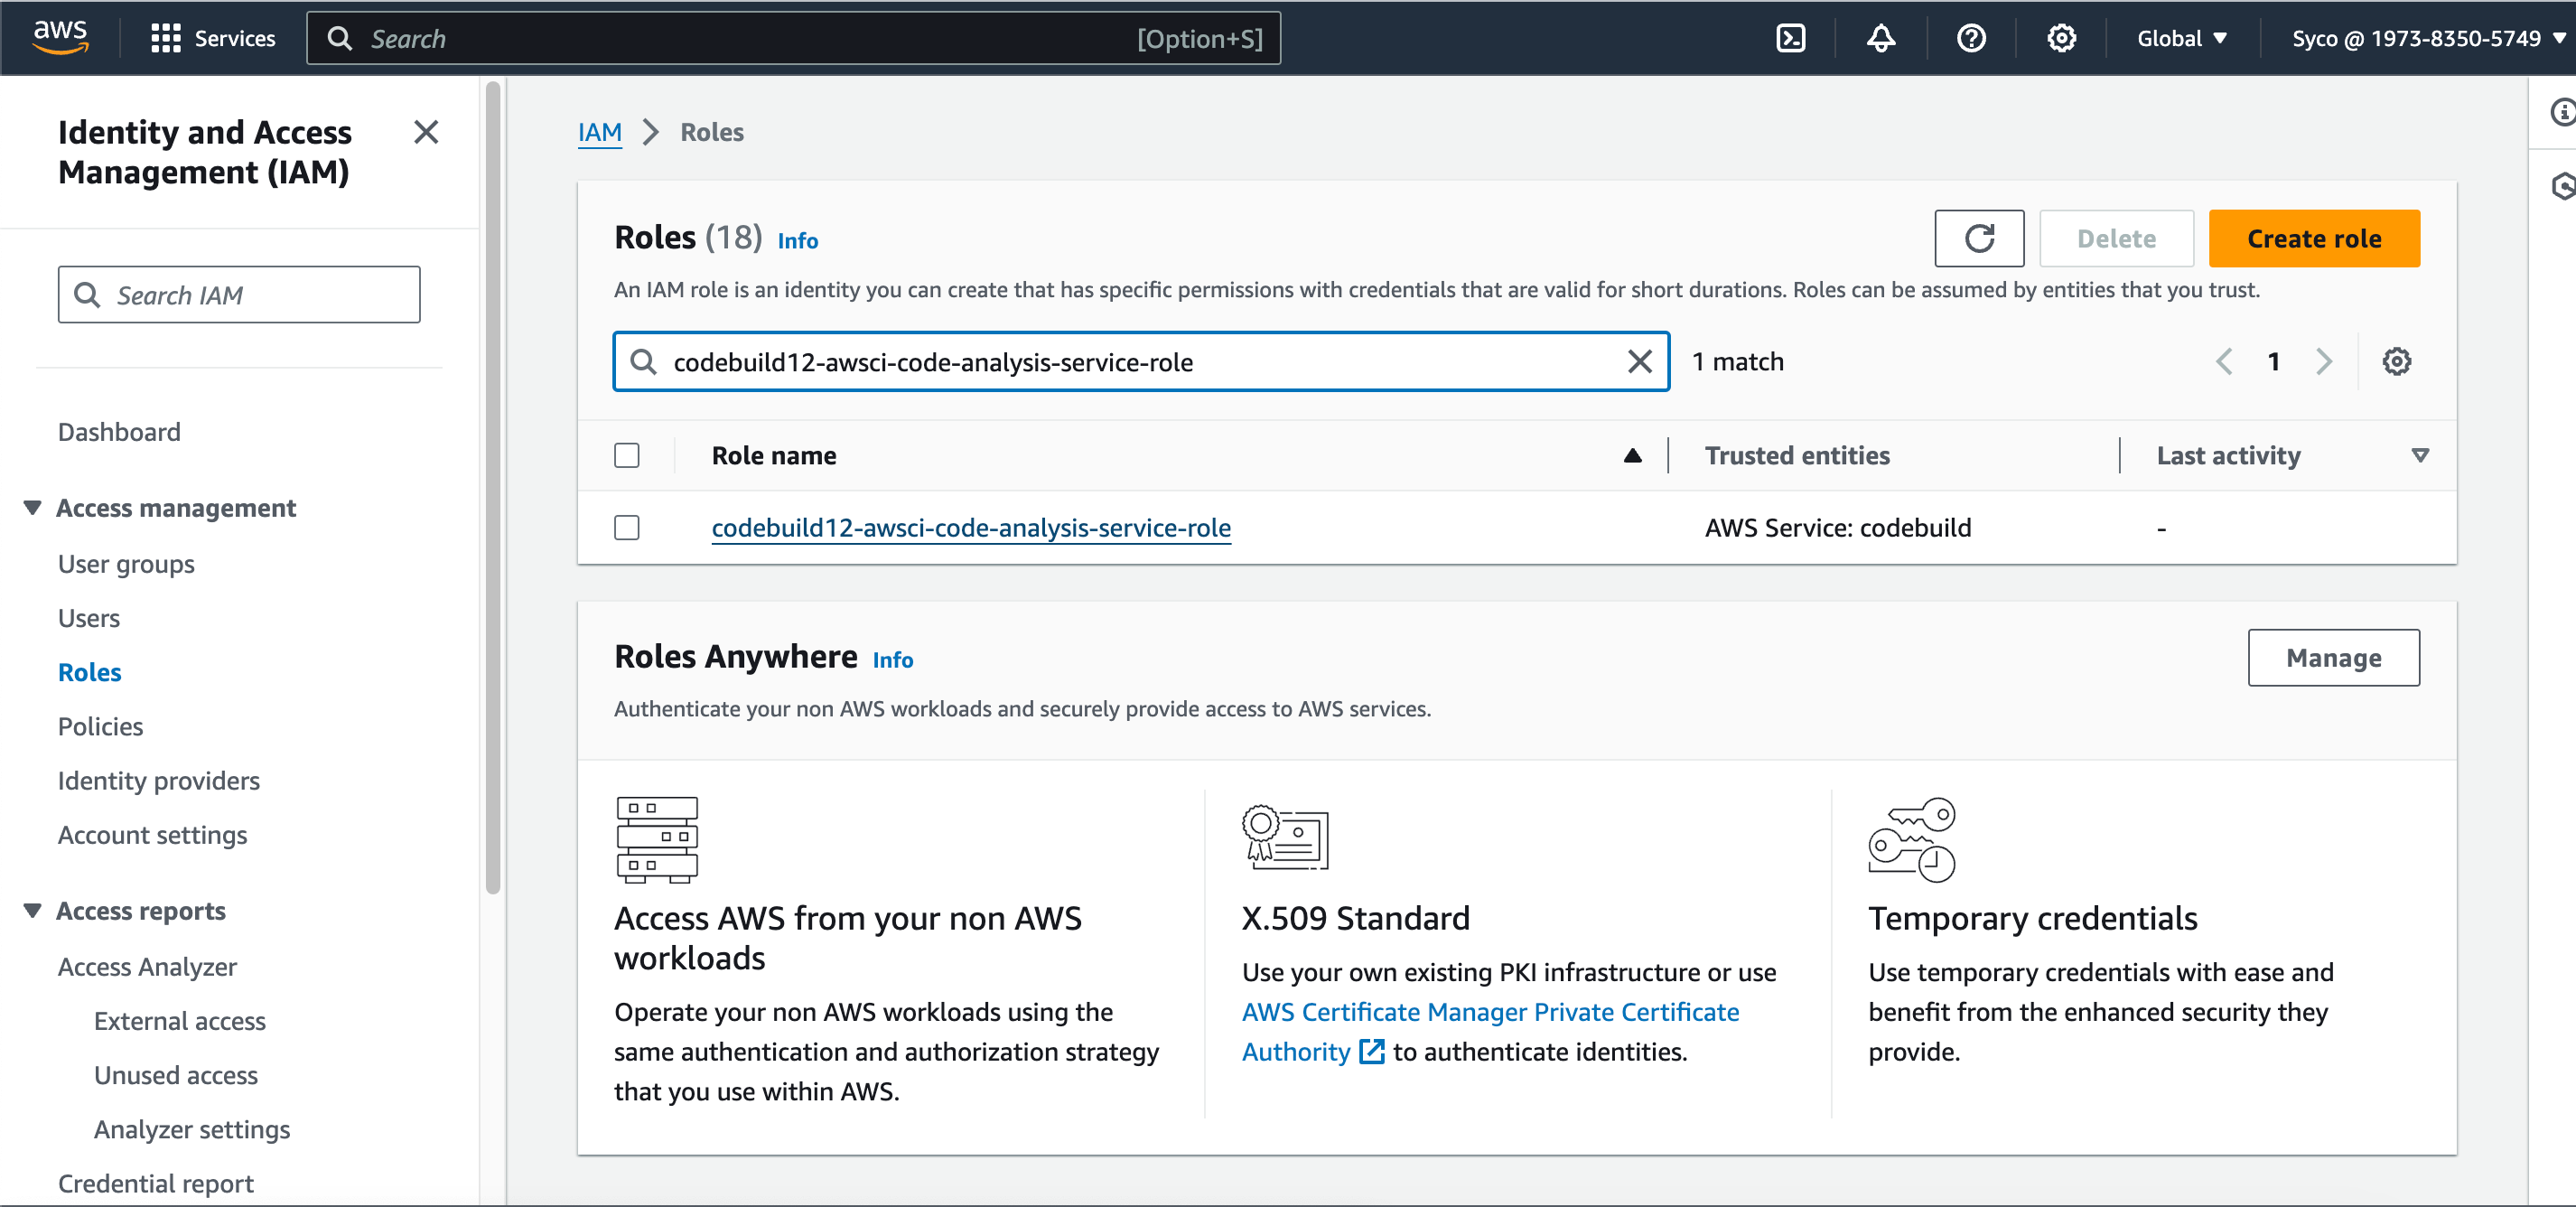
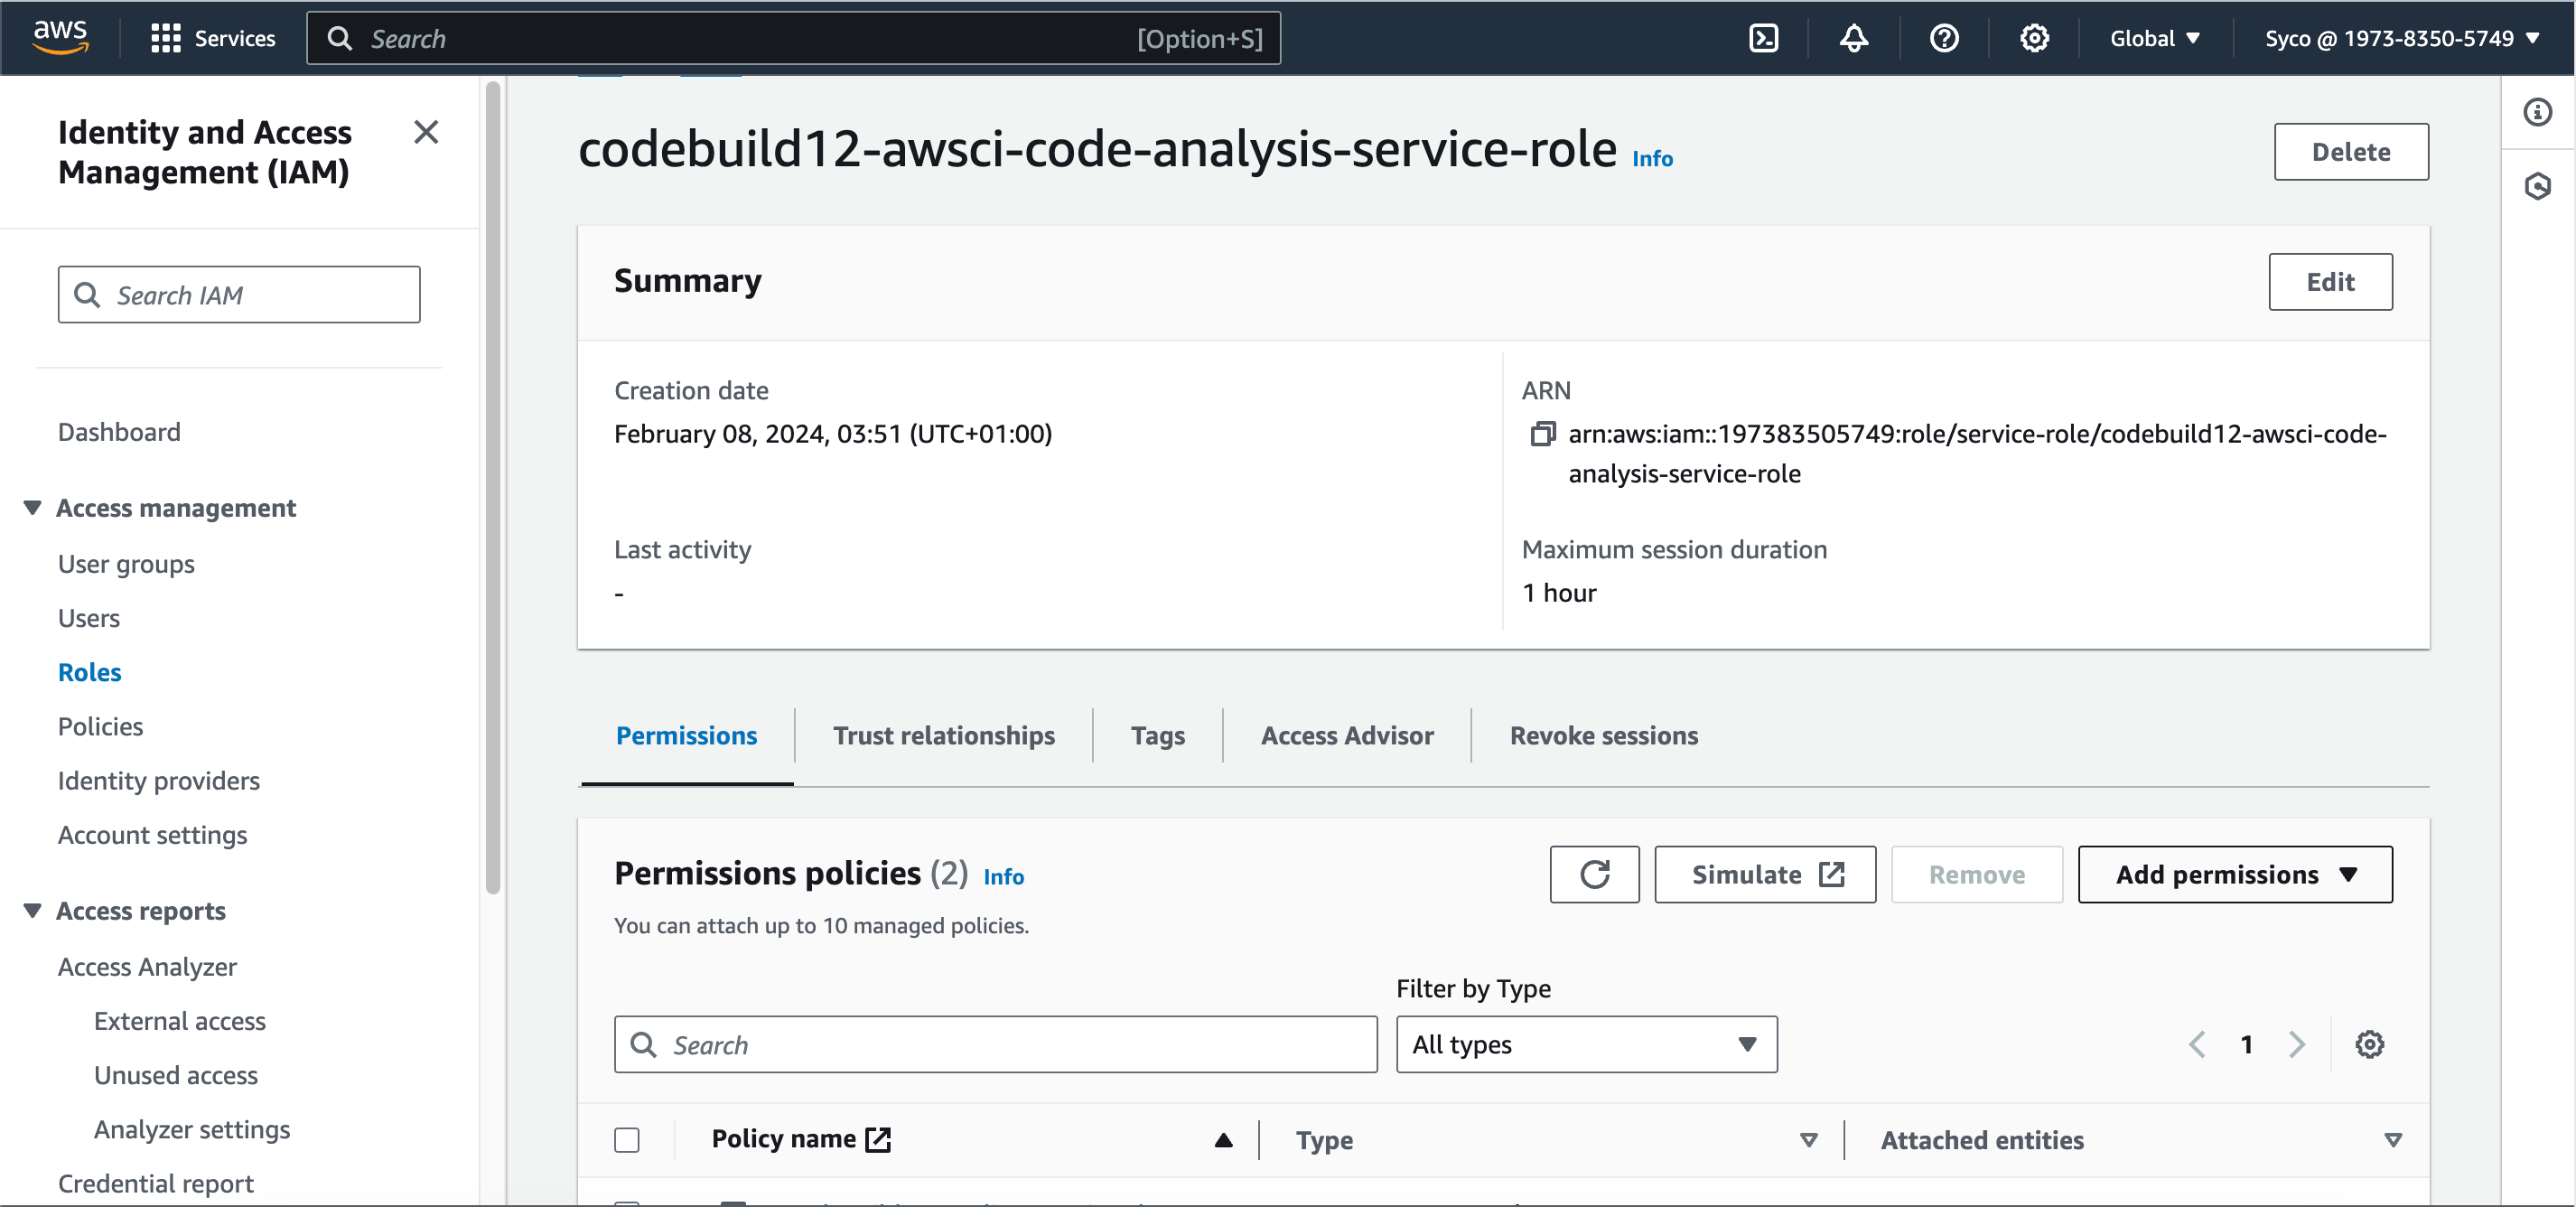
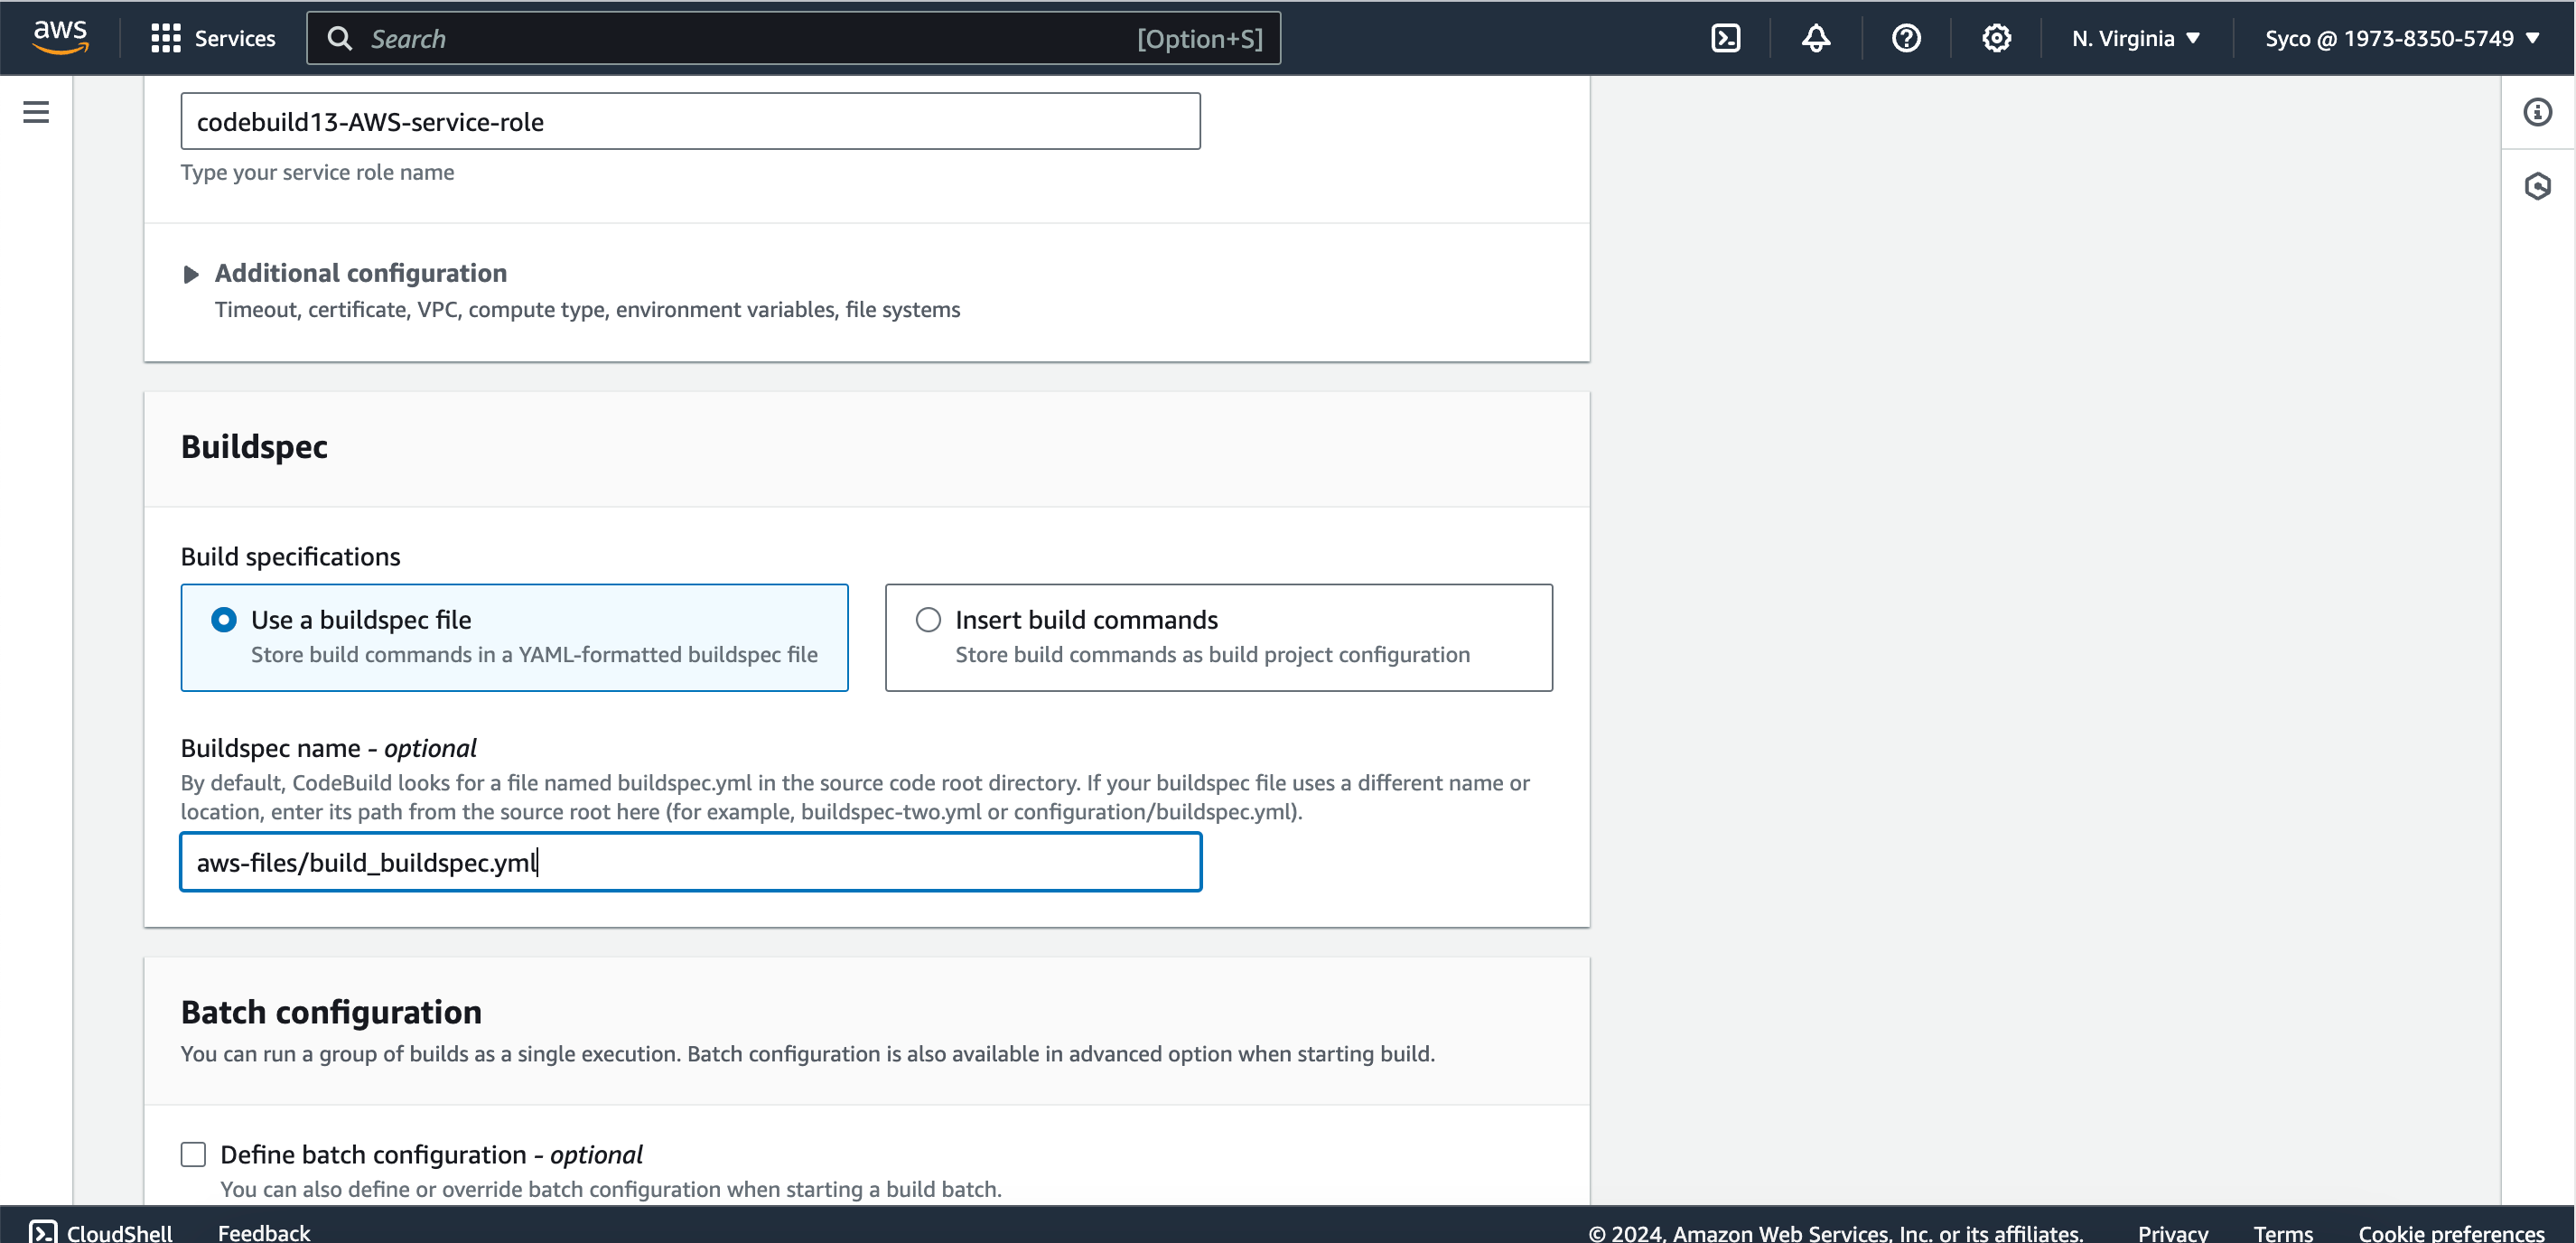
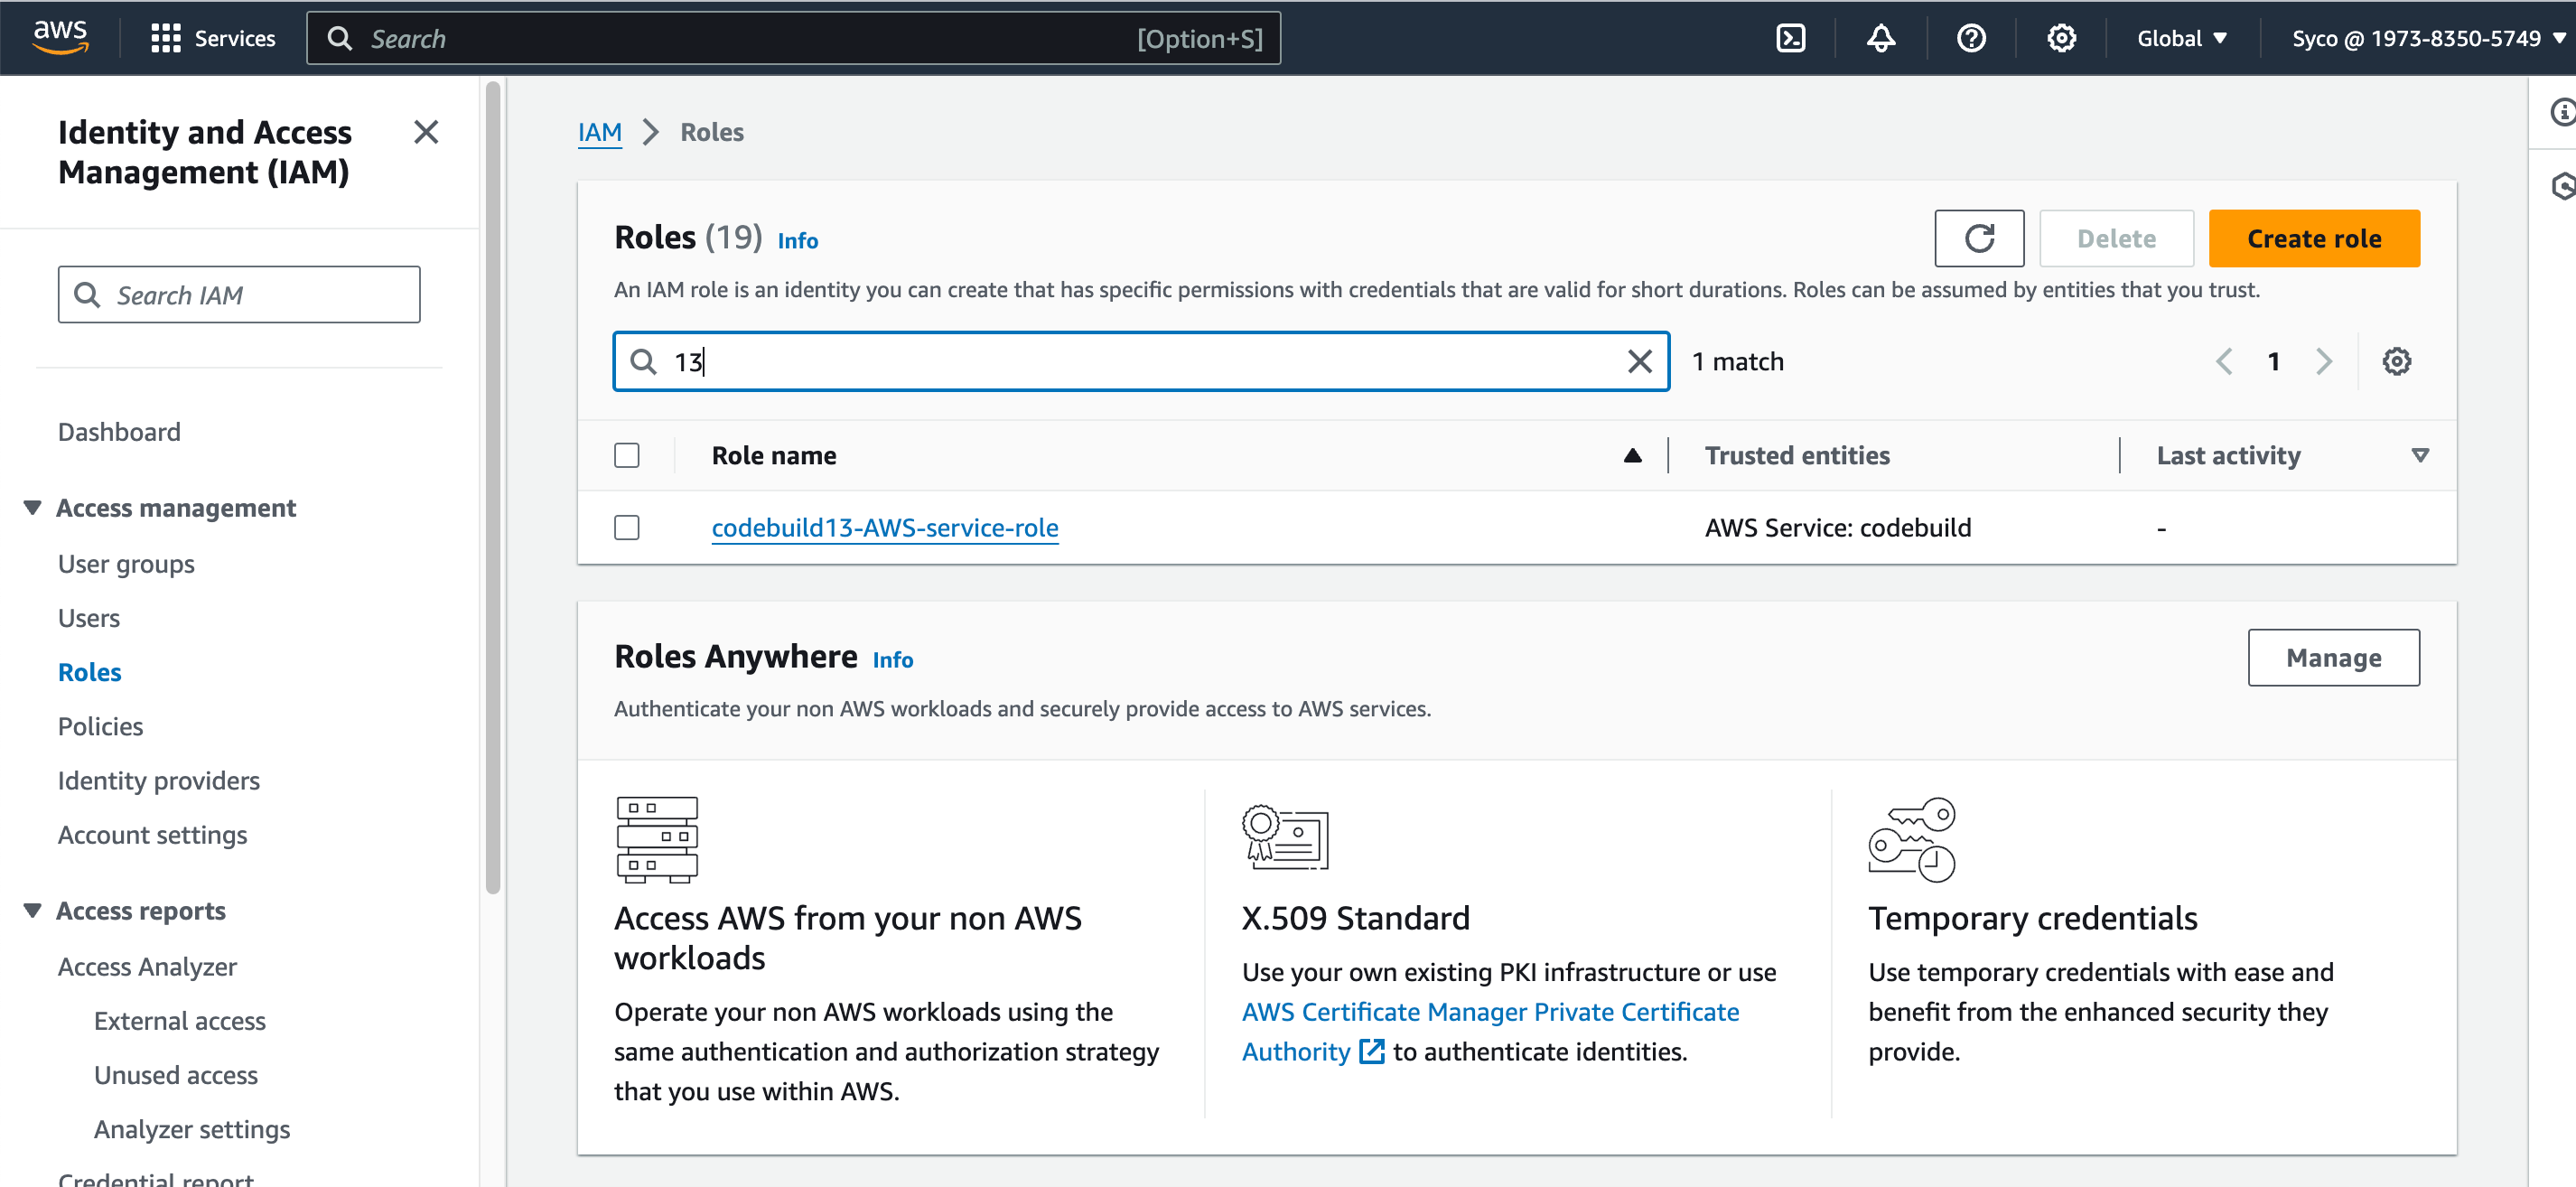
- A new role will be created by AWS but this role only has access to CodeCommit but we’ll also need other policies attached. Optionally, give the role name a unique identifier like a number so it’ll be easier to spot and modify.
- Under Buildspec, choose the “Use a buildspec file” option. We’ll see how to specify paths soon but here, CodeBuild automatically searches for a BuildSpec file in the root directory.
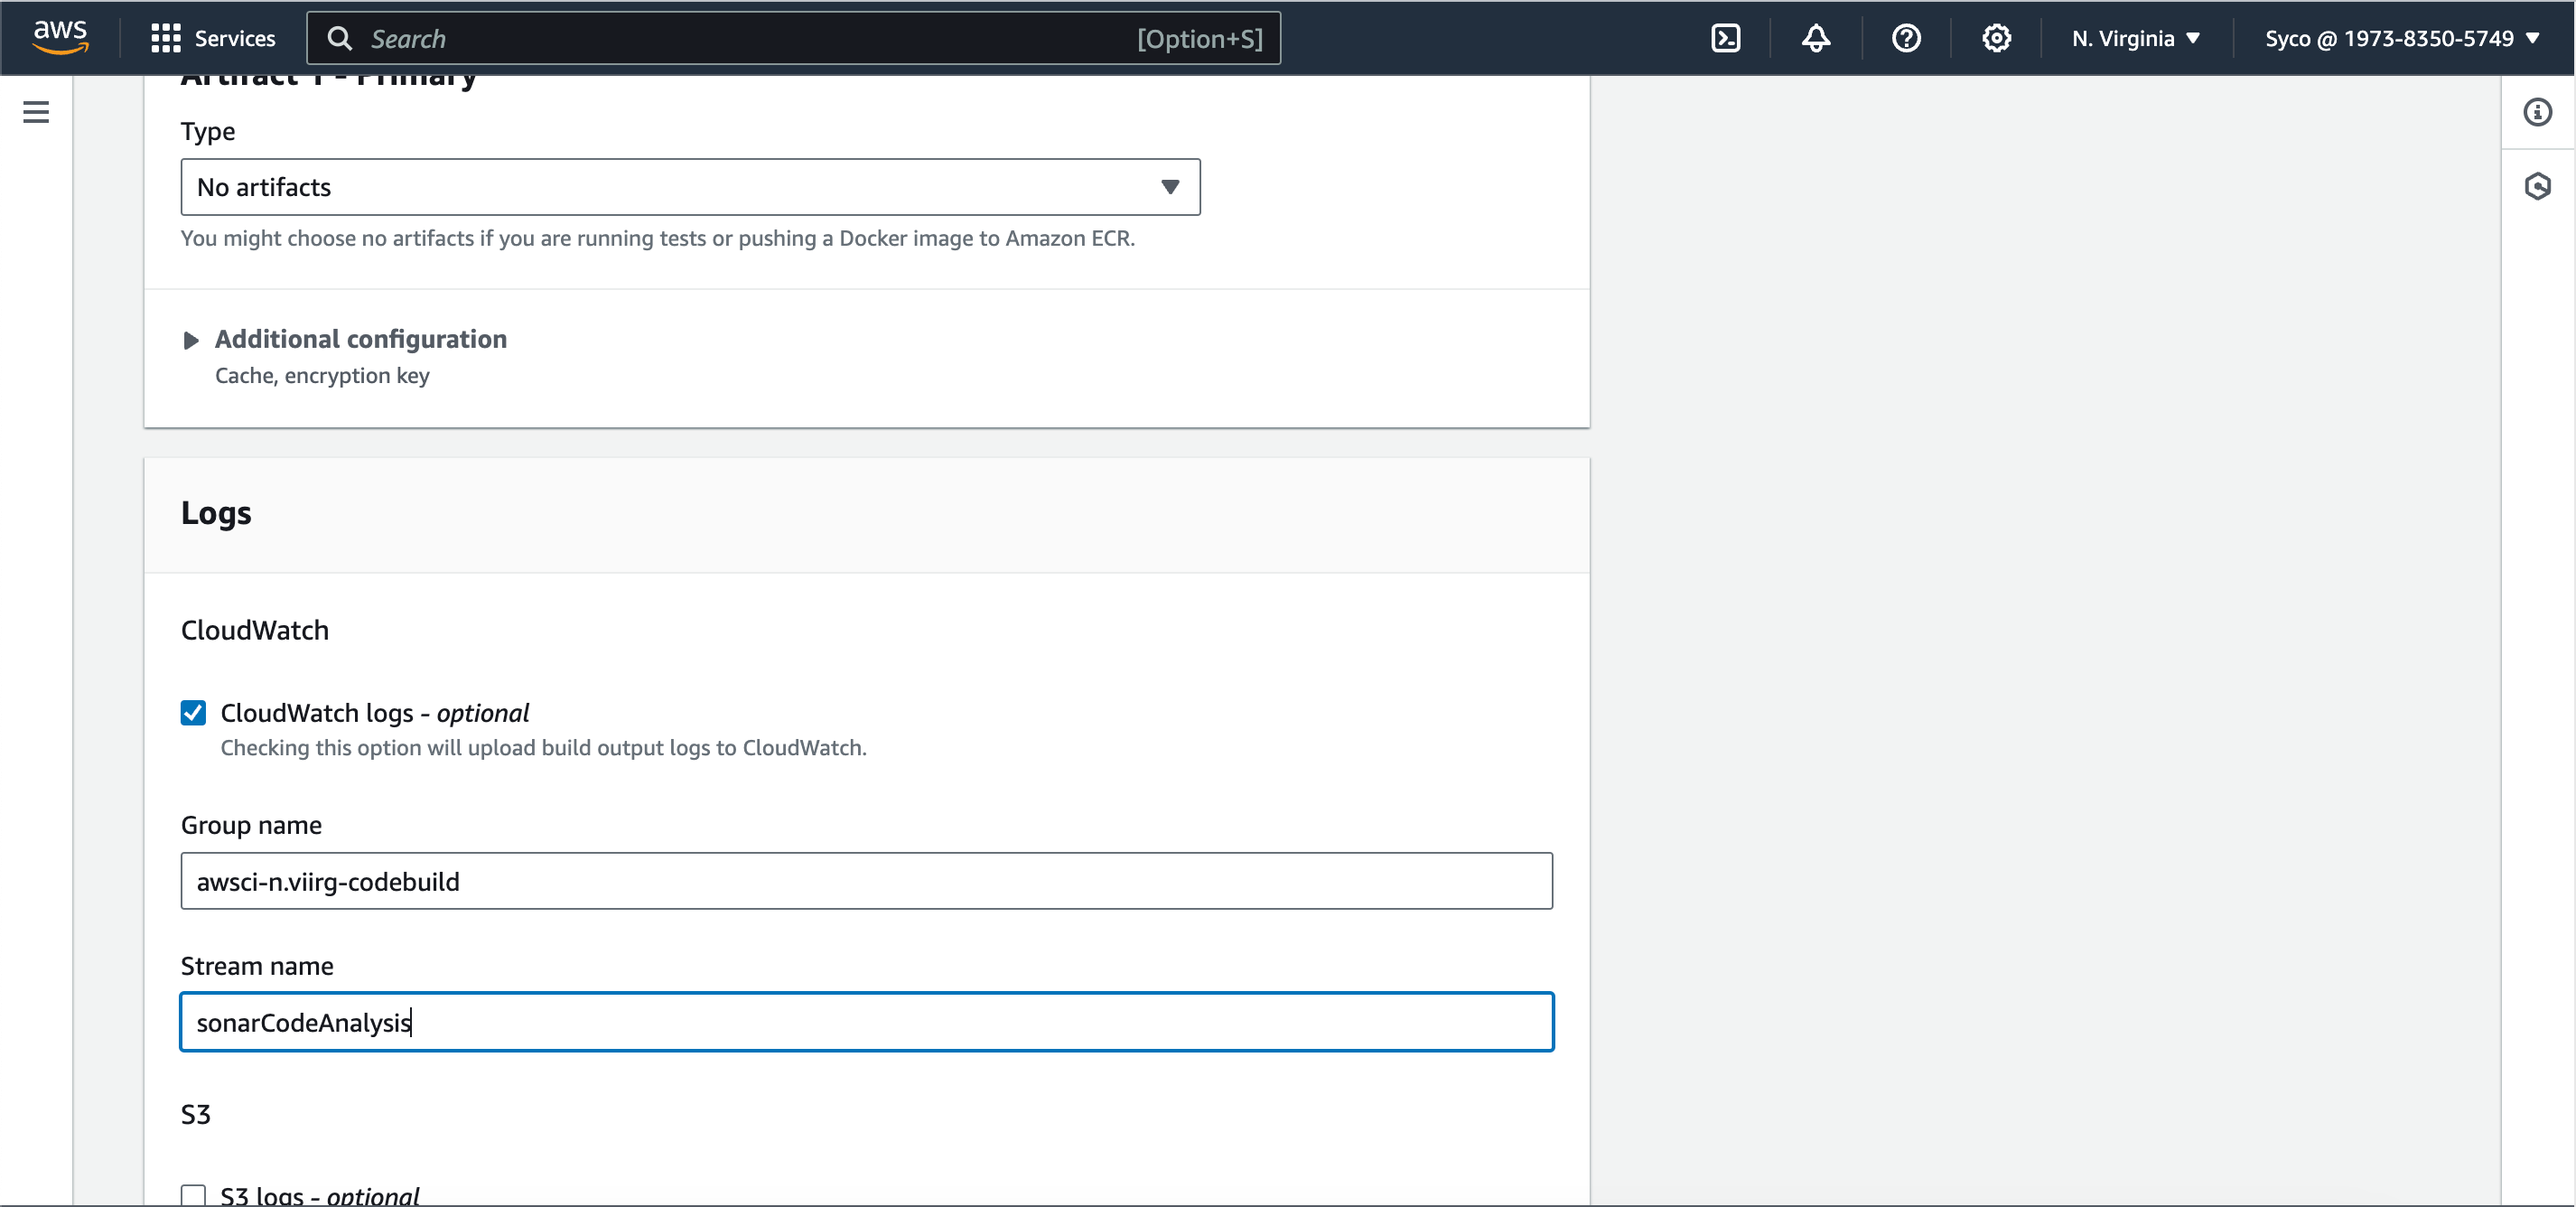
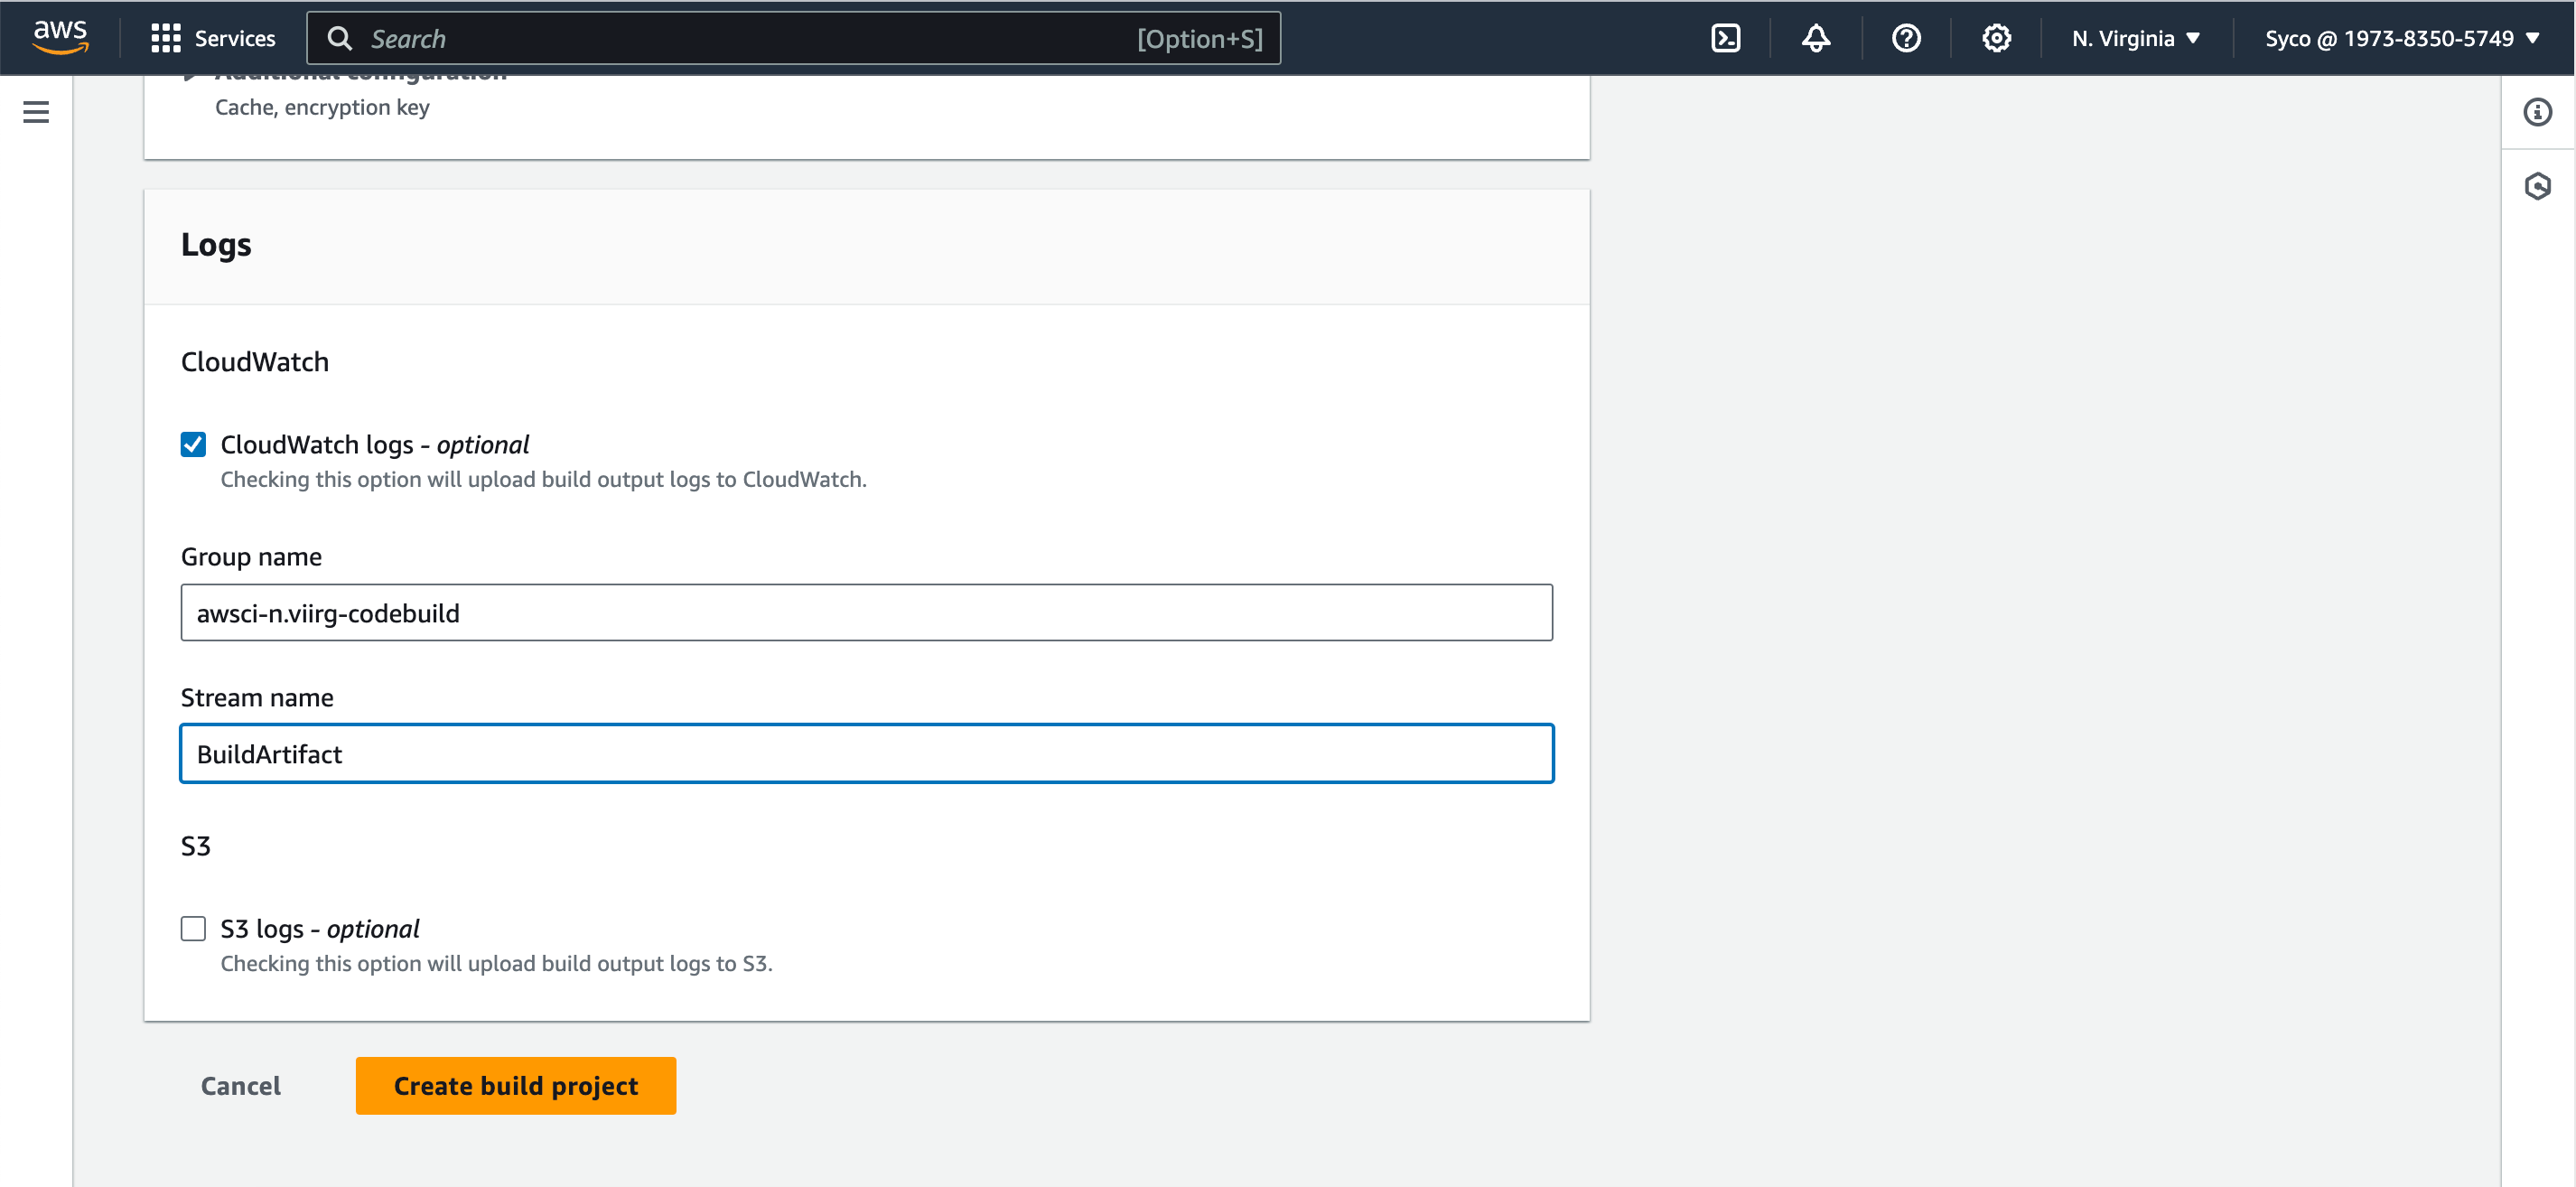
- Under Logs, provide a group name and a stream name, then create build project.
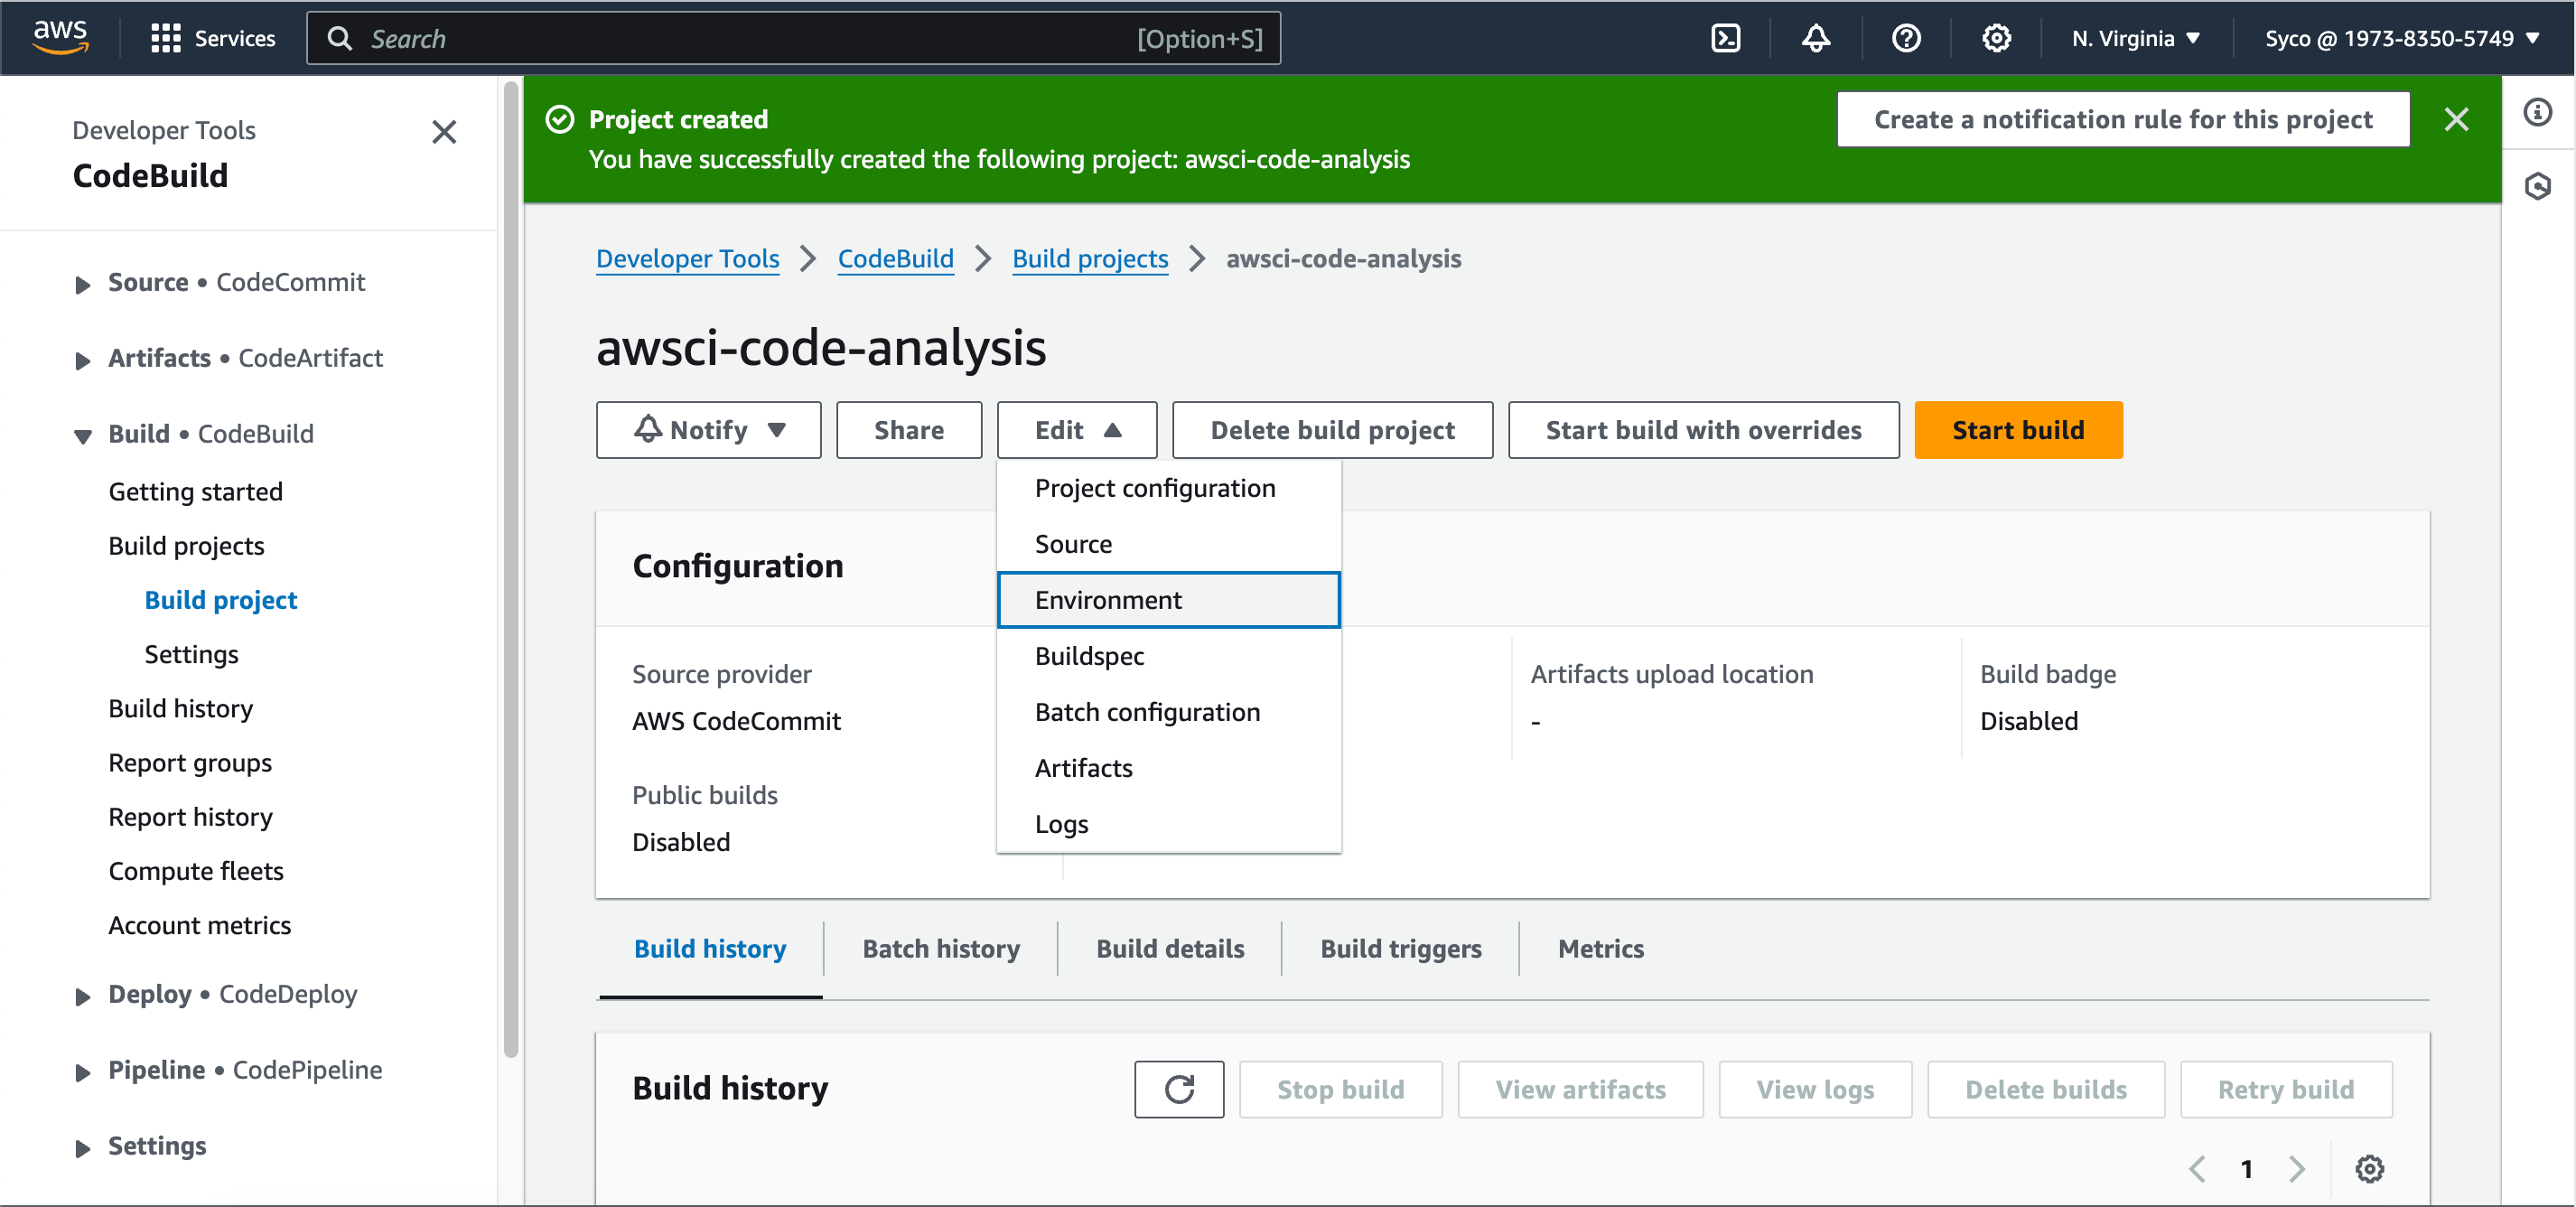
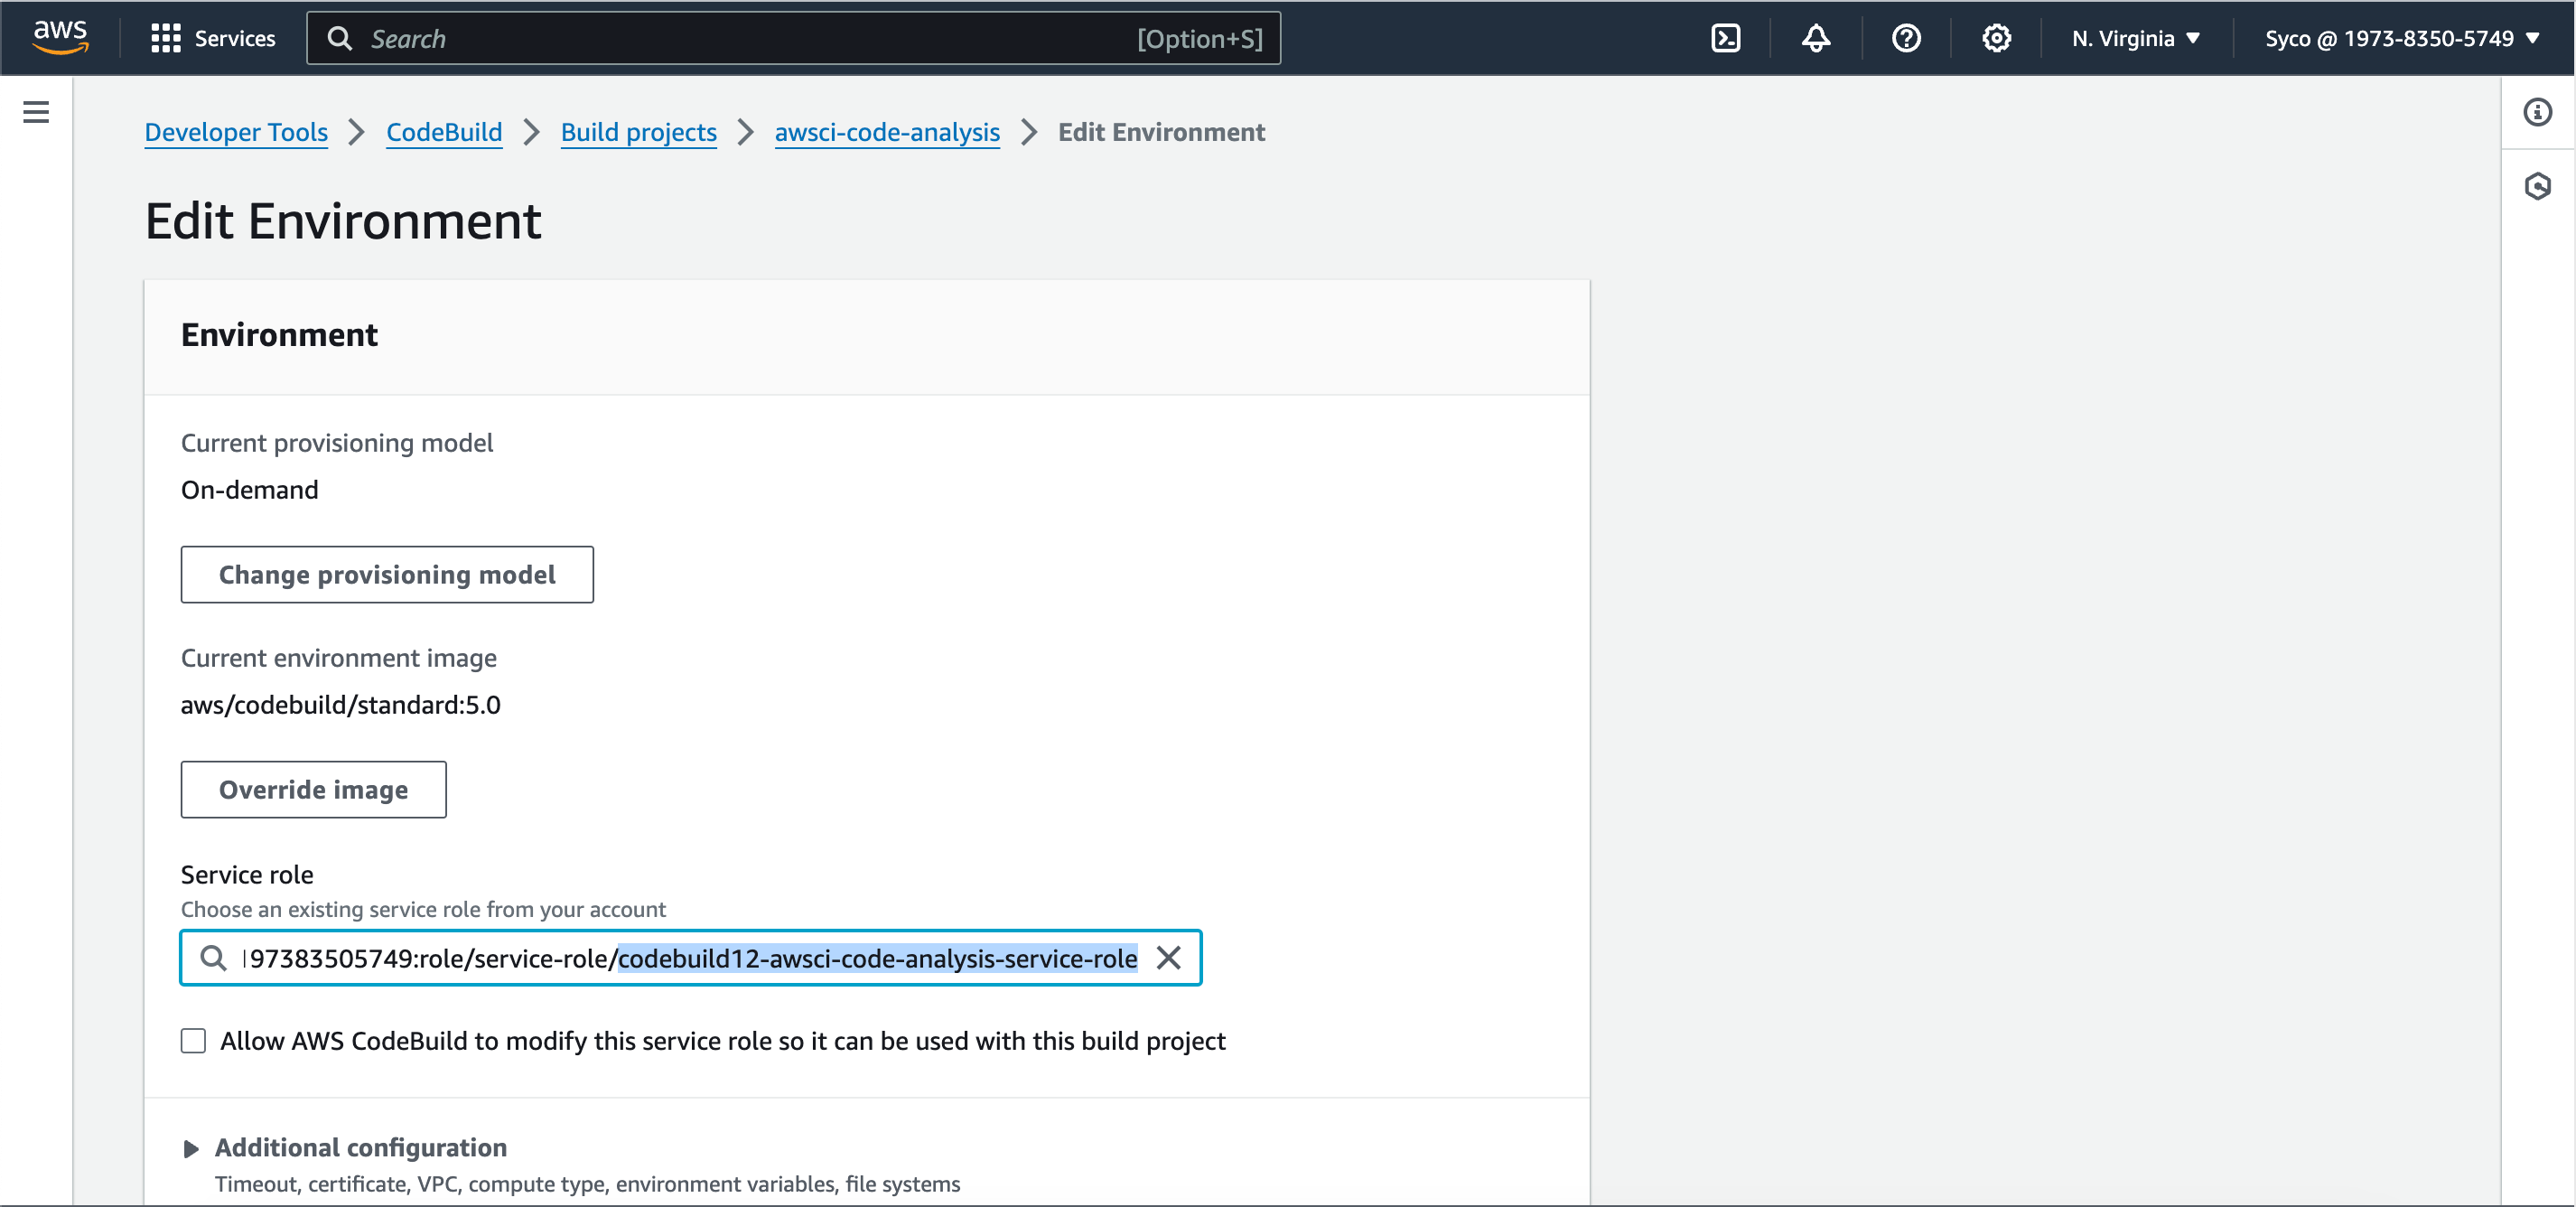
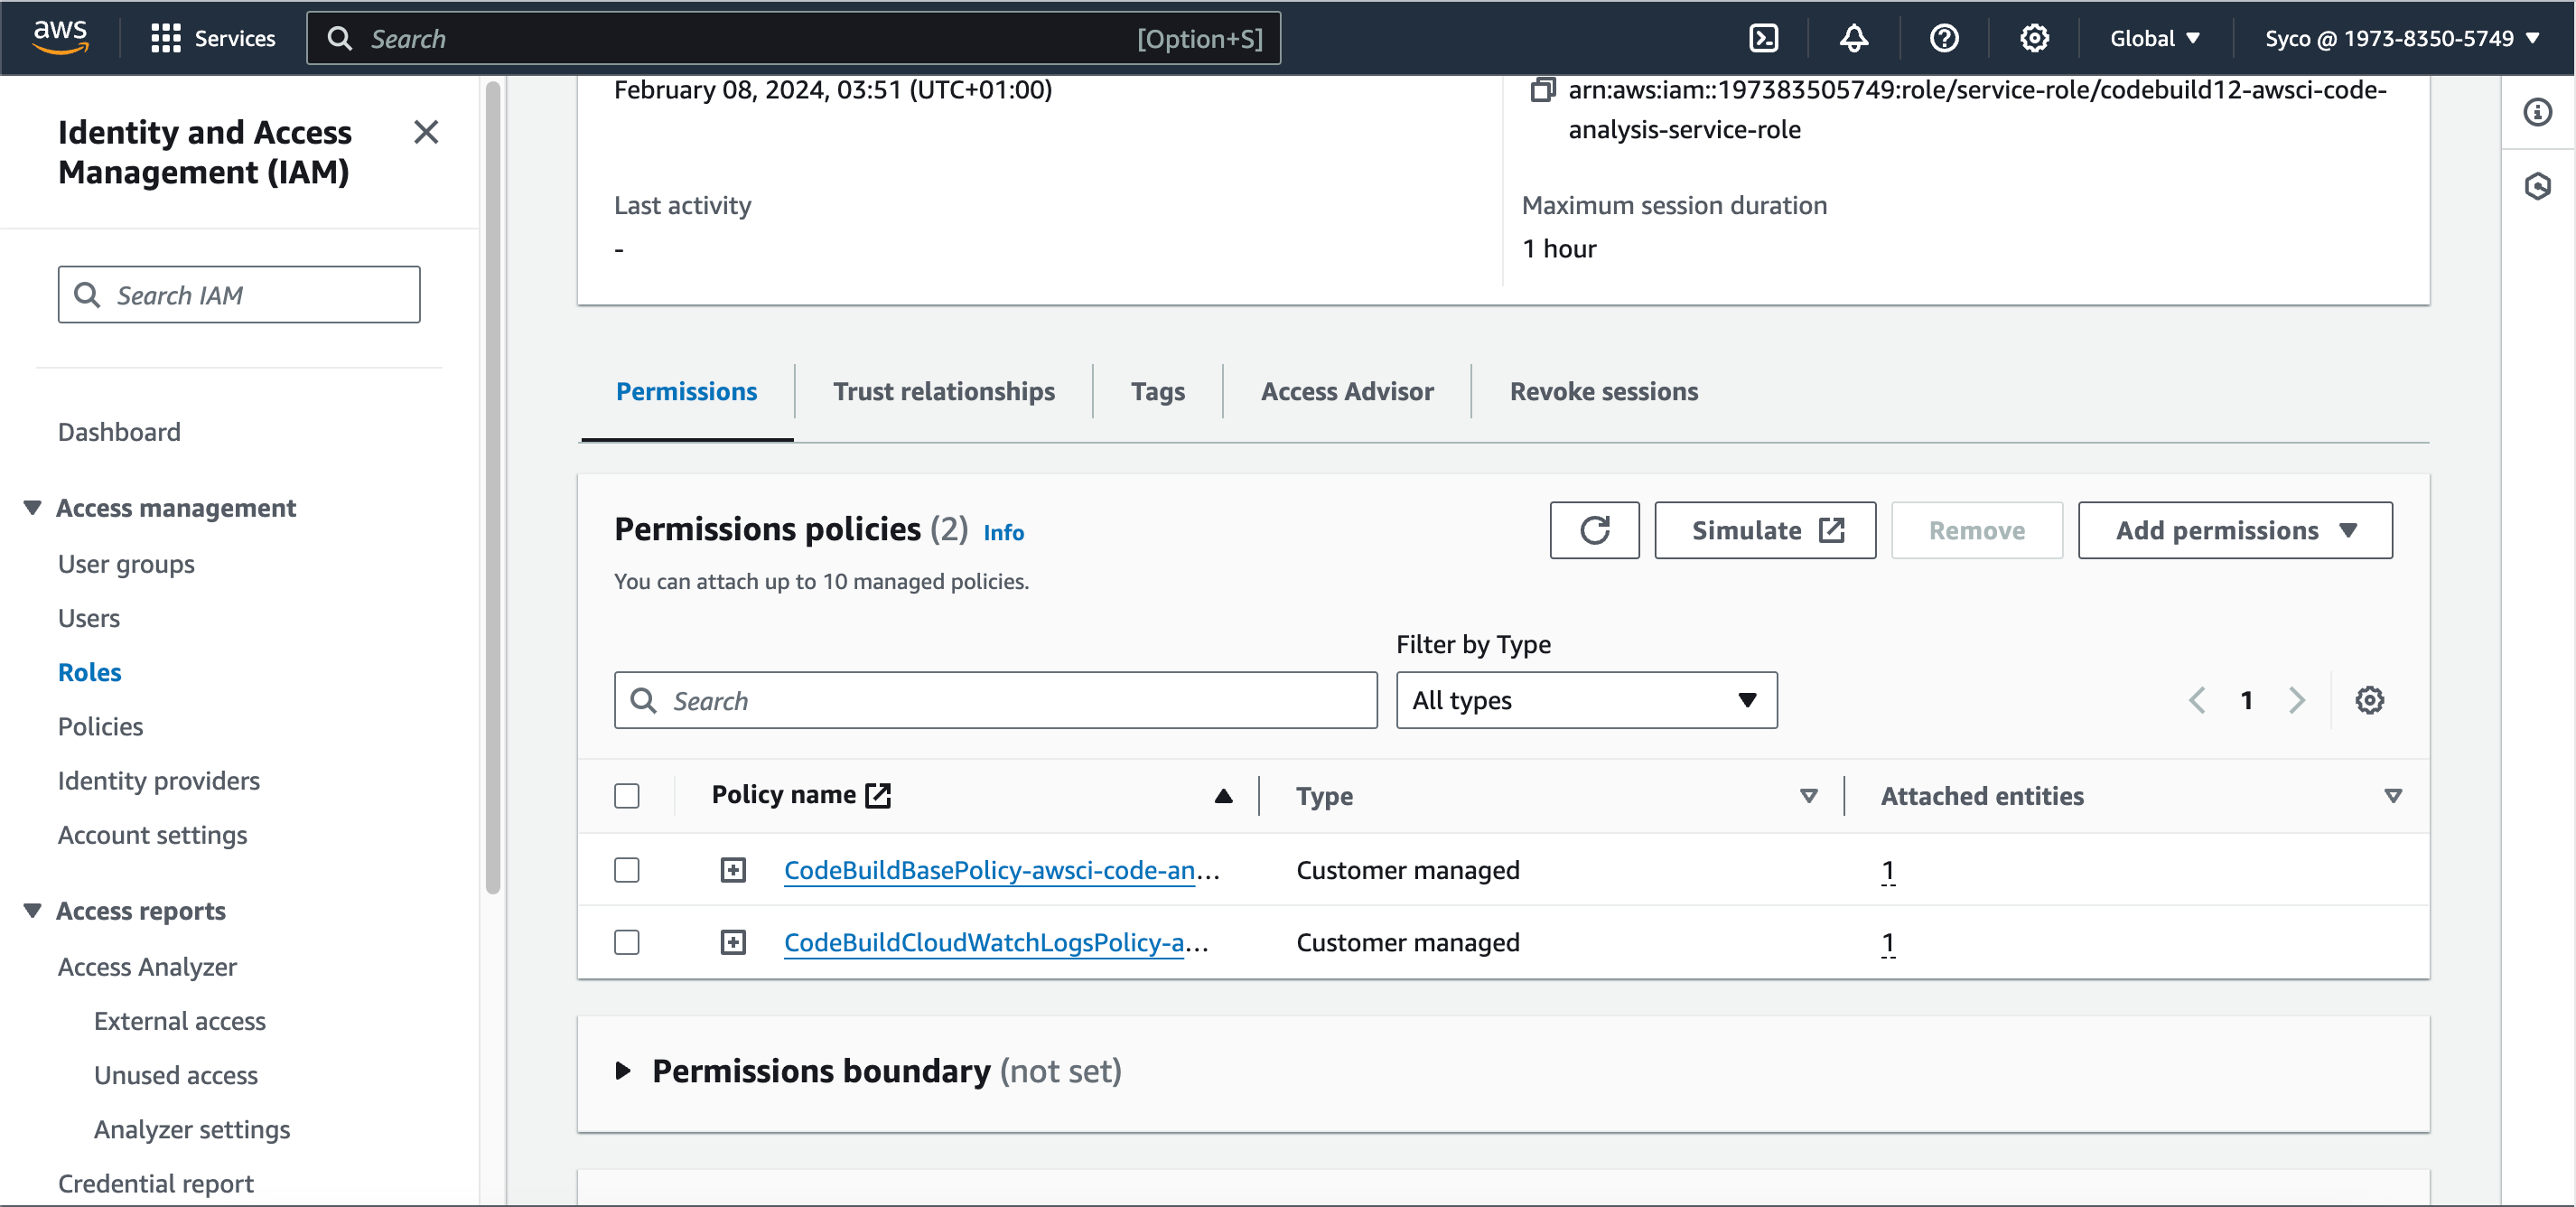
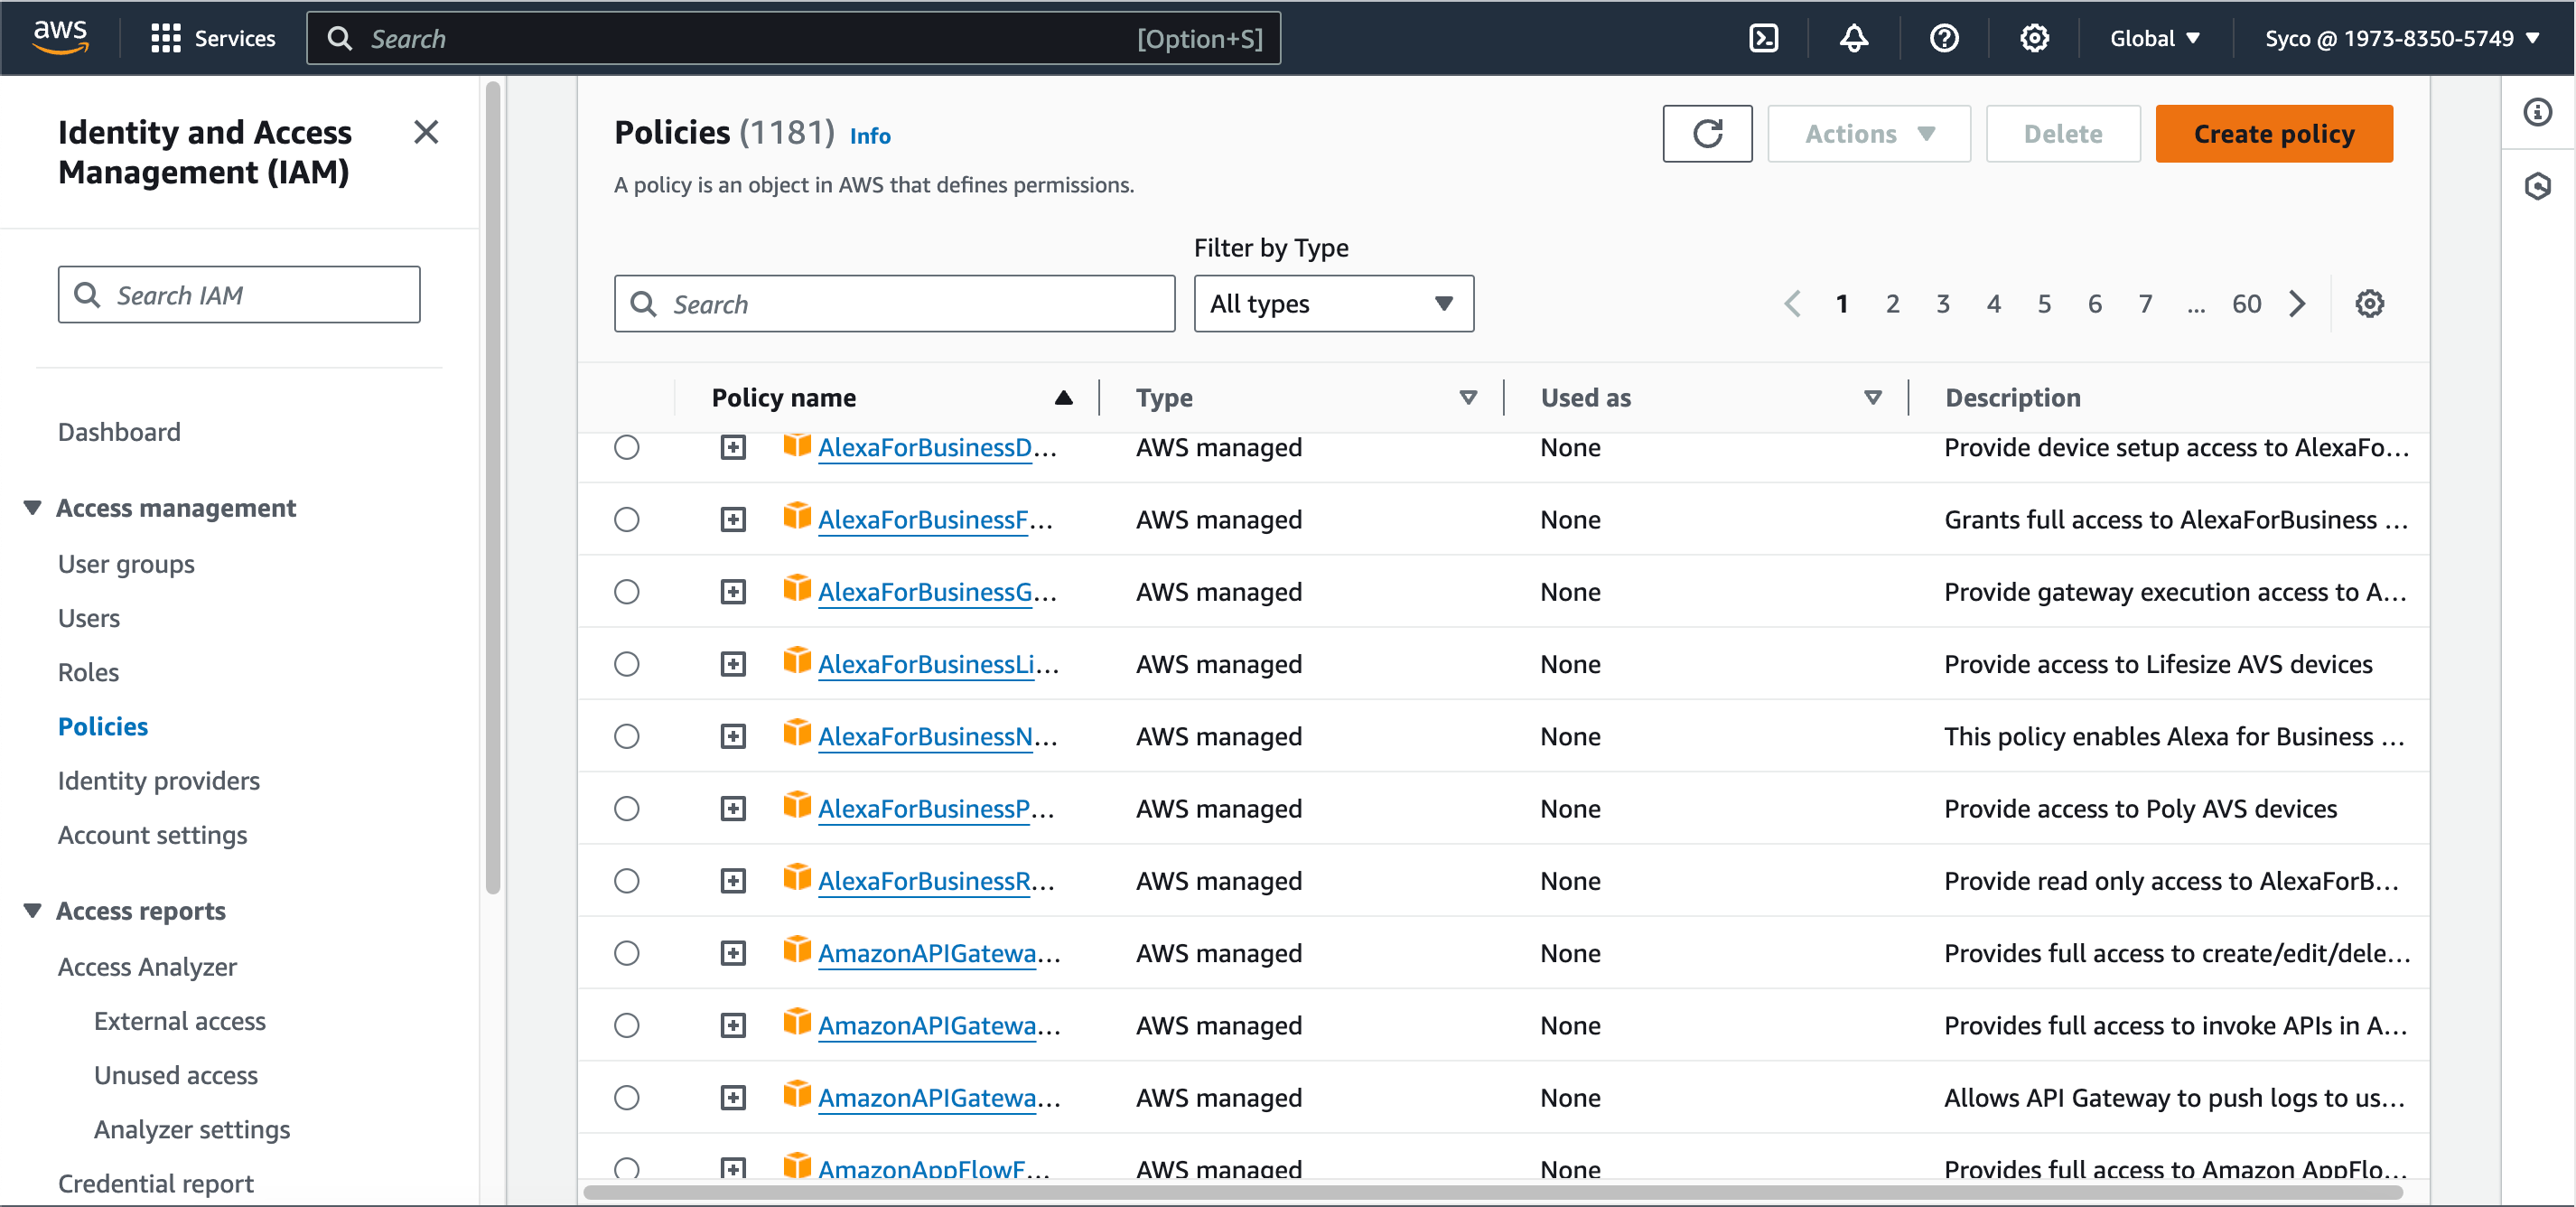
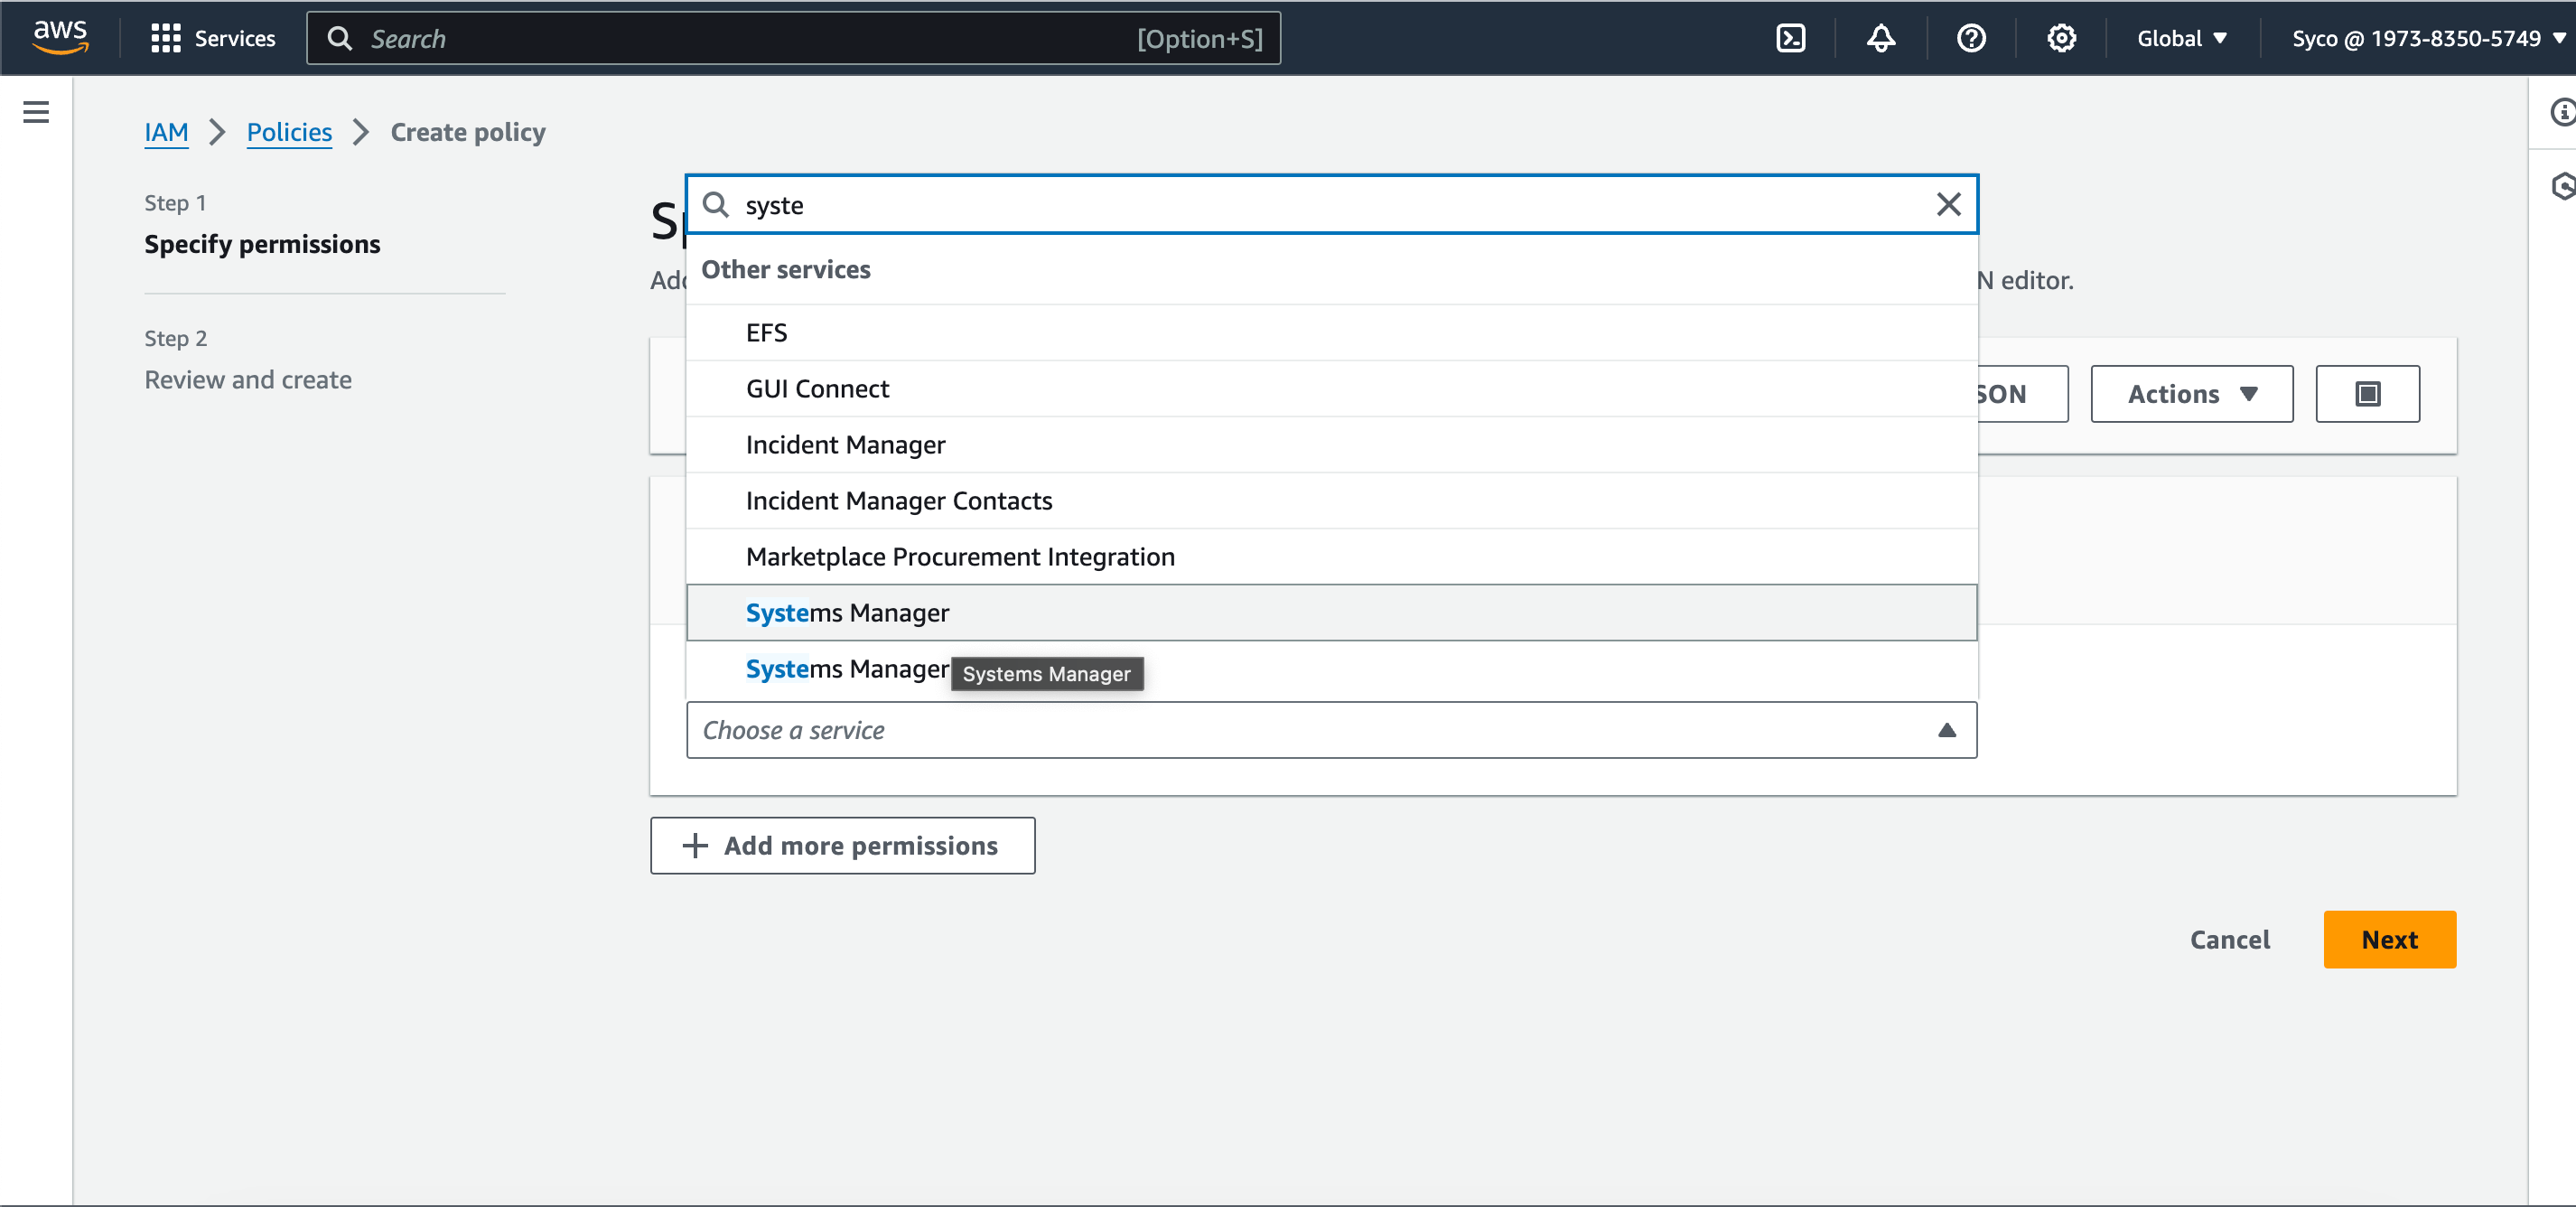
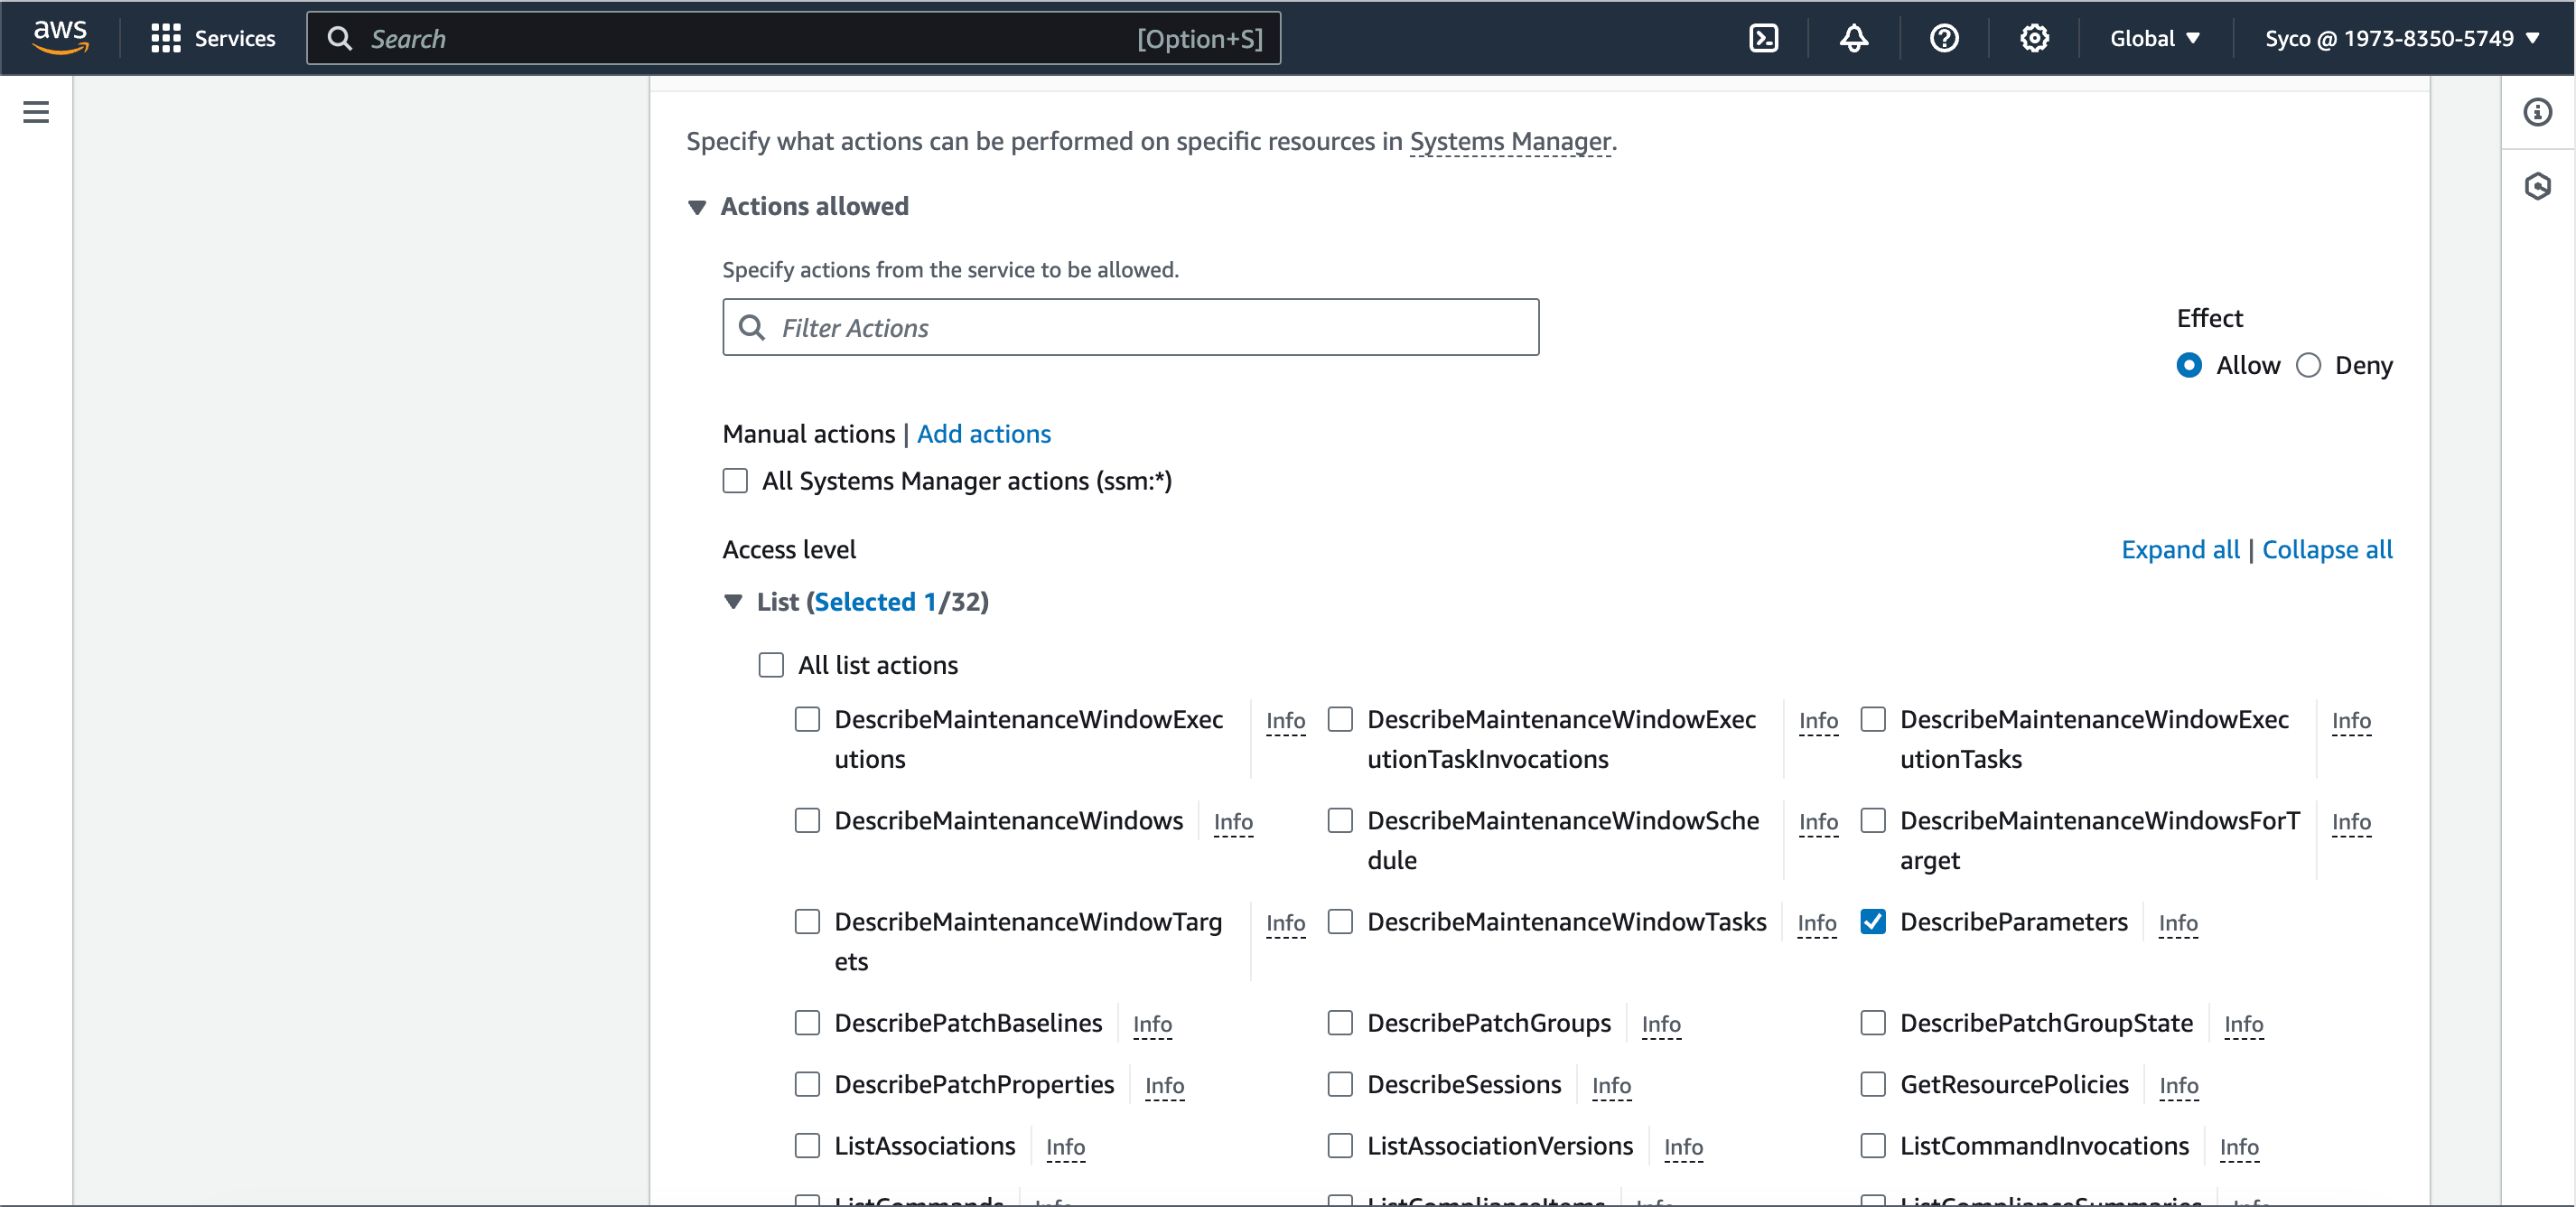
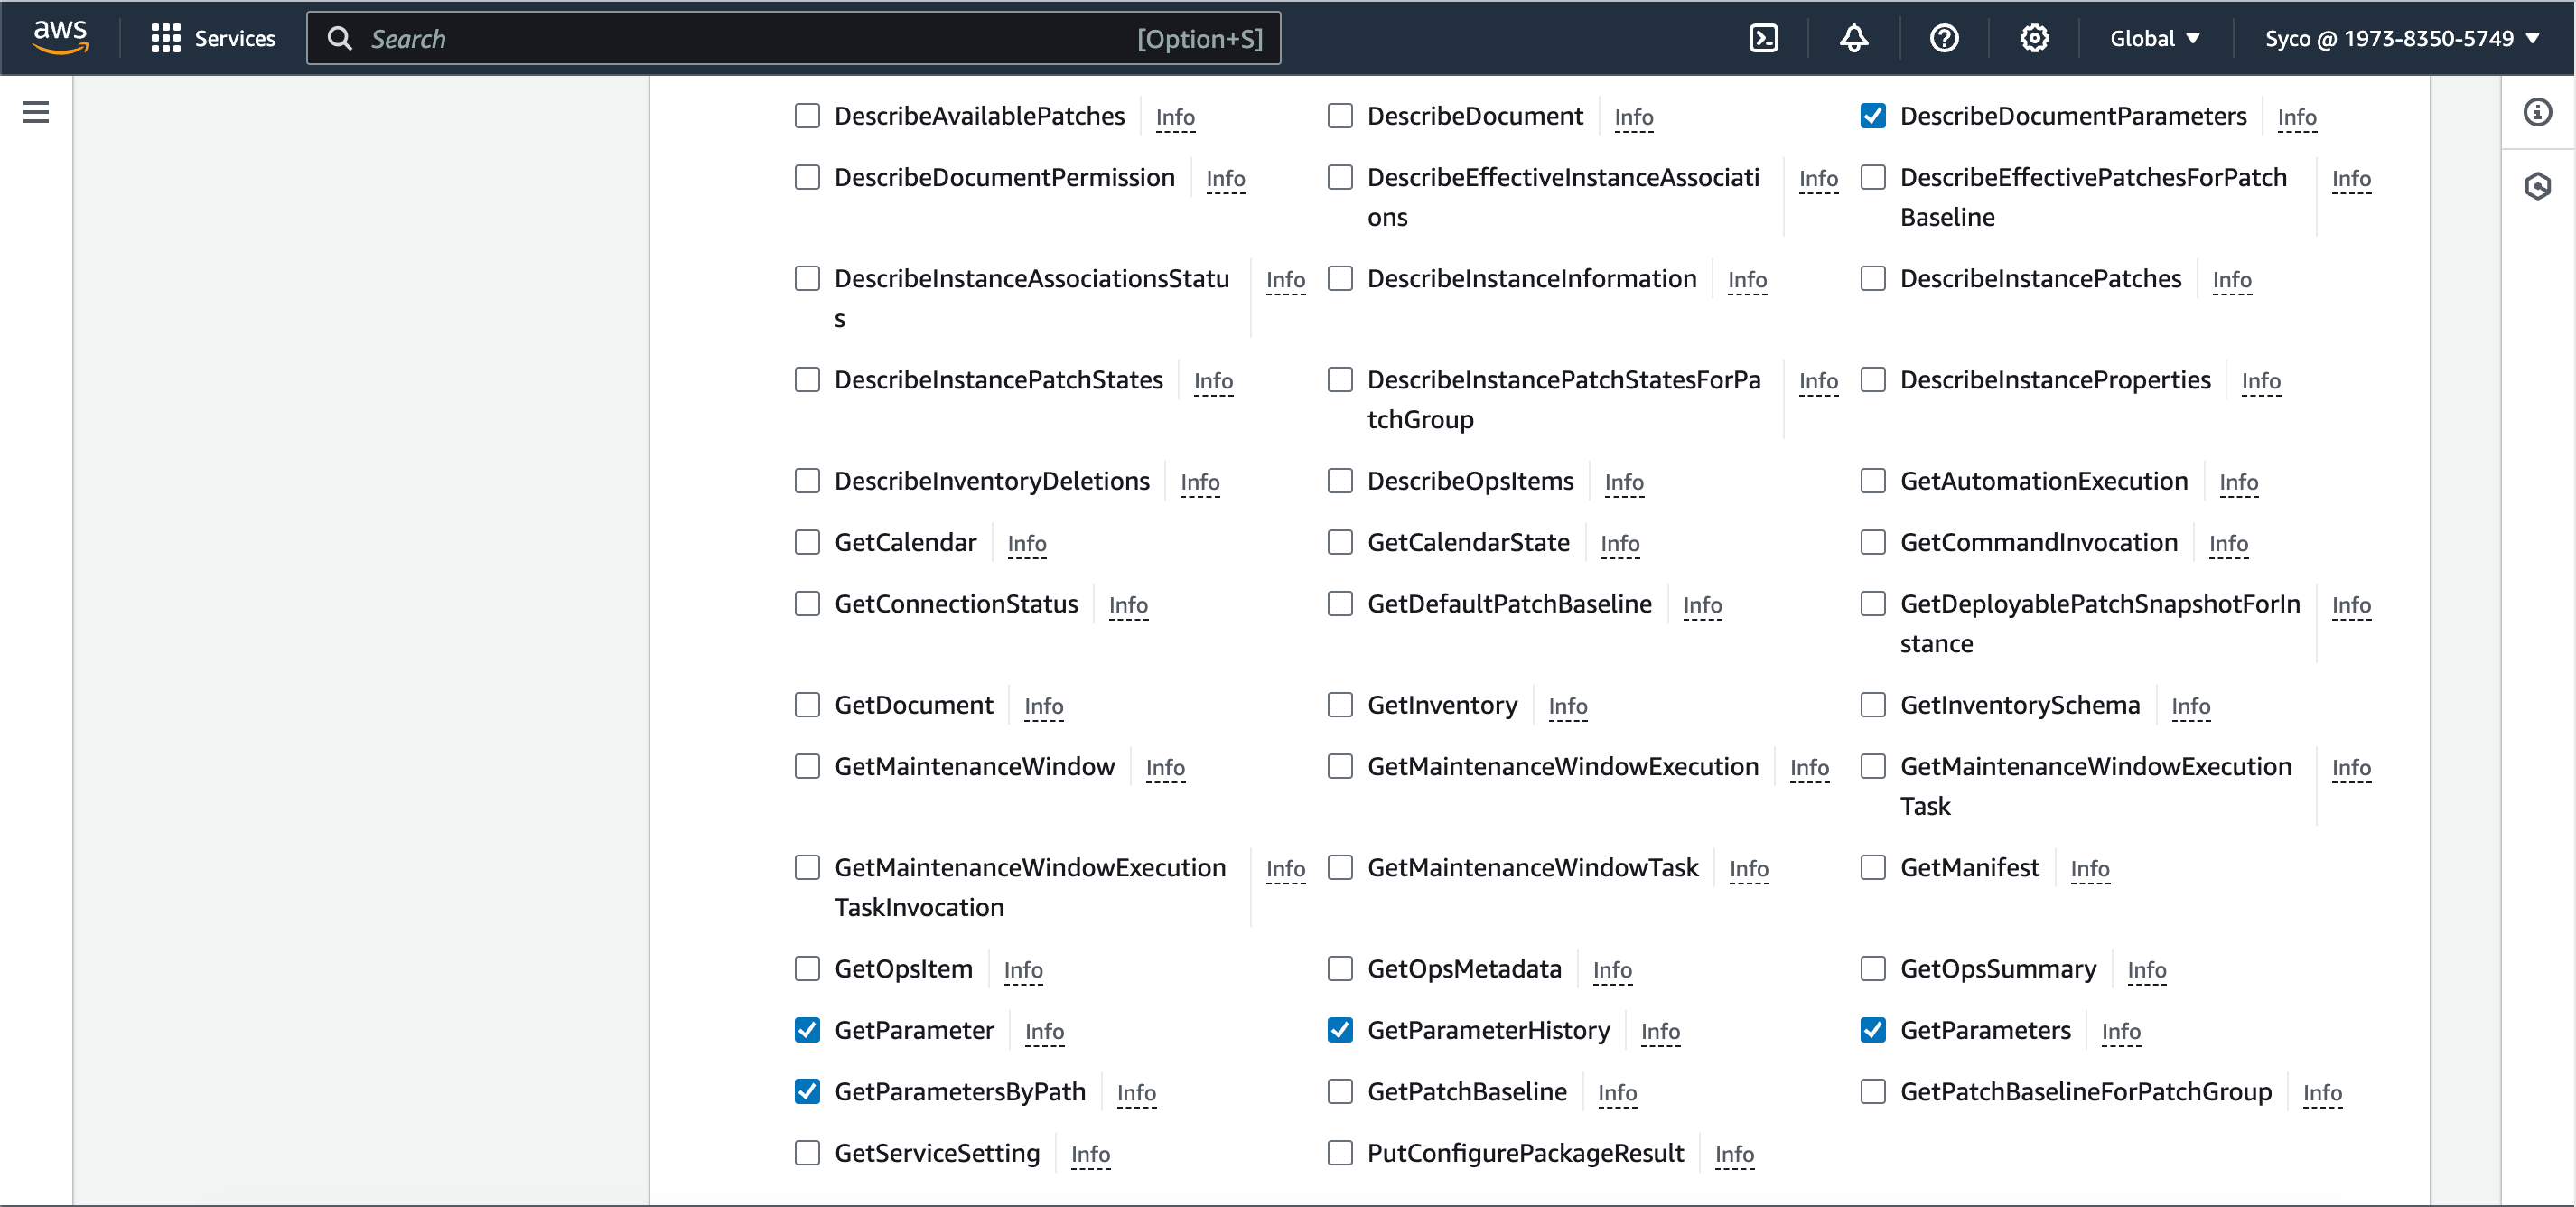
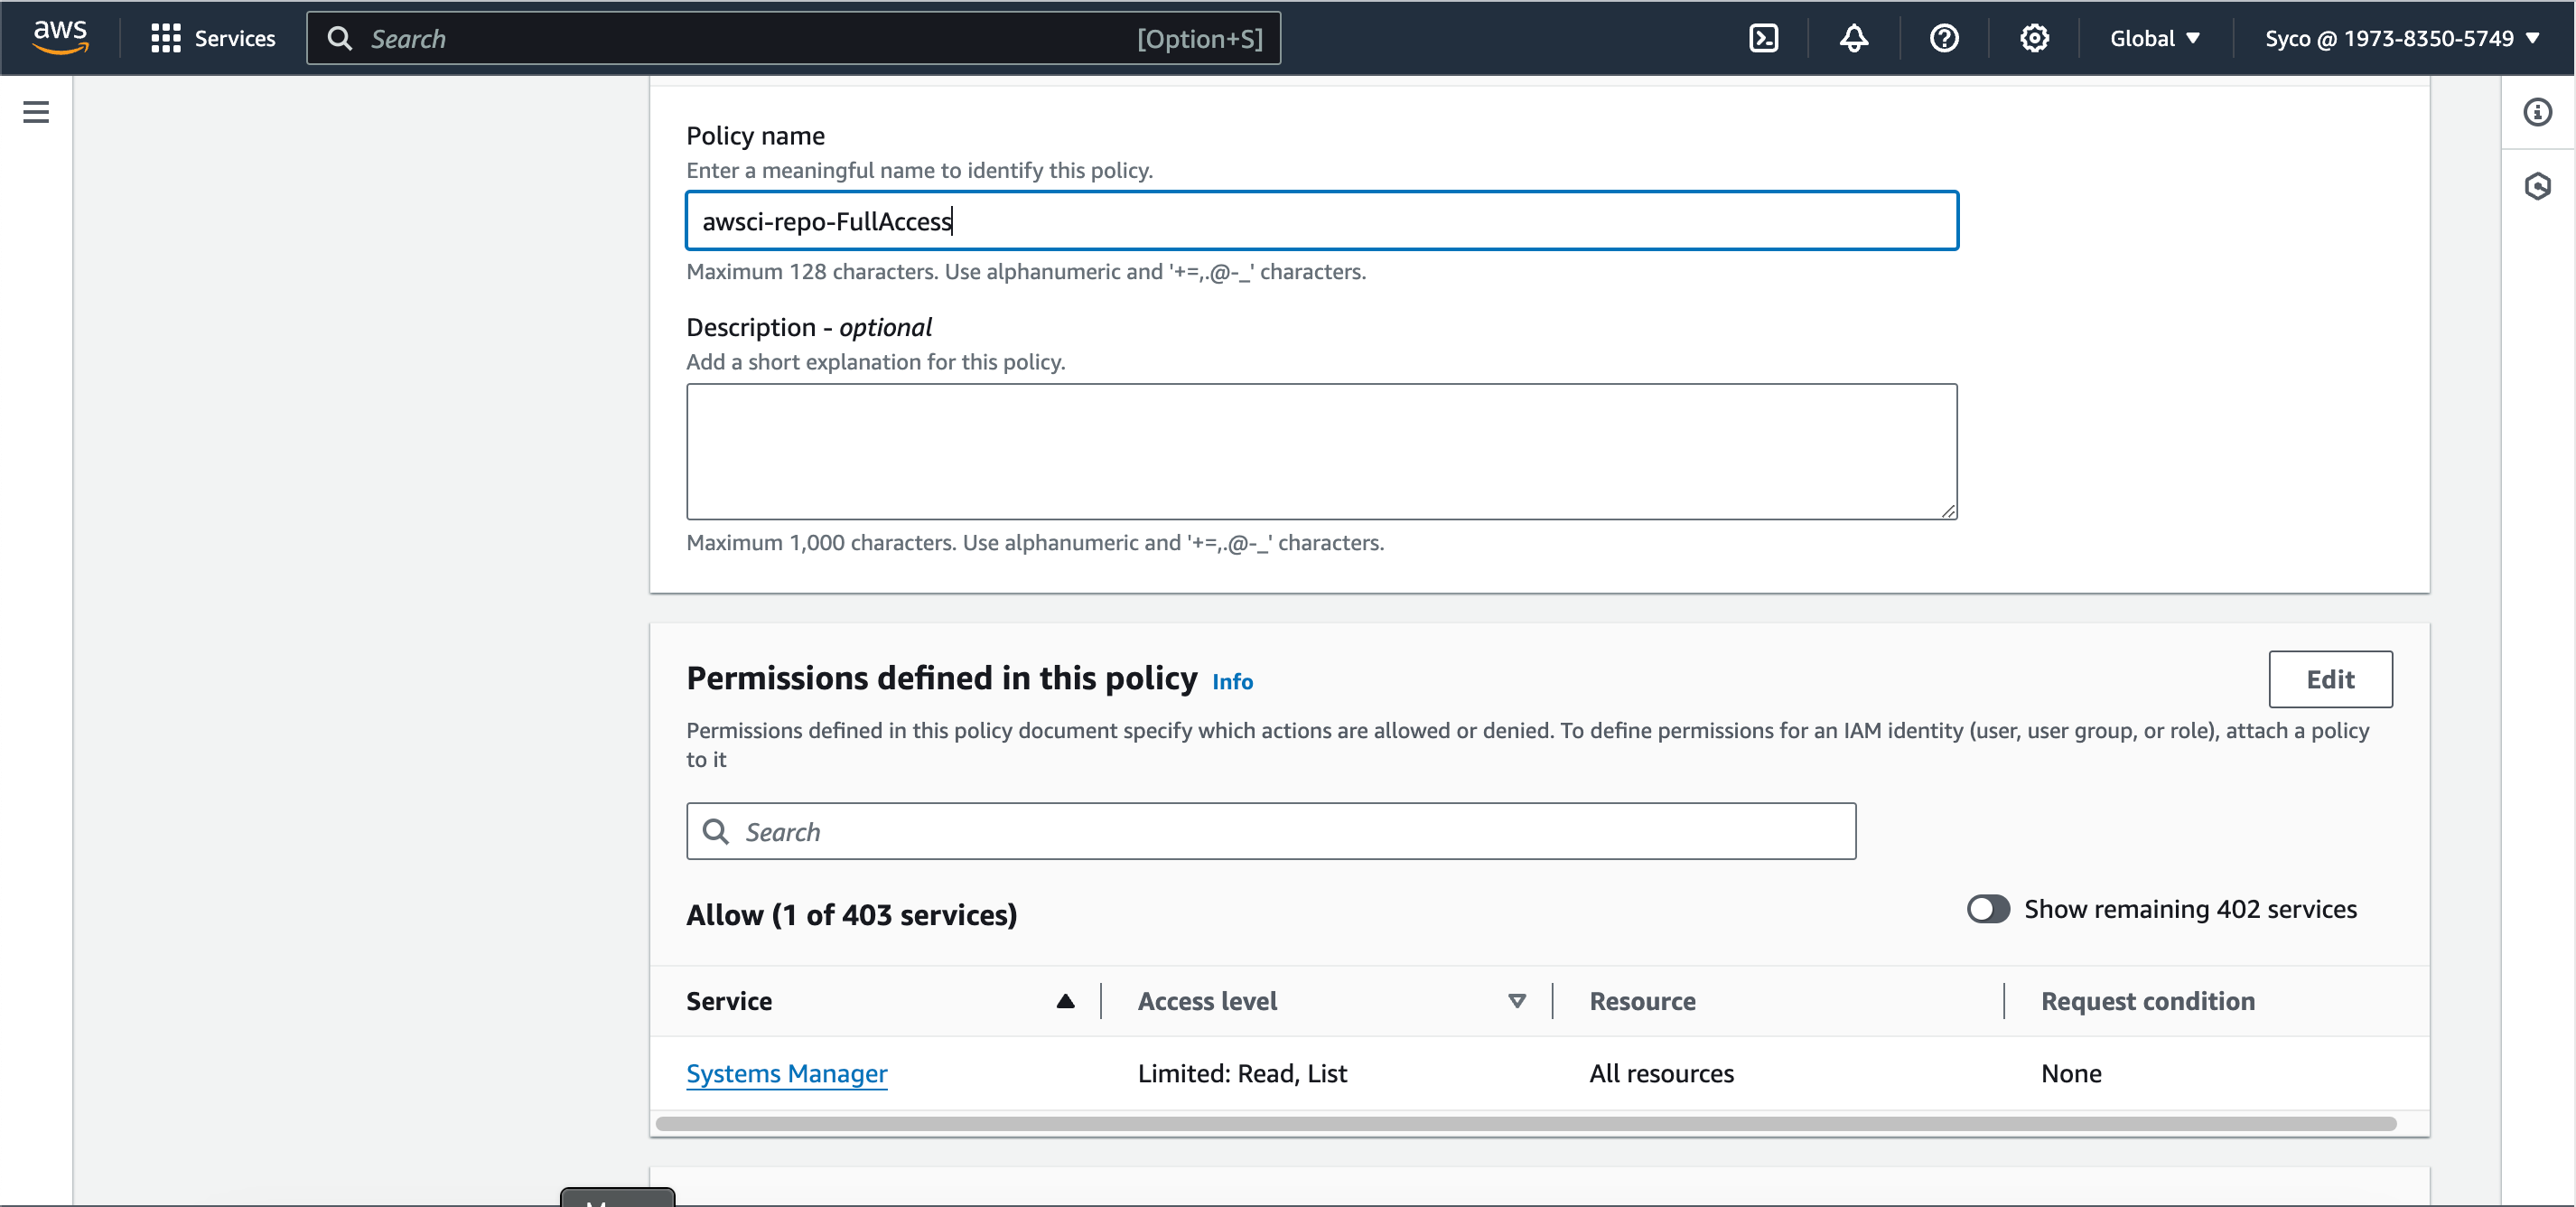
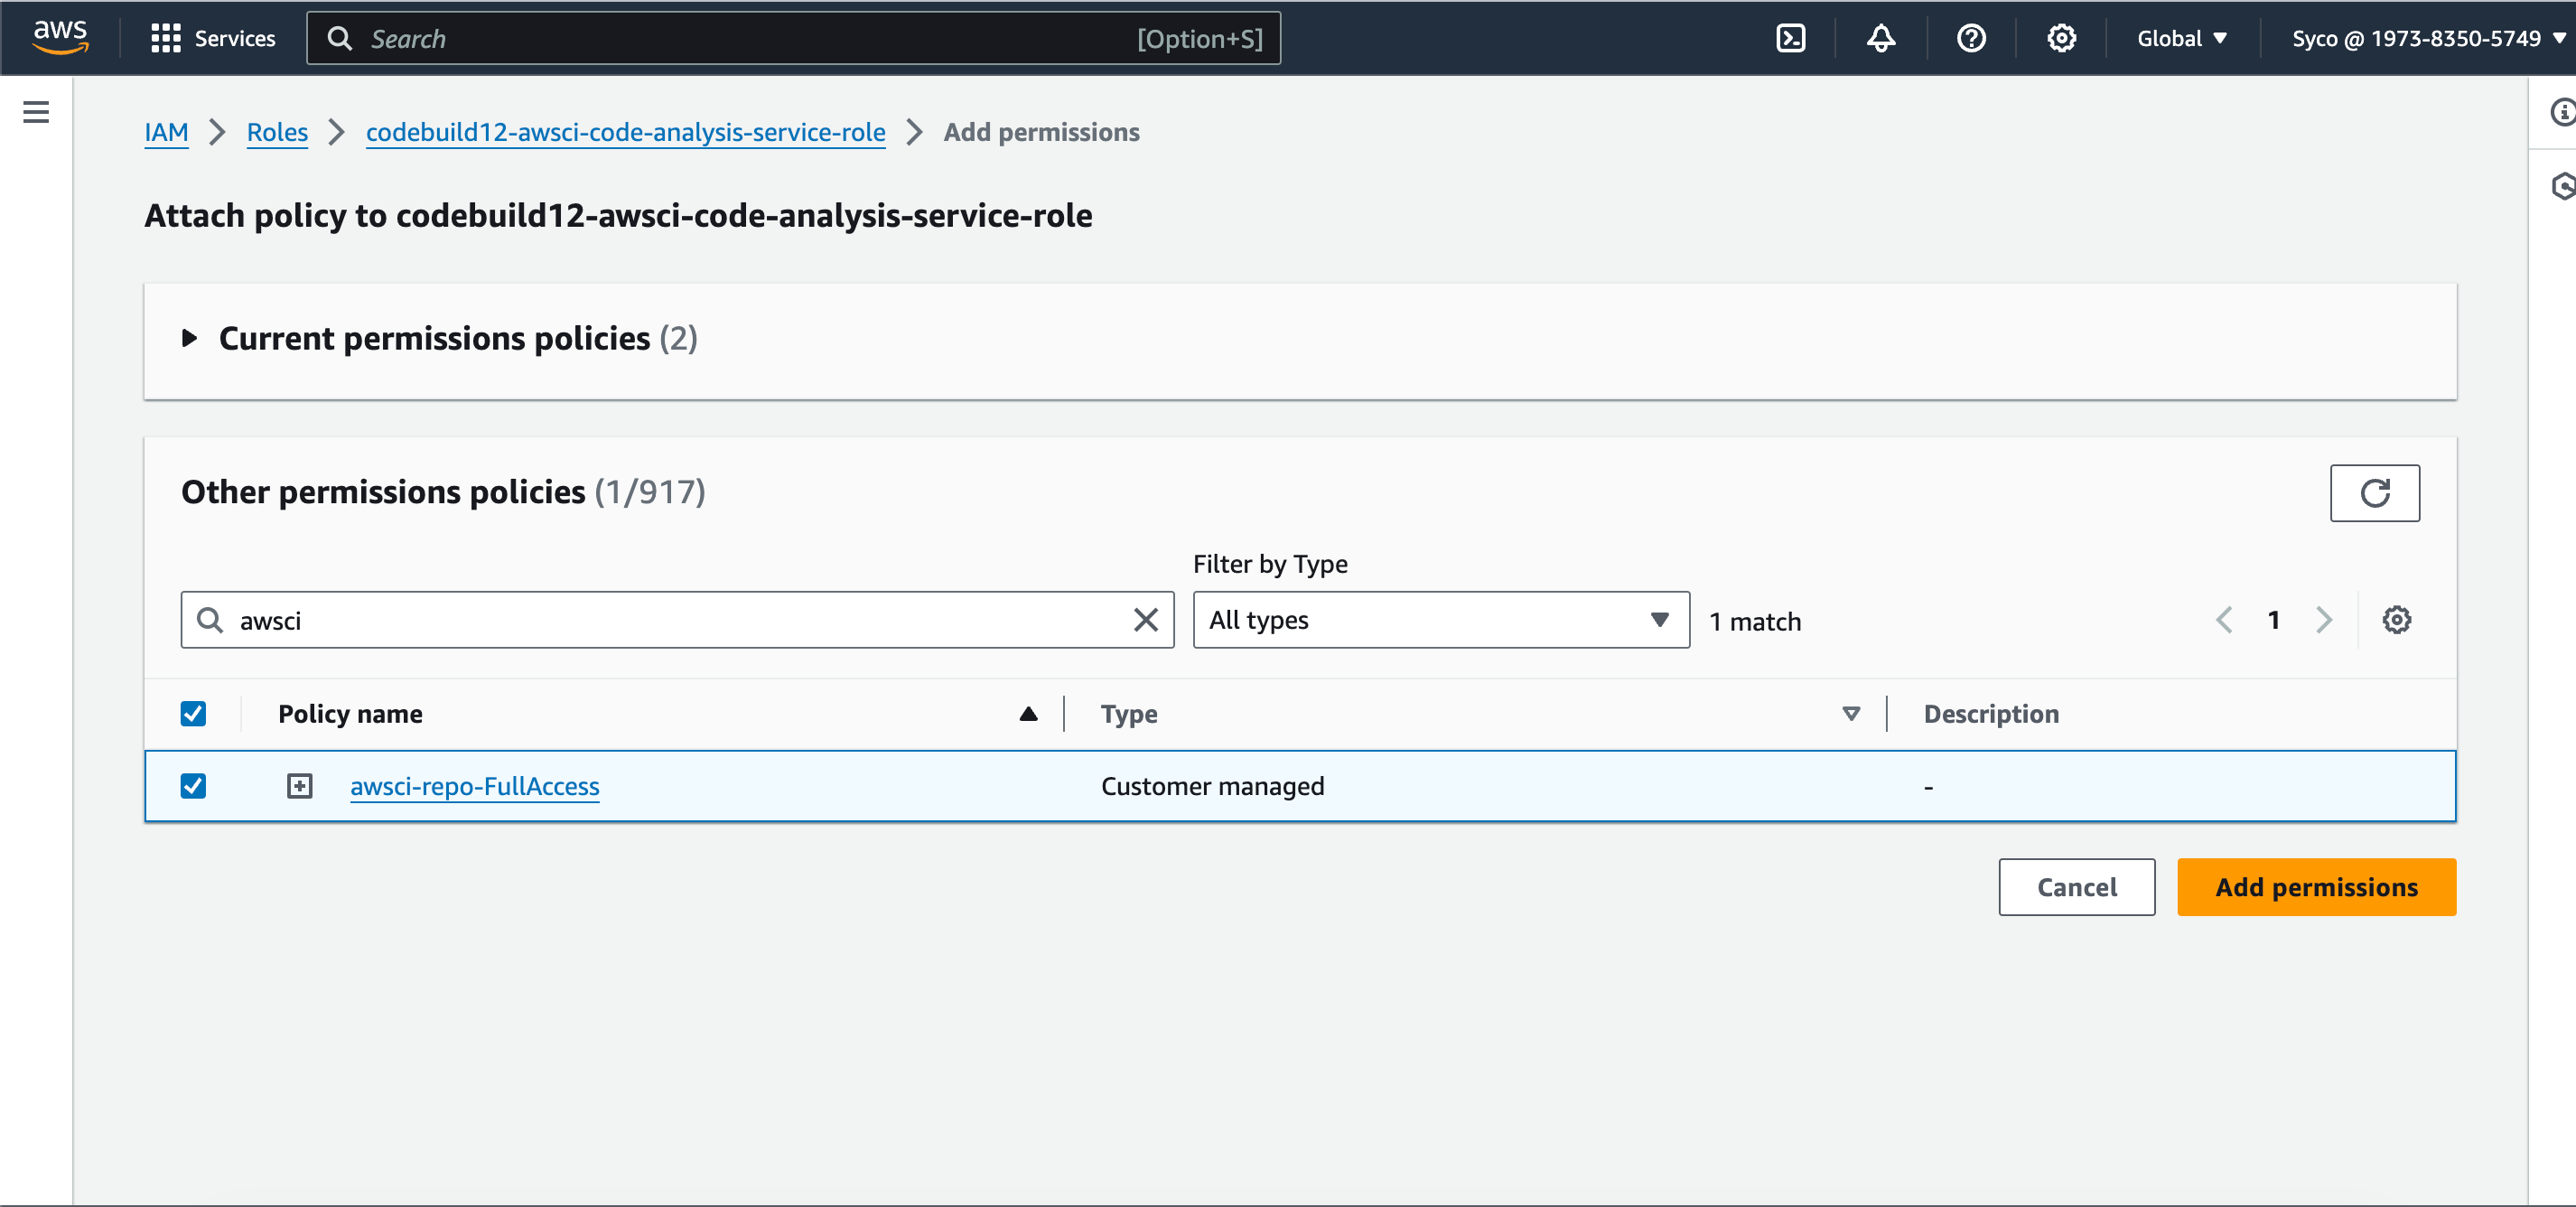
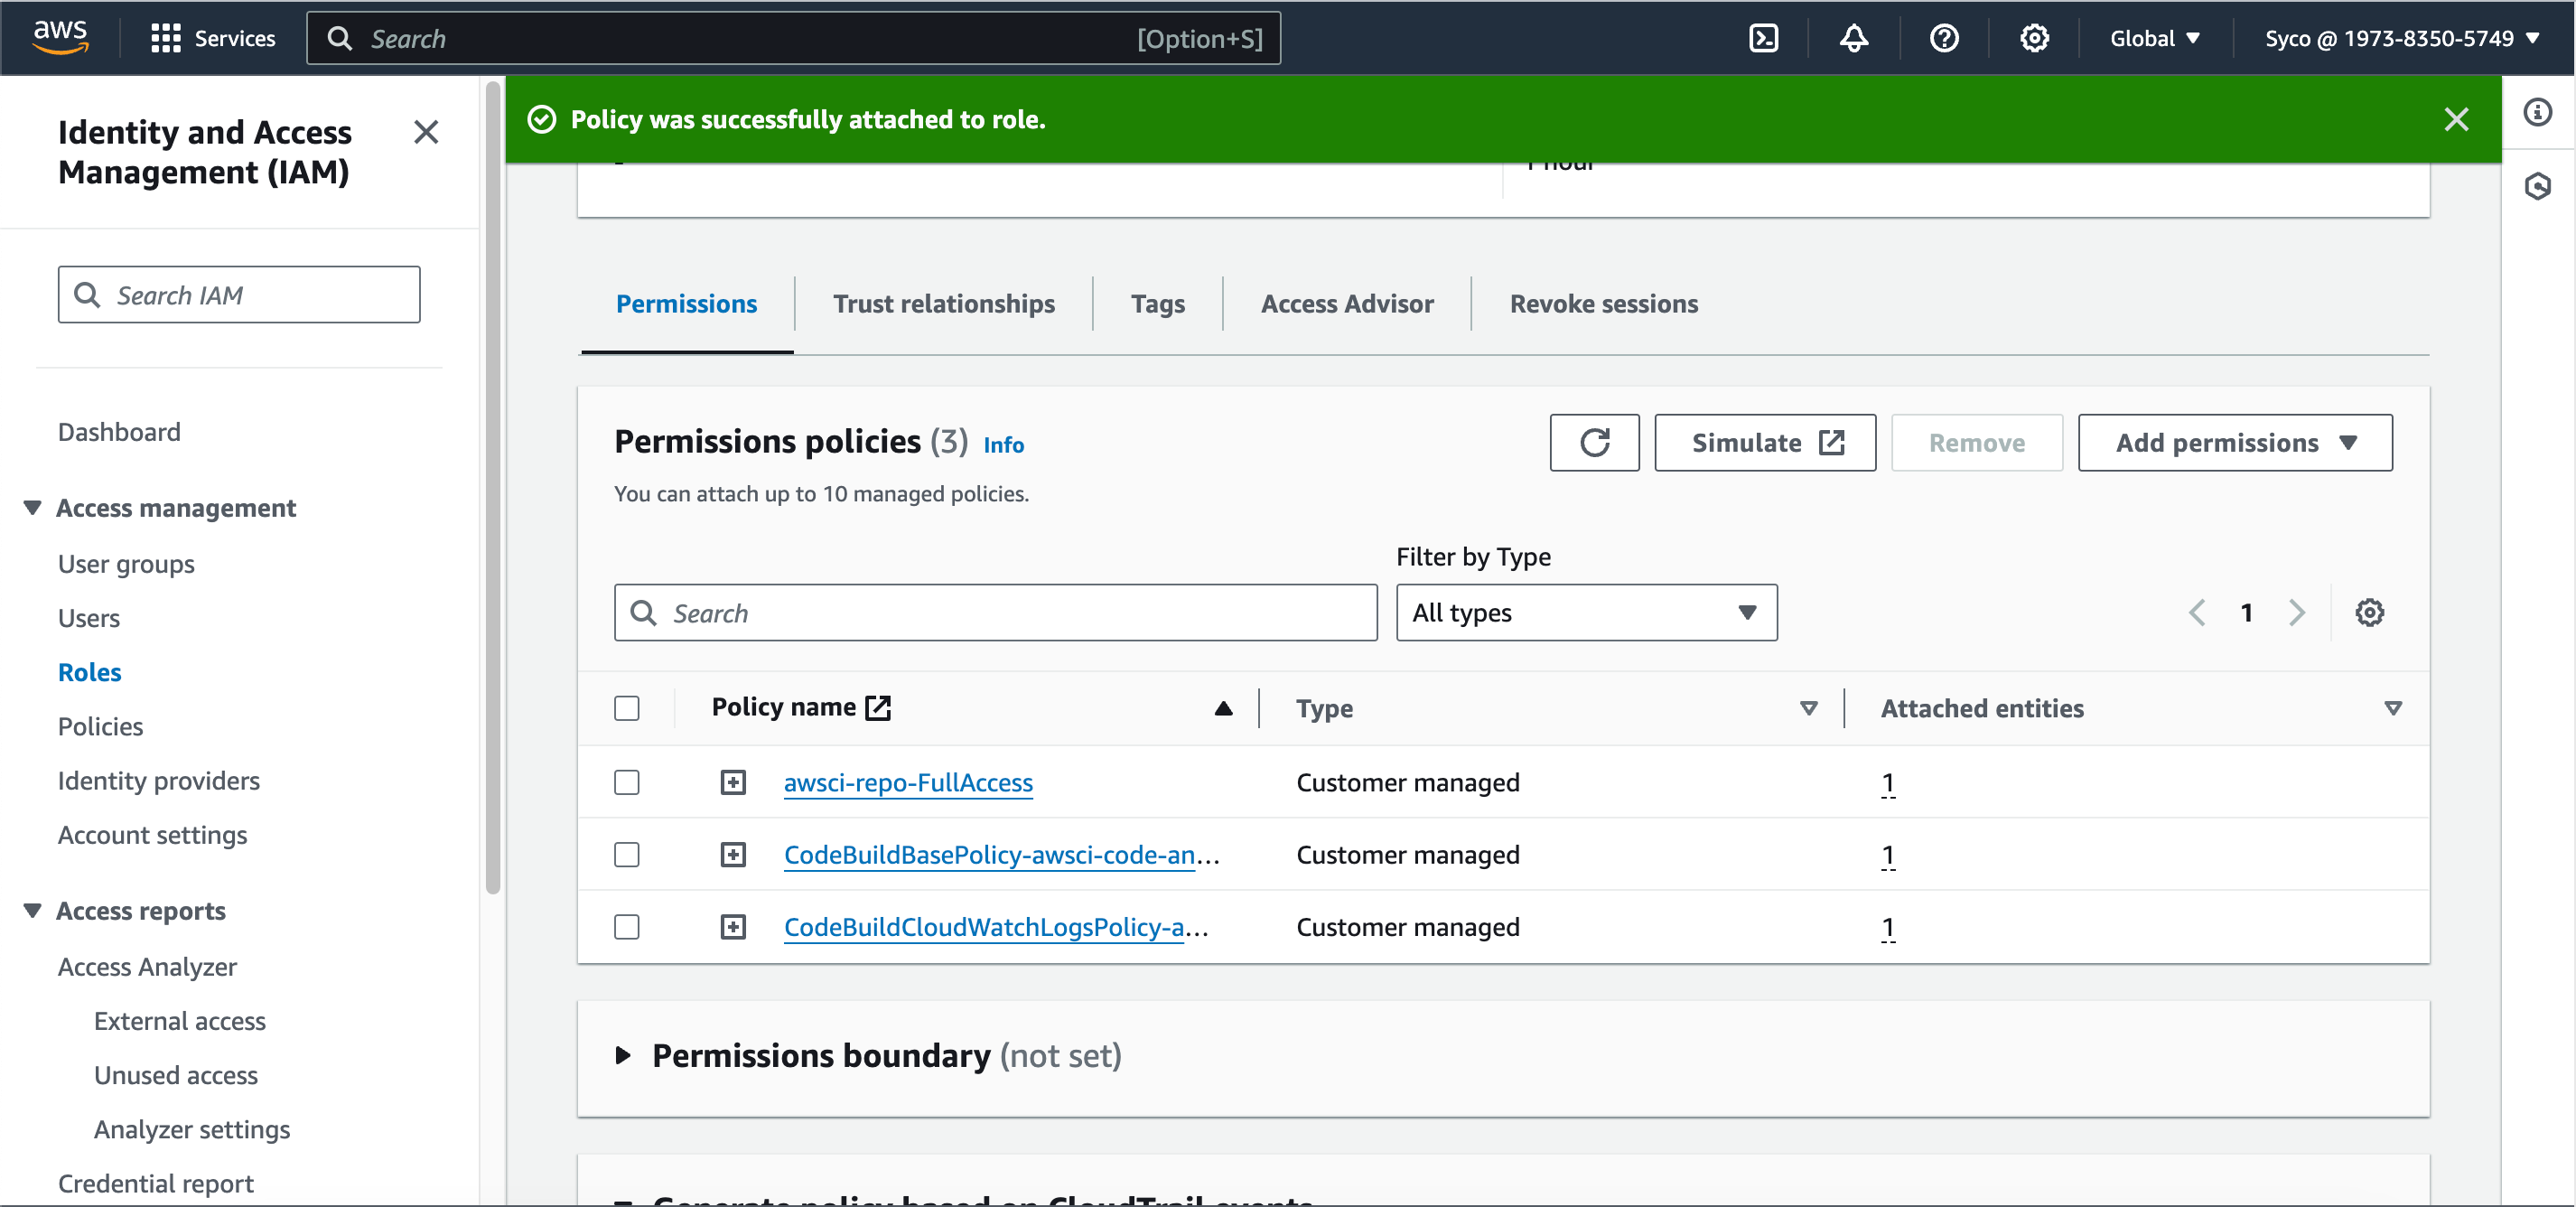
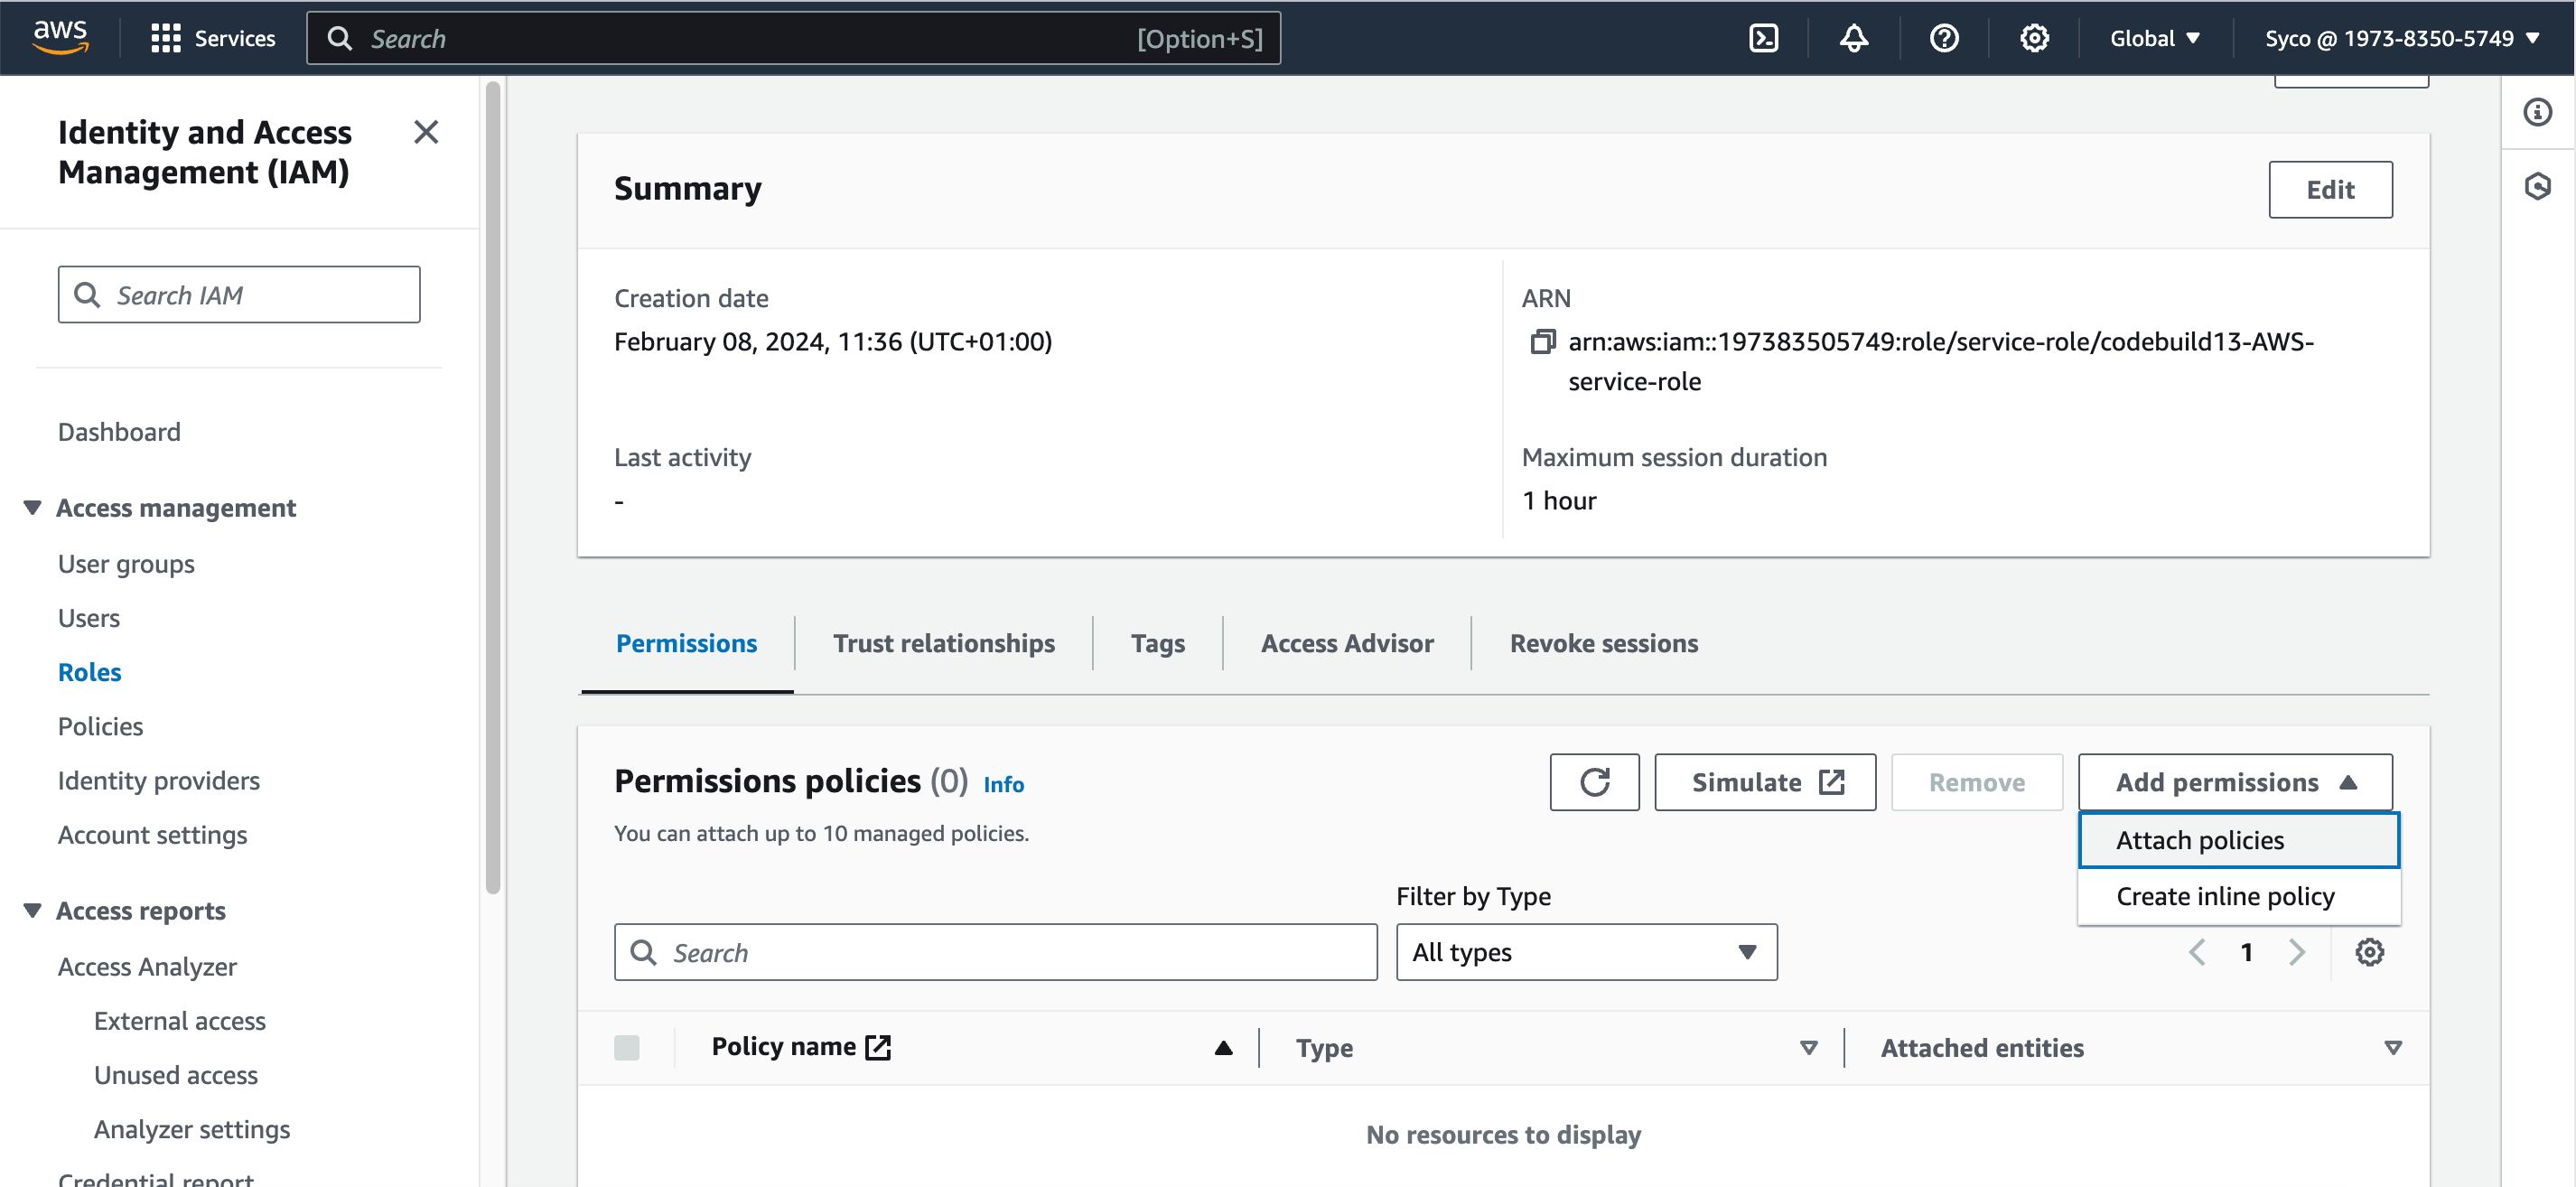
- If you start the build afterwards, it’ll fail owing to the fact that the role created doesn’t have access to AWS Parameter Store, so the role needs to be modified. Under the “edit” tab, click on environment to see the name of the role, then go to IAM console, view the role, create a new systems manager policy and attach it to the role. The System manager policy controls a lot of permission and we just need a few, so in the “list” section, check “DescribeParameters”, in the “reads” check the following; “DescribeDocumentParameters”, “GetParameter”, “GetParameters”, “GetParameterHistory” and “GetParametersByPath”. Click on “next”, give the policy a name and create the policy. Now attach the policy to the role through the “add permissions” tab.
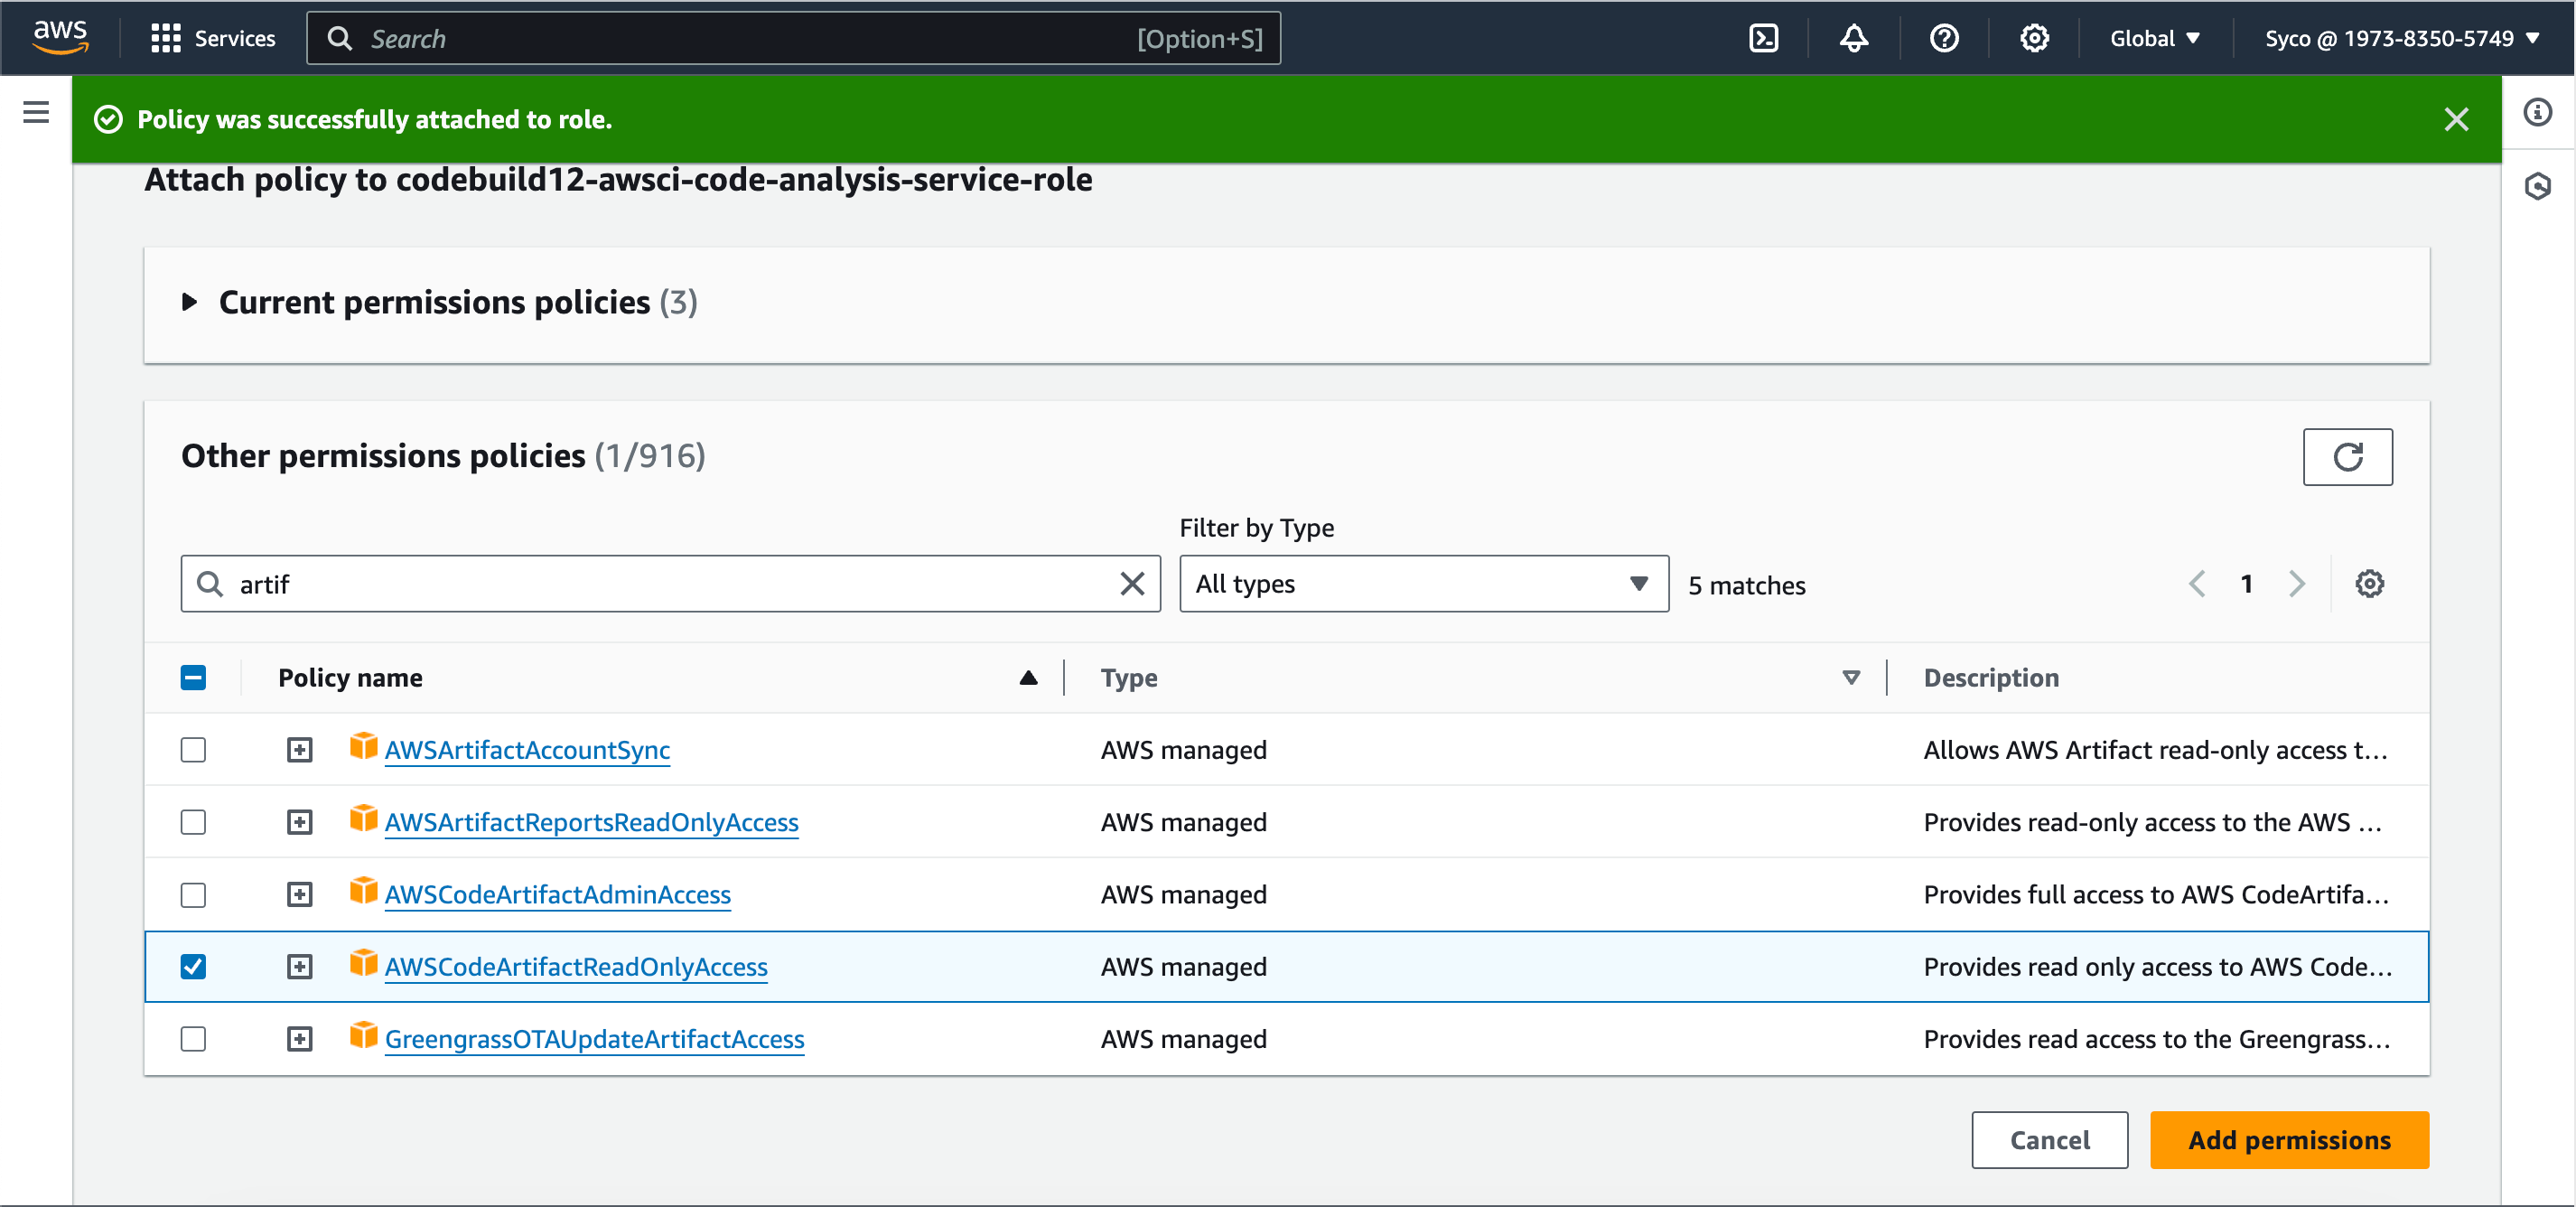
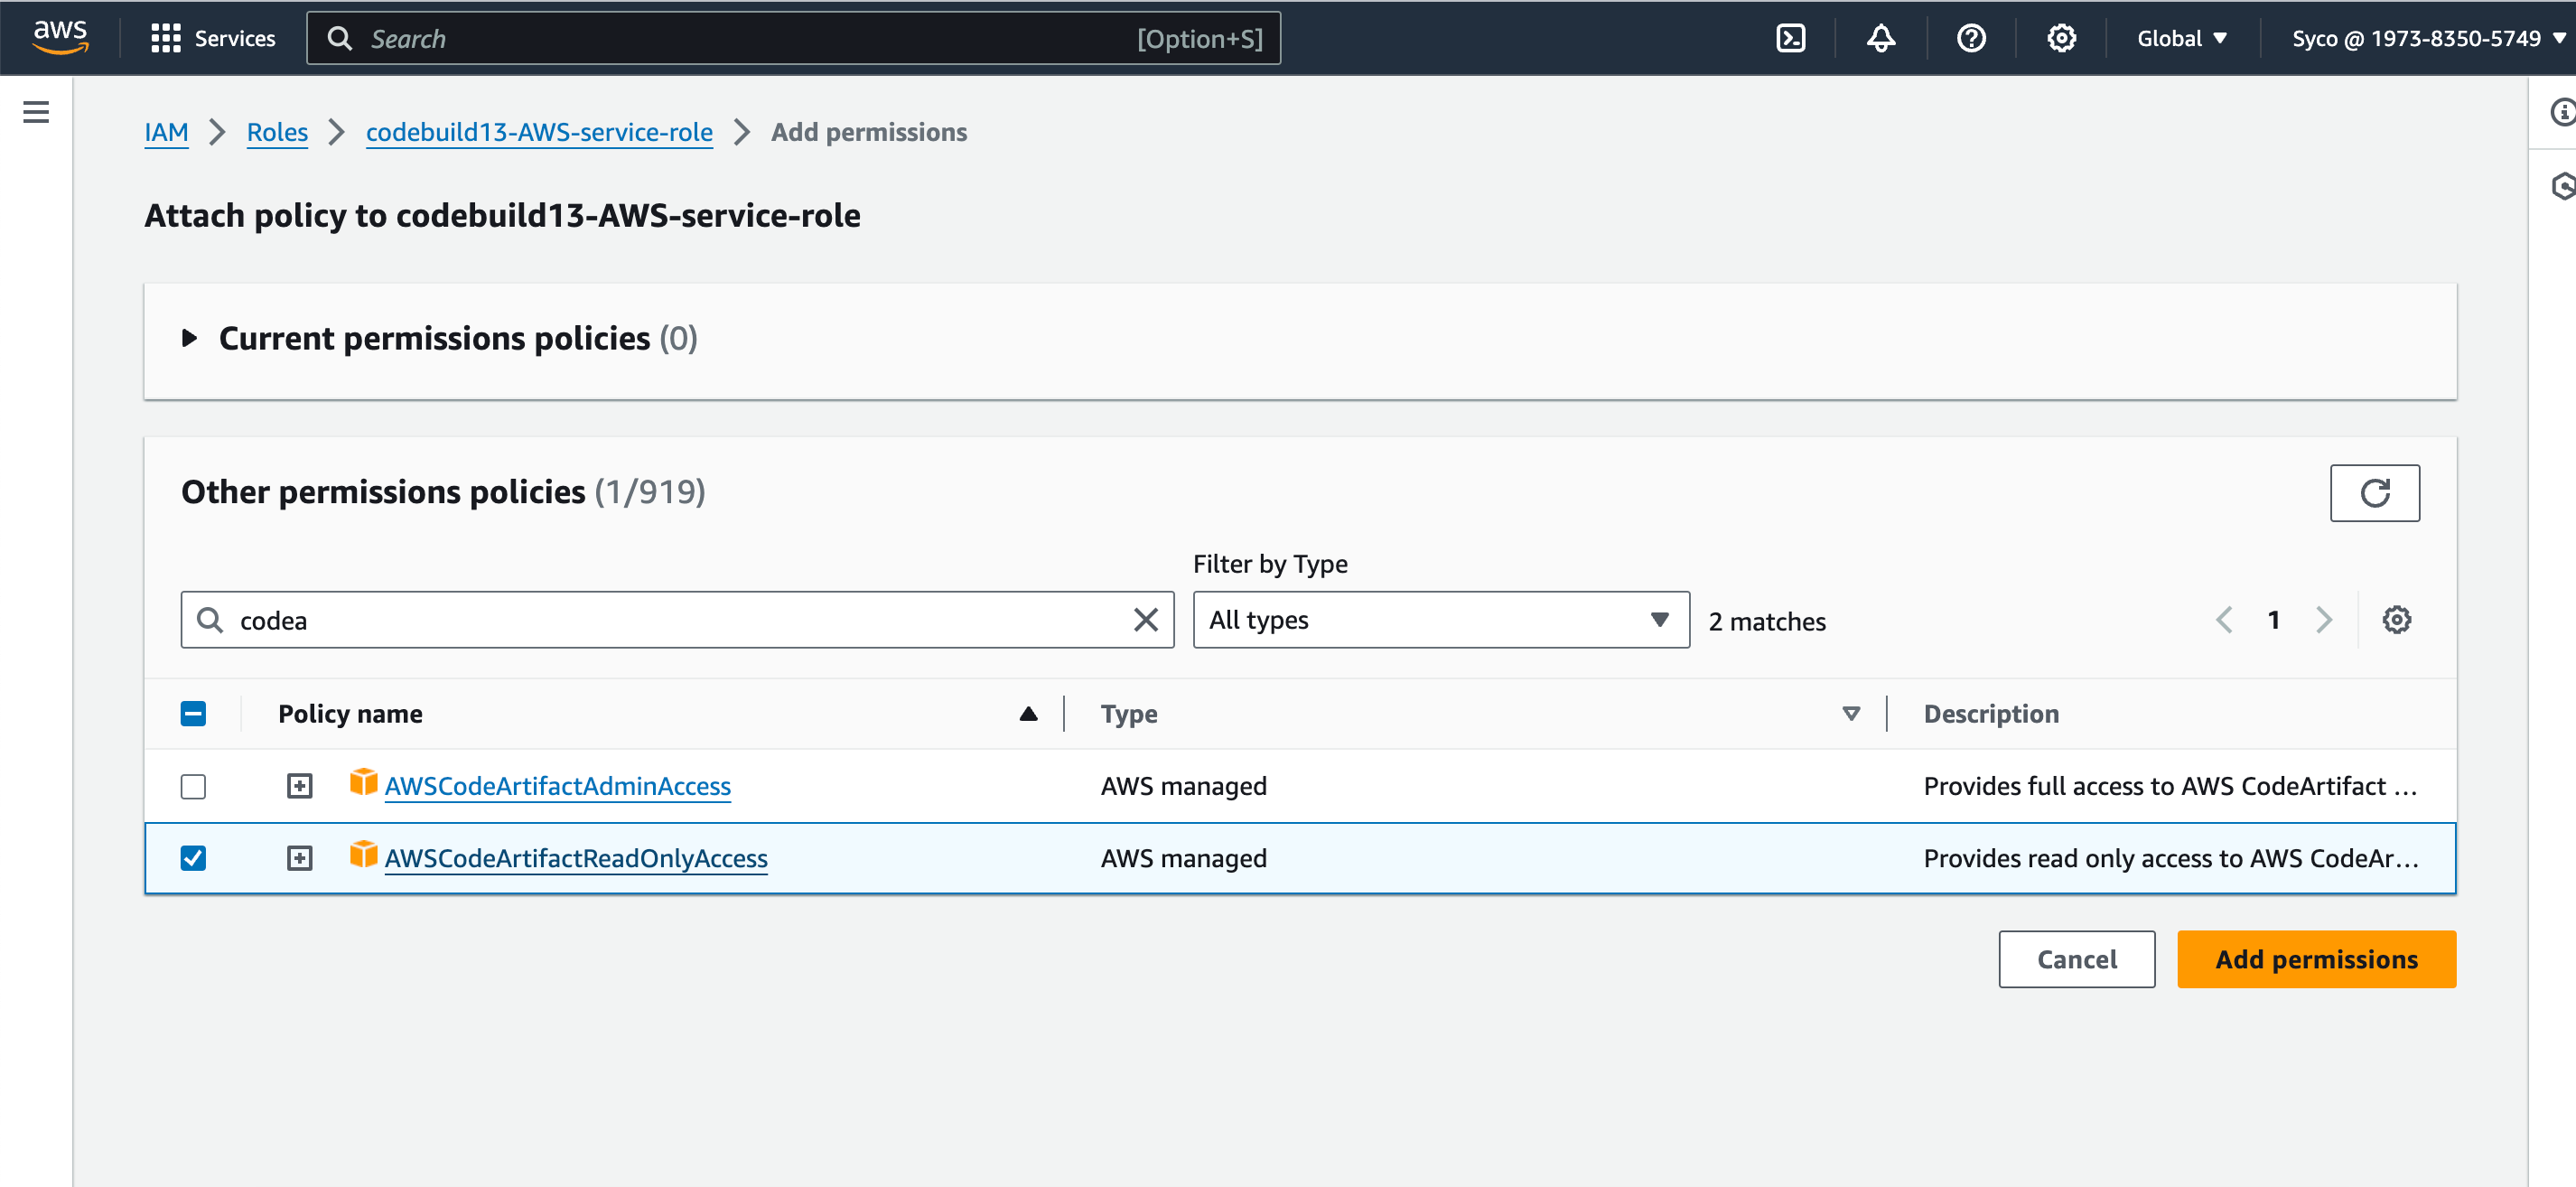
- Another policy to add is the CodeArtifact policy, so click on add permissions and attach the “AWSCodeArtifactReadOnlyAccess” policy to the role.
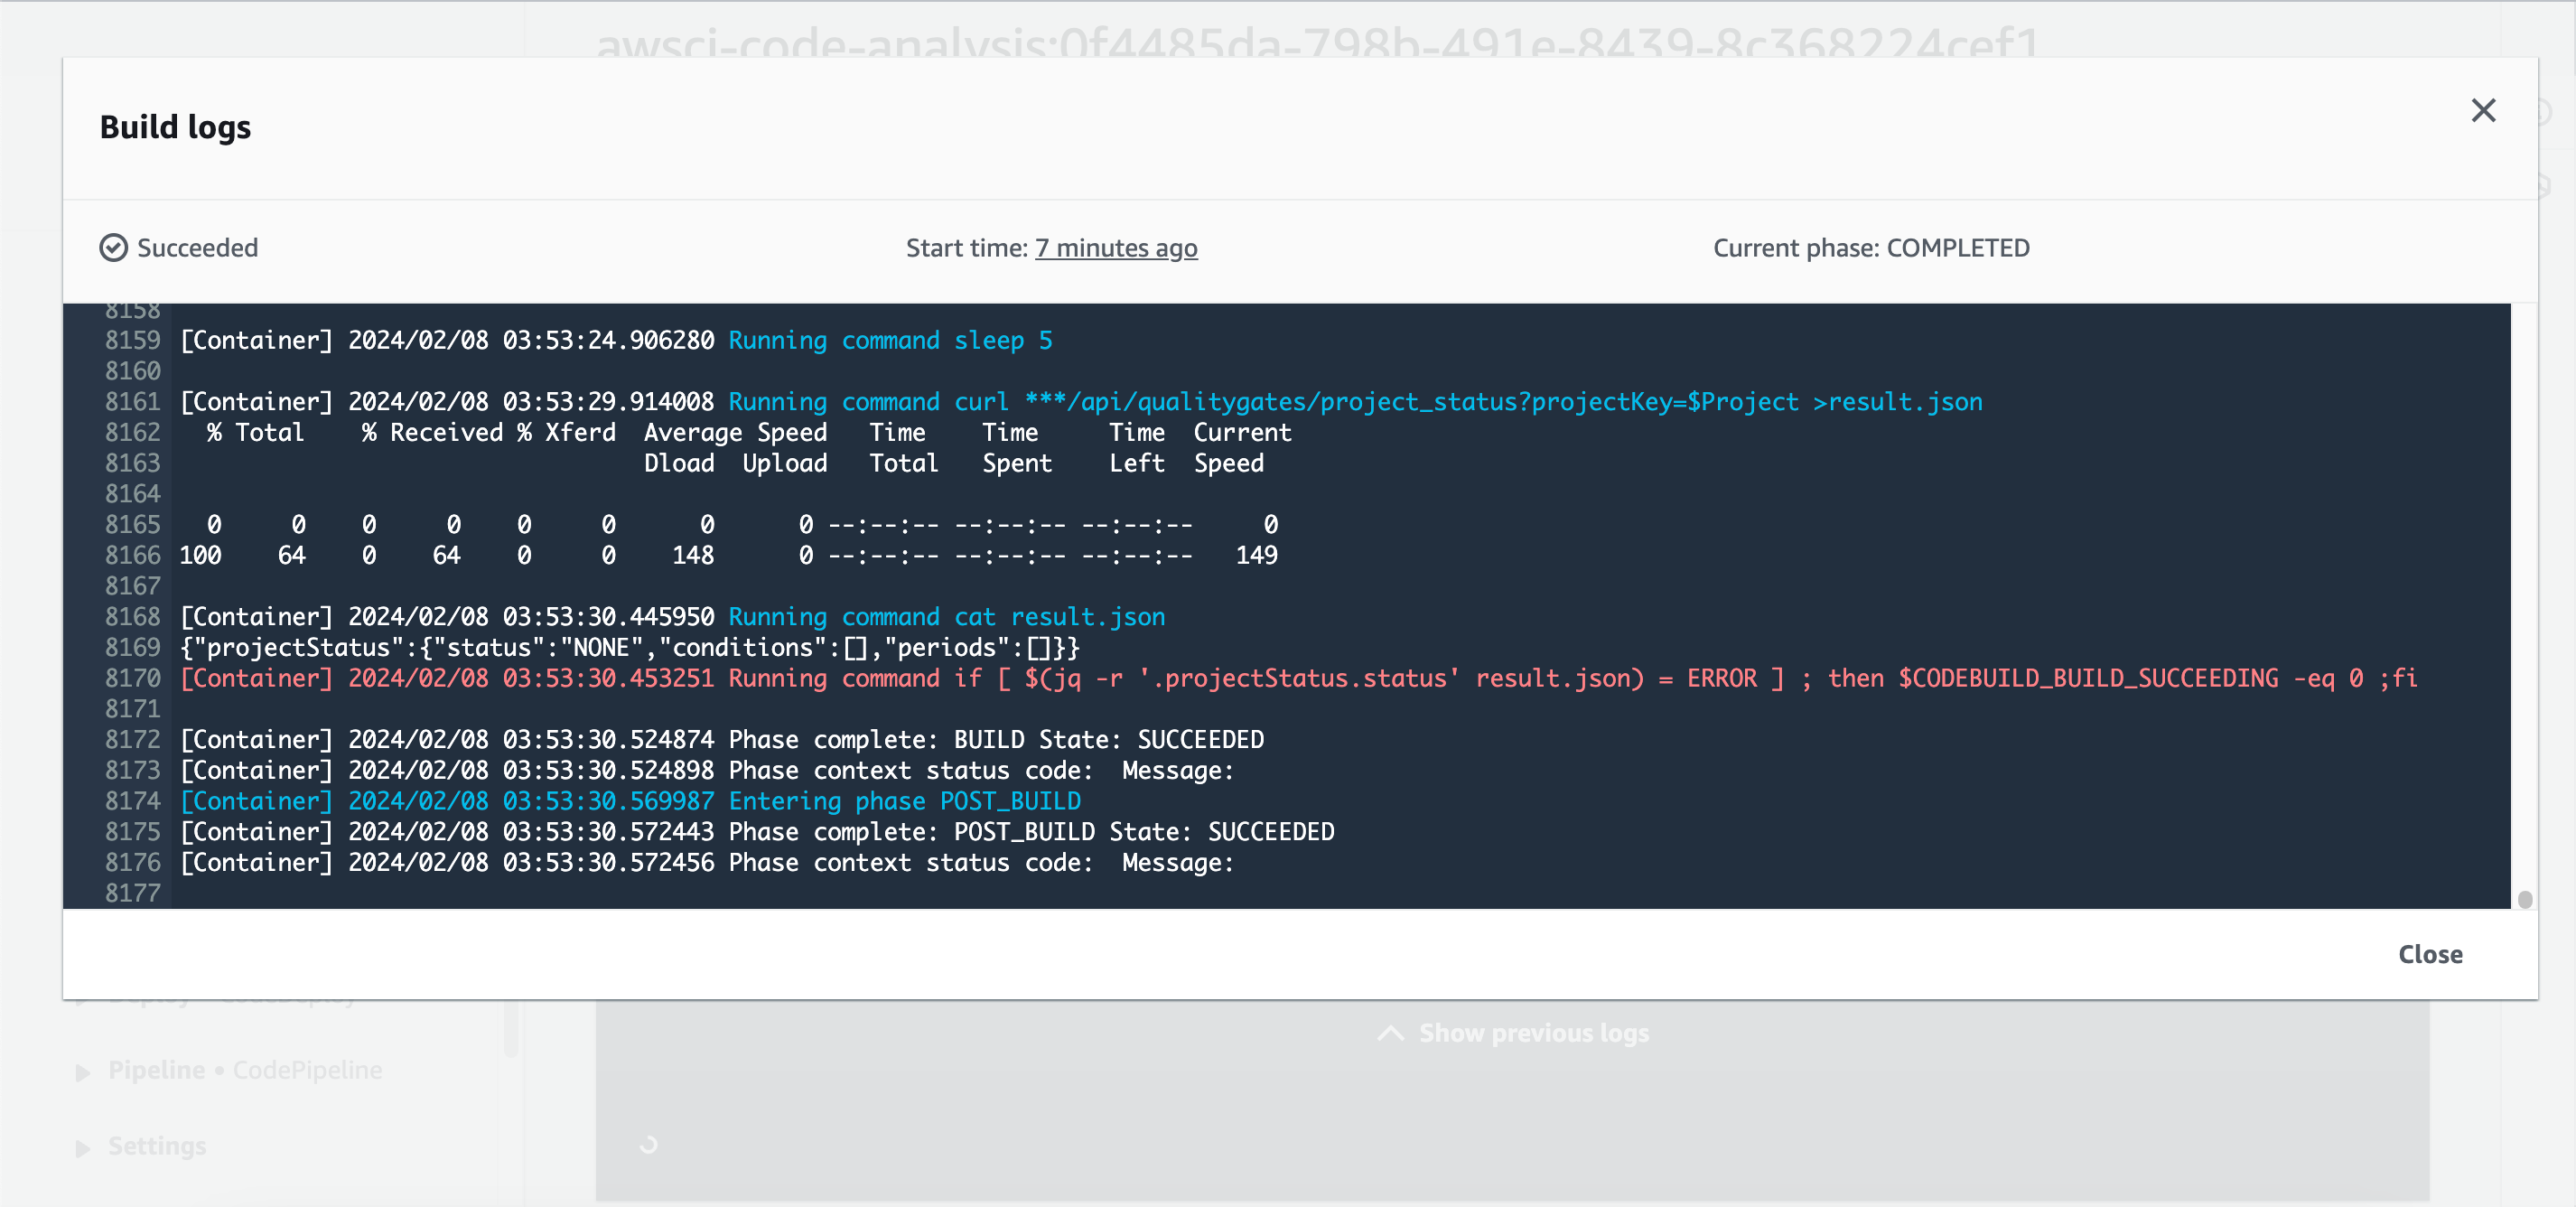
- Now go back to CodeBuild console and start build.
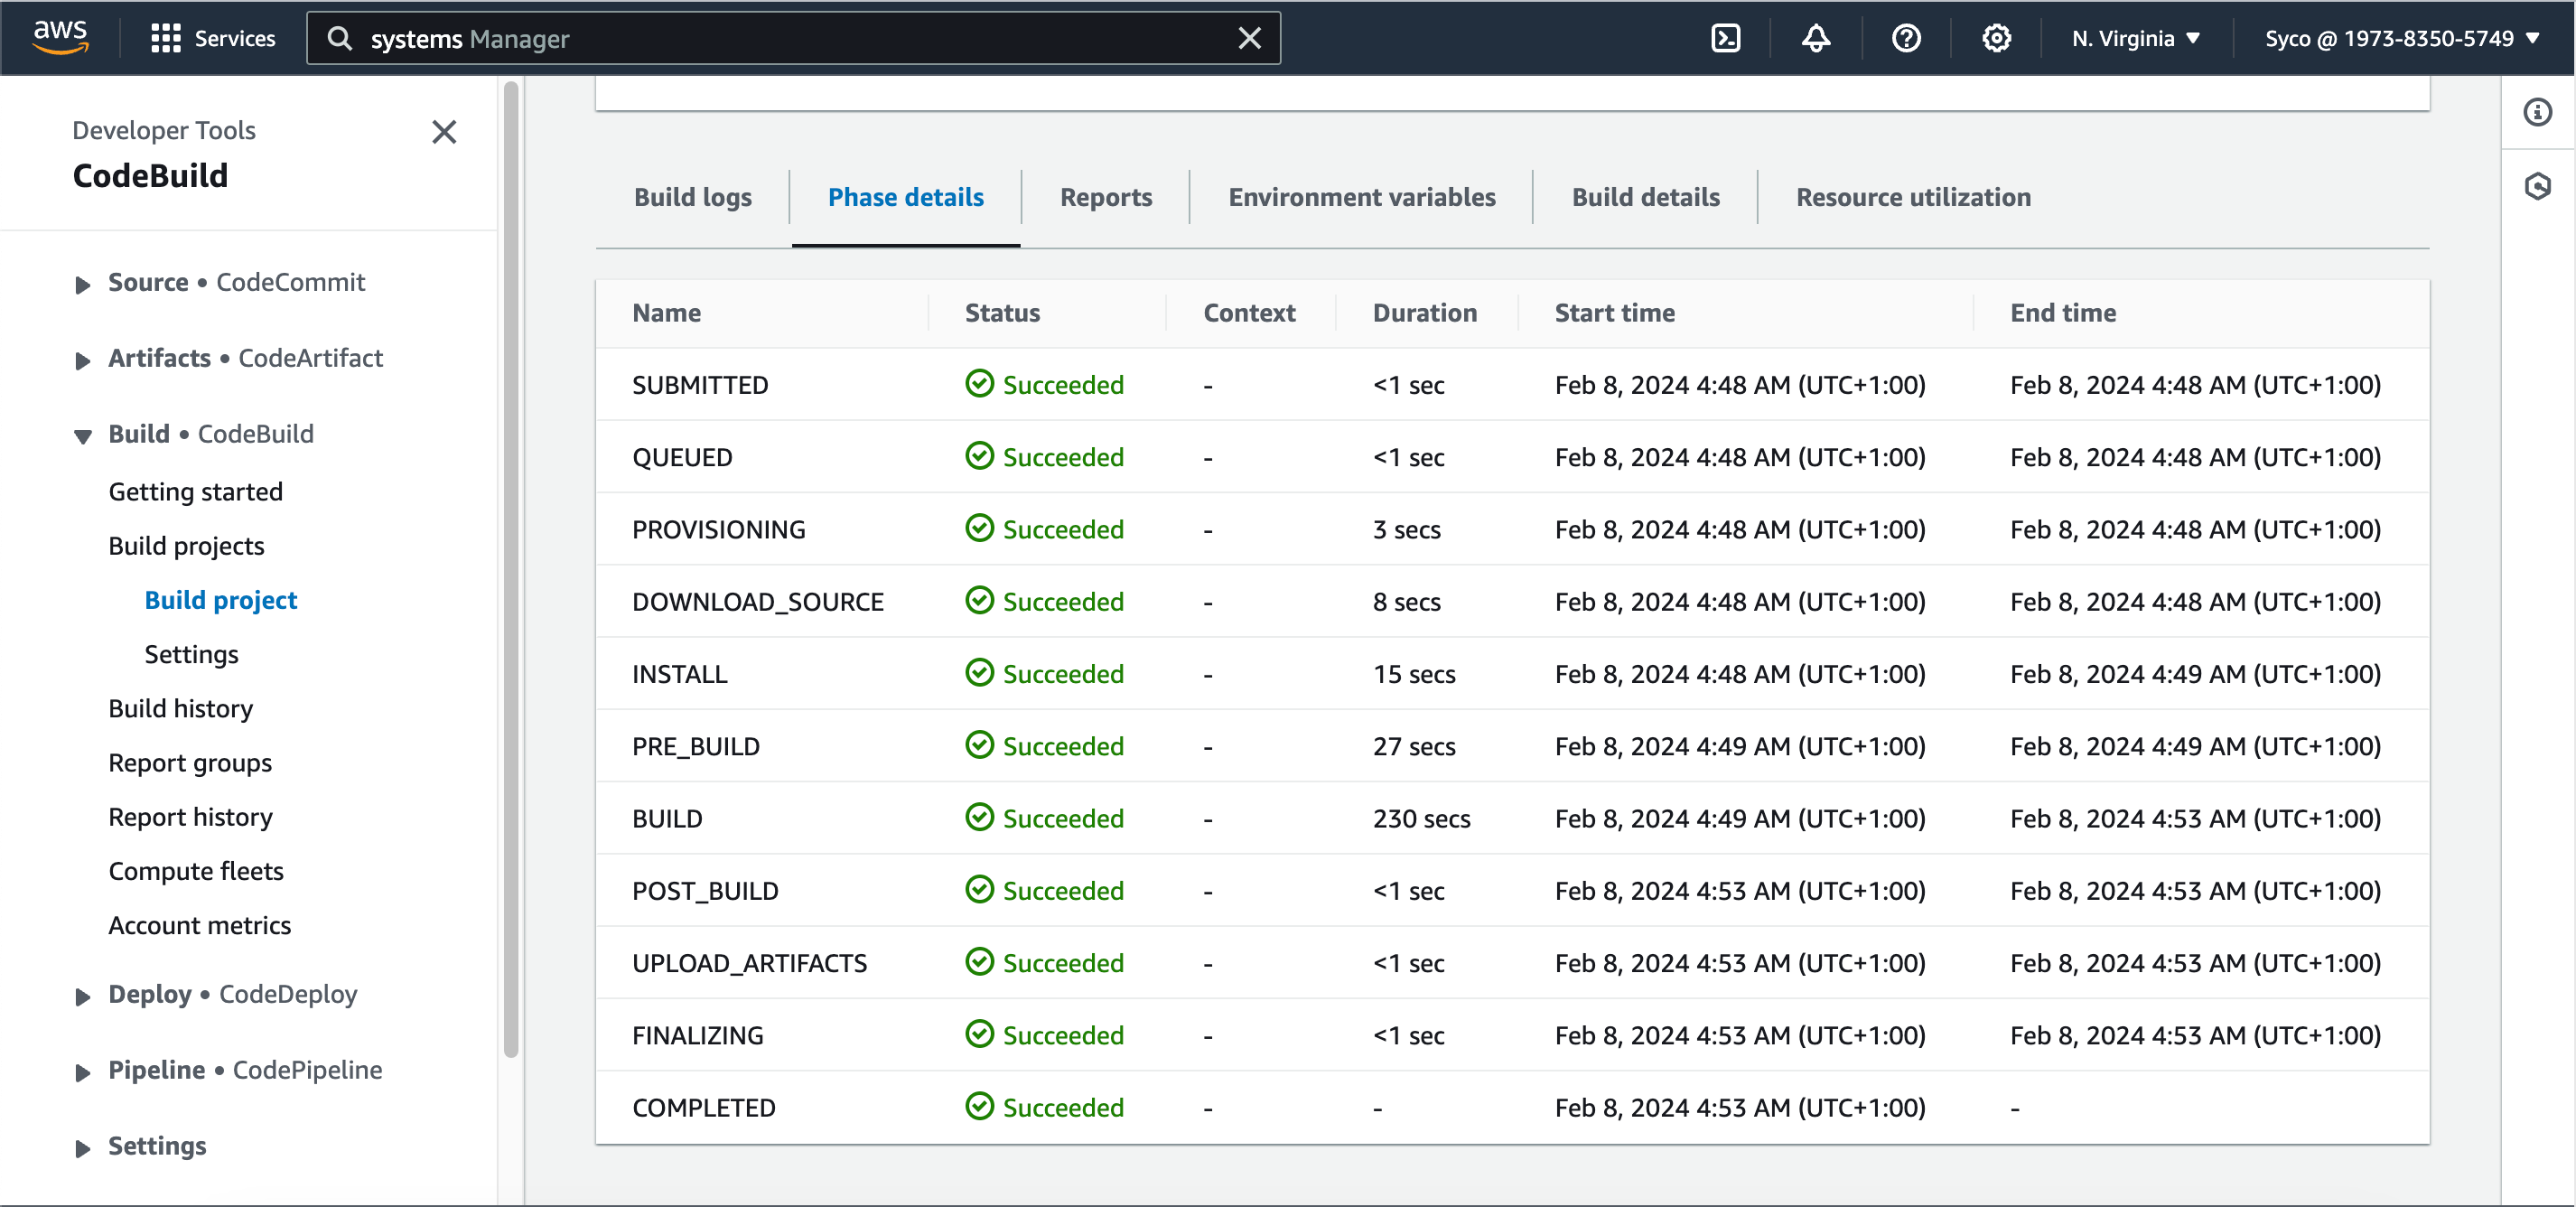
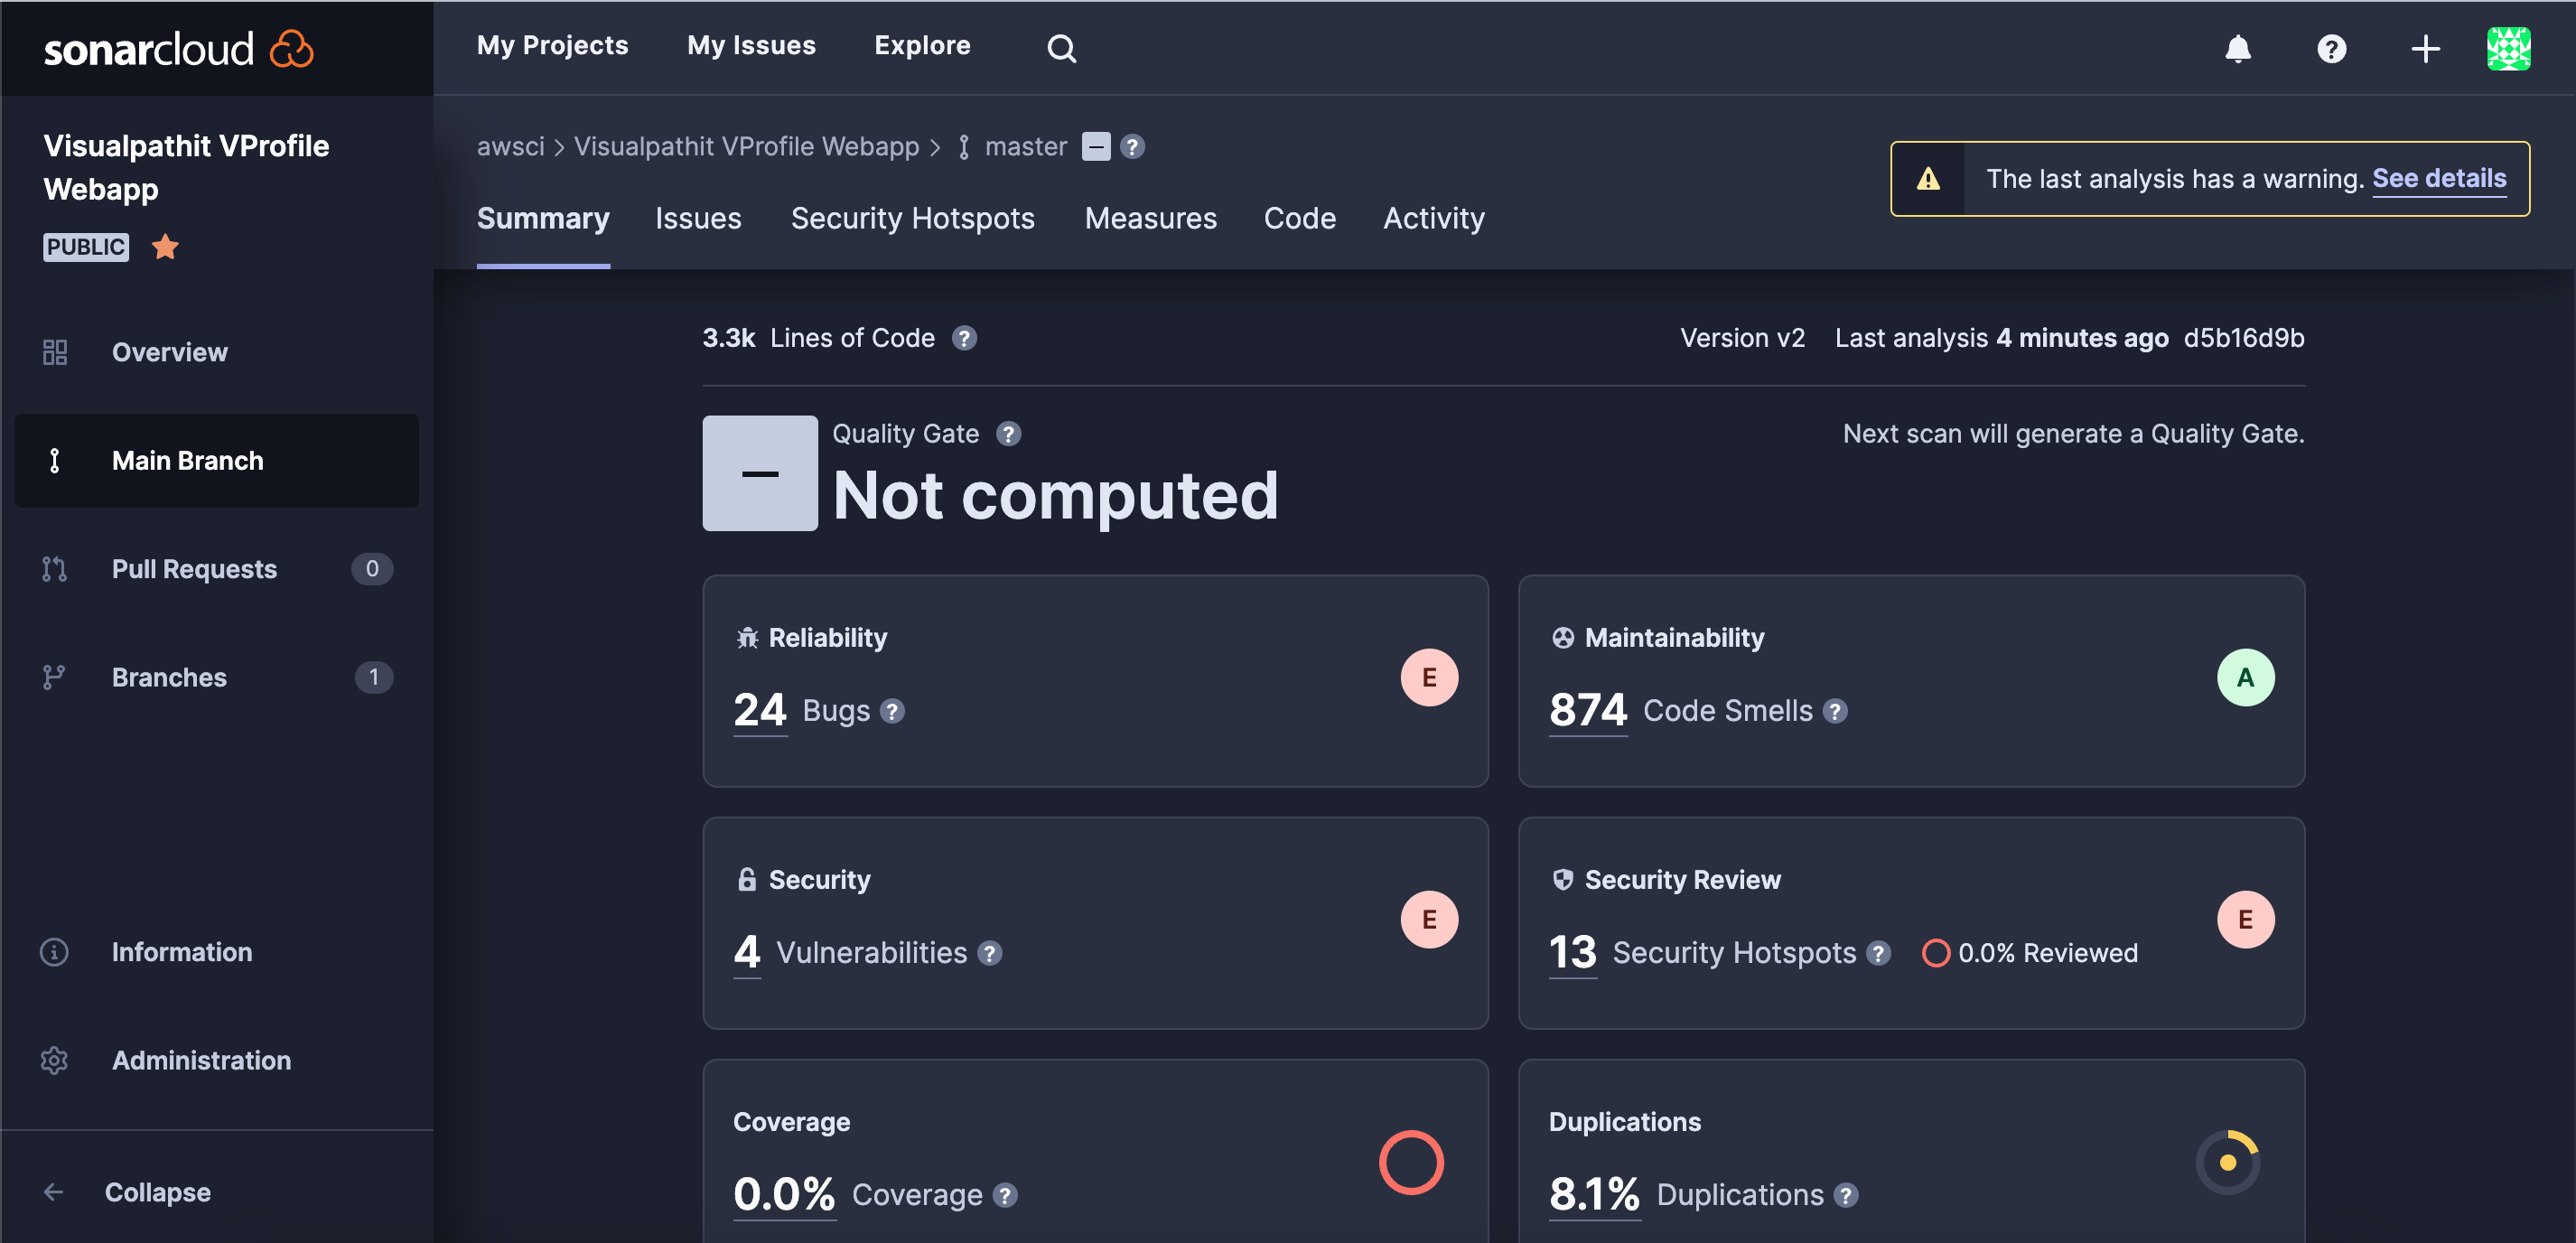
- After successful Build, you can check sonarcloud for reports.
Step Four: Configure the CodeBuild ob to upload to S3
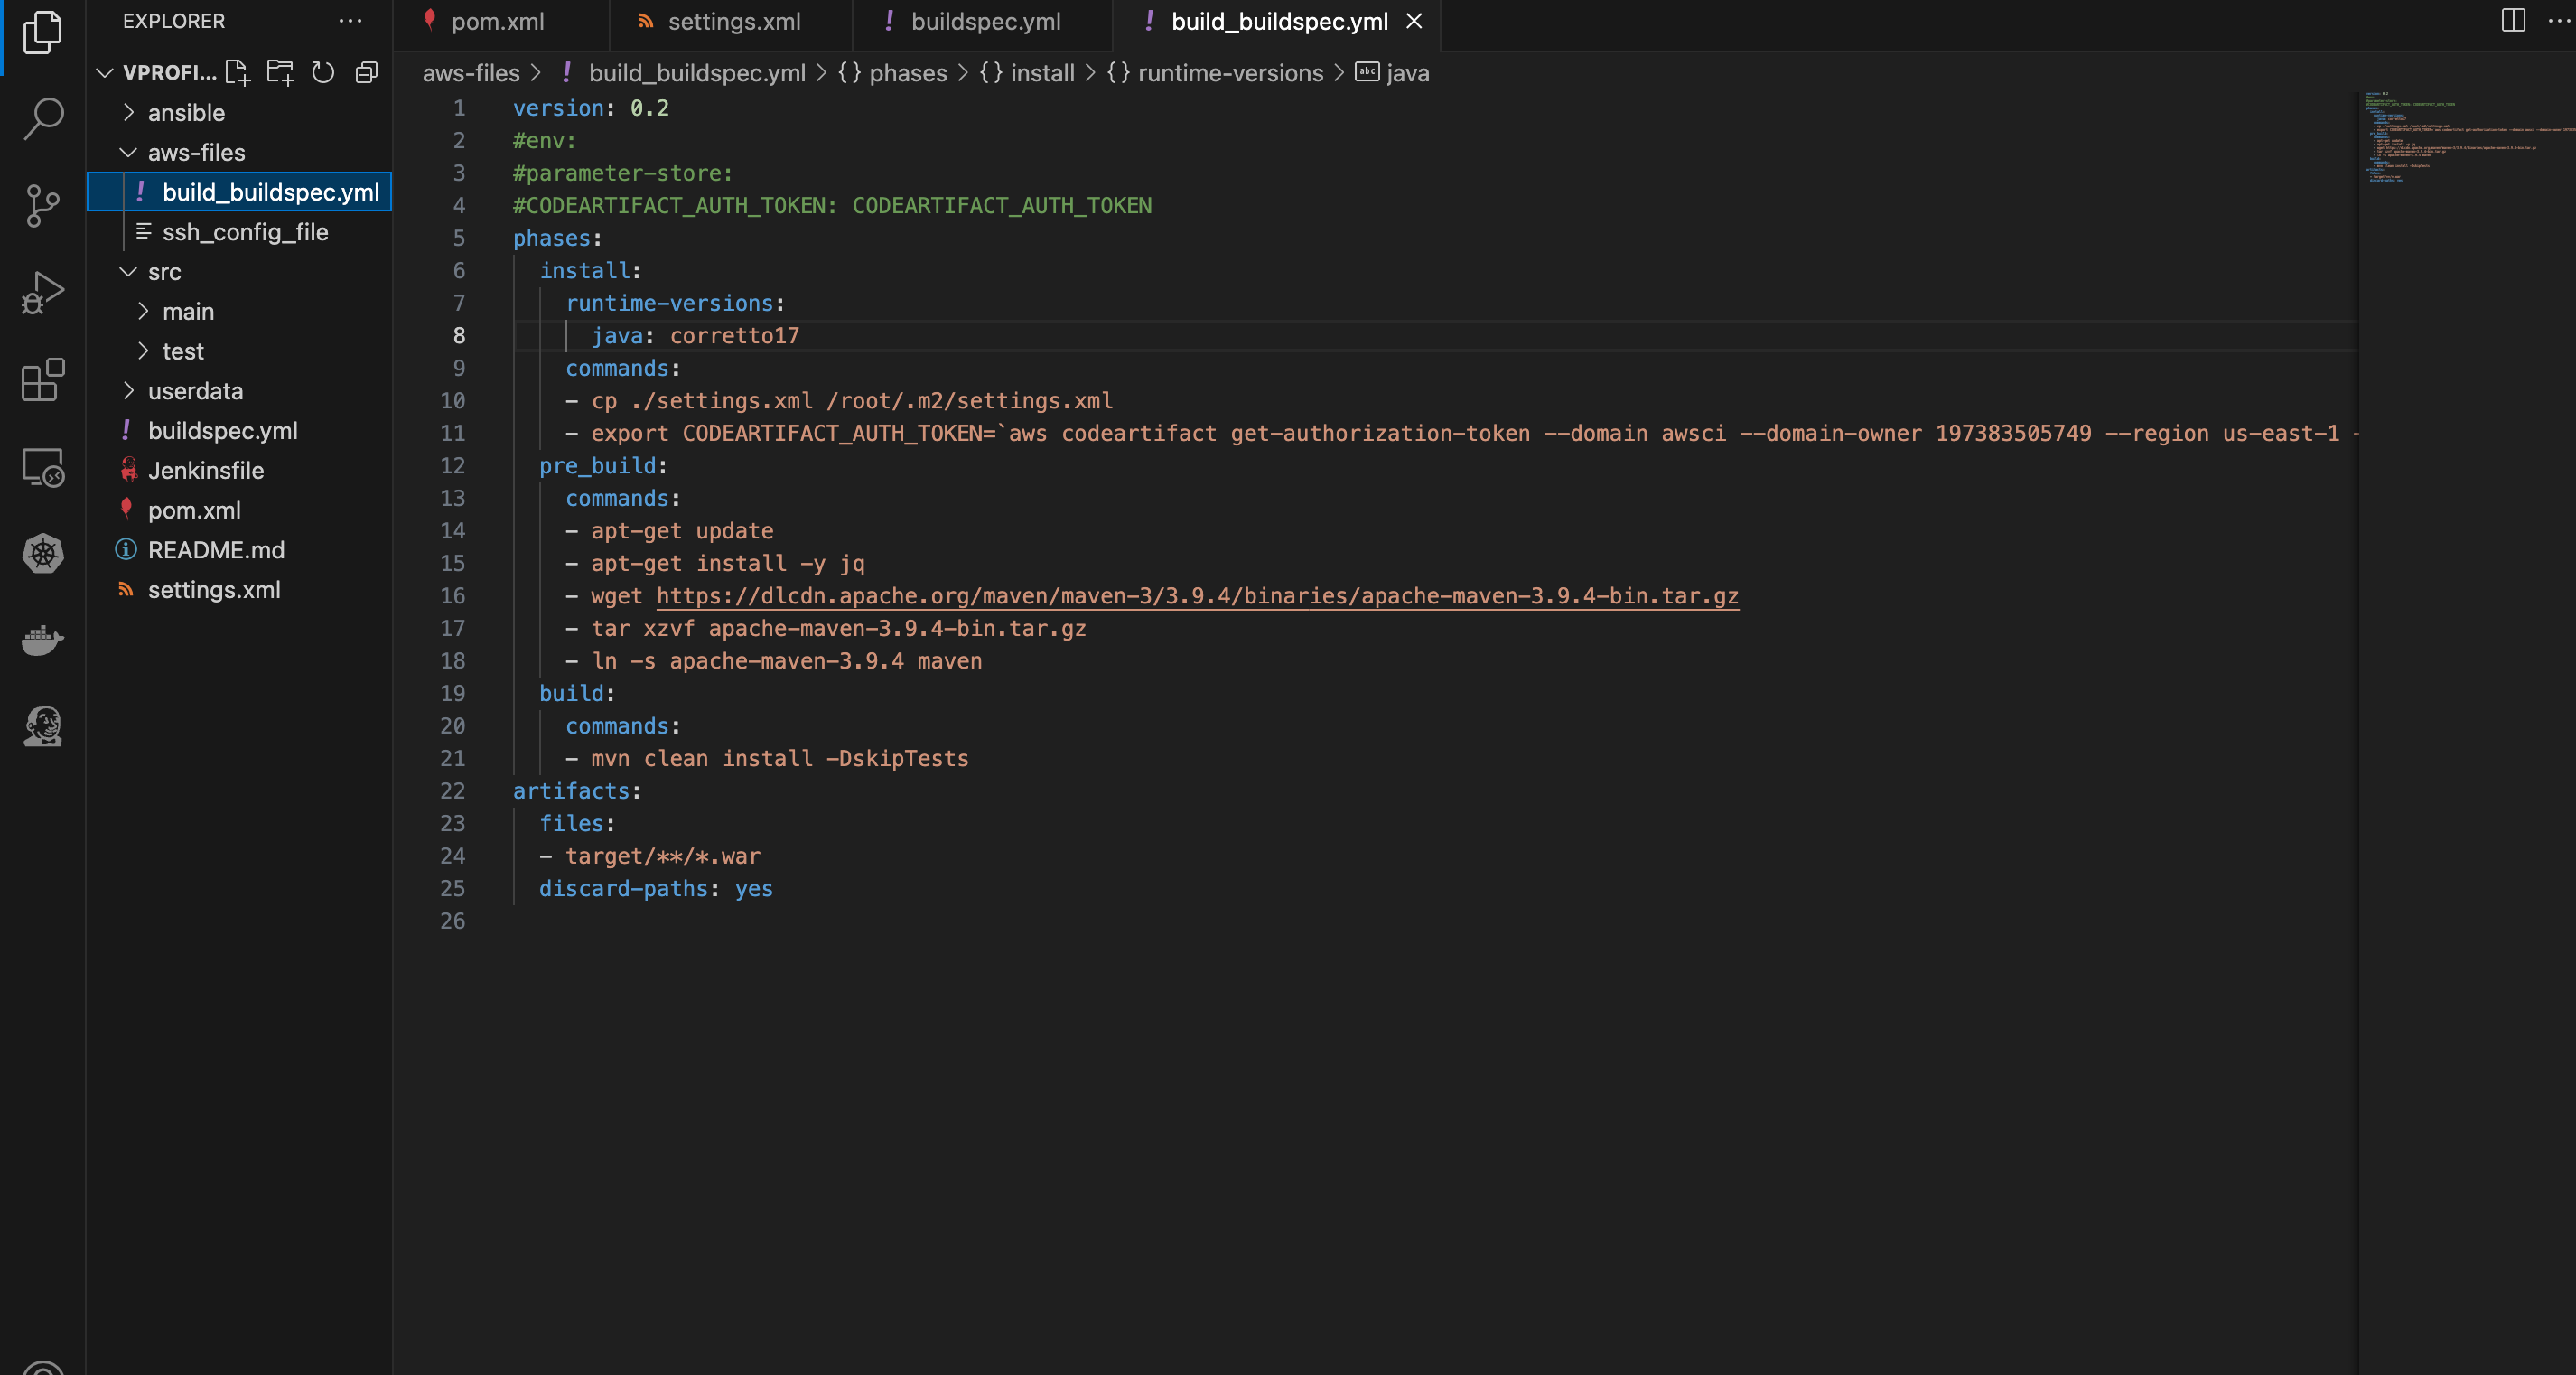
In this phase, we are going to configure the Build job to build the artifact and store it n an S3 bucket. Before we get into it, we need to make some changes in the buildspec.yml file. We’ll be using the file in the “aws-files” folder. To do this;
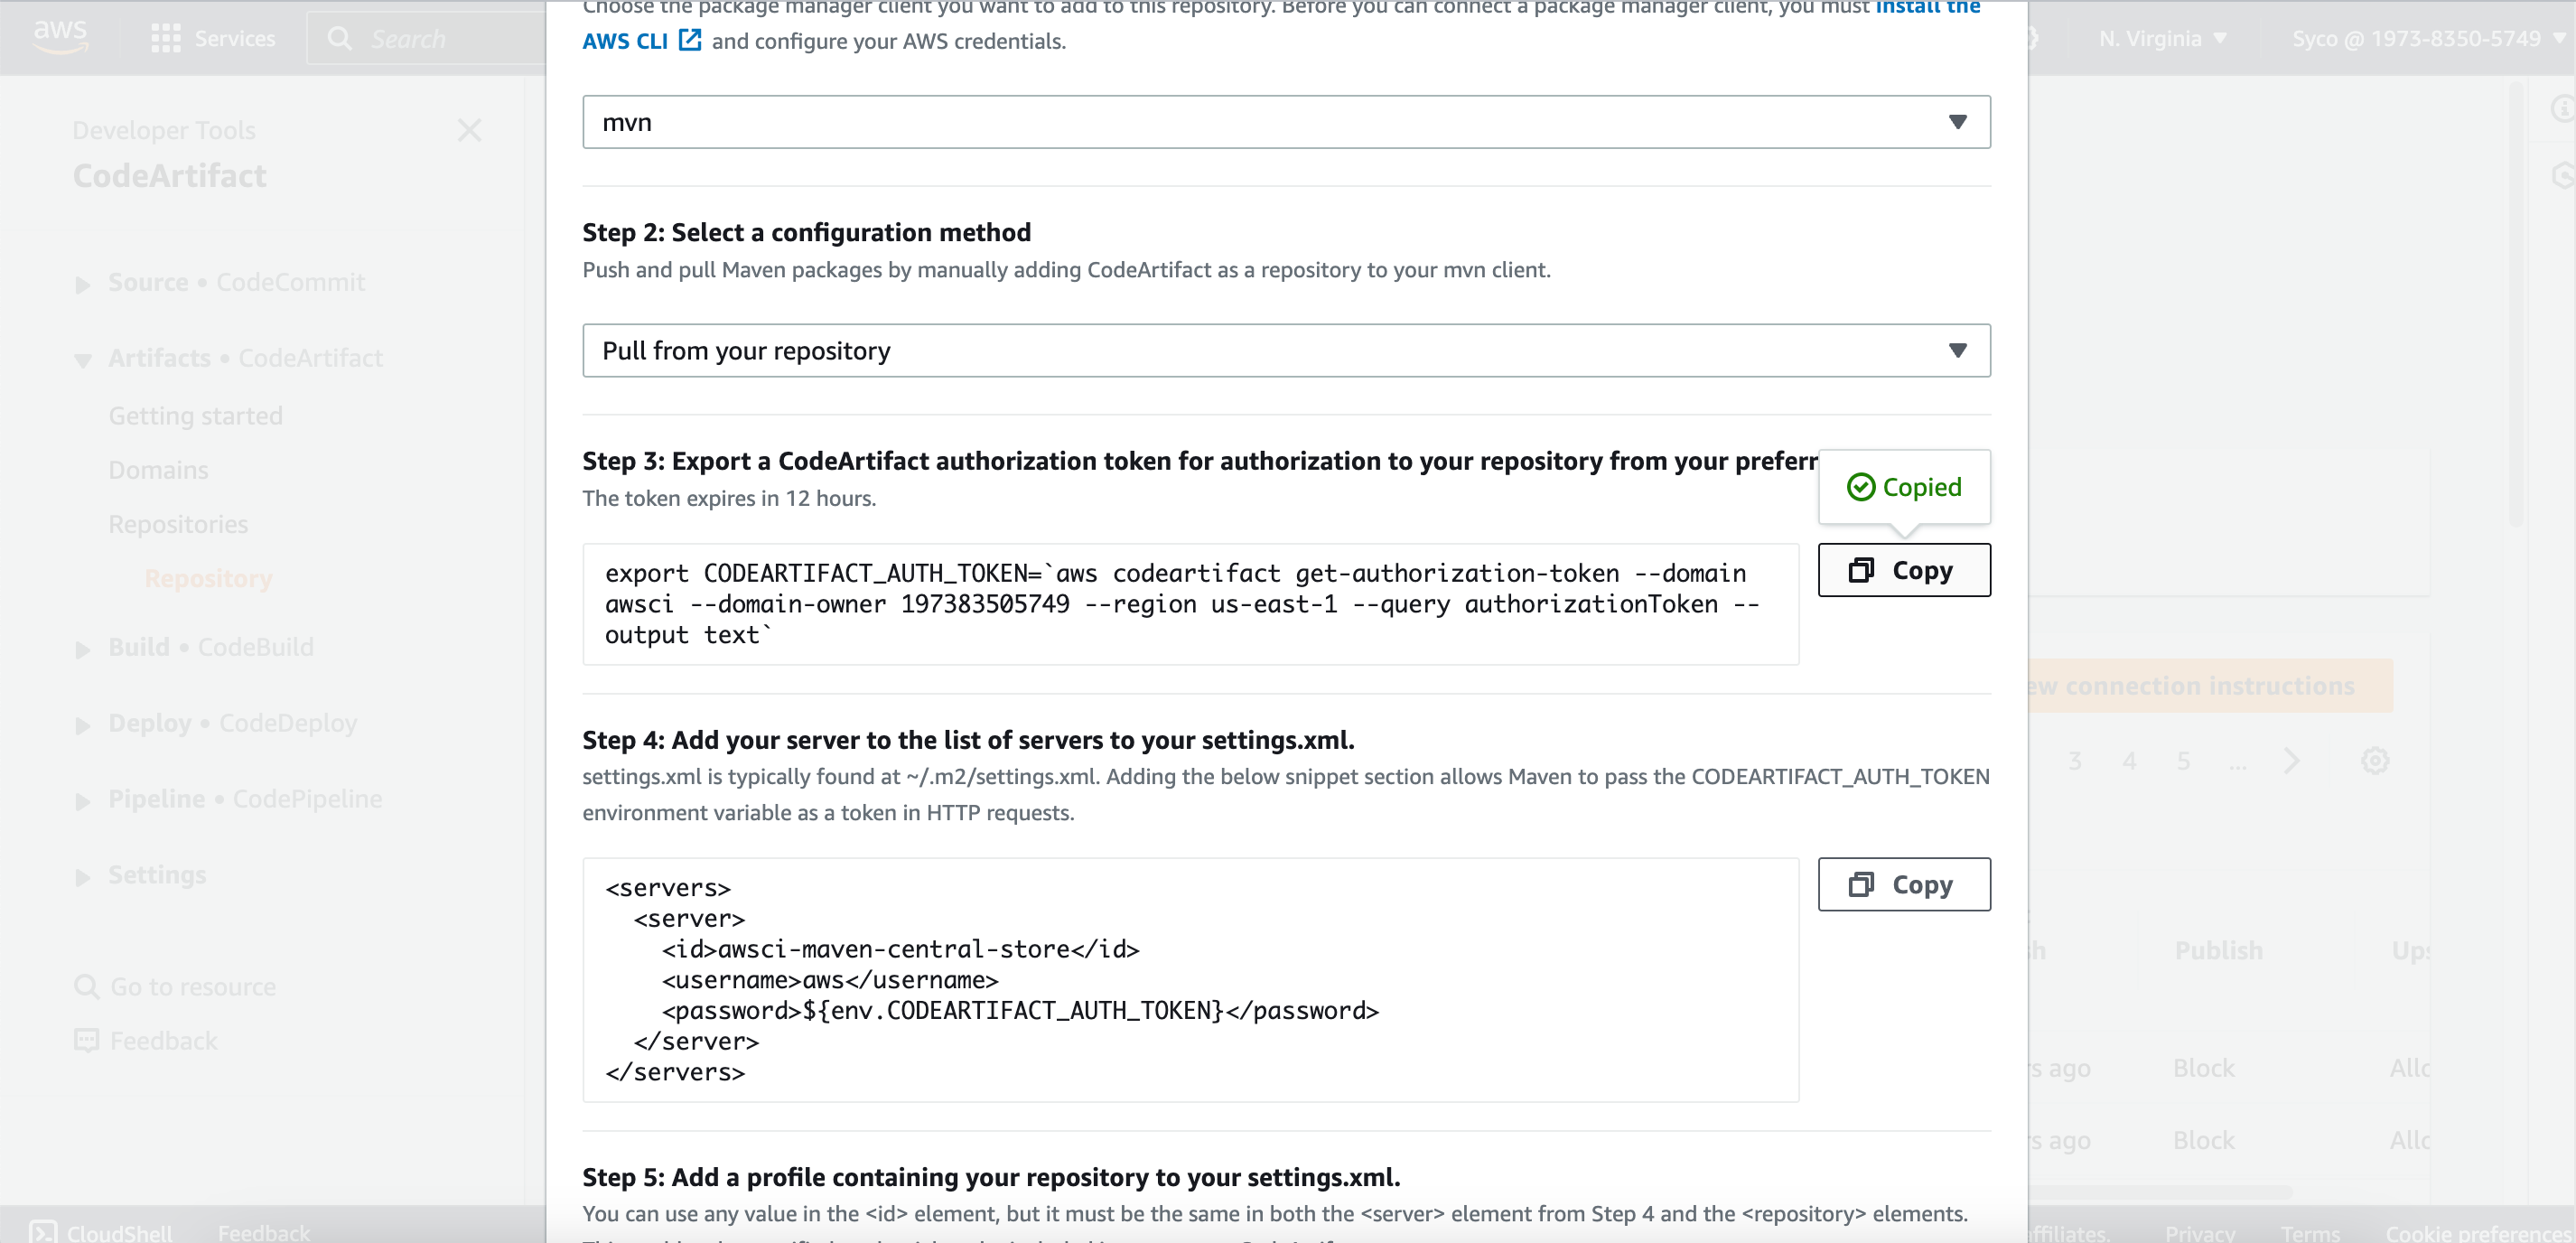
- Navigate to the the Buildspec.yml file in aws-files folder in VS code, copy the command in instruction commands of the maven-central-repo, specifically step 3 and replace the code on line 11 with it. Save, commit and push.
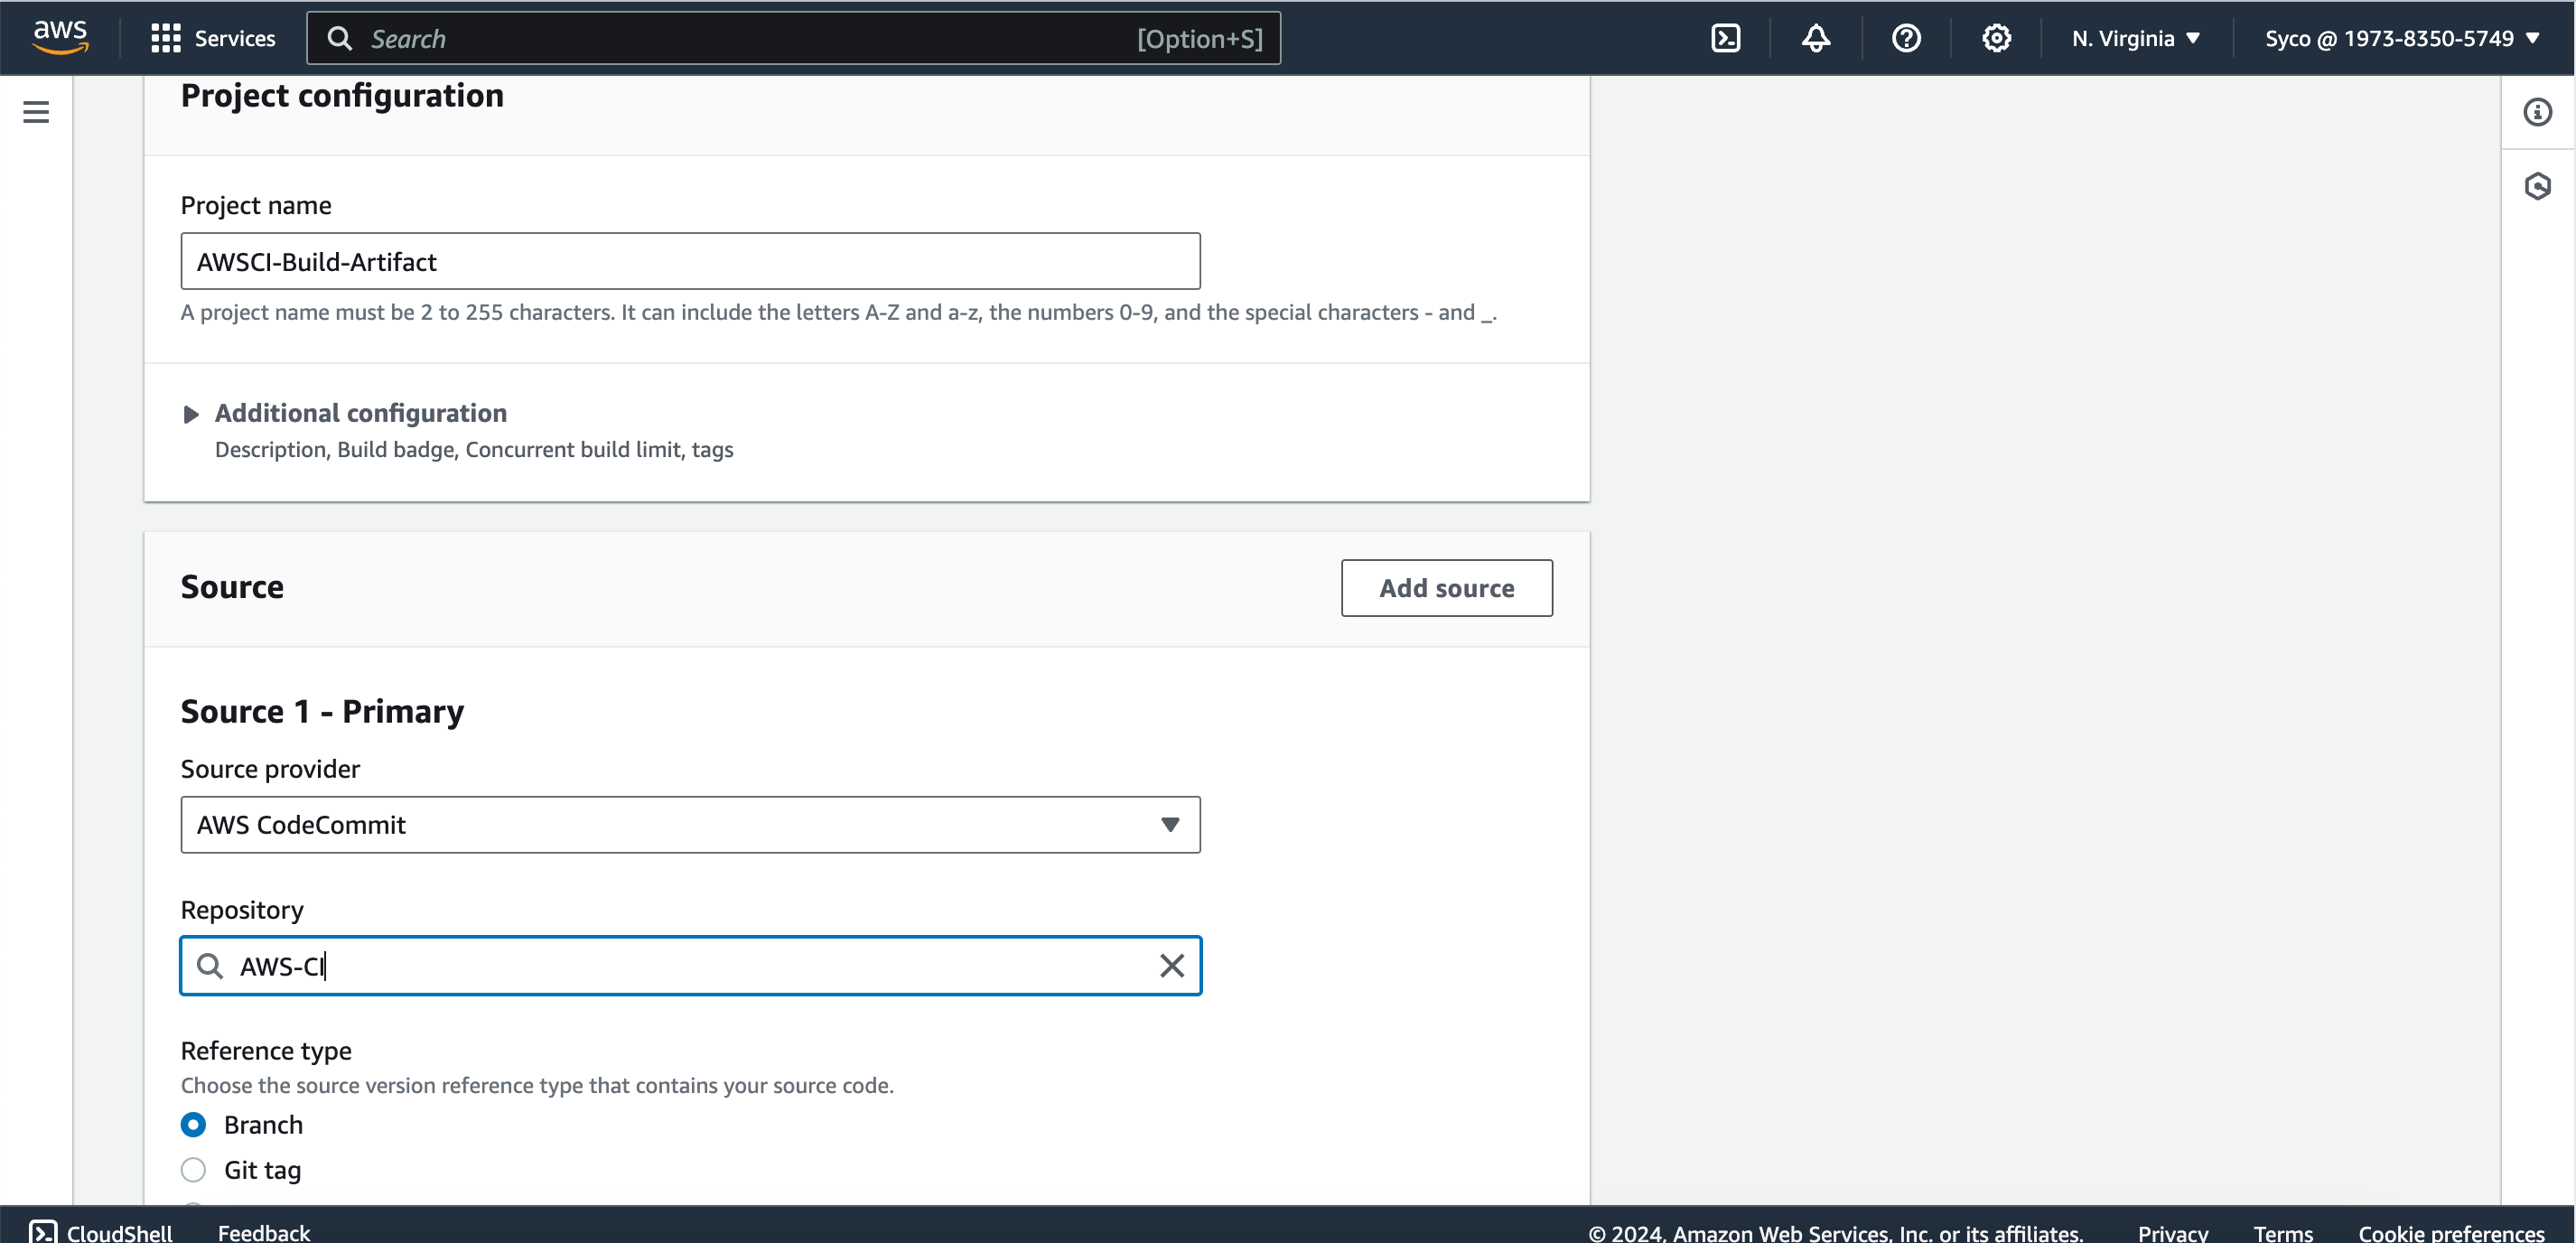
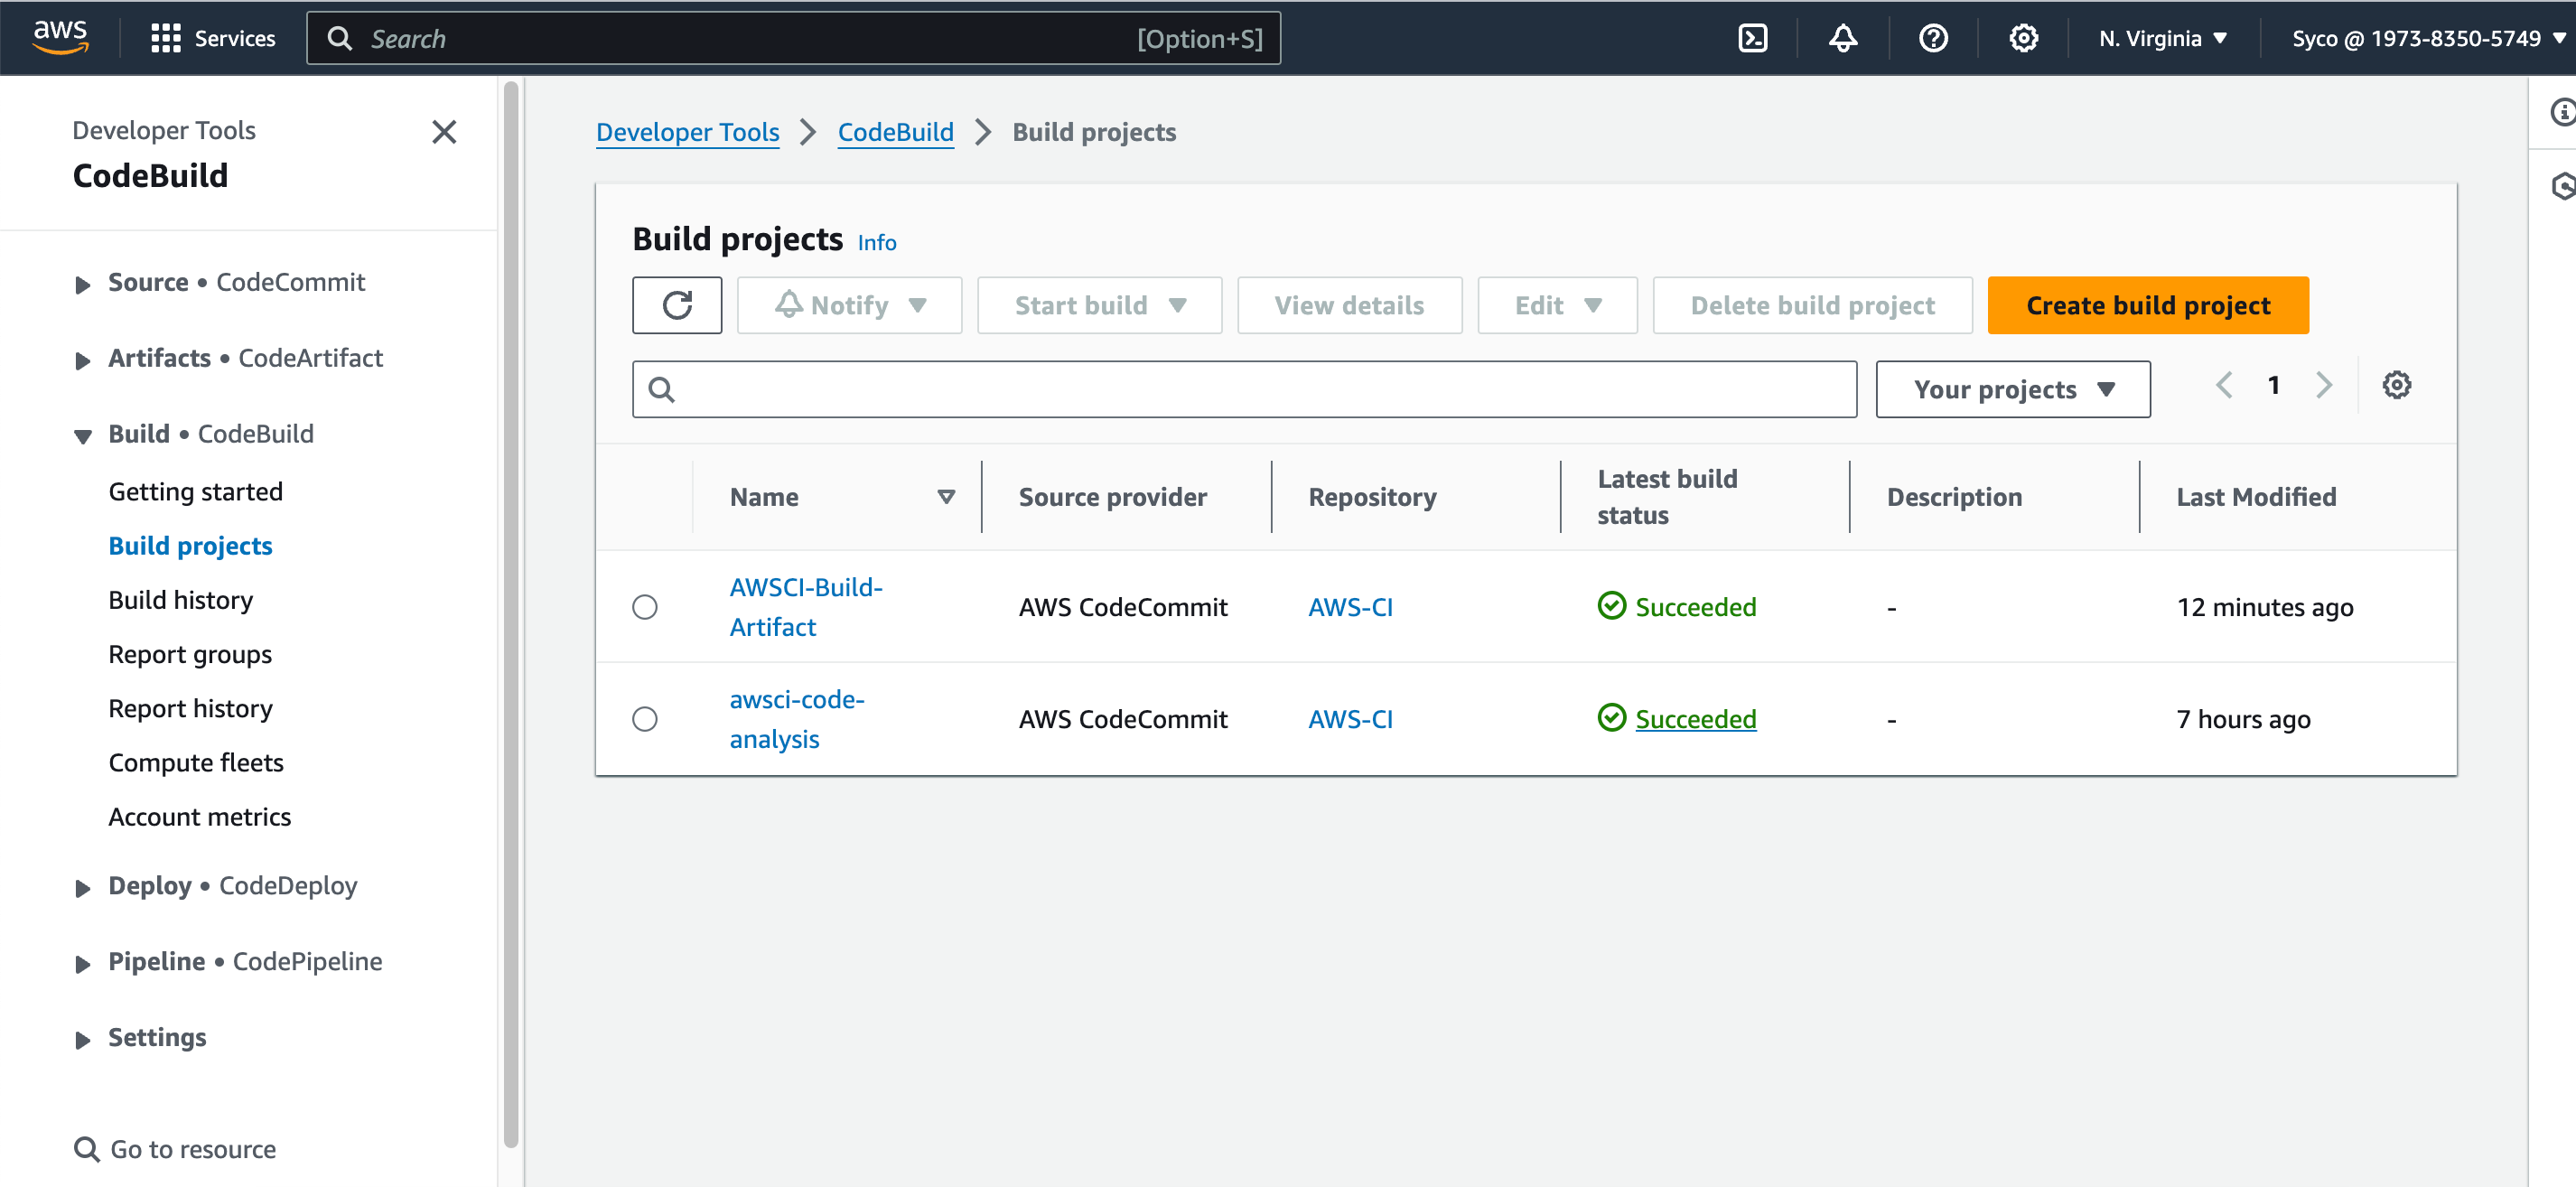
- On the CodeBuild console, open the existing job in a new tab. Then Click on “create build project”. Give the new job a name eg., awsci-Build-Artifact”. Use the same configurations from the previous job until you get to the service role. Add a unique identifier to the role. In the Buildspec section, under buildspec name, give the file path of the new buildspec file i.e “aws-files/build_buildspec.yml”. Under logs, provide the same group name used for the previous job. If you can’t remember, on the second tab, click on “edit” then logs, the information required will be displayed. Under the stream name, provide a different name eg., BuildArtifact. Click on “create build project”.
- Now we need to attach “CodeArtifactReadOnlyAccess” used in the previous job to the newly created IAM role. So on the IAM console, search for and select the new role, click on “add permissions”, then attach policy, then find the aforementioned policy and attach to the role.
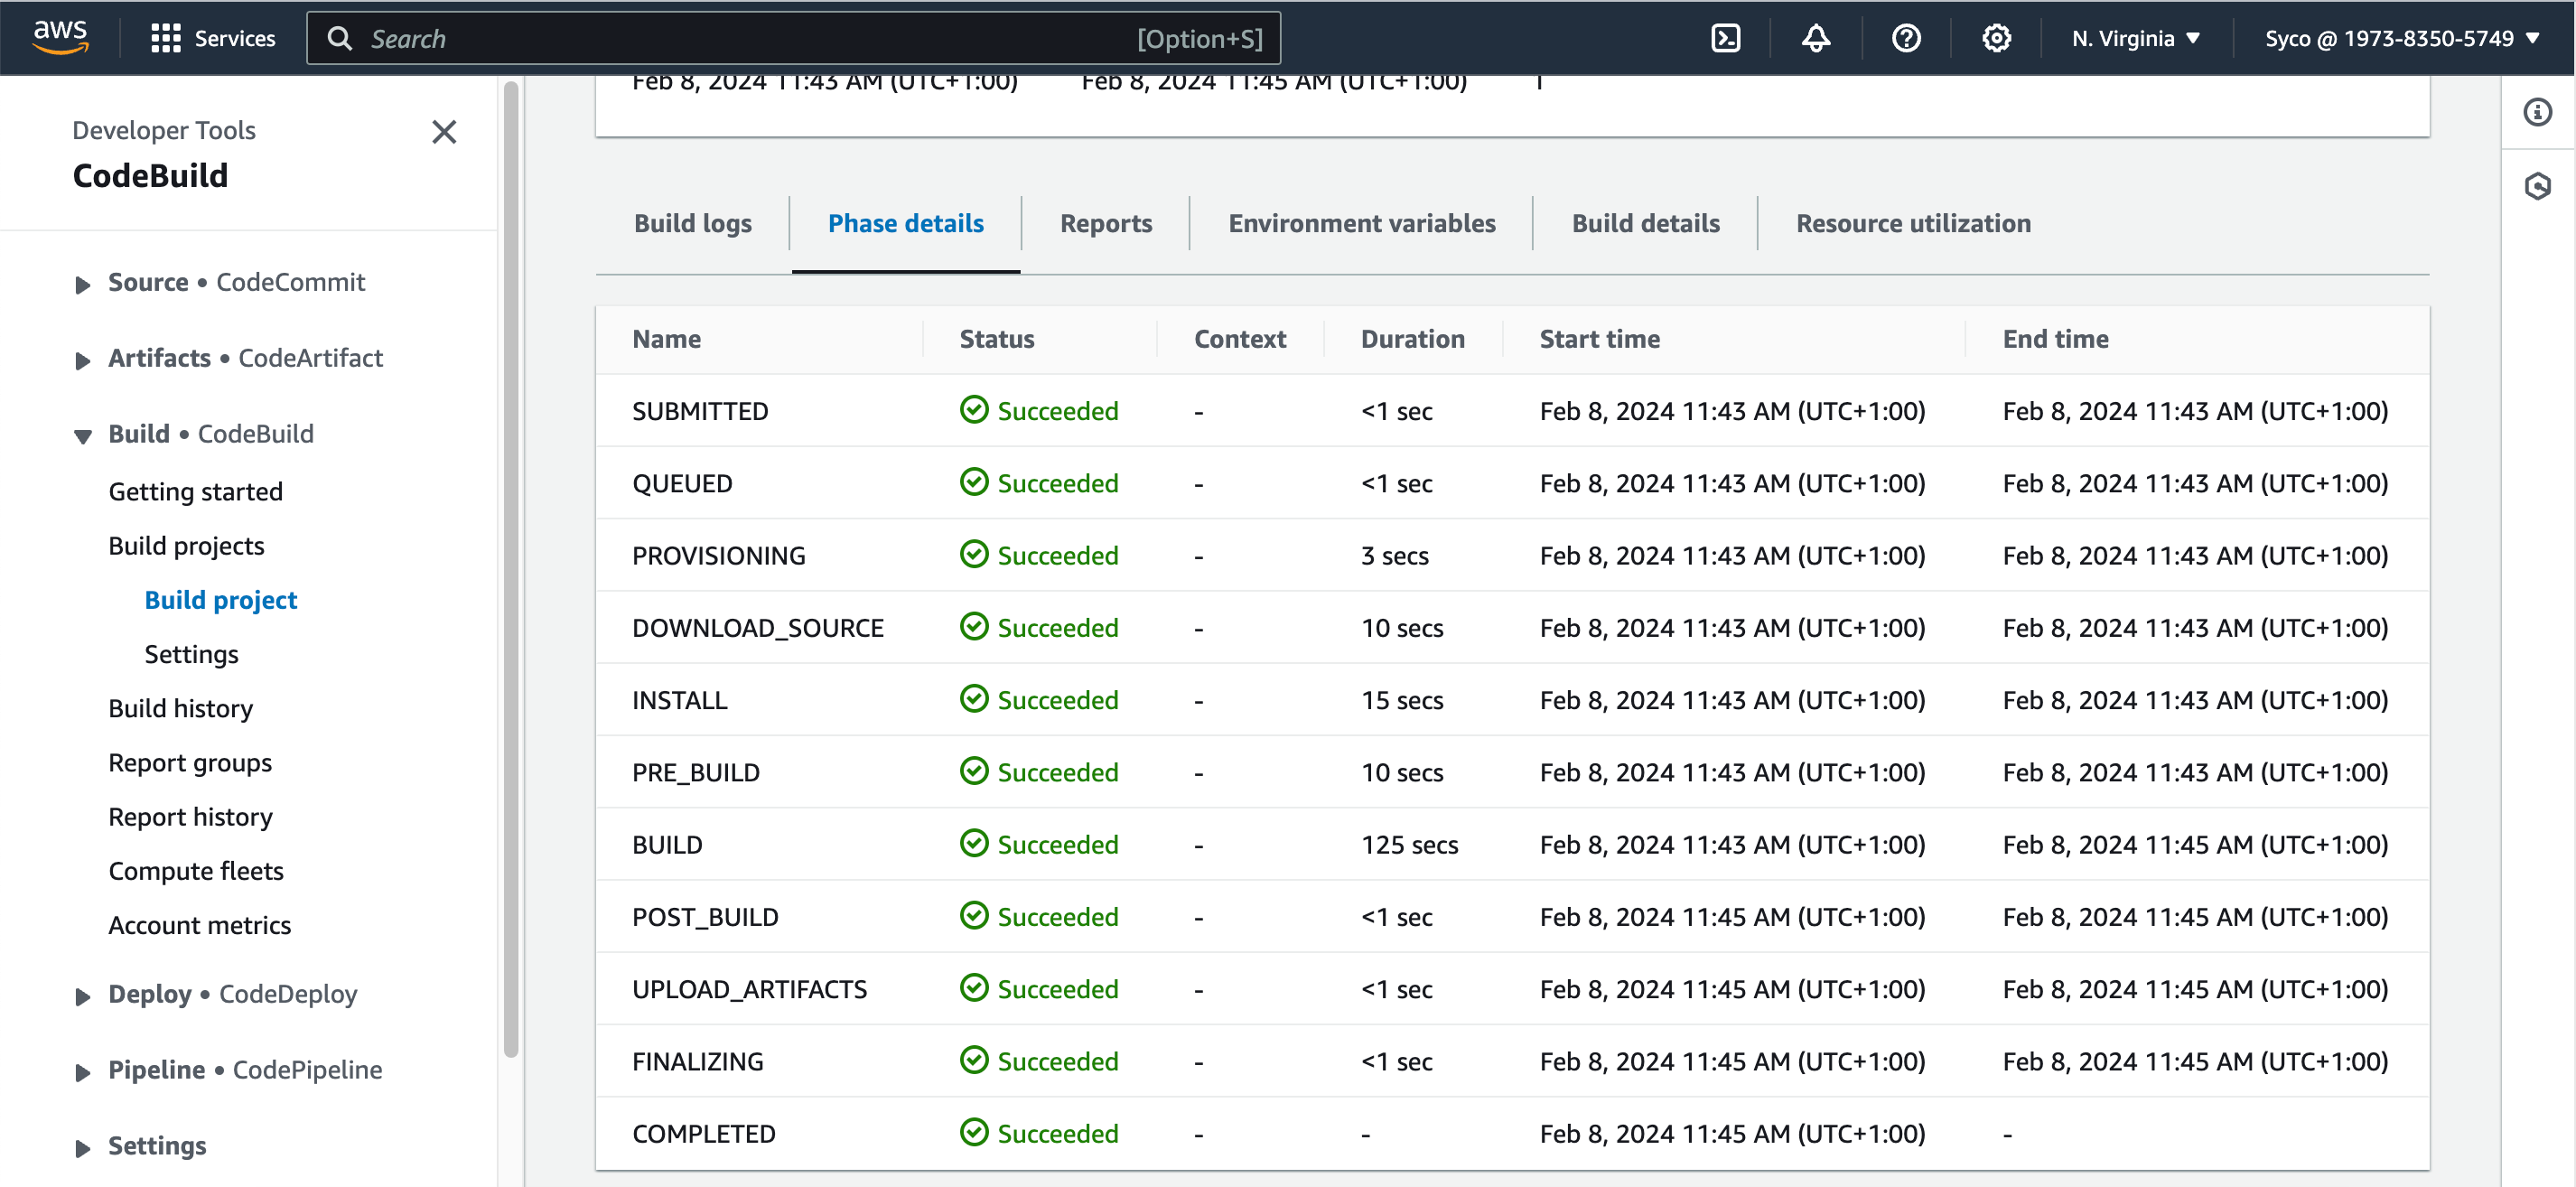
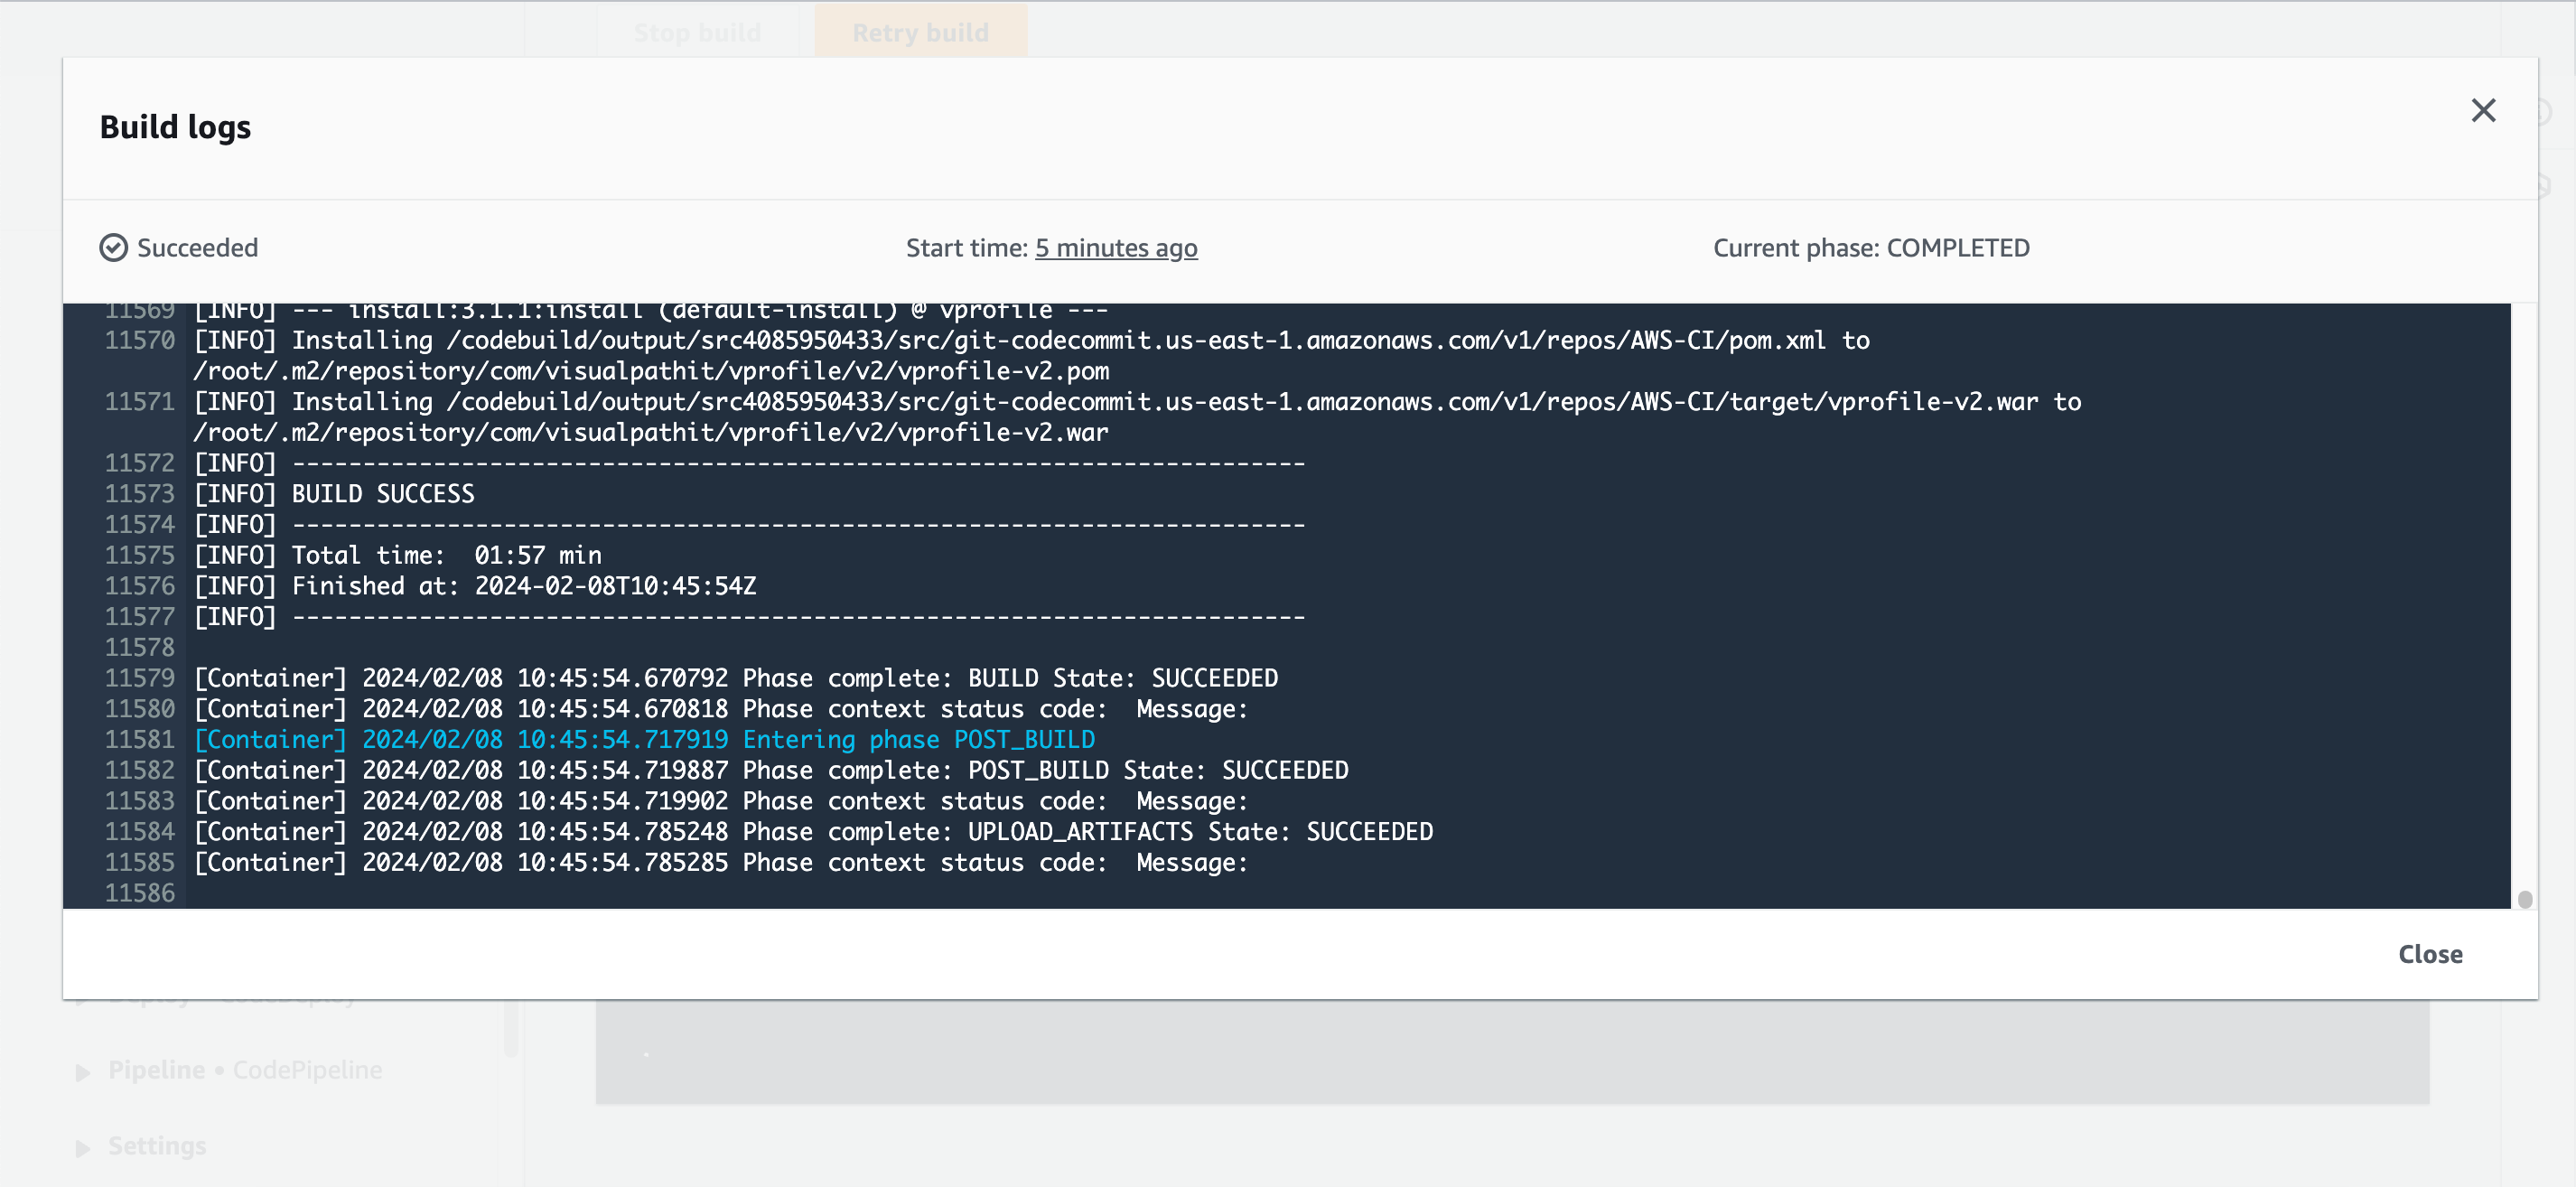
- Now start the build job and click on “phase details” to watch the progress.

Step Five: Configure the Pipeline and Set up Notifications with SNS
Now let’s tie all of these steps together using AWS CodePipeline and include a notification mechanism (SNS). Before we set up the pipeline, we need to configure SNS to notify us on Build Success or failure and also an S3 bucket where the artifact will be pushed. To do this;
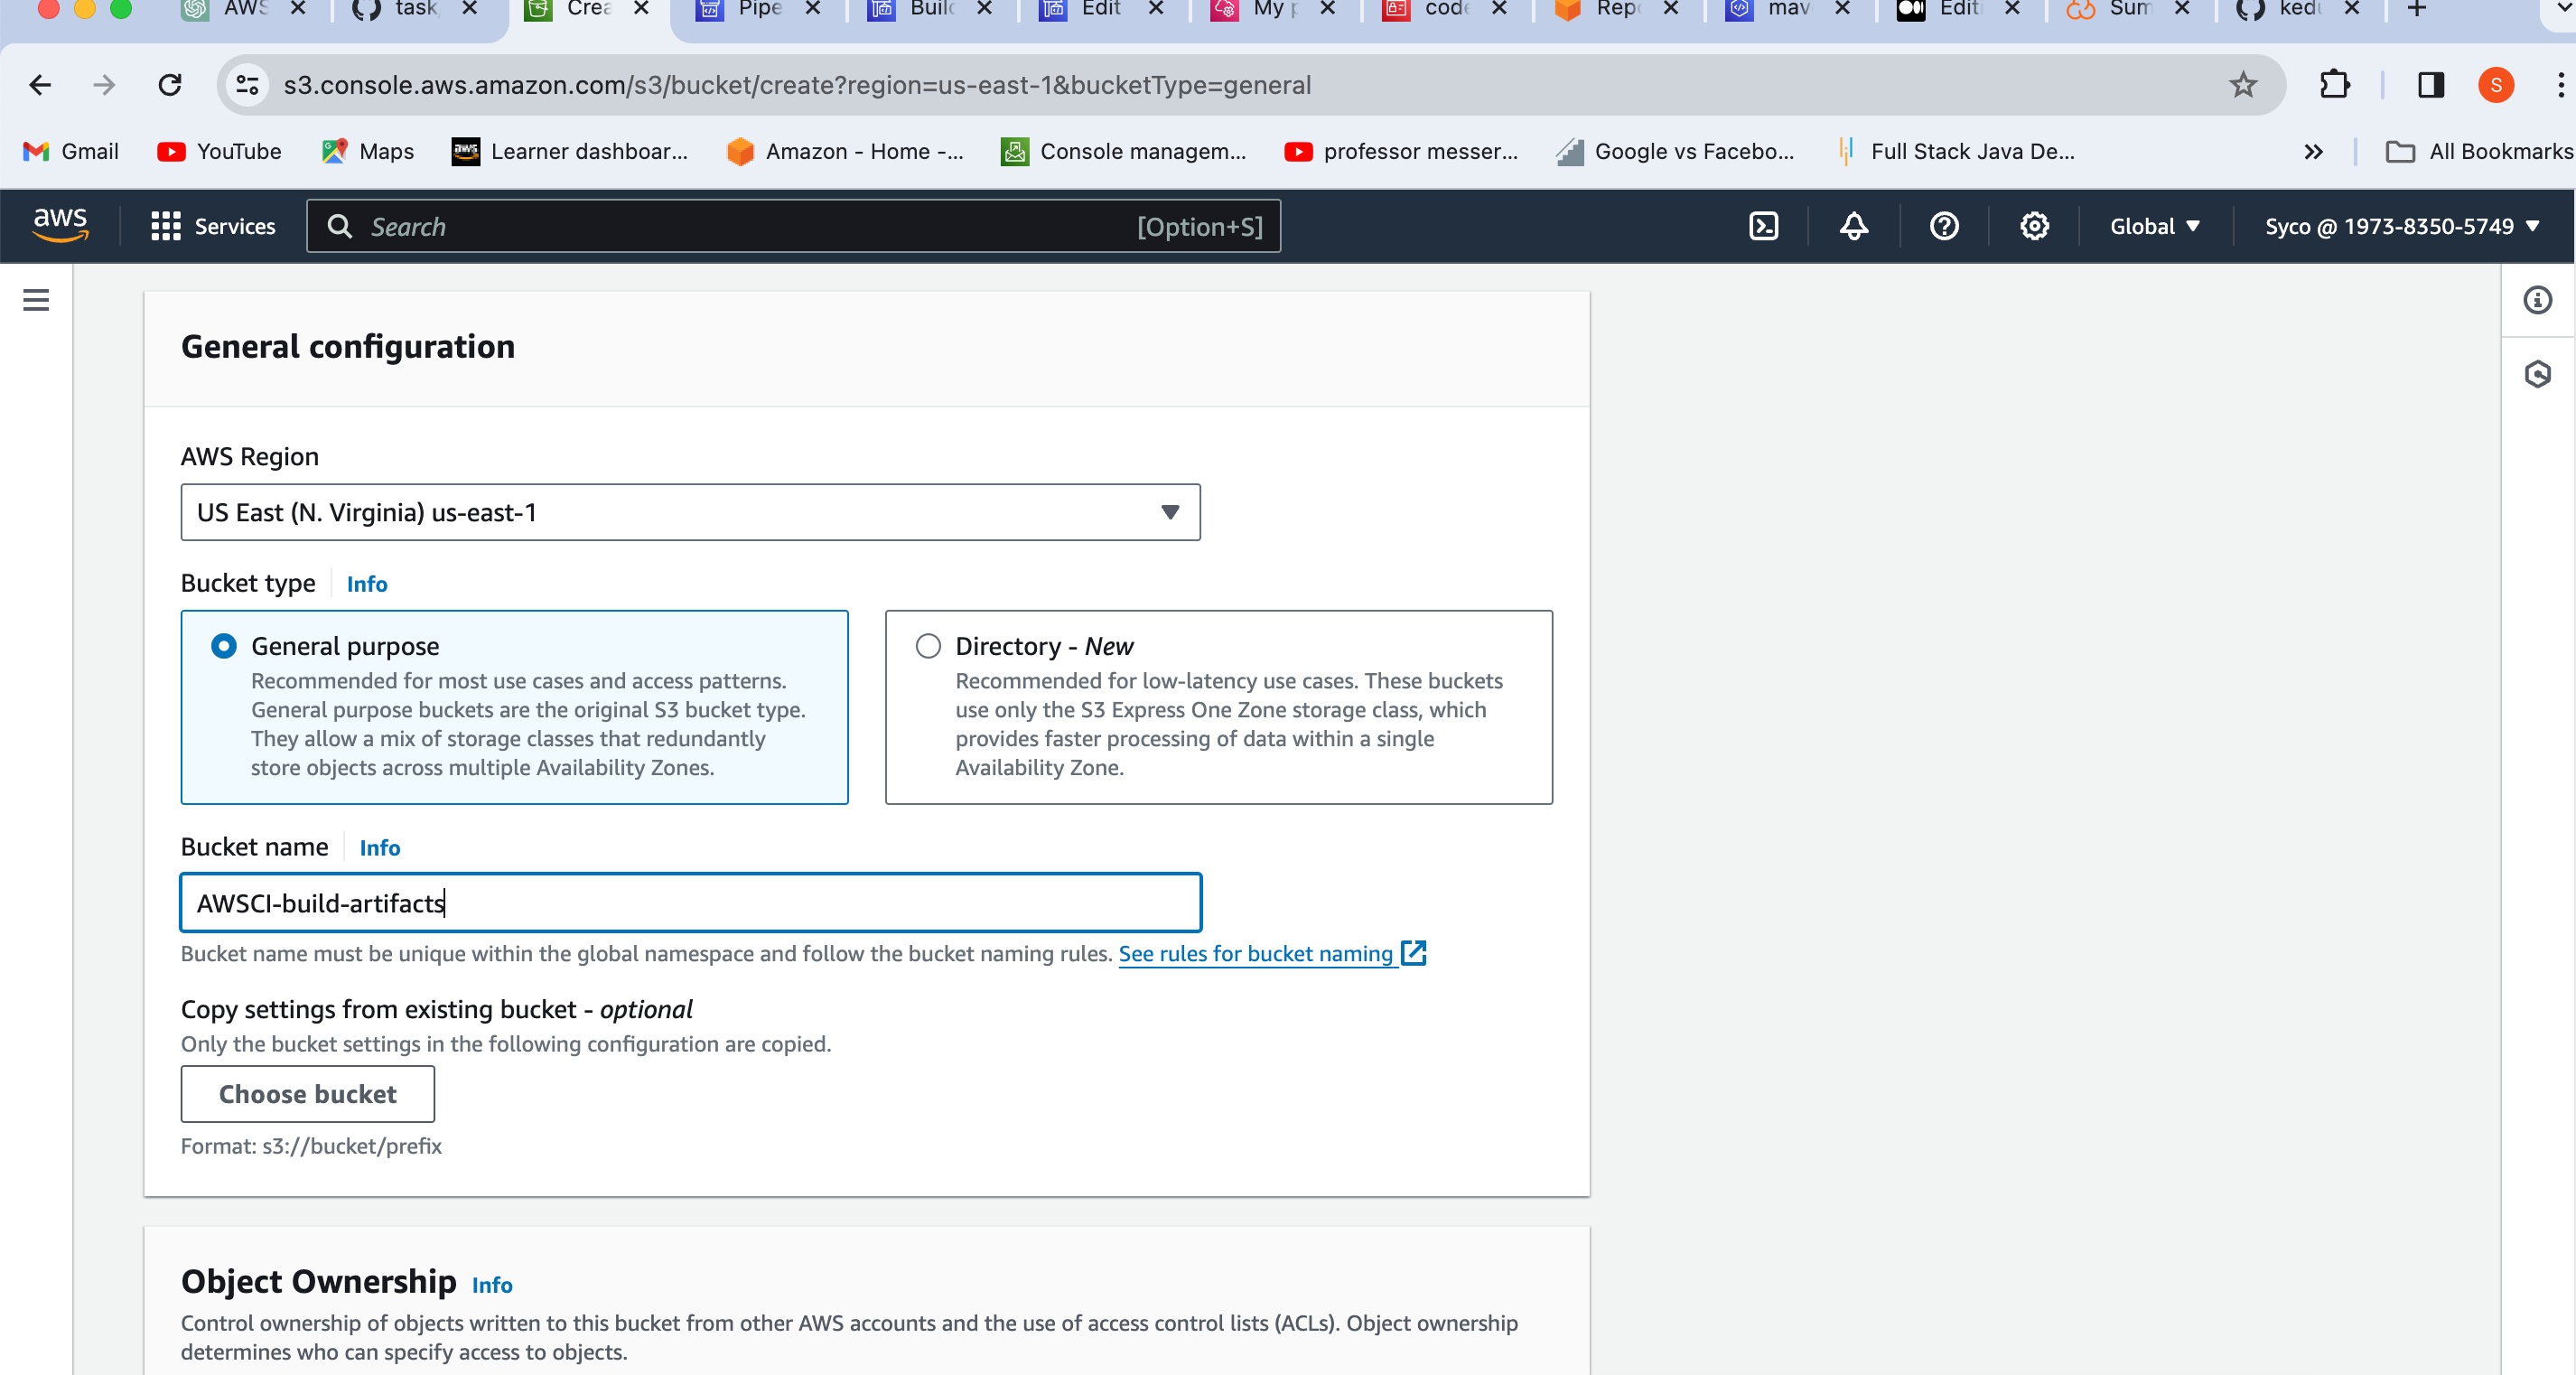
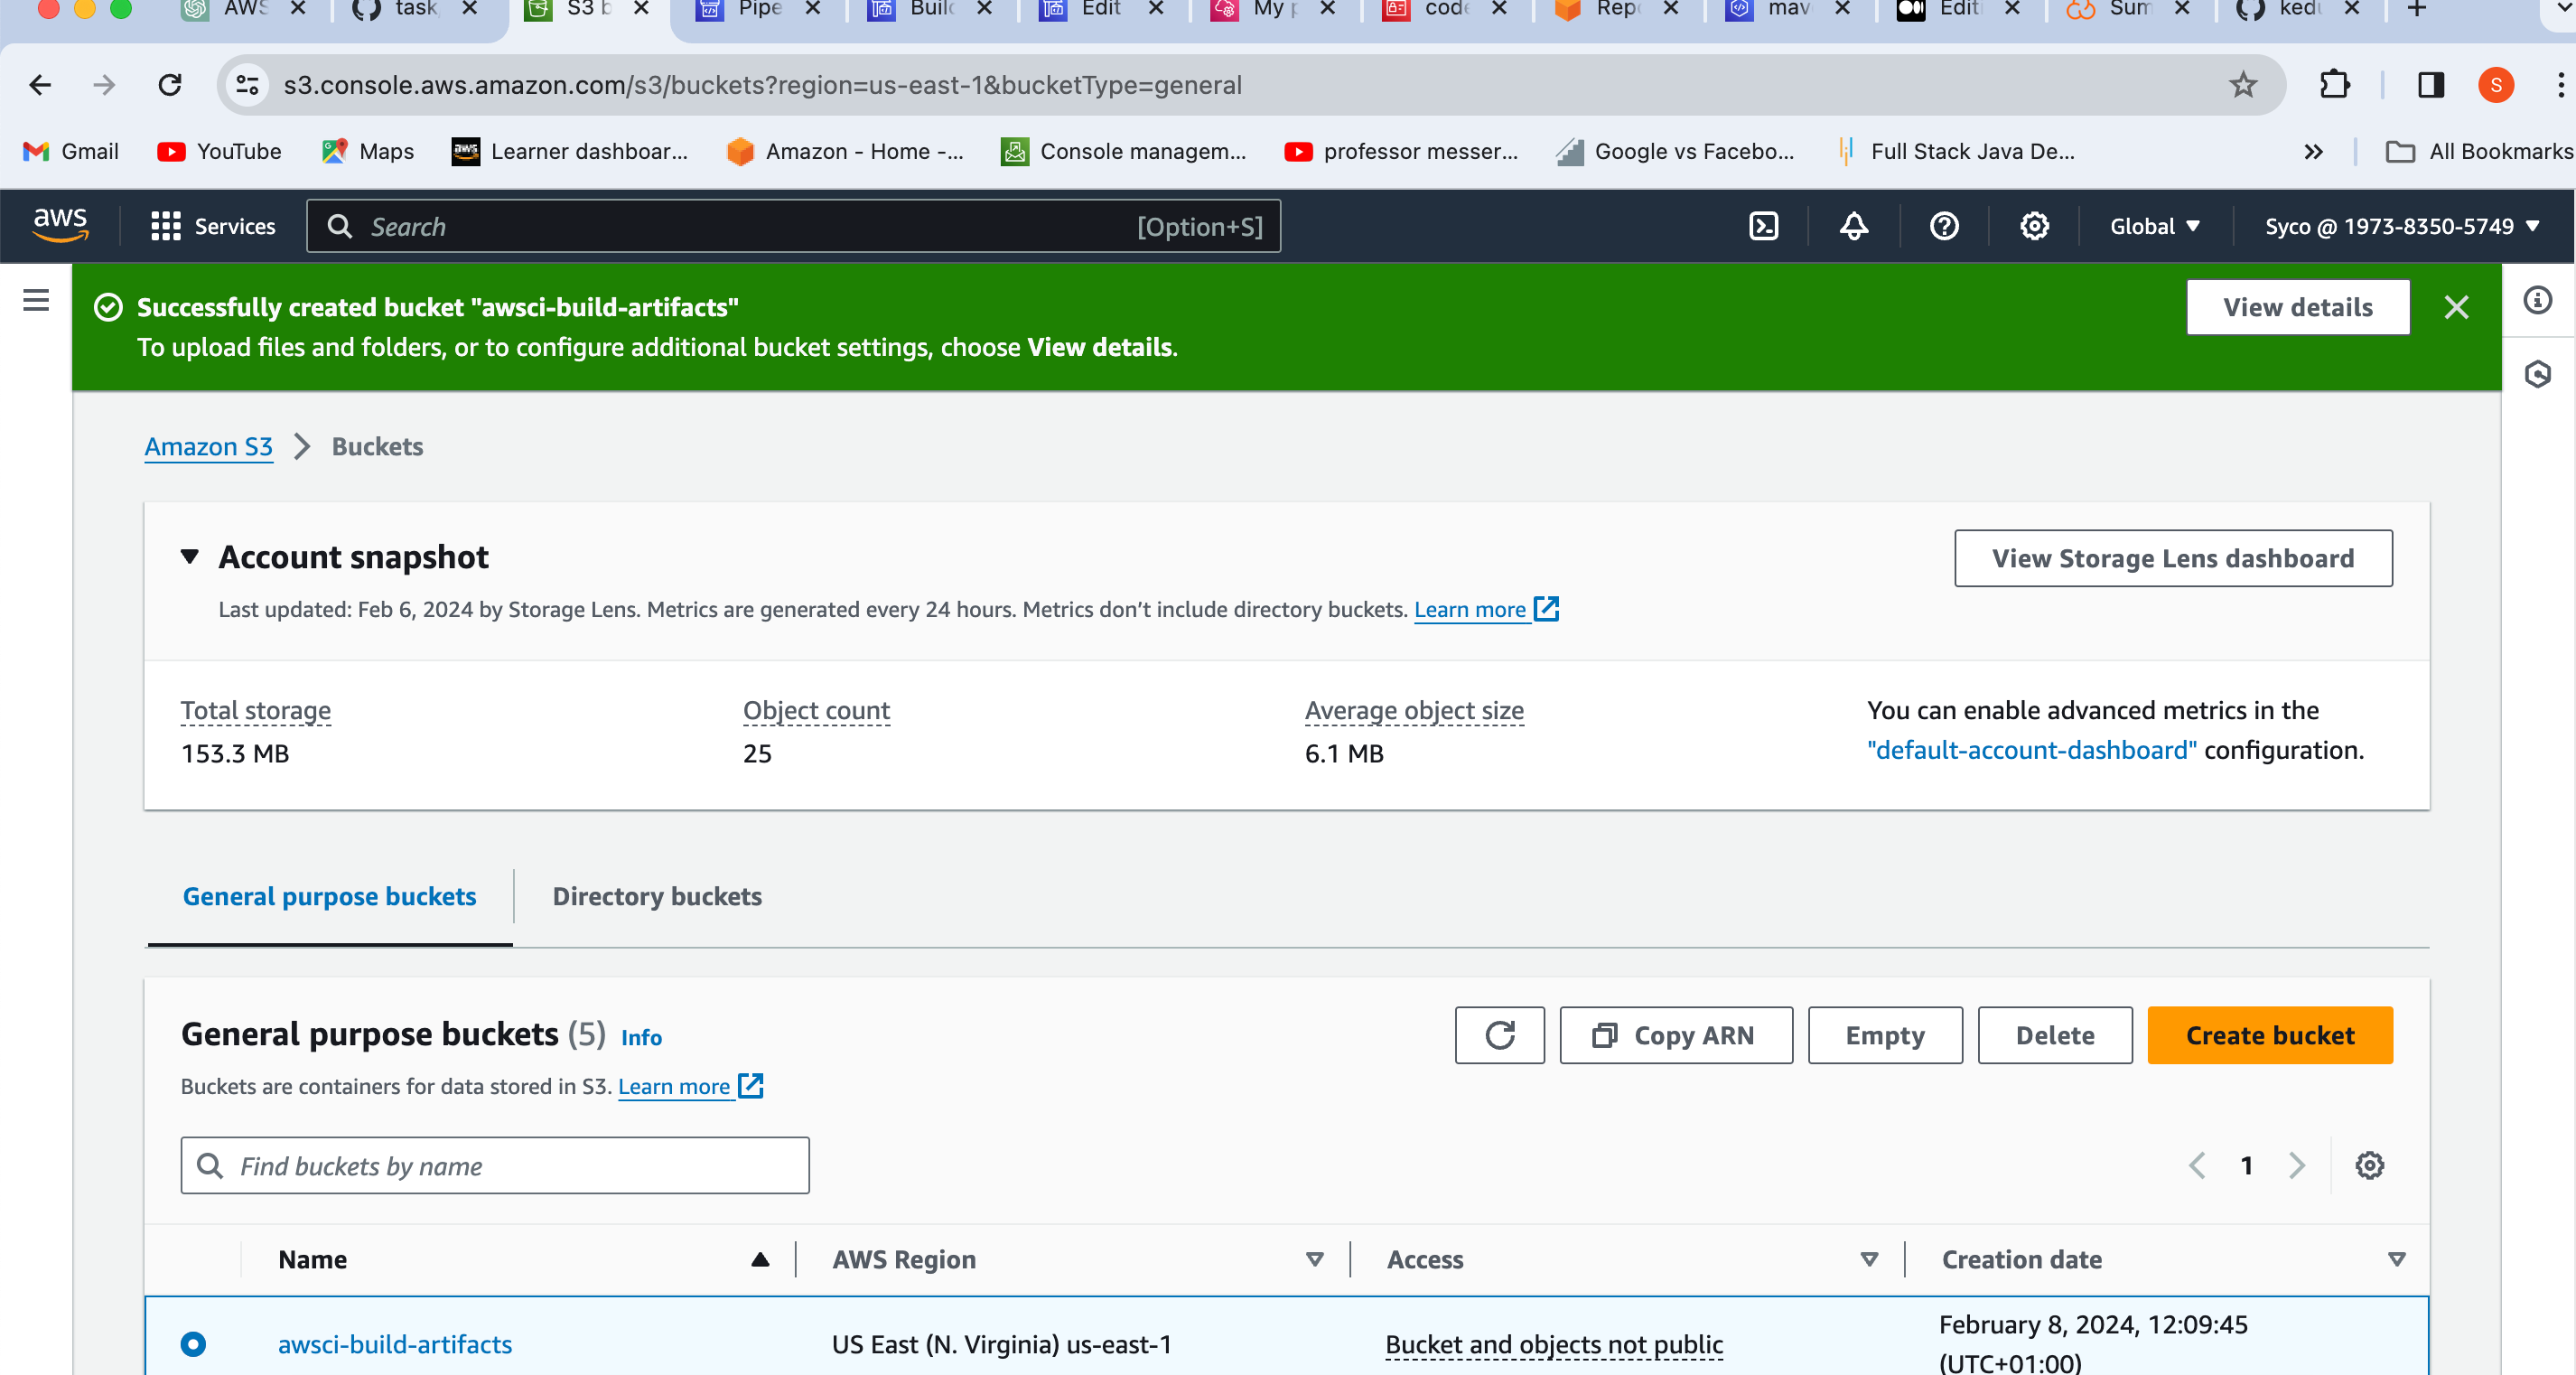
- Set Up S3 Bucket:
- Navigate to the S3 console.
- Click on “Create bucket.”
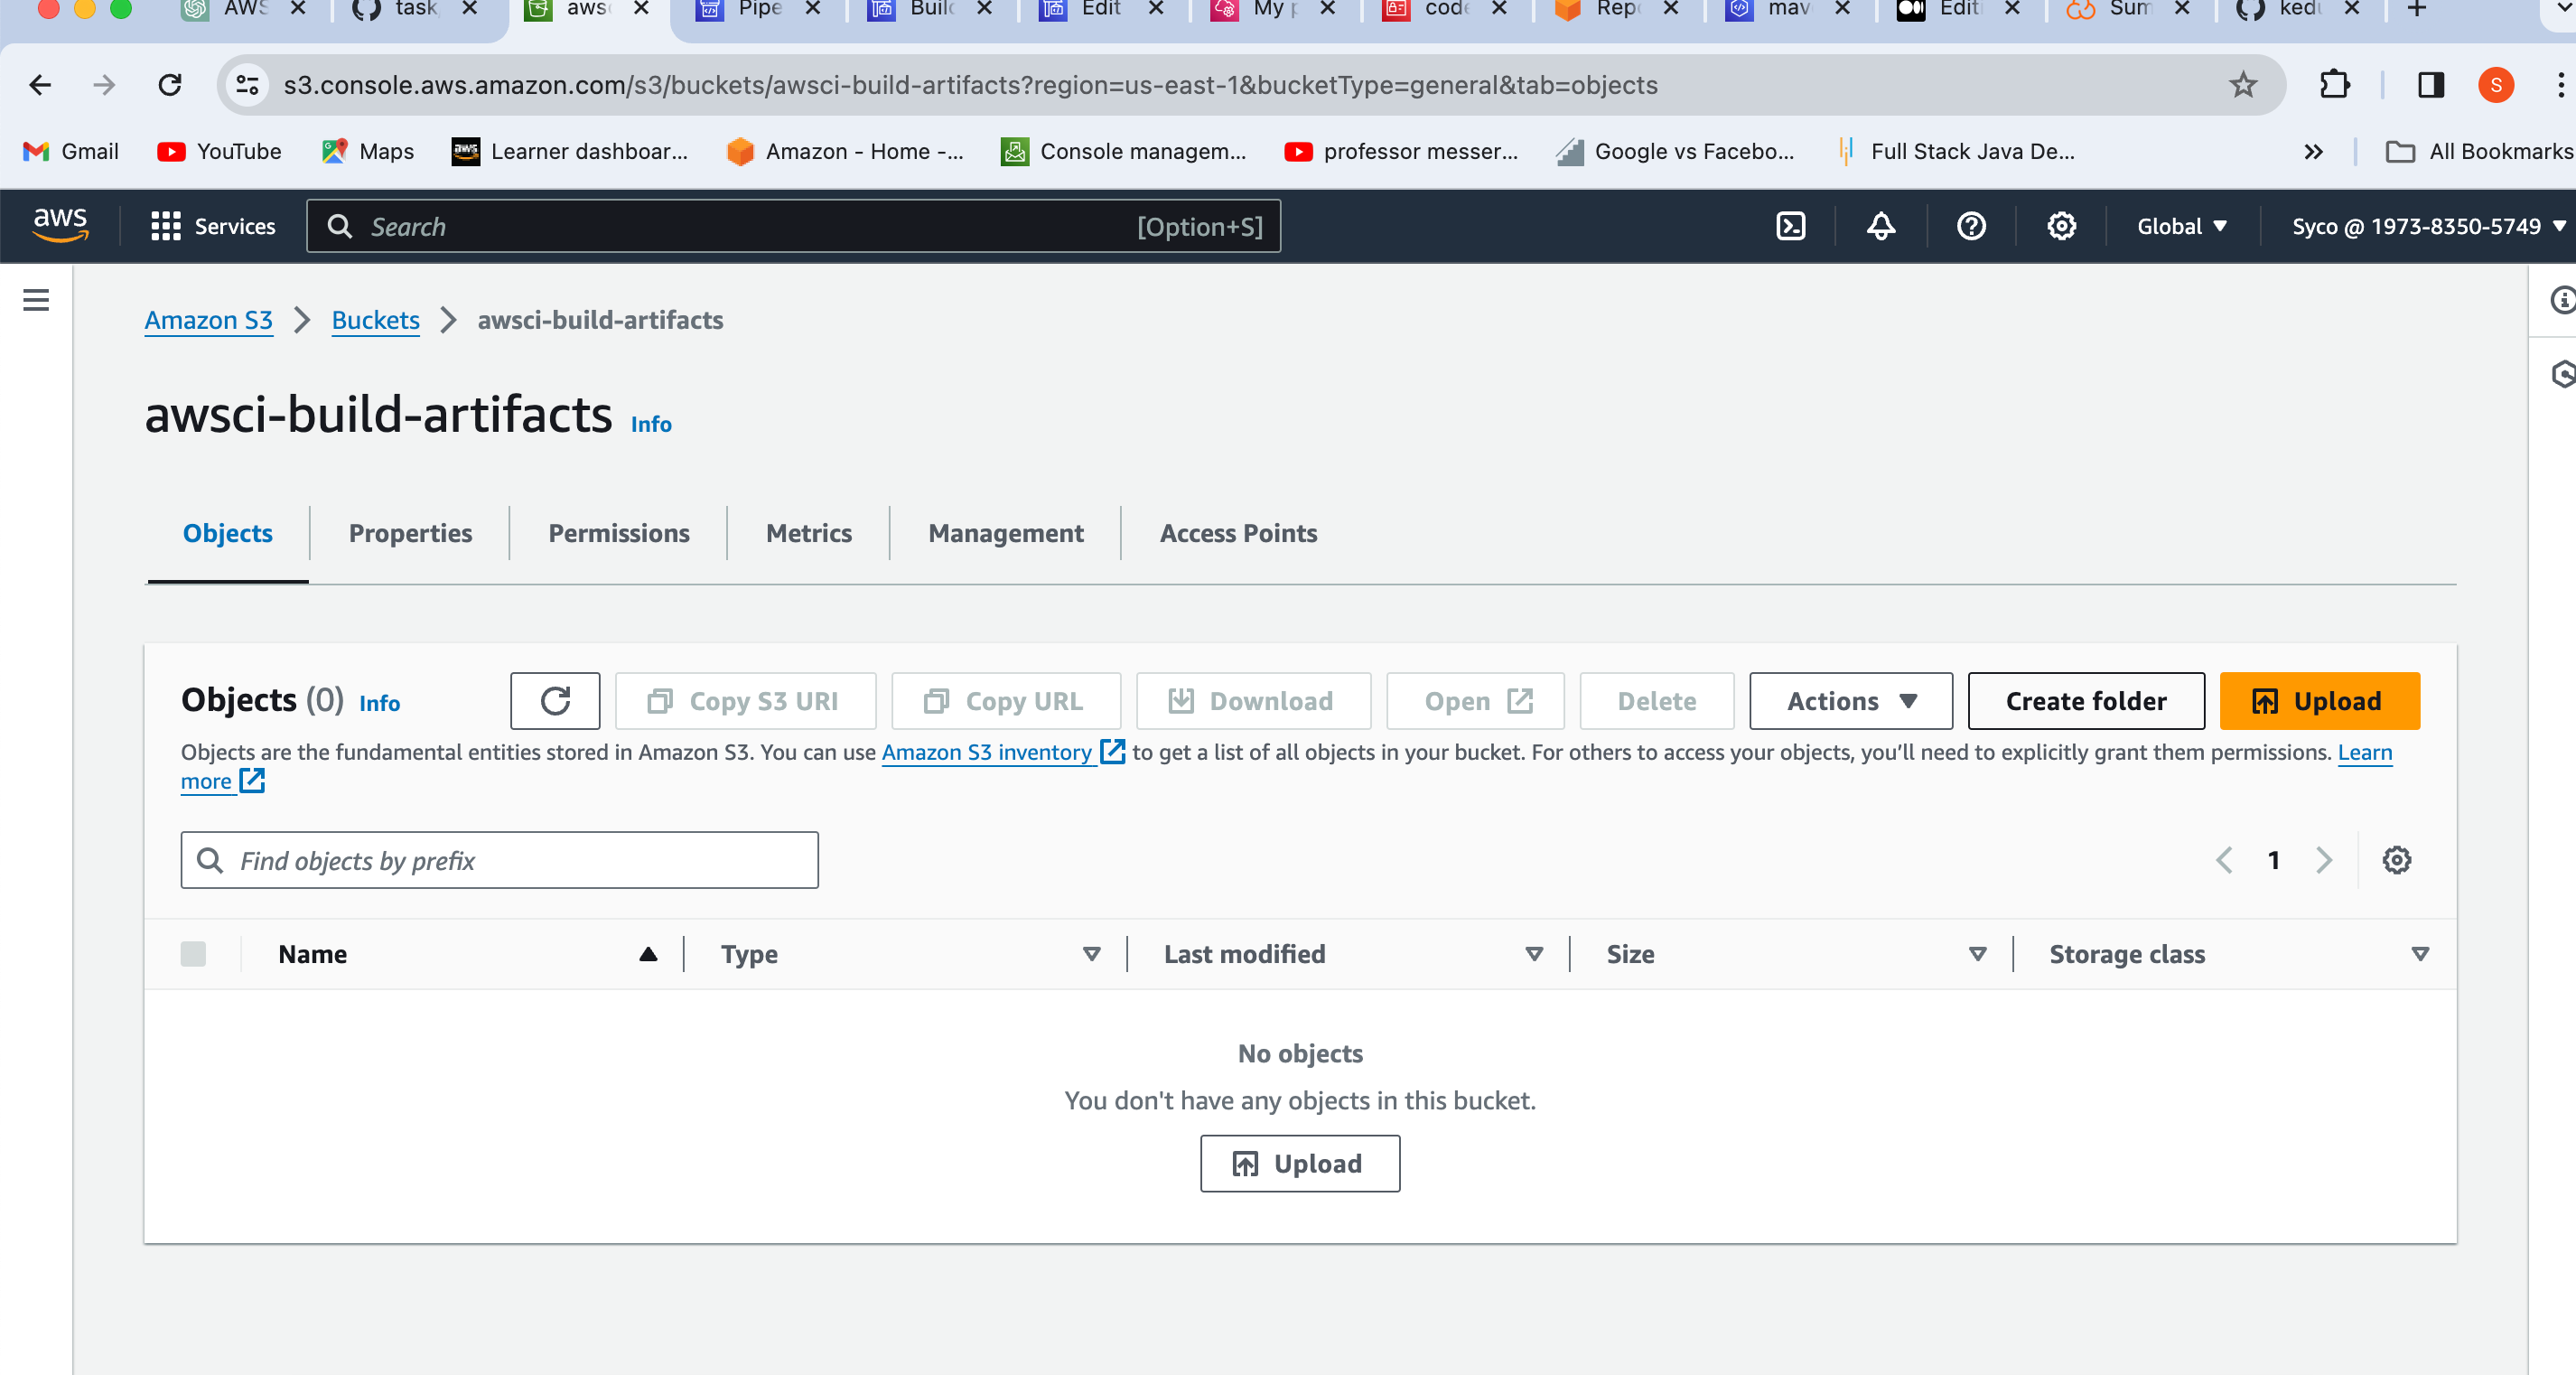
- Provide a name (e.g., awsci-build-artifact) and ensure it's in the same region as your build jobs.
- Click on “Create Bucket.”
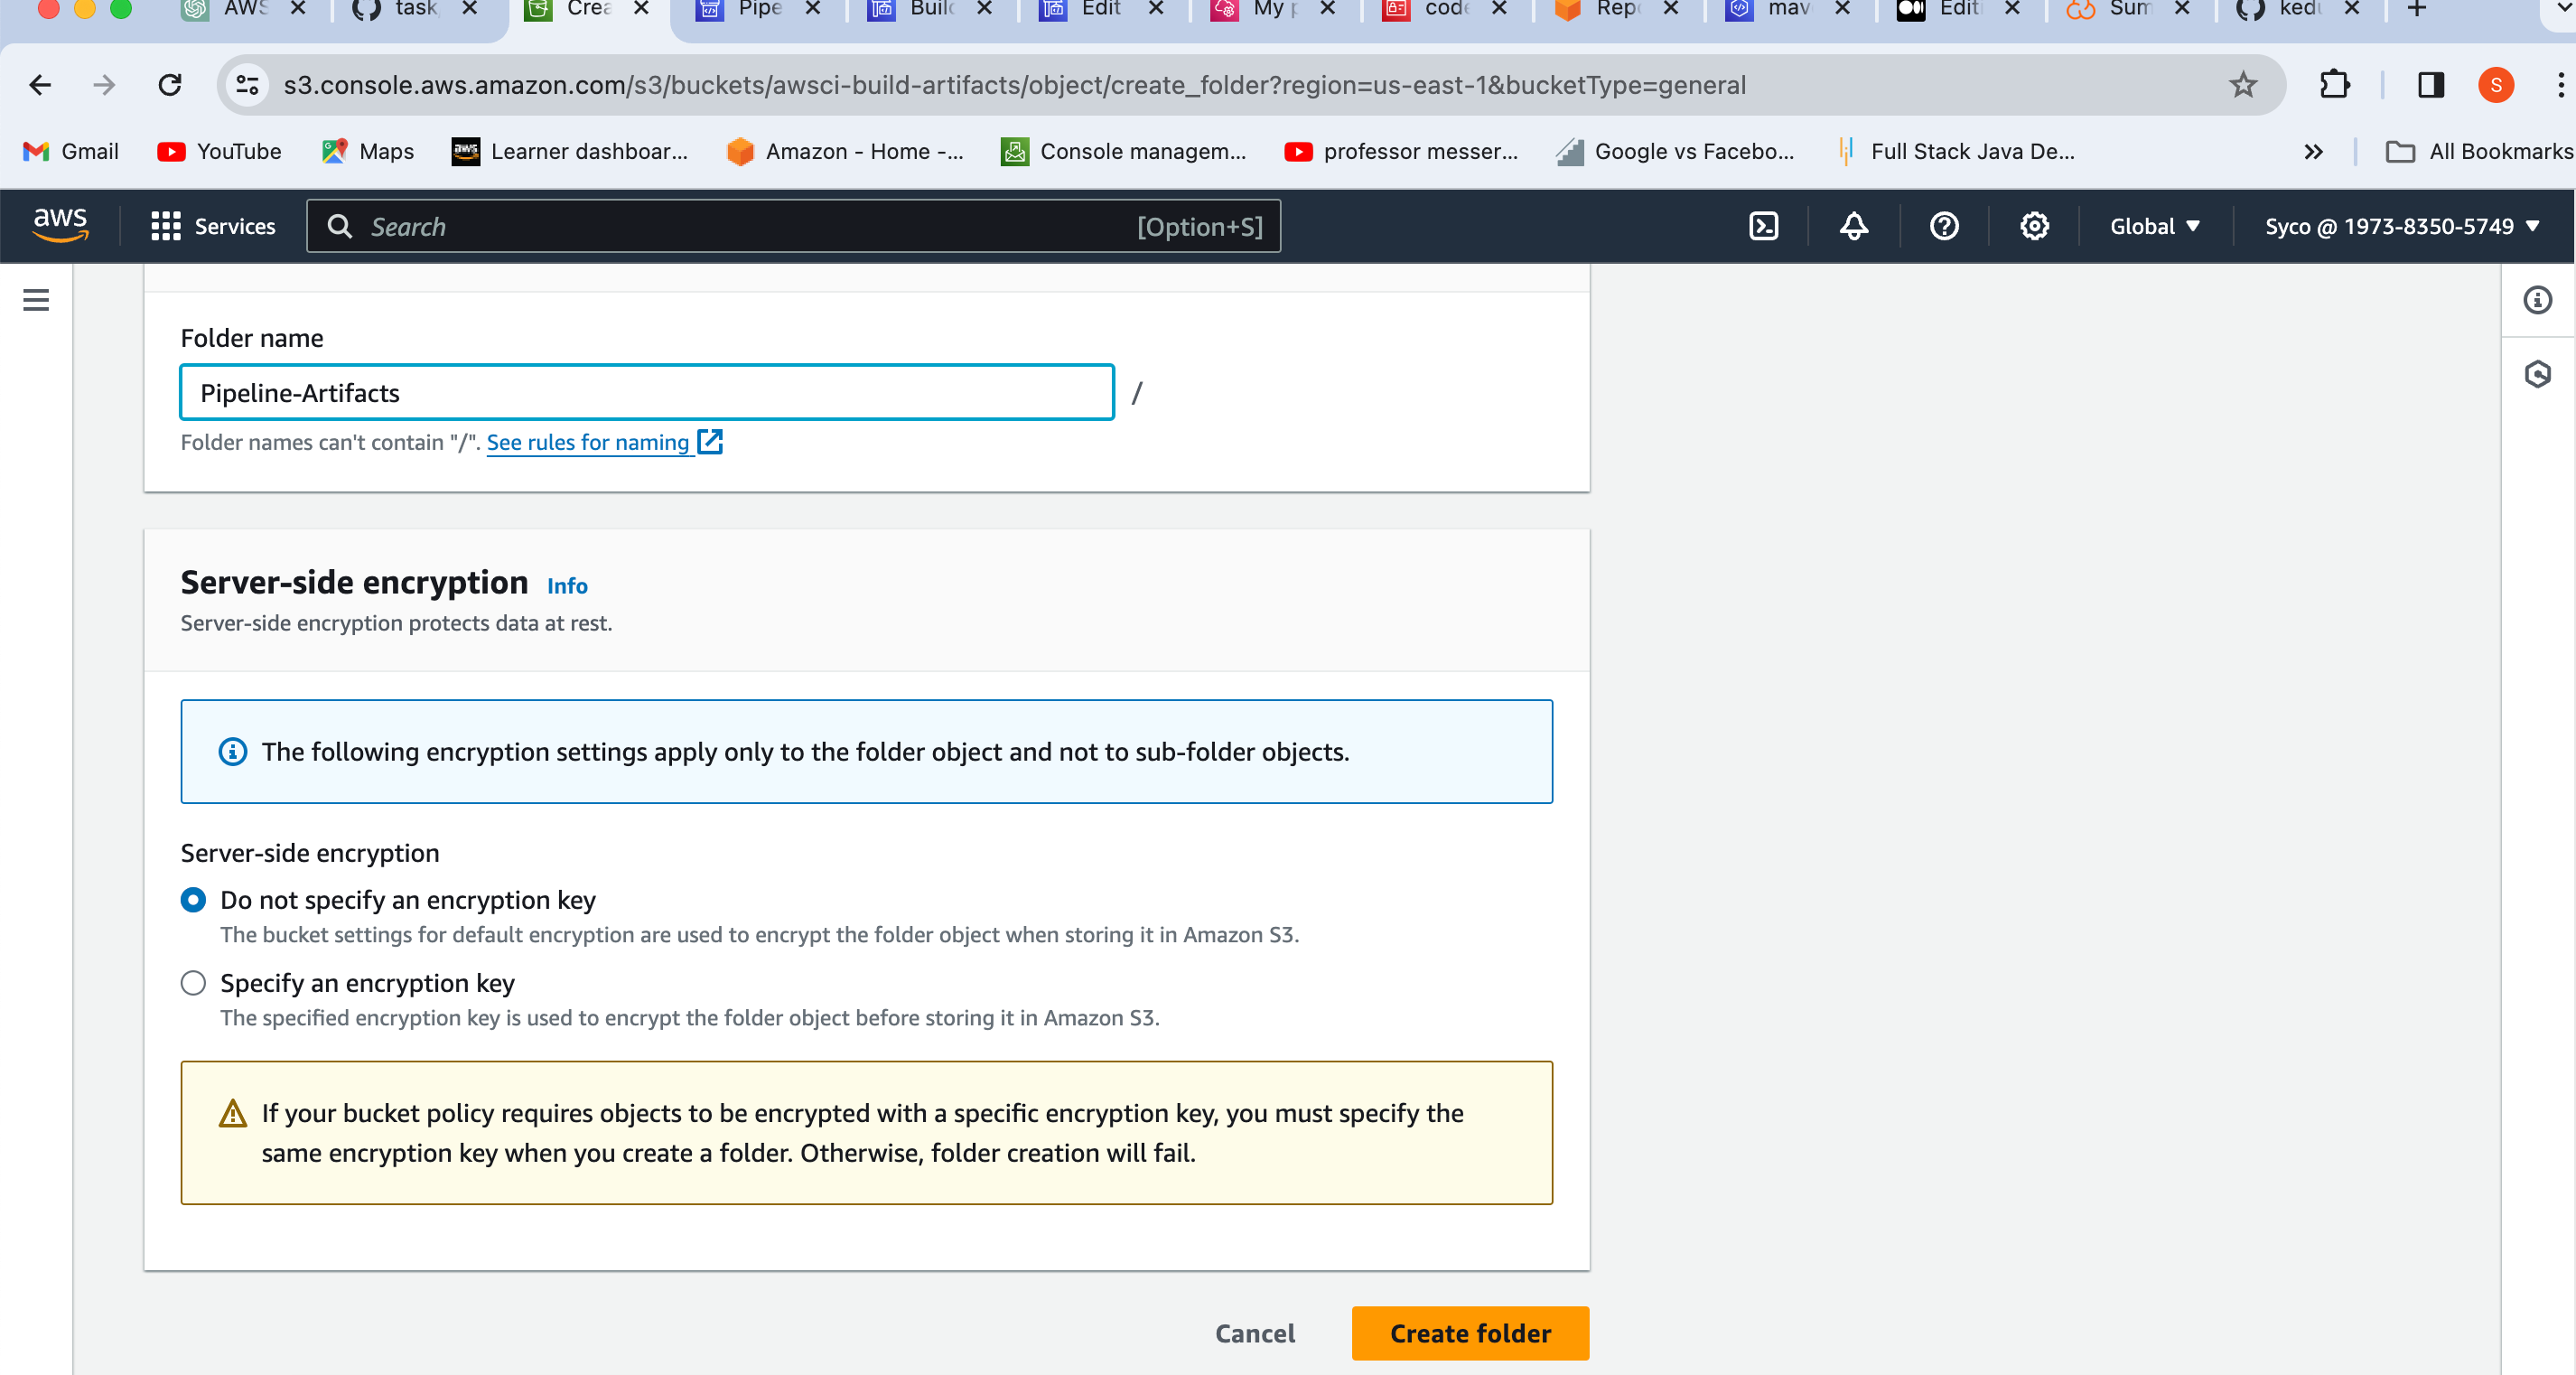
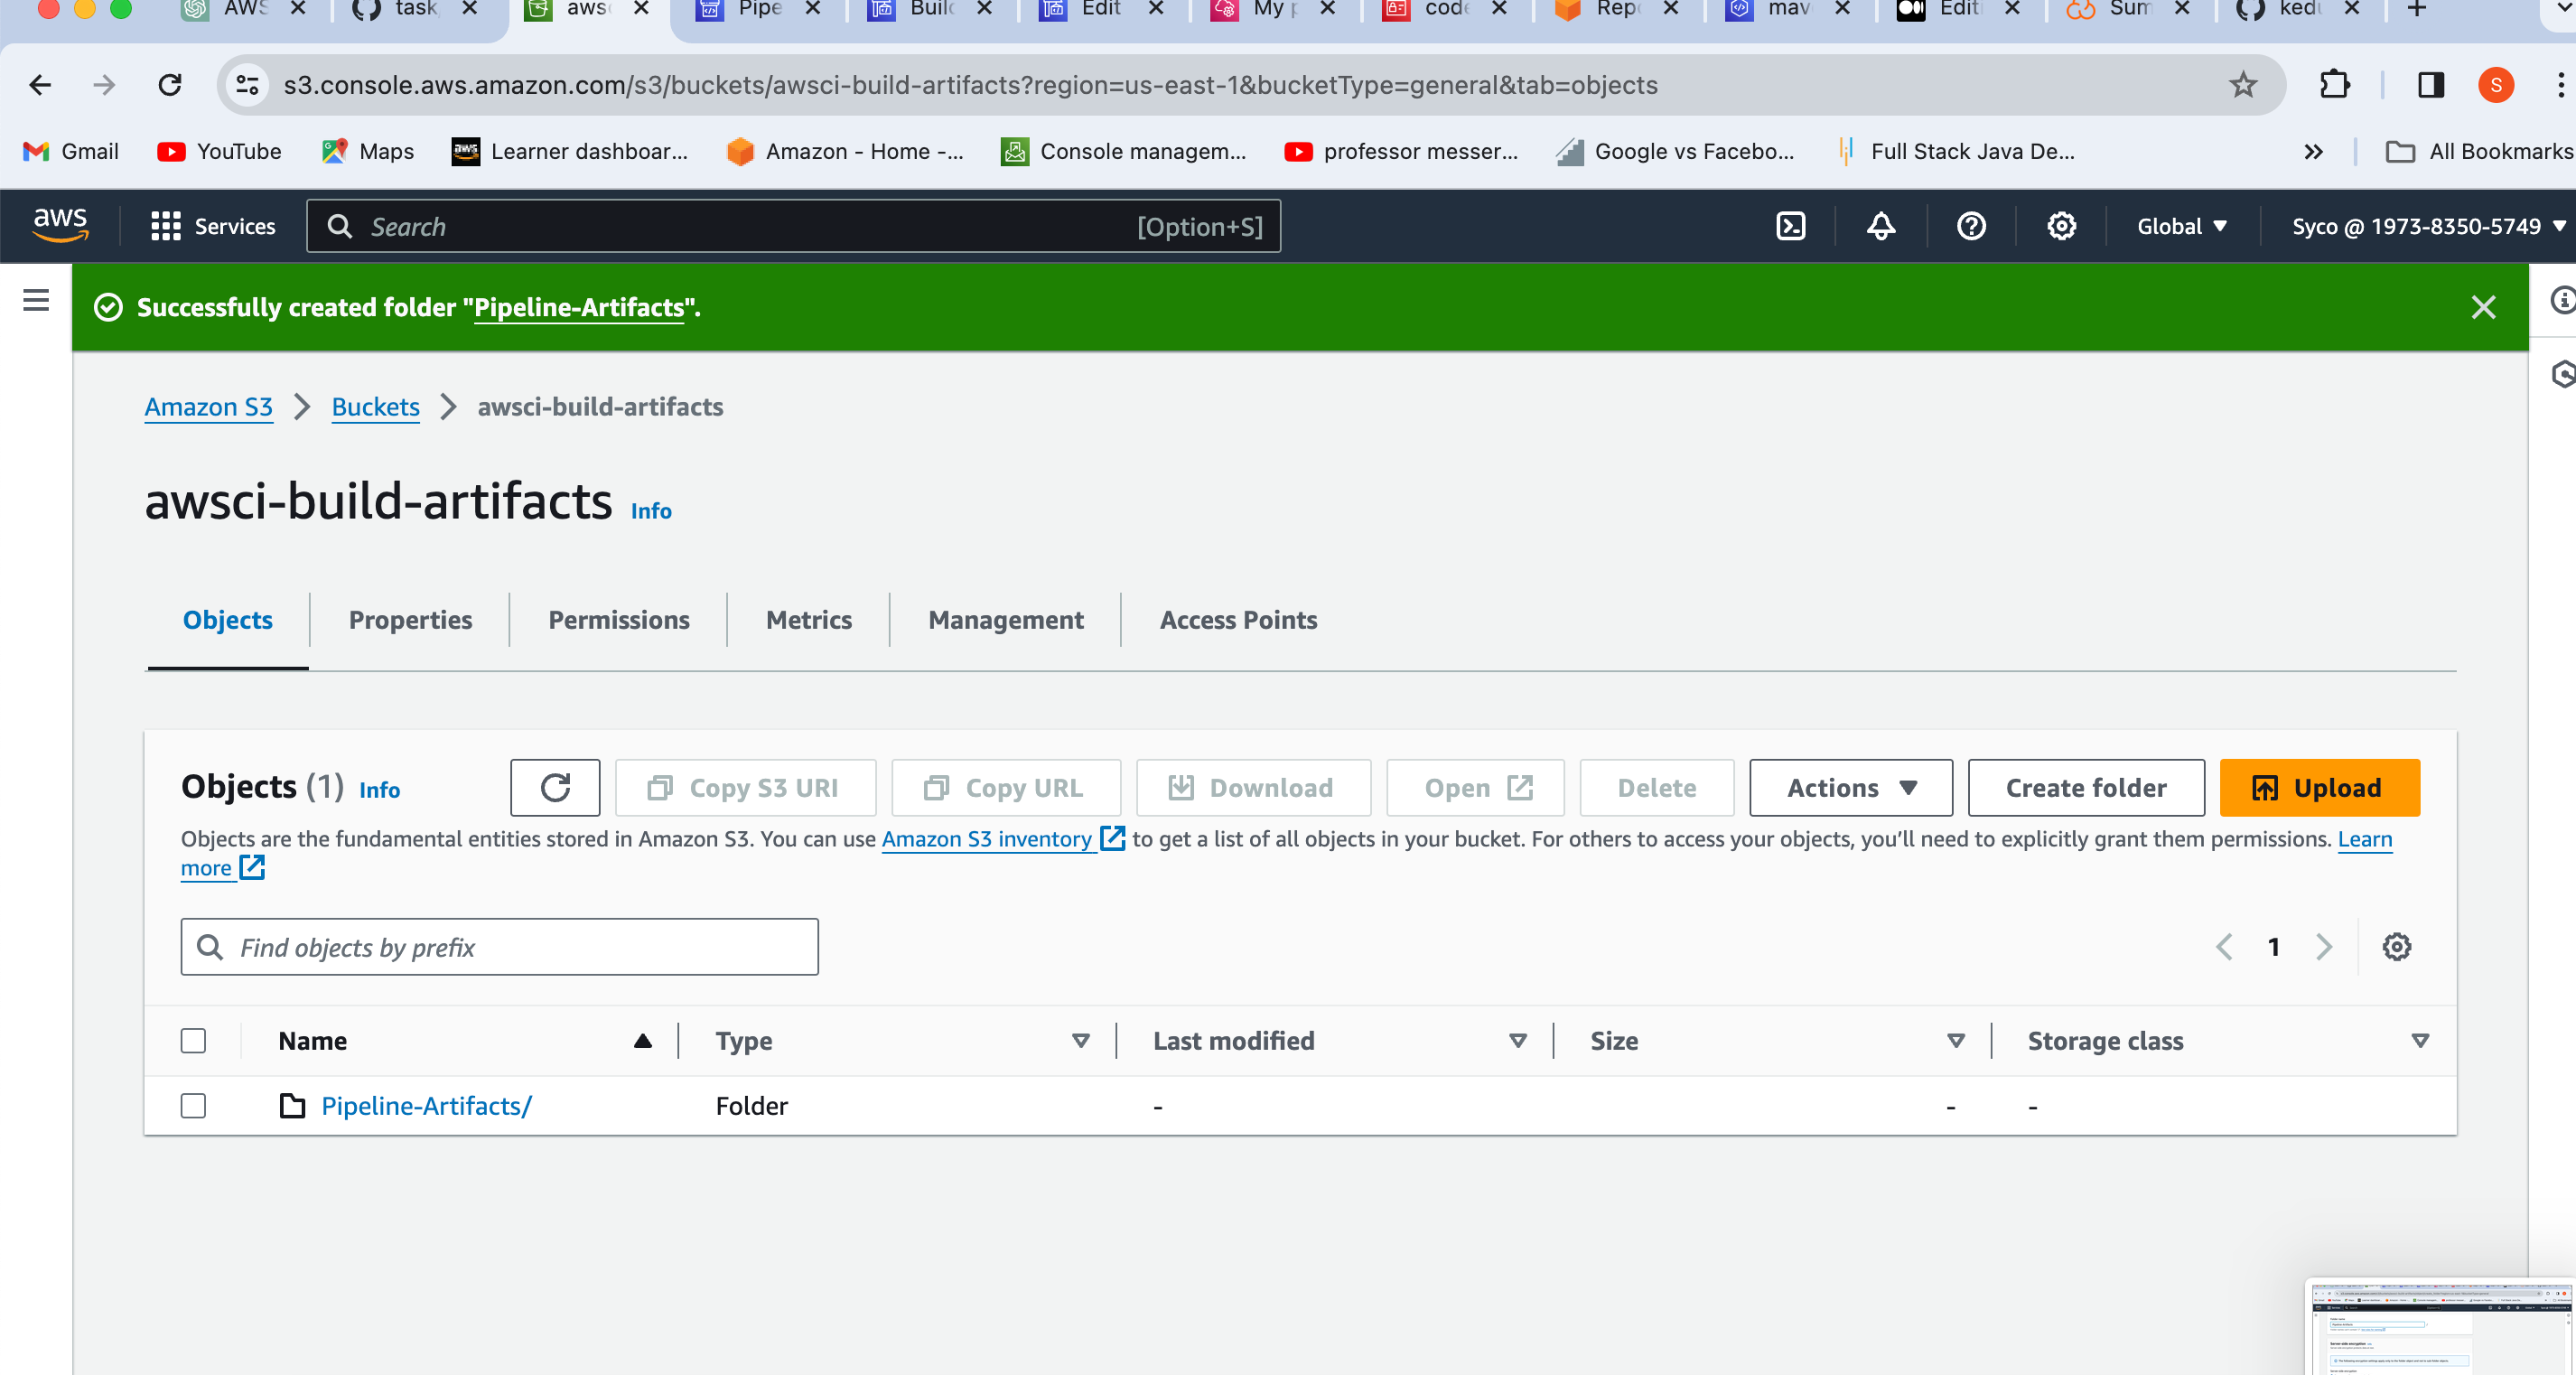
- Open the bucket and create a folder named (e.g., Pipeline-Artifacts).
2. Configure SNS for Notifications:
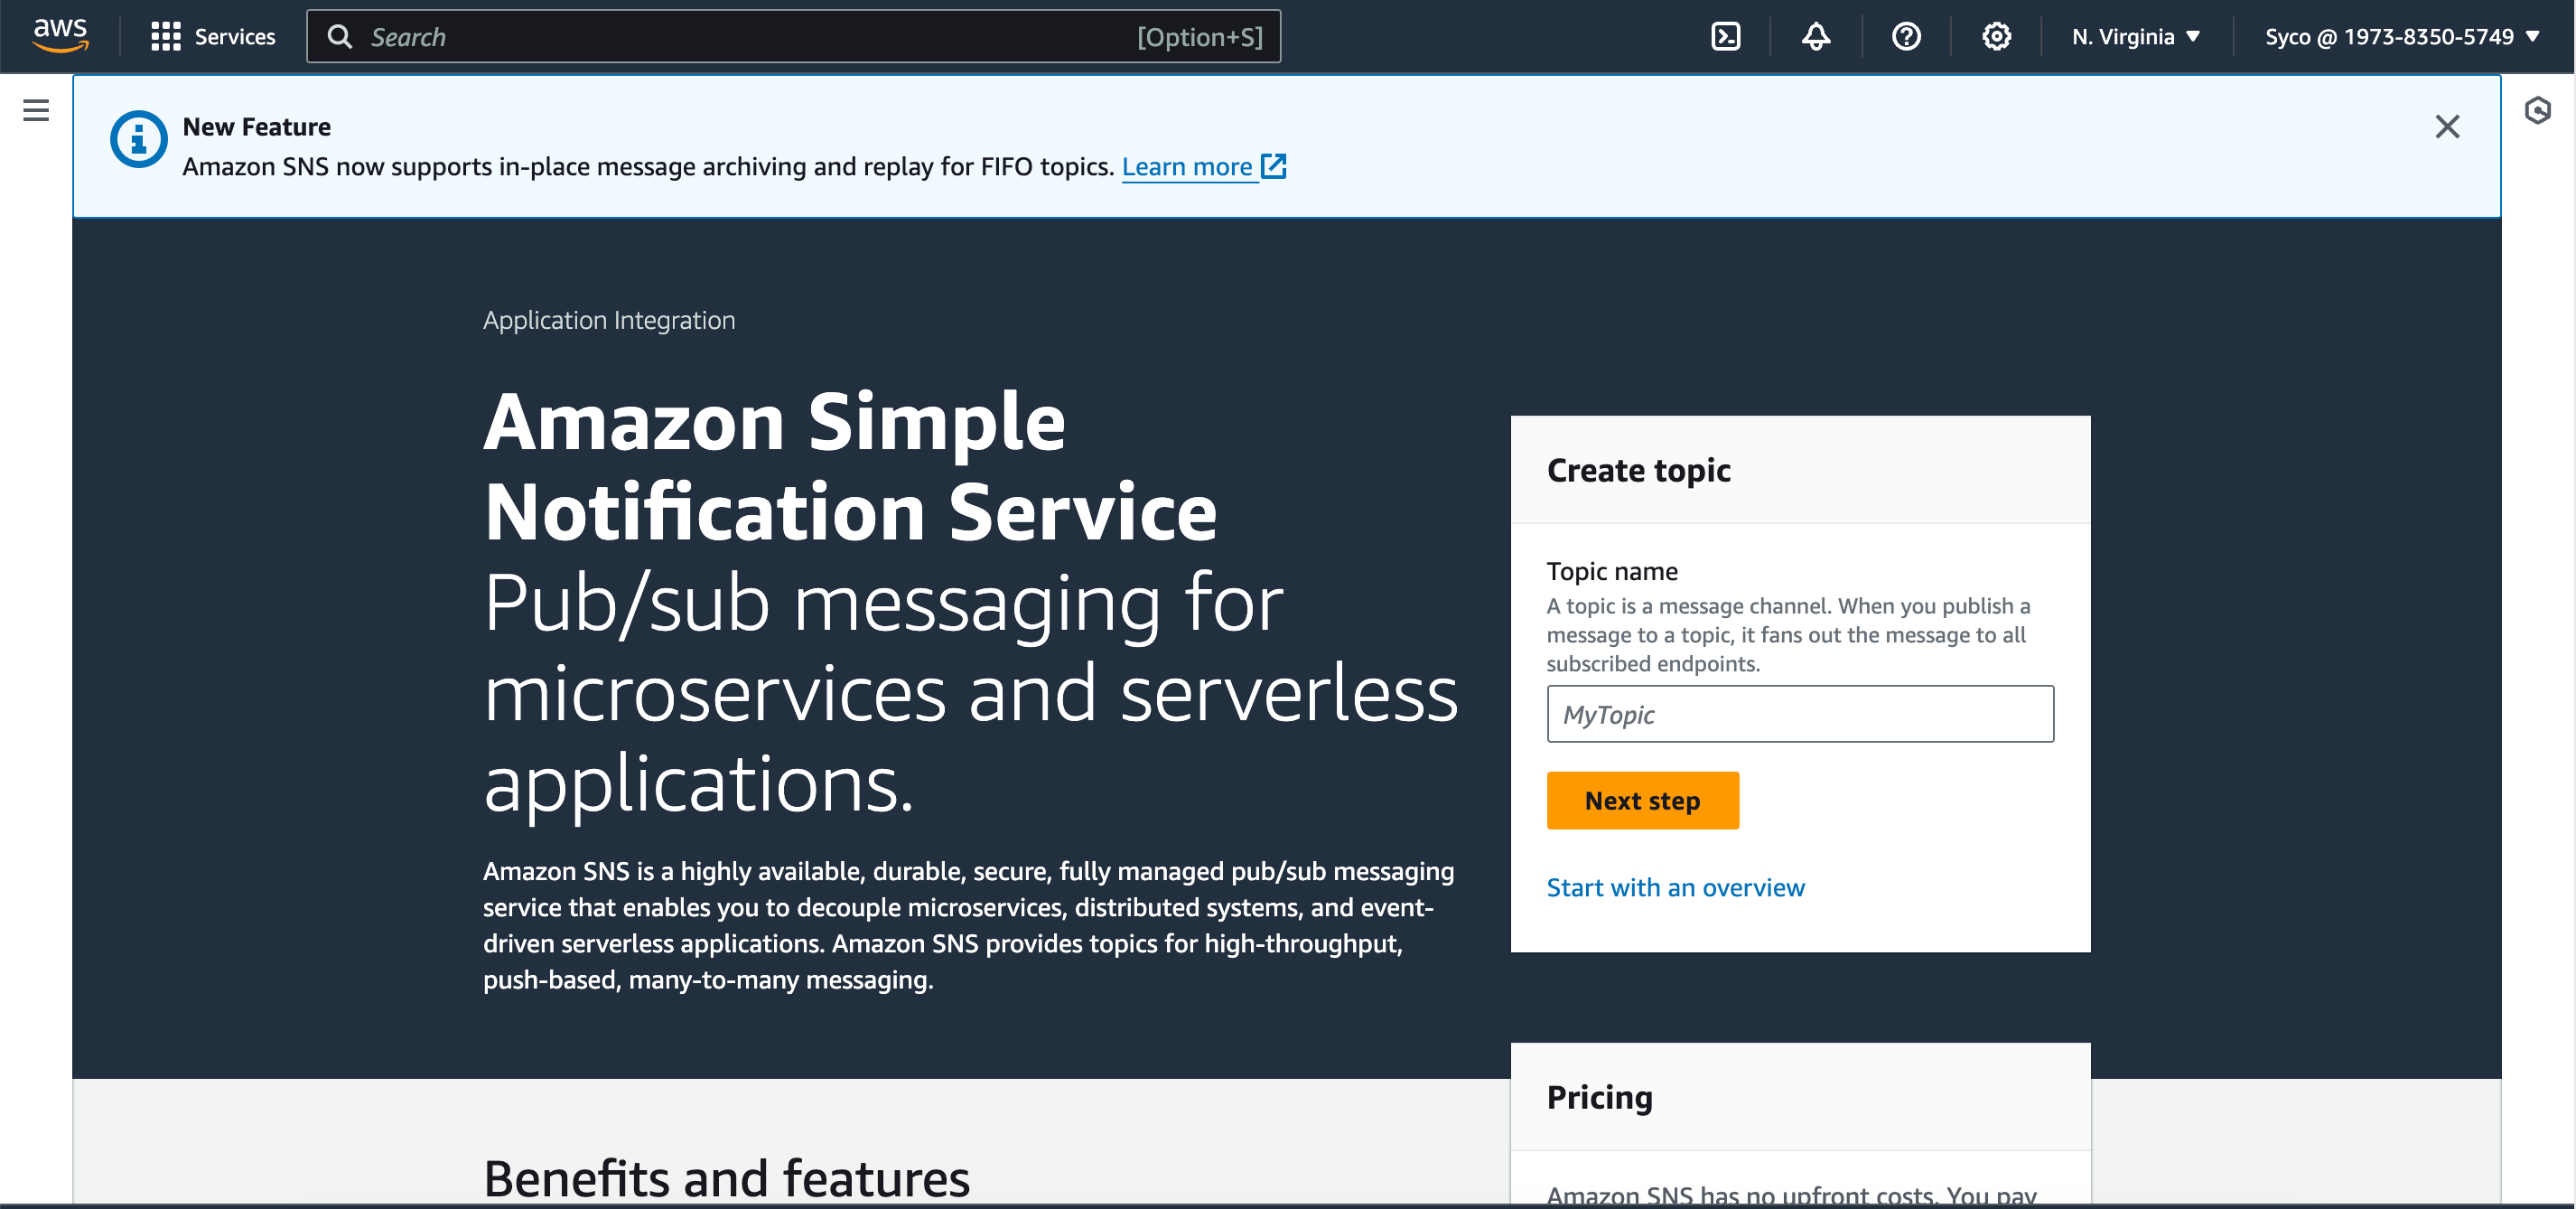
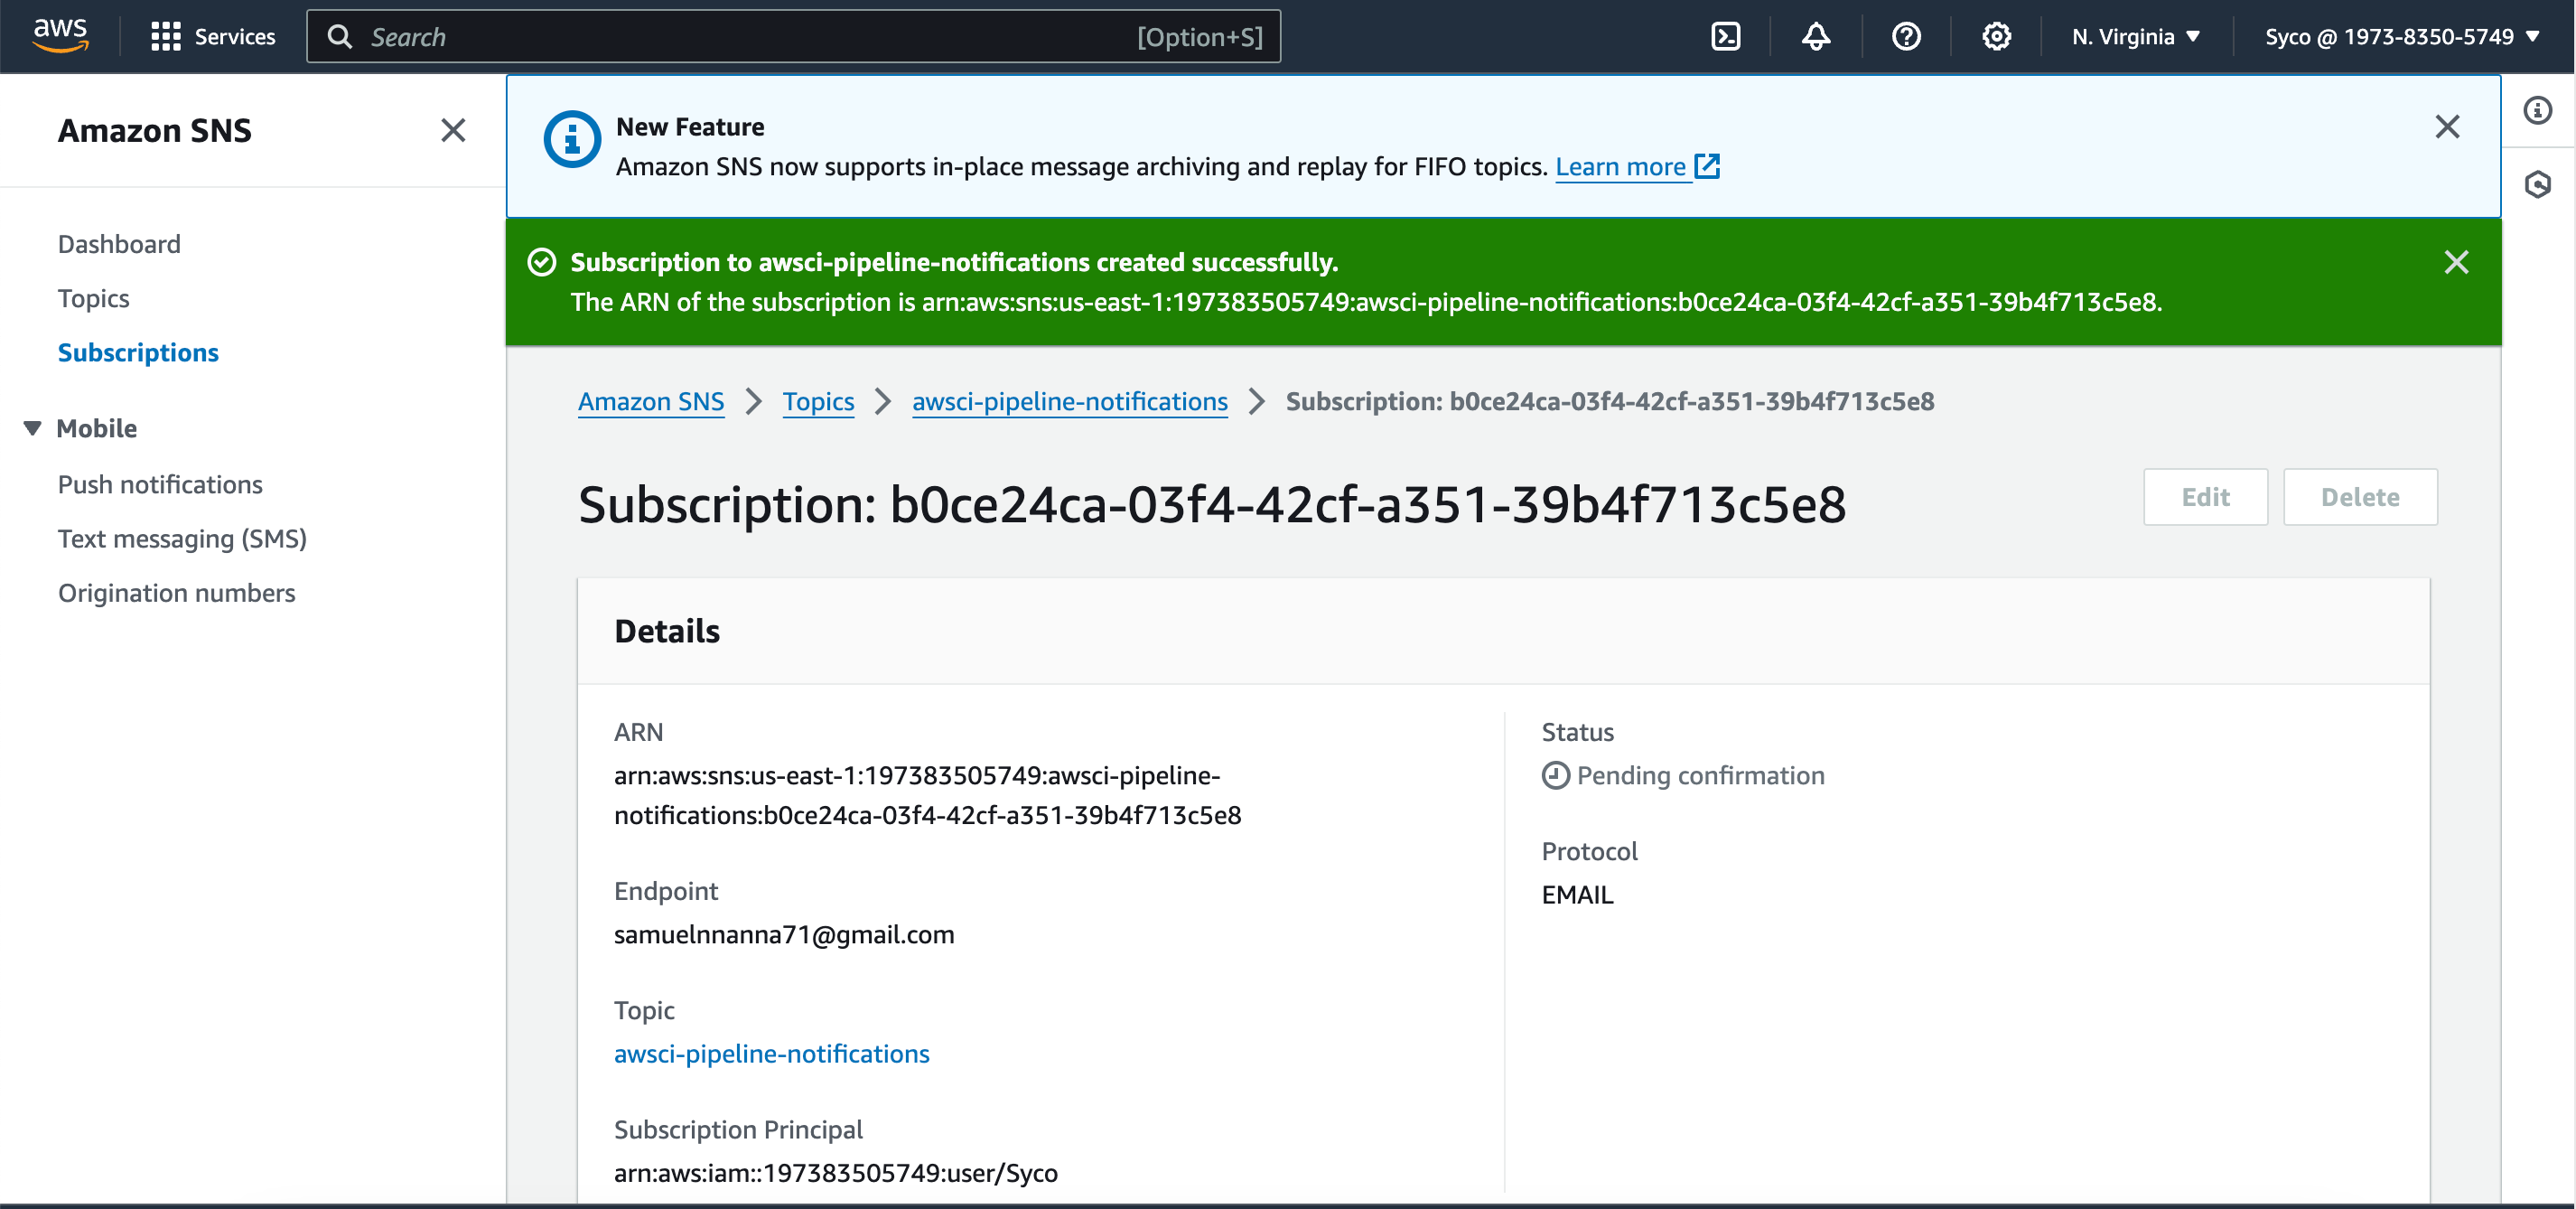
- Navigate to the SNS console.
- Click on “Create topic.”
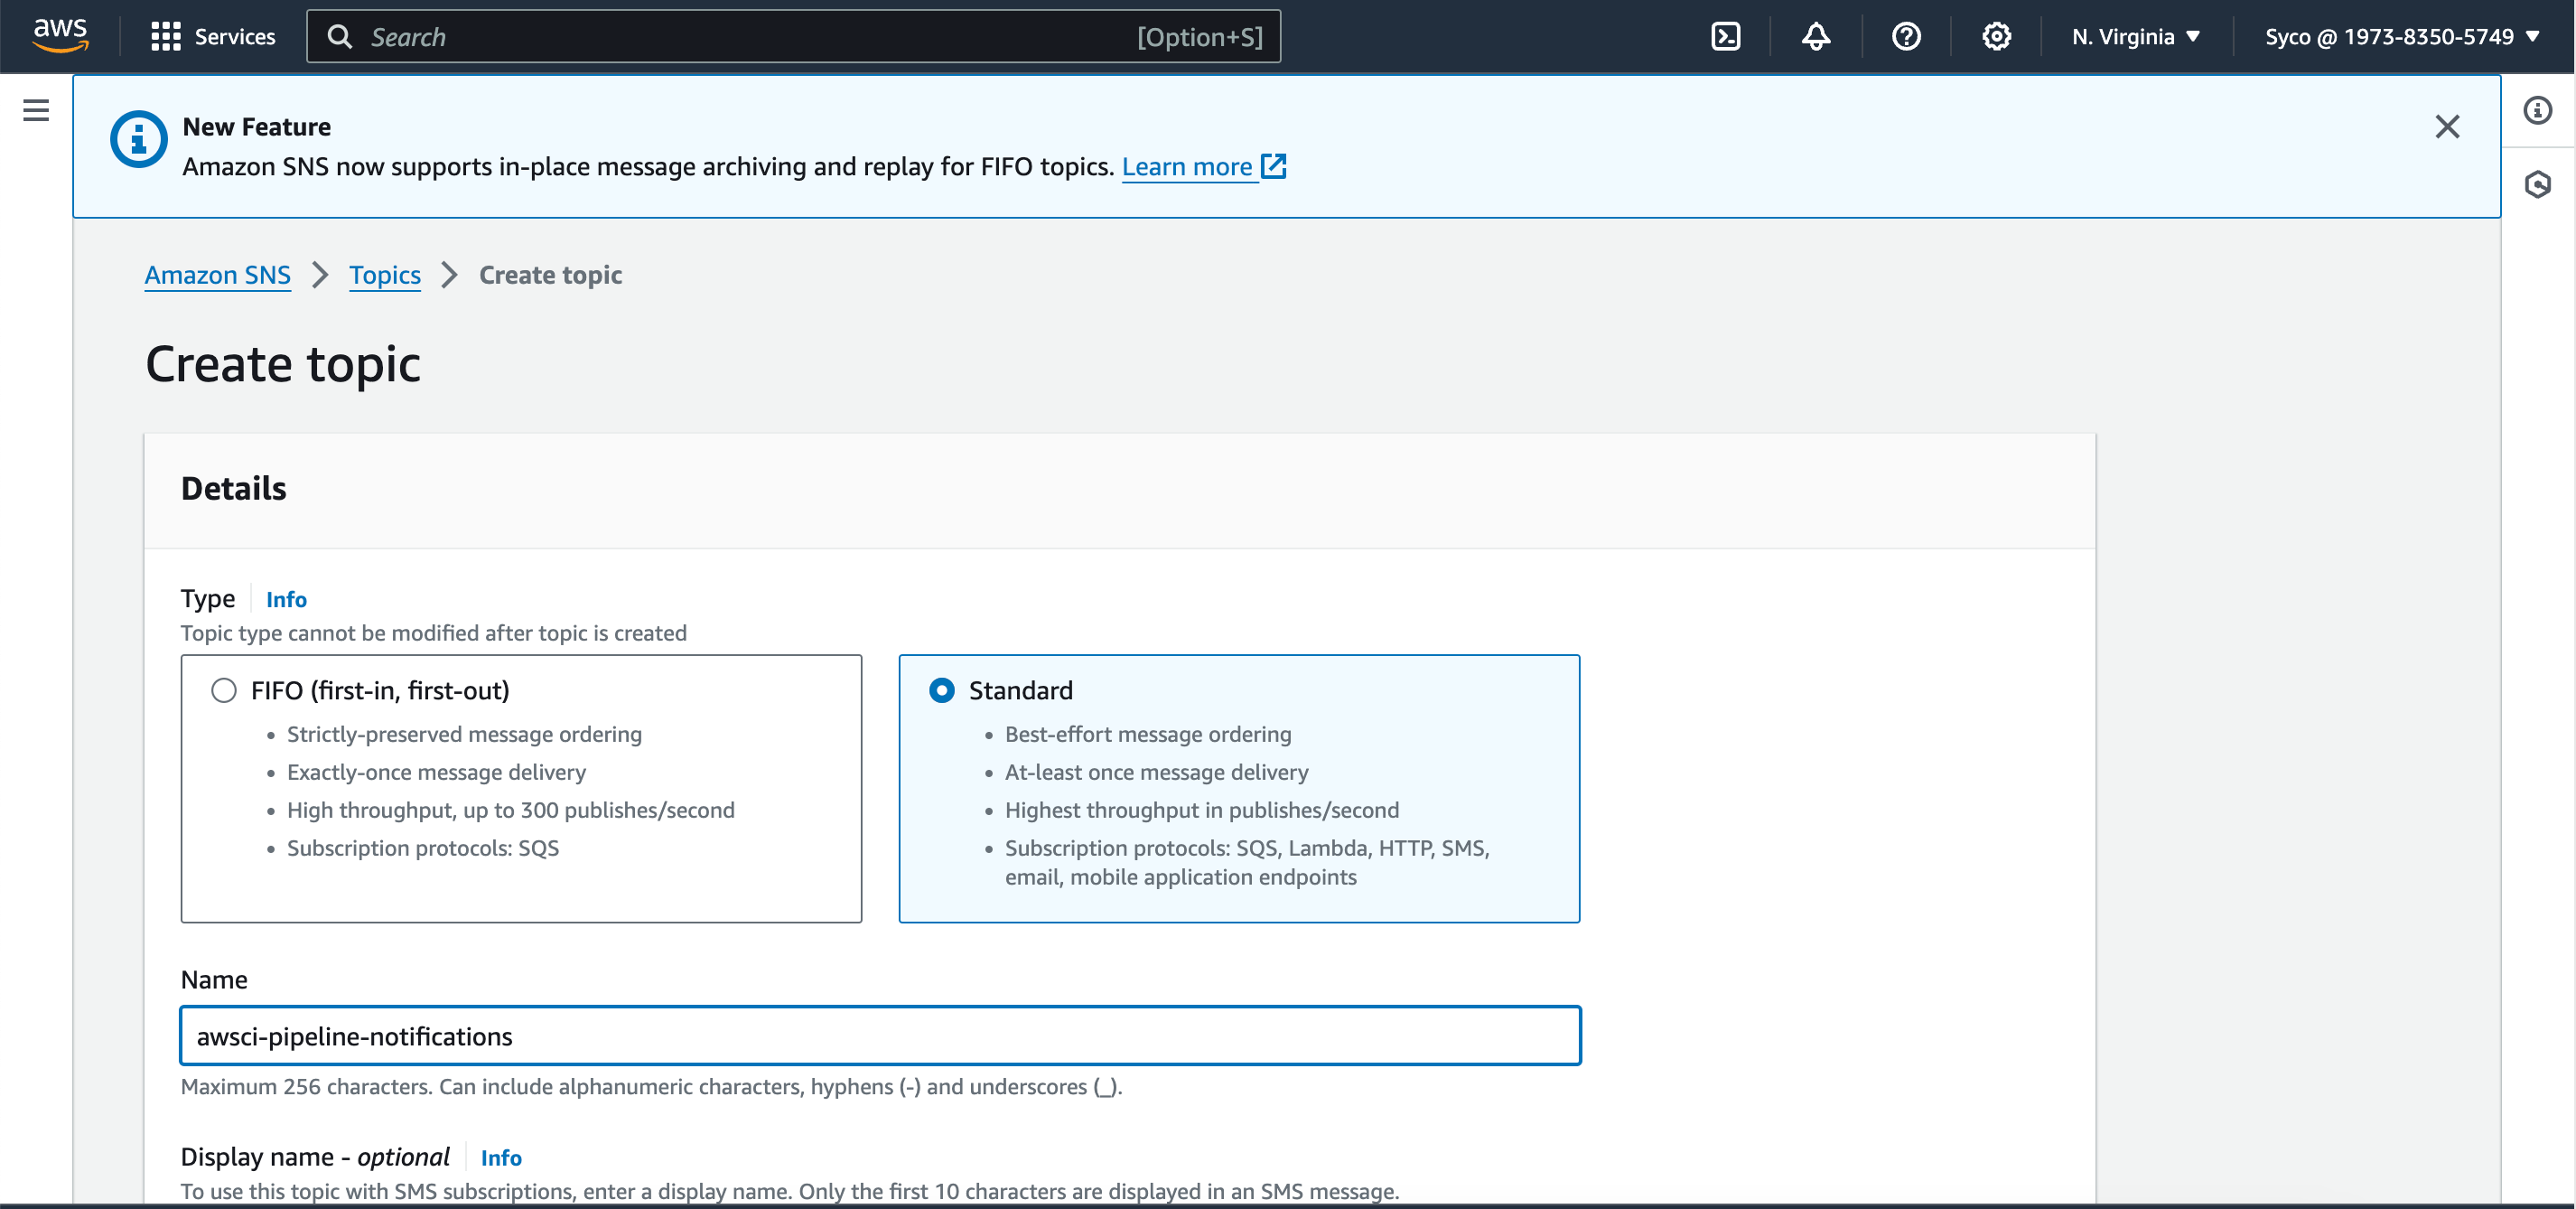
- Choose “Standard” under type and give the topic a name (e.g., awsci-pipeline-notifications).
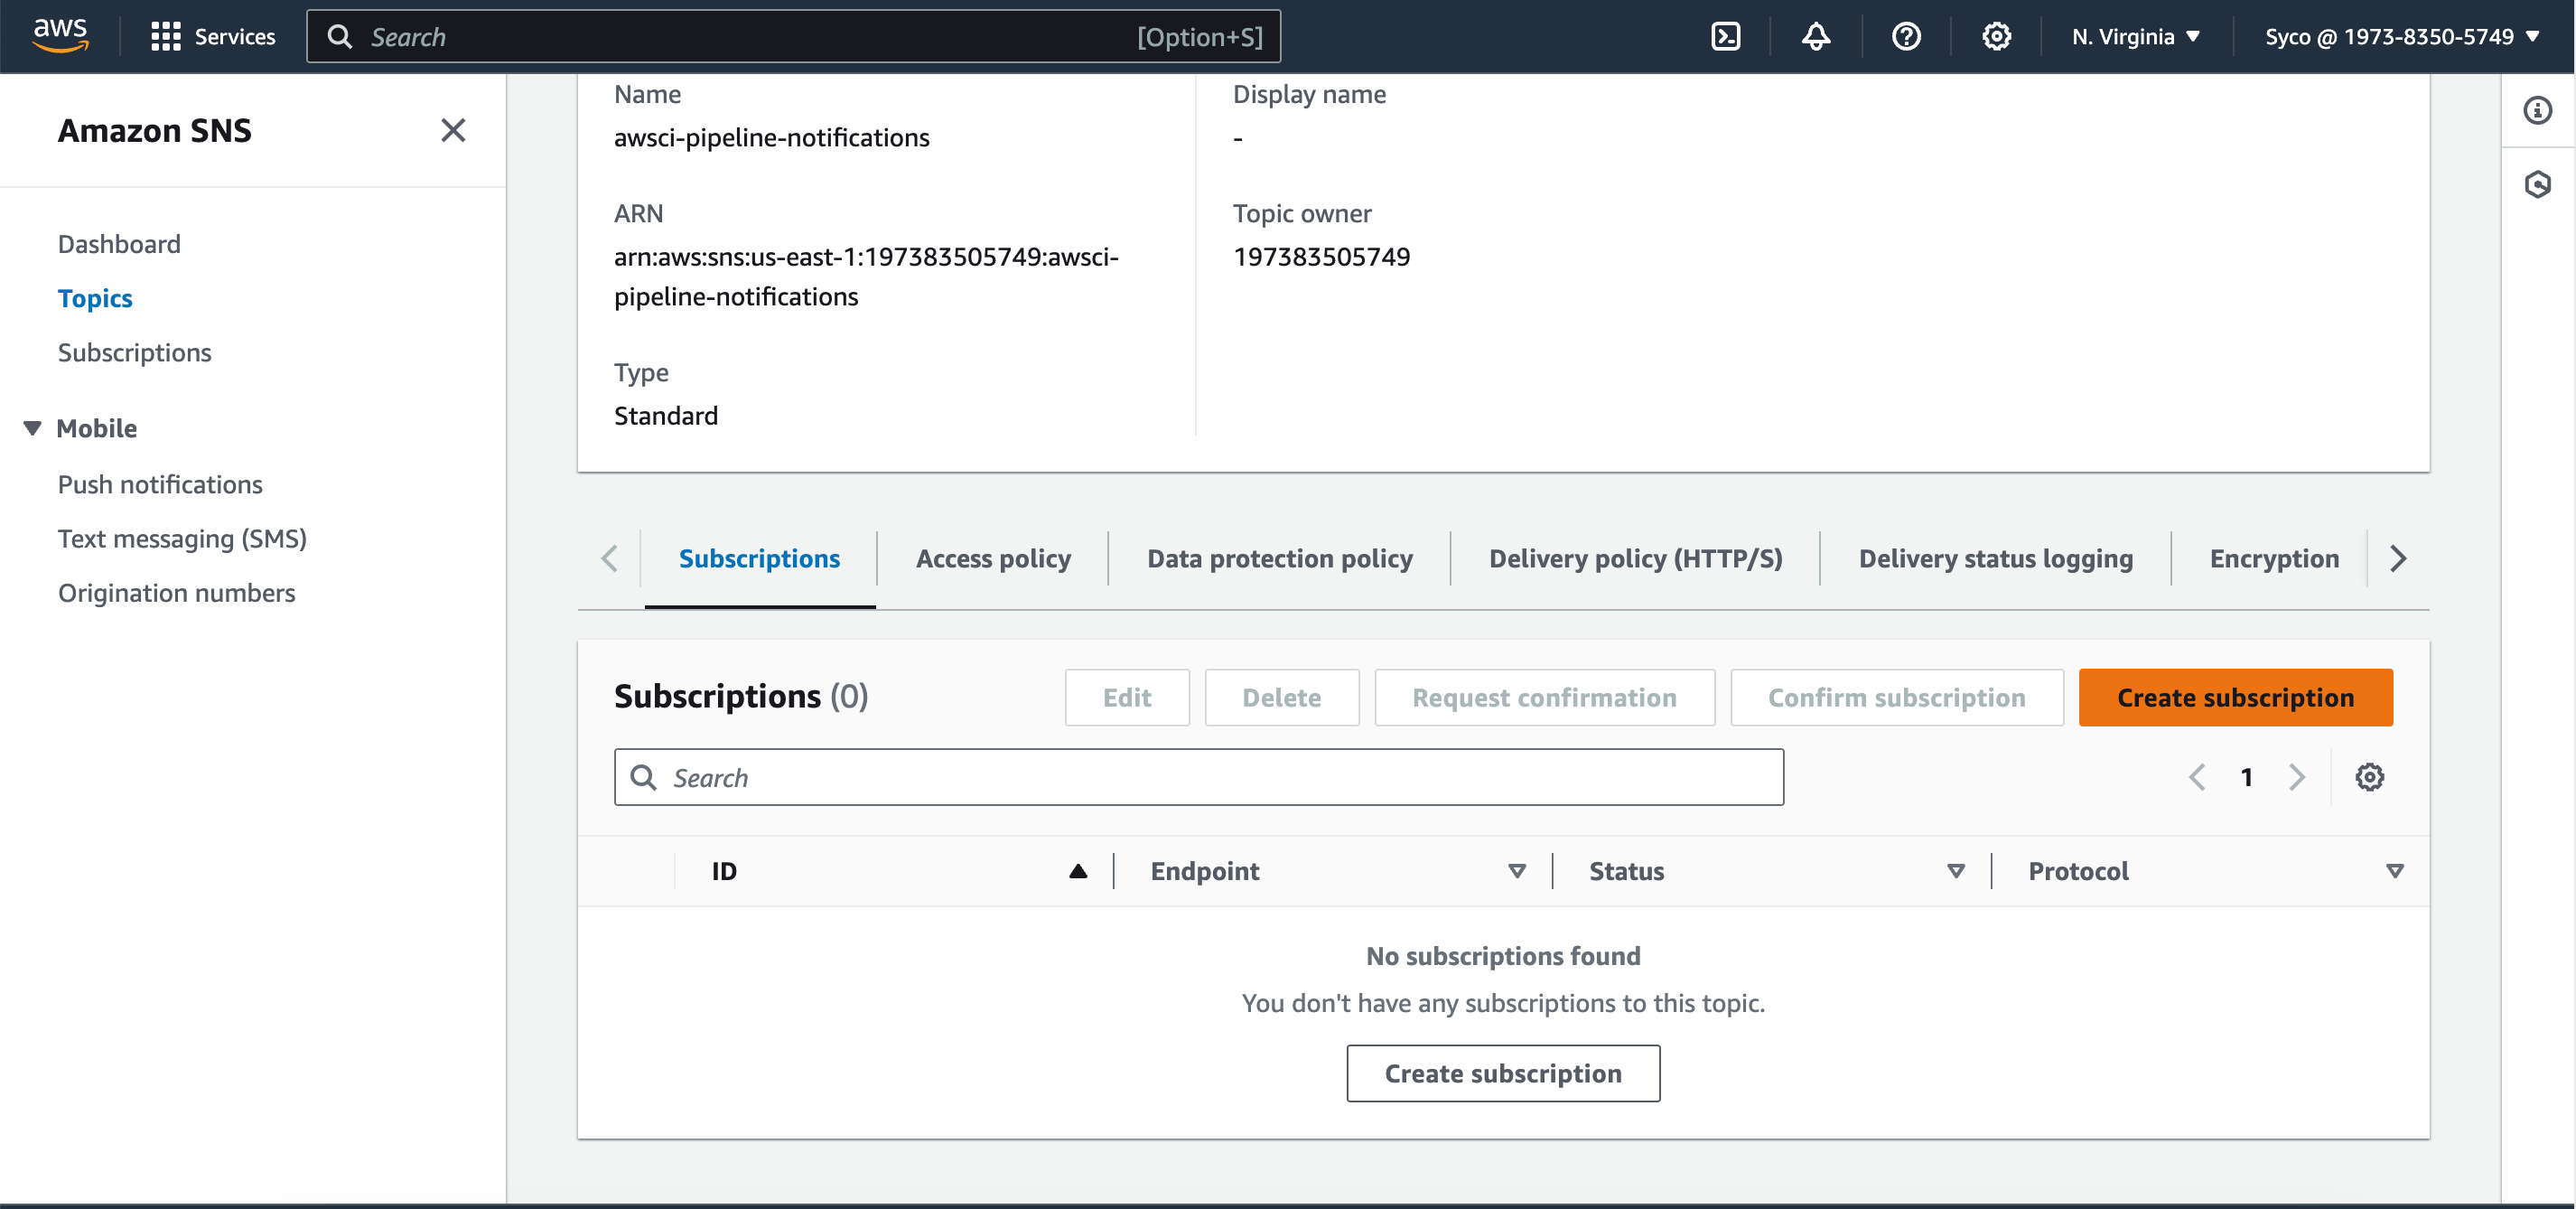
- Click on “Create topic.”
- Click on “Create subscription.”
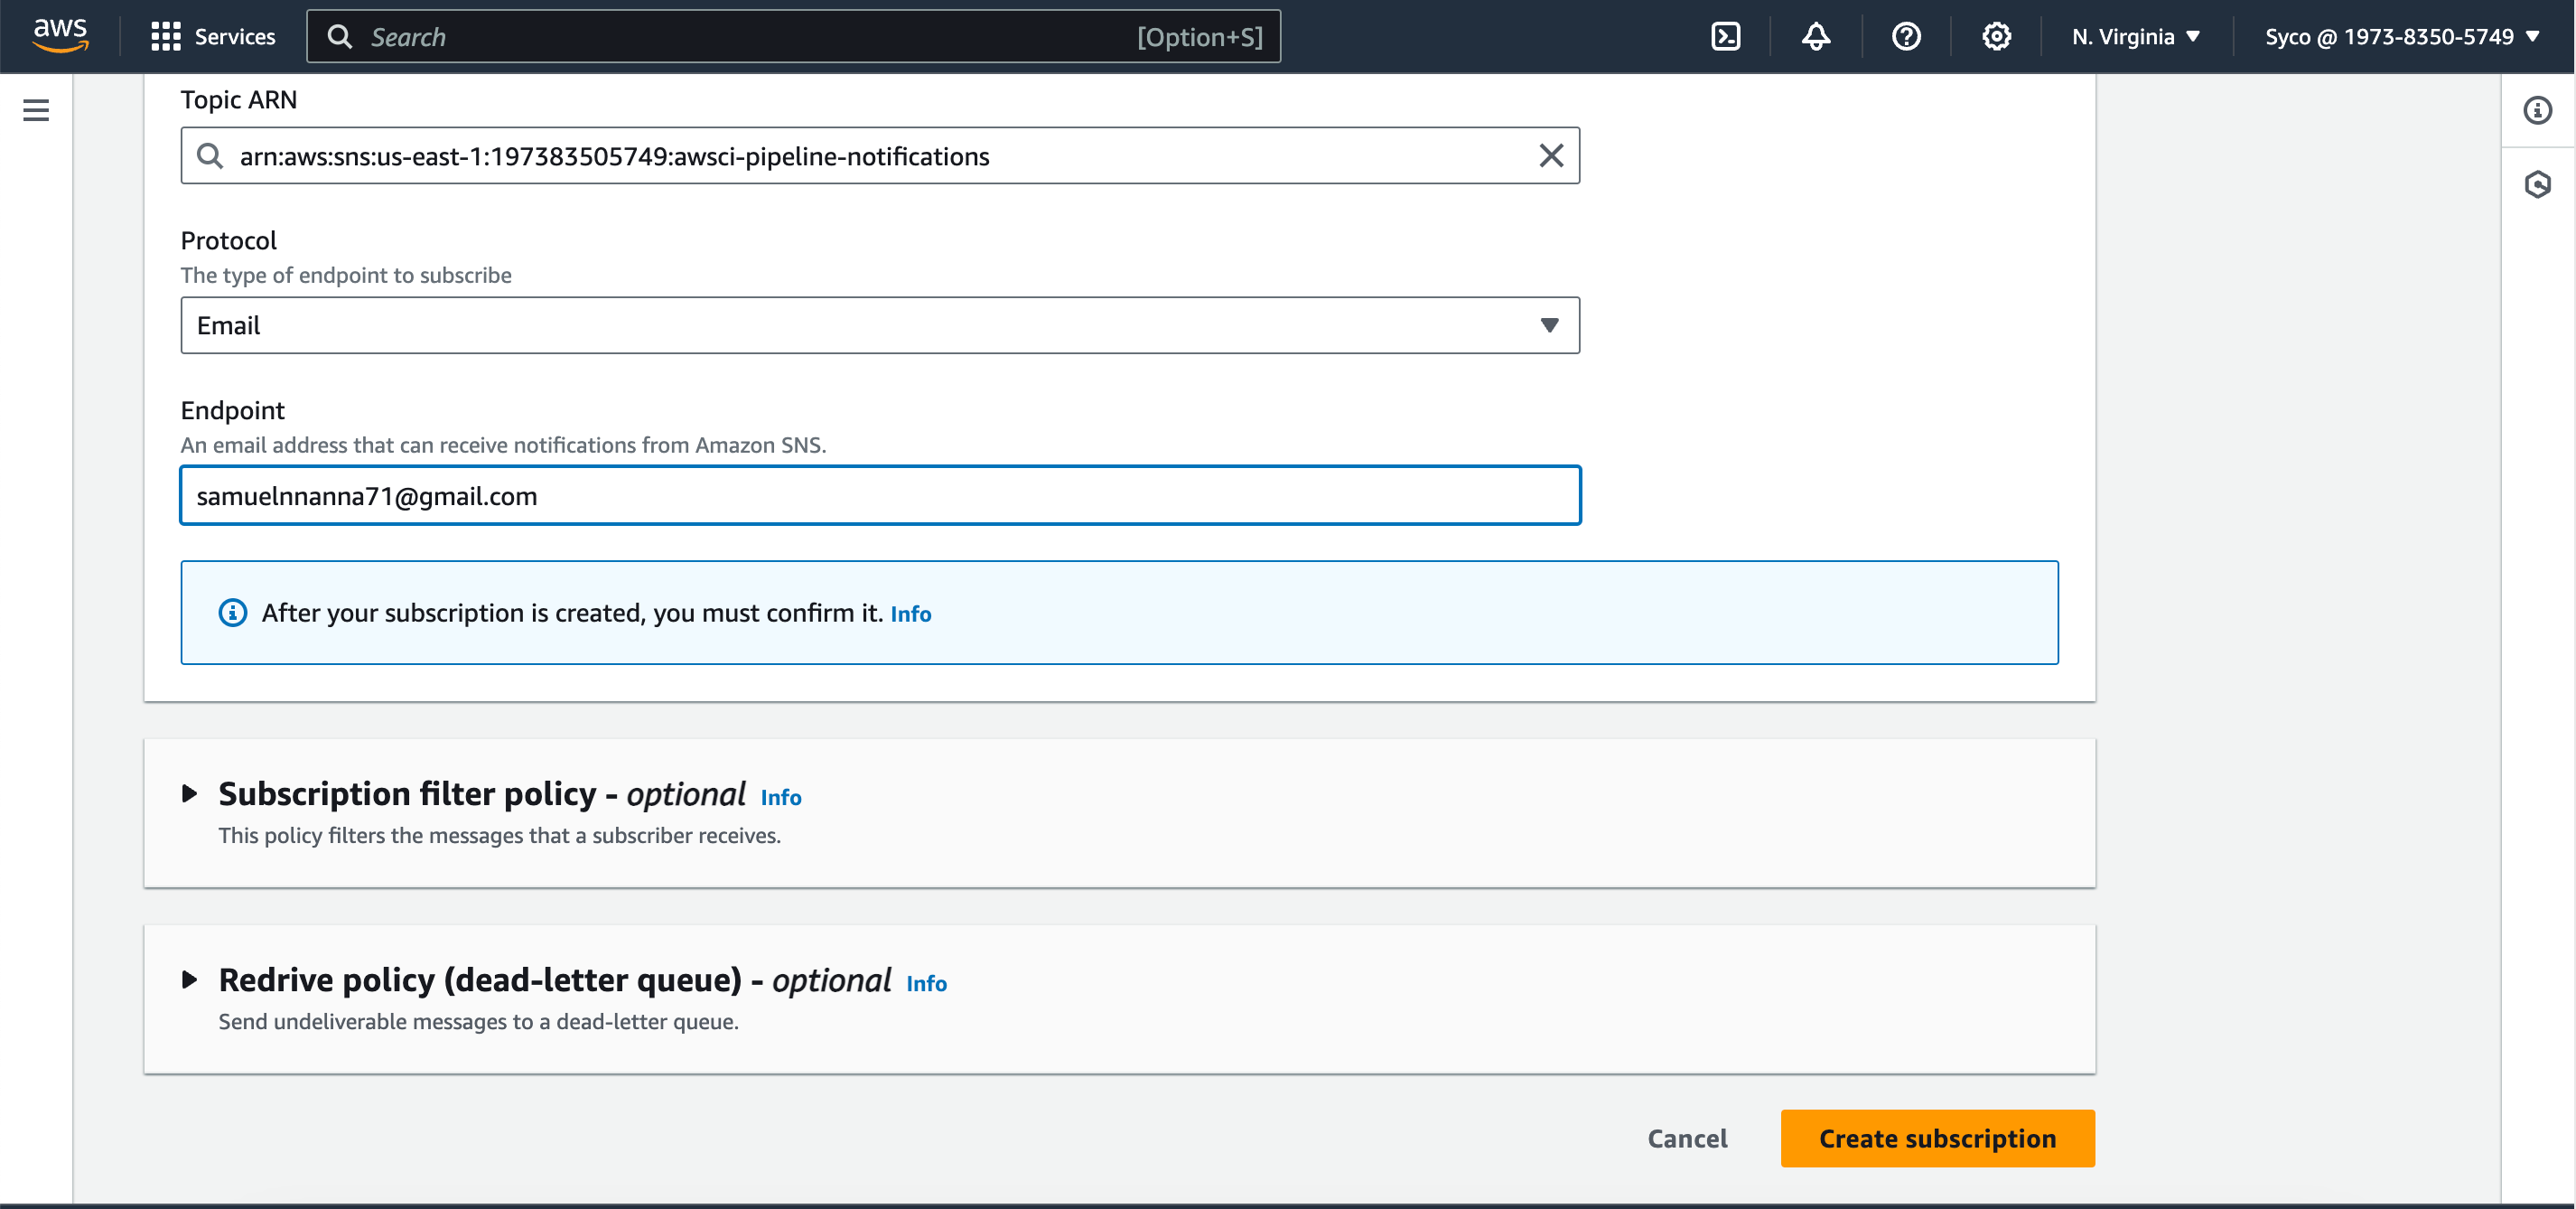
- Select “Email” as the protocol and provide an email address for notifications.
- Click on “Create subscription.”
- Confirm the subscription through the email received
3. Create CodePipeline:
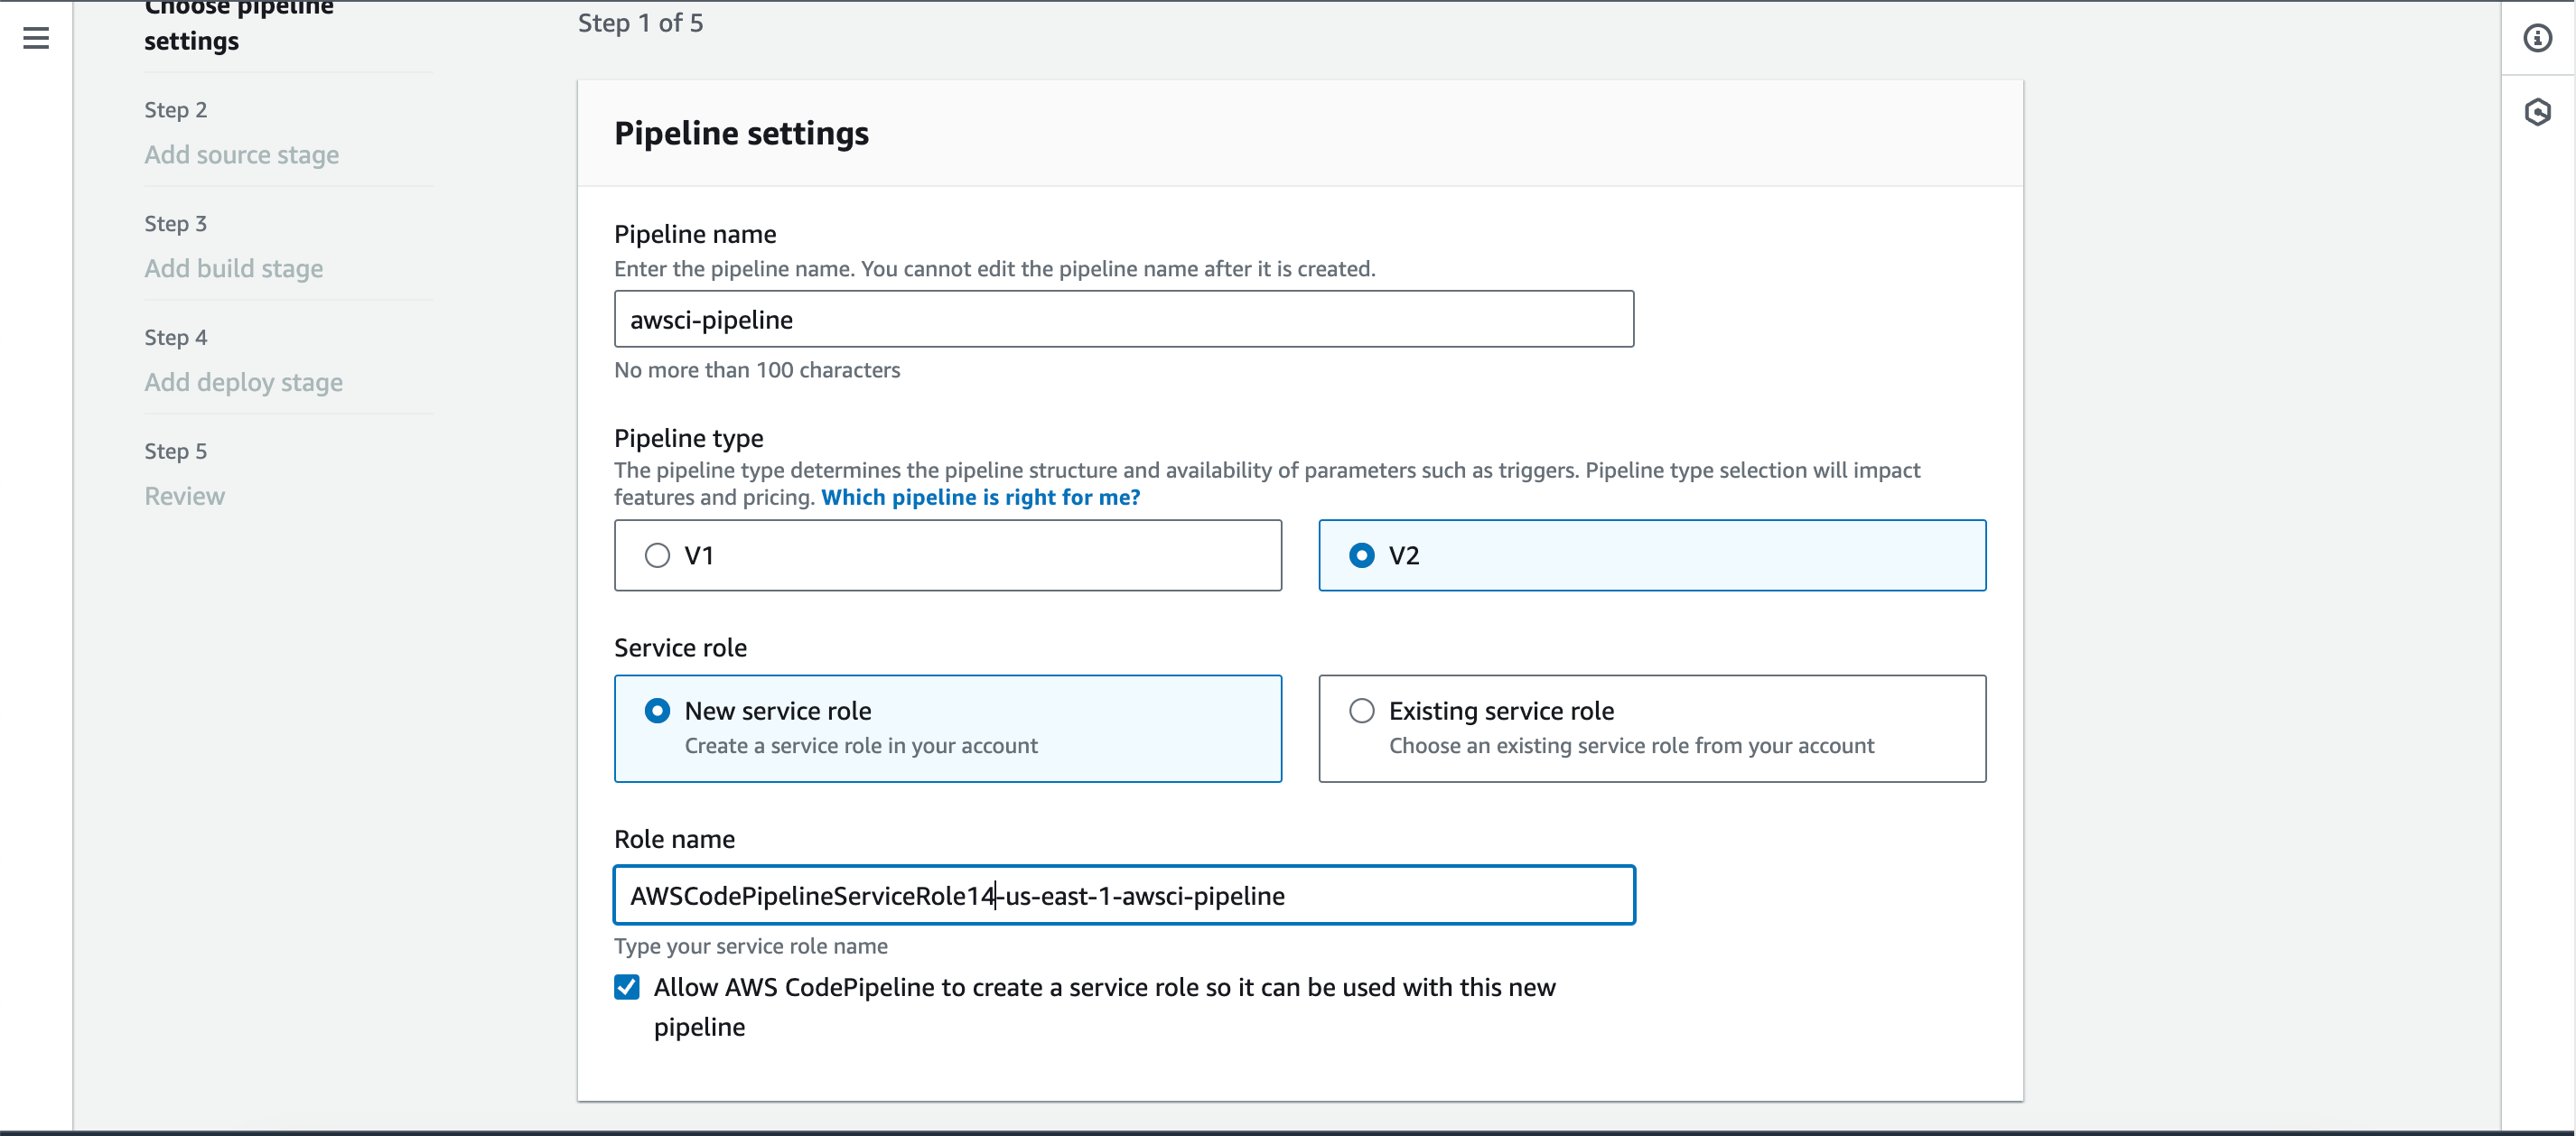
- Navigate to the CodePipeline console.
- Click on “Create pipeline.”
- Provide a name for the pipeline and add a unique identifier under the service role.
- Click on “Next.”
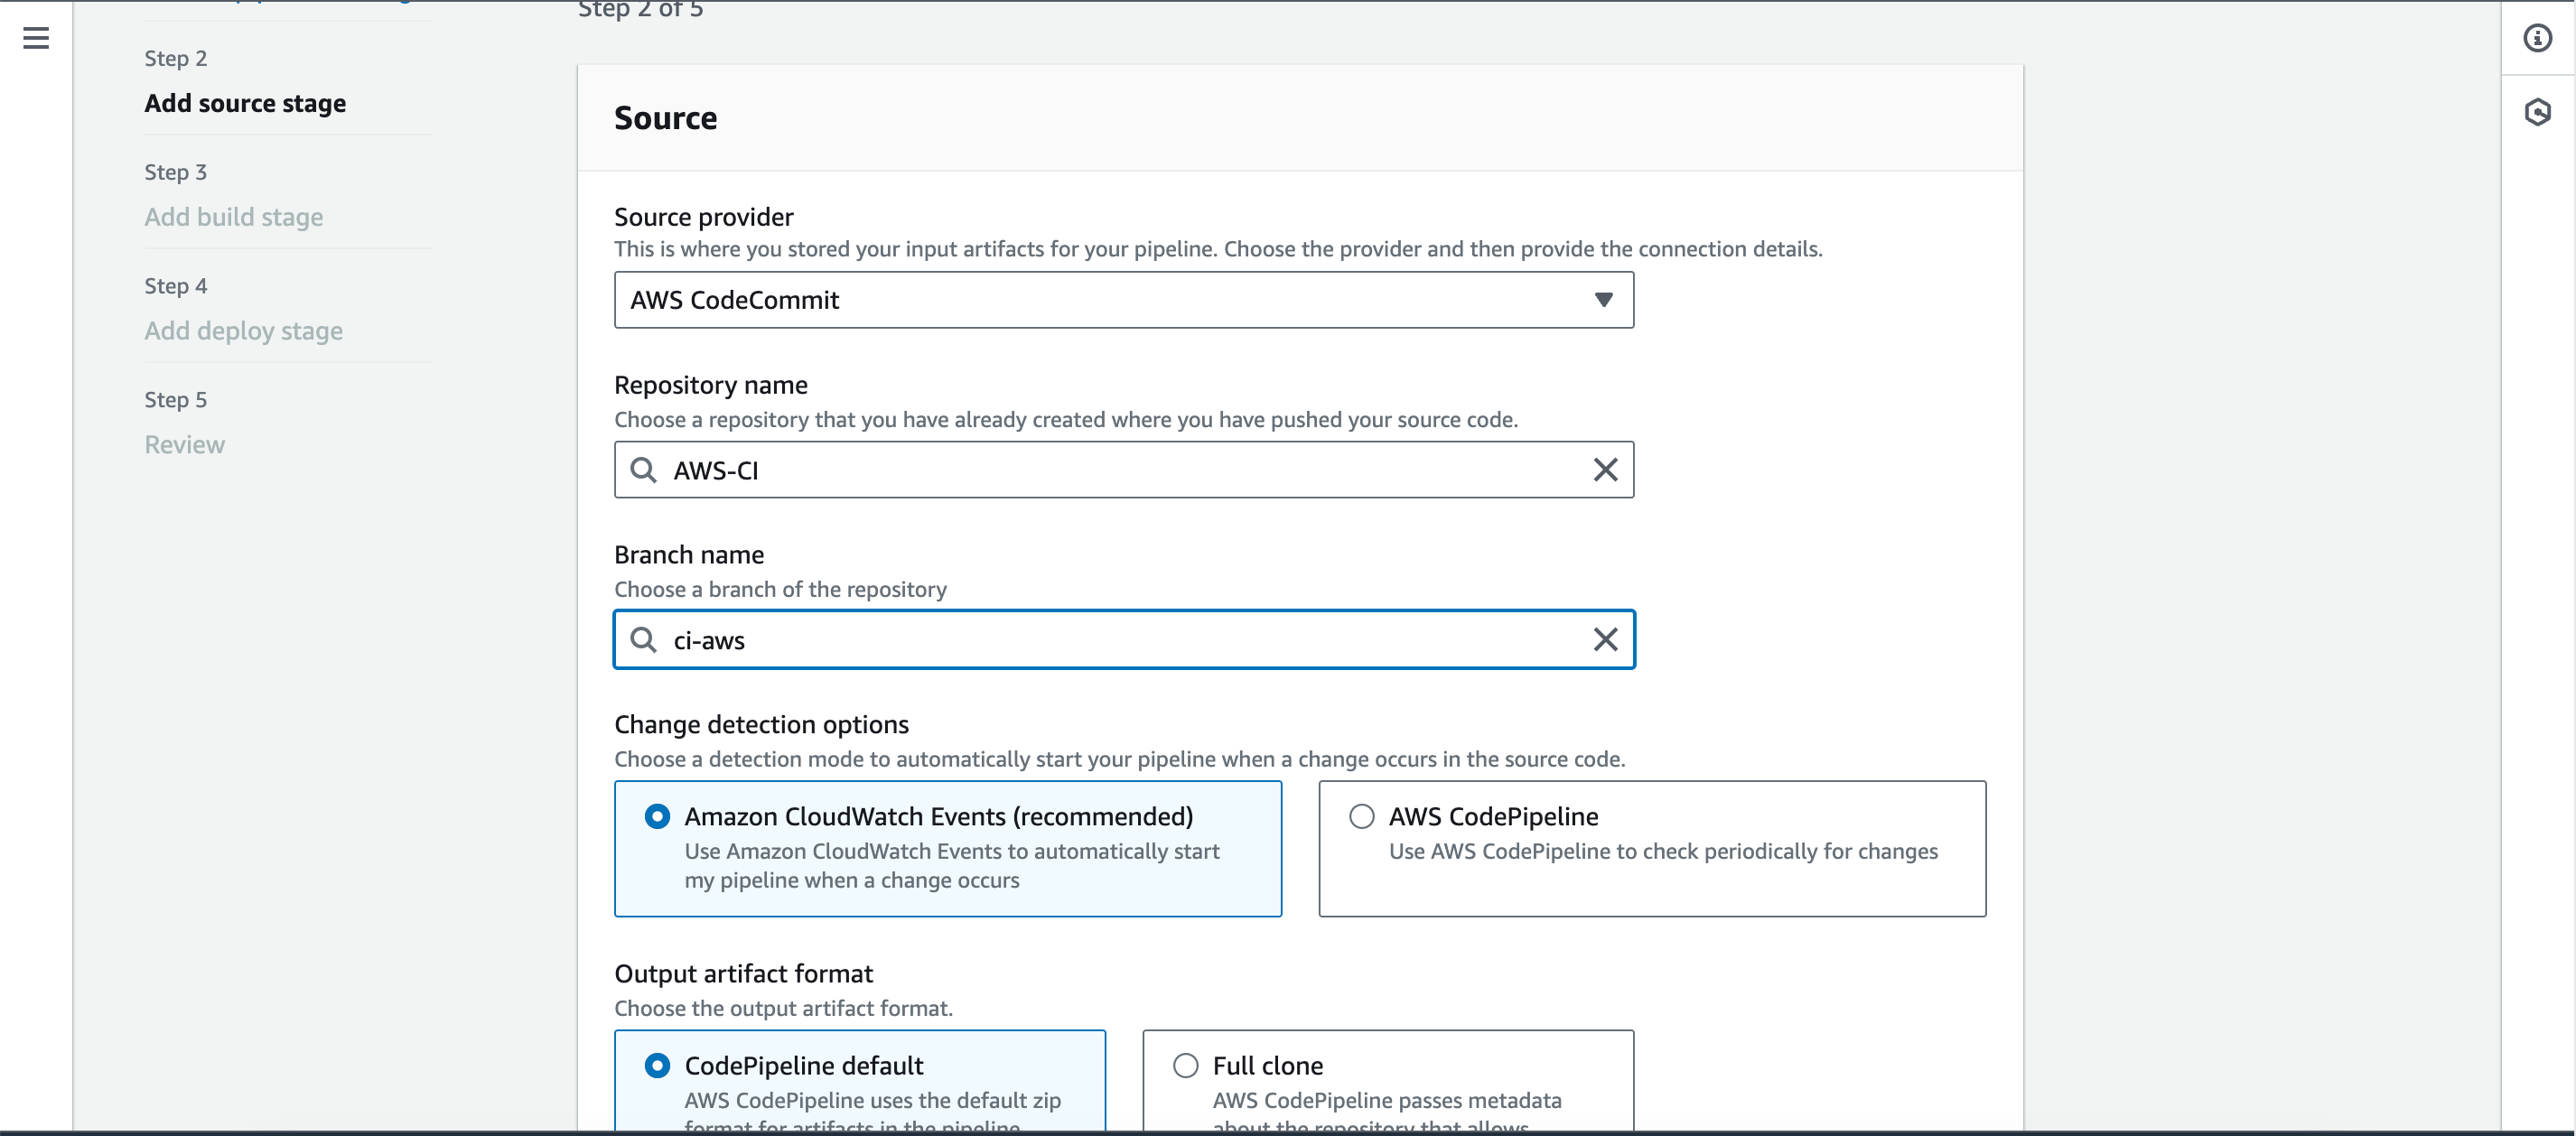
- Under source provider, select “AWS CodeCommit” and choose the repository name and branch.
- Select “Amazon CloudWatch Events” under detection options.
- Click on “Next.”
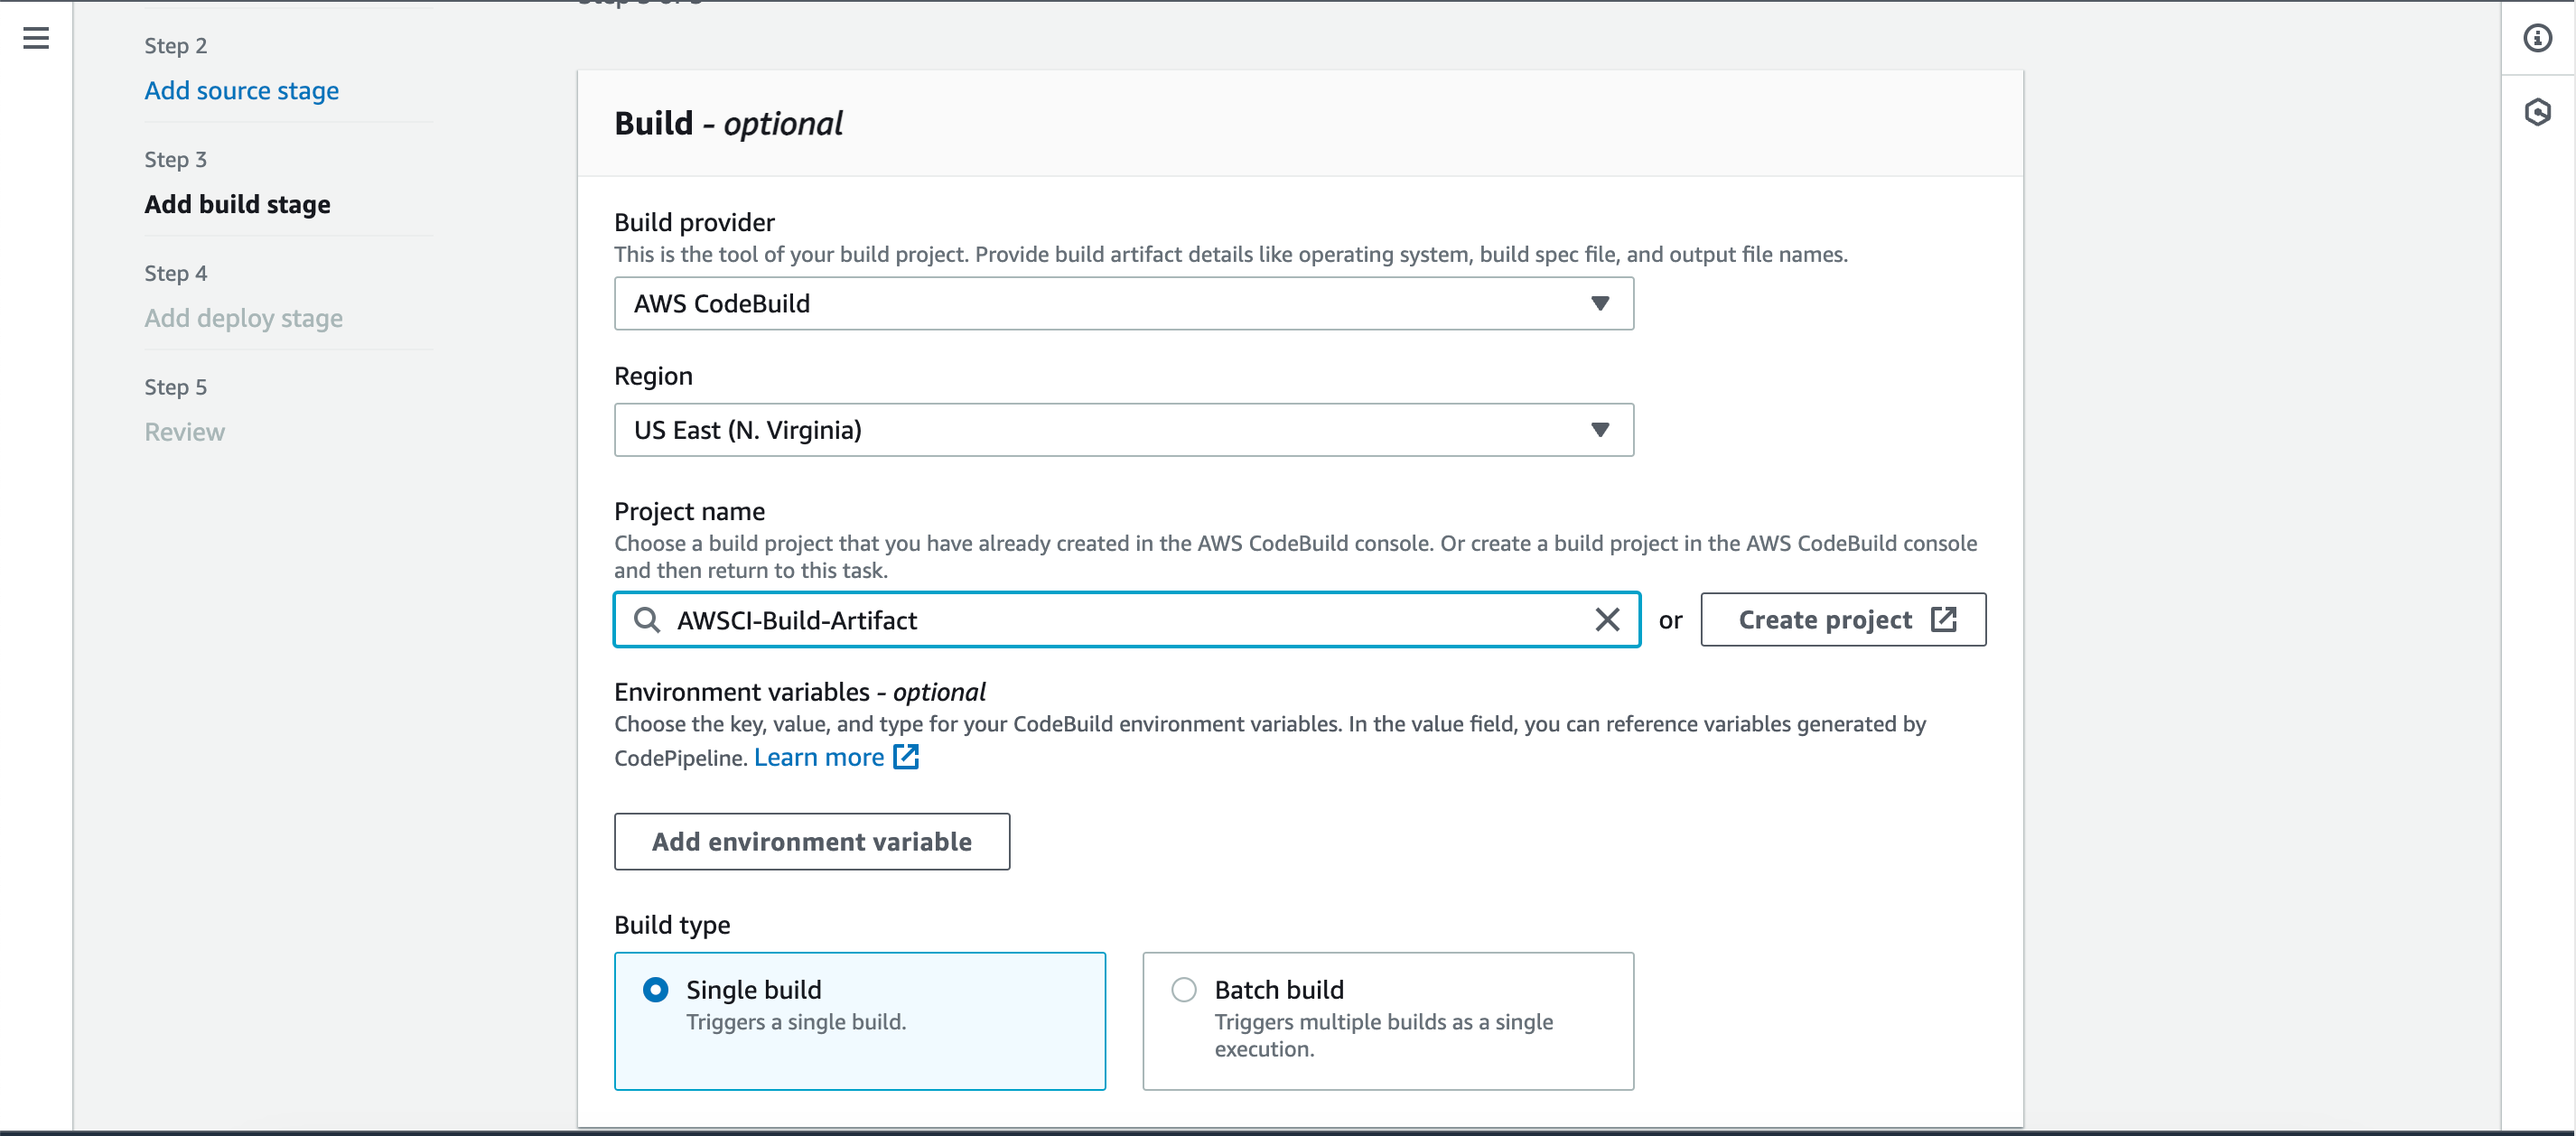
- Under Build provider, select “AWS CodeBuild.”
- Choose the Build Artifact job under the project name.
- Click on “Next.”
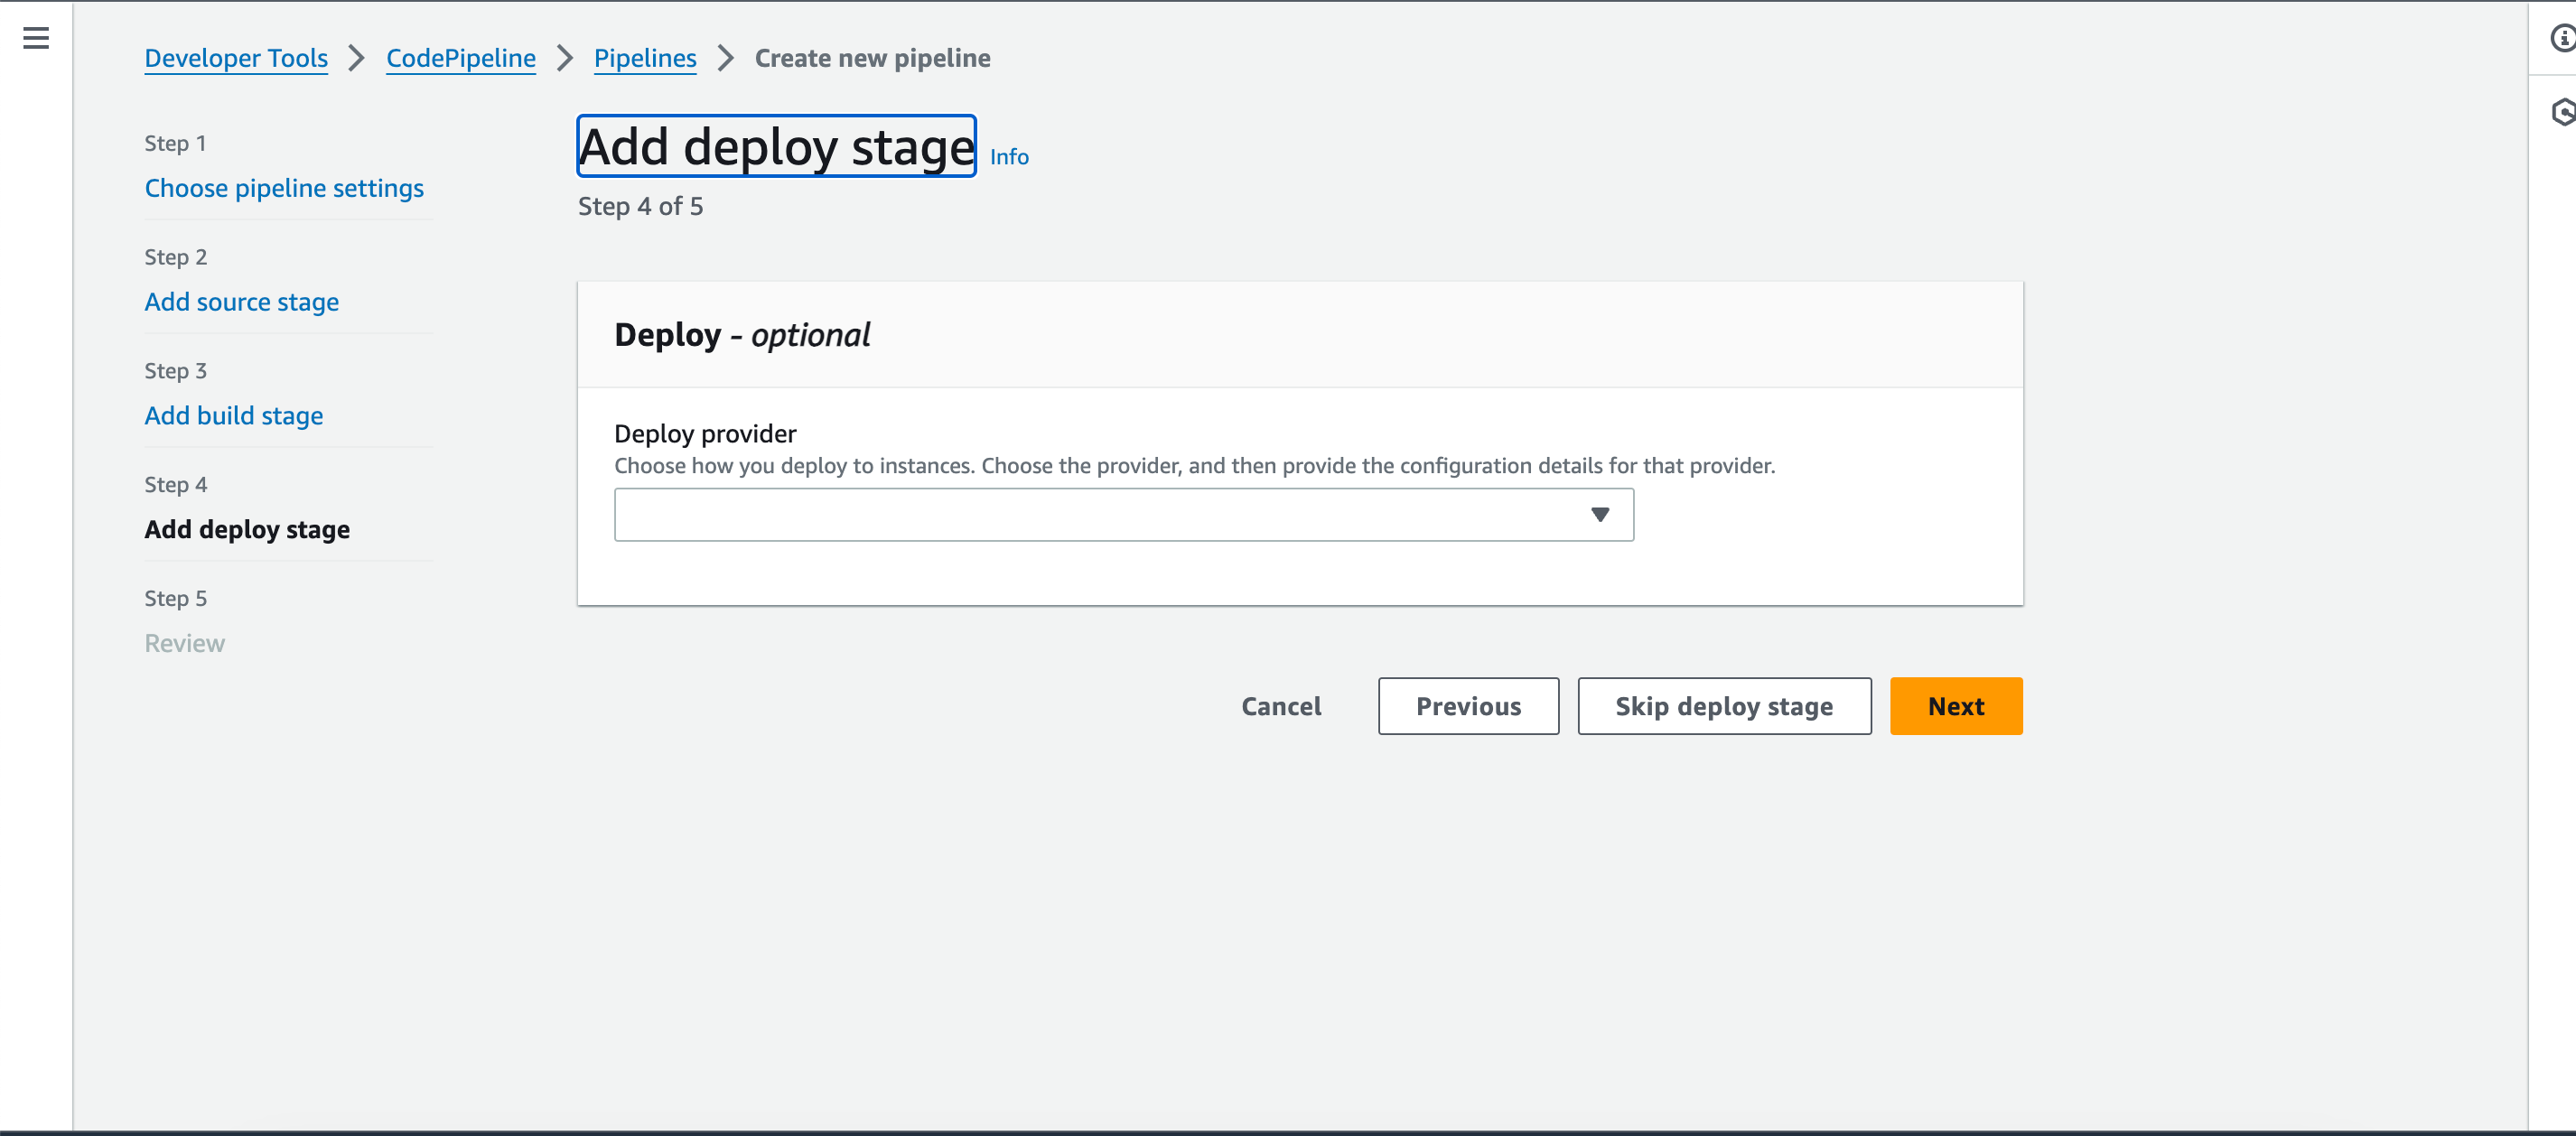
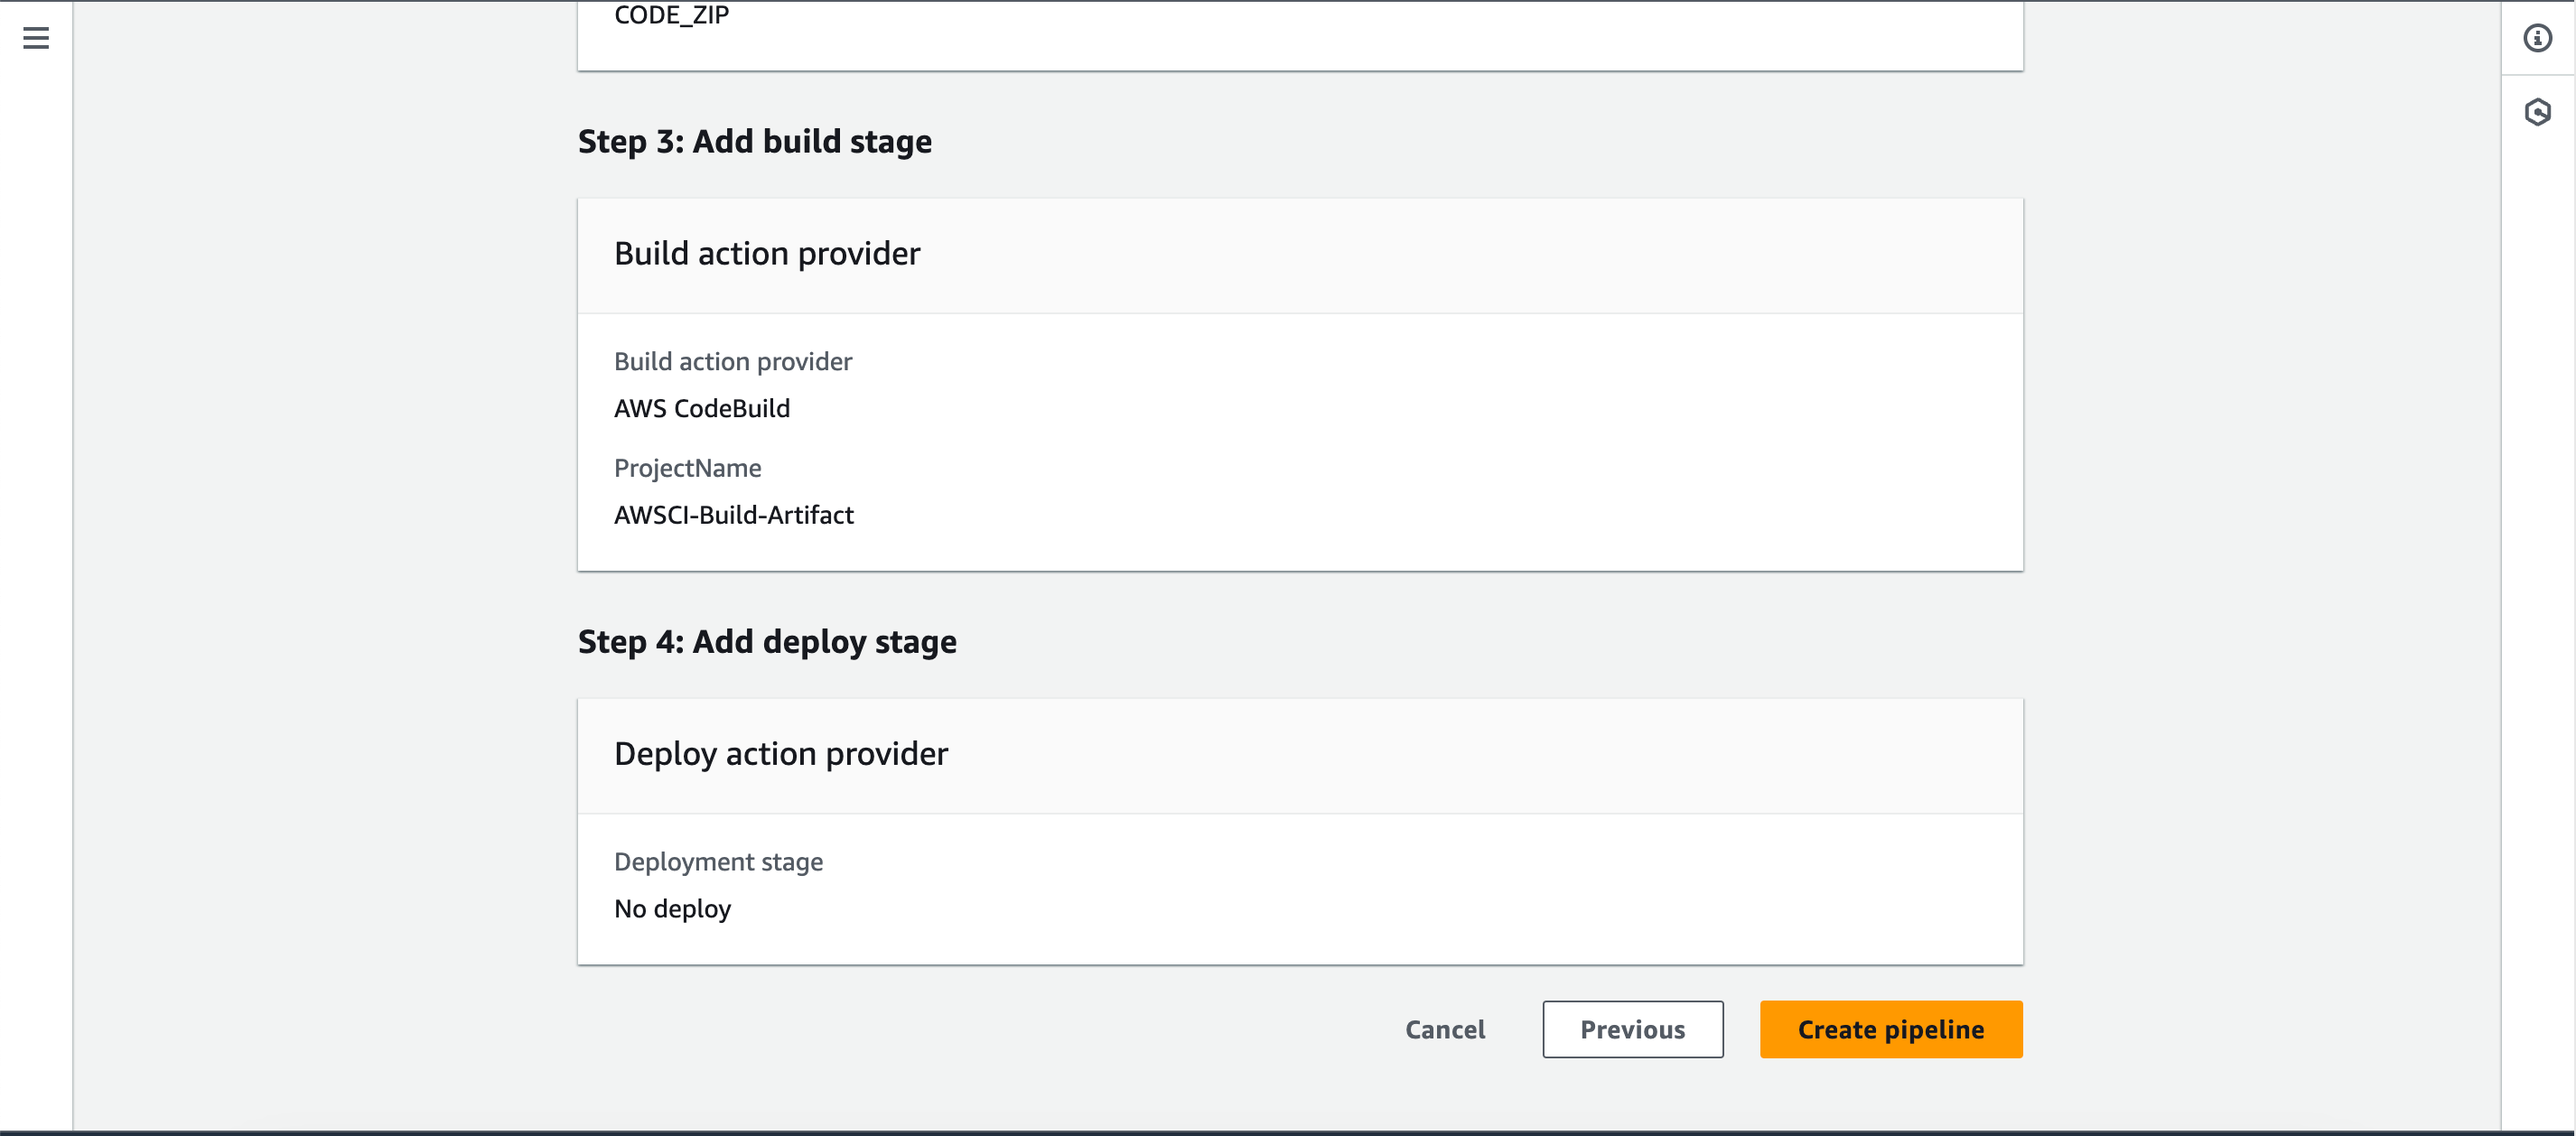
- Skip the Deploy Provider stage for now and click on “Create Pipeline.”
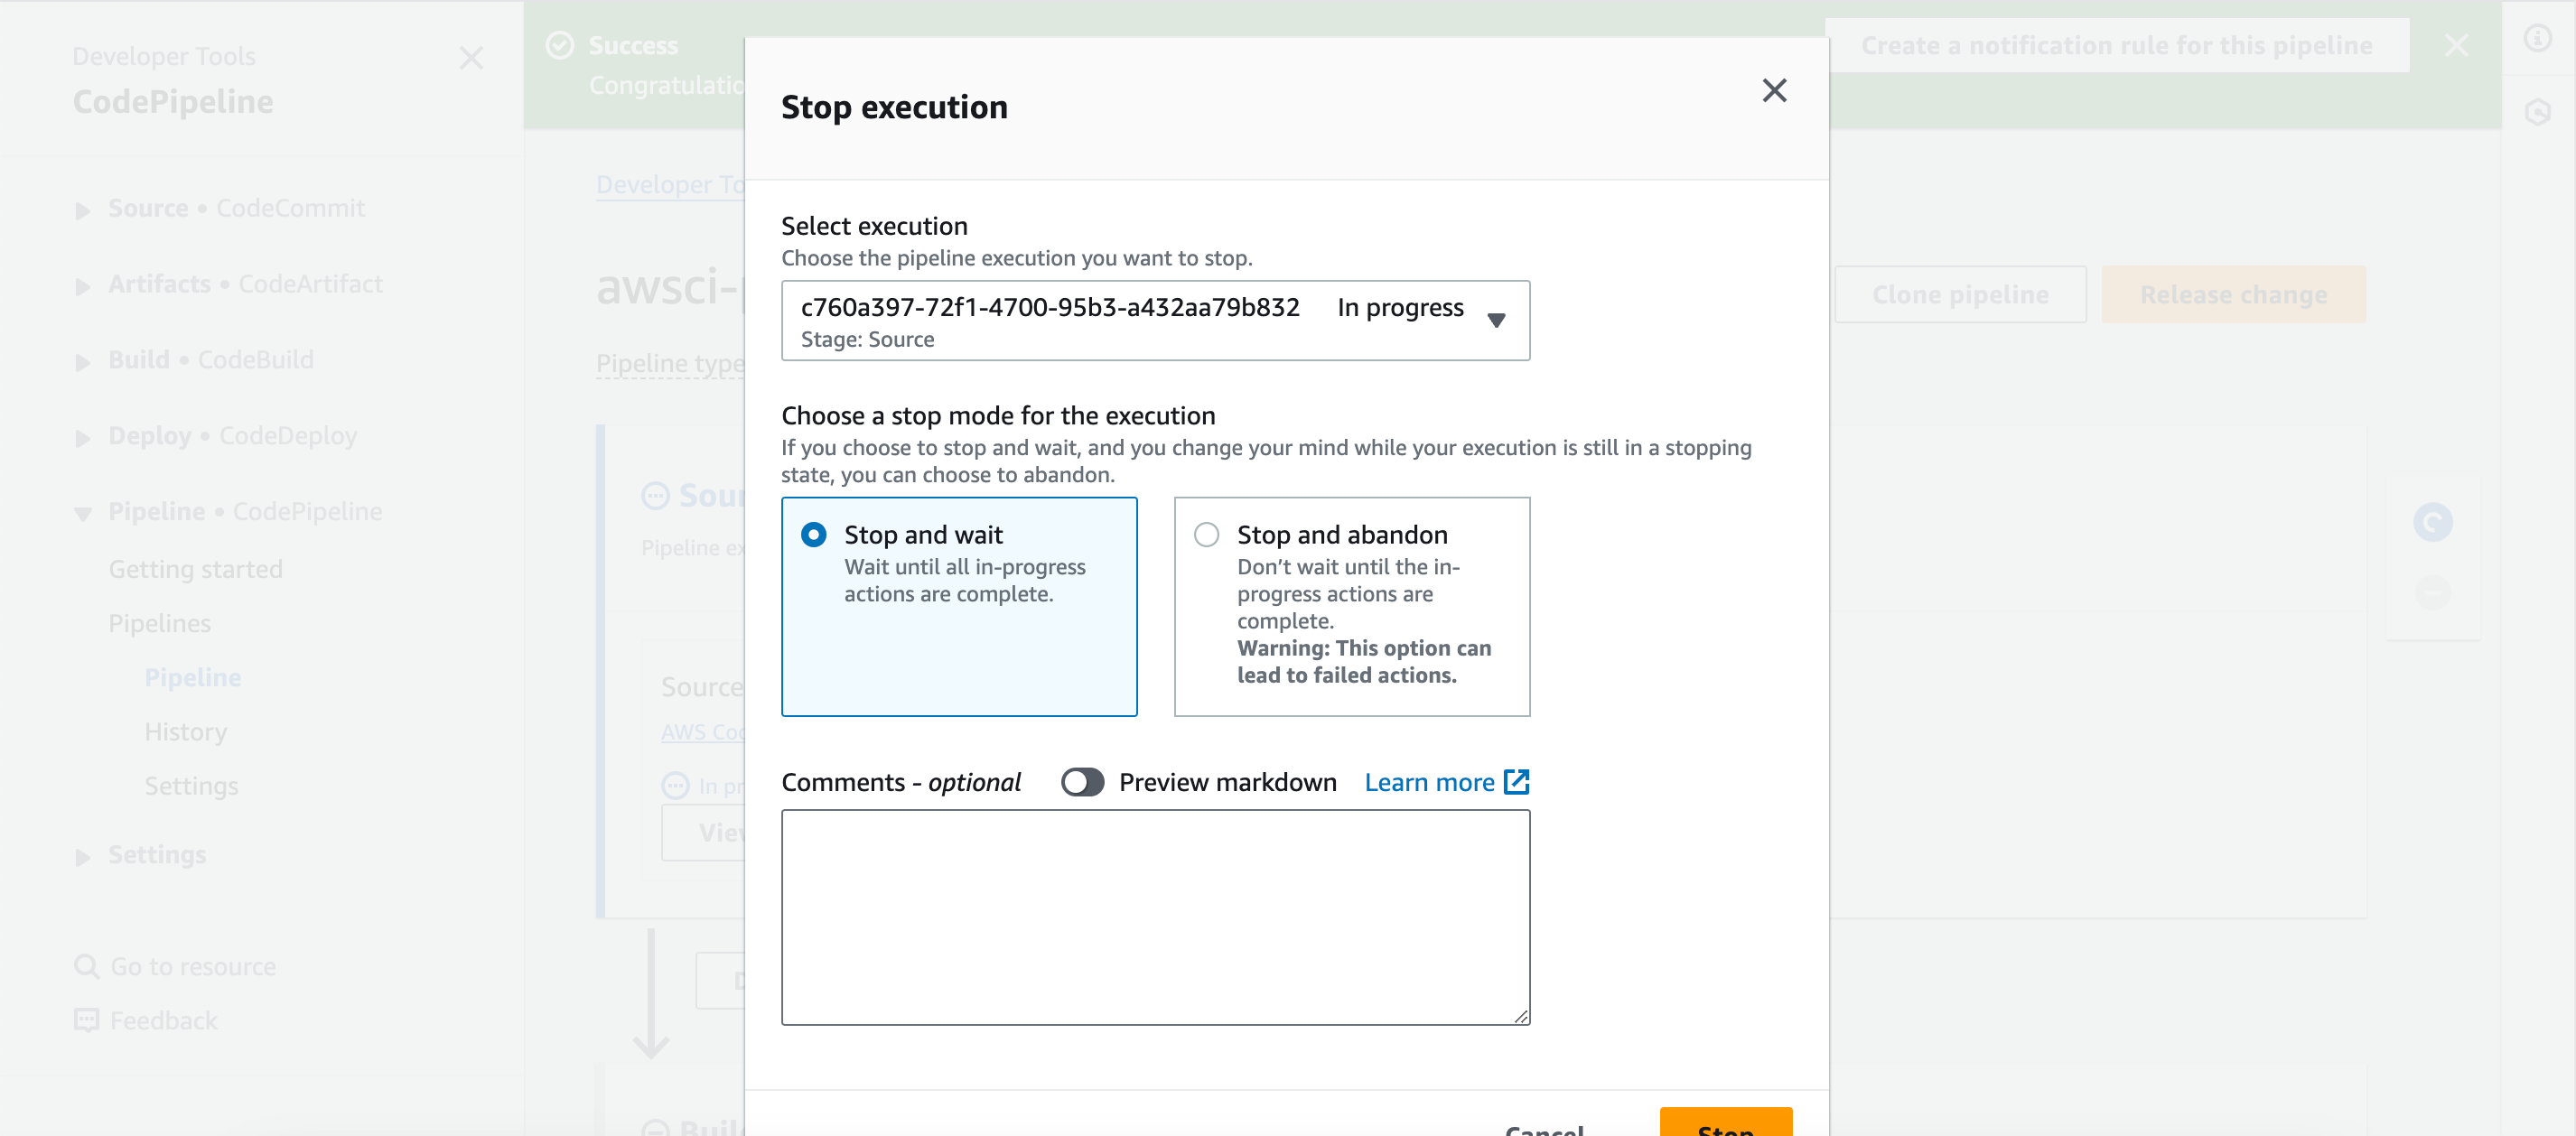
- Stop the pipeline once created.
4. Configure Code Analysis Stage:
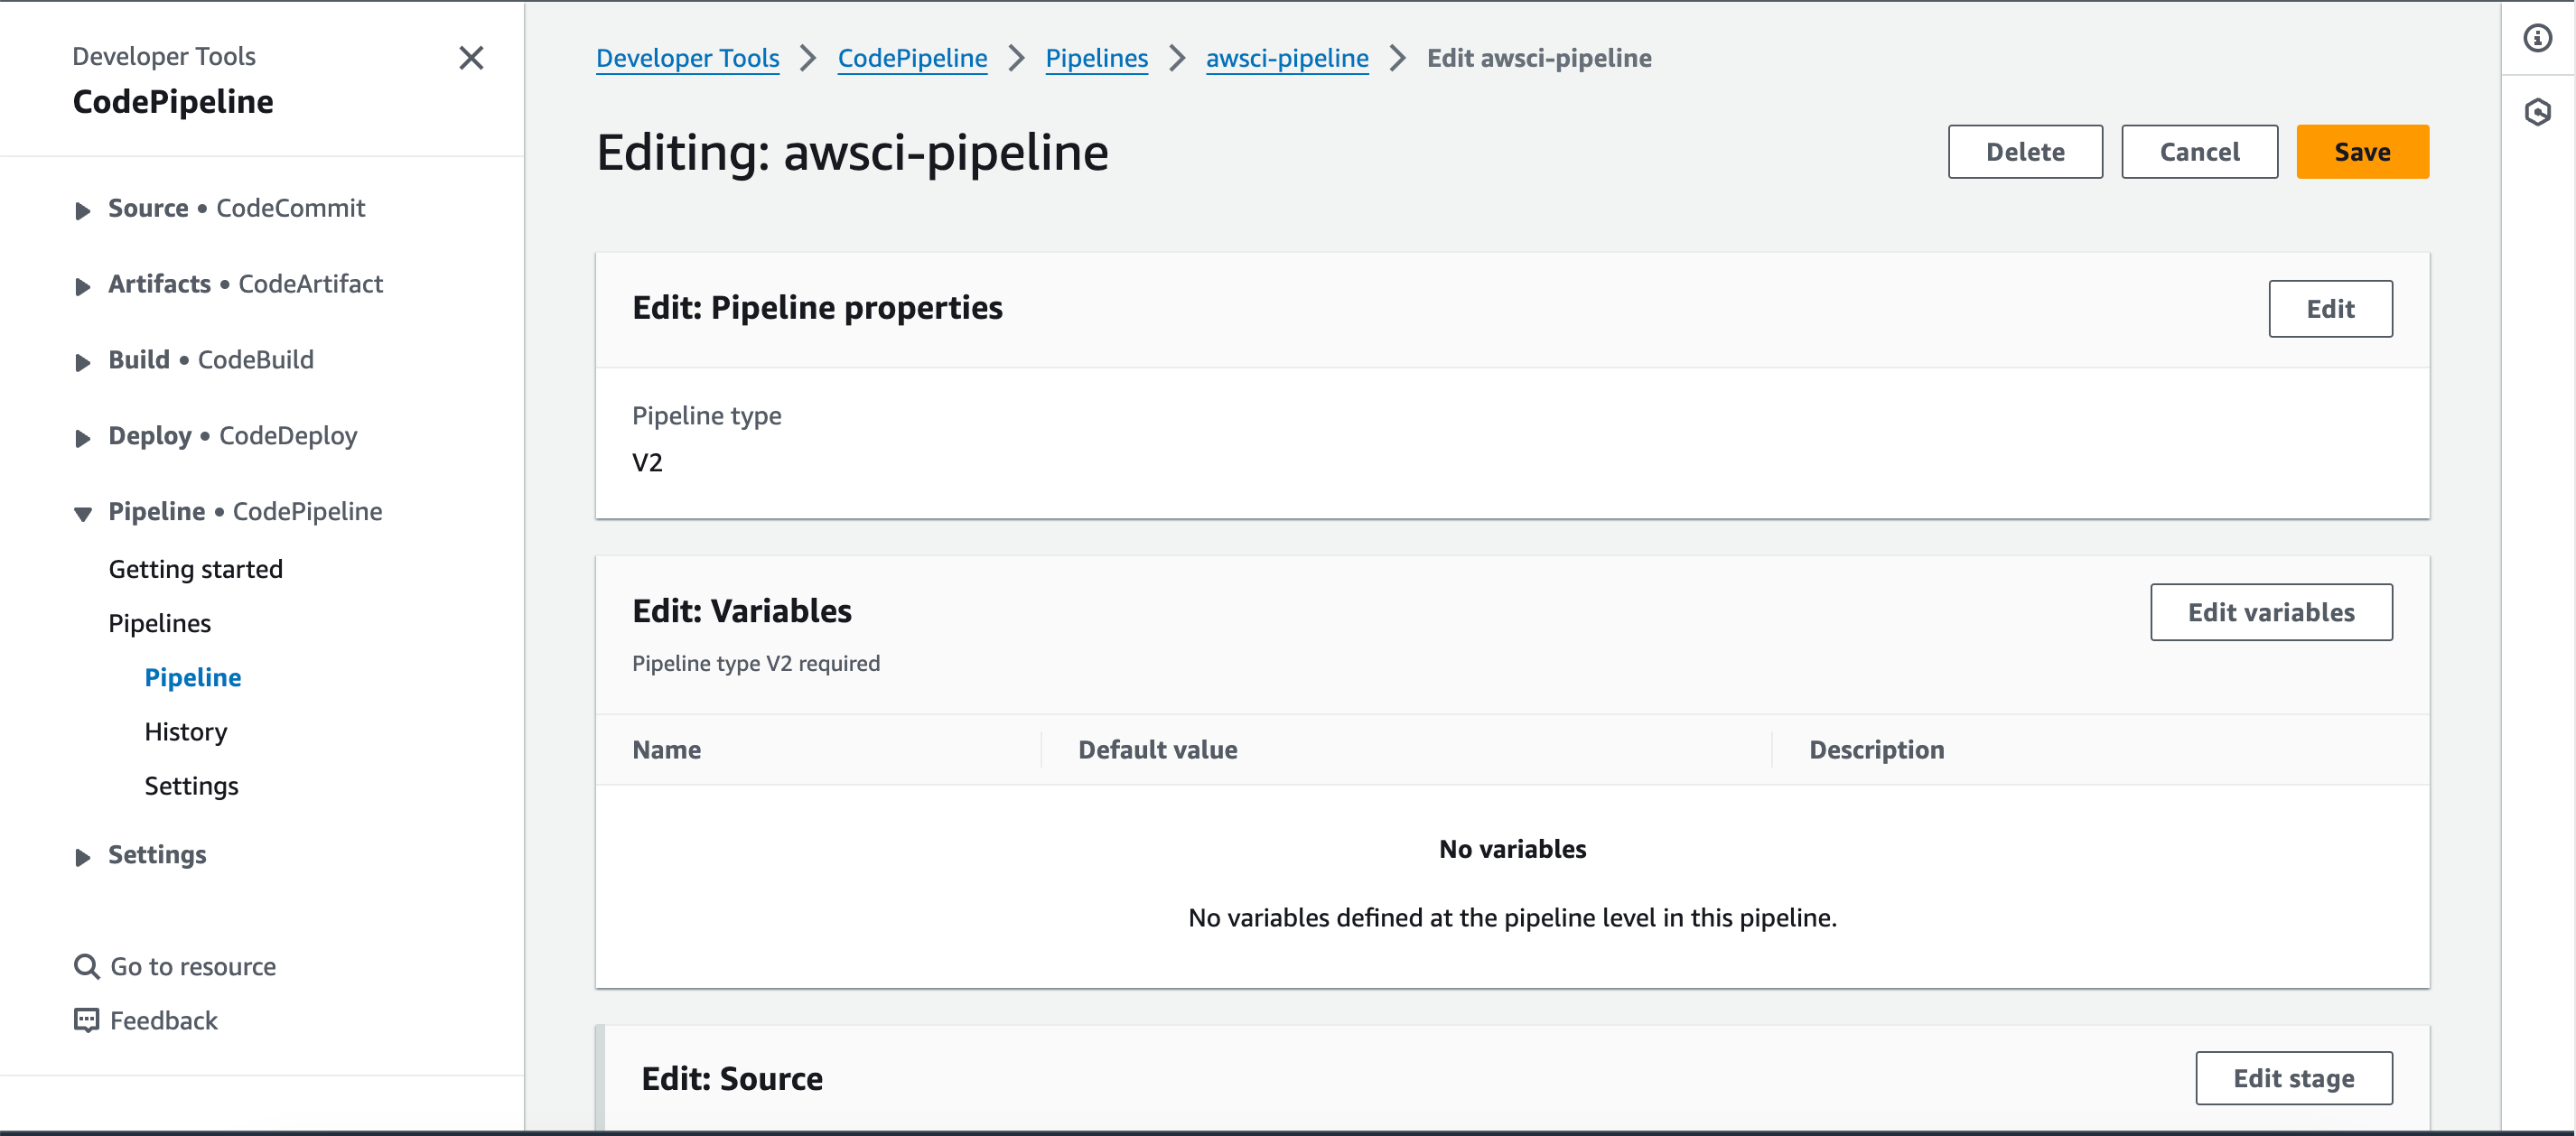
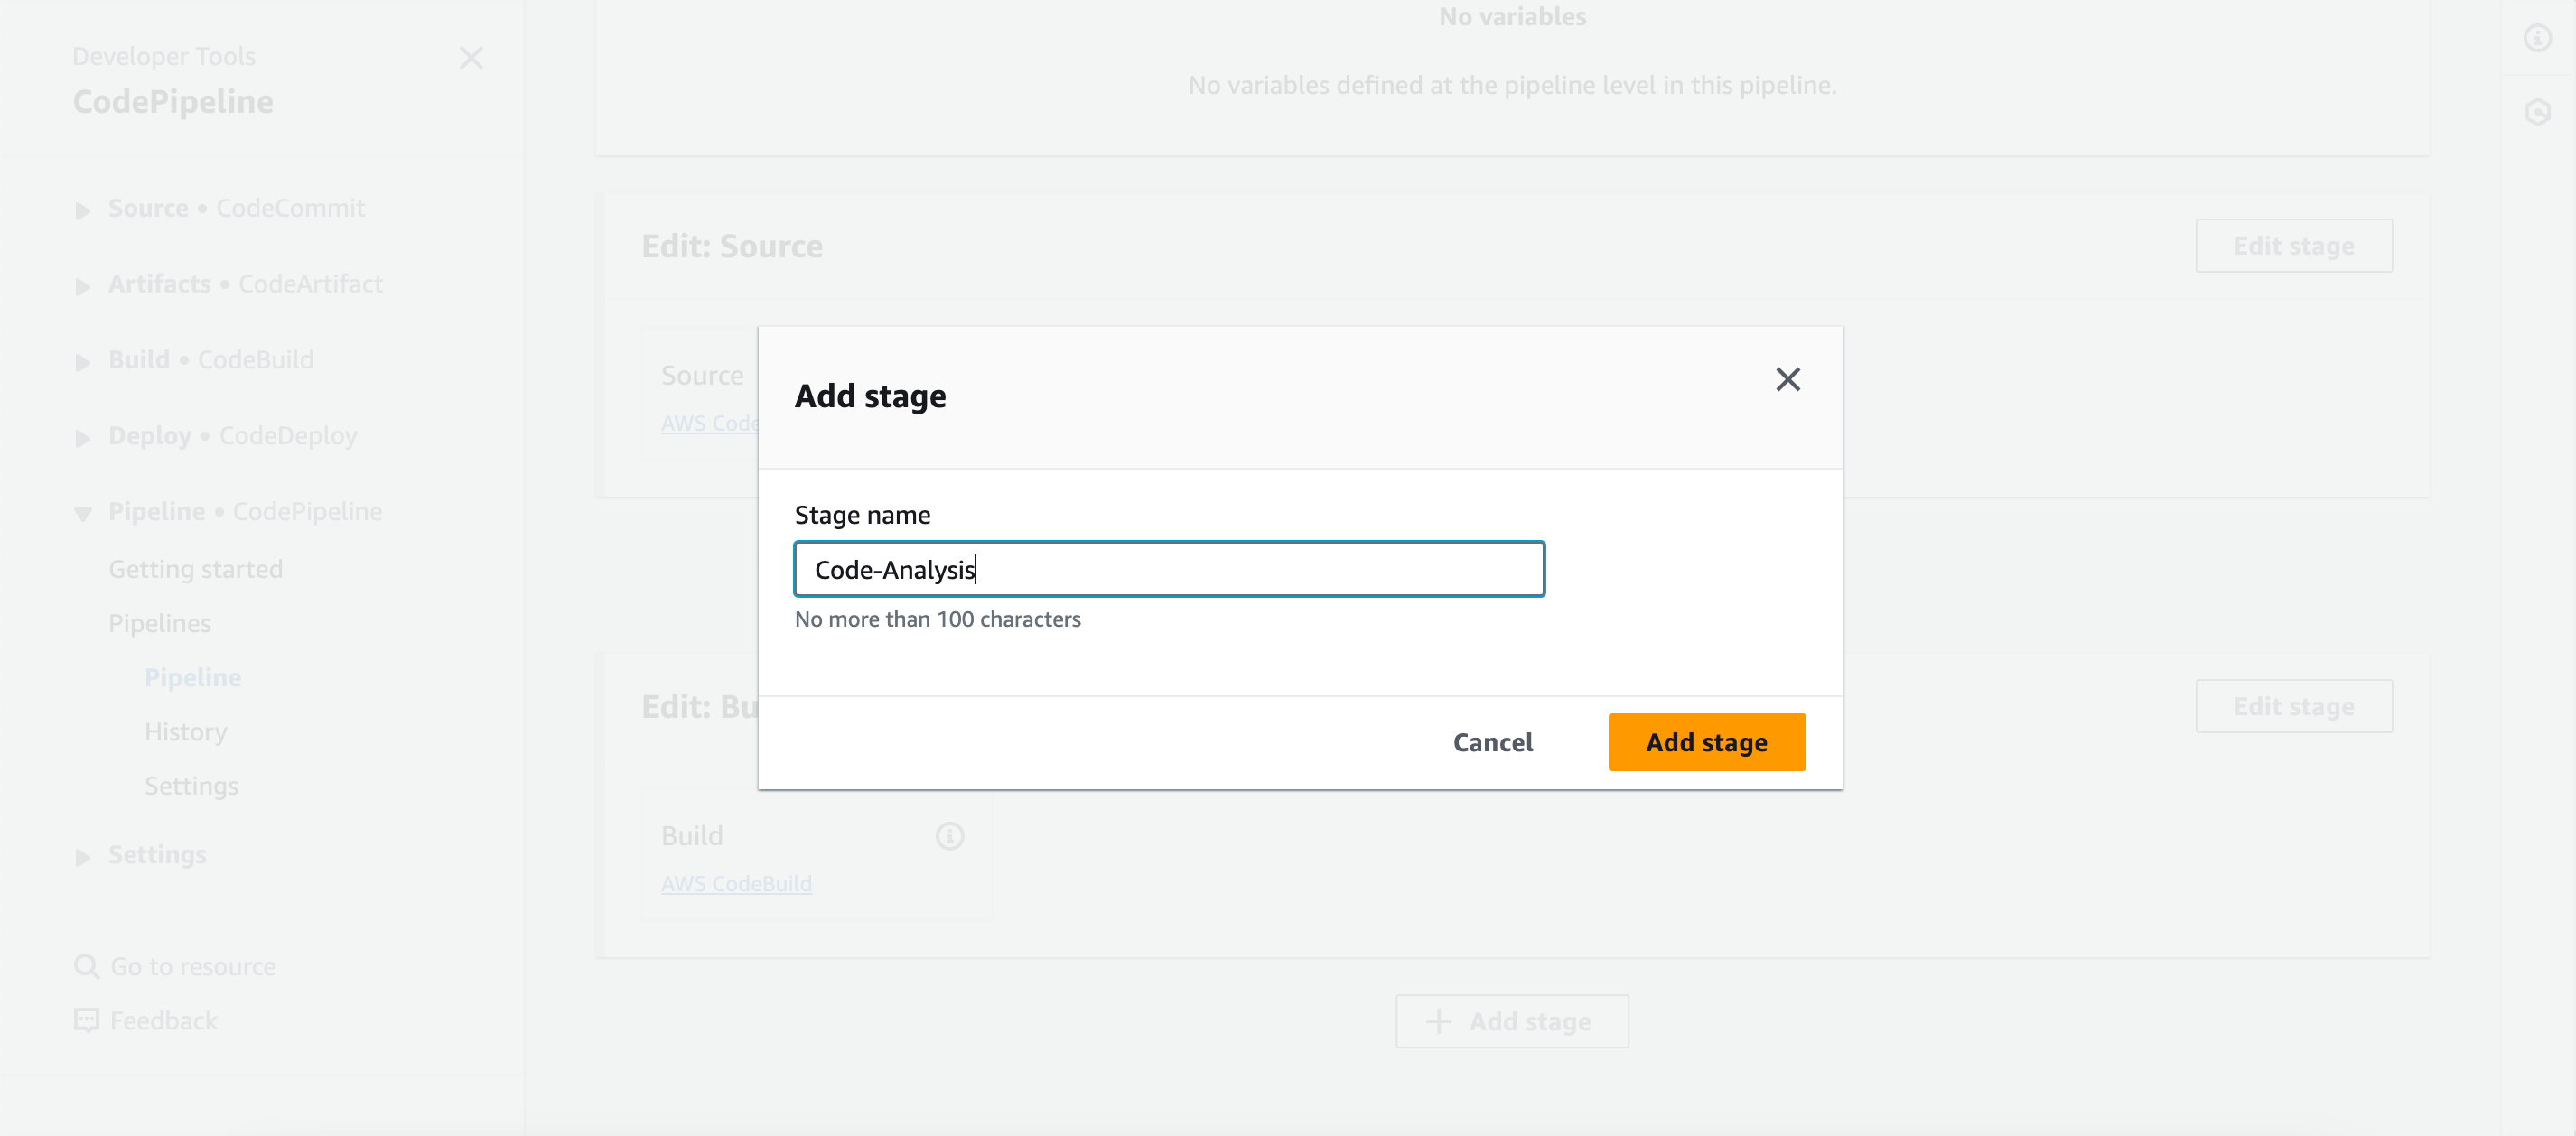
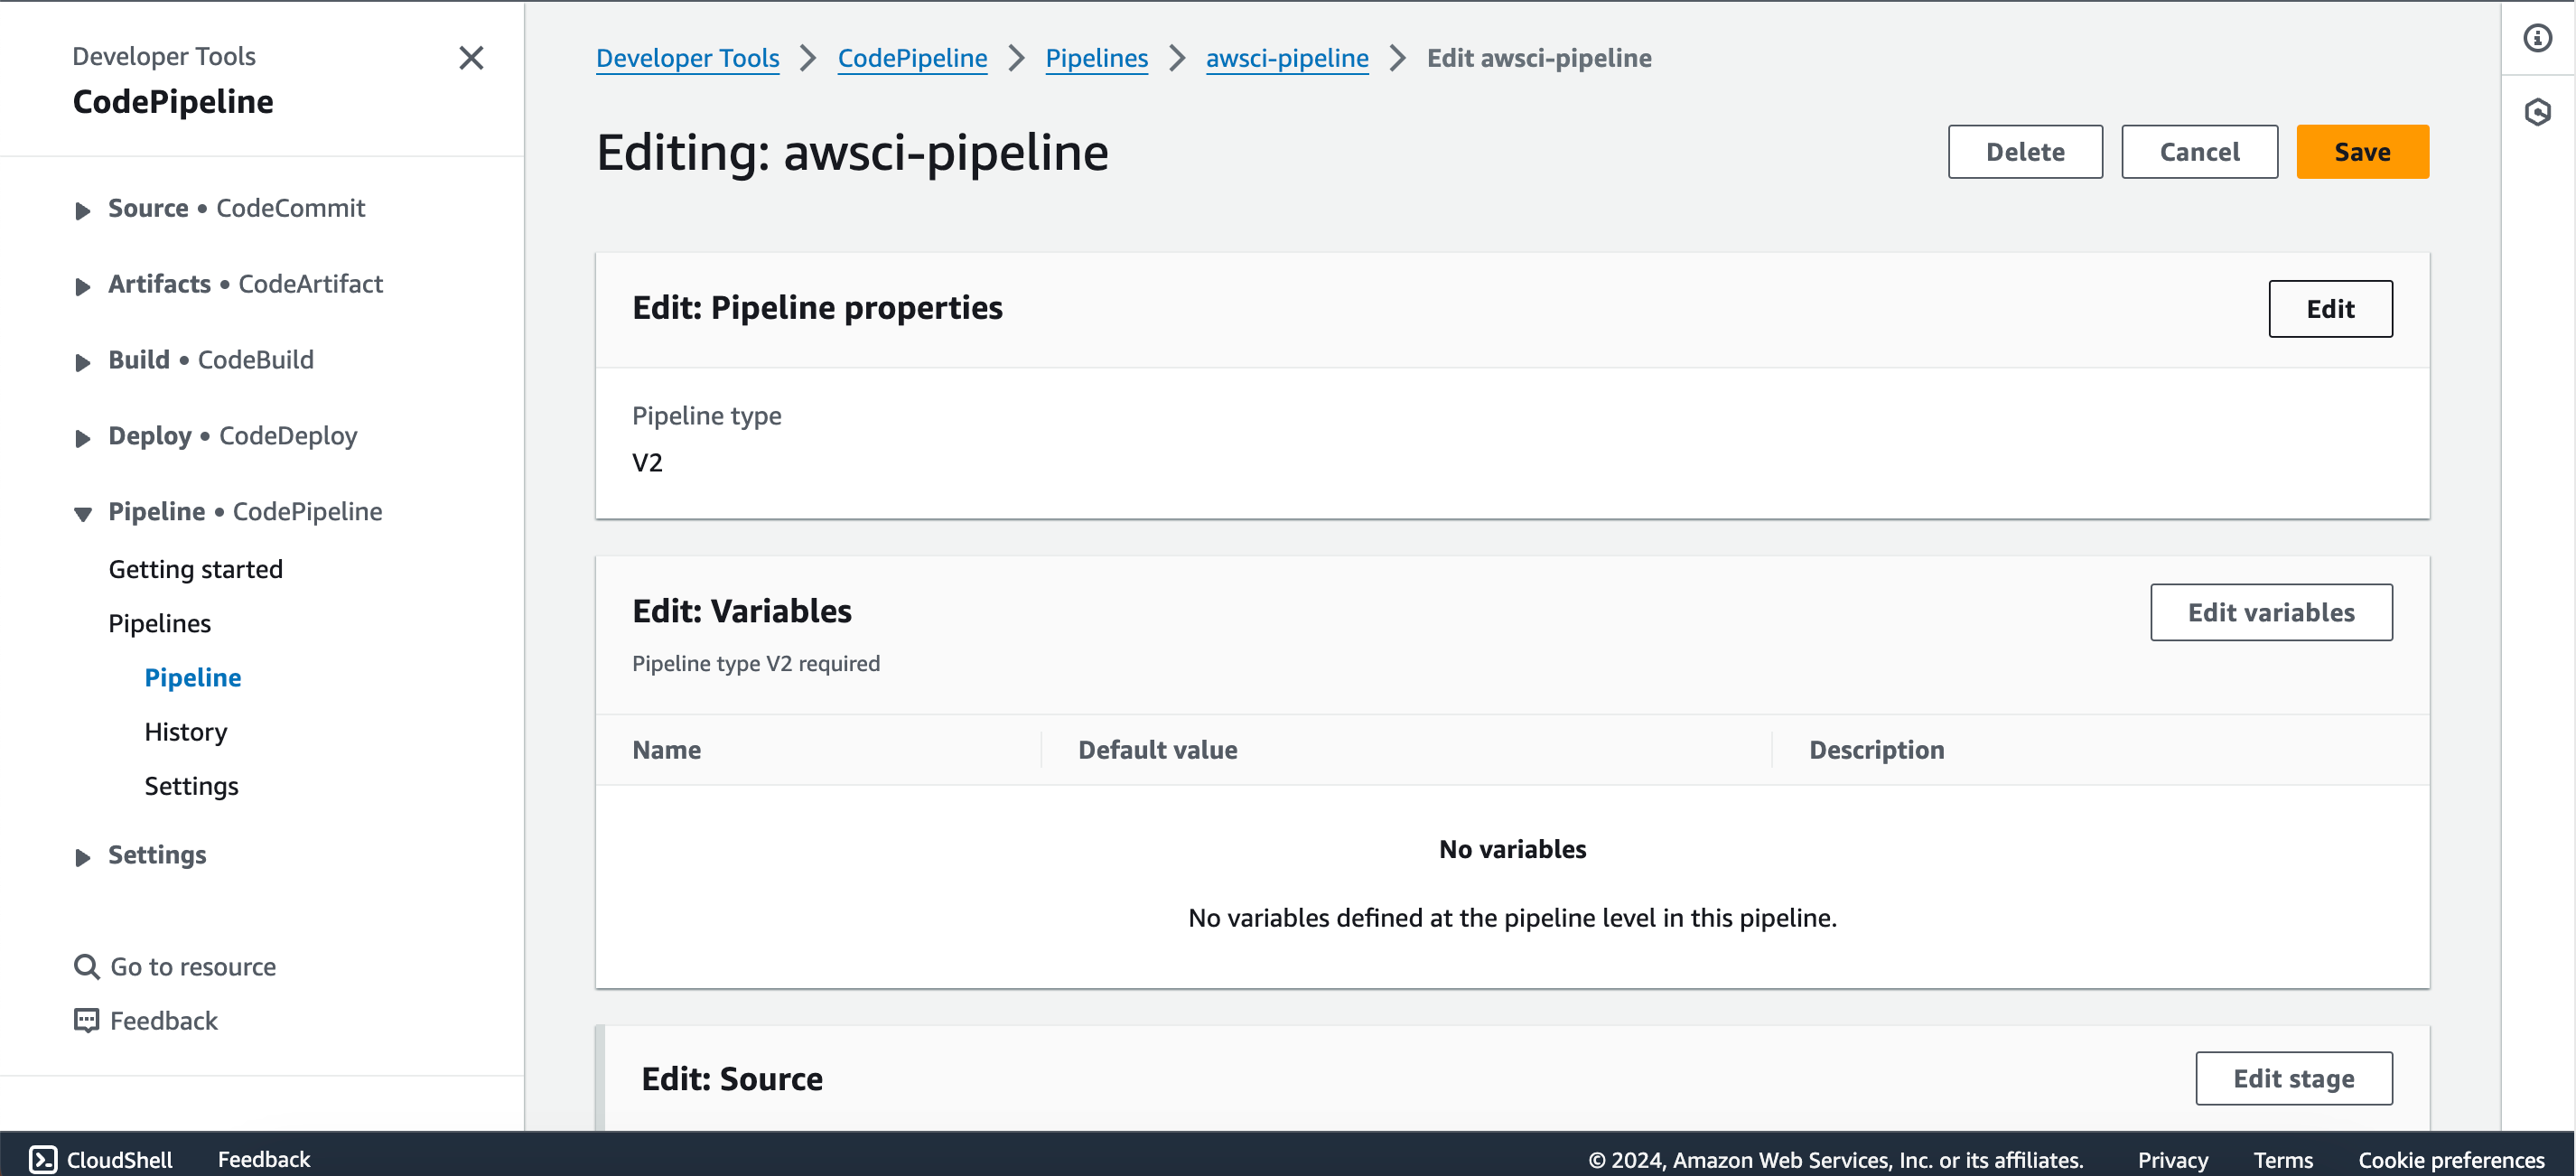
- Click on “Edit” and add a stage between “source” and “build.”
- Give the stage a name (e.g., code analysis).
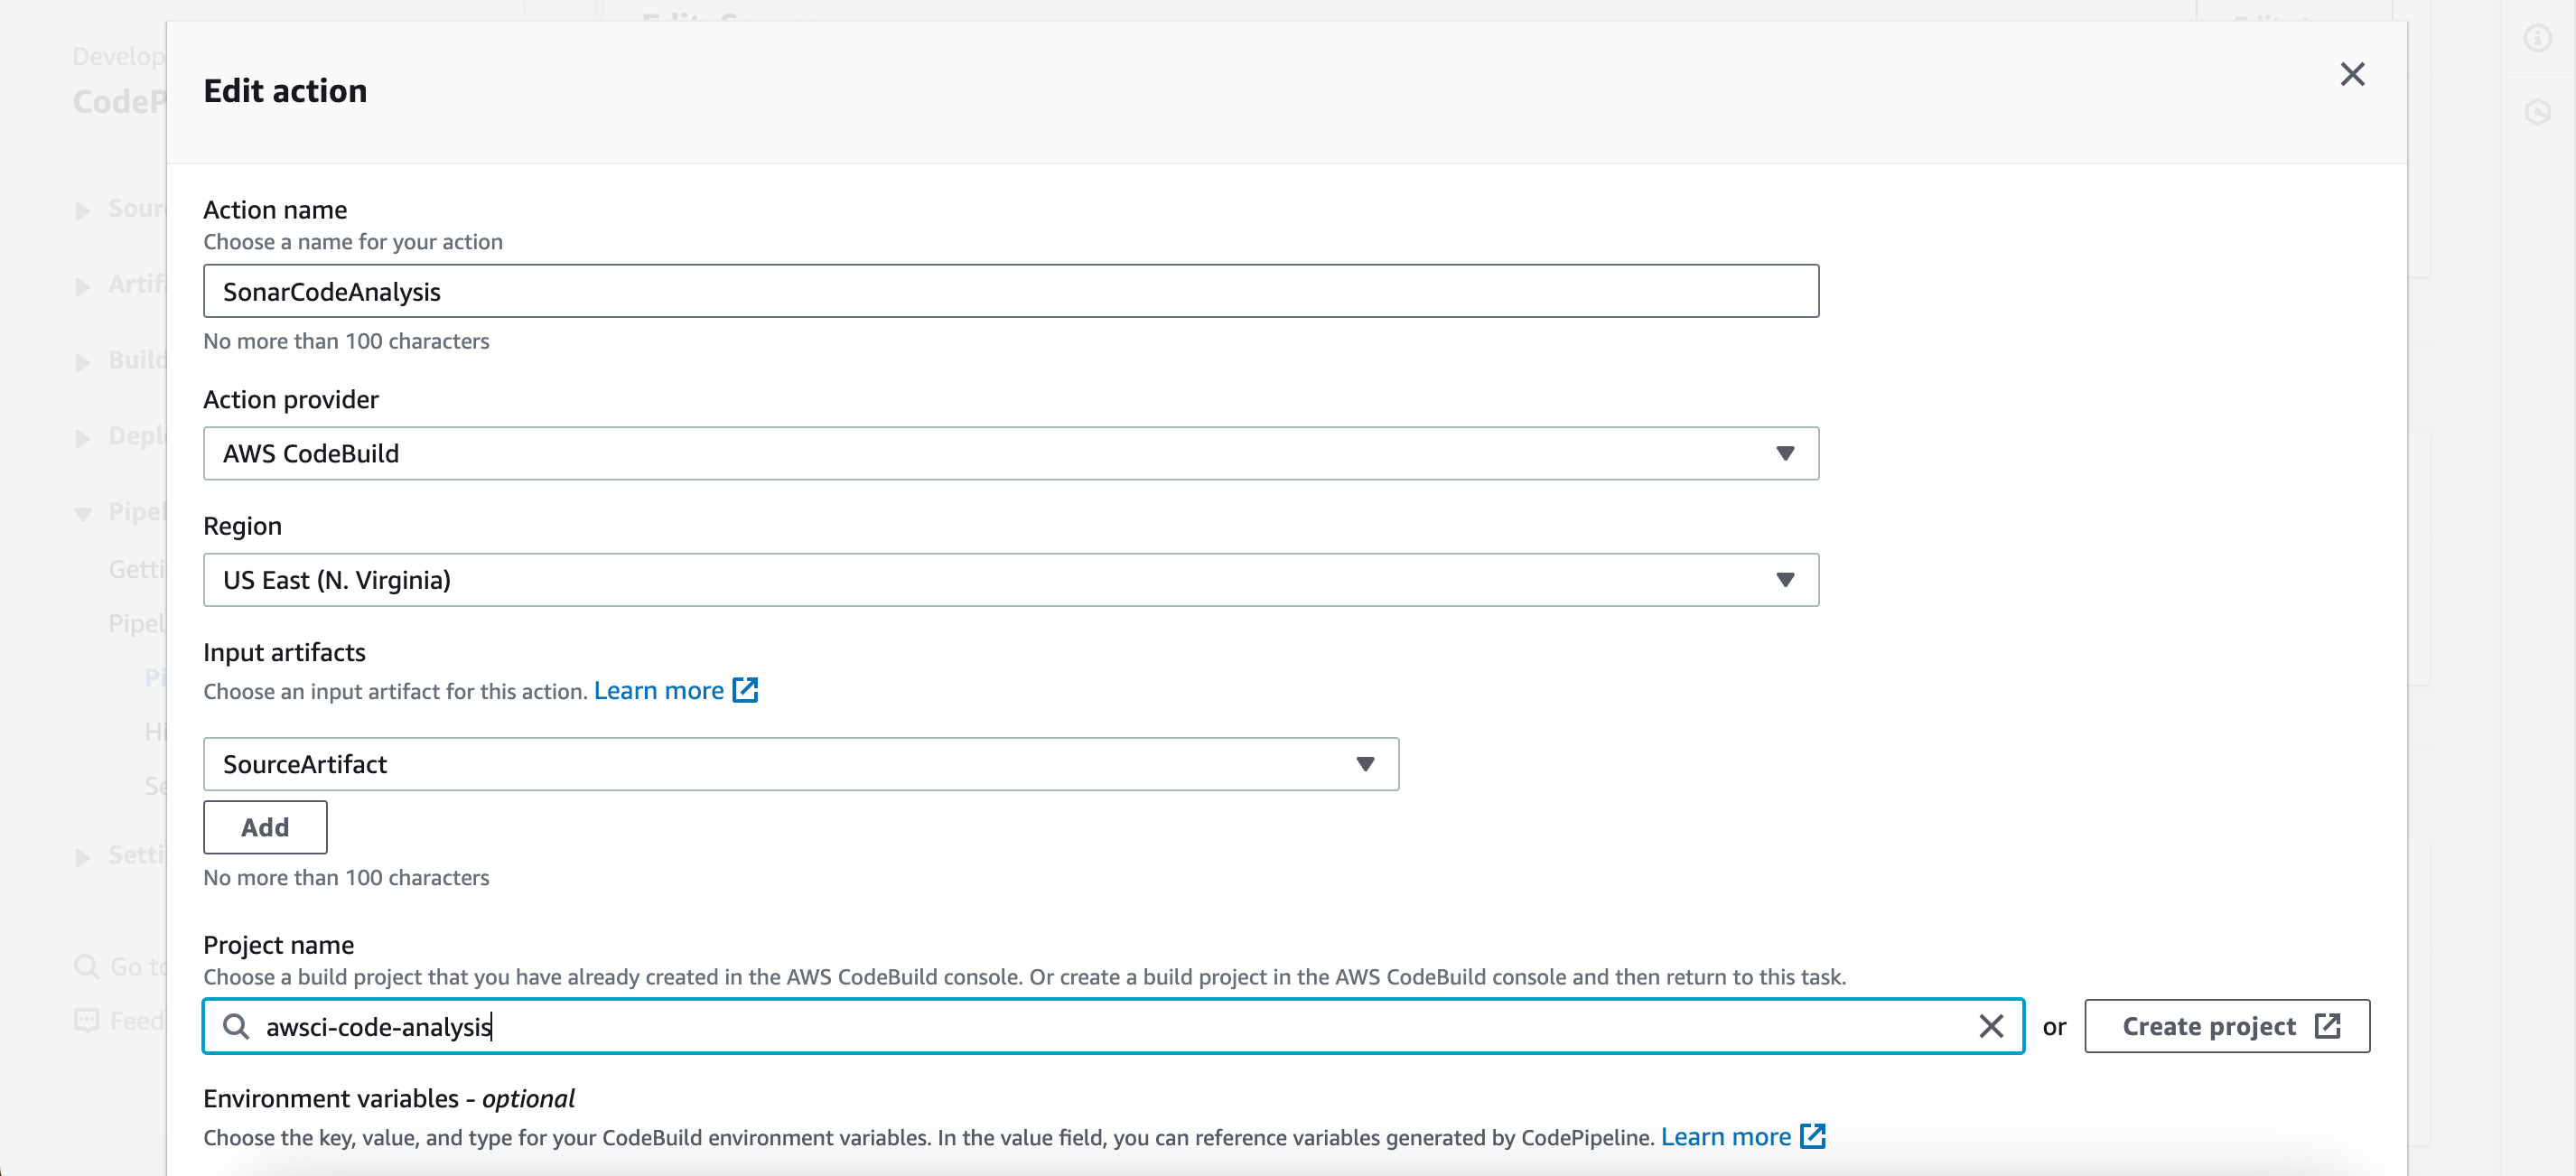
- Select “Add action group.”
- Name the action (e.g., sonarcodeanalysis).
- Choose “AWS CodeBuild” under action provider.
- Select “SourceArtifact” under input artifacts.
- Choose the code analysis job under project name.
- Click on “Done.”
- Ensure to click on “Done” on the pipeline console as well.
5. Configure Deployment Stage:
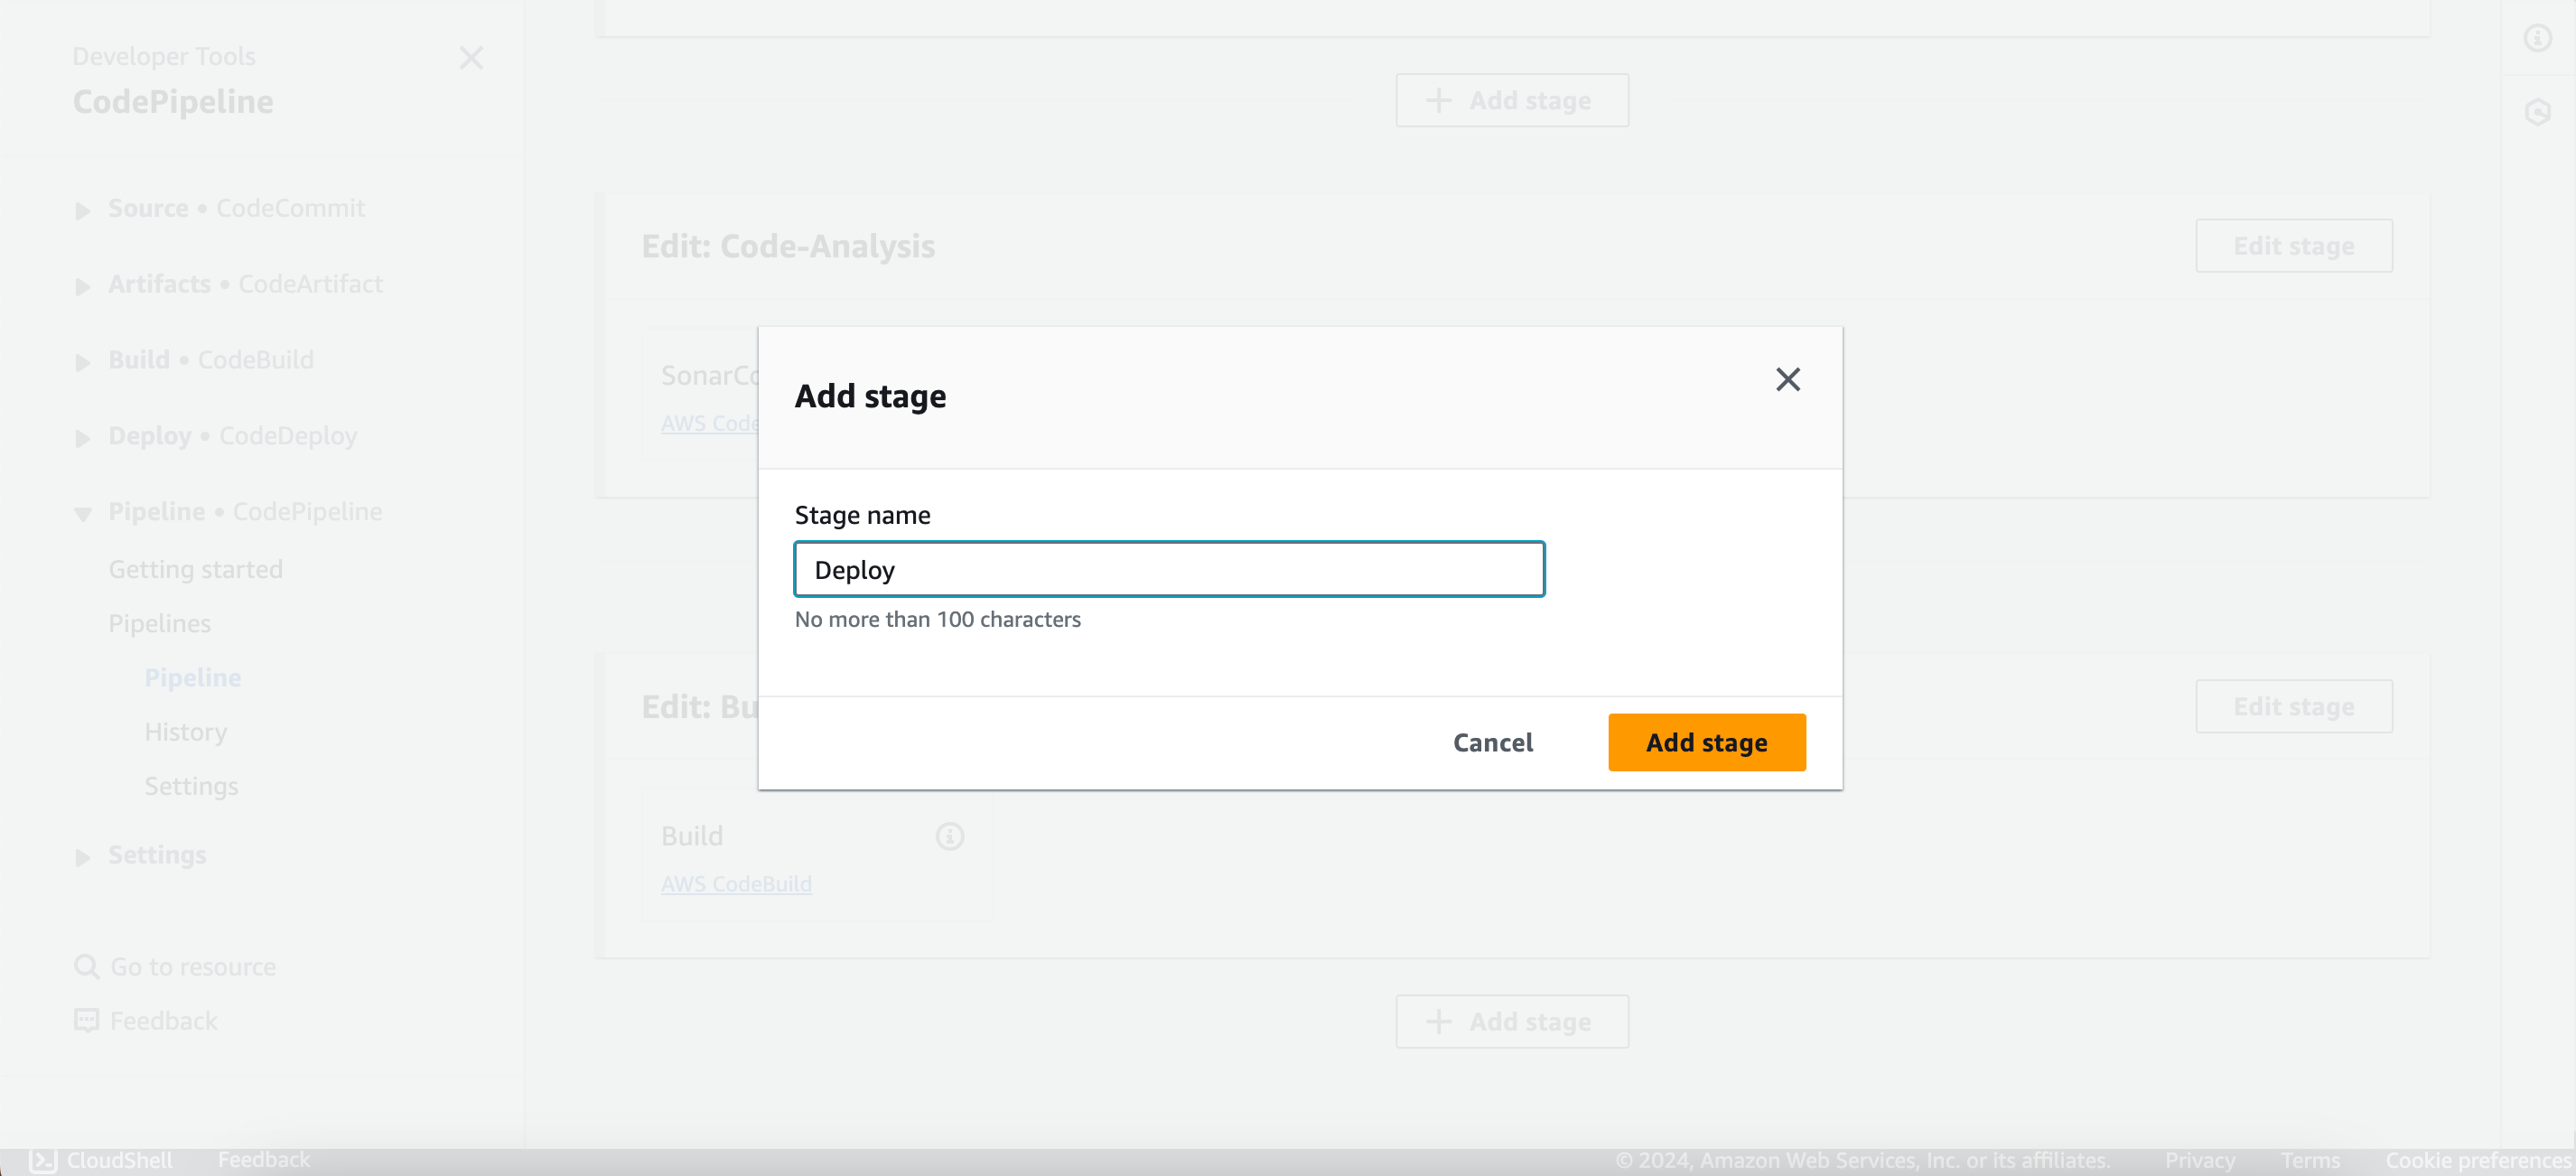
- After the Build Job, add a stage named (e.g., Deploy).
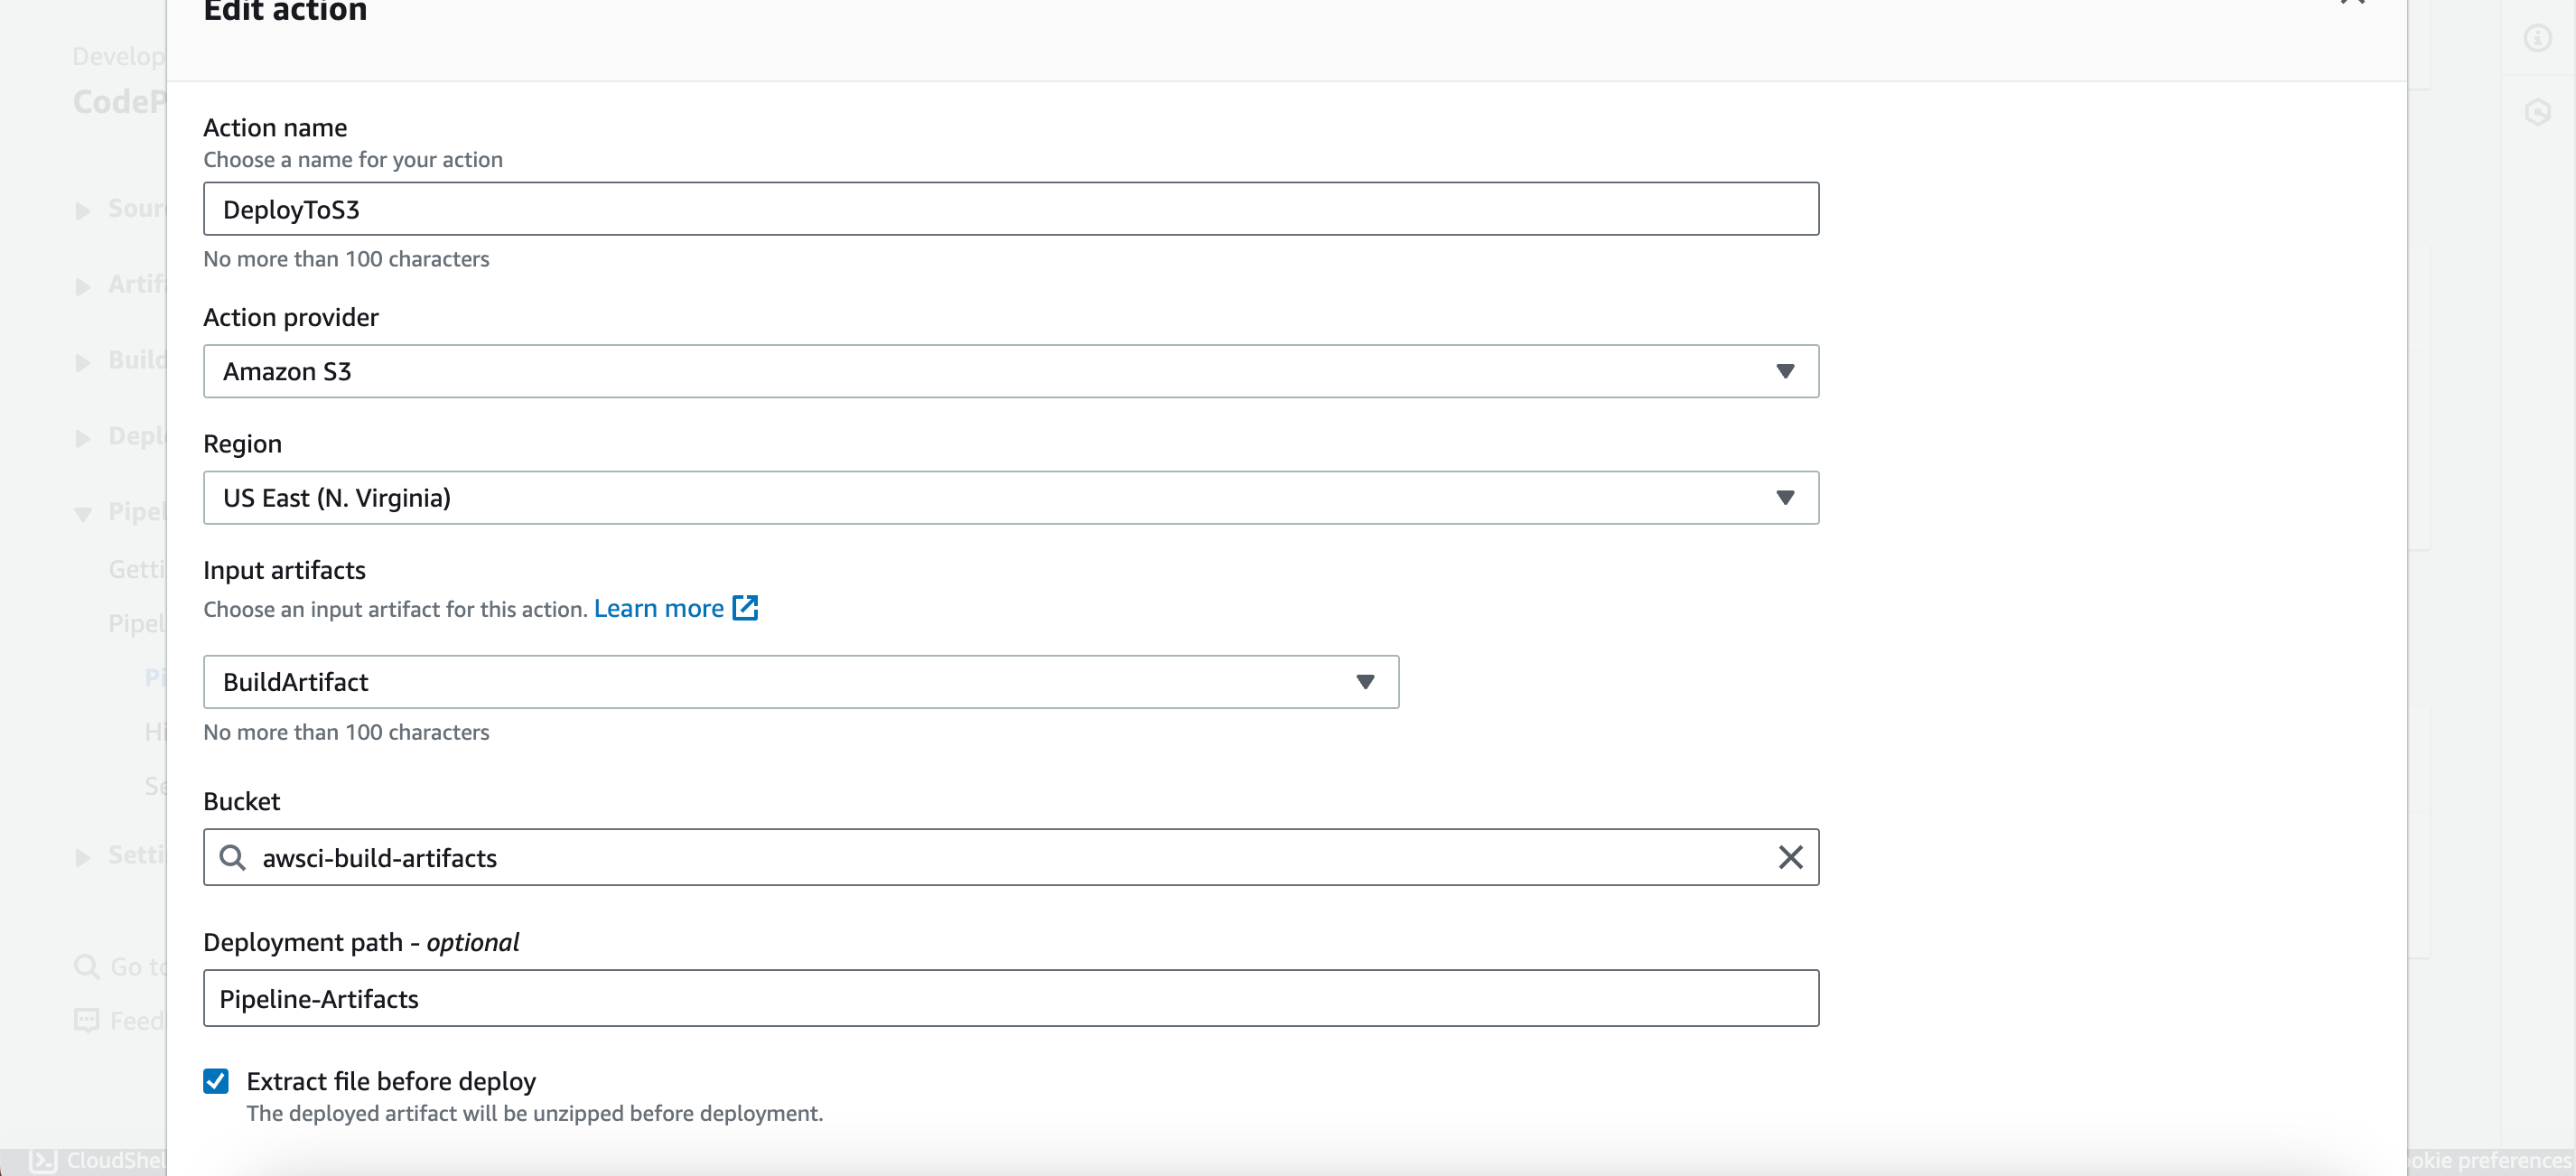
- Add an action group named (e.g., DeployToS3).
- Choose “Amazon S3” under action provider.
- Select “BuildArtifact” under input artifacts.
- Provide the S3 bucket created and the folder name as the key.
- Check the box “Extract before deploy.”
- Click on “Done.”
6. Save and Release:
- After editing the pipeline, scroll up and click on “Save.”
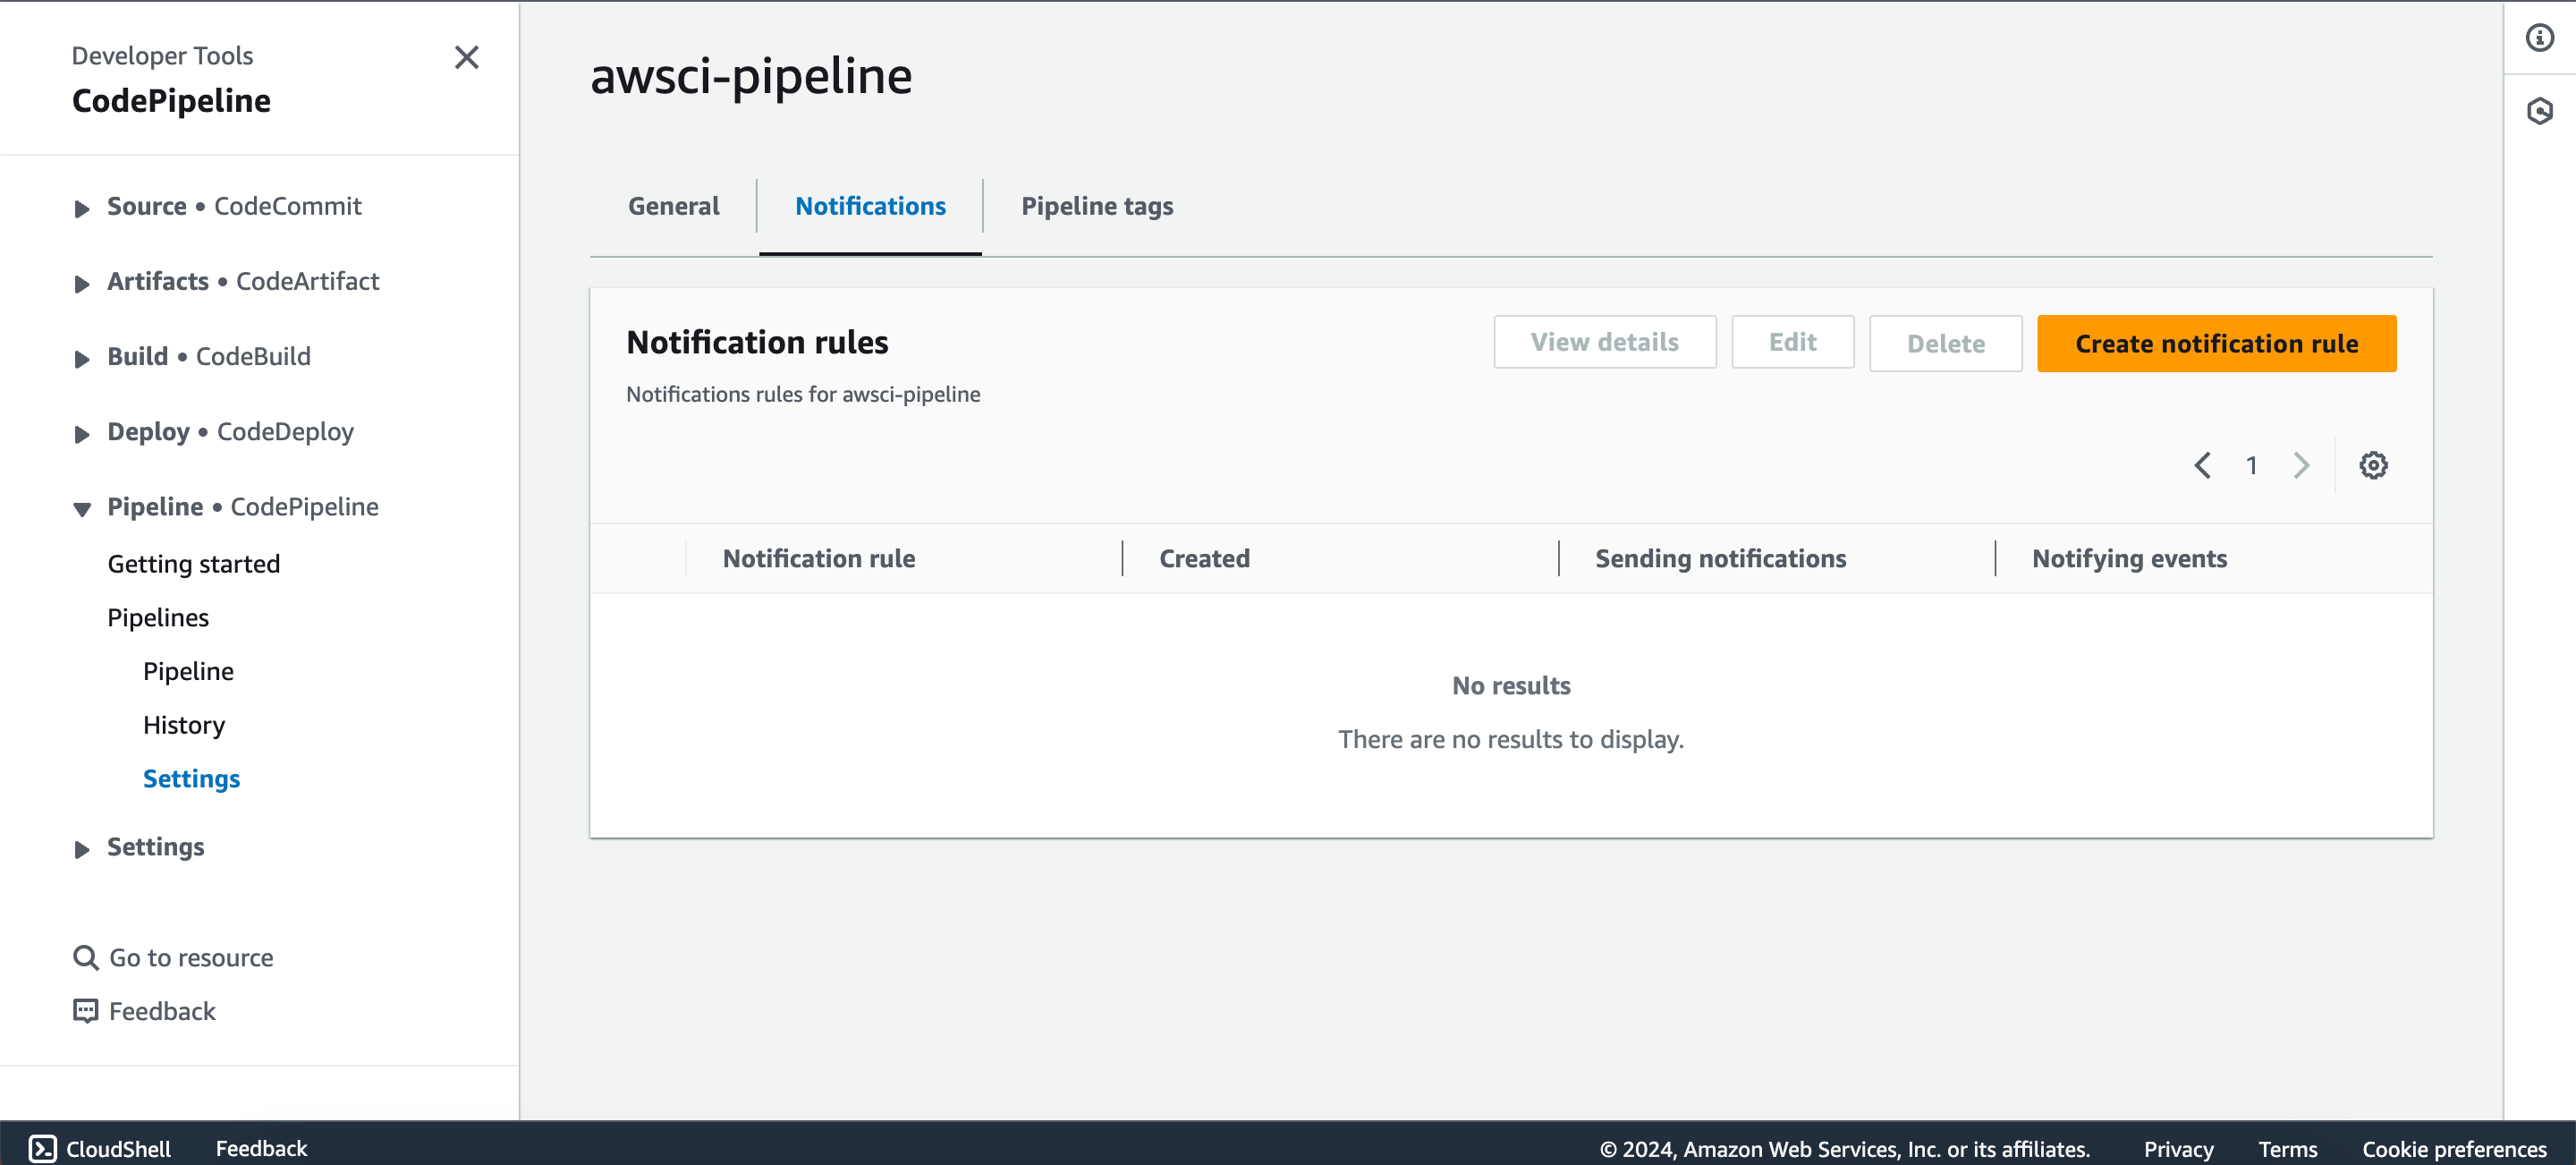
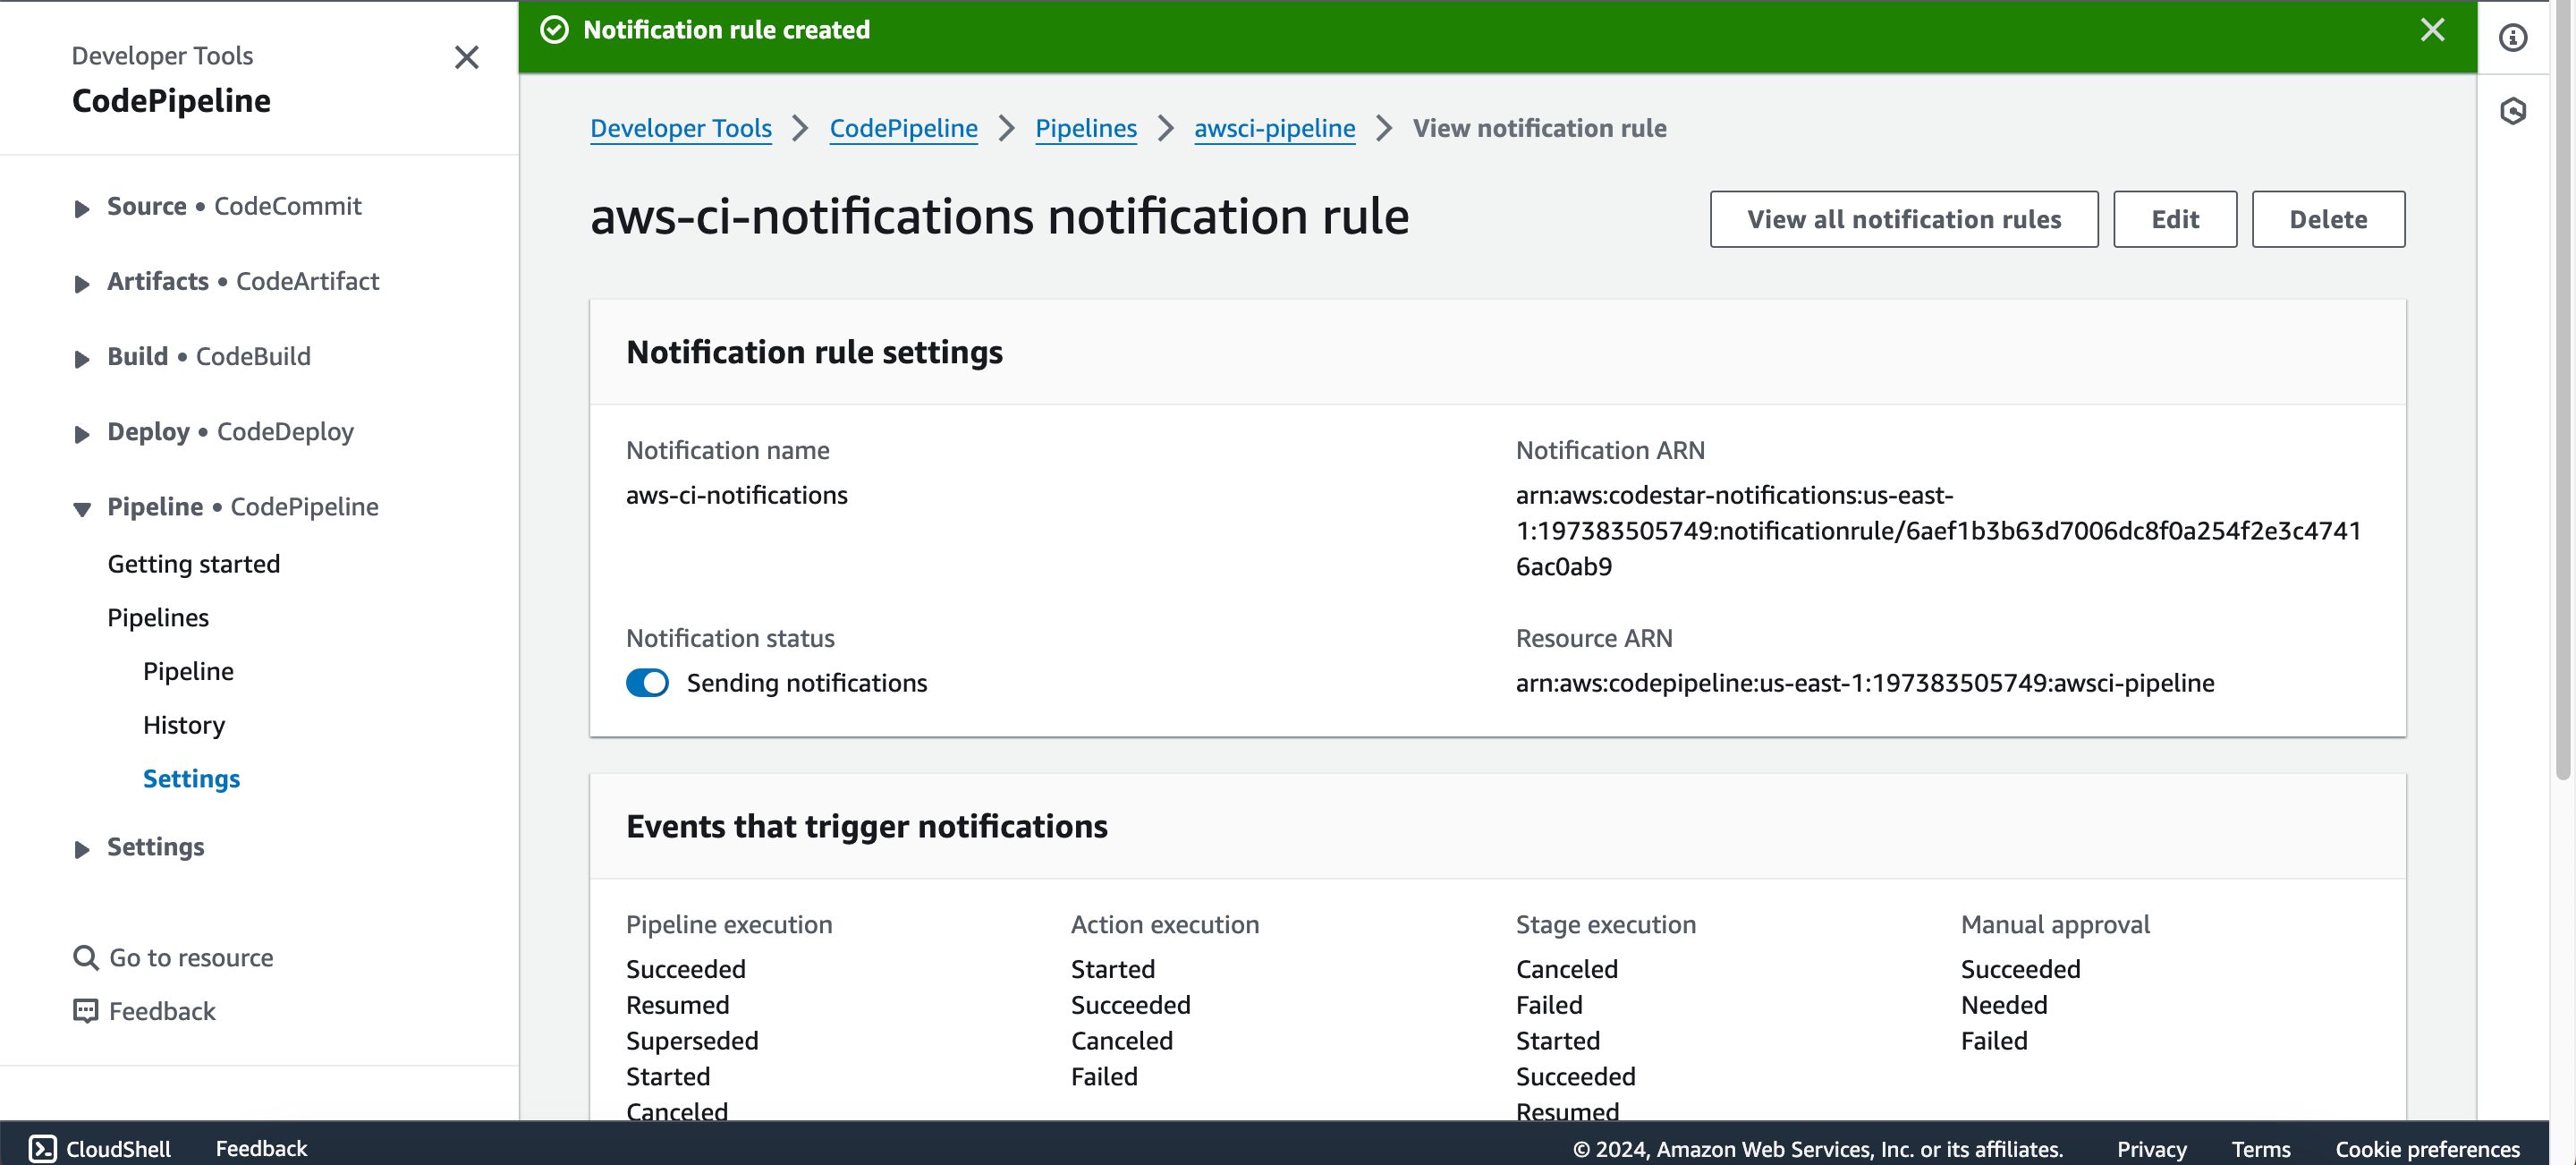
- Set up SNS notifications for the pipeline by navigating to “Settings,” clicking on the “Notification” tab, and creating a notification rule.
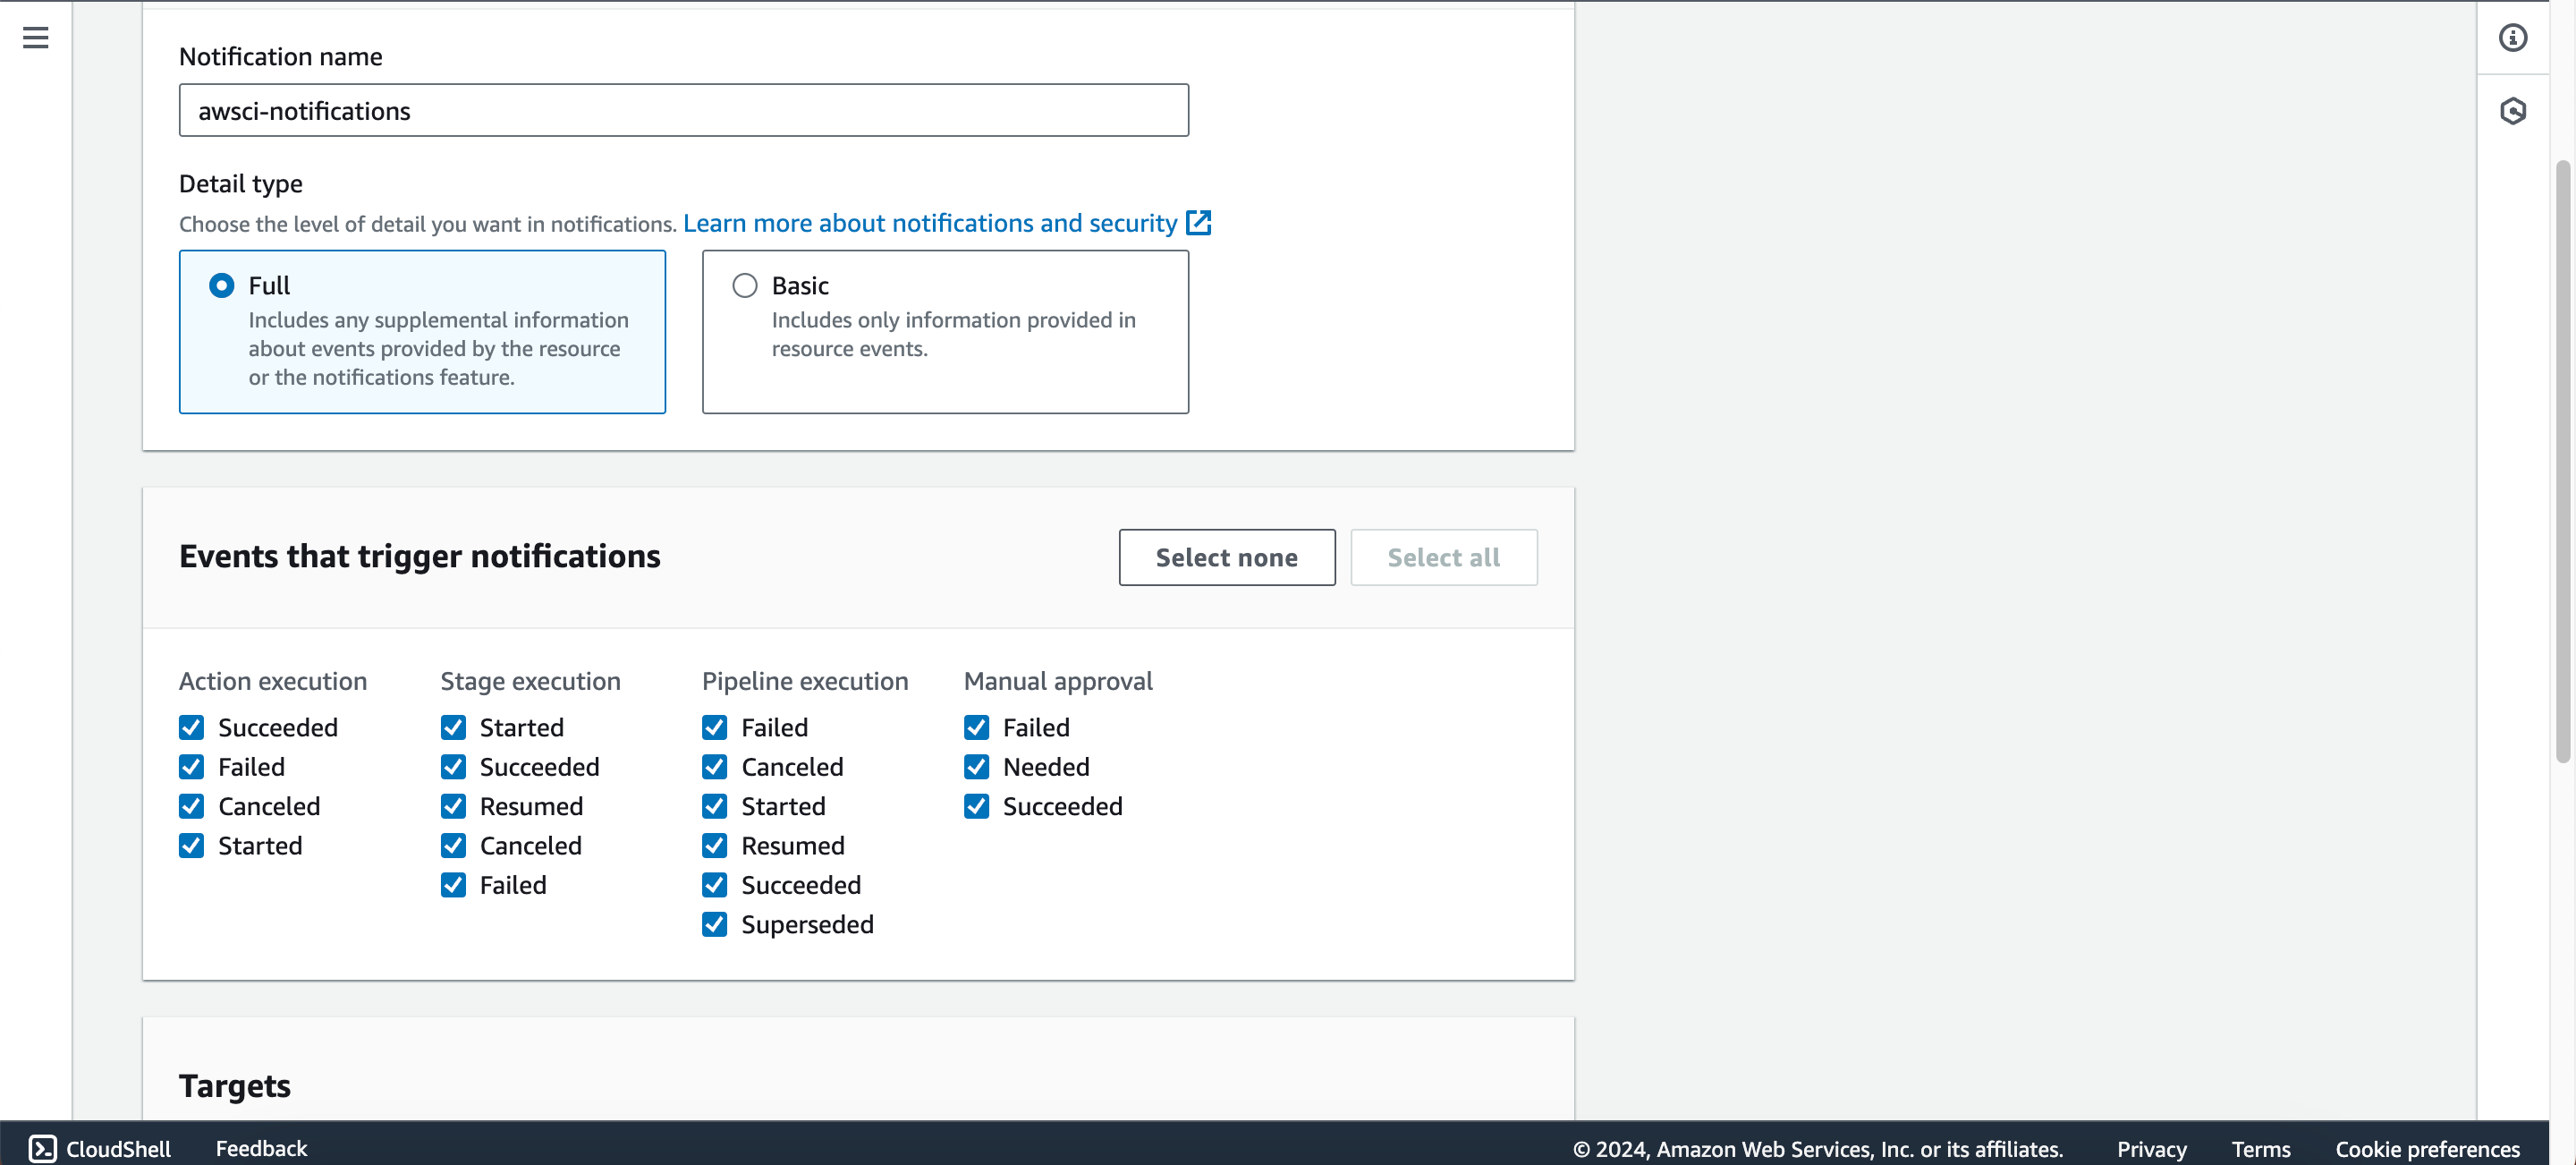
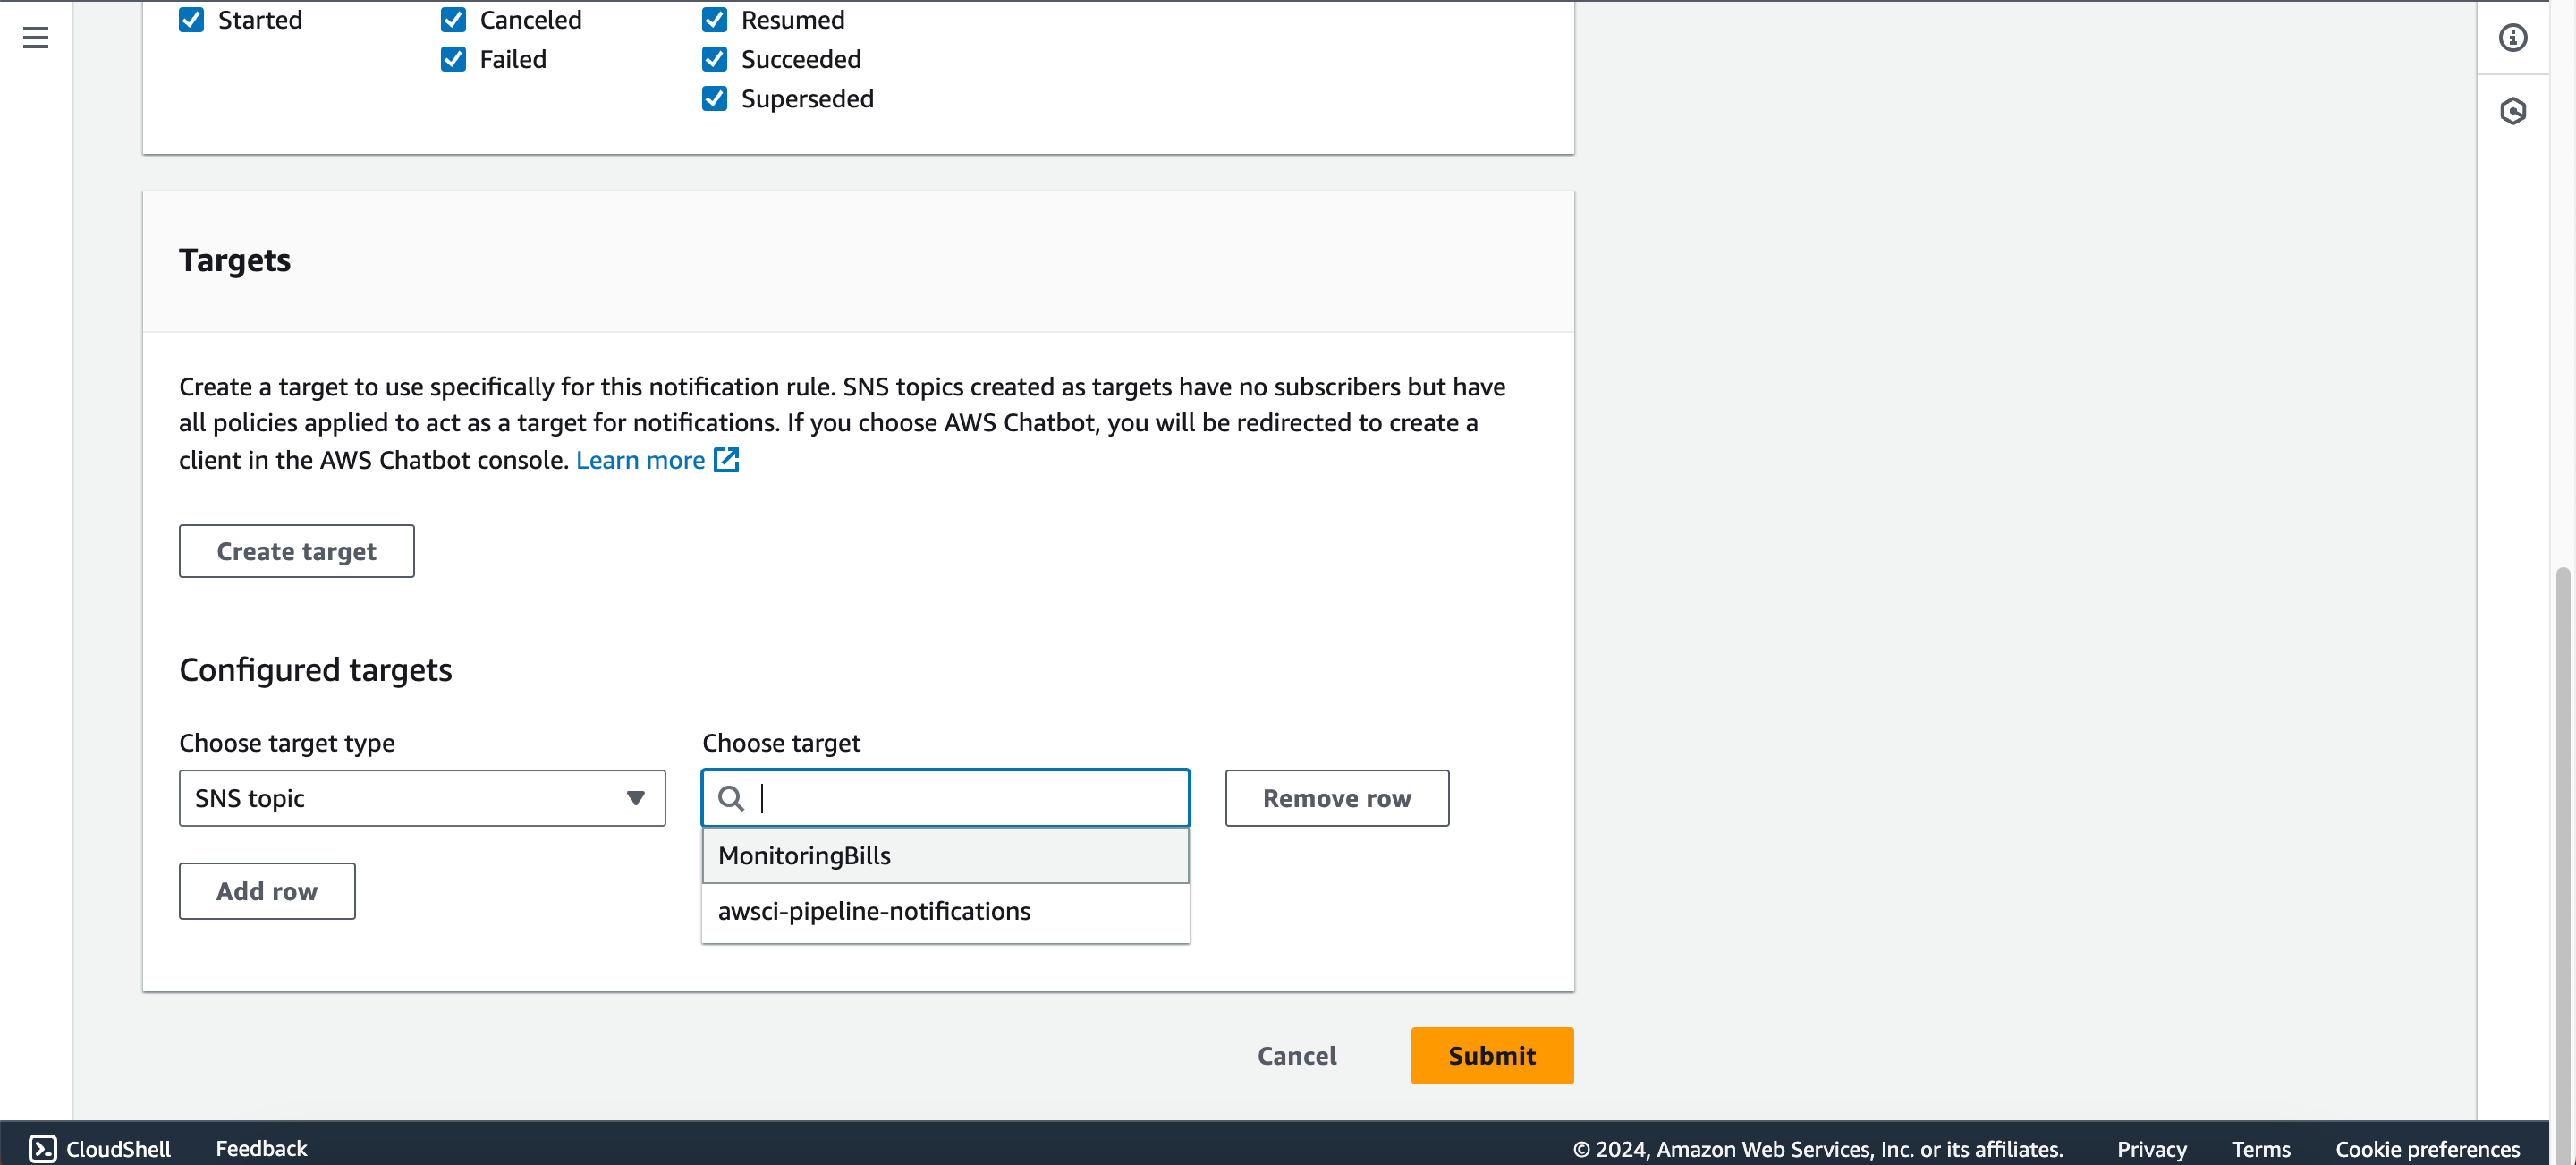
- Give the rule a name (e.g., awsci-notifications), select "full" under detail type, choose the events to trigger notifications, and select the previously created SNS topic as the target.
- Click on “Submit.”
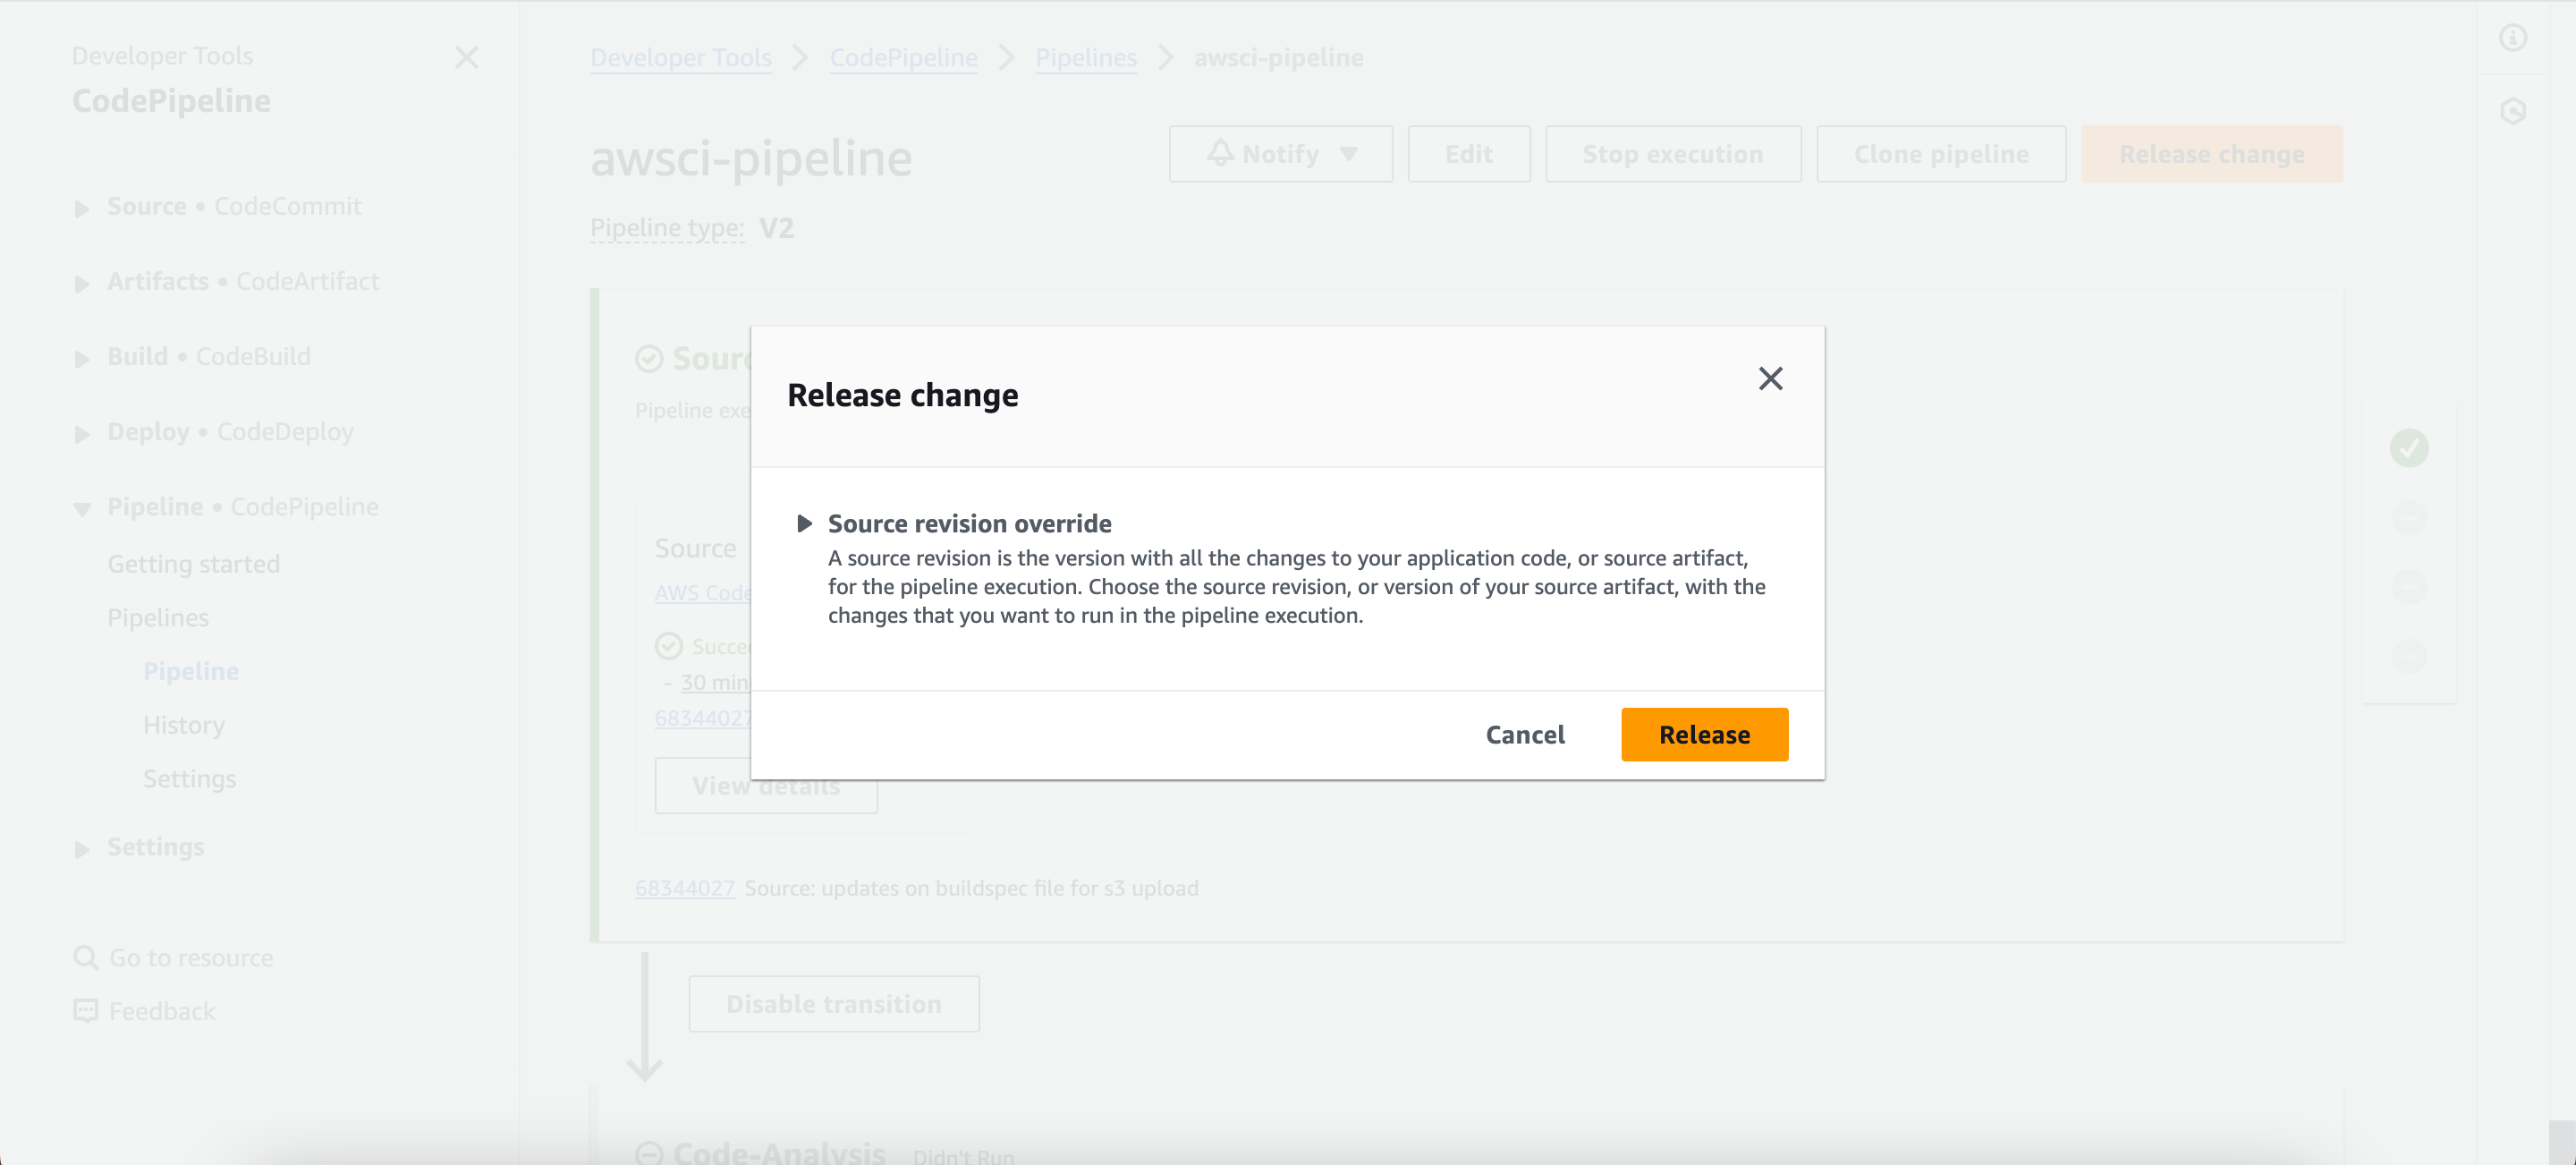
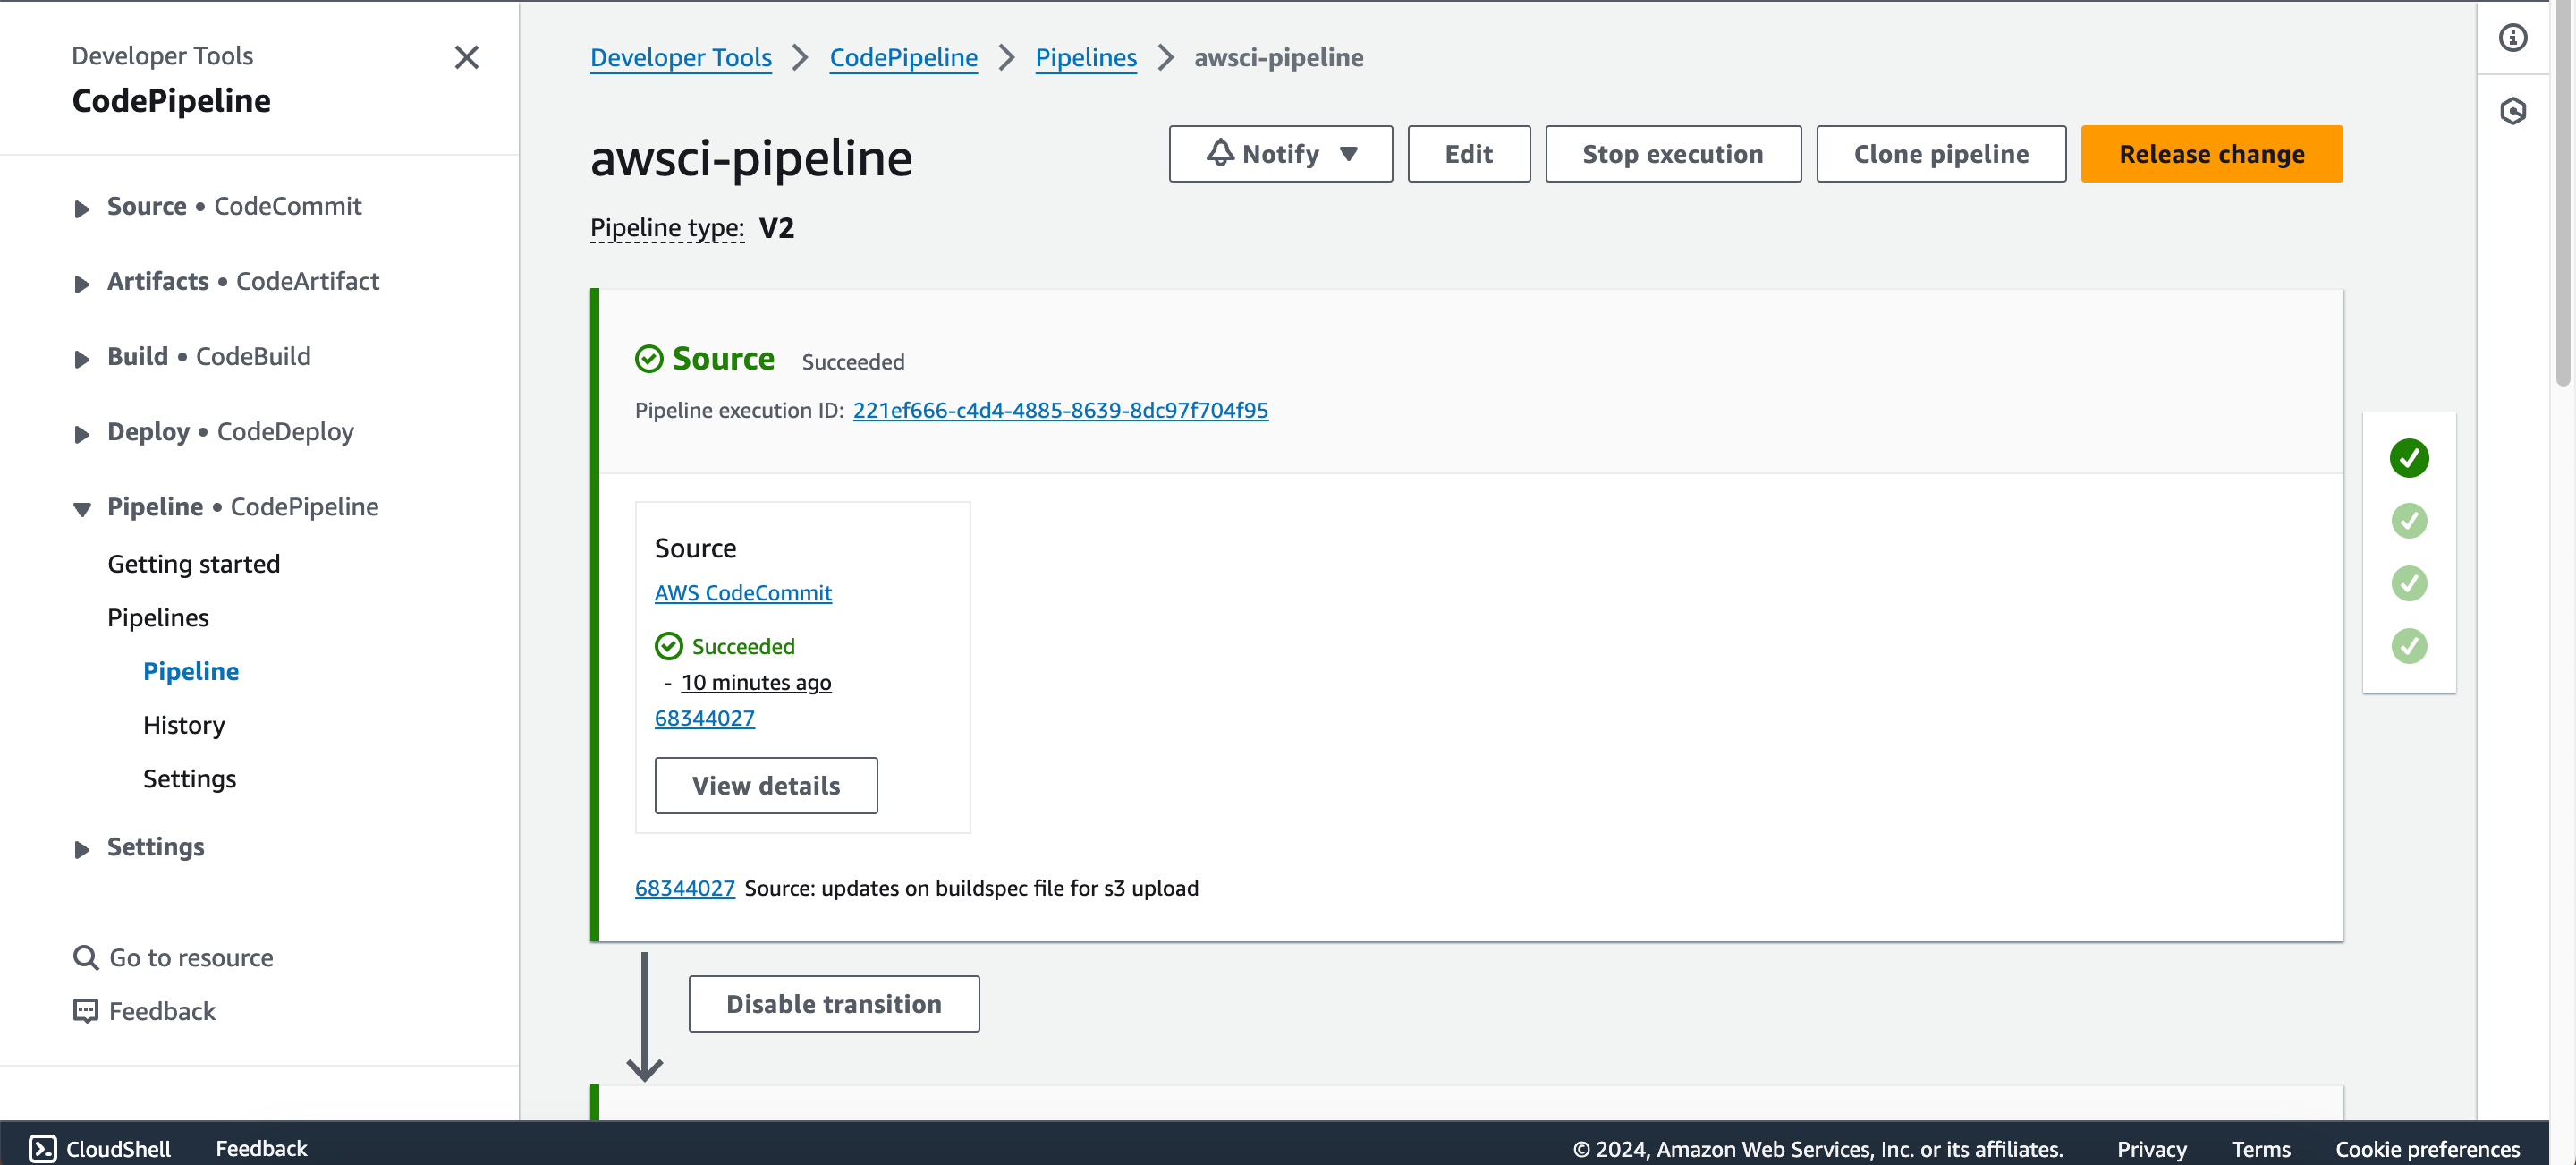
- Now go back to the pipeline, click on “release change”, sit back and watch the pipeline run.

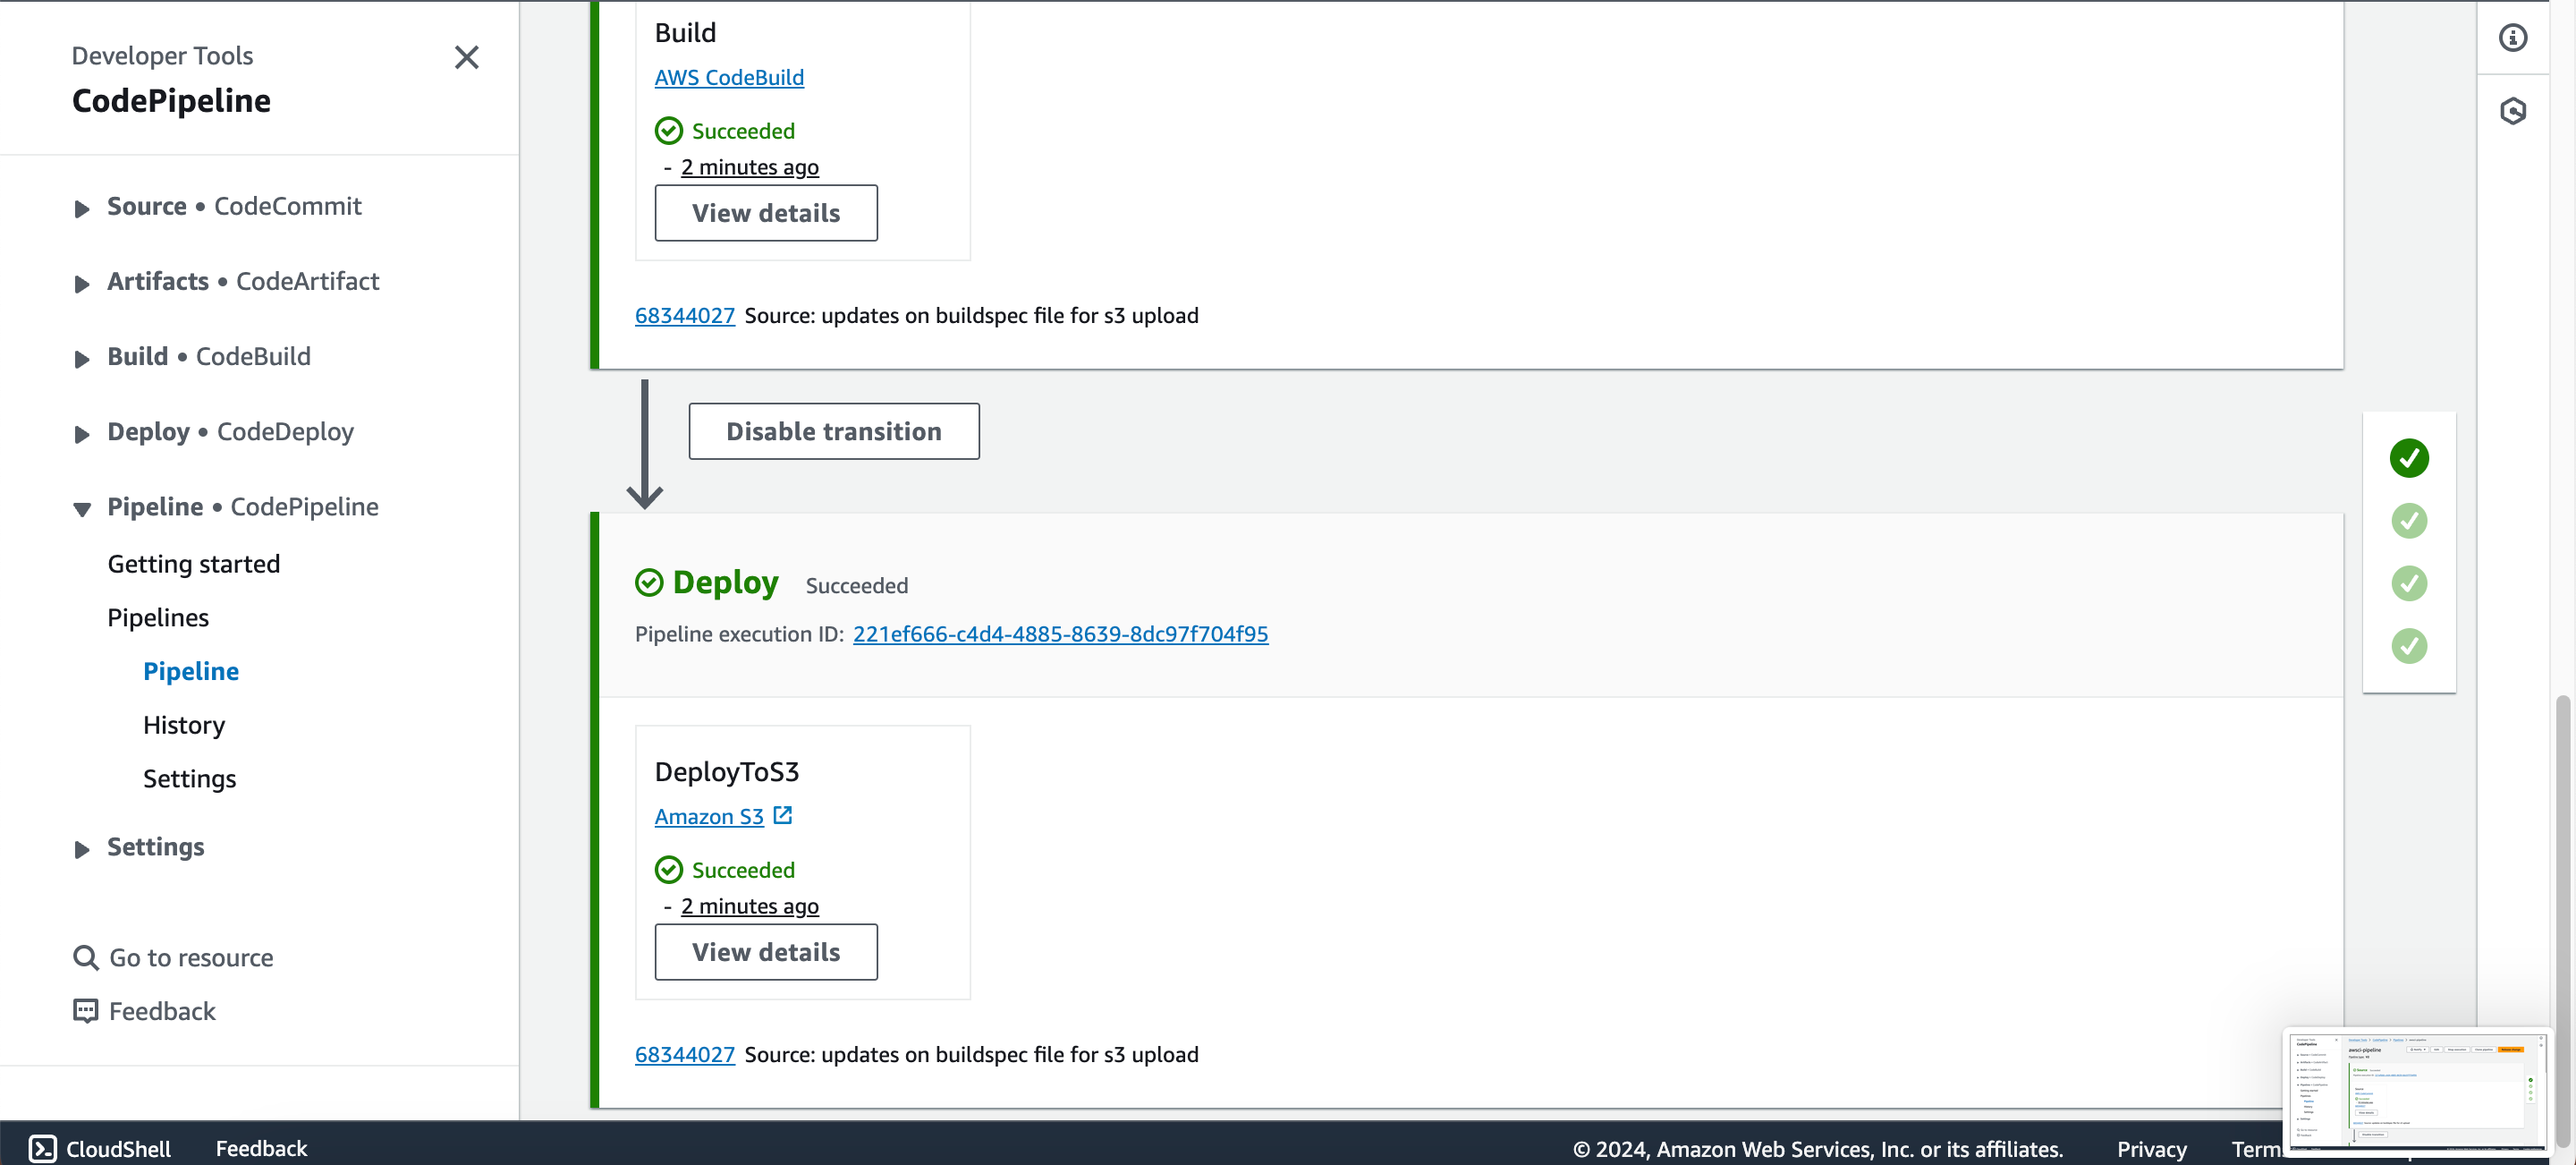
Step Six: Summarize and Validate
Congratulations on getting to the final stage of the project. The pipeline executed successfully. Whenever a developer makes a commit in the source code, it will be detected by the CodePipeline and will eventually trigger the pipeline. The first job would be the code analysis, results will be uploaded to SonarCloud and depending the on the quality gates, it will either pass or fail, if it passes, the next job will be triggered which is to build the artifact then push to S3 bucket in the folder specified.
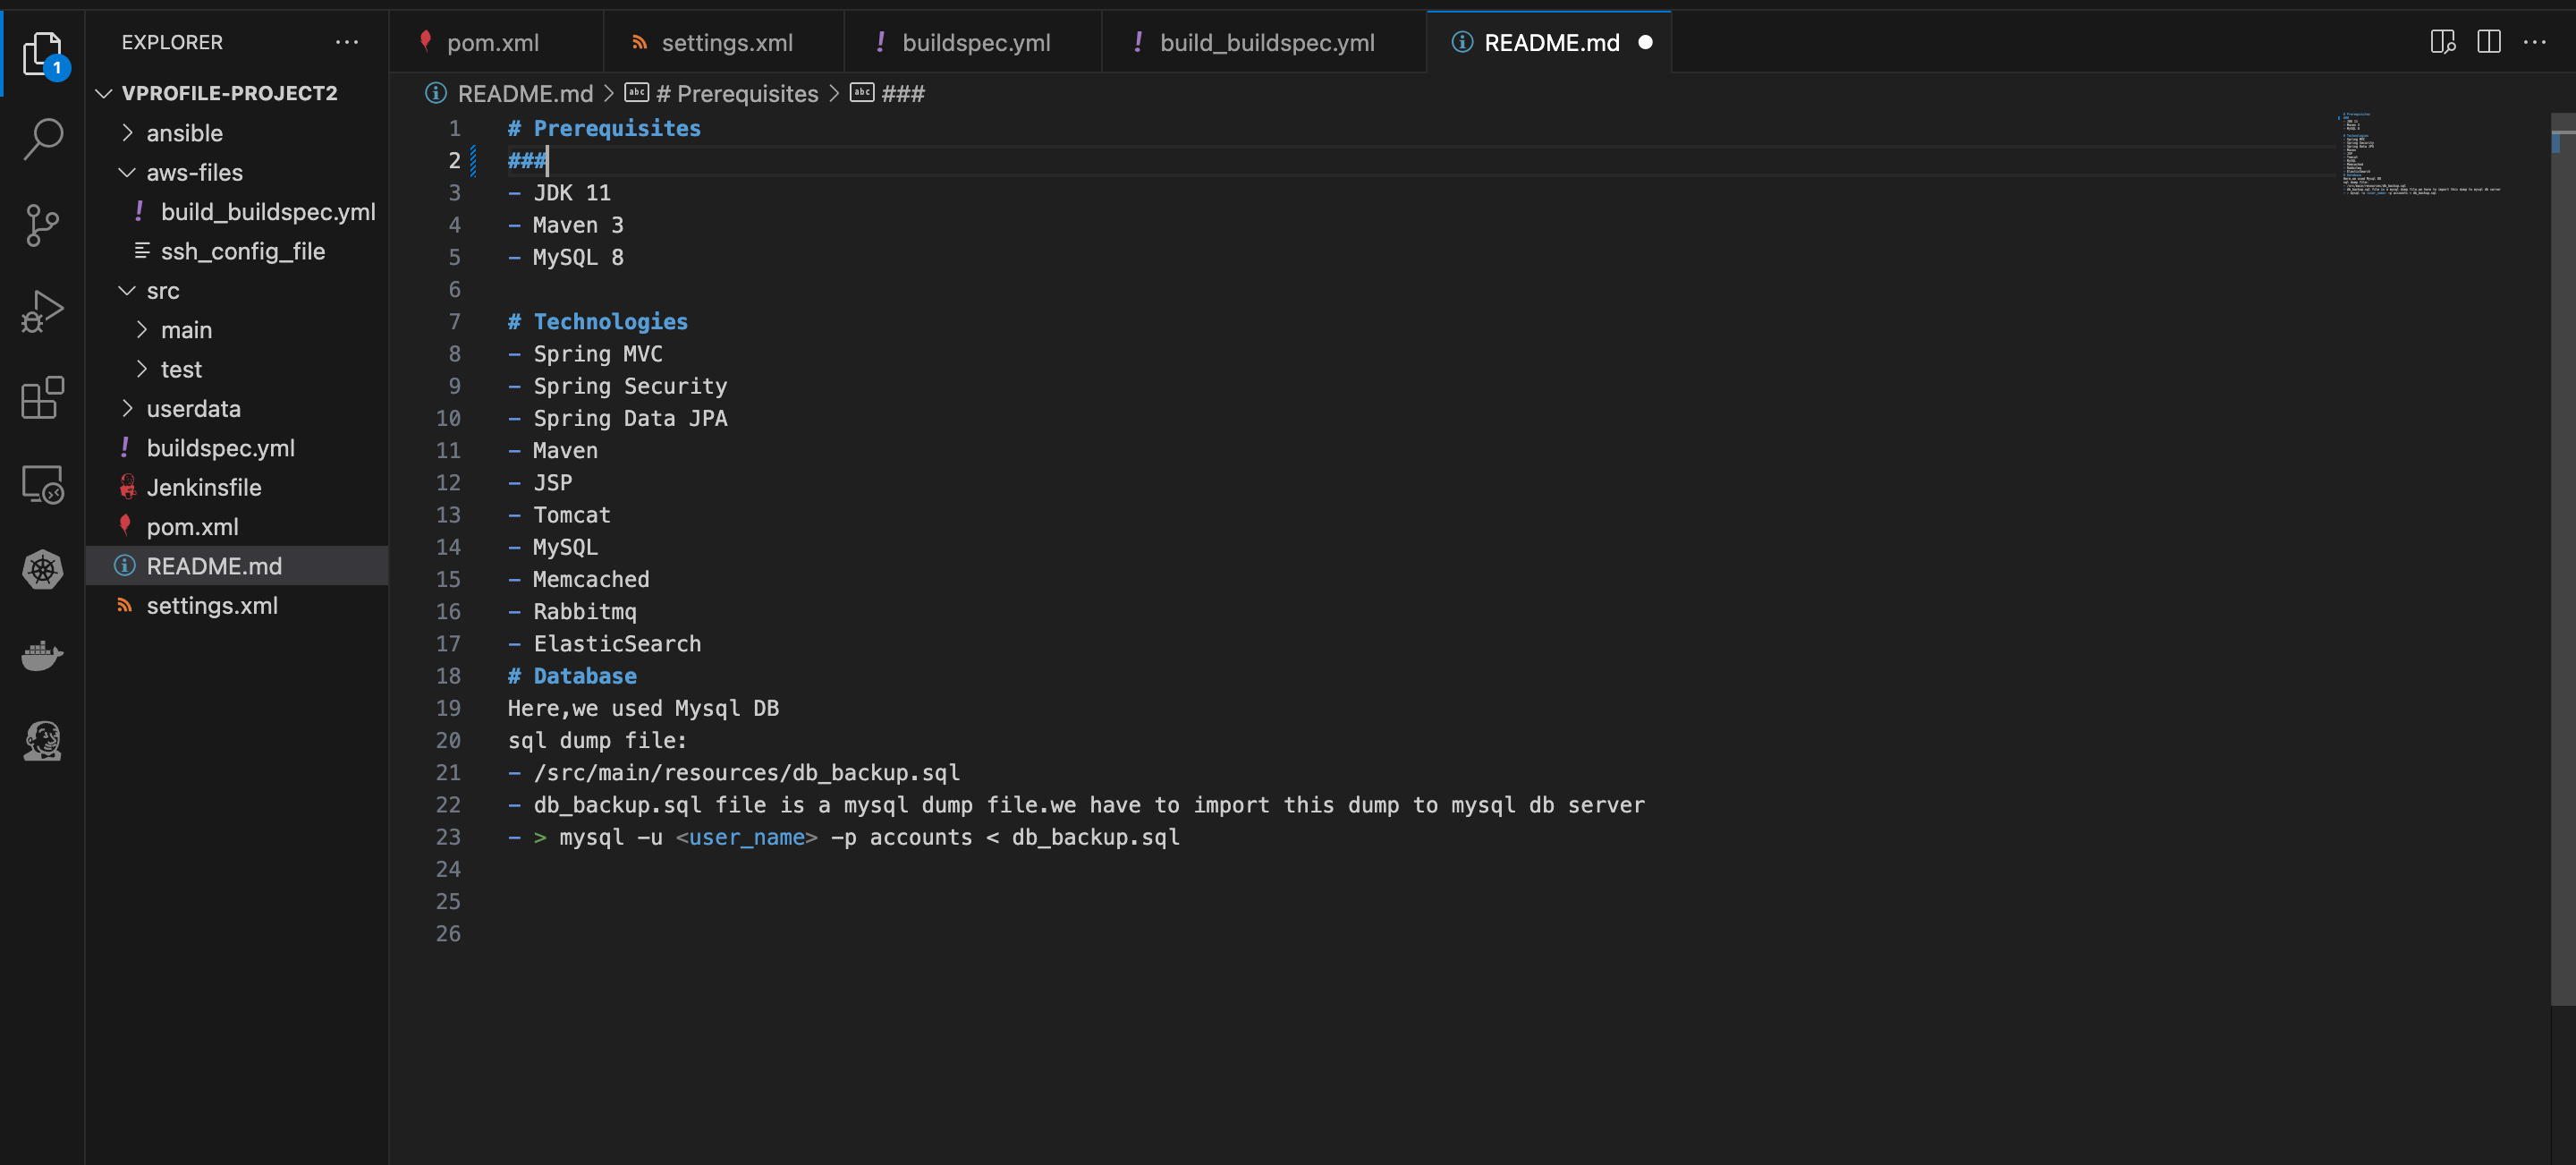
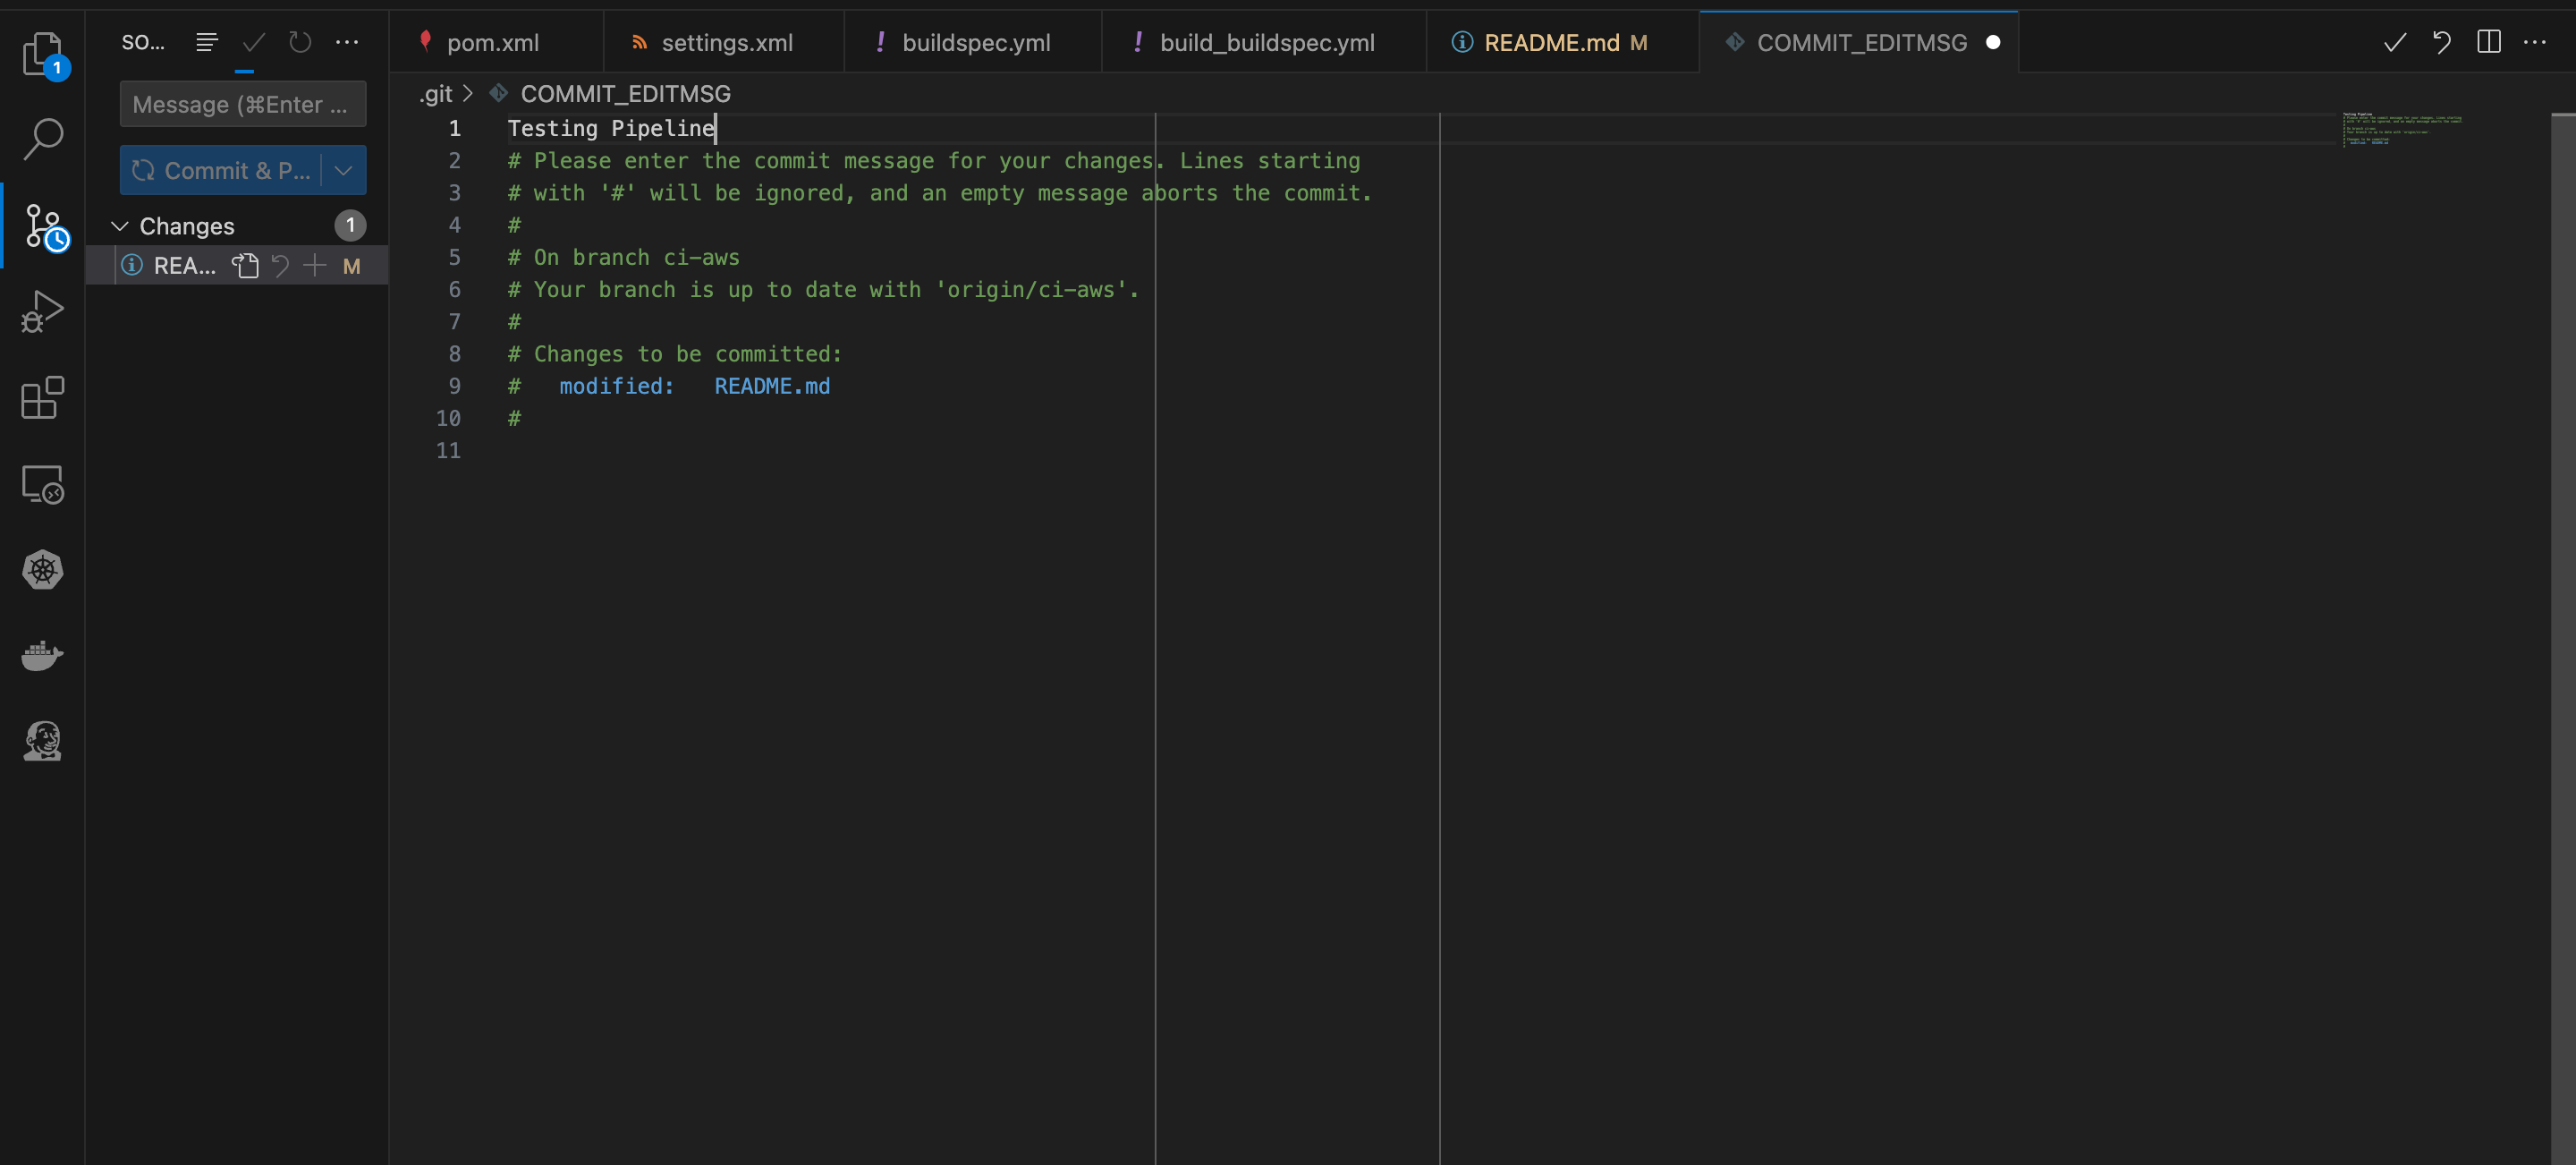
In other to test the CodePipeline triggers, we’ll make some code commits. You can make a change on the README.md file, then save, push and commit.
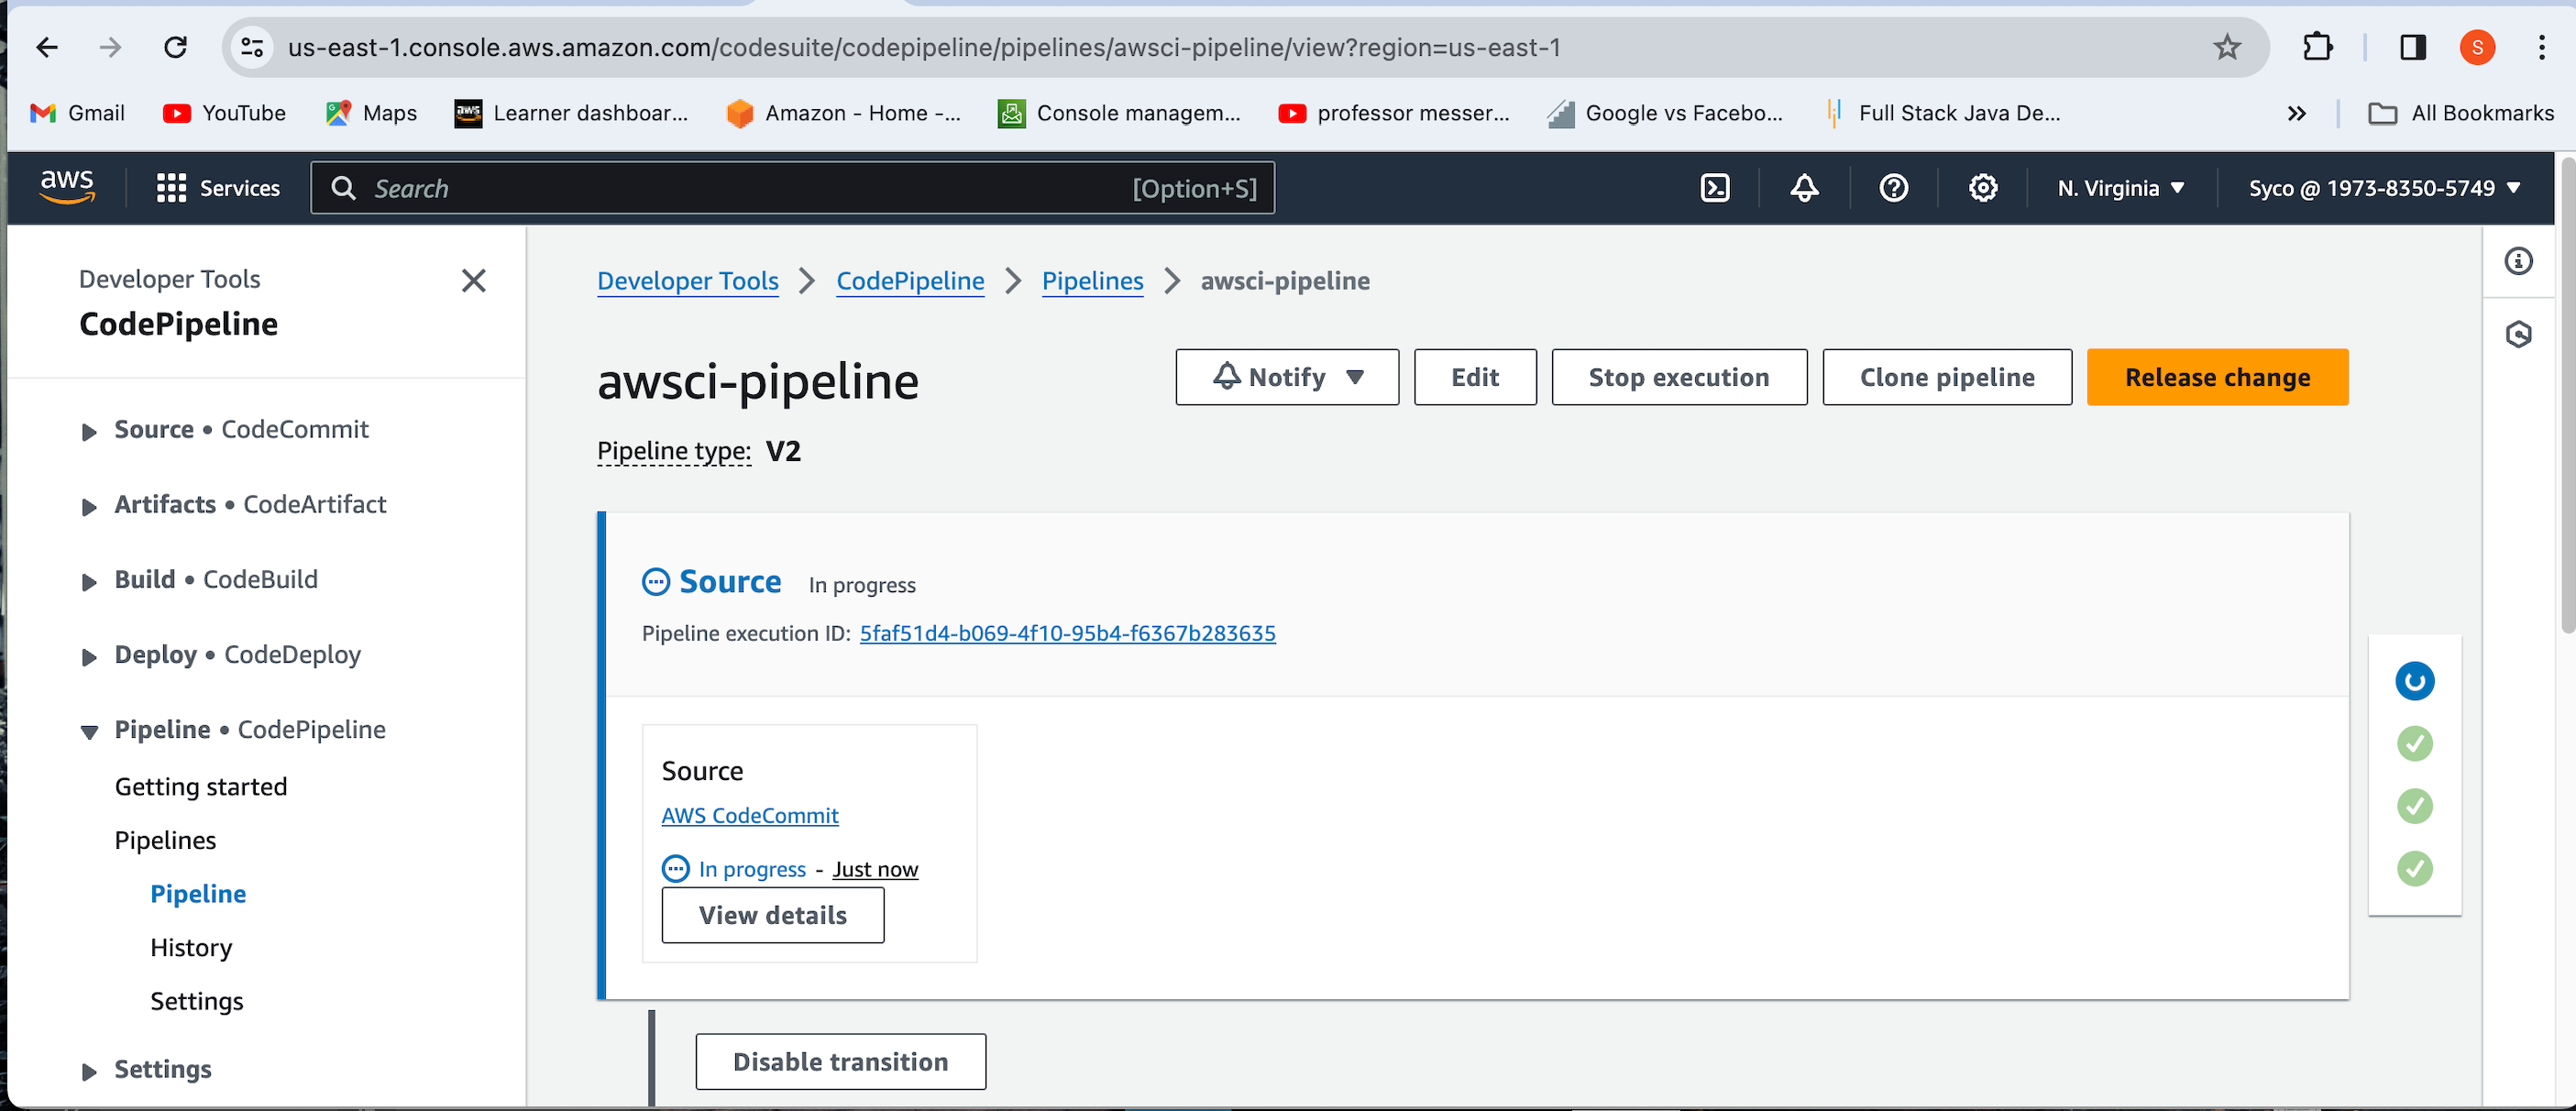
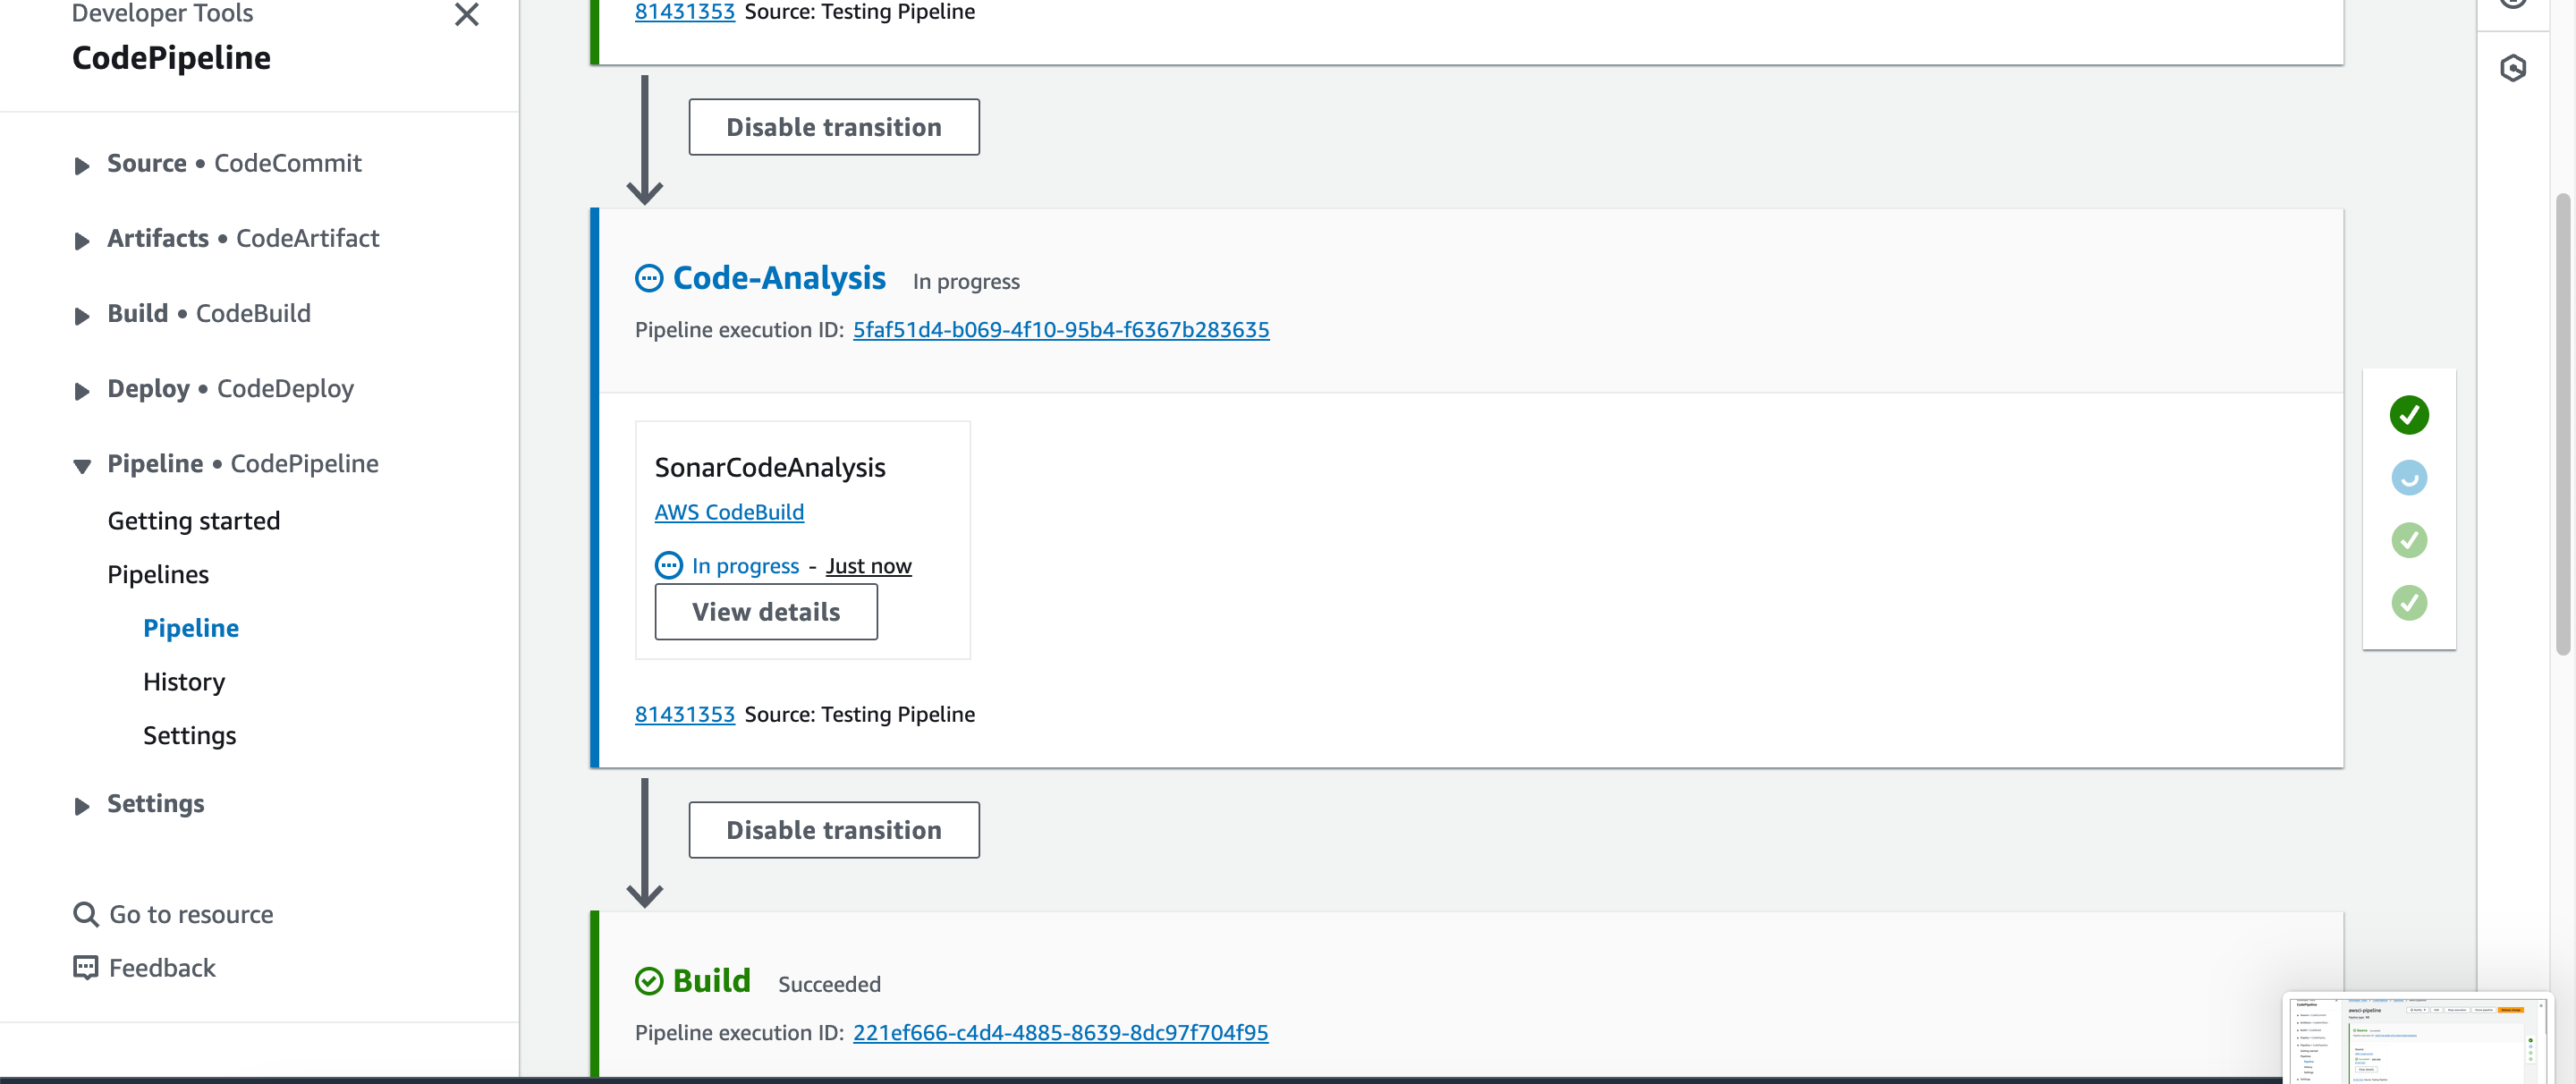
The Pipeline triggers work. This makes the job of the developers easier because all they need to worry about is writing the code, the rest of the Build process is handled.
