In this article, we will look into the process of changing the encryption key used by an Amazon Elastic Block Store(EBS) volume. Before we begin, it is important to note that the encryption key for EBS volumes cannot be changed once generated. But there is a workaround for it. In this article, we will be discussing the same.
To do so follow the below steps:
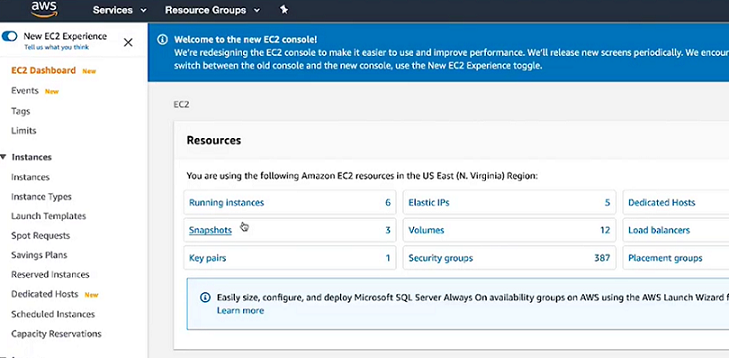
Step 1: First log into the AWS management console and navigate to the Amazon Elastic Compute Cloud console in the EC2 console.
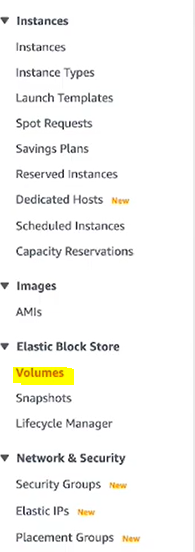
Step 2: Under elastic block store select volumes and then select the encrypted volume from the list with the encryption key that you want to change.
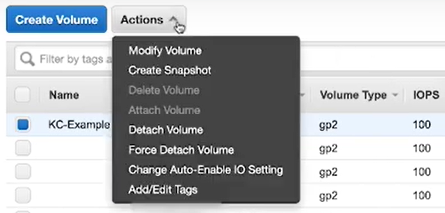
Step 3: Note the availability zone of your volume on this page and choose actions followed by create snapshot from the drop-down menu.
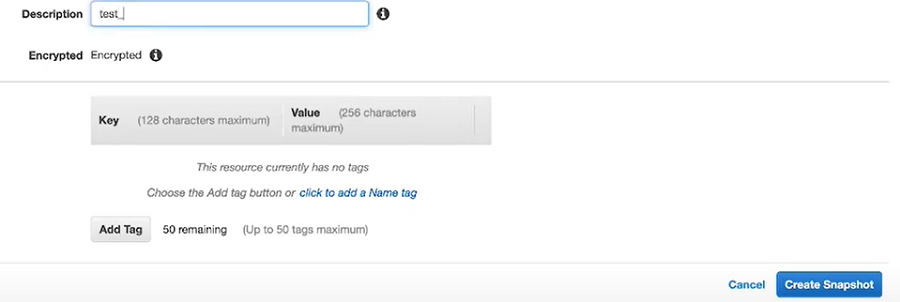
Step 4: You can now enter an optional description of the snapshot for your reference Here we’ll use a test snapshot as an example. After you do this, choose the create snapshot option.
Step 5: Now select close.
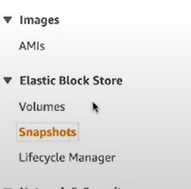
Step 6: On the left navigation pane under elastic block store select snapshots.
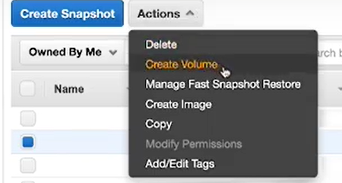
Step 7: Then select your newly created snapshot. Next, choose actions and then from the drop-down menu, choose to create volume.
Step 8: Here you can also enable fast snapshot restore, this enables you to create a volume from a snapshot that is fully initialized at creation doing so reduces the latency for accessing data for the first time.
If you don’t want to enable the fast snapshot restore feature then you can manually initialize your EBS volume after creation using the DD or FIO utilities. Be sure that you select the same availability zone of your current volume that you noted earlier.
Step 9: Next from the drop-down menu of the master keys choose your new encryption key. Finally, choose to create volume.
And that’s it you have a new EBS volume that uses the new encryption key.



No comments:
Post a Comment