An Amazon Machine Image is a special type of virtual appliance that is used to instantiate (create) a virtual machine within EC2. It serves as the basic unit of deployment for services delivered using EC2. Whenever you want to launch an instance, you need to specify AMI. To launch instances, you can also use different AMI’s. If you want to launch multiple instances from a single AMI, then you need multiple instances of the same configuration.
An AMI has the following properties:-
- A template for the root volume for the instance (for example, an operating system, an application server, and applications)
- Launch permissions that control which AWS accounts can use the AMI to launch instances
- A block device mapping that specifies the volumes to attach to the instance when it’s launched
When you want to use AMI, select the following characteristics:-
- Regions
- Permissions for launching AMI
- Operating System
- Root device Storage
- Architecture
Why do we need AMI ?
Let us suppose that we want to launch 5 servers with the same configuration. One way of doing that would be to launch a new EC2 instance every time and install the required packages every time. While the other way of doing it would be to configure your EC2 instance once and then create an image of that instance. Using that image you can deploy 4 more EC2 servers.
Creating your Own AMI
Prerequisites: AWS Account
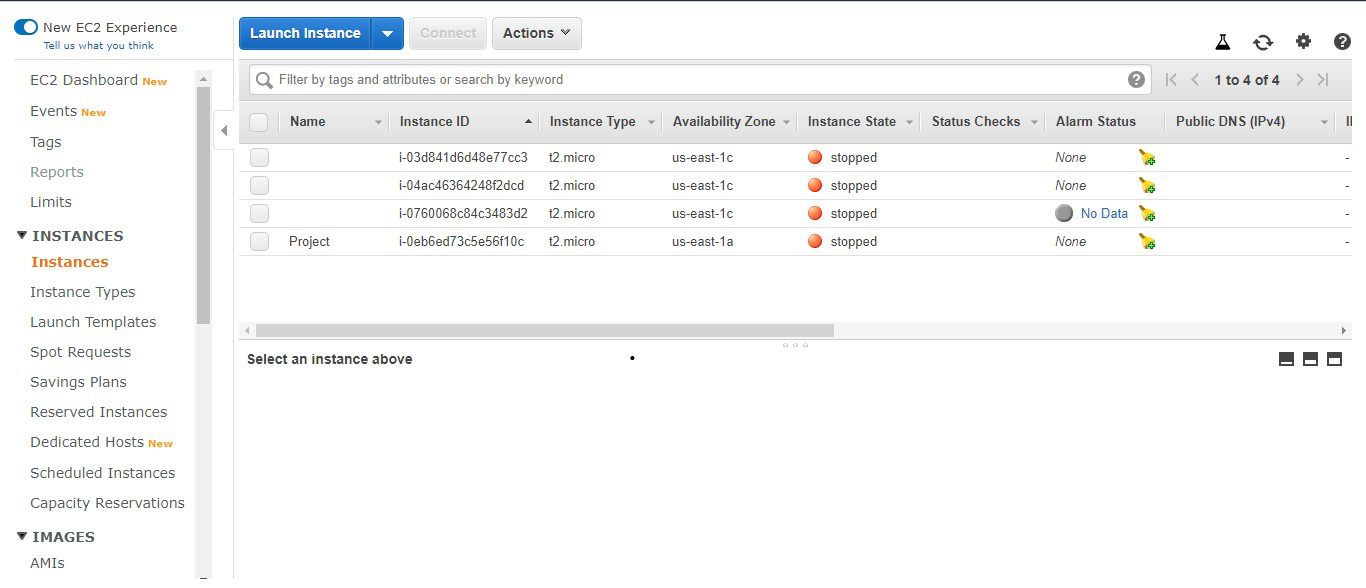
Step 1: Click on the launch instance button on the AWS management console.
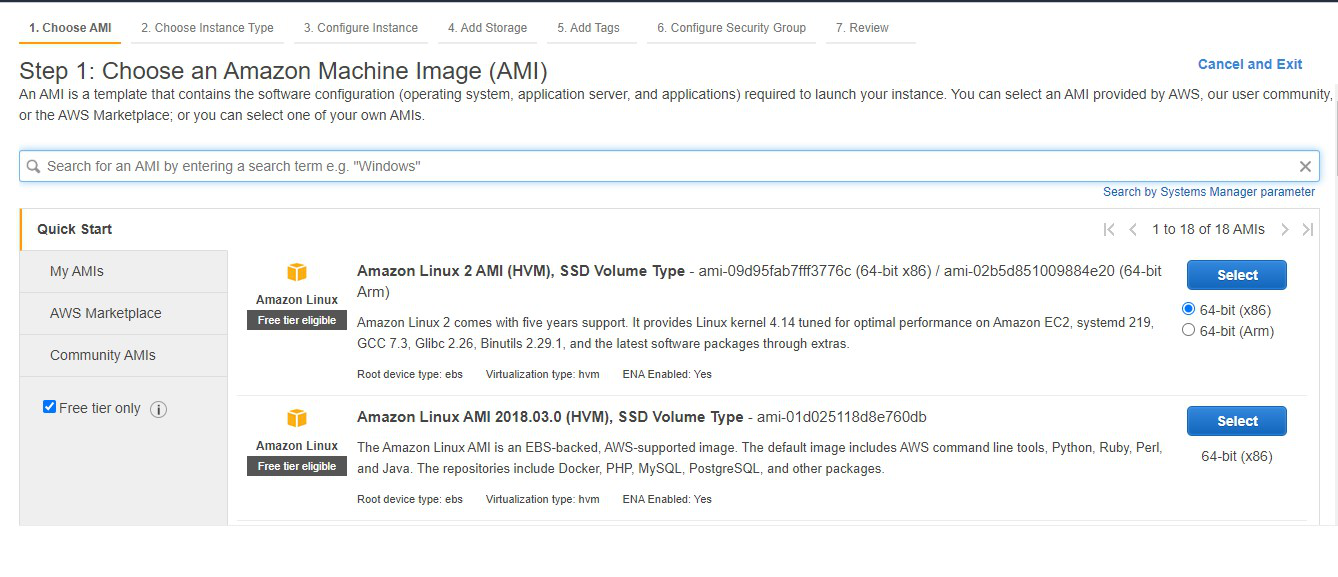
Step 2: Now you will be asked to select an already available AMI. Select Free tier and then select the Amazon Linux 2 AMI.
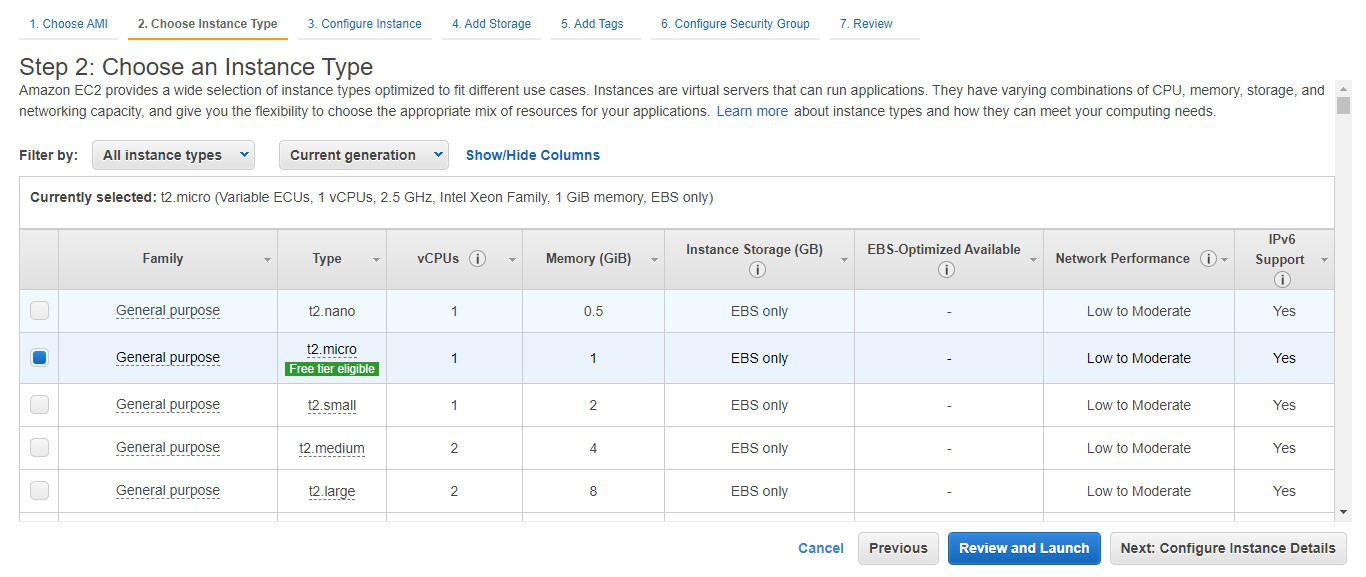
Step 3: Select t2.micro eligible for the free tier. Now click on next: configure Instance details.
Step 4: Here you can select the various configurations related to EC2 instance. Click on Next: Add storage.

Step 5: Select the amount of storage you want for the EC2 instance. Click on next: Add tags and then click next: configure security groups.

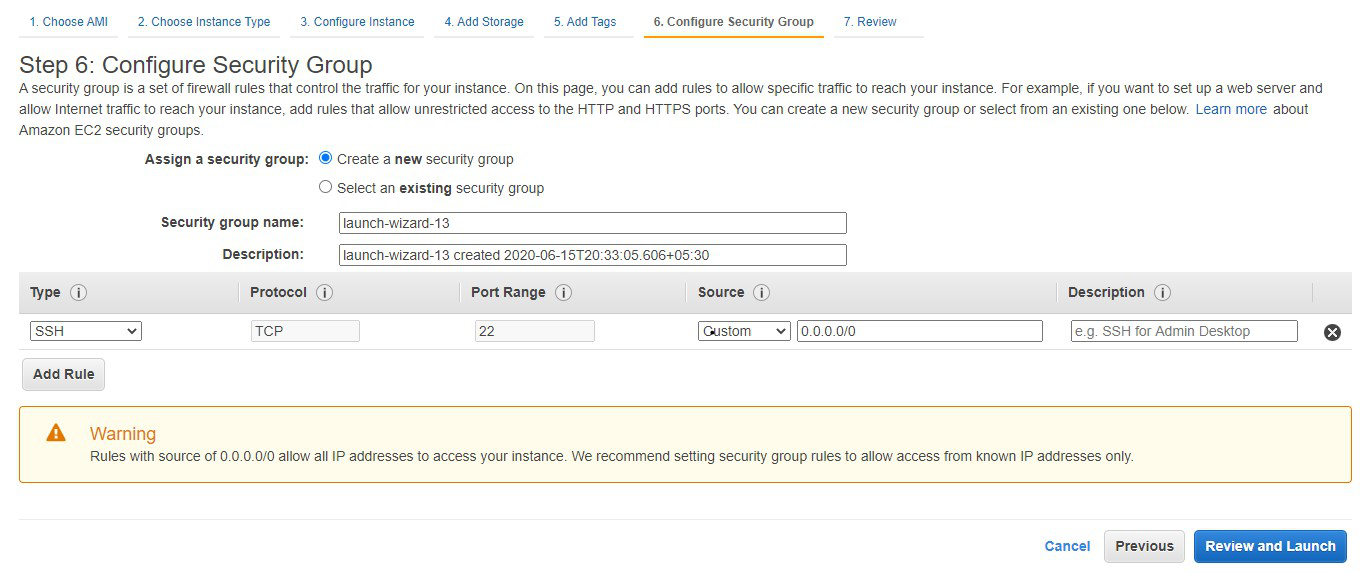
Step 6: Here you can add the security groups to allow the desired traffic for your instance. Click on review and launch.
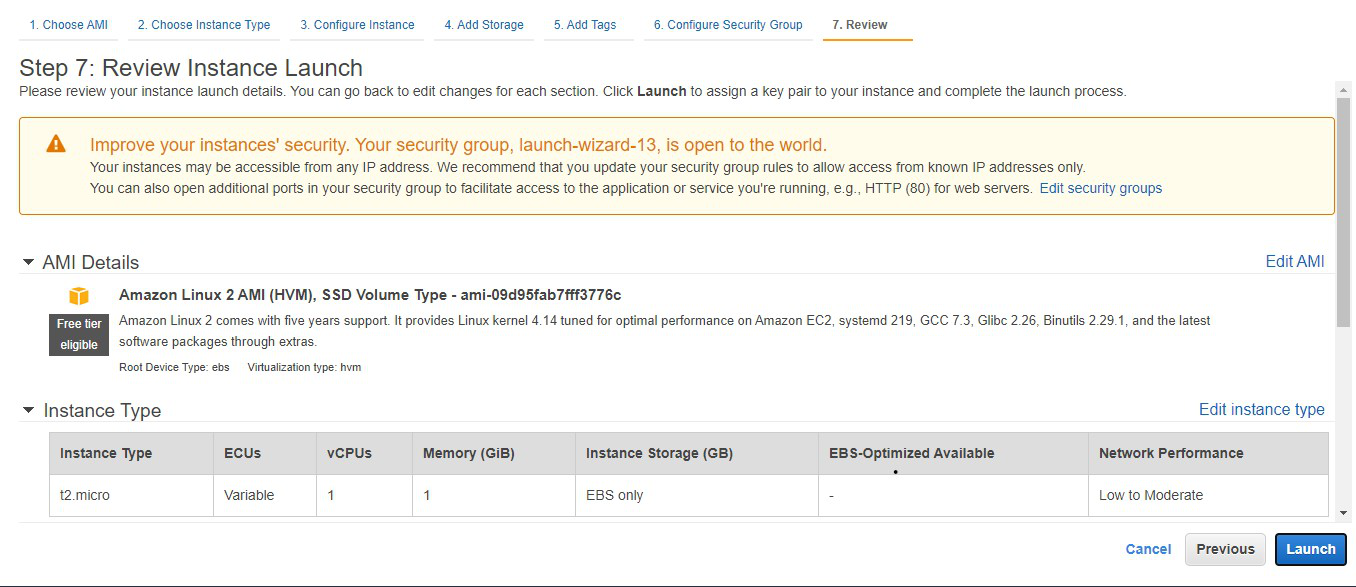
Step 7: Review all the configurations regarding the EC2 instance. Click on Launch.
Step 8: Choose to create a new key pair option and write the key pair name. Download the key pair and then click on the launch instance.

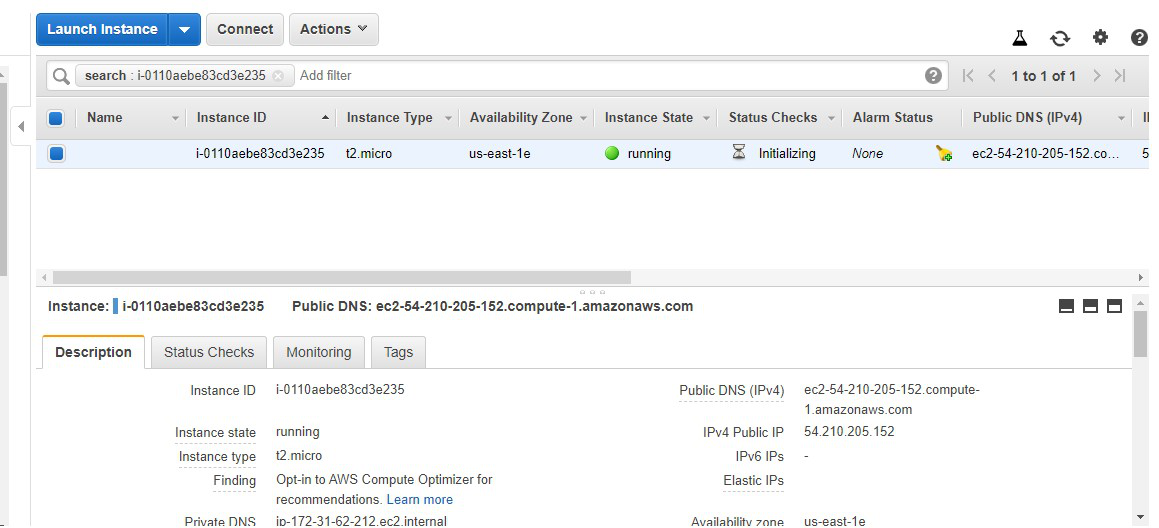
Step 9: We can see that the instance is launched and running in a healthy state. Now It is required to create the Amazon Machine Image of this instance.
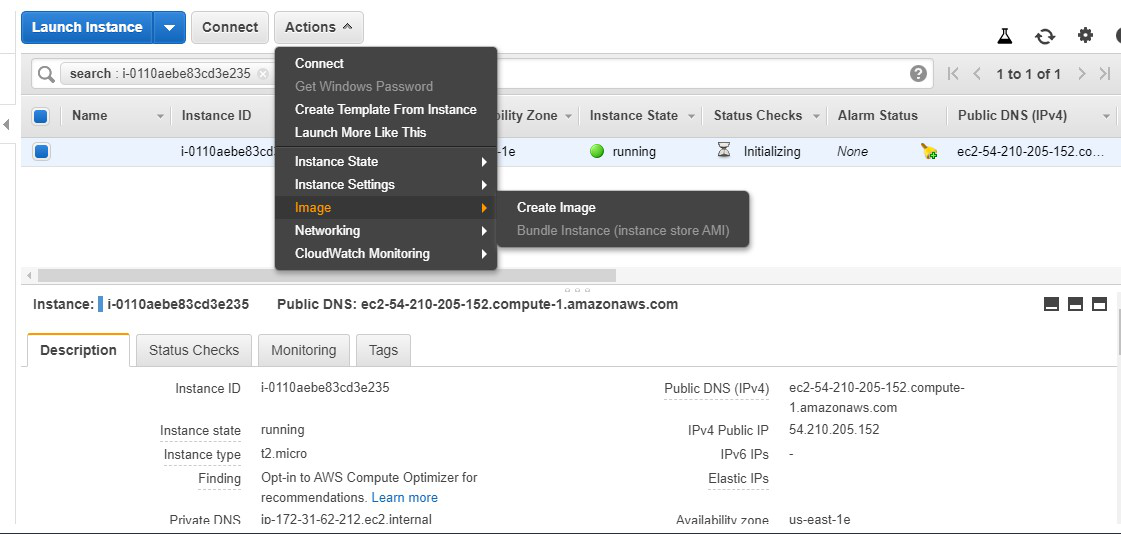
Step 10: Click on actions. Go to the image and then click on create image.
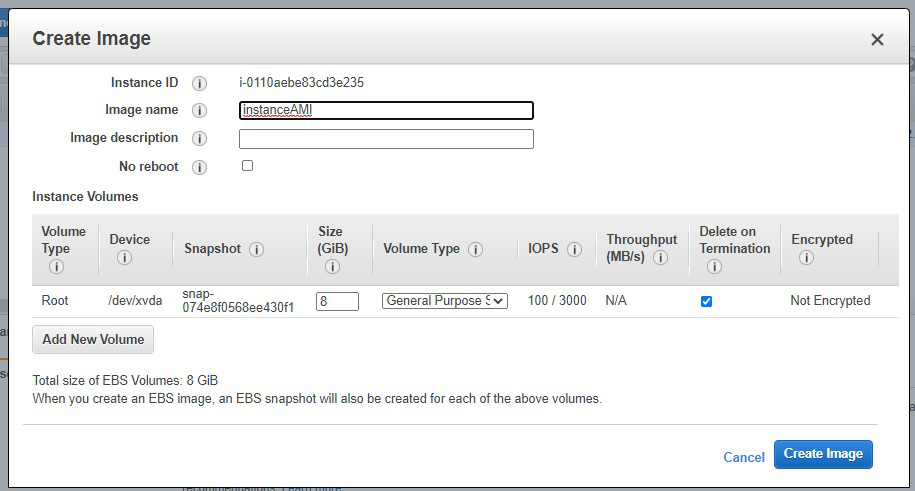
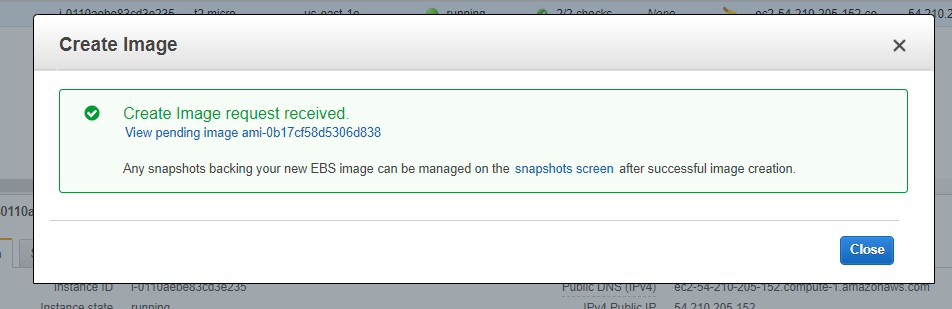
Step 11: A prompt will open wherein you are required to write the name of the image. Click on create image.
Step 12: The image creation request is received. Now the image will be created. Click on close. Now go to AMI services in AWS management console.
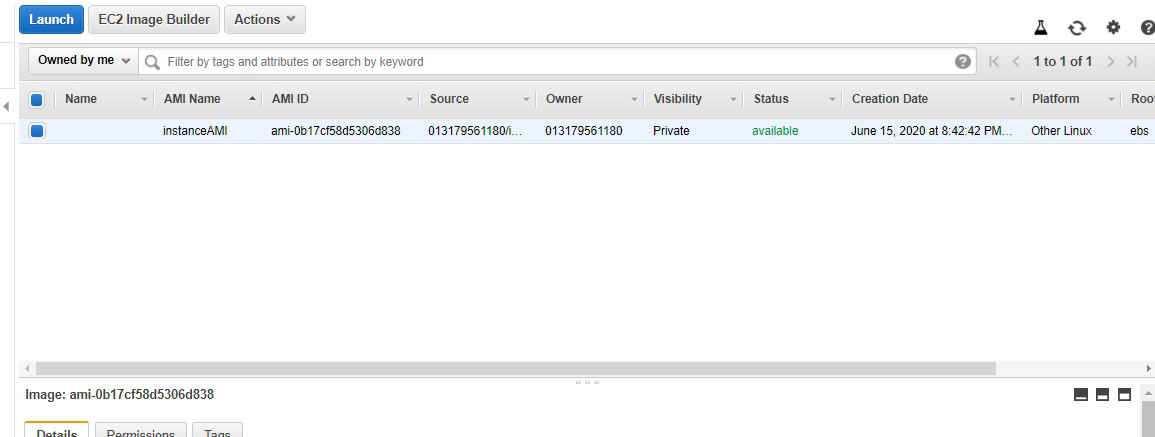
Step 13: The AMI image of our instance is created successfully.
No comments:
Post a Comment