Friday, 31 May 2024

How to use IBM App Connect with Microsoft Azure Blob storage


How to use IBM App Connect with Microsoft Azure Blob storage


Microsoft Azure Blob storage is a Cloud Object Storage solution. Azure Blob (Binary Large Object) is a secure object storage solution that is optimized for storing massive amounts of unstructured data for cloud-native workloads, archives, data lakes, high-performance computing, and machine learning.


Supported product and API versions

To find out which product and API versions this connector supports, see Detailed System Requirements on the IBM Support page.

Connecting to Microsoft Azure Blob storage 

Complete the connection fields that you see in the App Connect Designer Catalog page or flow editor. If necessary, work with your Microsoft Azure Blob storage administrator to obtain these values.

Microsoft Azure Blob storage connection fields:

Authentication method
Select the authentication method that you want to use, click Continue:
  • Provide credentials for App Connect to use (BASIC) - (the default)
  • Provide credentials for App Connect to use (API KEY) - (Shared key)

Then specify values in the connection fields for your chosen environment:

Table 1. Connection fields for your chosen environmentDescriptions of the fields are given after this table.
Provide credentials for App Connect to use (BASIC)
Provide credentials for App Connect to use (API KEY)
Storage account nameStorage account name
Tenant IDStorage account key
Client ID 
Client secret 
Storage account name
Specify your Microsoft Azure Blob storage account name
  • Required: True
Storage account key
Specify the access key that is used to authorize access to the data in your storage account by Shared Key authorization. Azure generates two 512-bit storage account access keys when creating a storage account.
  • Required: True
Tenant ID
Specify the unique directory (tenant) ID of the Azure Active Directory instance
  • Required: True
Client ID
Specify the application (client) ID of your application that is registered through the App registrations in the Azure portal
  • Required: True
Client secret
Specify the client secret of your application that is generated through the App registrations in the Azure portal
  • Required: True
To obtain connection values for Microsoft Azure Blob storage and to connect to IBM® App Connect, complete the following steps:
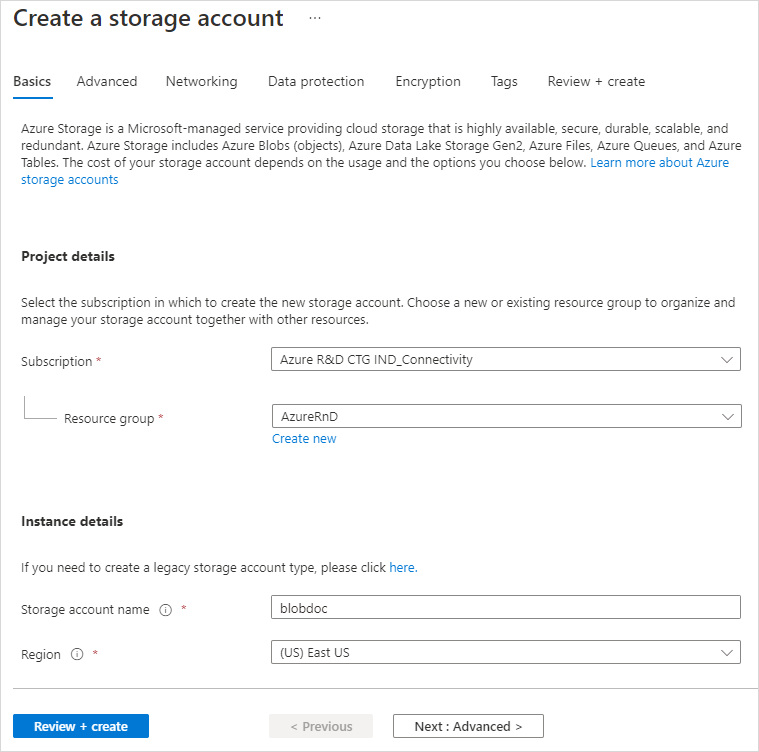
  1. Sign in to the Azure portal and go to your storage account.
  2. If you are using the Basic (default) authentication method to connect to App Connect:
    1. Enter your Storage account name. For more information, see Storage account overview on the Microsoft Documentation page.
    2. Enter the Tenant ID.

      To find the Tenant ID, go to Azure Active Directory > Properties. Then, scroll down to the Tenant ID field. Click Copy to copy the Tenant ID.

      Figure 1. The Tenant ID
      Locating the Tenant ID in Microsoft Azure

      For more information about Tenant ID, see How to find your Azure Active Directory tenant ID on the Microsoft Documentation page.

    3. Enter the Client ID.

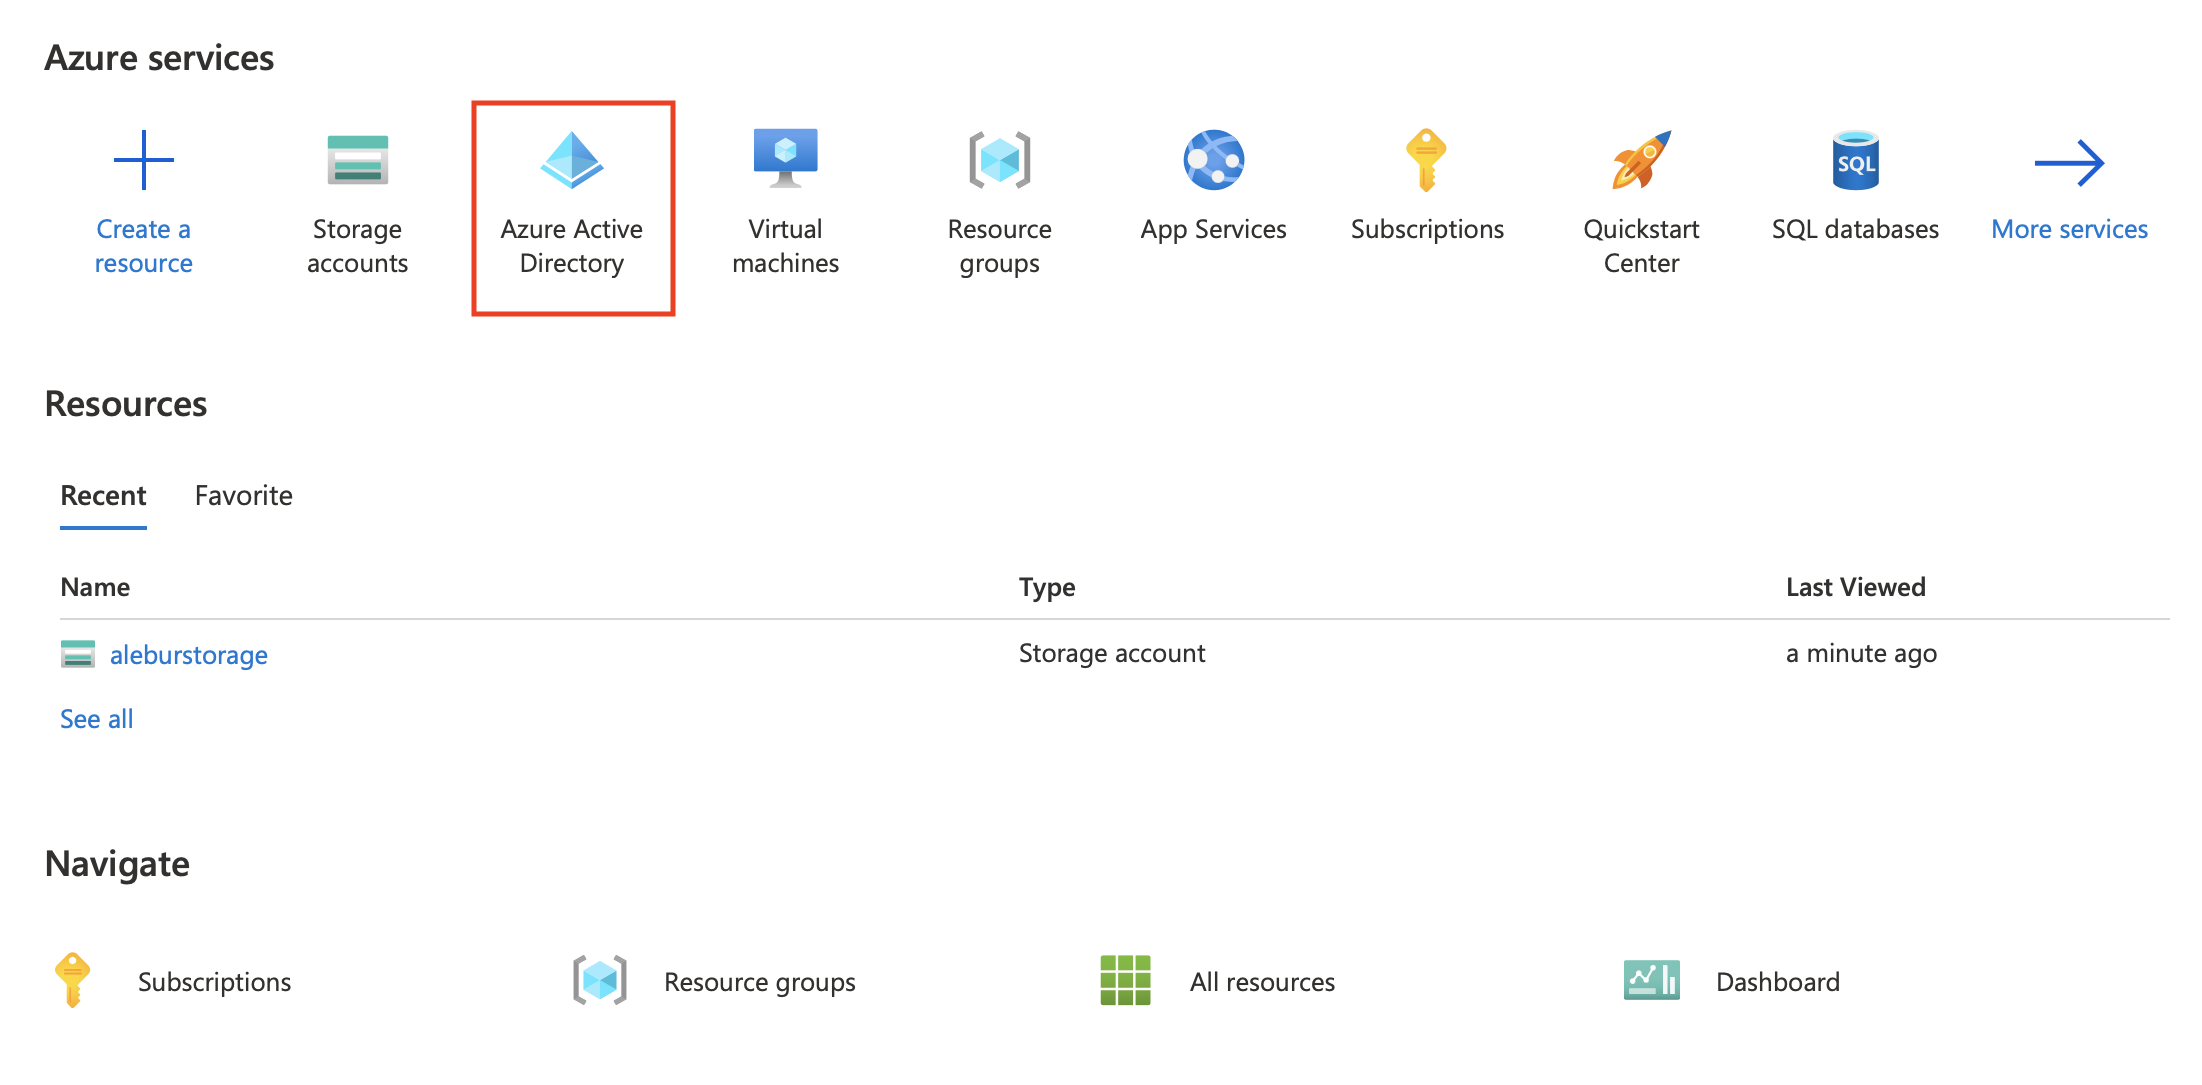
      To find the Client ID for your application, select Azure Active Directory. From App registrations, select your application. Click Copy to copy the Client ID of your application.

      Figure 2. The Client ID of your application
      Locating the Client ID of your application in Microsoft Azure

      For more information about Client ID, see Use the portal to create an Azure AD application and service principal that can access resources on the Microsoft Documentation page.

    4. Enter the Client secret.

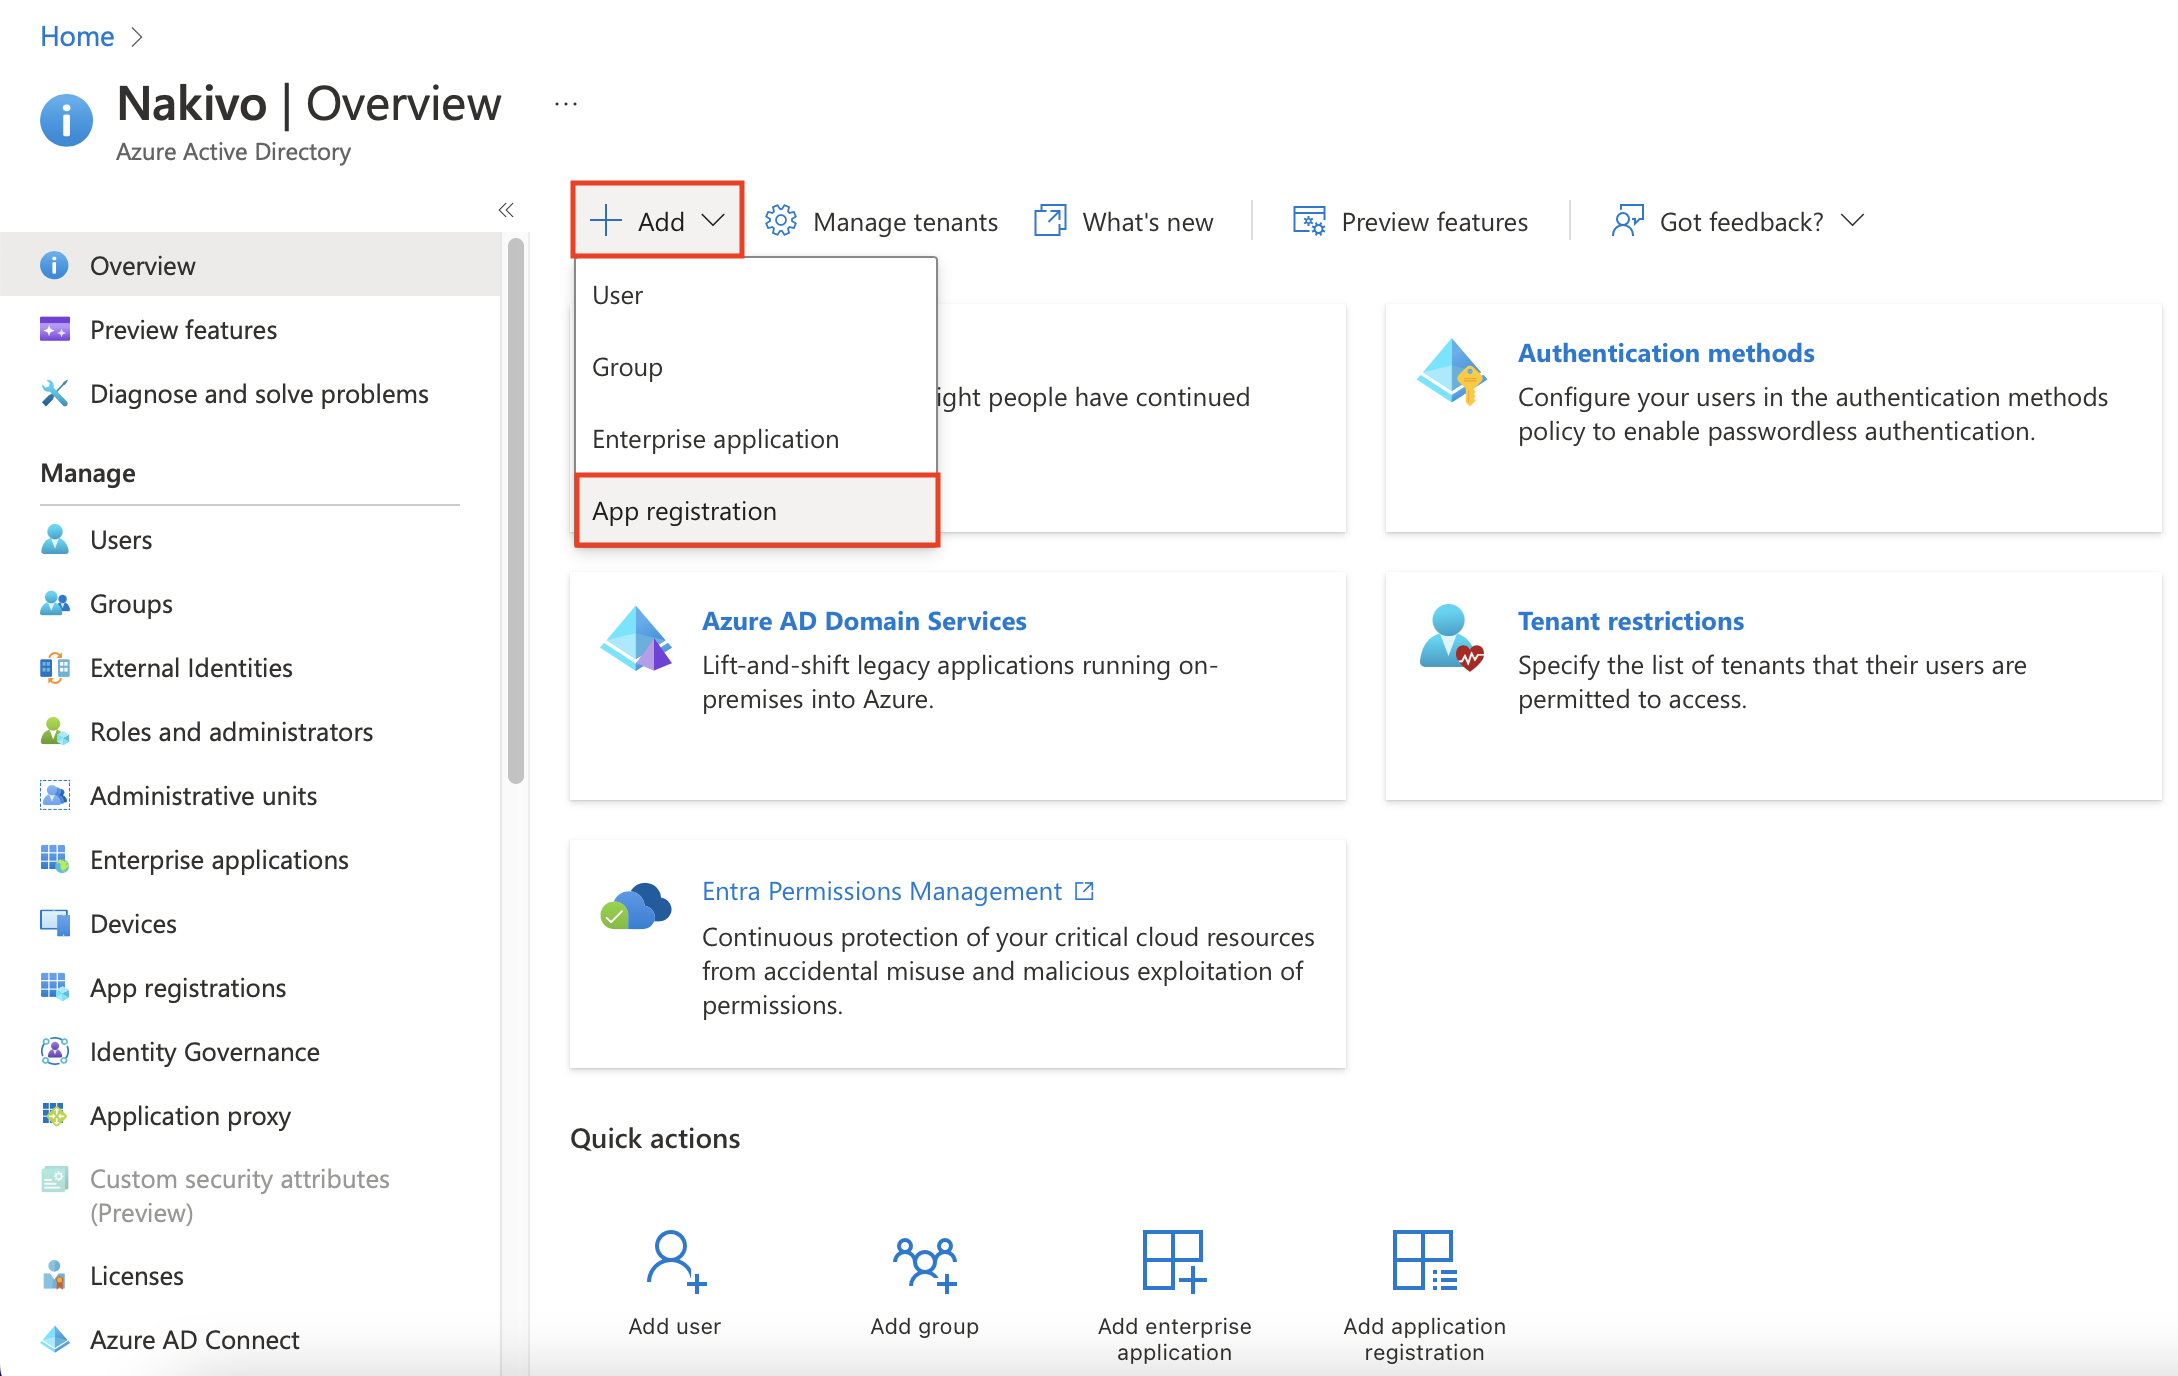
      To find the Client secret for your application, select Azure Active Directory. From App registrations, select your application.

      Go to Certificates & secrets > Client secrets. Click Copy to copy the existing Client secret or click New client secret to create a new Client secret and copy it.

      Figure 3. The Client secret of your application
      Locating the Client Secret of your application in Microsoft Azure

      For more information about Client secret, see Use the portal to create an Azure AD application and service principal that can access resources on the Microsoft Documentation page.

  3. If you are using the API key (Shared key) authentication method to connect to App Connect:
    1. Enter your Storage account name. For more information, see Storage account overview on the Microsoft Documentation page.
    2. Enter the Storage account key.

      To find the Storage account key, go to Security + networking > Access keys. Your account access keys appear, as well as the complete connection string for each key.

      Select Show keys to show your access keys and connection strings, and to enable buttons to copy the values.

      Under key1, find the Key value. Click Copy to copy the Storage account key.

      Figure 4. The Storage account key
      Locating the Storage account key in Microsoft Azure

      For more information about Storage account key, see Manage storage account access keys on the Microsoft Documentation page.

To connect to a Microsoft Azure Blob storage endpoint from the App Connect Designer Catalog page for the first time, expand Microsoft Azure Blob storage, then click Connect.

Adding Microsoft Azure Storage Accounts

Adding Microsoft Azure Storage Accounts

Configuring a Microsoft Azure Storage Account

To configure a Microsoft Azure Storage account to work with NAKIVO Backup & Replication, follow the steps below.

  1. Sign in to Microsoft Azure with your Microsoft account credentials.

  2. Open Azure Active Directory from the services dashboard.

  3. Register a new application by clicking Add > App registration from the Overview or App registrations menu. If you already have an application for use with NAKIVO Backup & Replication, skip to step 6.

  4. Enter a name for your application and set the access level per your requirements. When you're done, click Register.

  5. Next, return to the Azure homepage an open Storage accounts from the services dashboard.

  6. Click Create to create an Azure storage account. If you already have a storage account, skip to step 9.

  7. Select the appropriate Subscription and Resource group from the respective drop-down menus. You may also create a new resource group by clicking the Create new button under the Resource group drop-down menu. Name your storage account and configure the RegionPerformance, and Redundancy settings based on your preference.

  8. If you wish to enable Backup Immutability for this storage account, go to the Data protection tab. Under Tracking, find and enable the Enable versioning for blobs setting. Under Access control, find and enable the Enable version-level immutability support setting.

  9. Optionally, configure advanced settings within the other tabs. When you're done, click Review. Review the account configuration and click Create if everything is in order.

  10. Locate your storage account in the Storage accounts menu and click on it to open the account settings. Go to the Access Control (IAM) tab and click Add > Add role assignment.

  11. Find the Storage Blob Data Owner role and select it. Click Next.

  12. Click Select members and find the application registered in the previous steps using the search bar. Click on the application name and click Select below to confirm. Click Review + assign to add the role.

    1. To add storage containers to the storage account and configure immutability, go to the Containers tab and click + Container.

    2. Name the container and configure its access level as needed. Select Enable version-level immutability support under Advanced settings if you wish to enable Backup Immutability for this container.

  13. If you enabled version-level immutability support in any of the previous steps, also make sure that versioning for blobs is enabled. Return to the storage account's Overview menu and scroll down to find Versioning in the Properties tab. If your versioning is Disabled, click Disabled.

  14. Scroll down to find Enable versioning for blobs under Tracking. Enable this feature and click Save below.

Obtaining Microsoft Azure Credentials

To obtain the credentials required to add a Microsoft Azure Storage account to the NAKIVO Backup & Replication Inventory, follow the steps below.

  1. Open the Azure Portal by going to portal.azure.com

  2. Sign in to Microsoft Azure with your Microsoft account credentials.

  3. Select Azure Active Directory from the Dashboard or from the Portal Menu.


  4. In the left menu, click App registrations and locate the application registered for use with NAKIVO Backup & Replication. Click on its name to open the application's settings.

  5. Locate and make a note of the Client ID and Tenant ID near the top of the Overview menu.

  6. Go to the Certificates & secrets tab. If you already have a client secret for this application, skip this portion. Otherwise, generate a new client secret for the application by clicking New client secret in the Client secrets tab. Set a description and expiration period for your client secret and click Add below.

  7. Find your newly generated client secret in the Client secrets tab in the Value column. Store the client secret in a reliable location, as you will have to generate a new one if you lose it.


Adding Microsoft Azure Storage Account to Inventory

To add a Microsoft Azure Storage account to the NAKIVO Backup & Replication Inventory, follow the steps below.

  1. Click Settings in the left pane.

  2. Go to the Inventory tab and click +.

  3. On the Platform page of the wizard, select Cloud Storage. Click Next to proceed.

  4. On the Type page, choose Microsoft Azure. Click Next to proceed.

  5. On the Options page, configure the following:

    • Display name: Enter a desired Inventory display name for the Microsoft Azure Storage account.

    • Storage account: Enter the name of the storage account created in the Azure portal.

    • Tenant ID: Enter the Azure Tenant ID created when registering your Microsoft Azure account in the Azure Portal.

    • Azure Client ID: Enter the Azure Client ID created when registering your Microsoft Azure account in the Azure Portal

    • Azure Client Secret: Enter the Azure Client Secret obtained in the Azure Portal. For more information on obtaining Azure credentials, refer to the Obtaining Microsoft Azure Credentials section above.


  6. Click Finish to add the account to the Inventory.


Microsoft Azure – Storage Accounts


Microsoft Azure – Storage Accounts


Azure Storage Account is a storage account that is a resource that acts as a container that groups all the data services from Azure storage (Azure blobs, Azure files, Azure Queues, and Azure Tables). This helps us manage all of them as a group. The policies we specify while creating the storage account or making changes after the creation applies to all the services inside the account. Deleting a storage account deletes all the storage services deployed and the data stored inside it.

The policies that we can define are as follows: 

  • Subscription: We can choose the Azure subscription that will be billed for all the services. 
  • Location: We can choose the data center which will store the services. 
  • Performance: We can choose the data services and the type of hardware disks to store the data. Standard helps us have the Azure Blob, Azure File, Azure Table, and Azure Queue services with the magnetic disk drives to store the data. Premium provides us with more services and is faster as it uses solid-state disks(SSD) for the storage of data. 
  • Replication: It helps us choose the number of copies of the data we wish to create in order to protect the data from natural disasters or hardware failures. Azure automatically maintains three copies of our data within the data center. We can choose to upgrade to other better and more effective options like geo-redundant storage(GRS).
  • Access tier: It helps us choose between the Hot access tier and the Cool access tier. The hot tier gives us more quick access to the blobs in a storage account than the cool tier but is costlier. For any new blob, the default value is in the hot tier.
  • Virtual networks: It helps in providing security by allowing only some virtual network(s) that we specify to have inbound access.

Note: We need one storage account for each group of settings that we wish to apply to our data storage services. Therefore, the number of storage accounts we have to create is determined by the number of different combinations of data diversity, tolerance, management overhead and cost sensitivity we require with our data storage services.

Creating a storage account using Microsoft Azure Portal: 

The portal provides us with a user-friendly graphical user interface with explanations given for each setting. This makes it easy for us to use. 


After creating an Azure subscription follow the below steps:


Step 2: On the homepage click on the + Create a resource option. It will display a list of resources you can create.


Step 3: Search for Storage Account and select it. The storage accounts pane appears. 


Step 4: Select Create option. The Create a storage account pane will be displayed. 

Step 5: In the basics tab, enter the following values : 

  • Subscription: Choose the subscription where you wish to create the resource. 
  • Resource group: Choose the resource group where you wish to create the resource. If you wish to create a new group click on create a new option.
  • Storage account name: Enter a globally unique storage account. 
  • Region: Select the location where we wish to create the account. 
  • Performance: Choose from standard or premium based on your requirements.
  • Redundancy: Choose the replication method for your data stored in the storage services. For now, choose Locally-redundant storage (LRS).


Step 6: Select the Next: Advanced tab and enter the following details as follows: 

  • Require secure transfer for REST API operations: This controls whether HTTP can be used for the REST APIs that access data in the storage account. If we enable it then all clients have to use SSL (HTTPS). Click on Enable for now.
  • Enable blob public access: Helps us choose whether to allow clients to read data in the blob contained without any authorization. For now select check. 
  • Enable storage account key access: Helps us choose whether to allow clients to access data via SAS or not. For now, check. 
  • Default to Azure Active Directory authorization in the Azure portal: For now uncheck. 
  • Minimum TLS version: Select the TLS version which is used by Azure storage on public HTTPS endpoints. Select version 1.2 which is the most secure version of TLS. 


  • Enable hierarchical namespace: It is used for big-data applications. For now, uncheck. 
  • Enable SFTP: Keep the default setting which is unchecked. 
  • Enable network file share: Keep the default setting which is unchecked. 
  • Allow cross-tenant replication: For now, uncheck. 
  • Access tier: Helps us choose between Hot and cold access tiers. The hot tier is ideal for frequently accessed data.
  • Enable large file shares: It helps us store up to 100 TiB of files in Azure files. But this can’t be converted to a Geo-redundant storage offering, and the upgrades are permanent. For now, uncheck it. 


Step 7: Choose the Next: Networking tab. In the tab enter the following details : 

  • Connectivity method: Choose the method with which you wish to connect your store with others. For now, choose a public endpoint to allow public internet access. 
  • Routing preference: Choose Microsoft network routing to make use of the Microsoft global network that is optimized for low-latency path selection.


Step 8: Choose the Next: Data protection option. In the tab enter the following details : 

  • Enable point-in-time restore for containers: For now, uncheck this option. 
  • Enable soft delete for blobs: It helps us recover blob data in cases where blobs or blob snapshots are accidentally deleted or overwritten. For now, uncheck this option. 
  • Enable soft delete for containers: This helps us recover the containers that are accidentally deleted. For now, uncheck. 
  • Enable soft delete for file shares: This helps us to recover the blob data more easily at the folder level. For now, uncheck. 
  • Enable versioning for blobs: For now, uncheck this option.
  • Enable blob change feed: For now, uncheck this option. 
  • Enable version-level immutability support: For now, uncheck this option. 


Step 9: Choose the Next: Encryption option. In the tab that opens you may configure encryption settings. For now, leave it to default.


Step 10: Choose the Next: Tags option. In this tab, we can associate key/value pairs with the account for categorization. 


Step 11: Choose the Review + Create option to validate our options. If any issue is found, correct them. 

Step 12: When validation is successfully passed, select Create to deploy the storage account.


Step 13: Wait for the deployment to complete. It may take two-three minutes. 


Step 14: Select Go to resource to view your resource.


This is how we can store accounts using the Azure portal.

Create a storage account to use with Microsoft Azure Blob Storage


Create a storage account to use with Microsoft Azure Blob Storage

An Azure storage account contains all of your Azure Storage data objects, including blobs, file shares, queues, tables, and disks. Create a storage account and enable access to the storage account using the shared key or shared access signature.
  1. Under Azure Services, click 
    Storage accounts
    .
    The image shows the Azure services on the Azure portal.
  2. On the 
    Storage accounts
     page, click 
    Create
     to create a new storage account.
  3. On the 
    Basics
     tab, enter the project and instance details.
    1. In the 
      Subscription
       field, select the subscription for which you want to create the storage account.
    2. In the 
      Resource group
       field, select the resource group in which the Azure resources are deployed and managed.
    3. In the 
      Storage account name
       field, enter a name for your storage account.
      The name must be unique across Azure, between 3 and 24 characters in length, and can include only numbers and lowercase letters.
    4. In the 
      Region
       field, select a location for your storage account, or use the default location.
  4. On the 
    Advanced
     tab, configure the security settings.
    1. Disable the 
      Require secure transfer for REST API operations
       option.
    2. Select 
      Enable blob public access
       to allow anonymous access to blobs within the storage account.
    3. Select 
      Enable storage account key access
       to allow access to storage account using the shared key or shared access signature.
  5. Click 
    Review + Create
     
    Create
    .