How to Secure Your Azure Container Instances
Protecting and securing Cloud Native Application Stacks is something DevOps Professionals must consider. Microsoft Azure Container Instances is a quick and easy way to get your container-based application running within minutes. All this can be accomplished without learning annoying container orchestration tools, and managing servers. Today, we are going to provision a container based application from a public container, and also a private container registry. We are also going to show you how you can secure the container-based application at runtime on Azure Container Instances with Trend Micro Cloud One Application Security. Also, we are going to show how we can secure your Container Registry pre-runtime with Trend Micro Cloud One Container Image Security.
Ok, to get started, we will want to create an Azure Container Instance. You can do this in the Azure Portal and also programmatically as well via the Azure CLI in Microsoft Powershell.
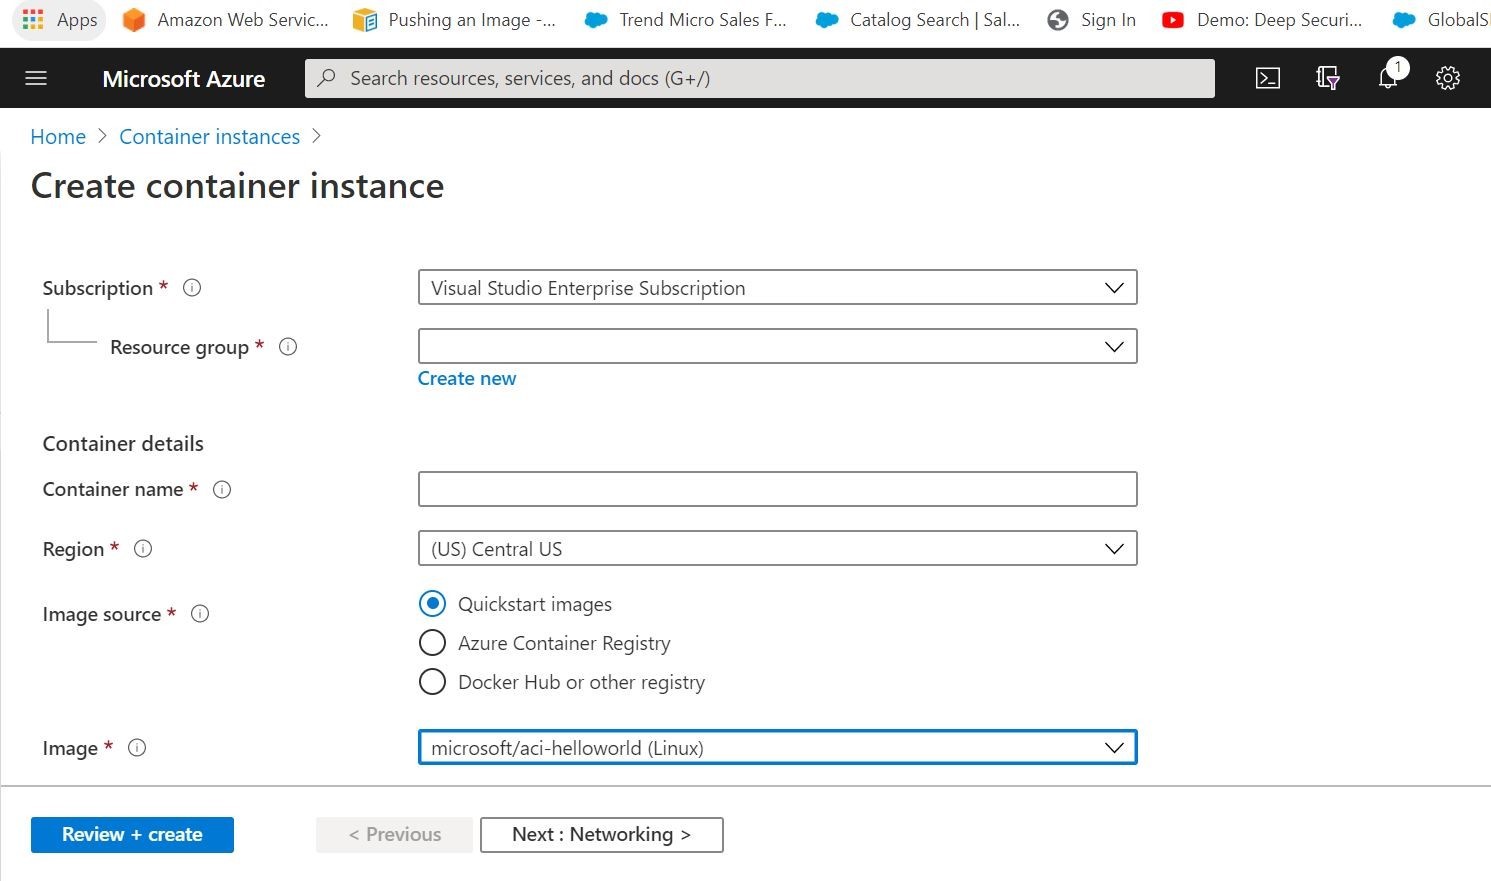
Above, you can see that you can fill out your destination Azure Resource Group, name your container application, choose the region you want to deploy from, pick your image source and image that you want to deploy, and finally choose your instance size. Notice that you can pull images from Microsoft Quickstart images, your private Azure Container Registry, or Public Docker Hub/compatible Container Registry. Pretty cool! You can also setup the networking to be public/private. As an added bonus, you can add any associated environment variables and startup commands/scripts.
If you want to try your hand at the programmatic method, you can accomplish all that with a one liner. See the example that I did below with my Azure CLI in Powershell.
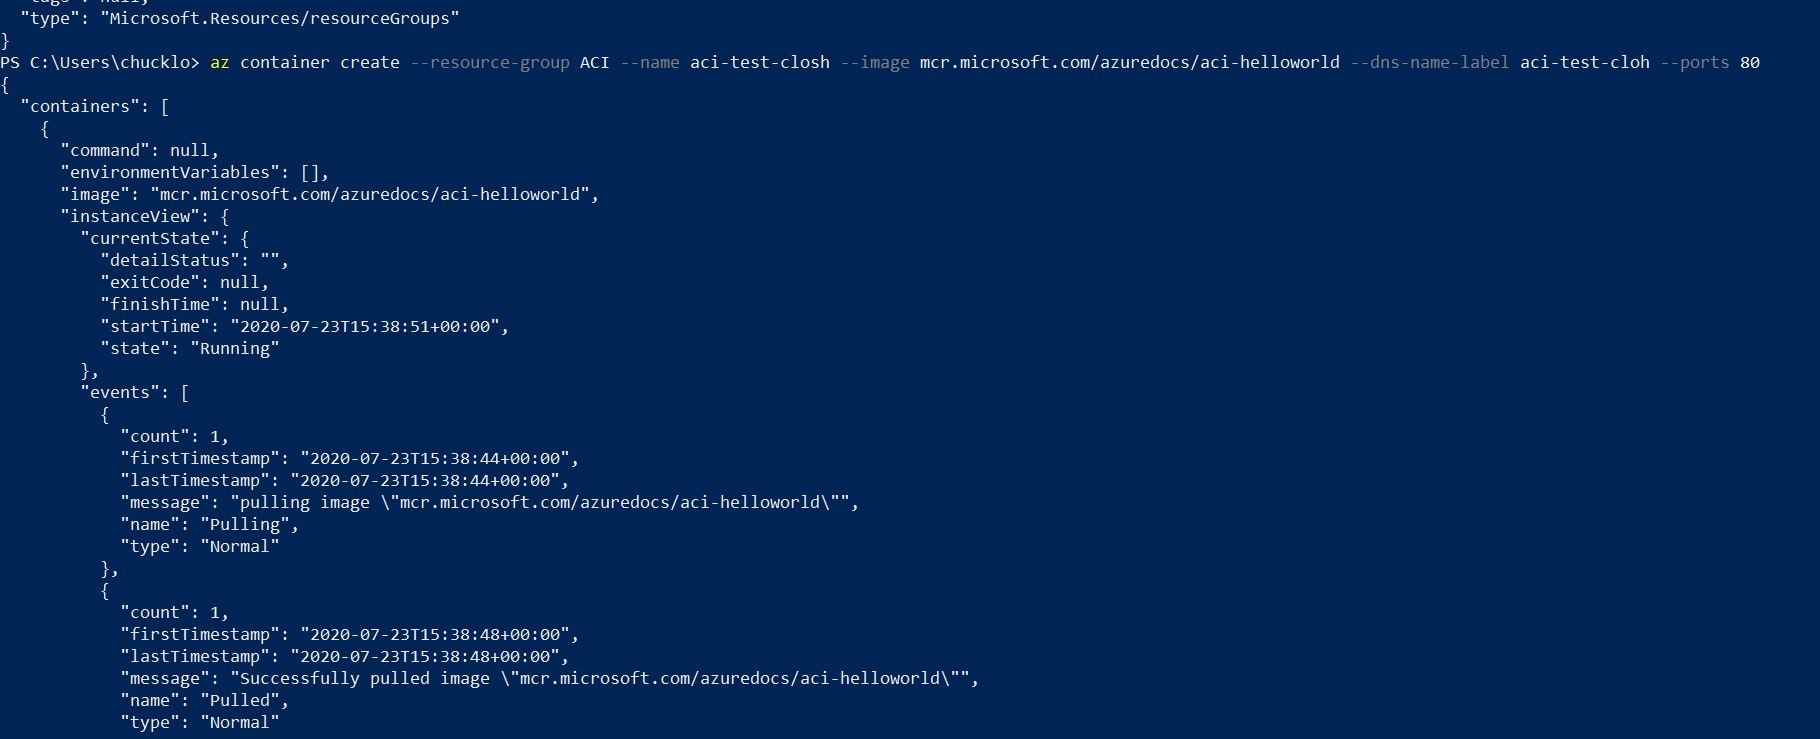
This first command will create the Azure Container Instance, and load the appropriate container image that you desired to serve.
Next, you are going to want to see if the actual deployment was successful. You can accomplish that with the following command.
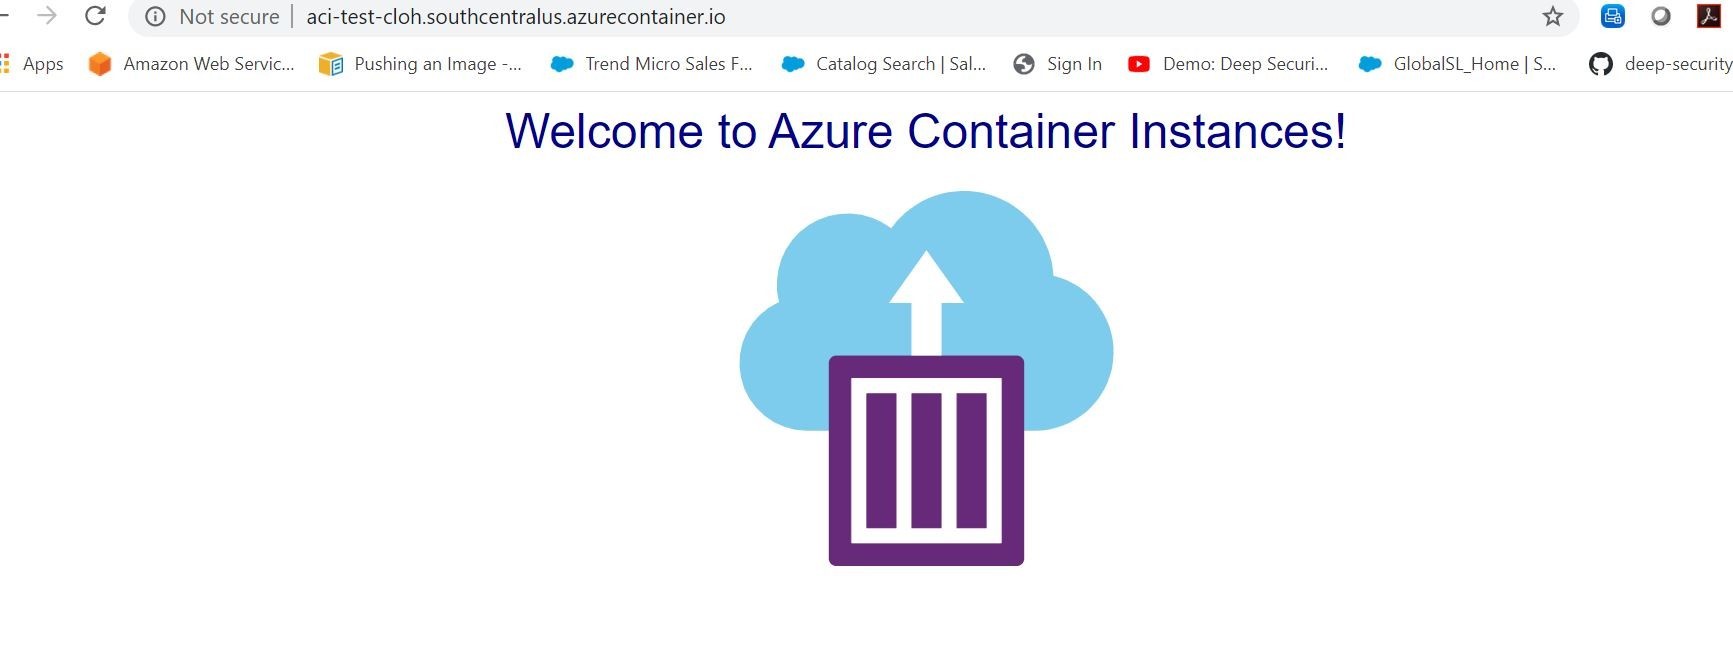
The output should be similar below with the FQDN / URL. You can visit that FQDN/URL to access your newly provisioned container based application.
Huzzah! We have our container running! All managed for us by Microsoft Azure! Simple, no?
You can also get logging information from the container by running this command.
Logs should output in your console as shown.
When you want to no longer run the container instance anymore, you can go ahead run this command.
Well, that is some amazing stuff! Within minutes I can run a container image of my choosing with a few clicks on the Azure Portal, or a few Azure CLI commands.
Ok, so how do I protect my application? I cannot touch the underlying infrastructure from Microsoft to secure it! Well, the smart folks at Trend Micro have engineered two solutions that go together like PB&J, or maybe even chocolate and peanut butter, or....ok let's just talk about security!
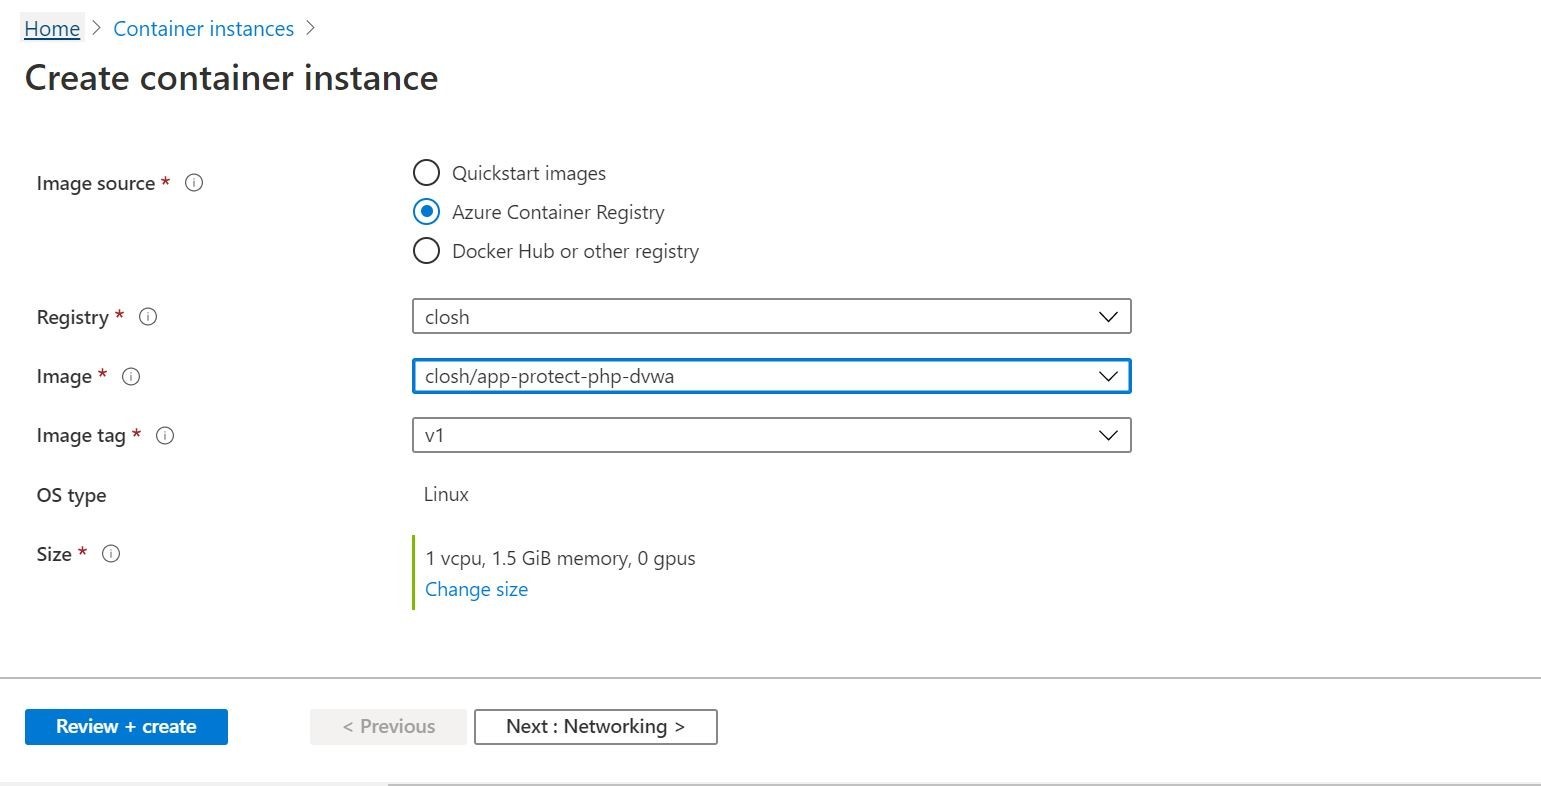
This time I am going change things up a bit to run a new deployment and pull a container image out of my private Azure Container Registry. This is a purposely vulnerable php-based container that has something powerful under the hood. I have pre-installed the Trend Micro Cloud One Application Security libraries. By injecting the security libraries into the container image code, this will provide built in runtime level protection in the container image!
So, lets go ahead and execute the deployment. This time we will do it through the Azure Portal shown below. We will see if everything works as intended. The end result is that the application calls home to our Trend Micro Cloud One Application Security dashboard for real time protection! Since this container is vulnerable, I am going to not make it publicly accessible. So, I will adjust the networking of the Azure Container Instance service and tie it into a private virtual network. All this is shown below in my Azure Portal for reference.


Ok! This looks like the container instance is currently running. We can verify/see in my Azure CLI output below.

Alrighty then! So, what I am going to do now is go ahead create an Azure Windows Virtual Machine as a Jumpbox. Then peer the Azure Container Instance Network with my Azure Virtual Machine Jumpbox network. Why you ask? Just so I can securely access the containerised application privately as a test. I don't want the containerised vulnerable app exposed to the net. I accomplish this via peerings and network security groups.
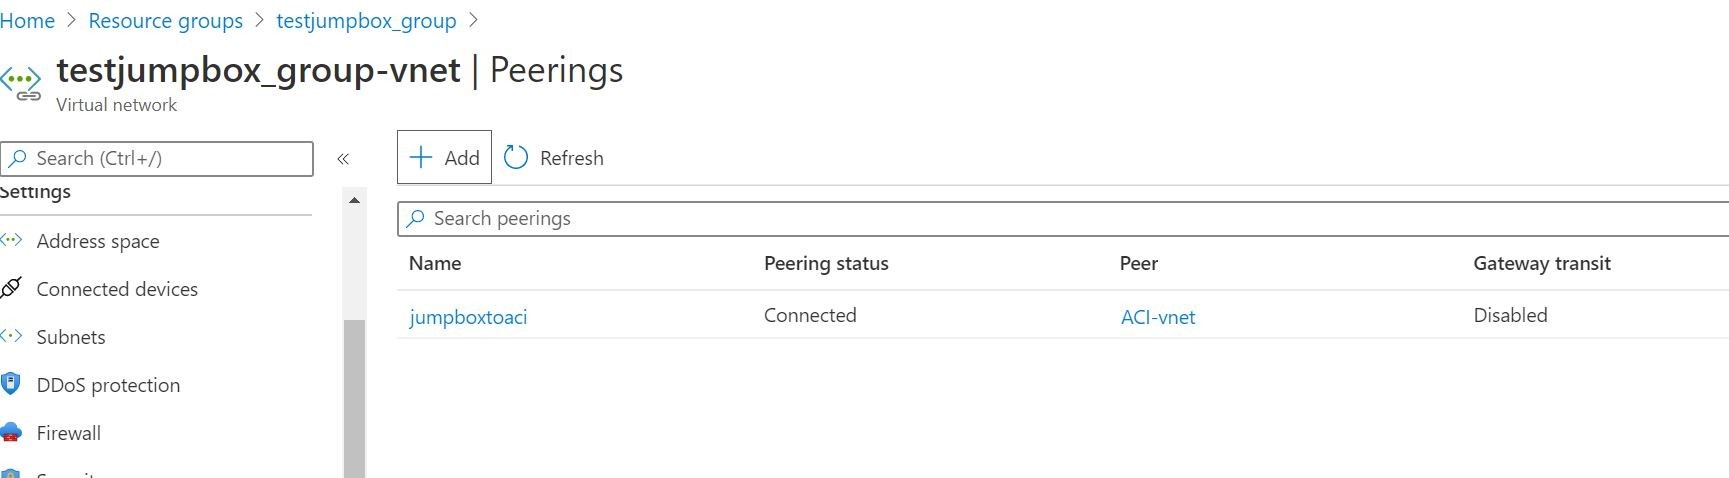
Cool! That worked so now I can access the test web application by private IP address from my jumpbox specifically. It's nice when things work!
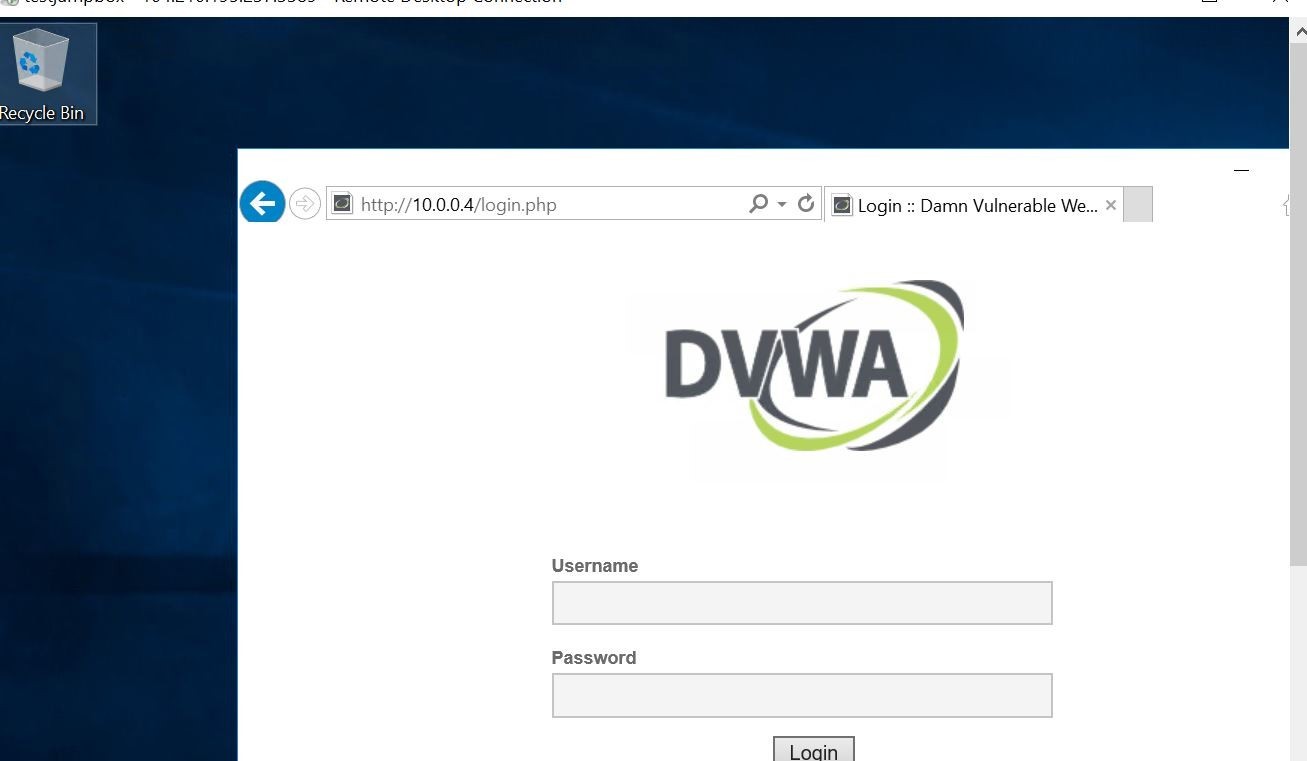
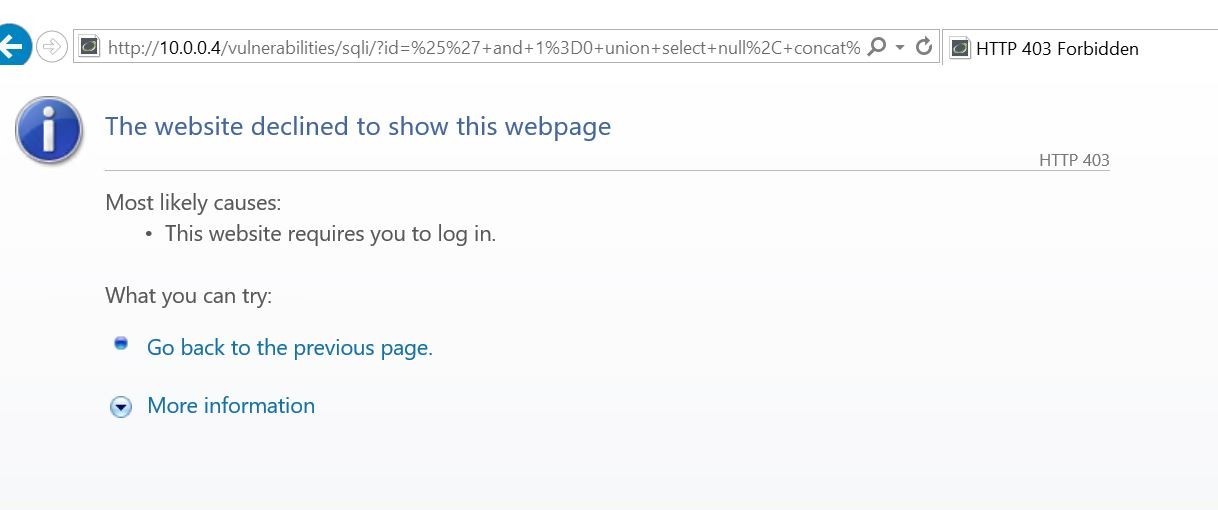
Let's go ahead and logon to the container-based web application, and simulate some test attacks on the web application and see if our findings show up on our Trend Micro Cloud One Application Security Console. I will go ahead and start off with a SQL Injection based attack.
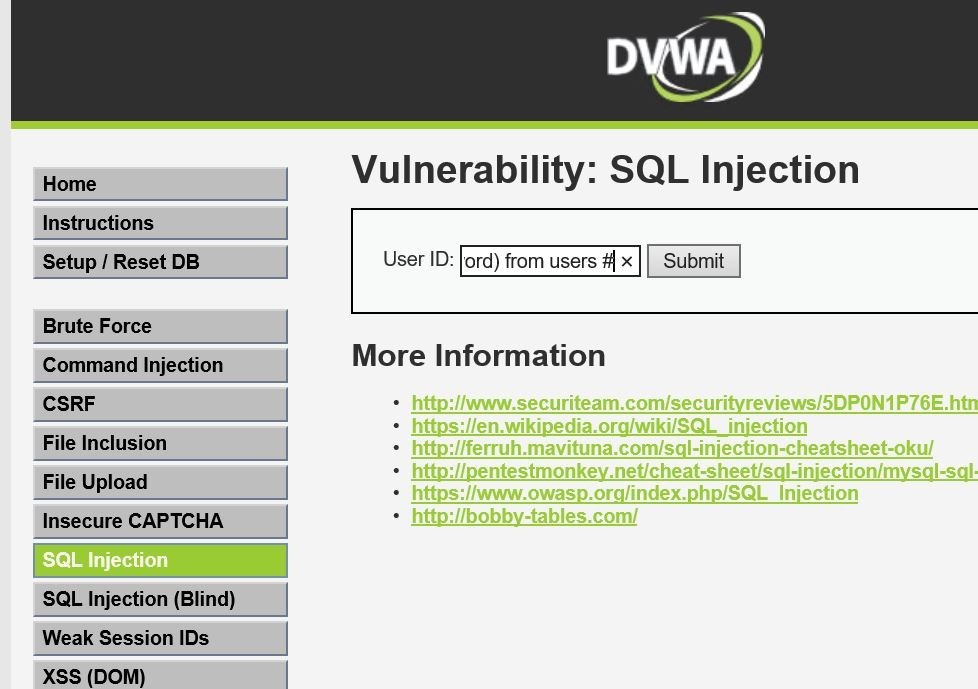
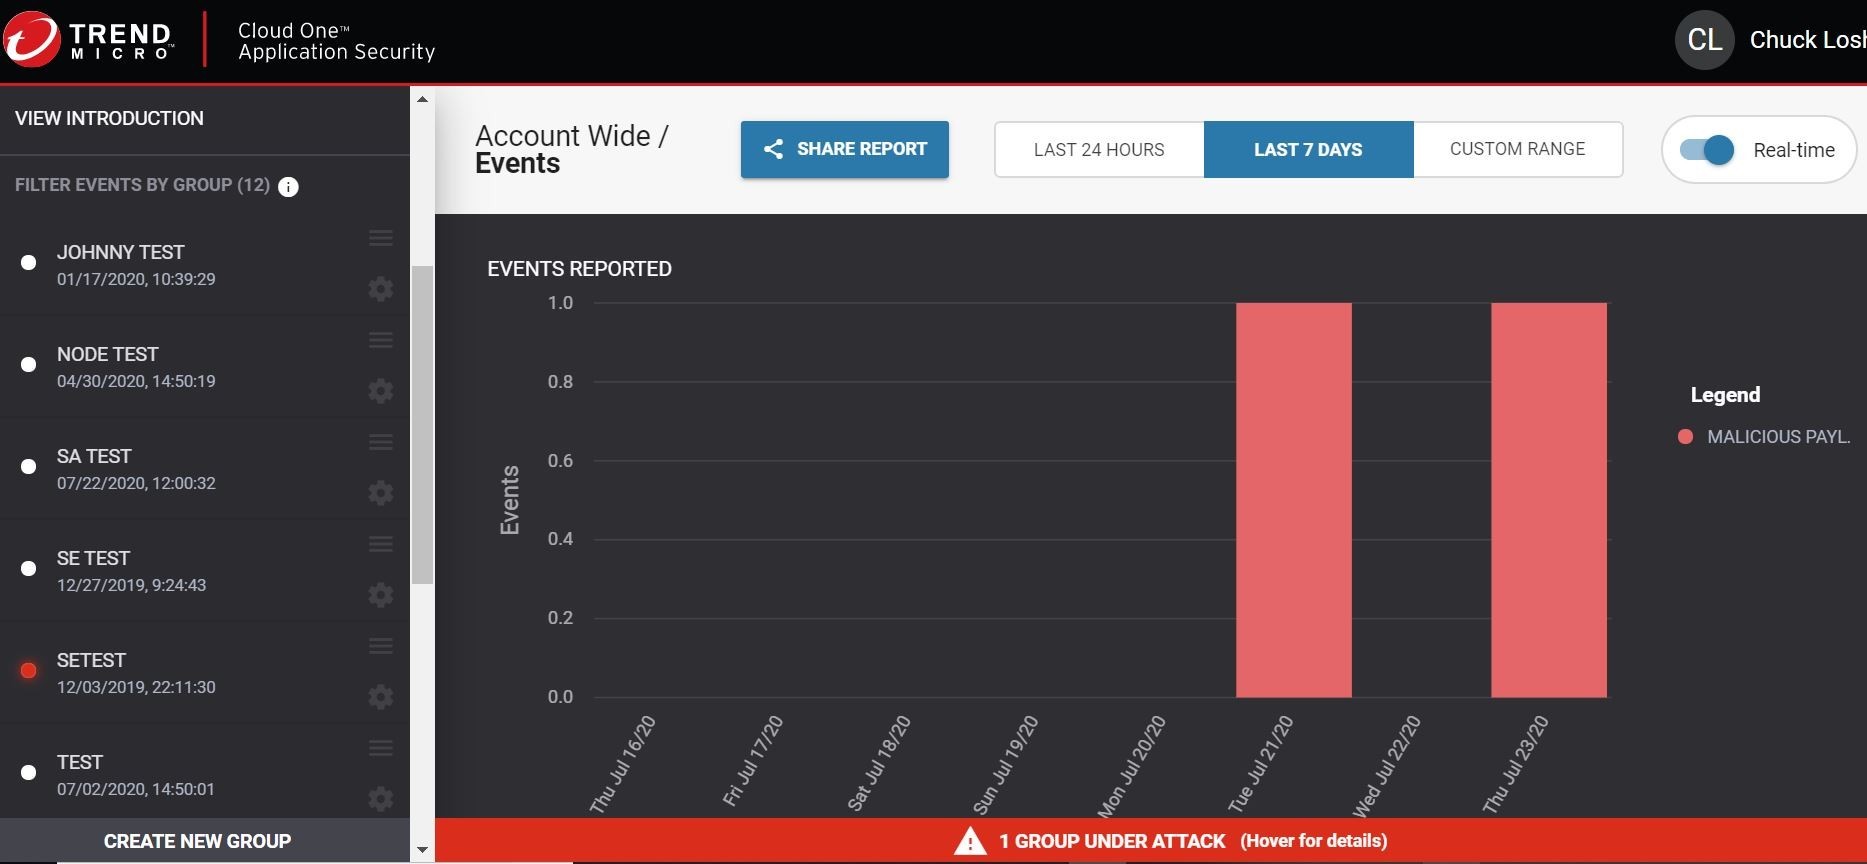
Huzzah! The request was flat out denied 403/blocked and a threat detection was logged in my Cloud One Trend Micro Application Security dashboard in real-time shown below!
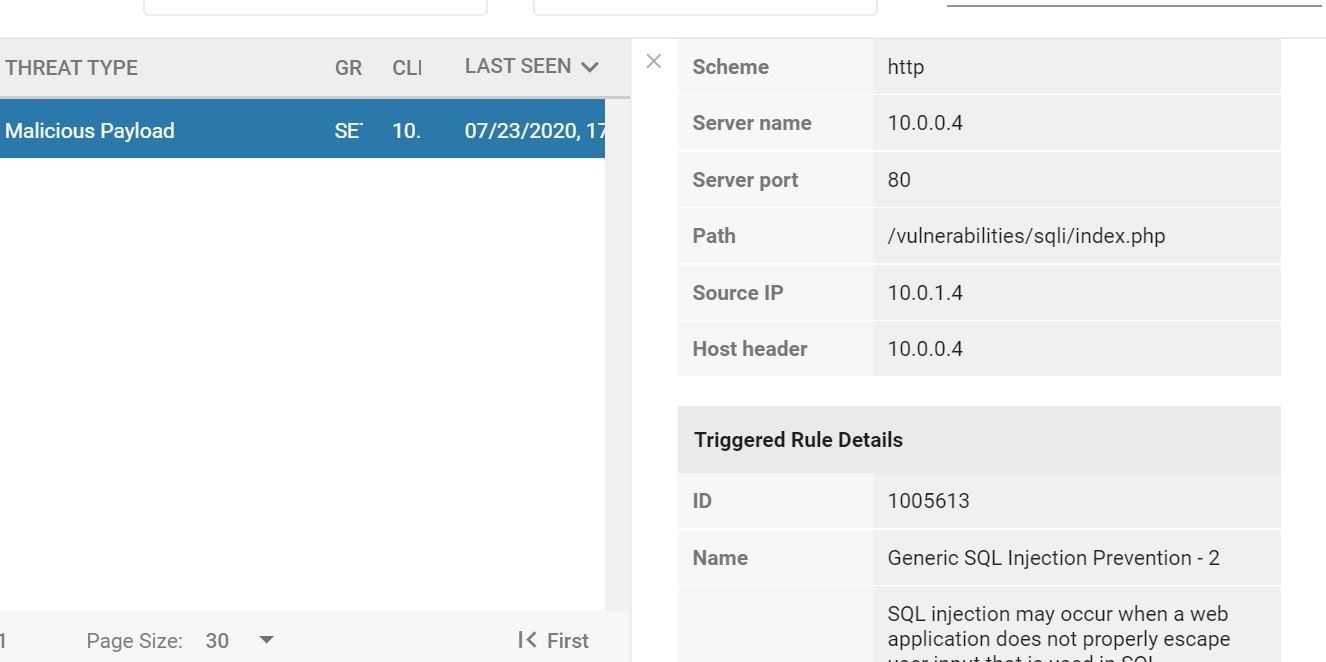
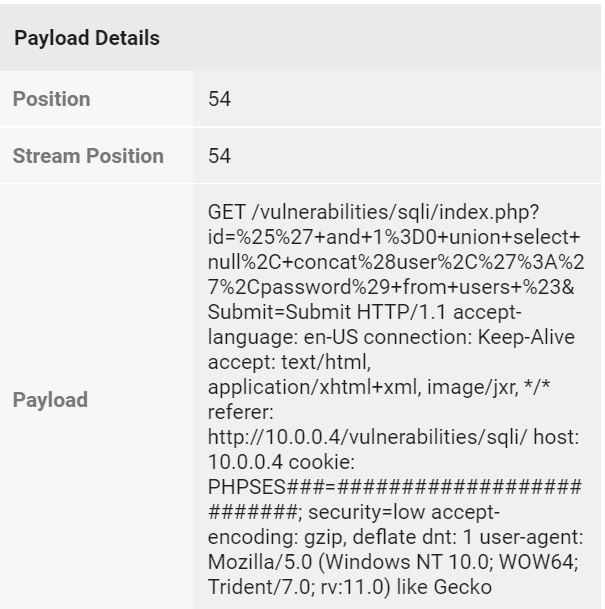
But wait there's more! We can also check the event details, and see where the triggered event came from. Because the security libraries are part of that container image, we can see what file was attacked/tried to be exploited, and the associated stack trace information!
Ok! this is great! We got a lot of things accomplished here. We found an easy way to deploy container based applications in mere minutes, we aren't worrying and losing sleep on the Microsoft Azure underlying infrastructure, and we are able to provide built in real-time security protection inside the container image itself!
Now, time to adjust our thinking. It's time to shift left and out of runtime level protection mode. We certainly checked the box there! In our second example, we pulled this container image from our private Azure Container Registry. What if we could check for vulnerabilities in this container registry on those associated images, and then alert your DevOps staff that they lurk in there to begin with? Ok, now we are talking! This is where you can deploy our Trend Micro Cloud One Container Image Security Solution. This solution you will need to deploy utilising Azure Kubernetes Service. If you are ready to jump into a larger world. Then read on my friends!
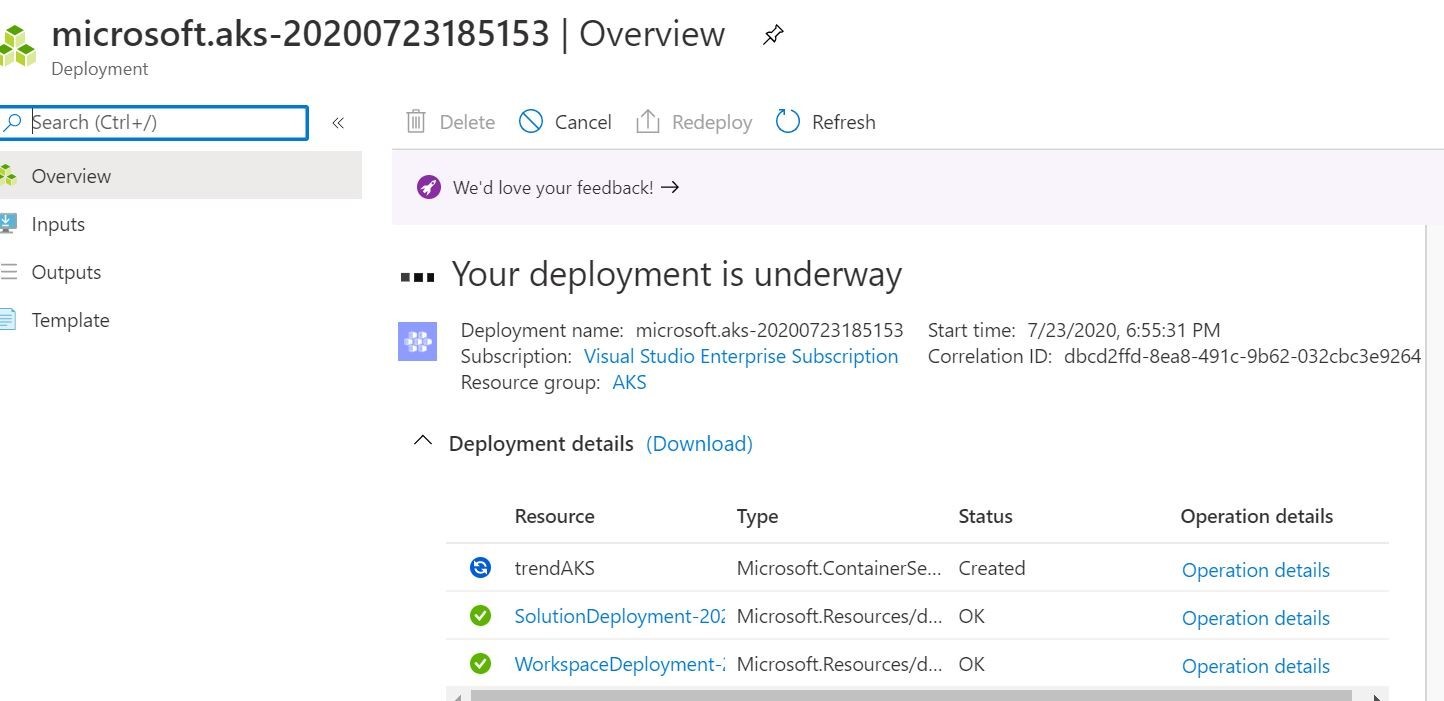
I am going to spin up a quick Azure Kubernetes Service and issue the deployment shown below.
One thing you are going to want to do after successful deployment is go ahead and get the credentials of your cluster.
Go ahead and run this first to install the kubectl. This will allow you to connect and manage your AKS cluster.
You then will be able to get the credentials of your AKS cluster by running this command. This will add the associated credentials to your local kube config file.

To make sure you are able to connect to your new AKS cluster, run the following command. Output should be pretty similar as below. Mileage may vary!

Last, but not very least, you are going to want to install helm to be able to deploy into your kubernetes cluster what is called a helm chart. The easiest way to do this would be to use the chocolatey package manager, and run the following choco command.
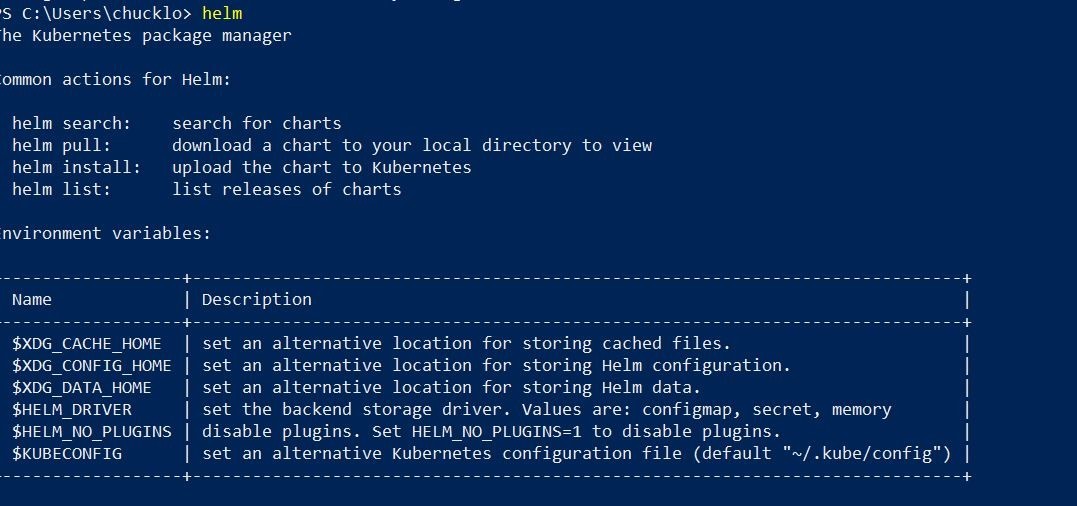
You will know if helm is working if you type in helm in Microsoft Powershell and get a similar output.
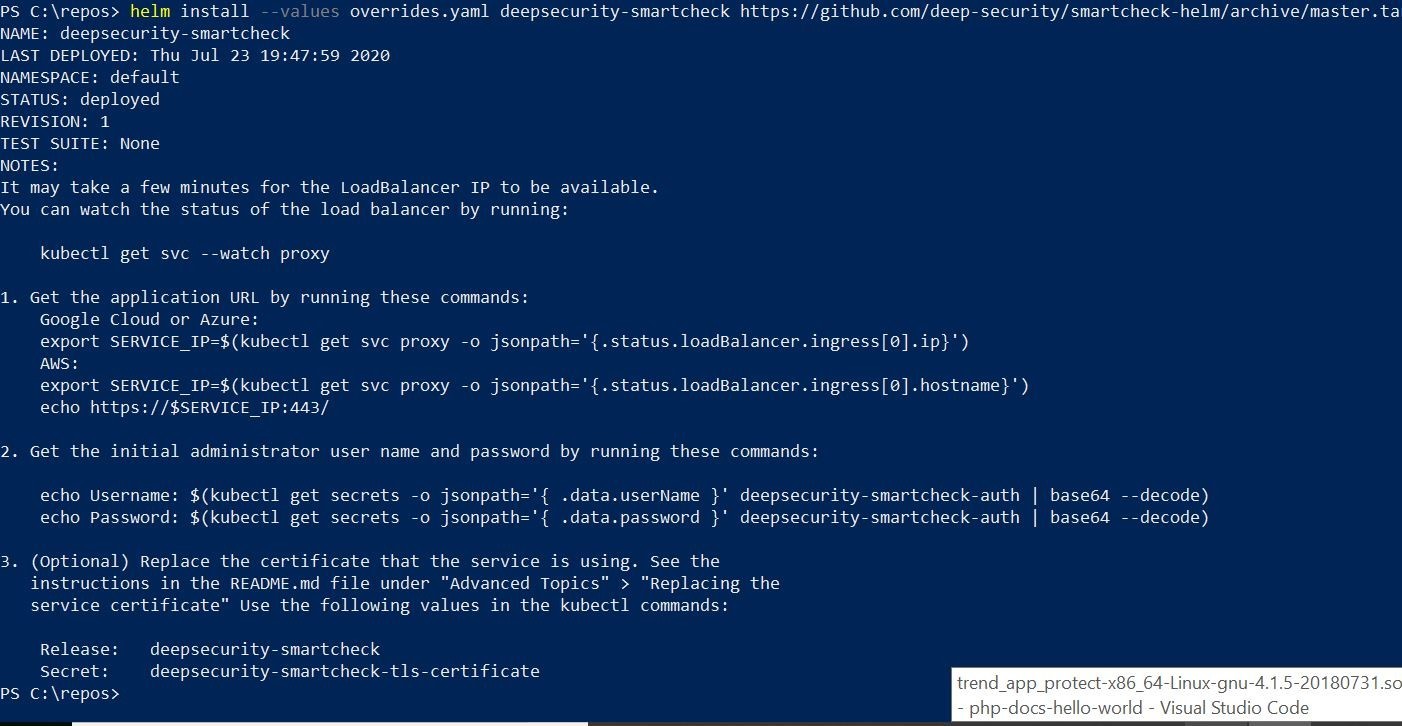
Ok, so let's go ahead and deploy Trend Micro Cloud One Container Image Security. Note: The overrides.yaml file referenced below will contain your trial license code from Trend Micro that you can request here. https://www.trendmicro.com/product_trials/download/index/us/168
When you do that, you should get some similar output. This is going to list out the helm release deployed, and your decryption strings to decrypt the default credentials to logon to the web console.
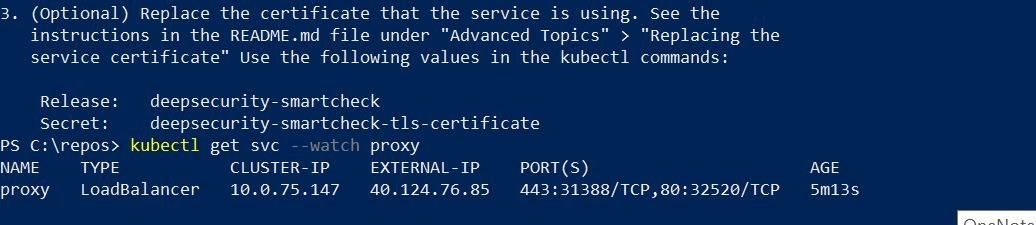
You are going to want to run the following kubectl command to get the public ip address of the Azure Loadbalancer that is/has been created by the helm chart deployment.
Now, let's go ahead and visit the console and login. You will get prompted to change your credentials upon first logon.
The first thing you will get prompted to add (drum roll.....) is your Azure Container Registry! What a surprise right?
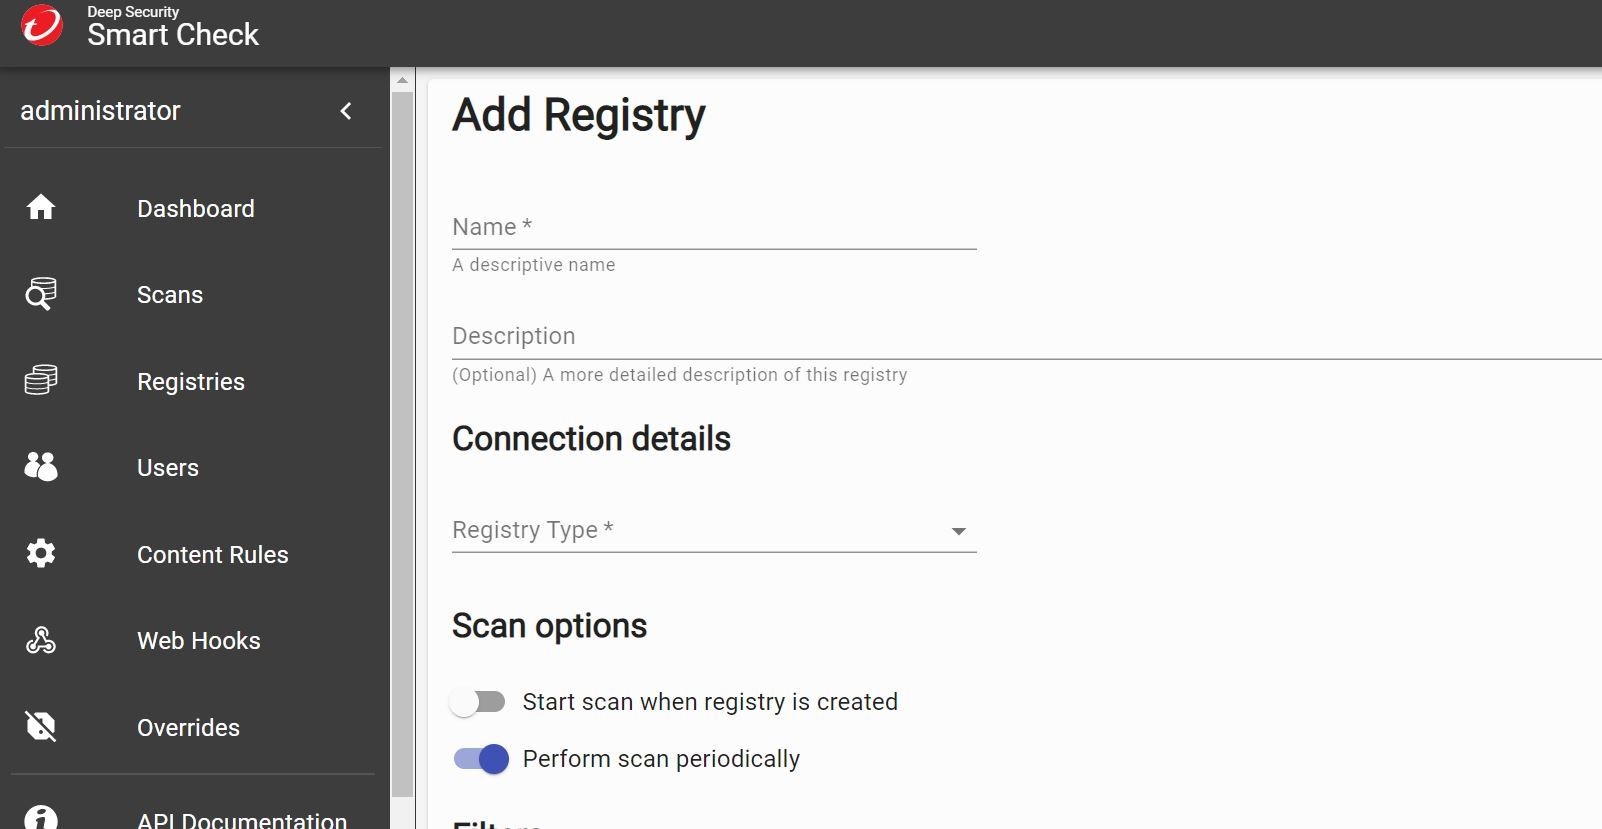
You can pull your logon creds out of your Azure Container Registry in the Microsoft Azure Portal under the ACR Service section ---> Access Keys.
Once your registry has been added go ahead and run a scan. You can see my active scans going on as an example below. Progress!
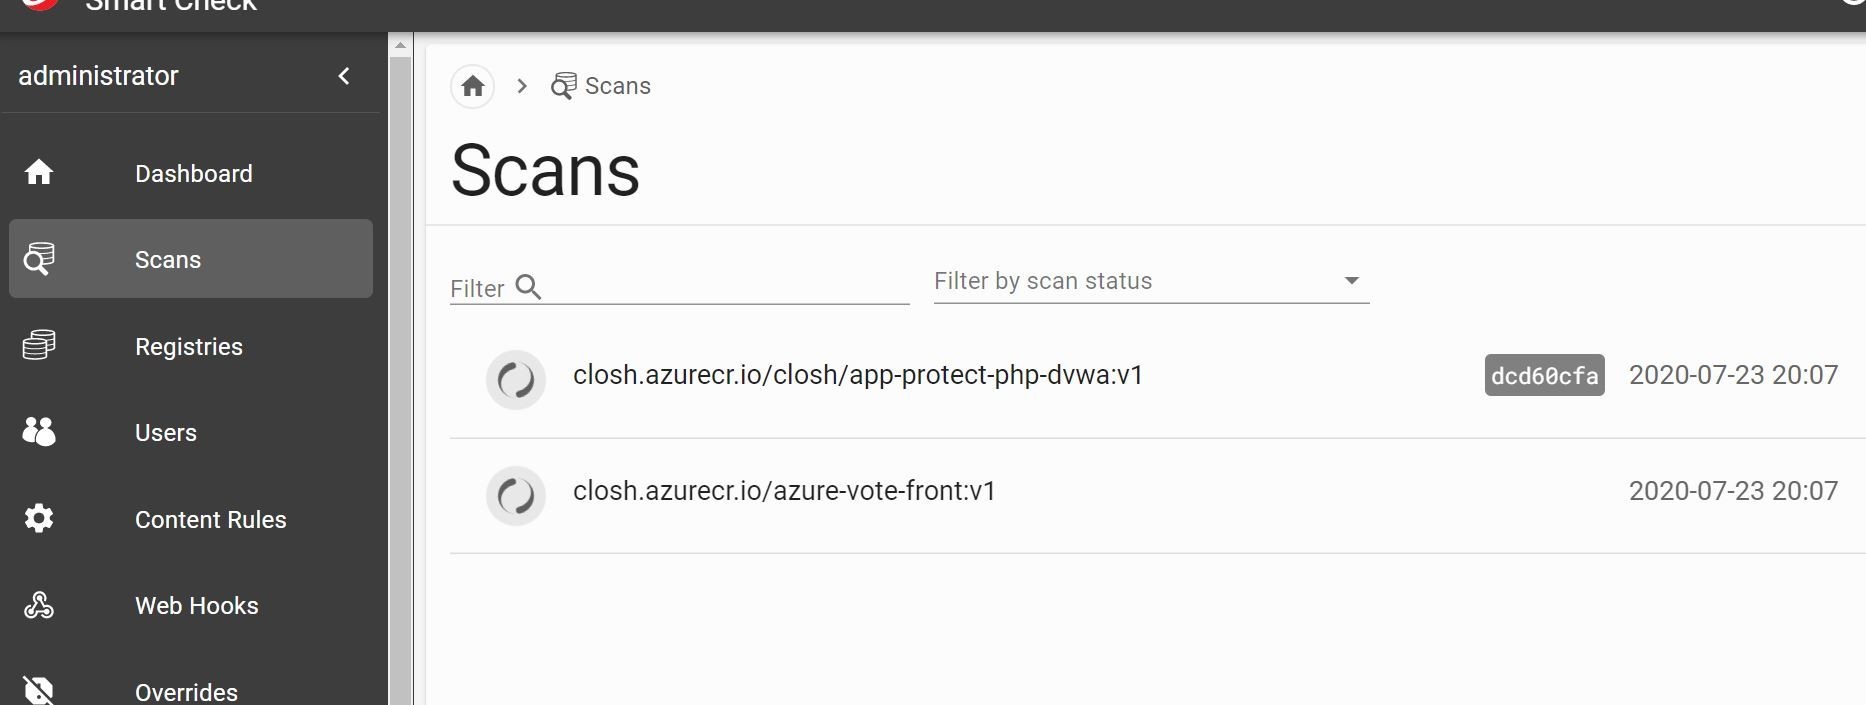
Should take a few minutes to scan the images and we can see what we find! Oh, the suspense.......
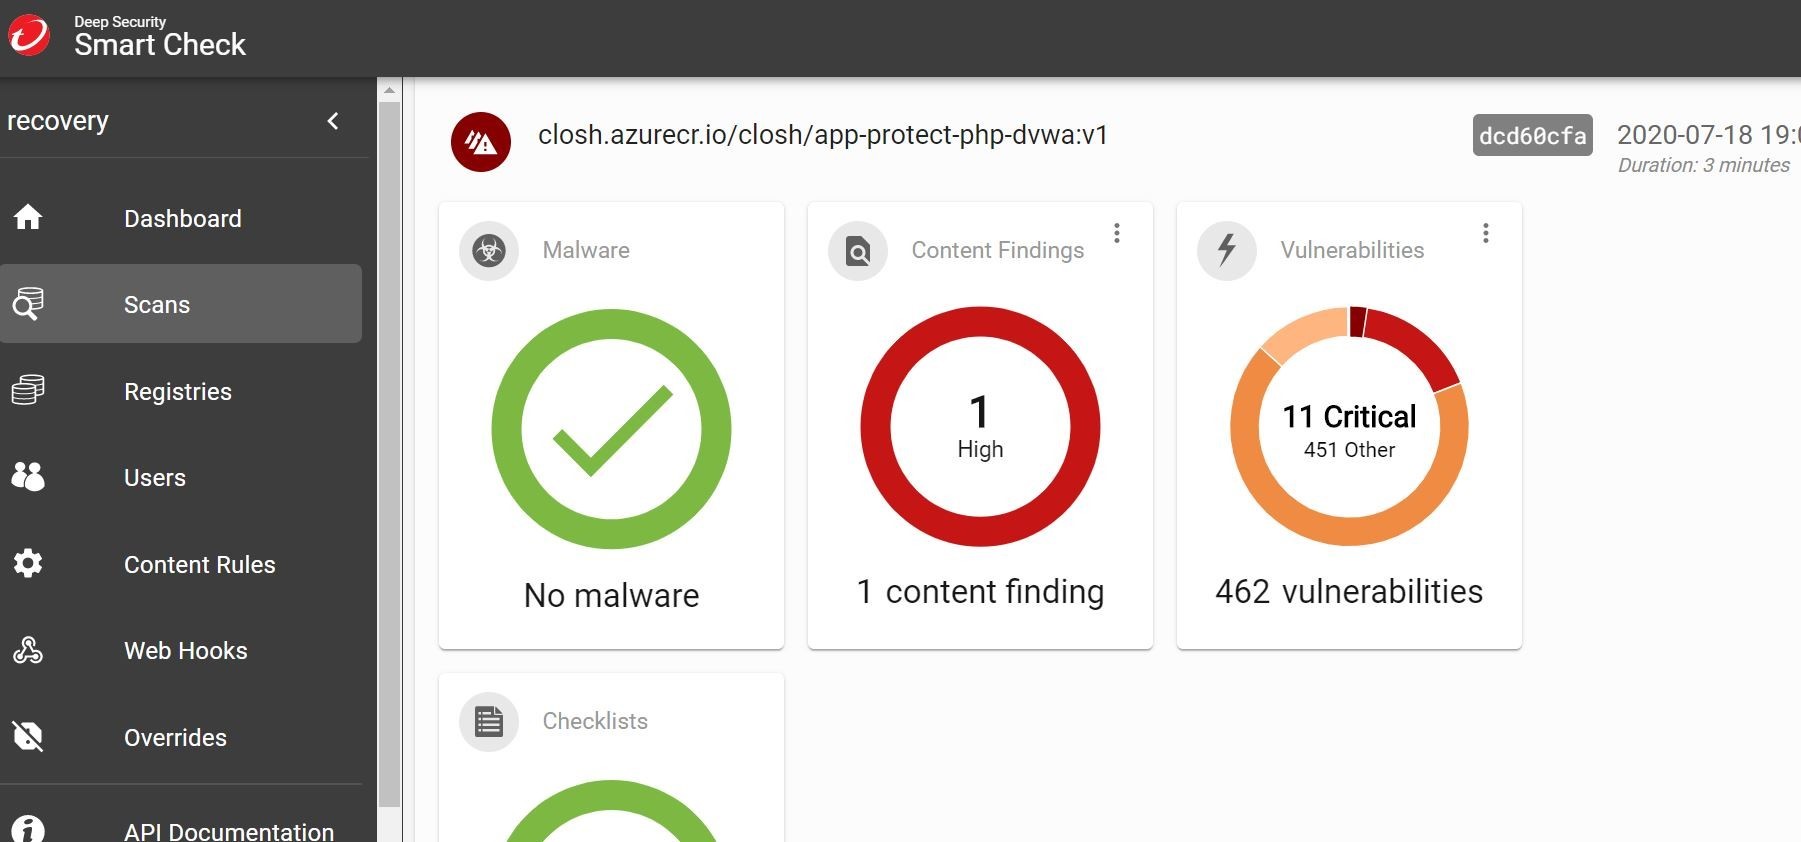
Golly Bob Howdy! That's a lot of vulnerabilities! Thank goodness we have that runtime level protection turned on folks! Let's take a quick gander what's going on here! Well, no malware that's a good thing to start! However, pretty cool that we can use Trend Micro's world renowned malware protection! Right? Content findings....what is that?
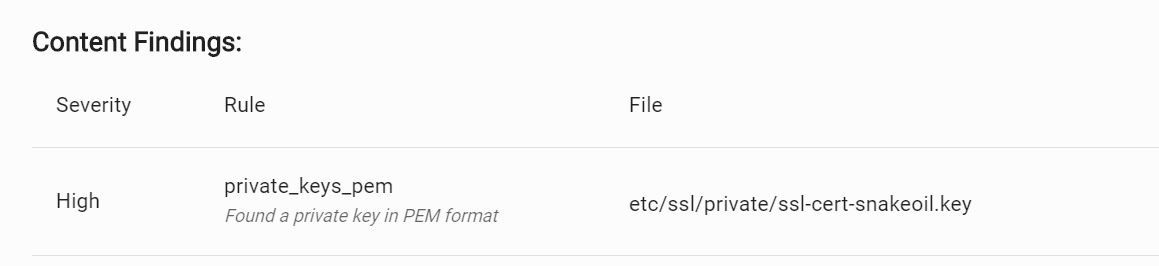
Wow! Definitely do not want that in there. Look at that! It found a pem key file!
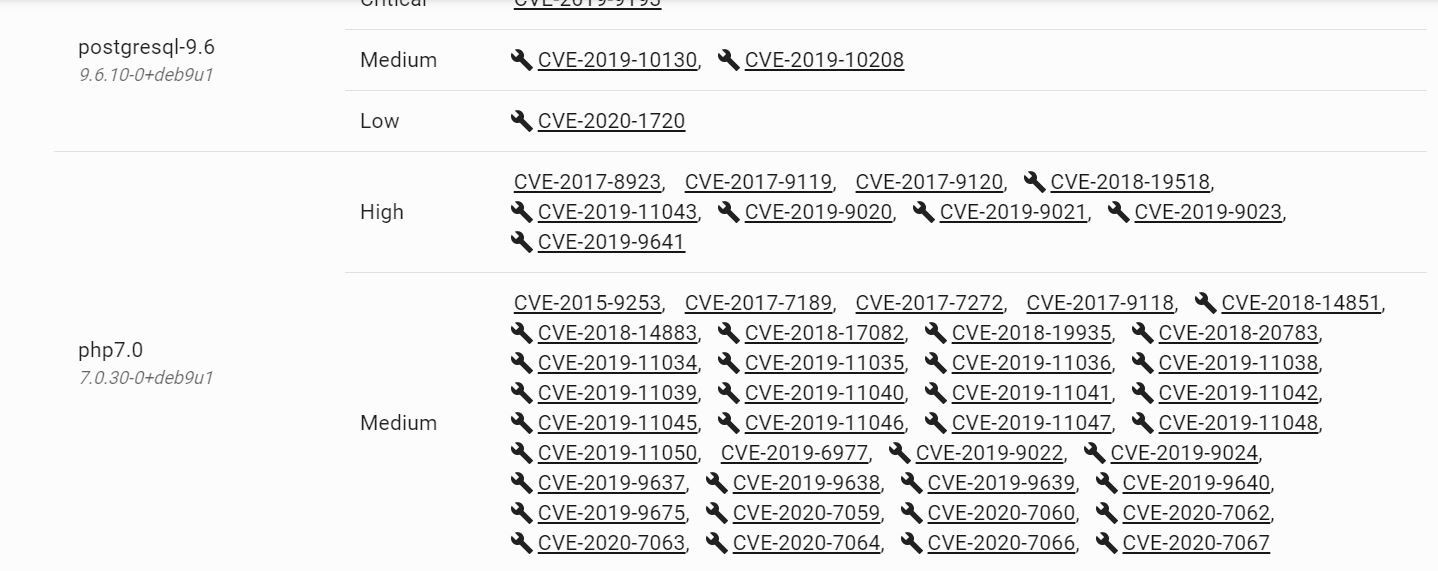
Let's take a look at vulnerabilities. Wow! Again! Look at all those PHP vulnerabilities! Looks like there are even links to the associated package fixes. If only I did some upgrading of those packages inside the container would clear a lot of those up! Upgrade for the win!
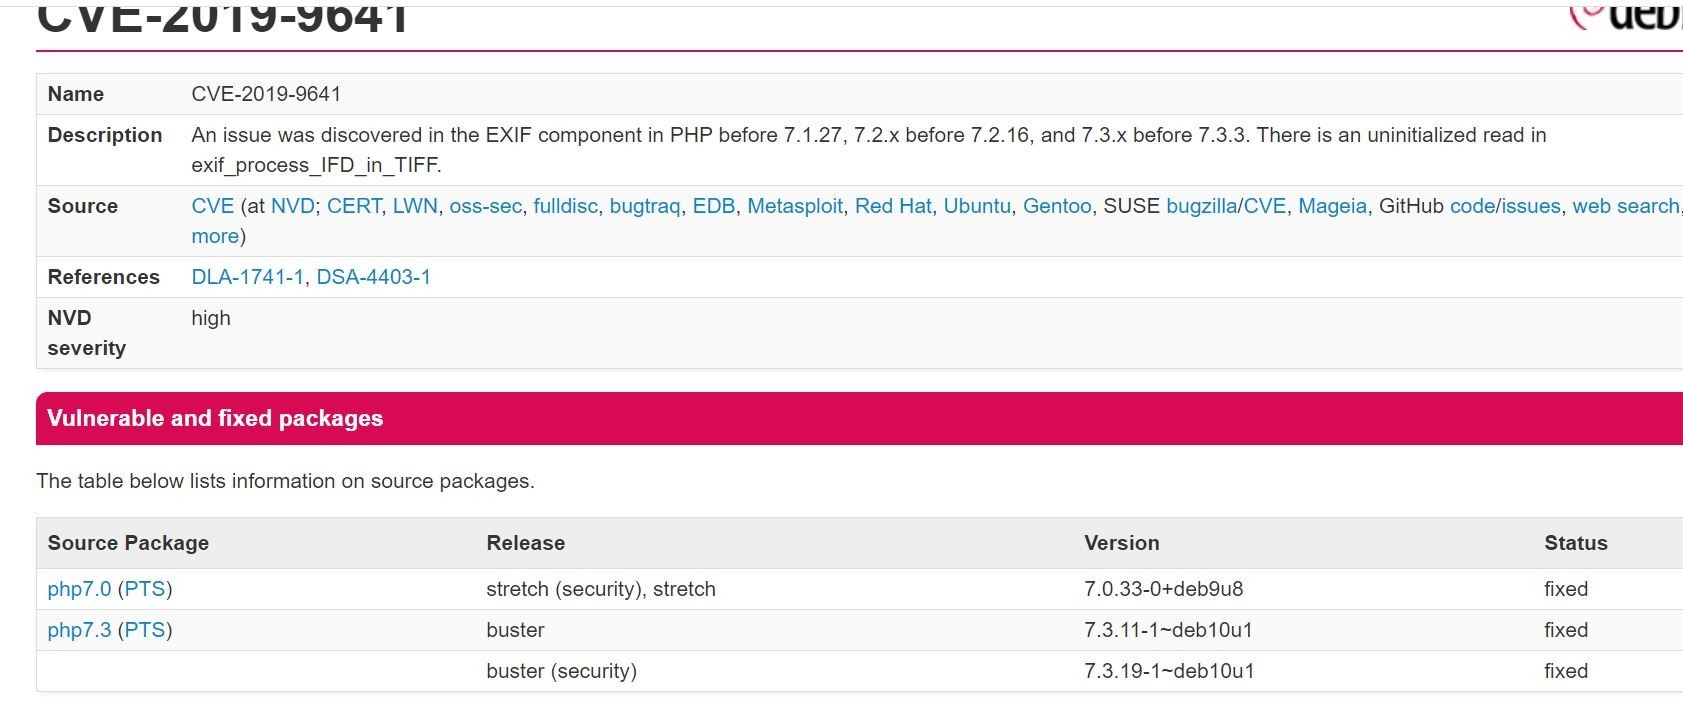
Ok, cool with the linkage it takes me to the associated write-up and links to download the latest package.
Well, isn't that special? This is all good information to have. I can either patch and fix these container images, or maybe I just yank it out of the registry altogether.
No comments:
Post a Comment