MAINTENANCE CONFIGURATION :
Creating a Maintenance Configurations lets you decide when to apply platform updates to various Azure resources. This topic covers the Azure PowerShell options for Dedicated Hosts and Isolated VMs. For more about benefits of using Maintenance Configurations, its limitations, and other management options, see Managing platform updates with Maintenance Configurations.
If you are looking for information about Maintenance Configurations for scale sets, see Maintenance Control for Virtual Machine Scale Sets.
Maintenance Configurations gives you the ability to control and manage updates for many Azure virtual machine resources since Azure frequently updates its infrastructure to improve reliability, performance, security or launch new features. Most updates are transparent to users, but some sensitive workloads, like gaming, media streaming, and financial transactions, can't tolerate even few seconds of a VM freezing or disconnecting for maintenance. Maintenance Configurations is integrated with Azure Resource Graph (ARG) for low latency and high scale customer experience.
Create a Maintenance Configuration
Sign in to the Azure portal.
Search for Maintenance Configurations.
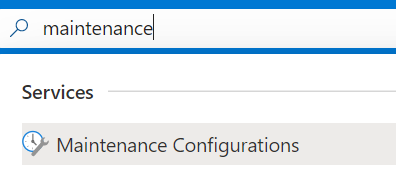
Click Create.

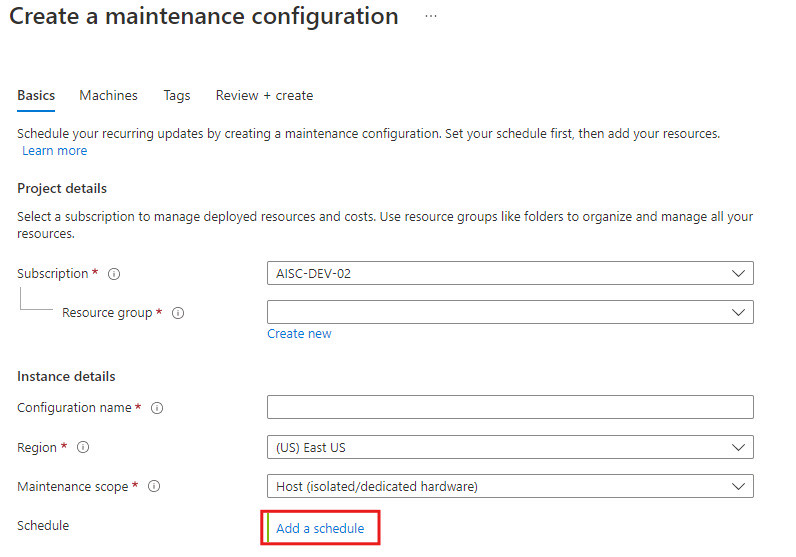
In the Basics tab, choose a subscription and resource group, provide a name for the configuration, choose a region, and select one of the scopes we offer which you wish to apply updates for. Click Add a schedule to add or modify the schedule for your configuration.
Important
Certain virtual machine types and schedules will require a specific kind of scope. Check out maintenance configuration scopes to find the right one for your virtual machine.
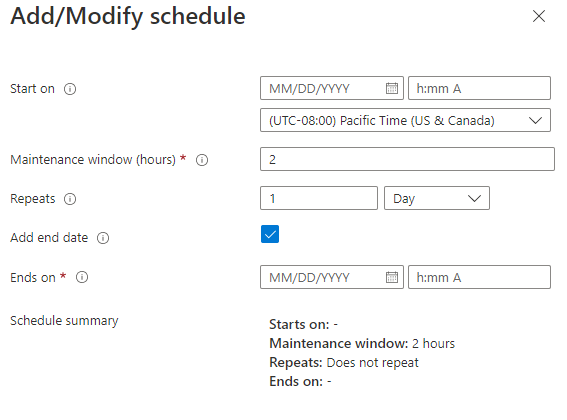
In the Schedule tab, declare a scheduled window when Azure will apply the updates on your resources. Set a start date, maintenance window, and recurrence if your resource requires it. Once you create a scheduled window you no longer have to apply the updates manually. Click Next.
Important
Maintenance window duration must be 2 hours or longer.
In the Machines tab, assign resources now or skip this step and assign resources later after maintenance configuration deployment. Click Next.
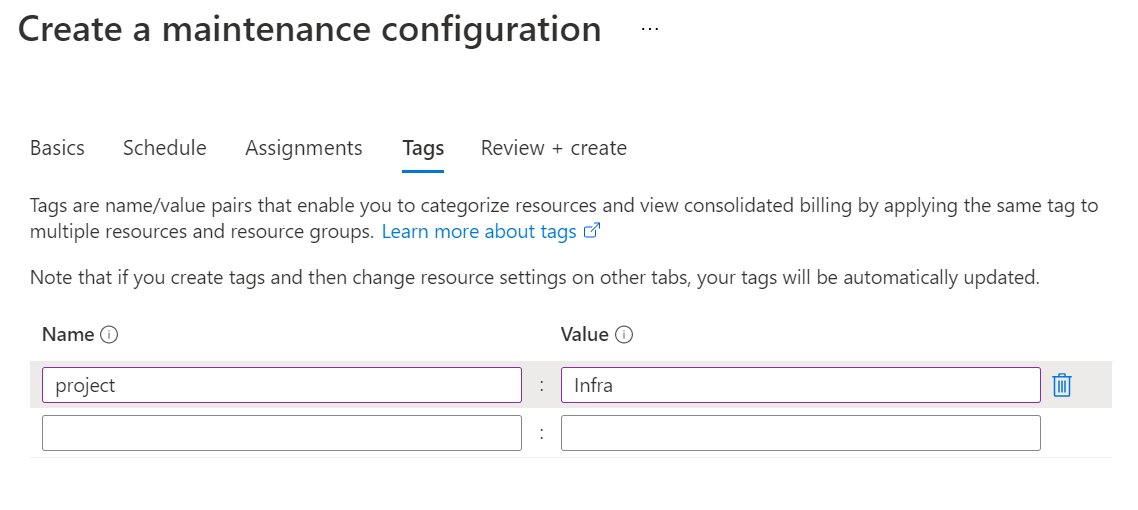
Add tags and values. Click Next.
Review the summary. Click Create.
After the deployment is complete, click Go to resource.
Assign the configuration
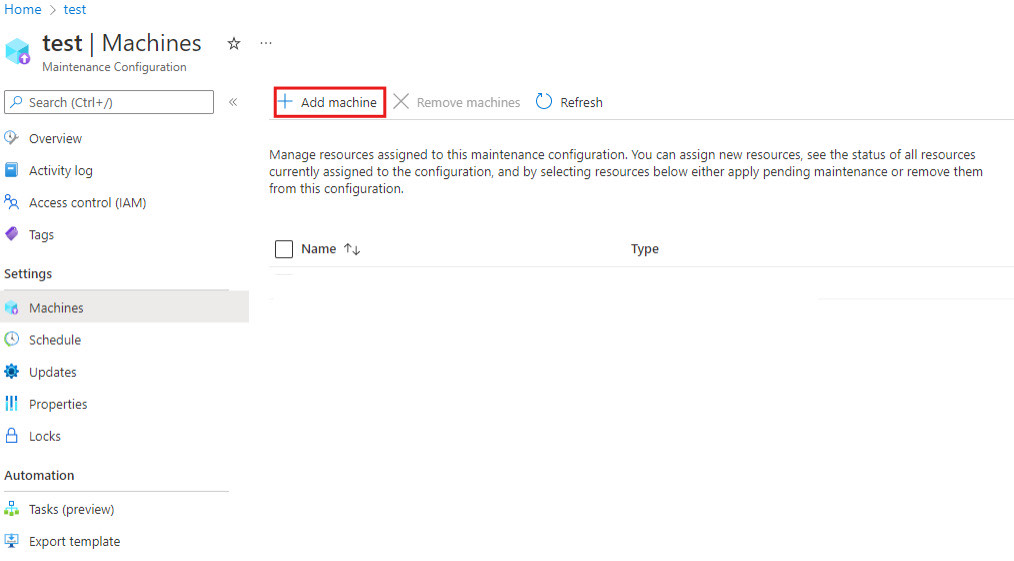
On the details page of the maintenance configuration, click Machines and then click Add Machine.
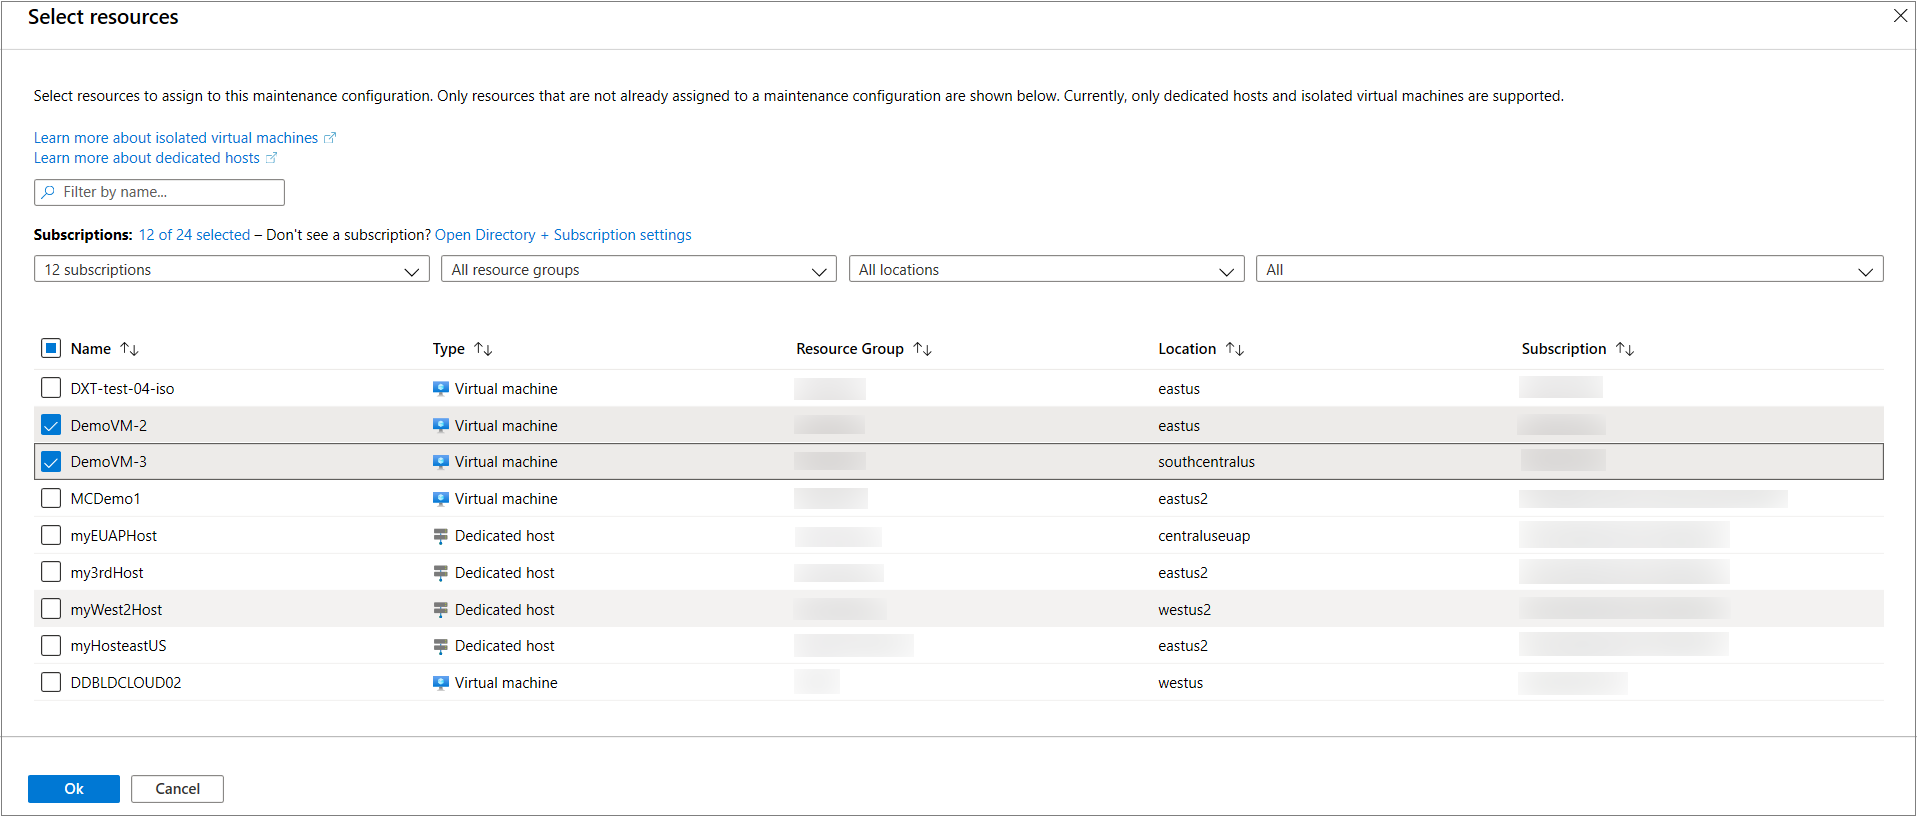
Select the resources that you want the maintenance configuration assigned to and click Ok. The VM needs to be running to assign the configuration. An error occurs if you try to assign a configuration to a VM that is stopped.
Check configuration
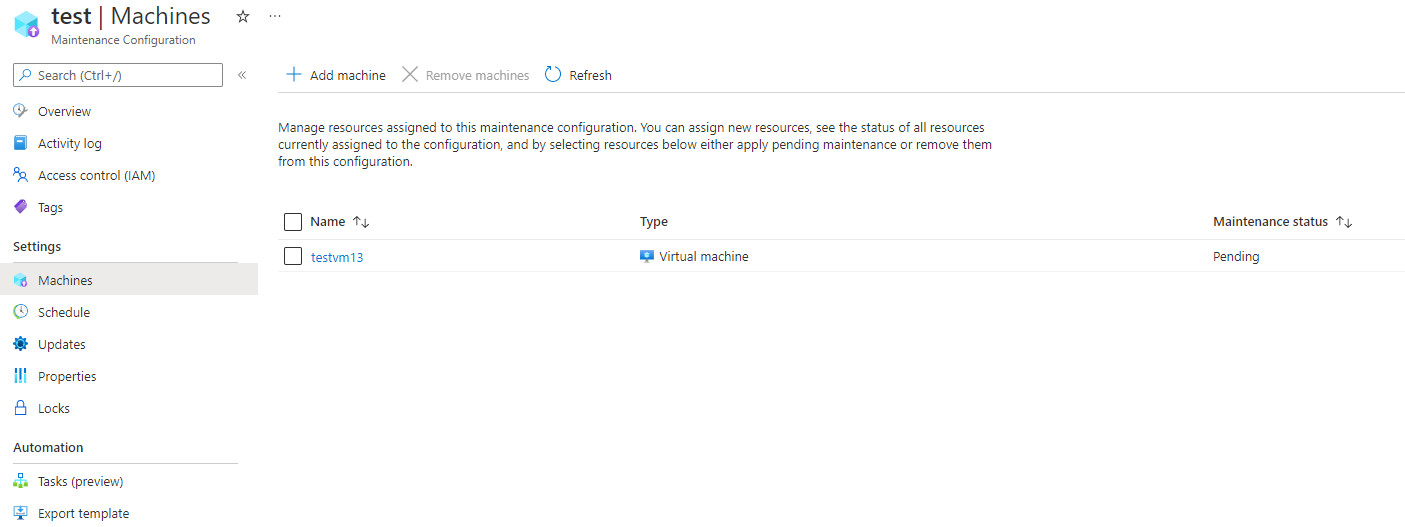
You can verify that the configuration was applied correctly or check to see any maintenance configuration that is currently assigned to a machine by going to the Maintenance Configurations and checking under the Machines tab. You should see any machine you have assigned the configuration in this tab.
Check for pending updates
You can check if there are any updates pending for a maintenance configuration. In Maintenance Configurations, on the details for the configuration, click Machines and check Maintenance status.

Delete a maintenance configuration
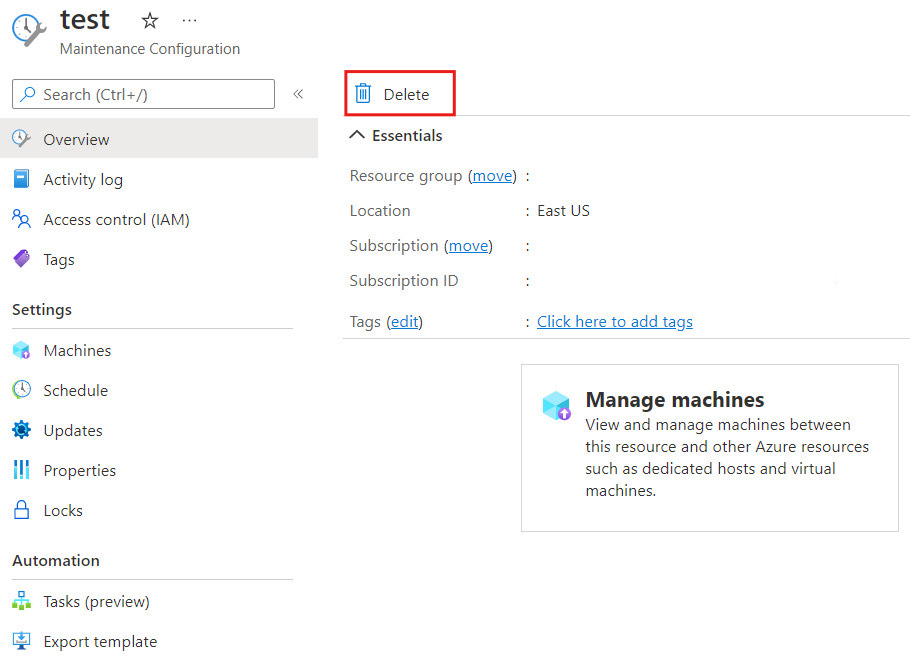
To delete a configuration, open the configuration details and click Delete.

No comments:
Post a Comment