This article guides you to set up your Kubernetes cluster in AWS EKS and to create your very first application in EKS Cluster. AWS EKS allows you to create your own Kubernetes clusters in the AWS cloud very quickly and easily.
First, let’s look at how to create the AWS EKS Kubernetes cluster.
Section One: Creating Kubernetes Cluster
- Create an AWS IAM service role
You need to create an IAM role that allows Kubernetes to create AWS resources.
Navigate to AWS IAM Console and to “Roles” section and click “Create Role”. Select “AWS services” as the trusted entity and “EKS” as the service type and select “EKS” as the use case.

Then click “Permissions” and proceed until you get the below window at the 4th step and then give a suitable name .

Then give a suitable description for the role and click “Create Role”. You can use this role in the 3rd step when creating the EKS cluster.
2. Create a VPC to deploy the cluster
Navigate to “AWS CloudFormation” and click on “Create Stack” and give below URL as “Amazon S3 URL”.
https://amazon-eks.s3-us-west-2.amazonaws.com/cloudformation/2019-02-11/amazon-eks-vpc-sample.yaml
After giving the stack name review the details and click “Create” to proceed.

Once the stack creation completes, go to outputs and copy the contents to a local file. There you can have the SecurityGroups, VpcId and SubnetIds details. This information is needed when creating an EKS cluster in the next steps.

3. Create AWS EKS Cluster
Navigate to “AWS EKS” service and click “Create cluster”.
Give any name as the “Cluster name” and give the previously created Role name as the “Role name”. Now give the information obtained in step 2 to complete the VPC details as shown below and click “Create cluster”.


4. Configure kubectl for Amazon EKS
In this point, I assume you have already installed kubectl and aws-cli in your machine. If you don’t install it yet please refer below documents to do so.
Install Kubectl: https://kubernetes.io/docs/tasks/tools/install-kubectl/
Install AWS CLI: https://docs.aws.amazon.com/cli/latest/userguide/cli-chap-configure.html
Once you setup kubectl and AWS-CLI in your machine run below command to configure kubectl for AWS EKS.
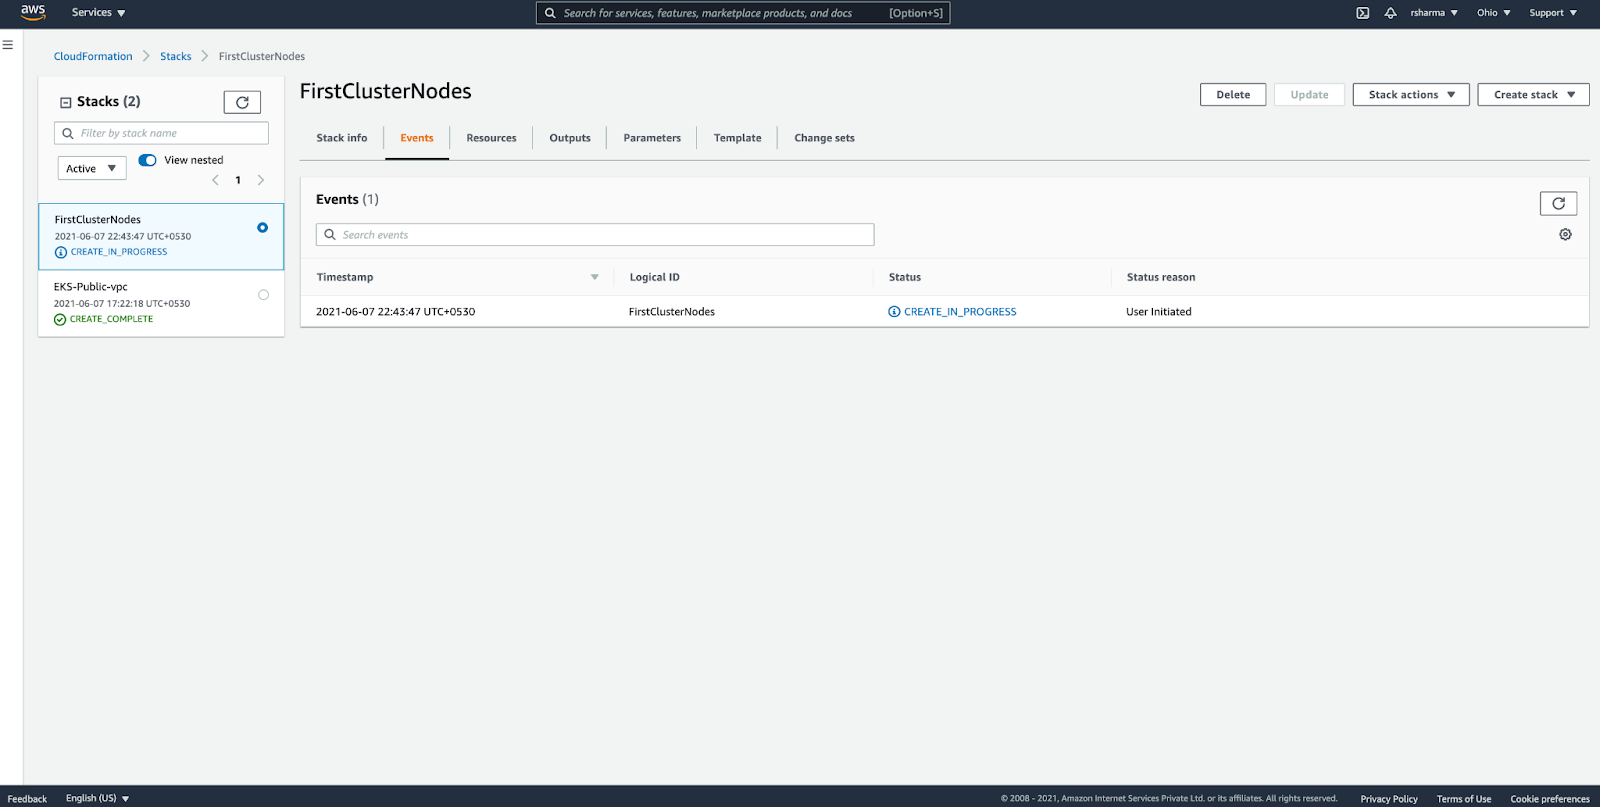
aws eks --region <region> update-kubeconfig --name <clusterName>Now we need to create worker nodes to join the Kubernetes cluster. To create them, navigate again to AWS CloudFormation and click on “Create stack”.
Give the below URL as the Amazon S3 URL and click Next.
https://amazon-eks.s3-us-west-2.amazonaws.com/cloudformation/2019-02-11/amazon-eks-nodegroup.yaml
In the next page, you need to fill the required information as below.
Stack name: GIve any unique name to the stack
ClusterName: Give the previously created Kubernetes cluster name
ClusterControlPlaneSecurityGroup: Give the SecurityGroup value obtained from the outputs in step 2.
NodeGroupName: Give any unique name
NodeAutoScalingGroupMinSize: 1
NodeAutoScalingGroupDesiredCapacity: 3
NodeAutoScalingGroupMaxSize: 4
NodeInstanceType : t3.medium
NodeImageId: Give a suitable Node image ID. Use the below table to choose the correct image-id according to the region you used. Refer the EKS AMI document to find the correct AMI ID. (EX: NodeImageID for 1.16 version Sydney region is ami-09e7454072d169c9b)
KeyName: An EC2 Key Pair to allow SSH access to the instances.
VpcId: Give the VpcId value obtained from the outputs in step 2.
Subnets: Give the SubnetIds values obtained from the outputs in step 2.
After giving the above-required information, then click on “Create stack” to launch the worker node stack.
After creating the worker node stack, go to stack outputs and copy the “NodeInstanceRole” value.

Now you need to enable worker nodes to join your cluster.
vim ~/.kube/aws-auth-cm.yamlCreate the above file and fill it with the below content and replace the <ARN of instance role> snippet with the NodeInstanceRole taken from outputs above.
apiVersion: v1
kind: ConfigMap
metadata:
 name: aws-auth
 namespace: kube-system
data:
 mapRoles: |
   - rolearn:  <ARN of instance role>
     username: system:node:{{EC2PrivateDNSName}}
     groups:
       - system:bootstrappers
       - system:nodes
Then run below commands to apply the configurations.
kubectl apply -f ~/.kube/aws-auth-cm.yamlNow your AWS EKS Cluster is ready to create your favorite application on your Kubernetes cluster.
Section Two: Launch your app in Kubernetes
To launch an app in Kubernetes, you need to deploy a deployment file and a service file.
Create a helloworld.yaml file and use the below content in it.
---
apiVersion: apps/v1
kind: Deployment
metadata:
  name: helloworld-deployment
  labels:
    app: helloworld
spec:
  replicas: 1
  selector:
    matchLabels:
      app: helloworld
  template:
    metadata:
      labels:
        app: helloworld
    spec:
      containers:
      - name: helloworld
        image: dockercloud/hello-world
        ports:
        - containerPort: 80
And then create a service file with the name helloworld-service.yaml and use the below content in it.
apiVersion: v1
kind: Service
metadata:
  name: "service-helloworld"
spec:
  selector:
    app: helloworld
  type: LoadBalancer
  ports:
  - protocol: TCP
    port: 80
    targetPort: 80
Then launch the above deployment and the service in your Kubernetes cluster as follows.
kubectl apply -f helloworld.yaml
kubectl apply -f helloworld-service.yaml
Now get the details of the running helloworld service in your cluster.
kubectl get svc service-helloworld -o yamlIt will give the below content,
apiVersion: v1
kind: Service
metadata:
  annotations:
    kubectl.kubernetes.io/last-applied-configuration: |
      {"apiVersion":"v1","kind":"Service","metadata":{"annotations":{},"name":"service-helloworld","namespace":"default"},"spec":{"ports":[{"port":80,"protocol":"TCP","targetPort":80}],"selector":{"app":"helloworld"},"type":"LoadBalancer"}}
  creationTimestamp: 2019-06-14T06:45:24Z
  name: service-helloworld
  namespace: default
  resourceVersion: "10463"
  selfLink: /api/v1/namespaces/default/services/service-helloworld
  uid: fccb03b3-8e6f-11e9-81eb-0216dc268822
spec:
  clusterIP: 10.100.73.199
  externalTrafficPolicy: Cluster
  ports:
  - nodePort: 32322
    port: 80
    protocol: TCP
    targetPort: 80
  selector:
    app: helloworld
  sessionAffinity: None
  type: LoadBalancer
status:
  loadBalancer:
    ingress:
    - hostname: afccb03b38e6f11e981eb0216dc26882-2016688520.us-west-2.elb.amazonaws.com
There you can get the hostname as the bolted above. Now you can access the service with that hostname in the browser. Just type this hostname in your favorite browser, it will show your hello world service :)


