Deploy a Dockerized Spring Boot app to Azure App Service
Cloning the demo project
Clone the sample project by running the following command. The sample project is an exchange rate API with three endpoints namely:
| S/N | Endpoint | Method | Function |
|---|---|---|---|
| 1. | /currency | GET | Get all currencies supported by the API |
| 2. | /rates | GET | Get all the exchange rates for all the supported currencies |
| 3. | /rates/{currency} | GET | Get the exchange rates for a single currency |
Next, go to the root of the new folder created by the previous command (i.e spring-docker-api). Set up and run the project by running the following commands.
The mvn -B -DskipTests clean package command will clear the target directory if existed, builds the project and skip test during the build. Finally, the mvn spring-boot:run command will run the project on the default port.
By default, your application will be served to port 8080. Navigate to http://127.0.0.1:8080/rates in order to review the JSON response.

Dockerizing the project
In the root of the project, create a new file named Dockerfile. Note that this file has no extension. Add the following to the newly created Dockerfile.
The FROM key specifies the base image for the container (OpenJDK). Next, the working directory is set using the WORKDIR key. All the files in the project will be copied to the app and then using the maven wrapper script a new JAR file will be built. Next, port 8080 is exposed for external connections and the command to run the application is specified using the CMD key.
To build the container, run the following command.
If you are on a MacBook Pro with an Apple M1 Pro chip, kindly use the following command to build your image.
This command used the --platform argument to specify the target architecture that will run the image on Azure. This is a known issue and you can read more about it here.
Once the build process is completed, you can restart the application using the following command - if you did not stop the application previously, you can do so now to avoid port conflicts.
This command maps port 8080 on the container to port 8080 on your workstation and runs the image. Go to http://127.0.0.1:8080/rates again for the JSON response.
Deploying to Azure
Deploying the application to Azure involves two steps. First, you will build a docker image of your application and push it to the Azure Container Registry. Once that is completed you will create a new Web App which is based on the Docker image you created.
Creating an Azure Container Registry
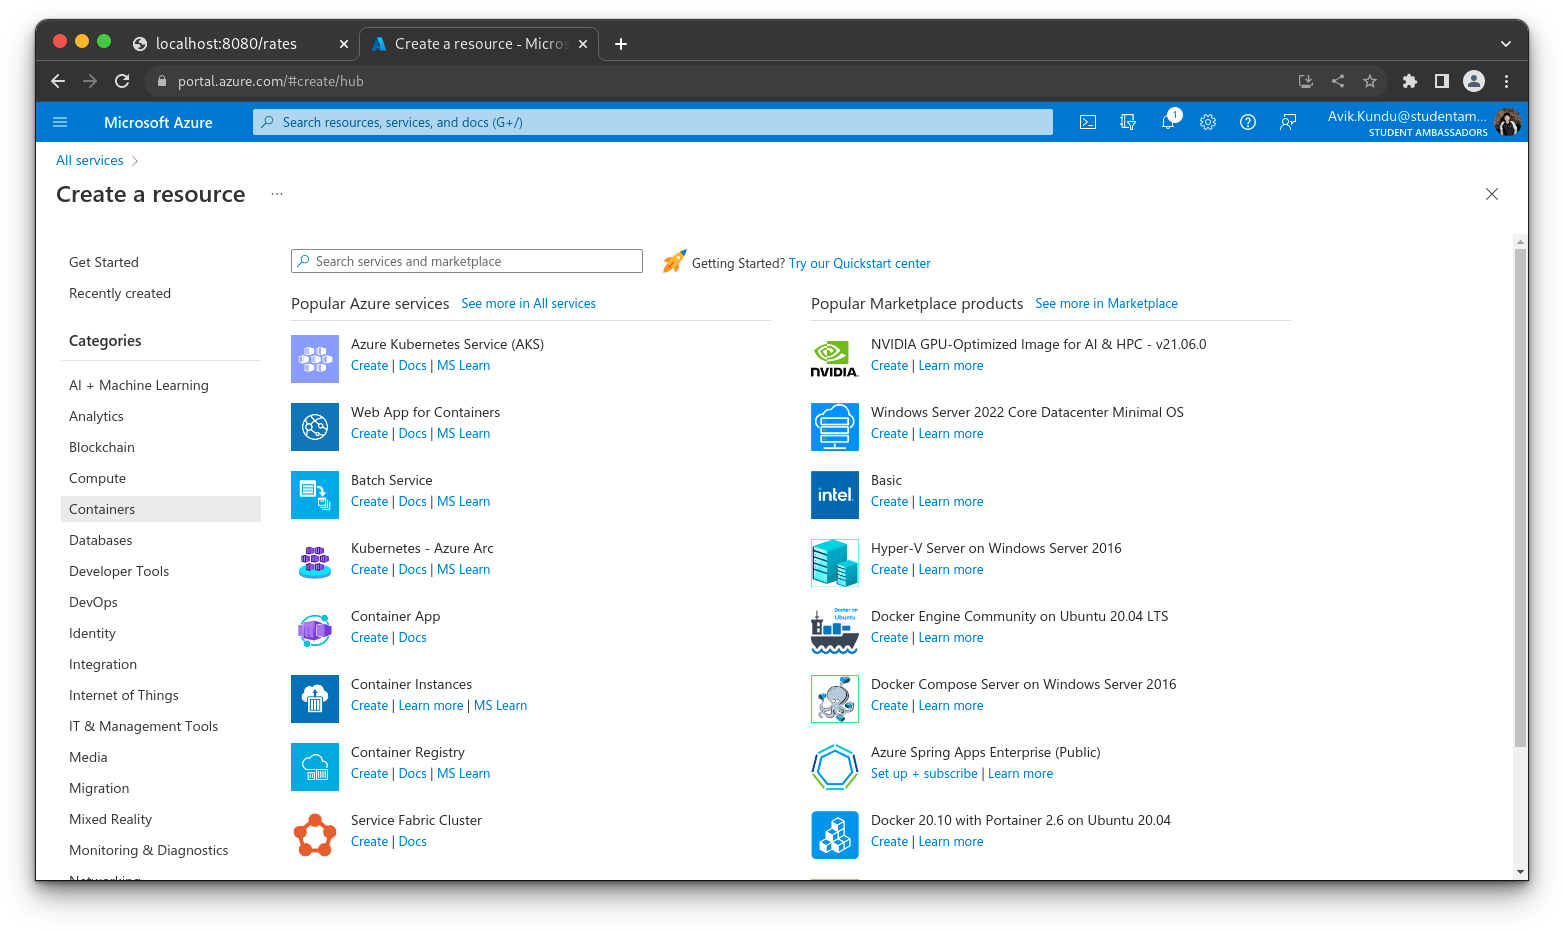
If you do not have one already, create an account on Azure. Navigate to the Azure portal dashboard and click Create a resource.

Then select Containers > Container Registry to create a new registry.
On the registry creation page, input the required details for the registry, similar to what we have below.

Click Review + Create and you will be redirected to a page where you can review the registry information. Once you are good with it, click Create to set up a new registry instance.
Obtaining Access Key from the Registry
In this section, you will enable Docker access in the Azure container registry. This is crucial to the deployment process as it enables you to remotely log in to the Azure container registry through the CLI and be able to push images to it.
To do that, once the registry resources have been created successfully, open it and locate the Access Keys link under the Settings section.

This will show you the registry name and login server. Enable the Admin user using the toggle button. Once enabled, copy the username and any of the passwords, preferably the first one. Keep this safe as it will be used later in the tutorial.
Pushing the Docker image to Azure Registry
The next step is to tag the image you created in the previous step, before pushing it to the registry. For the tag, use the login server and registry name as shown in the command below.
The next step is to log in to the Azure container registry created earlier and push the container image to it. Issue the following command from the terminal for that purpose:
Replace the following placeholders with appropriate values:
DOCKER_USER: The username obtained for the container registryDOCKER_PASS: The password from the container registry.
Once you are logged in, use the following command to push the image to the Azure registry.
This will deploy the image to the Azure registry:

Creating an Azure Web App for the container
Next, you will create an Azure Web App and connect it with the container image. Navigate to the Azure portal homepage and click Create a resource.
Then select Containers > Web App for Containers to create a new web app service instance.

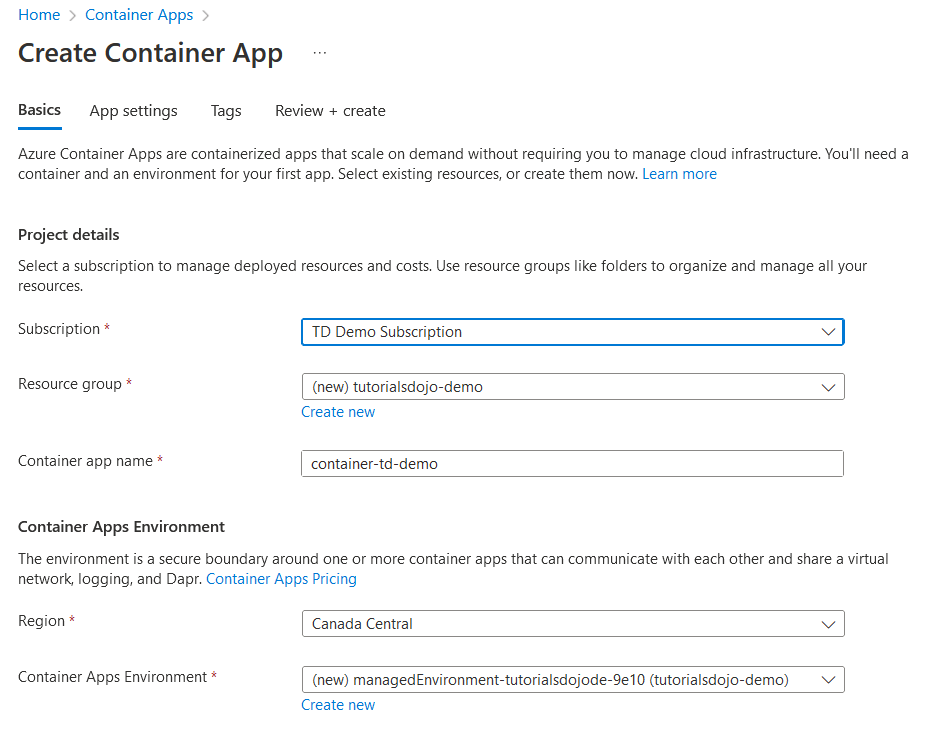
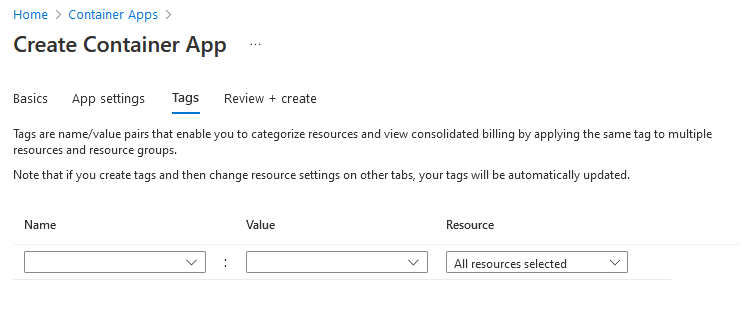
You will be redirected to the Create Web App page. Select an Azure subscription and a resource group, create a new resource group if you have not done that, and name your Web App as preferred. I have named mine spring-docker-api-demo. Docker container should be selected by default, otherwise, select it.

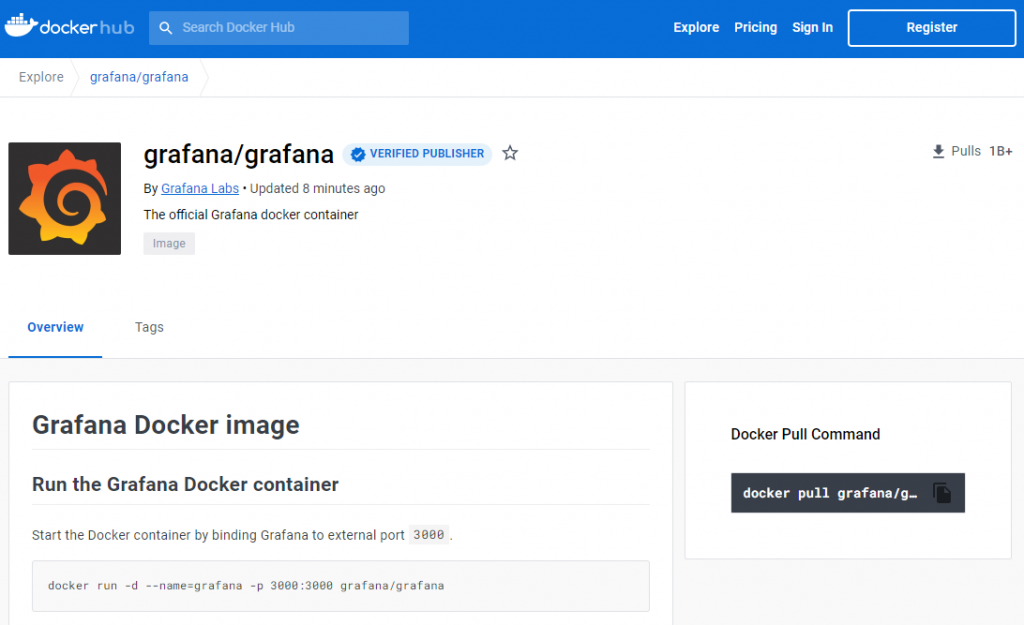
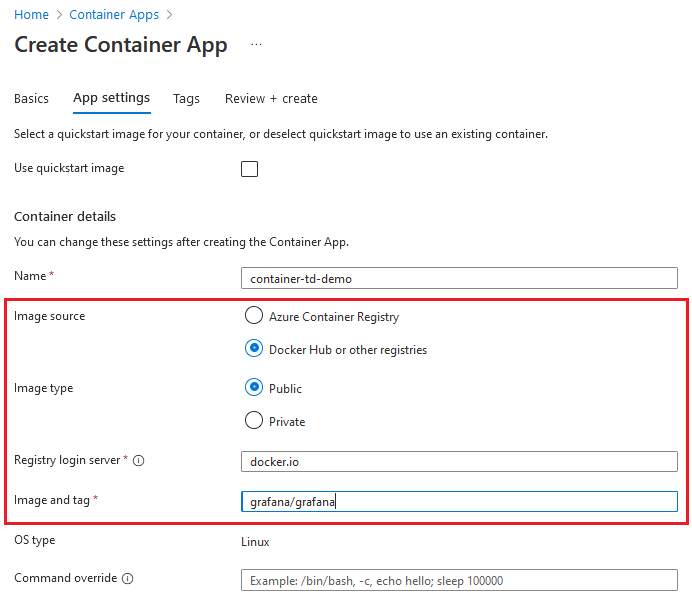
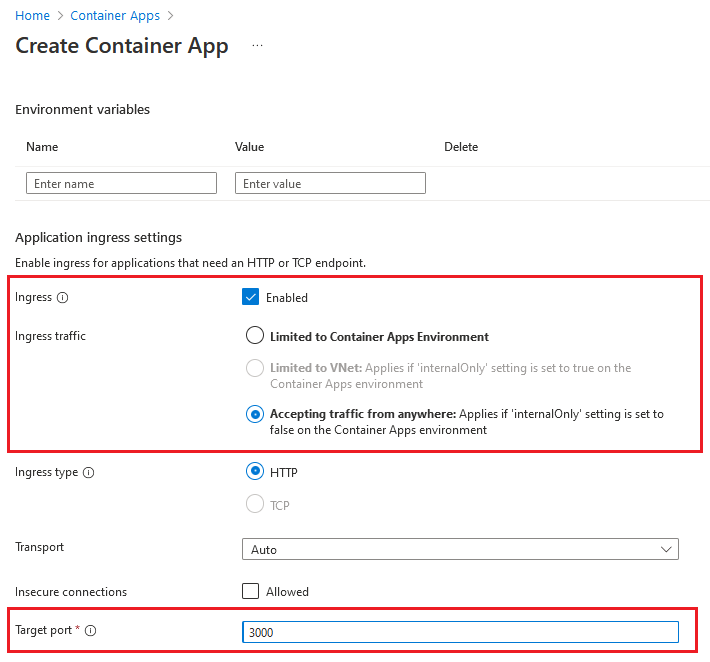
Next, click on the Docker tab and select the image source and its respective docker image.

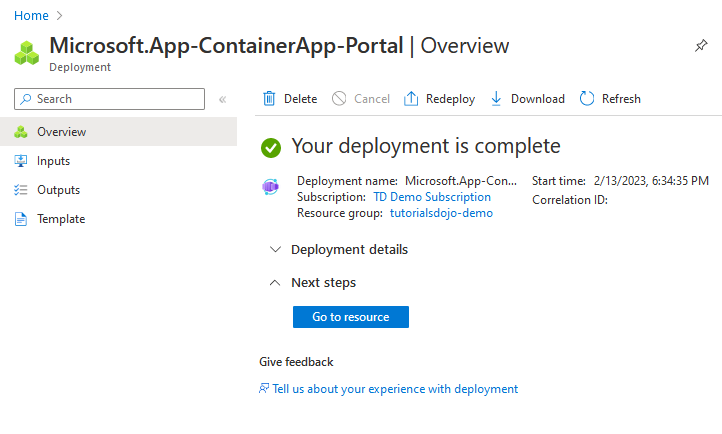
Click Review + Create and you will be redirected to a page where you can review the web app details. Once you are good with it, click Create to set up a new Azure web app.
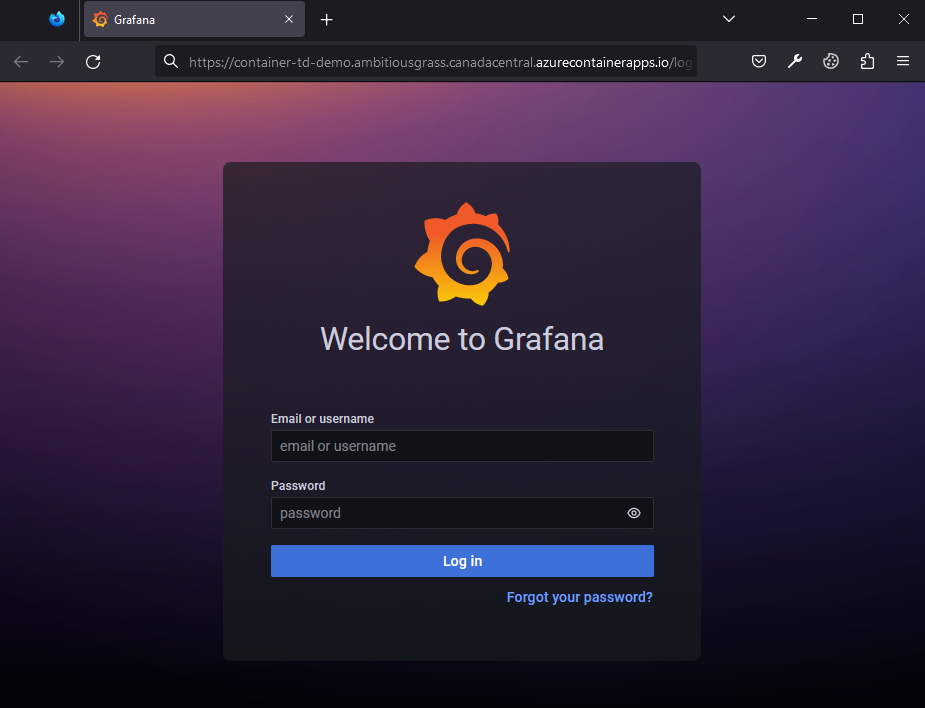
Once the process is completed, you can visit the URL generated for your application, you will be able to view the app as deployed to Azure. The URL is in this format https://<APP_NAME>.azurewebsites.net. Ensure that you replace the APP_NAME placeholder as defined above. You will see a page similar to the following:

Enabling continuous deployment
To ensure that the app will receive the update each time your Docker image is updated, you need to enable continuous deployment for the web app service. To do that, click on the web app name and then click on Deployment Center under the Deployment section and scroll down. Under the settings tab and turn on continuous deployment by checking the radio button. Click Save to persist the changes.

With continuous deployment selected, the web app will trigger a new deployment of the application each time the Docker image is rebuilt on Azure Container Registry.
Next, you need to add the pipeline configuration for CircleCI to automate testing and run the appropriate commands to build and push the container image to Azure.
At the root of your project, open the config.yml file within the .circleci folder and update its content with the following:
Let’s look through the configuration and understand what is going on.
The CircleCI configuration always starts with the version. For this article, we use version 2.1.
The next part of the configuration specifies two different jobs:
build-and-testdeploy-docker-image
The build-and-test job uses the CircleCI Open JDK docker image as the base image, checks out our project from GitHub, installs the project’s dependencies, builds the application, and runs the tests.
The deploy-docker-image job creates a Docker image for the code pulled from the GitHub repository and updates the Azure Container Registry with the latest version of the container. The requires key specifies that the deploy-docker-image should not run until the build-and-test job is complete.
Connecting the application to CircleCI
The next step is to set up a repository on GitHub and link the project to CircleCI. Review Pushing a project to GitHub for instructions.
Log in to your CircleCI account. If you signed up with your GitHub account, all your repositories will be available on your project’s dashboard.
Click Set Up Project next to your spring-docker-api project.

You will be prompted to enter the name of the branch where your code is housed on GitHub. Click Set Up Project once you are done.

Your first workflow will start running.
The deploy-docker-image job will fail because we are yet to provide our Azure Container Registry credentials.
To fix that, you will need to add username and password environment variables. Click Project Settings.
Click the Environment Variables button on the left sidebar and create these variables:
- The
DOCKER_USERvariable is the username obtained for the container registry - The
DOCKER_PASSvariable is the password from the container registry

Go back to the dashboard. Click Rerun Workflow from Start.
Your workflow will run successfully.

To make sure that everything works properly, let’s make an update to the application. For this, we’ll add a new supported currency to the application.
Update the expectedCurrencies array in src/test/java/com/example/exchangeRates/ExchangeRatesApplicationTests.java to match the following.
In the same vein, update the supportedCurrencies array in src/main/java/com/example/exchangeRates/service/ExchangeRatesService.java.
Next, commit and push the changes to your GitHub repository.
Head back to your CircleCI dashboard and you will see that a new build has been completed.

You can also open the appropriate URL in your browser to see the rates for the new currency.