AWS Elastic Beanstalk is an easy-to-use AWS service for deploying and scaling web applications and services developed with Python, Ruby, Java, .NET, PHP, Node.js, Go, and Docker on familiar servers such as Apache, Passenger, Nginx, and IIS.
In this post, we are going to discuss what is Elastic Beanstalk, What is the advantage, and the working of Elastic Beanstalk.
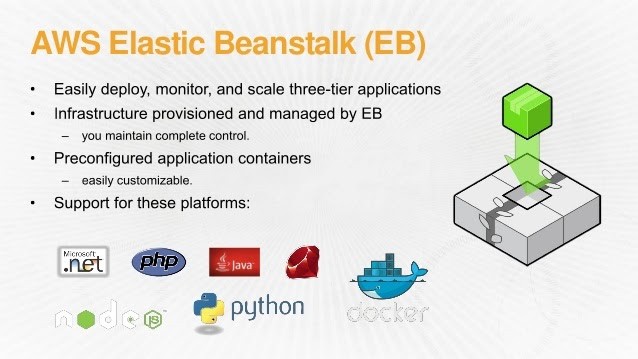
With Elastic Beanstalk, you just have to upload your code and it automatically handles the deployment, from capacity provisioning, load balancing, auto-scaling to application health monitoring. At the same time, you retain full control over the AWS resources powering your application and can access the underlying resources at any time.
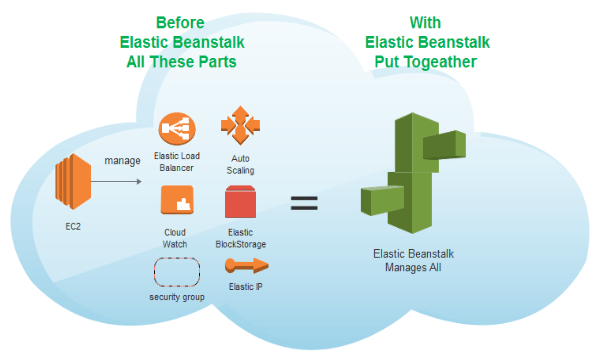
What Is AWS Elastic Beanstalk?
- An orchestration service offered by AWS.
- Used to deploy and scale web applications and services.
- Support Java, Python, Ruby, .NET, PHP, Node.js, Go, Docker on familiar servers such as Apache, Passenger, Nginx, and IIS.
- The fastest and simplest way to deploy your application to AWS.
- It takes care of deployment, capacity provisioning, load balancing, auto-scaling, application health monitoring.
- You have full control over the AWS resources.
Benefits Of Elastic Beanstalk AWS
- Fast and simple to deploy: It is the simplest and fastest way to deploy your application on AWS. You just use the AWS Management Console, a Git repository, or an integrated development environment (IDE) such as Eclipse or Visual Studio to upload your application, and it automatically handles the deployment details of capacity provisioning, auto-scaling, load balancing, and application health monitoring. Within minutes, your application will be ready to use without any infrastructure or resource configuration work on your part.
- Scalable: It automatically scales your application up and down based on your application’s need using easily adjustable Auto Scaling settings. For e.g, you can use CPU utilization metrics to trigger Auto Scaling actions. With this, your application can handle peaks in workload or traffic while minimizing your costs.
- Developer productivity: Amazon Beanstalk Elastic provisions and operates the infrastructure and manages the application stack (platform) for you, so you don’t have to spend the time or develop the expertise. It also keeps the underlying platform running your application up-to-date with the latest patches and updates. So, you can focus on writing code rather than spending time managing and configuring servers, load balancers, databases, firewalls, and networks.
- Complete infrastructure control: You are free to select the AWS resources, such as Amazon EC2 instance type, that are optimal for your application. Additionally, it lets you “open the hood” and allow you to full control over the AWS resources powering your application. If you decide you want to take over some (or all) of the elements of your infrastructure, you can do so seamlessly by using Amazon Elastic Beanstalk’s management capabilities.
Key Concept Of ElasticBeanstalk AWS
AWS Elastic Beanstalk enables you to manage all of the resources that run your application as environments. Here are some key concepts:
- Application: Amazon Elastic Beanstalk application is a logical collection of Elastic Beanstalk components, including environments, environment configurations and versions. In Elastic Beanstalk an application is conceptually similar to a folder.
- Application version: An application version of Amazon Elastic Beanstalk refers to a specific, labelled iteration of deployable code for a web application. An application version points to an Amazon Simple Storage Service (Amazon S3) object that contains the deployable code, such as a Python WAR file.
- Environment: An environment is a collection of AWS resources running an application version. Each environment runs only one application version at a time, still, you can able to run the same application version or different application versions in many environments simultaneously.
- Environment configuration: An environment configuration determines a collection of parameters and settings that define how an environment and its associated resources behave. When you update an environment’s configuration settings, It automatically applies the changes to existing resources or deletes and deploys new resources depending on the changes you made.
- Saved configuration: A saved configuration is a template that you can use as a starting point for creating unique environment configurations. You can create and modify saved configurations, and apply them to environments, using the Elastic Beanstalk console, AWS CLI, EB CLI, or API.
- Platform: A platform is a combination of an operating system, programming language runtime, application server, web server, and Elastic Beanstalk components. It provide a variety of platforms on which you can build your applications.
How Does AWS Elastic Beanstalk Work?
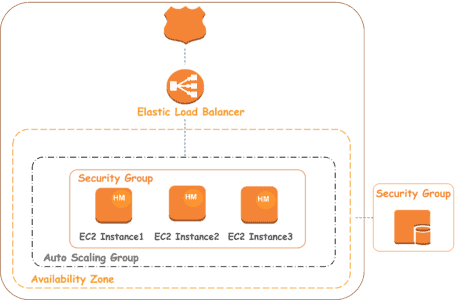
By using Elastic Beanstalk, you create an application, upload an application version in the form of an application code bundle (for example, a Python .war file) to Elastic Beanstalk, and then provide some information about the application. Elastic Beanstalk automatically launches an environment, creates and configures the AWS resources needed to run your code. After your environment launch, you can then manage your environment and deploy new application versions. The following diagram illustrates the workflow of Elastic Beanstalk.

It supports the DevOps practice name “rolling deployments.” When enabled, your configuration deployments work hand in hand with Auto Scaling to ensure there are always a defined number of instances available as configuration changes made. It gives you control as Amazon EC2 instances are updated.
Read this blog where we have discussed 5 Pillars of AWS Well-Architected Framework and their design principles.
Hands-on: Creating an Elastic Beanstalk Application
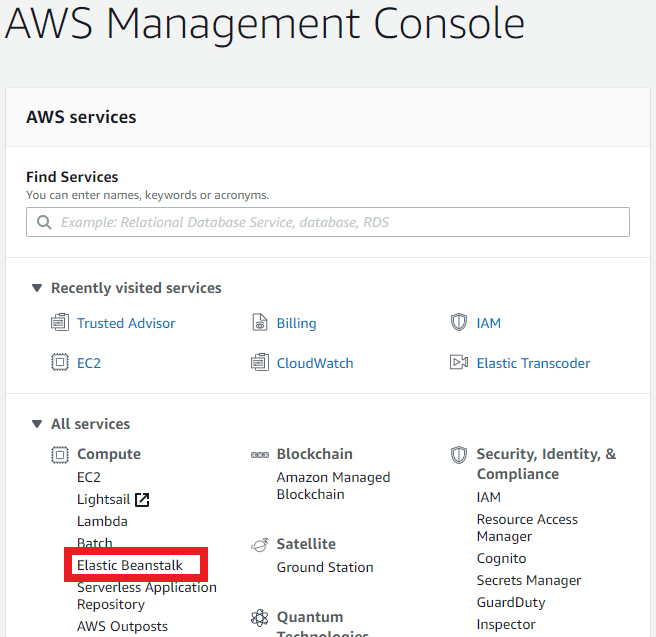
- From the Compute Section click on Elastic Beanstack.
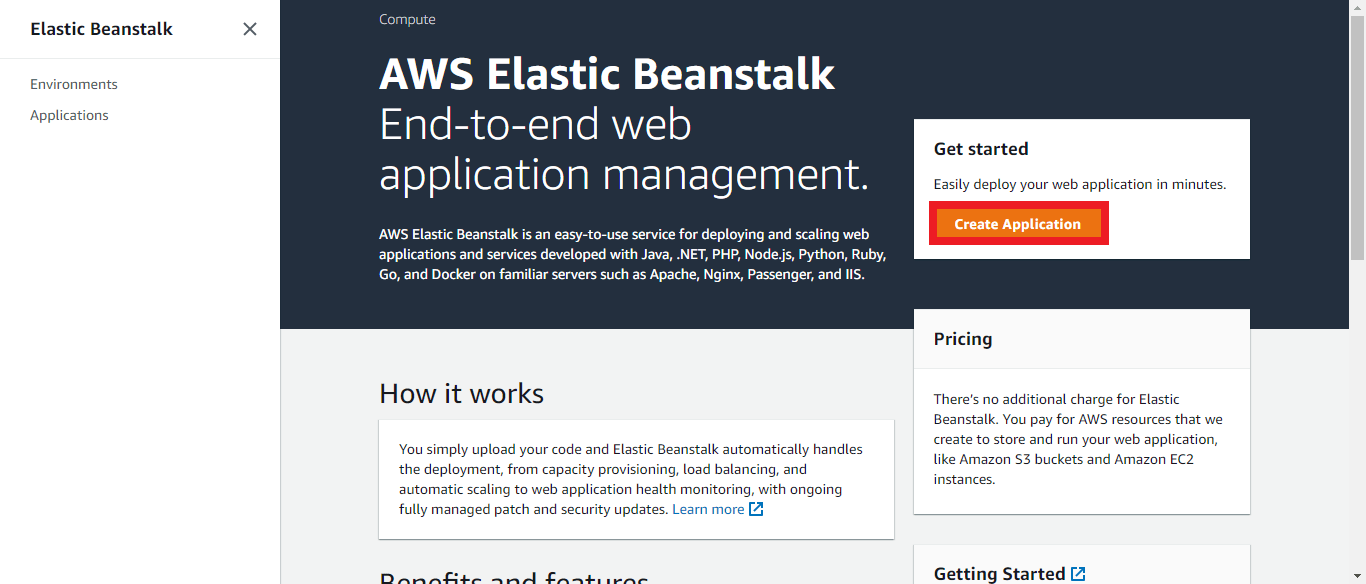
- Click on Create Application under Elastic Beanstalk.
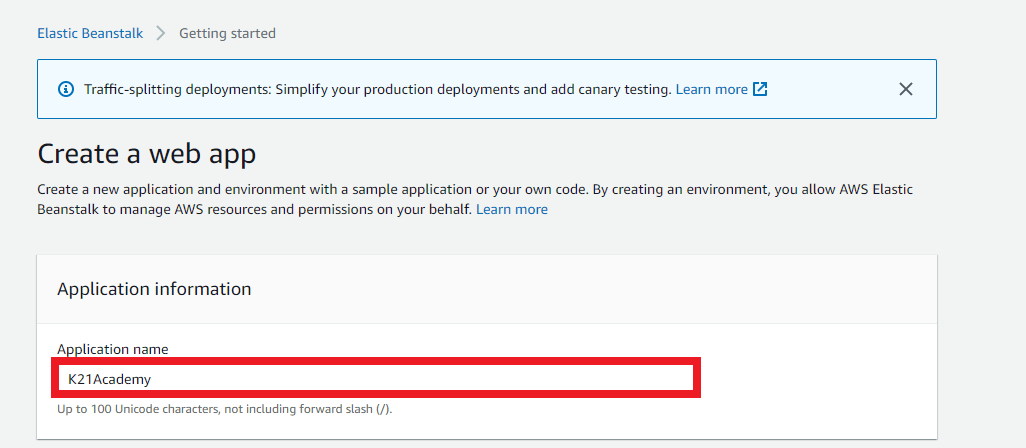
- Give your application a name.
- In the Application tags section you can tag your application by giving key-value pairs.

- In the platform section, you have to choose a platform, platform branch, platform version (In Platform Select PHP as the web application environment, In Platform branch you have to select the instance type on which your environment will going to create. I am using Amazon Linux 2, In Platform, version select the recommended version.)

- In the Application code section you have to choose a sample application and then click on Create application.

- Once all the backend services will create then you will see the following screen. Click on the link to see your sample application.
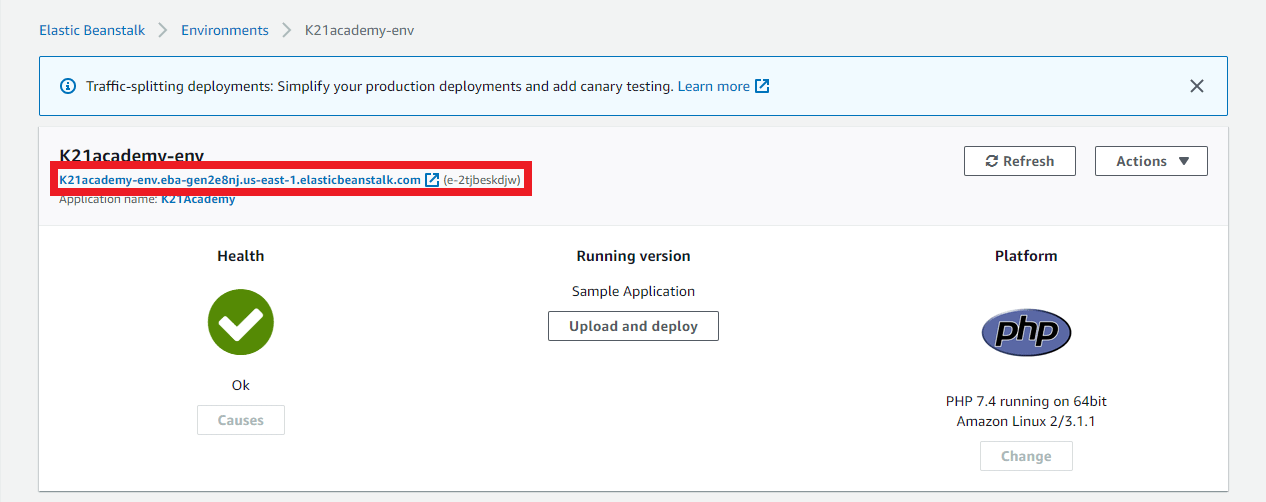
- After clicking on the link you will see your application on the new tab of your browser.
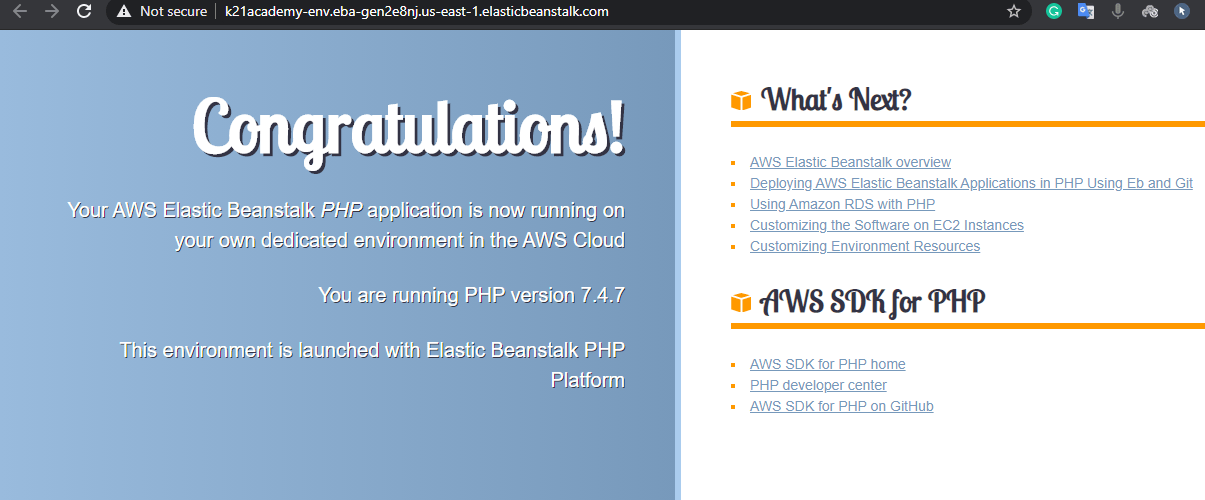
Now we created a running sample PHP application using Elastic Beanstalk



 3.
3.
 Note:
Note:
 7.
7.

 Note:
Note: