Operator sign up and service onboarding for Microsoft Connected Cache
Prerequisites
Before you begin sign up, ensure you have the following components:
Azure Pay-As-You-Go subscription: Microsoft Connected Cache is a completely free-of-charge service hosted in Azure. You'll need to have a Pay-As-You-Go subscription in order to onboard to our service. To create a subscription, go to the Pay-As-You-Go subscription page.
Note
Microsoft Connected Cache is a completely free service for operators. None of the resources created in Azure will incur any charges. However, be aware that any additional services that might be selected as part of the Azure sign-up process might incur charges.
Access to Azure portal: Ensure you have the credentials needed to access your organization's Azure portal.
Peering DB: Ensure your organization's Peering DB page is up-to-date and active. Check that the NOC email listed is accurate, and that you have access to this email.
Server: Ensure the server you wish to install Microsoft Connected Cache on is ready, and that the server is installed on Ubuntu 20.04 LTS.
Configure cache drive: Make sure that you have a data drive configured with full permissions on your server. You'll need to specify the location for this cache drive during the cache node configuration process. The minimum size for the data drive is 100 GB. For instructions to mount a disk on a Linux VM, see Attach a data disk to a Linux VM.
Resource creation and sign up process
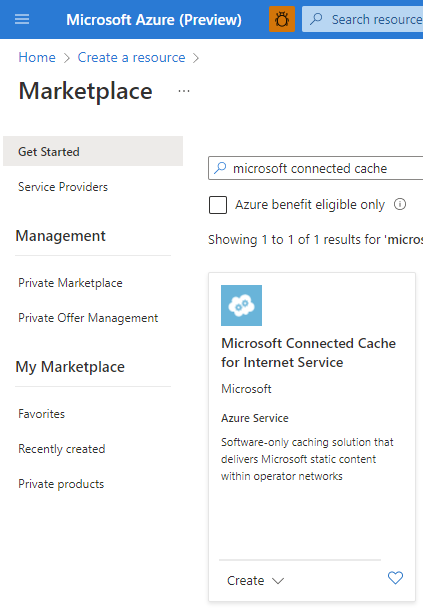
Navigate to the Azure portal. Select Create a Resource. Then, search for Microsoft Connected Cache.
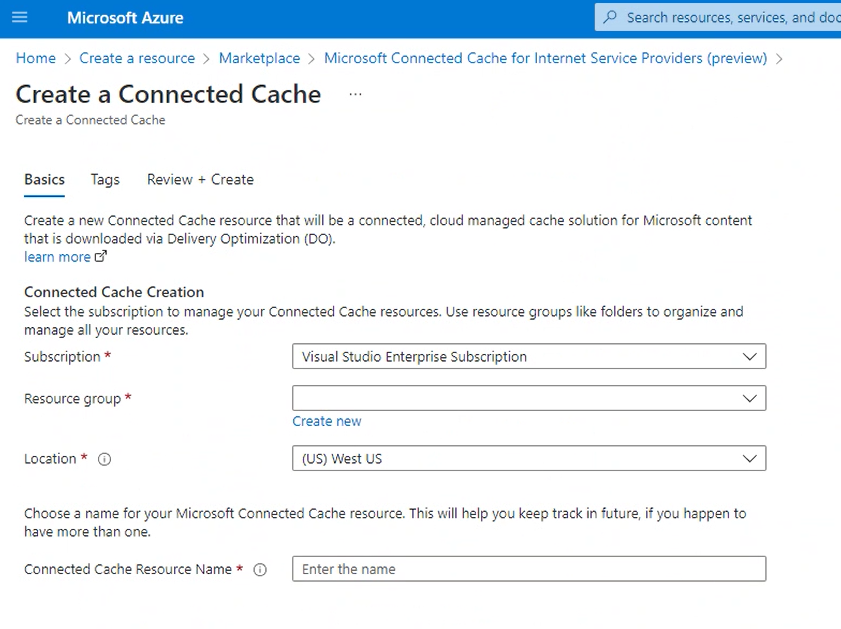
Select Create to create a Microsoft Connected Cache. When prompted, choose the subscription, resource group, and location of your cache node. Also, enter a name for your cache node.
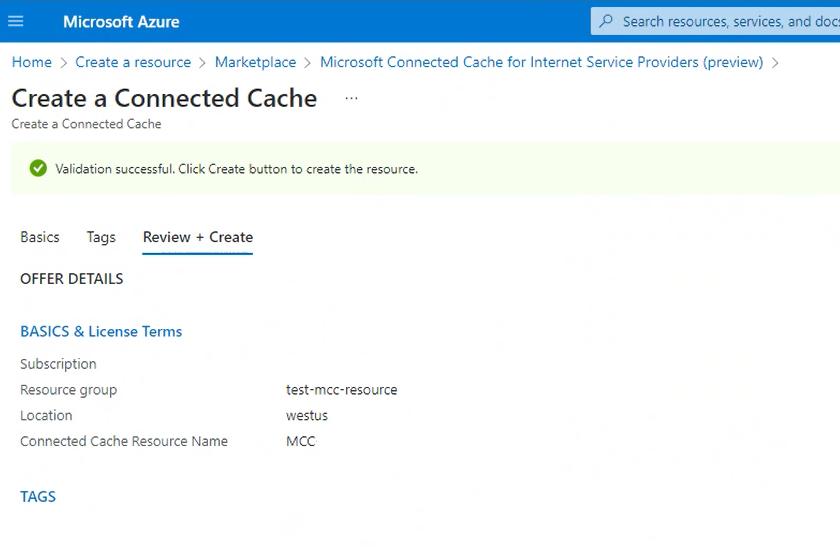
After a few moments, you'll see a "Validation successful" message, indicating you can move onto the next step and select Create.
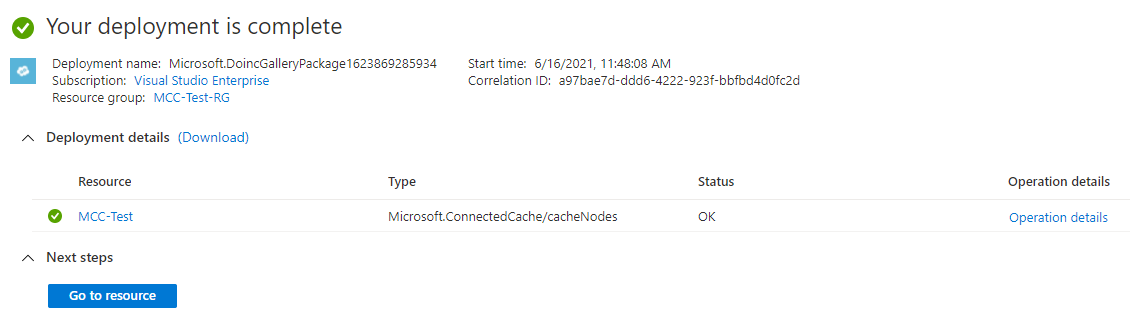
The creation of the cache node may take a few minutes. After a successful creation, you'll see a Deployment complete page as below. Select Go to resource.
Navigate to Settings > Sign up. Enter your organization ASN. Indicate whether you're a transit provider. If so, additionally, include any ASN(s) for downstream network operators that you may transit traffic for.

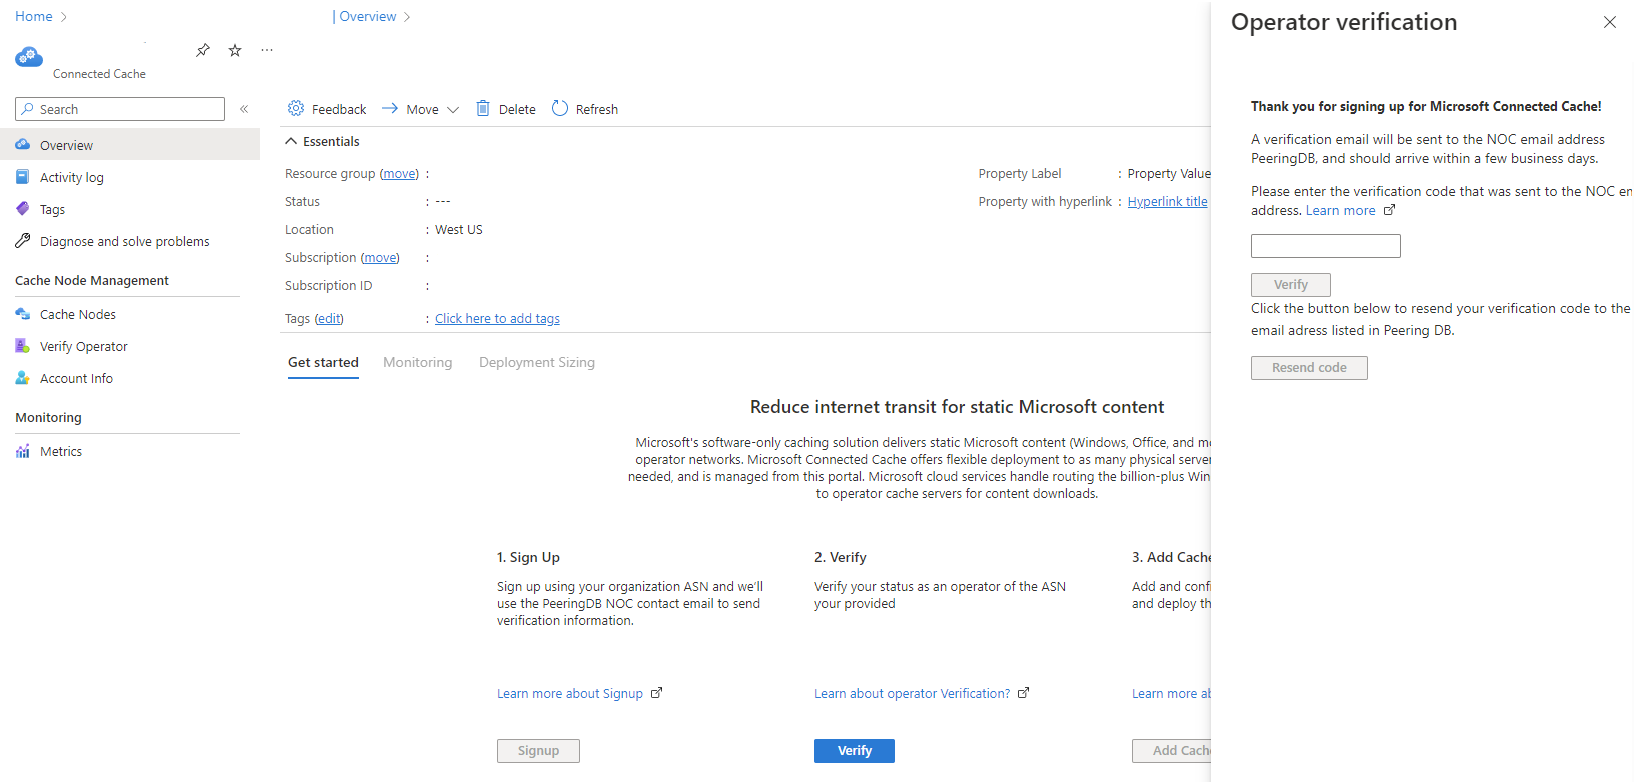
Once we verify the information entered, a verification code will be sent to the NOC email address provided on Peering DB. Once you receive the email, navigate to your Azure portal > Microsoft Connected Cache > Settings > Verify operator, and enter the verification code sent to the NOC email address.
Once verified, follow the instructions in Create, provision, and deploy cache node to create your cache node.


No comments:
Post a Comment