How to use Azure Load Testing
Currently, the service is in preview and allows you to simulate traffic for your apps, regardless of where they are hosted. Developers and testers can use it to optimize their applications regarding performance, scalability, and capacity. Load test can be created using Apache JMeter, a well-known open-source load and performance tool.
While Azure Load Testing supports applications hosted in other clouds, additional and detailed resource metrics in Azure will help identify performance bottlenecks. You can use CI/CD workflows to automate regression testing.
Limited availability
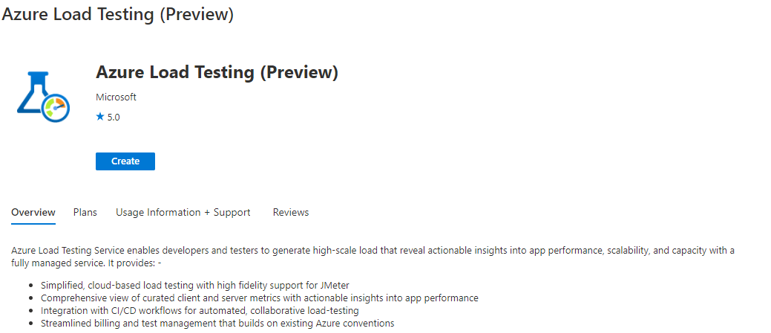
Starting with Azure Load Testing is relatively easy, as you would expect from Azure native resources. Create a new resource, select Azure Load Testing, and you are good to go. As the service is still in preview, only 5 Azure regions are currently supported (North Europe, East US, and East US2, South Central US, and Australia East). But since it's Azure, you still get worldwide coverage.
Three new self-explanatory roles will be added to Access control (IAM) after deploying the first Load Tester resource:

After assigning the correct role, sign in to your tenant again, and you will see the following interface:

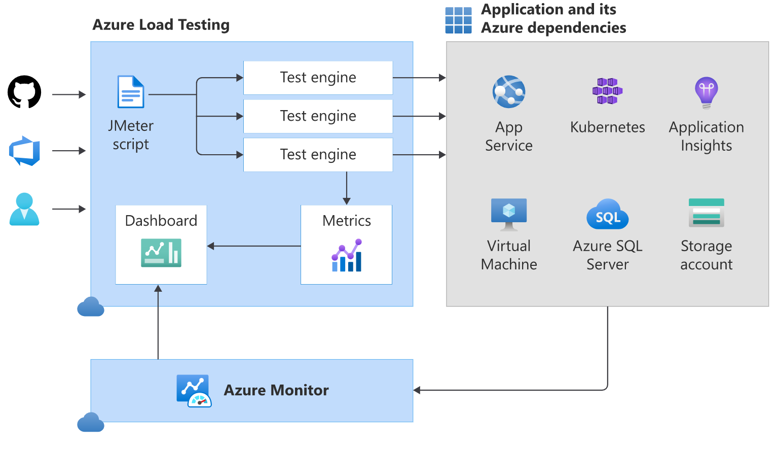
The way Azure Load Testing works is as mentioned using JMeter scripts. These will run in the Test engine, and you will be able to target a wide range of platforms such as App Services, AKS, Databases, Storage accounts, and VM's. the result will be processed by Azure Monitor and displayed in a dashboard.
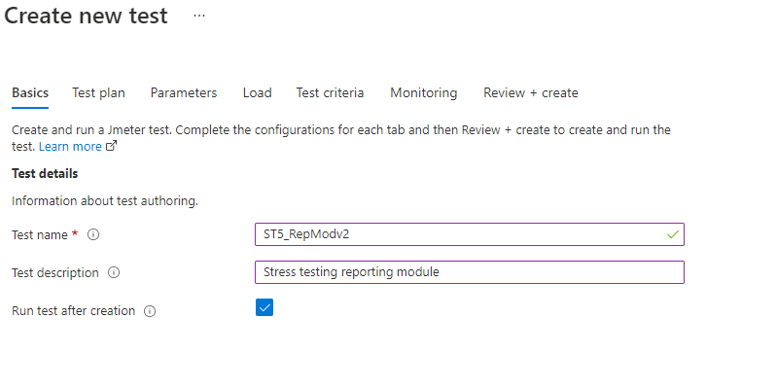
When creating a new test, you will be presented with a setup wizard as shown below:
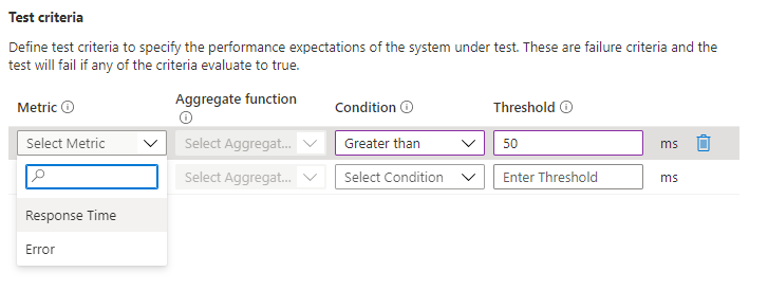
You are able to set up Environment variables and Secrets. Configure the number of threads and configure test criteria:
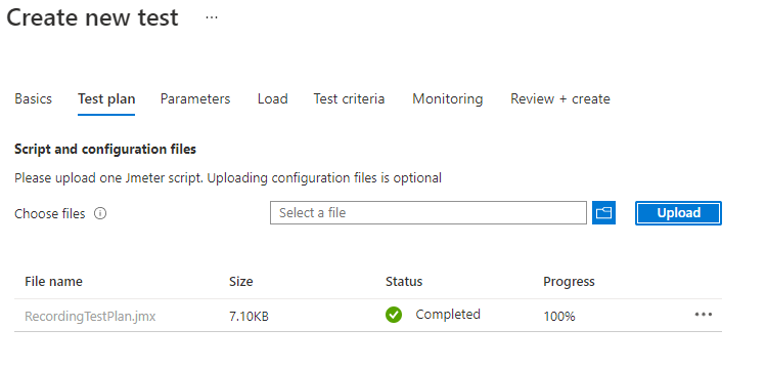
Azure Load Testing integrates with Azure Monitor to capture server-side resource metrics for Azure-hosted applications. You can specify which Azure components and resource metrics to monitor for your load test run. To create a test, upload a JMeter file (JMX) to your Test plan:
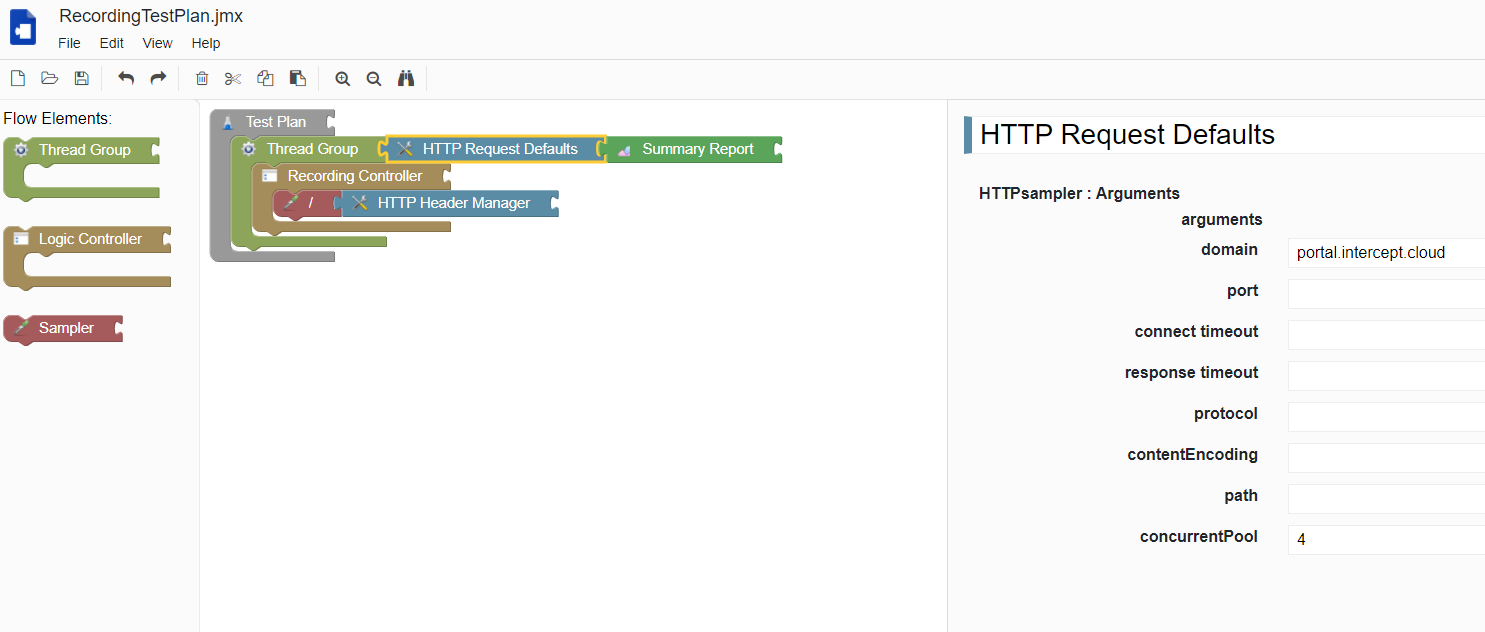
An easy way to design JMeter files is by using the online editor available here.
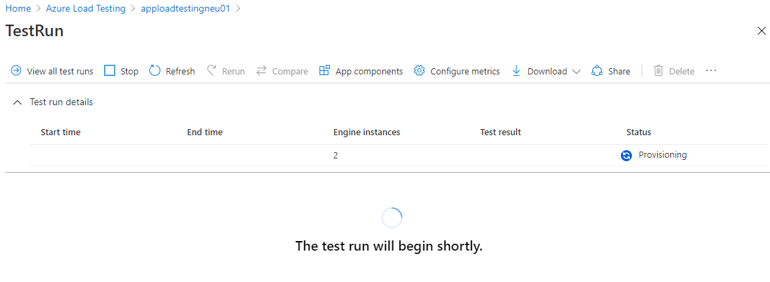
The cool thing about Azure Load Testing is that after the test plan has been created, it will start provisioning automatically and run the specified tests:
After just a few minutes, the first results will automatically appear. Azure Load Testing then also allows you to compare results, rerun the test, view the app components, or download the result file:
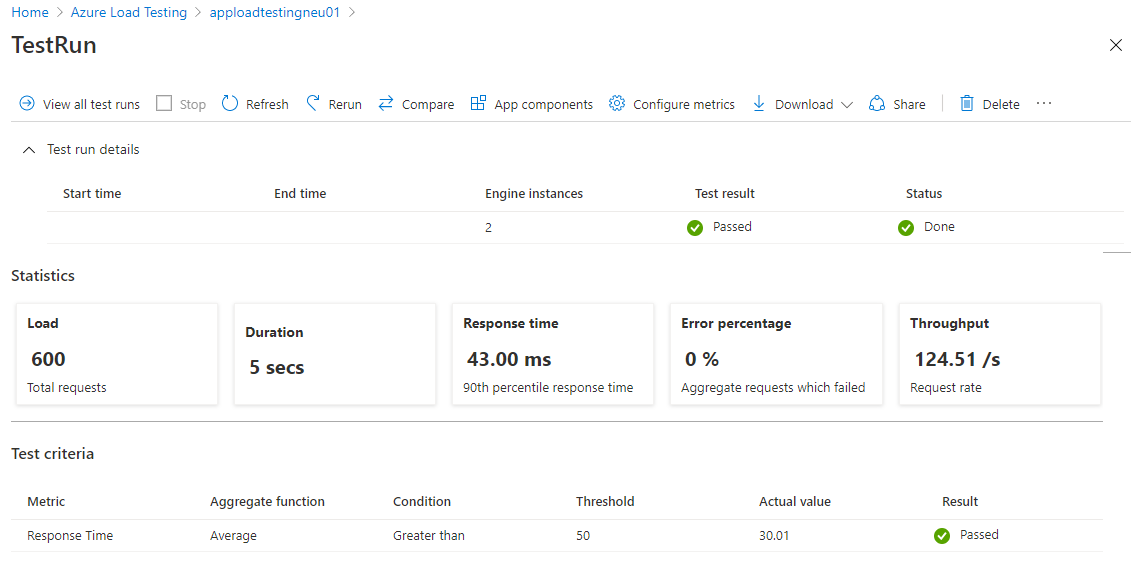
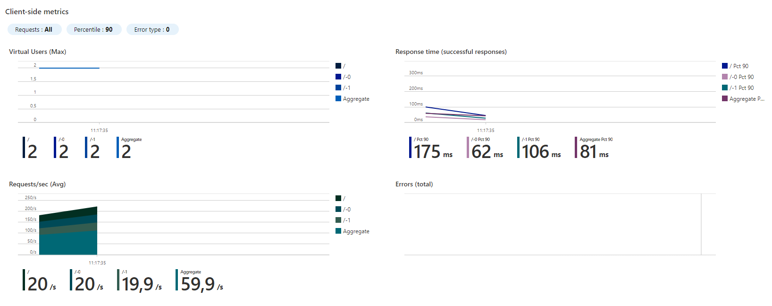
It will even show you the client-side metrics and if you are running Azure workloads, the server-side metrics also.

No comments:
Post a Comment