Create an image through the Azure portal with Azure Image Builder
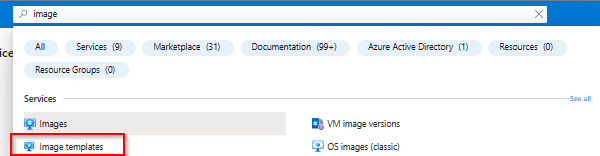
To start with this new service go to the Azure portal and search for Image template in the global search bar
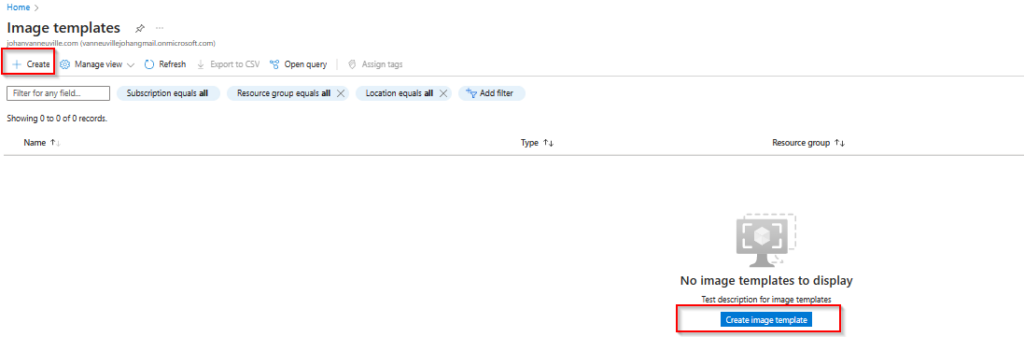
Next, click on Create Image template
The first block of information that you need to enter comes up. Here you can choose which image to take from the marketplace and if you want to store it in an Azure Compute Gallery.
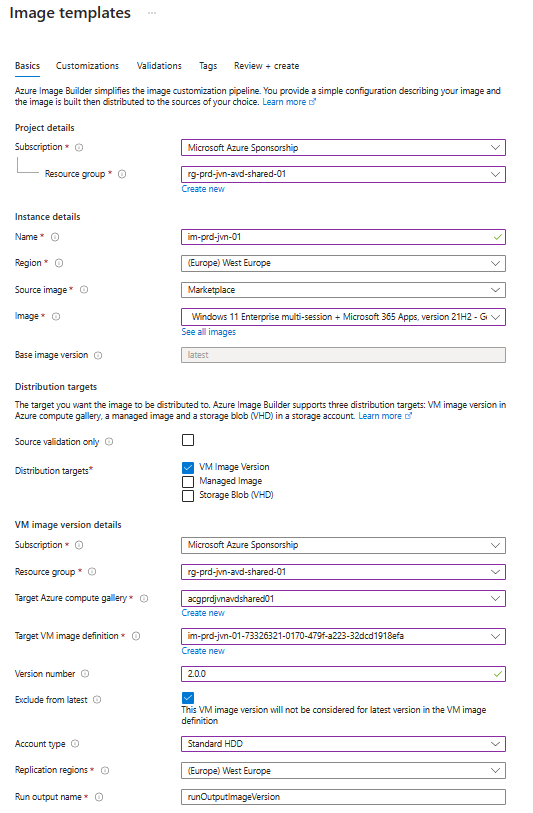
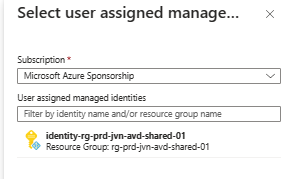
The last item to select in the first screen is the Managed identity.

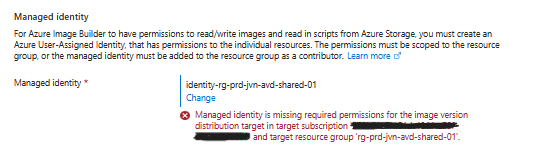
If you didn’t give the managed enough access you will get the below error message.
In the next step you need to select your virtual network. You can also change the vm size that will be used to create the image. To further customize the image you have the option to select some scripts.

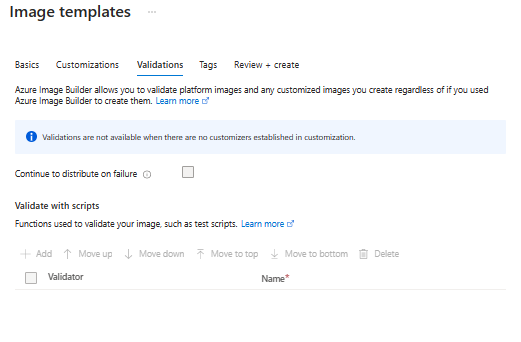
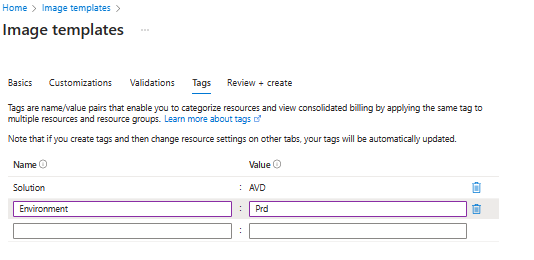
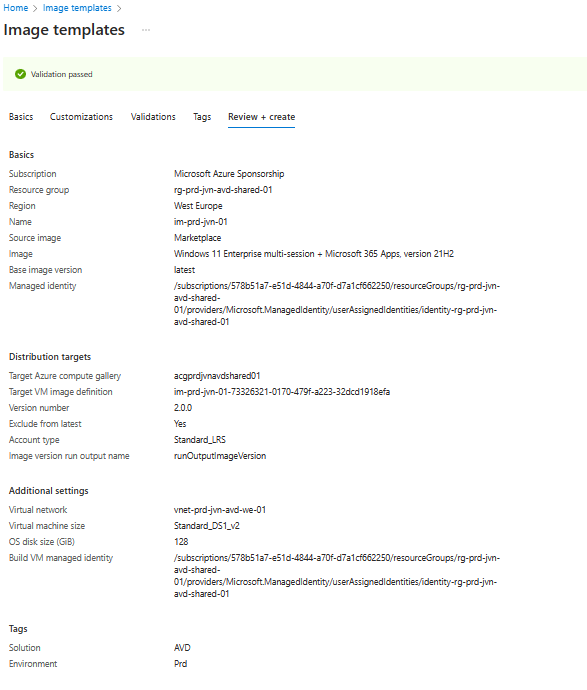
After the Validations section you can enter the tags you want use for the image and the last step is to see if you pass the validation.
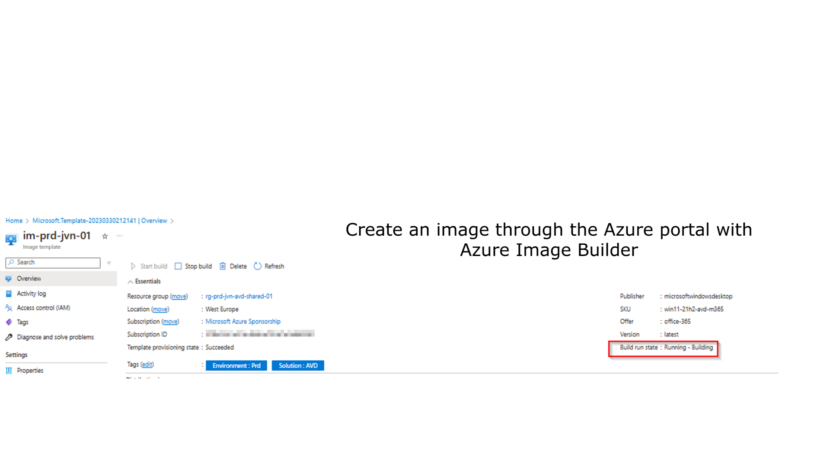
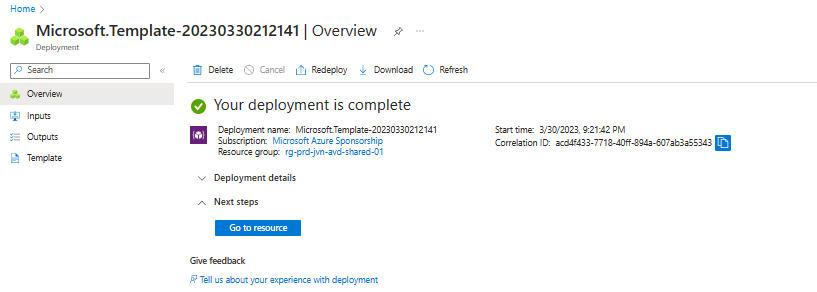
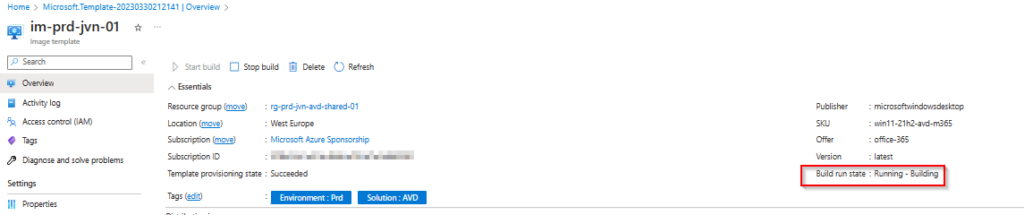
When the deployment is done you can go to the Image Template and Start the build.

During the build you can hit refresh to see the current state of the image build.
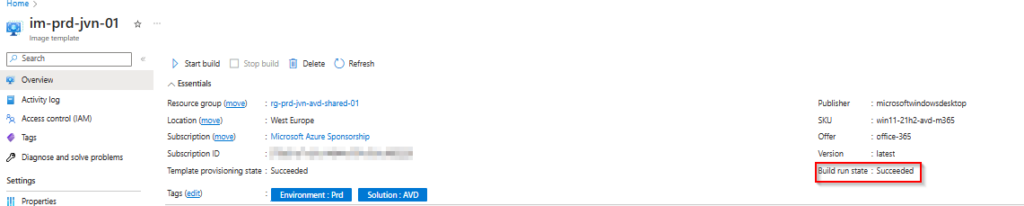
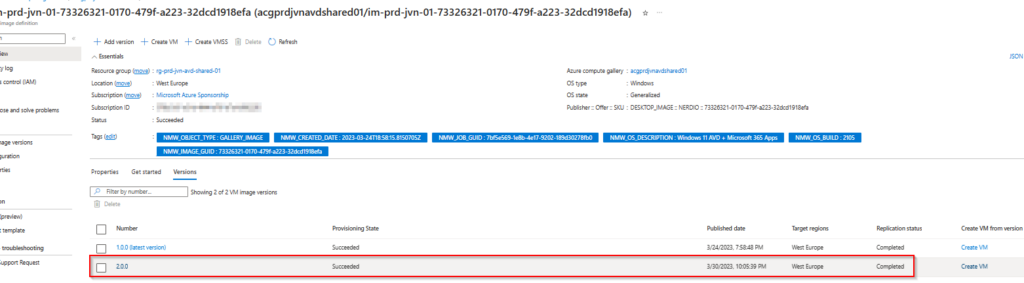
When you see that the build is succeeded you can see the new image version being available in the Azure Compute Gallery.
This concludes this blog post about the new Azure Image Builder feature in the Azure portal. I hope this blog post can help you getting started with this new feature. If you have any questions feel free to reach out.
No comments:
Post a Comment