Azure Blob is an Azure storage object like filer, queues, tables, or disks.
In order to use the blob storage, first we should create the Azure storage account.
To create an Azure storage account we need an Azure account. If you are using Visual Studio Professional, you may have a free INR 3000 Azure credit for Azure learning. You can also try a free one-month trial for learning,
Once you log in to the Azure portal you will see the Azure portal home screen as below.
Since the Microsoft team is making changes frequently in the Azure portal you may see a different look at each login.
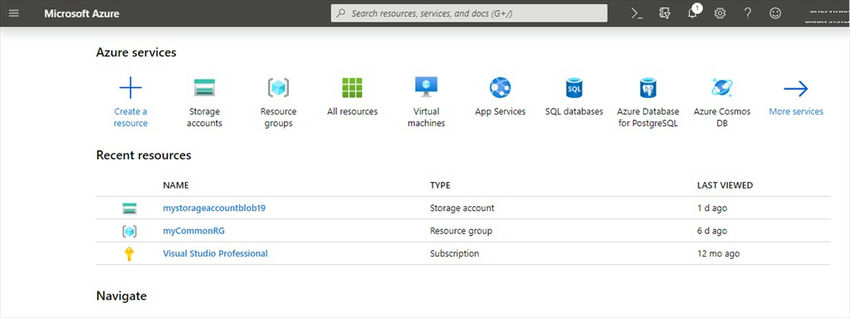
Once we log in to the Azure portal, we can create an Azure storage account by clicking the Storage Accounts button.
Then click the Add button,

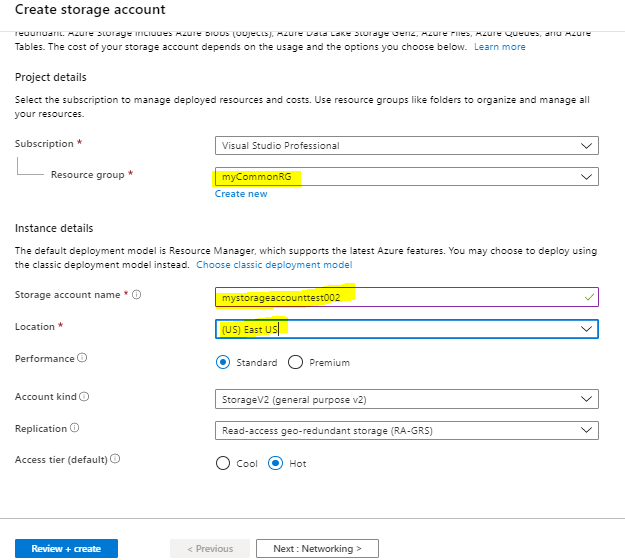
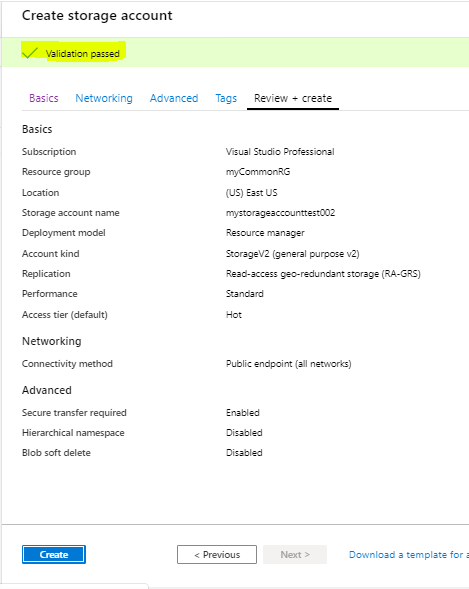
Fill in the mandatory details like resource group name, storage account name, location, etc.
Since this is a learning activity, we can leave the other optional fields as default.
Click the Review + Create button to create the storage account.
This will validate the filled values and will show the warning if any value is wrong.
Once we click the Create button, it will take a few seconds to create the storage account.
Once the storage account is created, we can get into the storage account by clicking the Go to Resource button
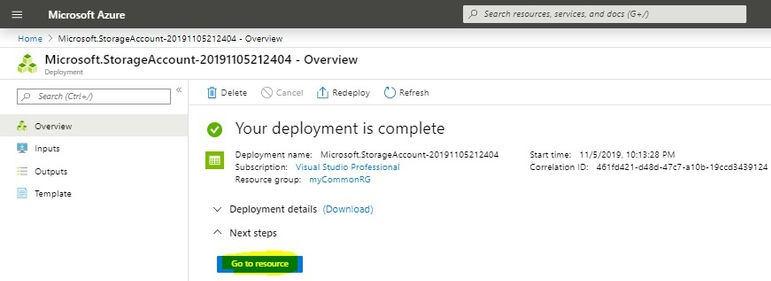
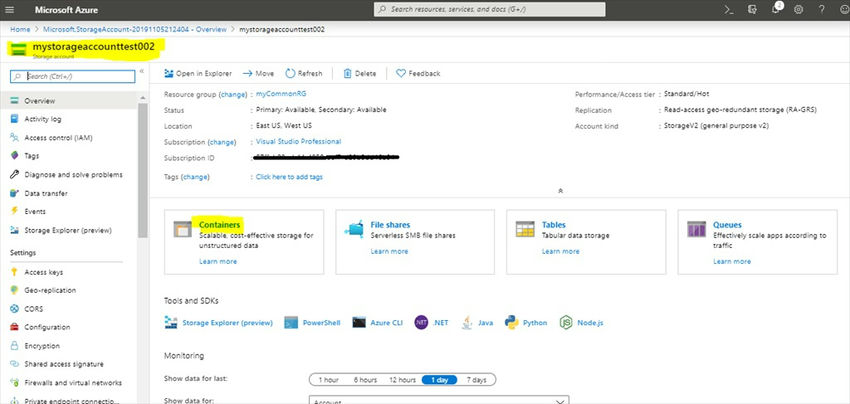
We will be navigated to the below screen.
Create a Storage Container
Once the storage account has been created, we need to create a storage container inside the storage account
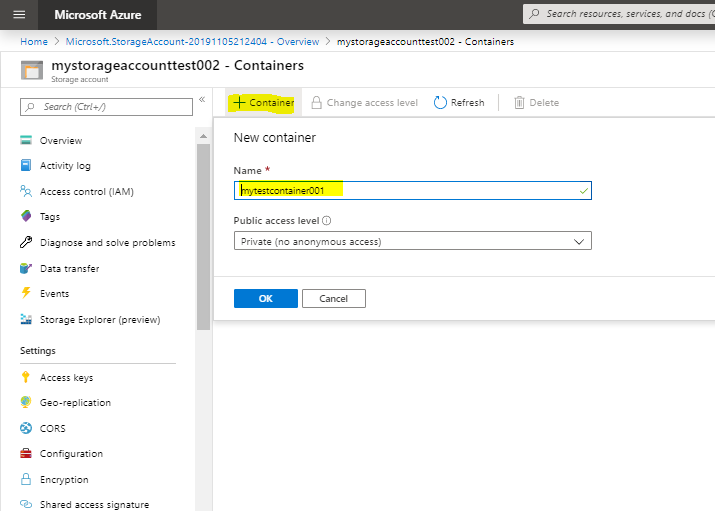
To create a storage container, click the Container tile on the storage account home screen.
Then click the + Container button to create the container.
Fill in the name field and select the access level as public. It will take a few seconds to create the storage container.
Once the storage container has been created we can upload files to the container by clicking the upload button.

We have successfully created a storage account and a container.
The next step is to connect the Azure storage account programmatically using C# and upload and download files from/to the storage account.
I have created another article for uploading and downloading files to an Azure storage account using C#.
Please find the next article here Upload and download files from blob storage using C#
Happy Coding!

No comments:
Post a Comment