An S3 Lifecycle Management in simple terms when in an S3 bucket some data is stored for a longer time in standard storage even when not needed. The need to shift this old data to cheaper storage or delete it after a span of time gives rise to life cycle management.
Why is it needed?
Assume a lot of data is updated in an S3 bucket regularly, and if all the data is maintained by standard storage it will cost you more(even if previous data is of no use after some time). So, to avoid extra expenses and to maintain data as per requirement only life cycle management is needed.
There are 2 types of actions:
- Transition actions: Moving objects from one storage class to another storage class. Each storage class has a different cost associated with it.
- Expiration actions: When objects expire after a span of time (say 30 days,60 days, etc). Amazon S3 deletes expired objects on your behalf.
Implementation:
Follow the below steps to implement the S3 life cycle management:
Step 1: Login to your AWS, and go to services then under to S3.
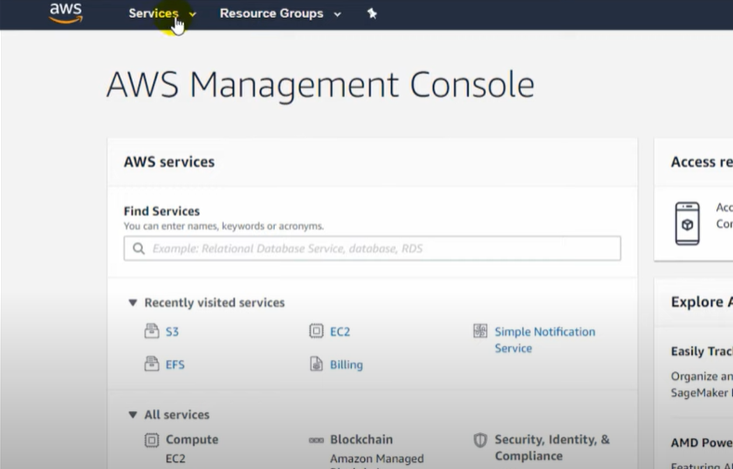
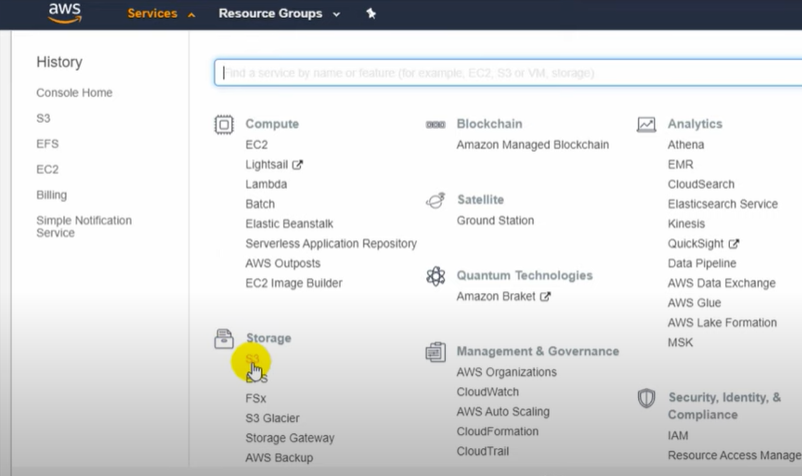
Step 2: Create a bucket, since applied to the bucket and not on a specific object or full storage.
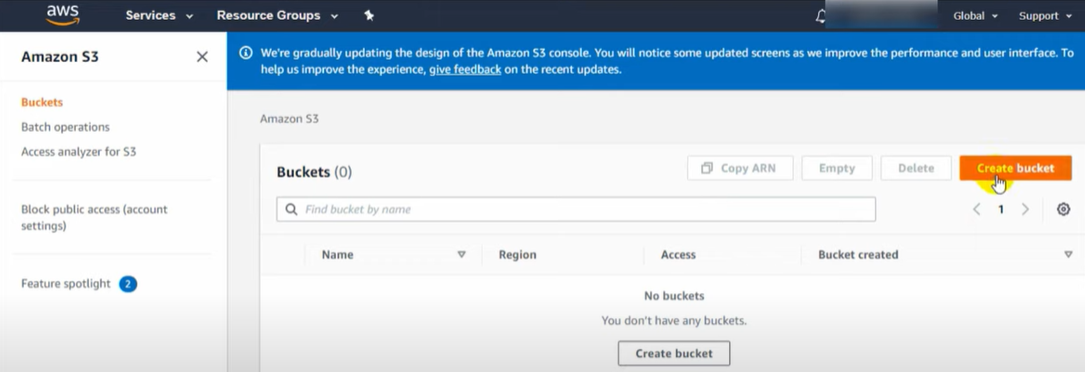
- Give bucket name(Try to give it a unique name else it will give an error later), uncheck the Block all public access. option.
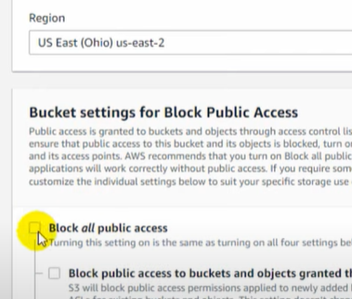
- Then check the “I acknowledge …” checkbox and click on CREATE BUCKET.
Step 3: Upload data into the bucket.

update following permission, click on next, and upload
Step 4: Go back to your bucket, and go to “Management”

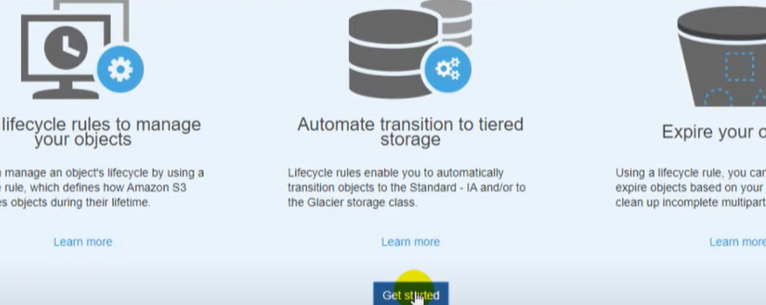
- Click on “Get Started”.
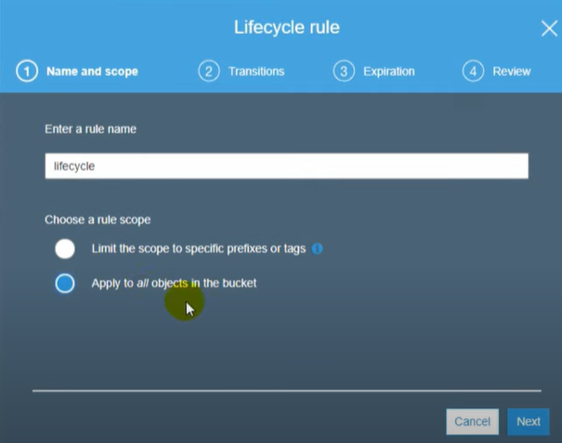
- Give life cycle name(need not be unique) and update settings.
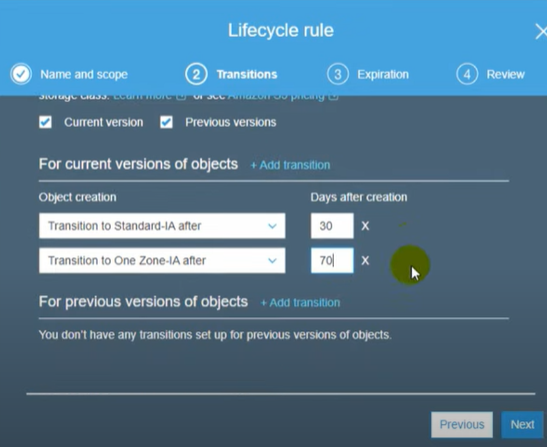
- Add transitions(i.e. transferring data from standard storage to ones that cost less after a span of when data is no more useful. )
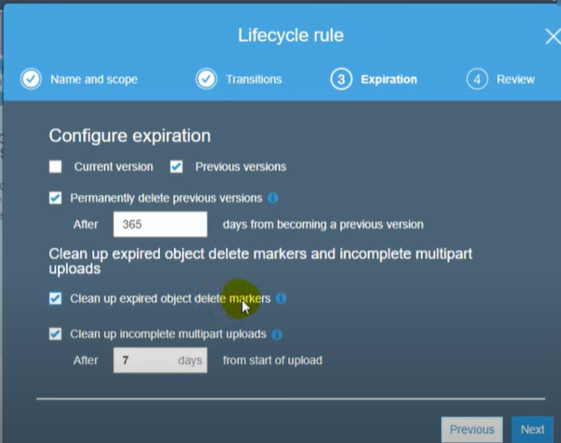
- Do expiration settings (days after which data needs to be cleared from storage) and Save.
Step 5: Finally, an S3 bucket with LIFE CYCLE MANAGEMENT is created and will apply to all the data uploaded in the future.


No comments:
Post a Comment