Elastic Block Store is a type of storage in AWS. It behaves like a virtual hard drive device in AWS and it is persistent storage. In EC2- The instance root volume will be destroyed when we terminate the EC2 instance, as well as data, will also be deleted. That’s why we attach extra volume with our EC2-Instance for the data availability it does not matter EC2 instance is terminated or not. we can easily be attached or de-attached with any EC2 instance but we can use once at a time EBS volume with one EC2 Instance.
EBS Volume Types:
- SSD
- HDD
- Magnetic Disk
Step To Attach EBS Volume in EC2-Instance:
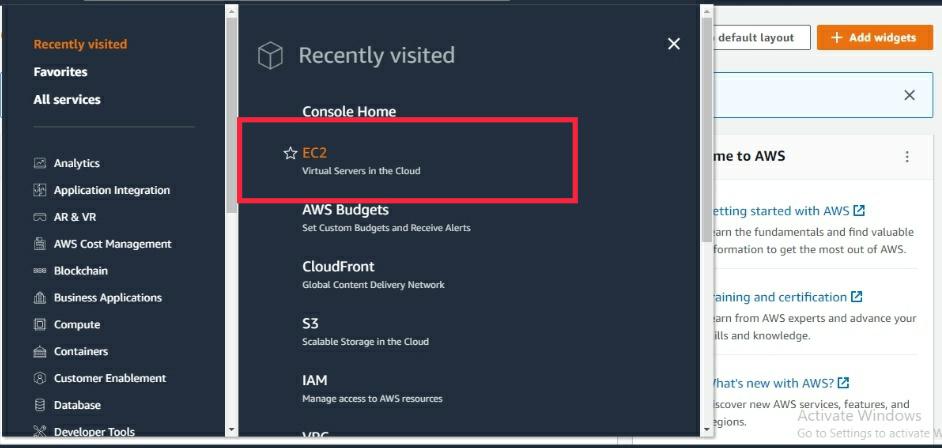
Step 1: Go to All services and click on EC2
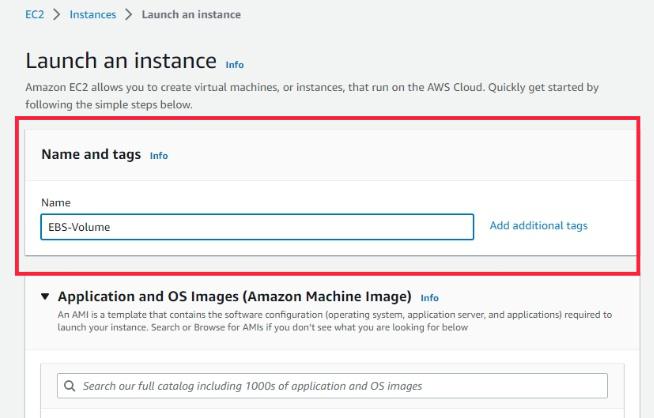
Step 2: Click on the Launch Instance.

Step 3: Give the EC2 instance name or tag like the “EBS-Volume” name.
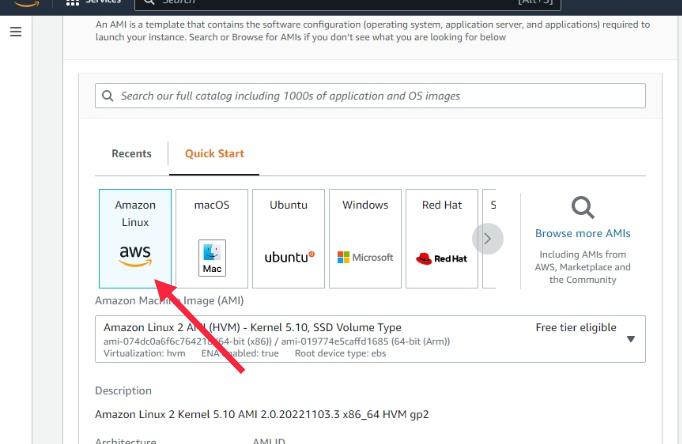
Step 4: Choose Amazon Machine Image for your instance.
Step 5: Choose an Instance type.
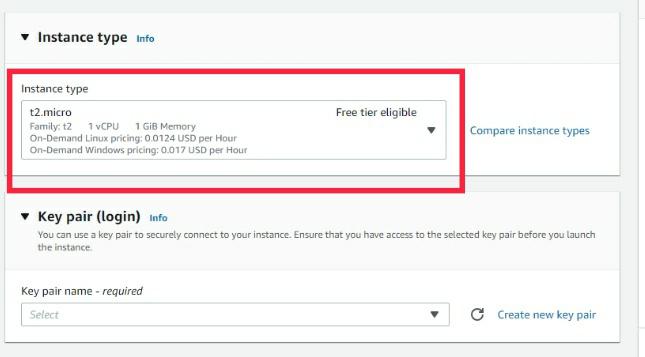
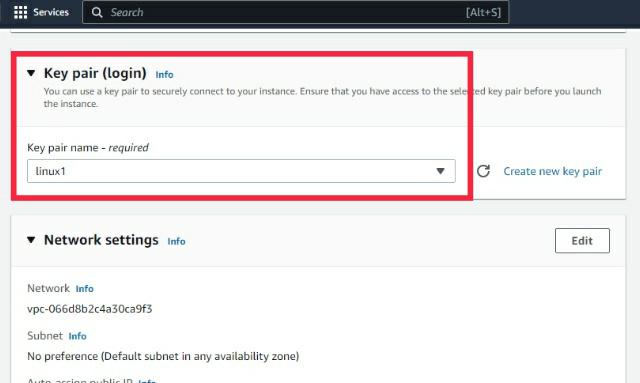
Step 6: Choose the Key Pair or Create the Key pair.
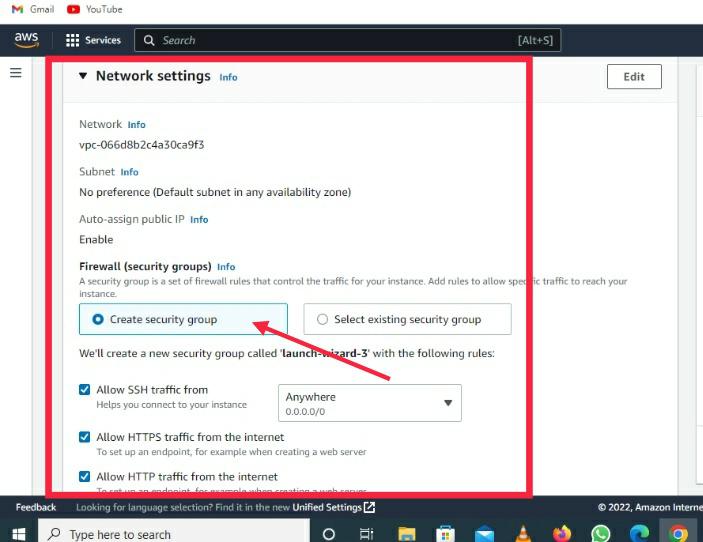
Step 7: Create the Security Group then open the port as per your requirement
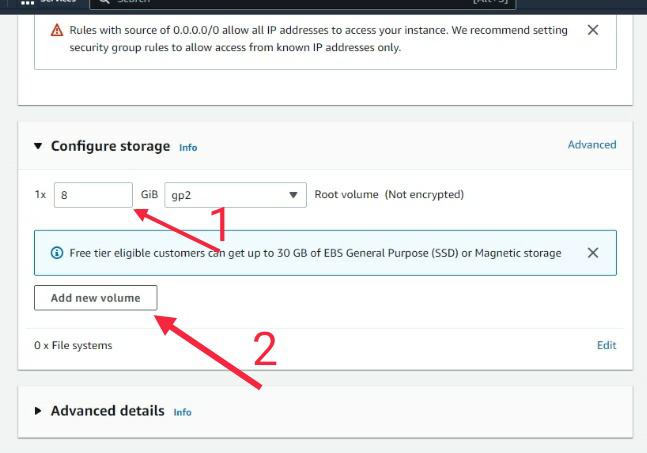
Note: By Default EC2 root volume is attached with 8GB. ‘1’ is showing the root volume.
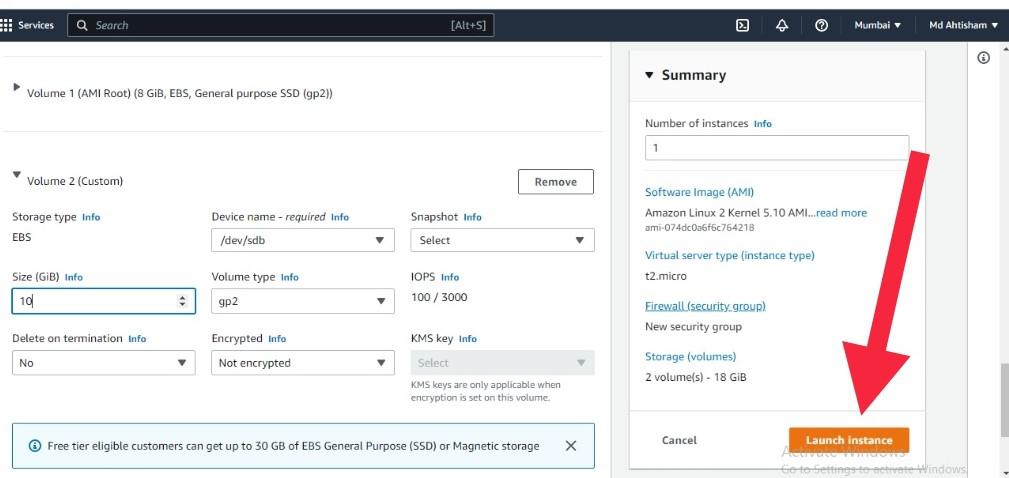
Step 8: Click on the Add new Volume for the extra EBS Volume. ‘2’ is denoting how to attach EBS
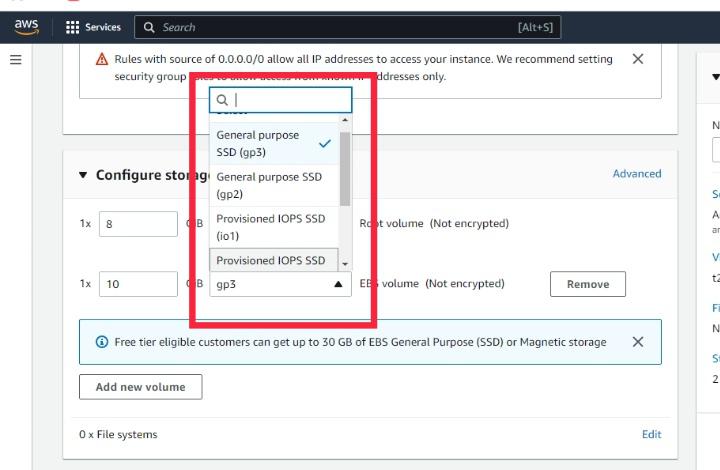
Step 9: Configure the EBS Size.
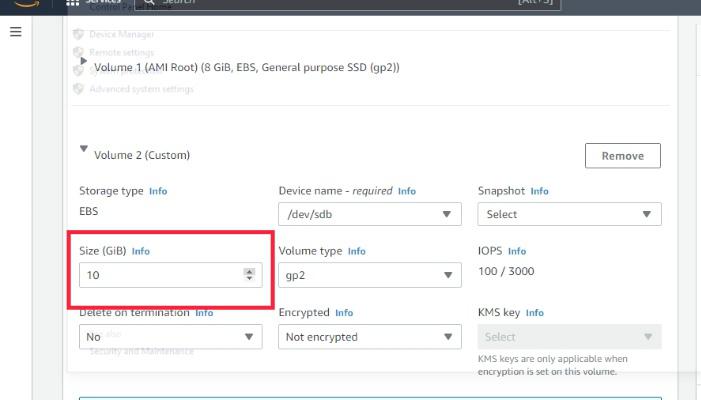
Step 10: Select the EBS type as per your requirement.
Step 11:Click on the Launch Instance button.
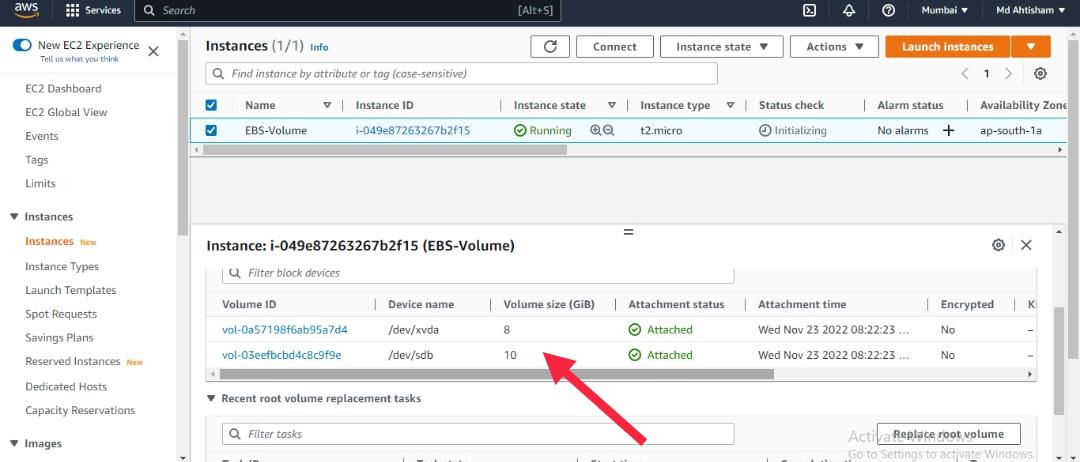
Now you can see both volume Root Volume 8GB and EBS Volume 10GB
No comments:
Post a Comment