Azure Service Bus Topic follows the ‘publish and subscribe‘ model. The topic is almost similar to the queue, but it has an independent subscription associated with it. Service Bus Topic ensures a one-to-many form of communication. When messages processes in the Topic, they get copied to each independent subscription. A subscription helps set the filter rules for receiving a message from the topic.
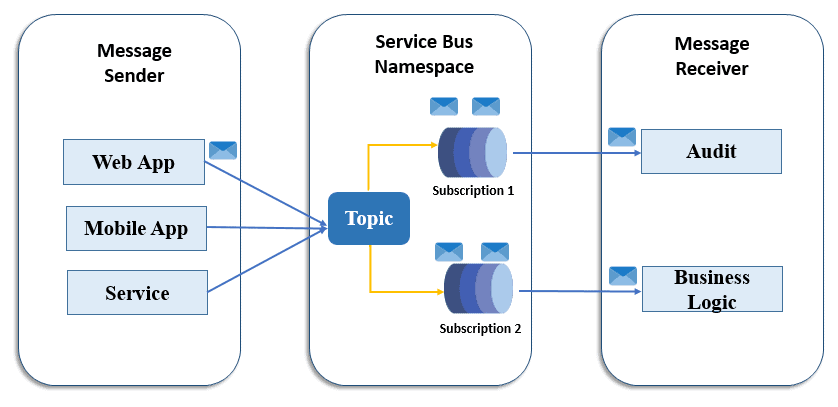
Topic Benefits
Apart from all the benefits offered by the queue, Topic ensures competing consumer, Load Balancing, and Loose Coupling.
Steps to create Azure Service Bus
Prerequisites: You will be required with the Azure Services subscription plan. You can also create a free account valid for one month.
Step 1) Log in to Azure Portal.🚀
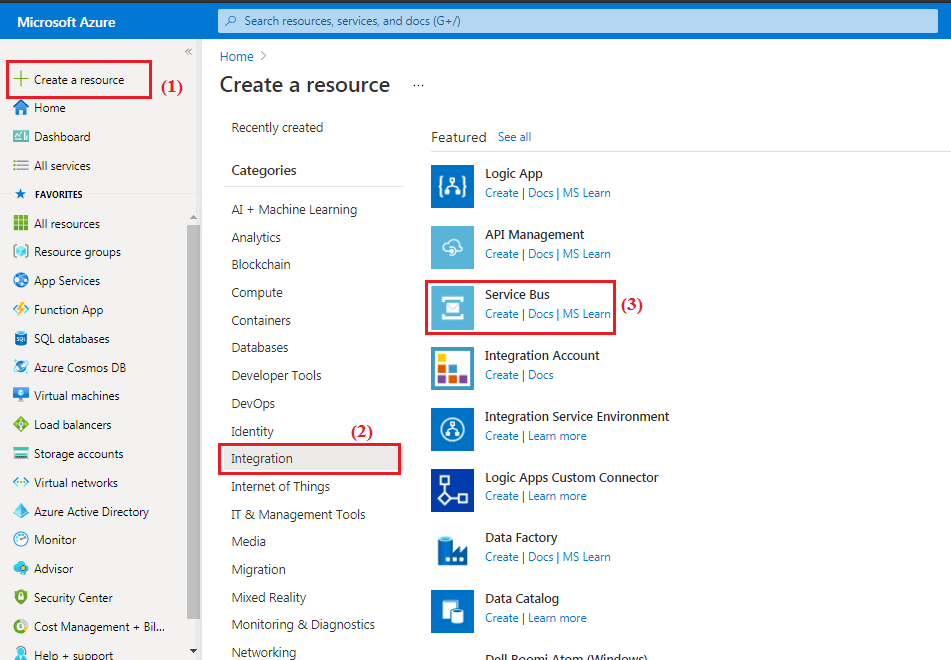
Step 2) On the top left corner of the Page, you will see the ‘Create a Resource‘ option, select it and then select ‘Integration‘ to take you to the ‘Service Bus‘ option.
Step 3) To commence the Azure Service Bus facilities, create a unique namespace. The namespace acts as a container to communicate with Service Bus in an application.
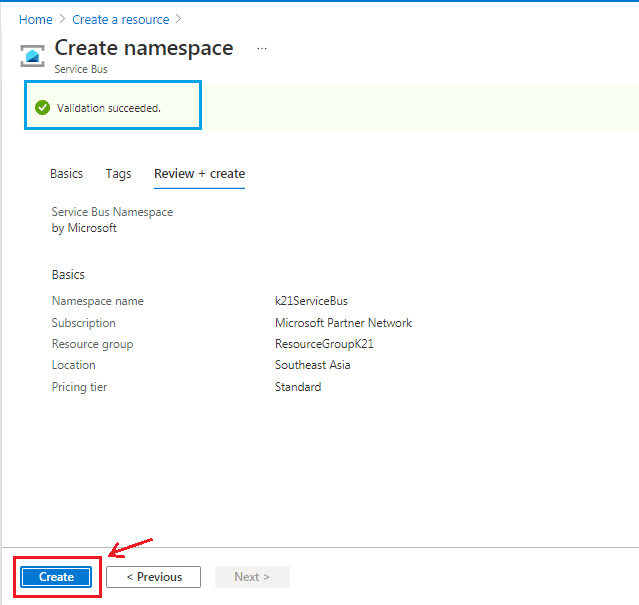
A dialogue box will appear with the name ‘Create Namespace’ where you will specify the name of the namespace, Subscription, Resource group, Location, and Pricing Tier.
After filling in all the details, click on the ‘Create’ button.
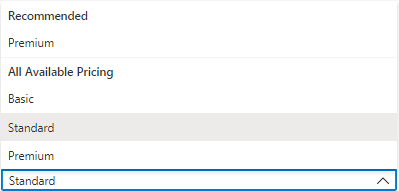
The different types of pricing tier offered are shown in the image below. You have to keep in mind that you won’t be able to create a Topic with the Basic tier. A Standard/ Premium tier is mandatory to proceed further for Topics.
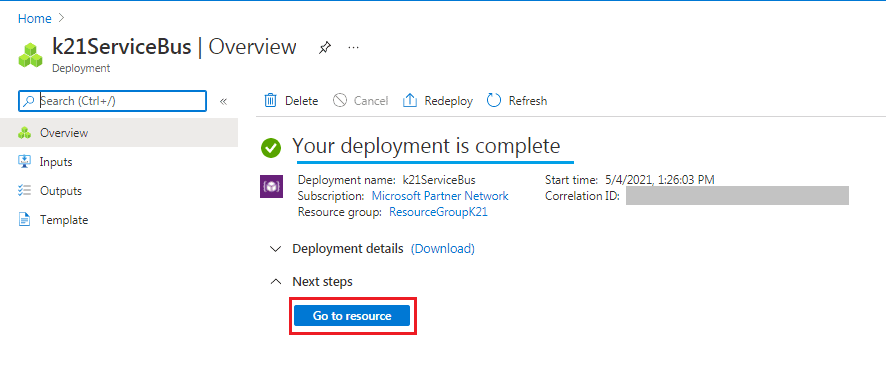
Step 4) After clicking on the ‘Create‘ button in the above step, deployment gets initiated. It takes several minutes to deploy the resource. Click on ‘Go to Resource‘ to proceed for Service Bus creation.
Step 5) The successful deployment of the service bus namespace can be verified when the following homepage appears. Azure Service Bus provides two entities: Queue and Topic (refer to the image below).
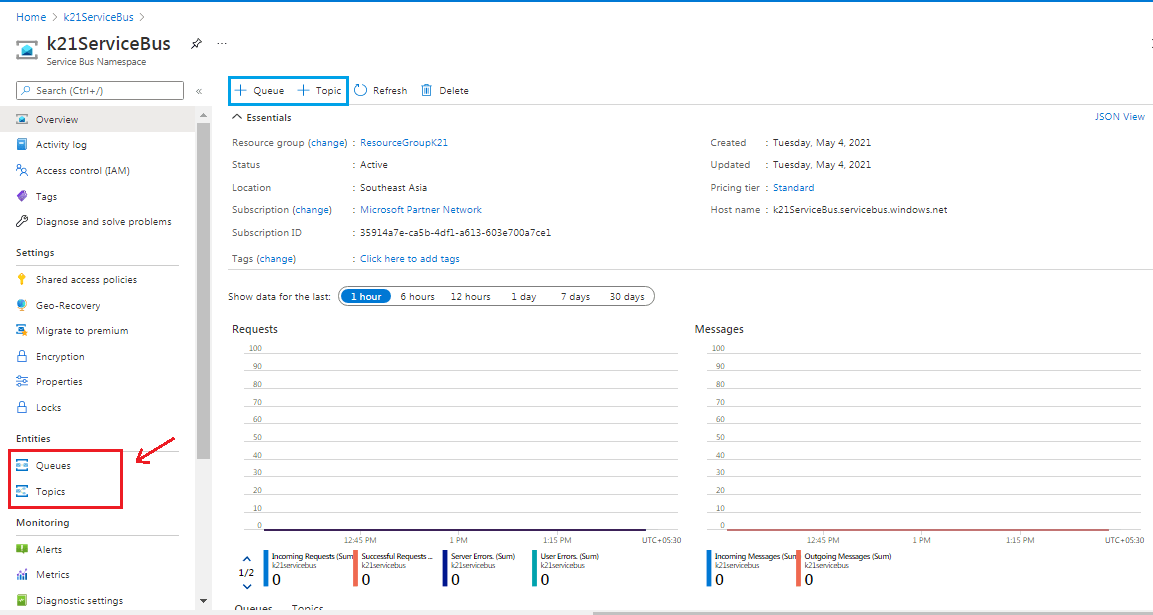
Here we will create both entities, i.e. Queue and Topic.
First, we will “Create a Queue.”
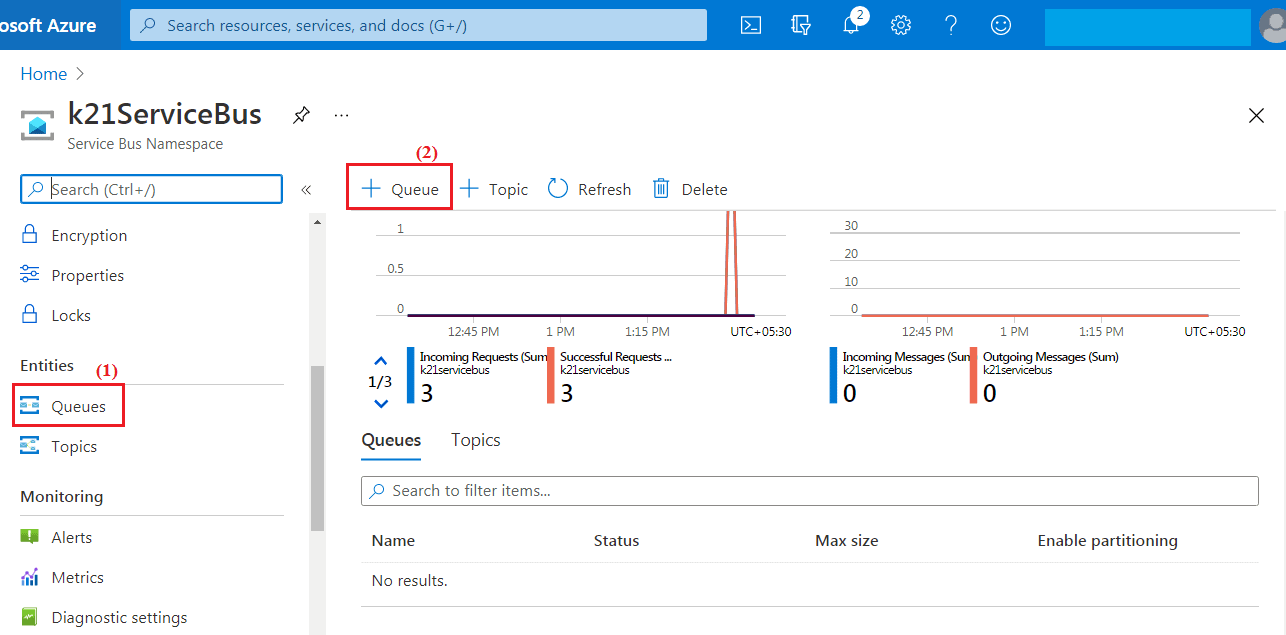
Step 6) From the created Service Bus Namespace (k21ServiceBus, in this case) page, select ‘Queue’ from the navigational menu, then select ‘+ Queue‘ to create the queue.
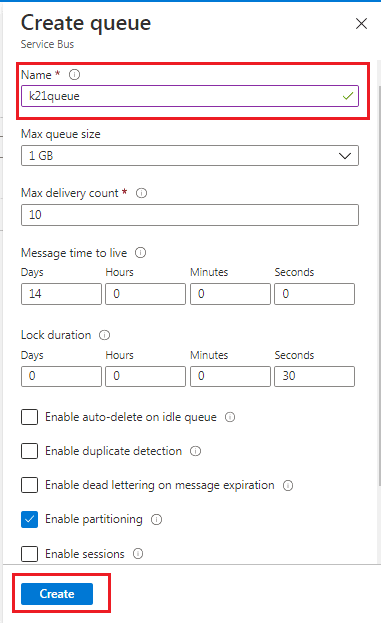
Step 7) On the Create Queue page, specify the queue’s name, check for the green right tick mark, then click on ‘Create’. The default values get filled automatically.
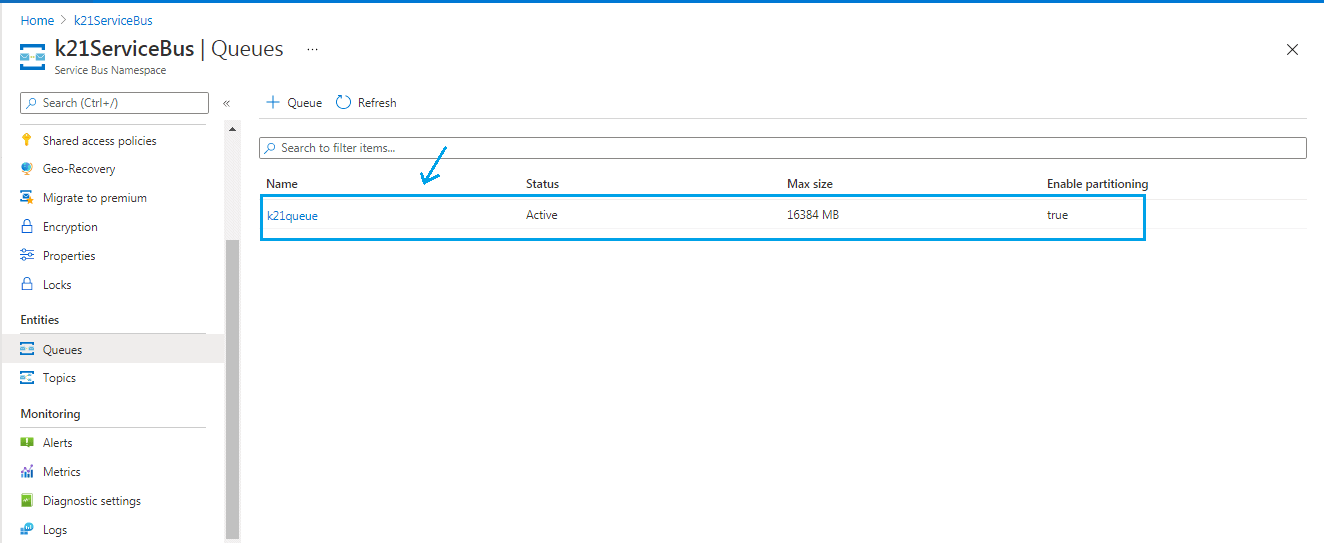
Step 8) Under the Queue page, we will see the created queue.
Now, we will look at how to create a Topic.
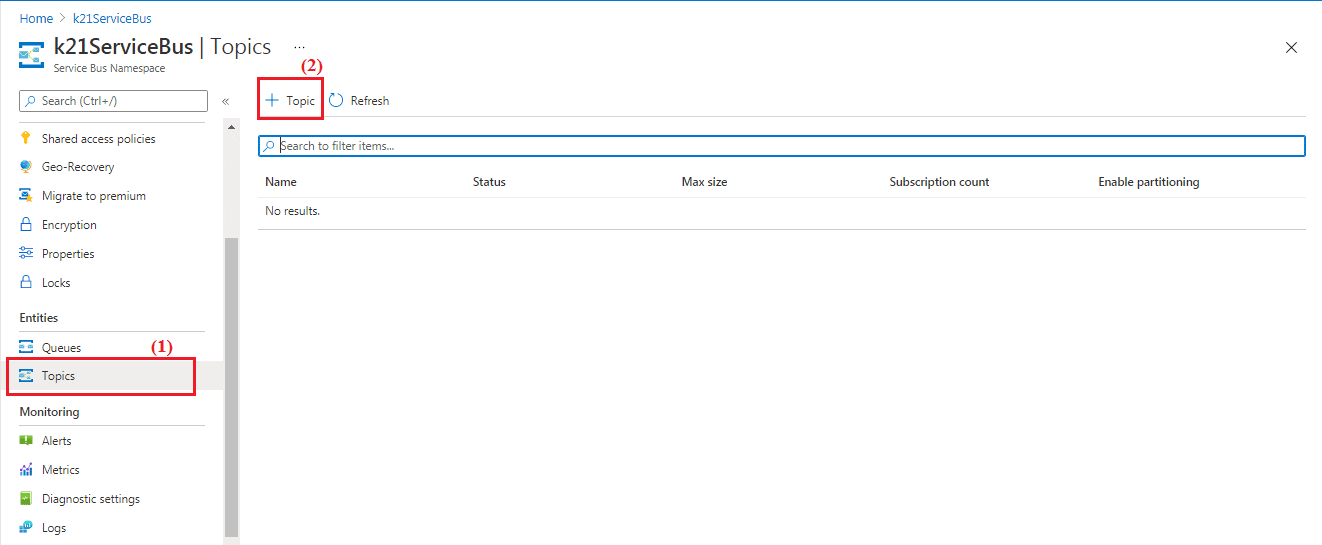
Step 9) From the created Service Bus Namespace (k21ServiceBus, in this case) page, select ‘Topics’ from the navigational menu, select ‘+ Topic’ to create the topic.
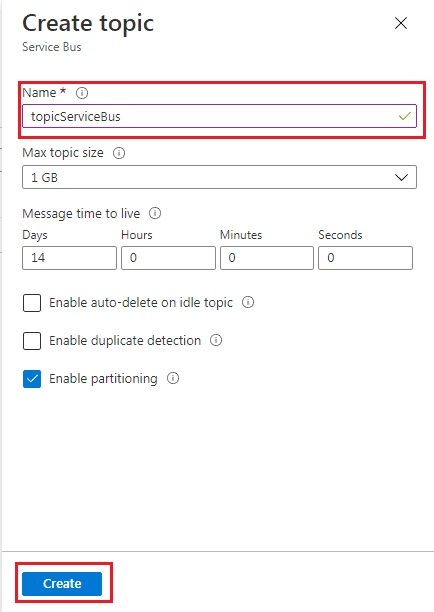
Step 10) On the Create Topic page, specify the topic’s name, then click on ‘Create‘. The default values get filled automatically.
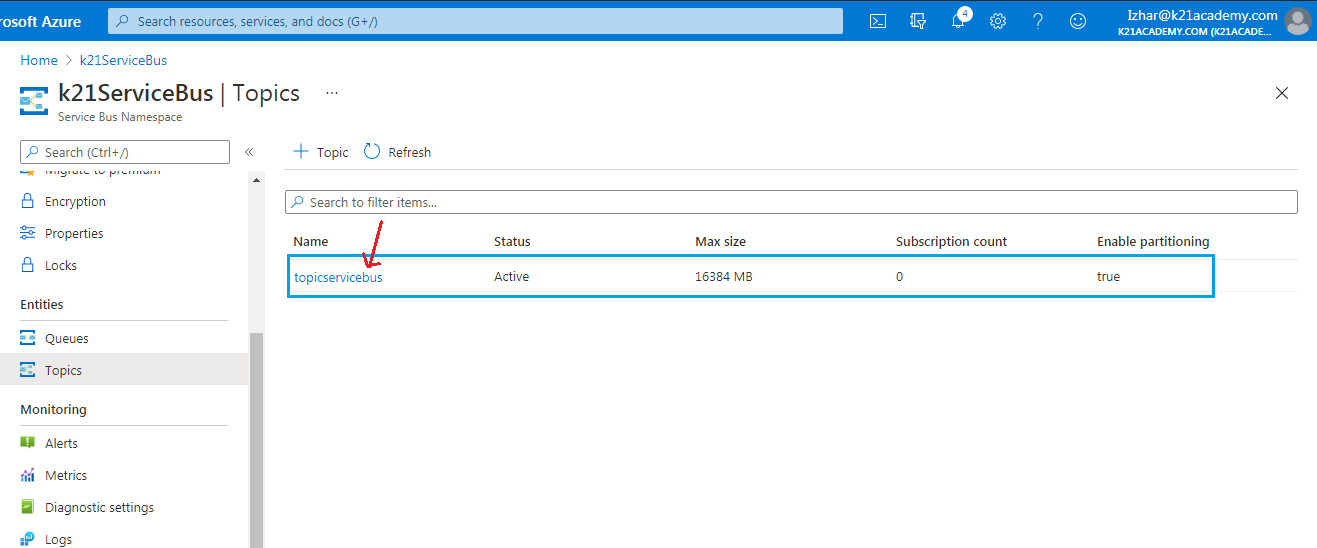
Step 11) Under the Topics page, we will see the created topic.
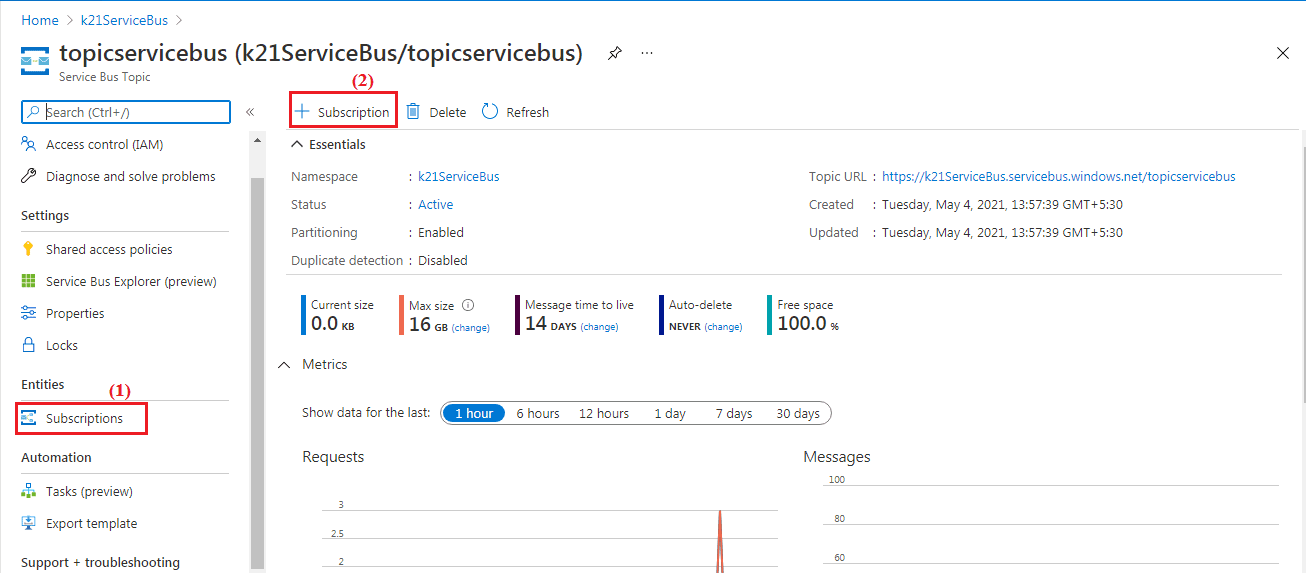
Step 12) Topic includes the additional step of creating a subscription. The subscription option come under the page named Service Bus Topic. (1) – Select the ‘Subscription’ from the navigation menu, and click on (2) ‘+Subscription’.
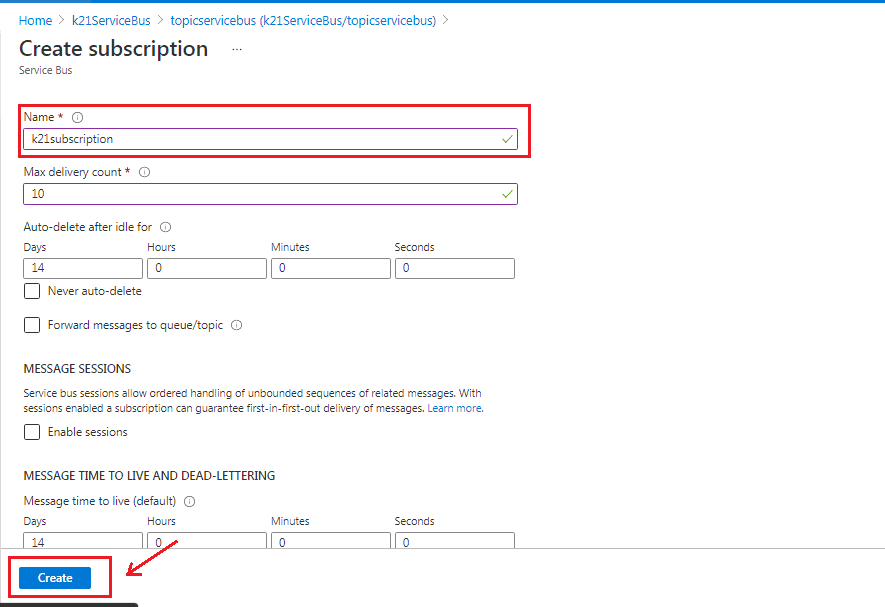
Step 13) The ‘Create subscription‘ page will appear, specify the details and click on ‘Create’, the subscription will be created.
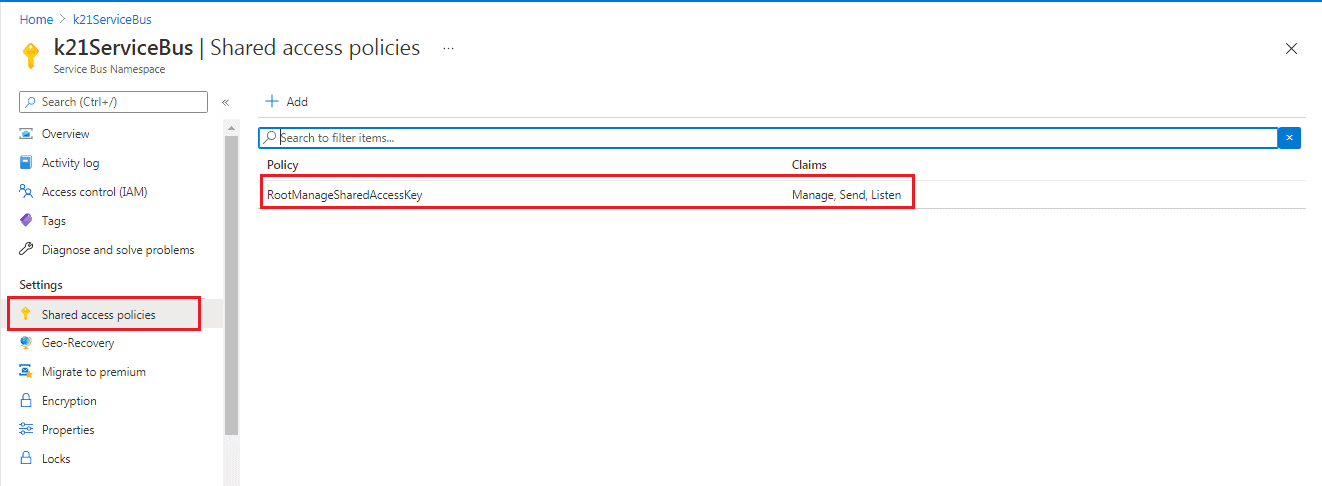
Step 14) Connection Strings are required to connect and provide information to the application to communicate with the Azure Storage Account.
To get connection String for Service Bus namespace. Under the ‘All resource’, click on the namespace you created. Select Shared access policies. Select RootManageSharedAccessKey.
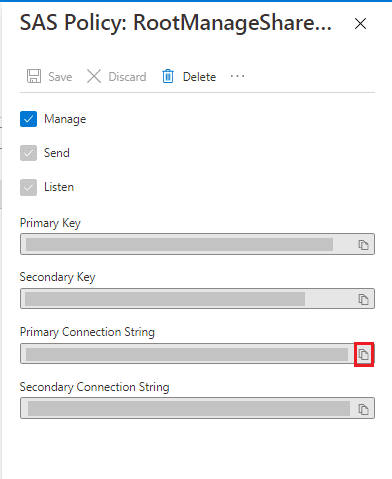
Step 15) Under the RootManageSharedAccessKey page, you will see the primary and secondary key with the primary and secondary connection string. Copy the key and string for later use.
No comments:
Post a Comment