Azure Web App
Azure Web App service lets us quickly build, deploy, and scale enterprise-grade web, mobile, and API apps running on any platform. It helps us to meet rigorous performance, scalability, security, and compliance requirements while using a fully managed platform to perform infrastructure maintenance.
Creating a Web App and deploying an application into Azure web App from visual studio
Step 1: Click on create a resource and type in the web app. After that, click on the web app and then click on Create.

Step 2: You are now on the Web App creation page. Fill-in, all the required details, then click on review+create.
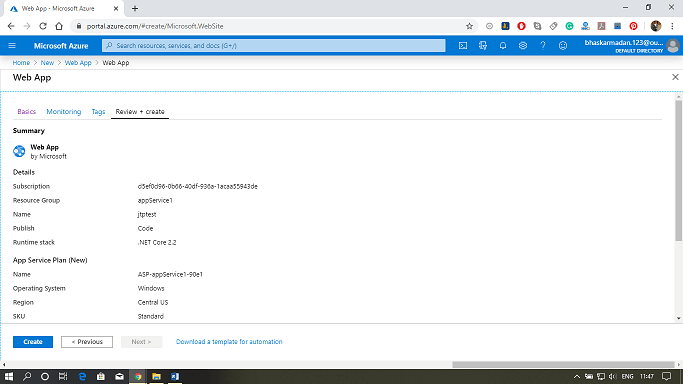
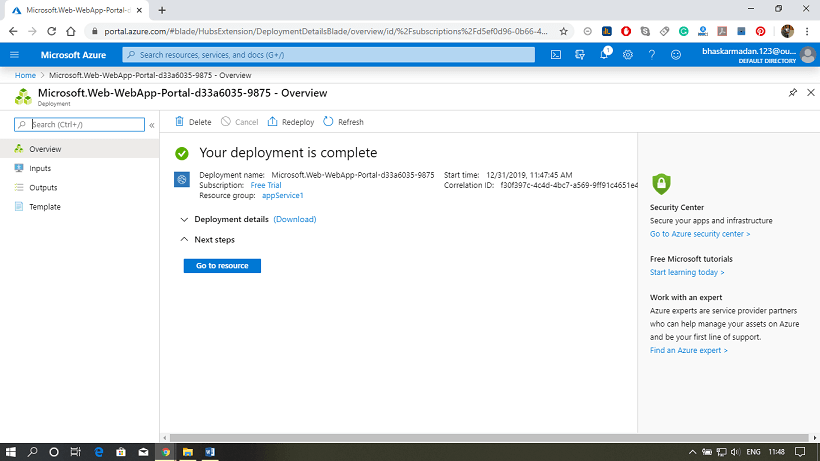
Step 3: Click on create, then you will be redirected to the following page.
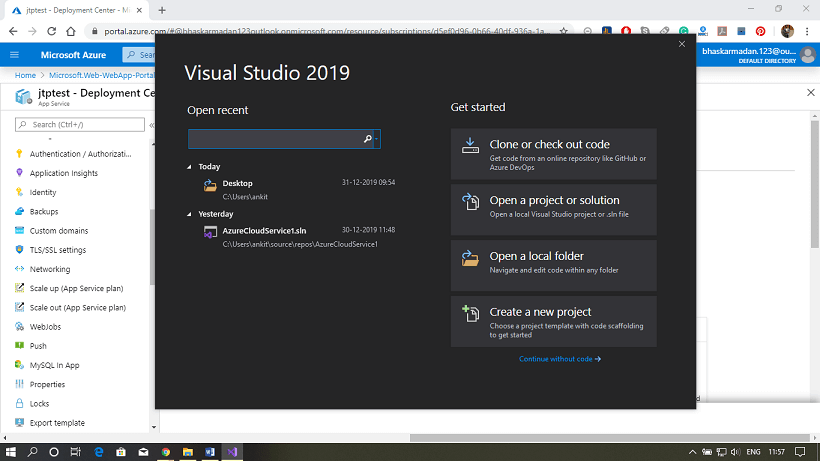
Step 4: Open Visual Studio, then click on Create a new project.
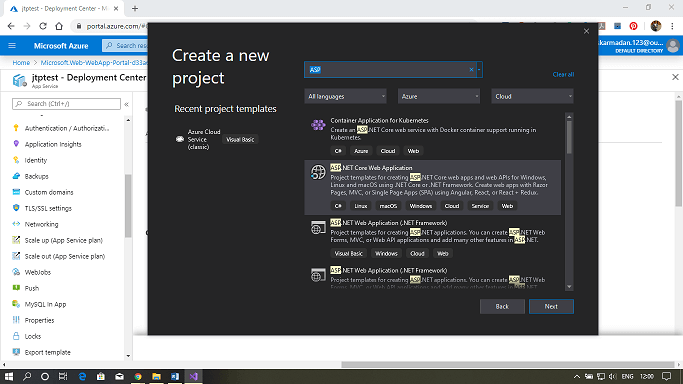
Step 5: Search for ASP.net web application and click on it.
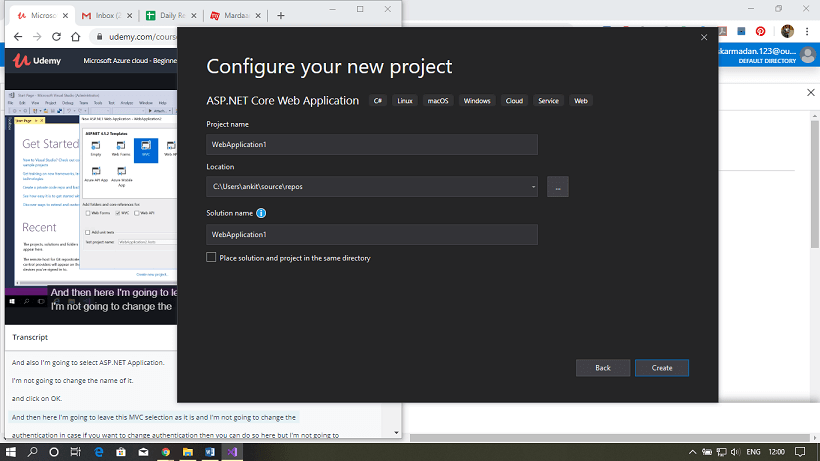
Step 6: Now, configure your project and click on create.
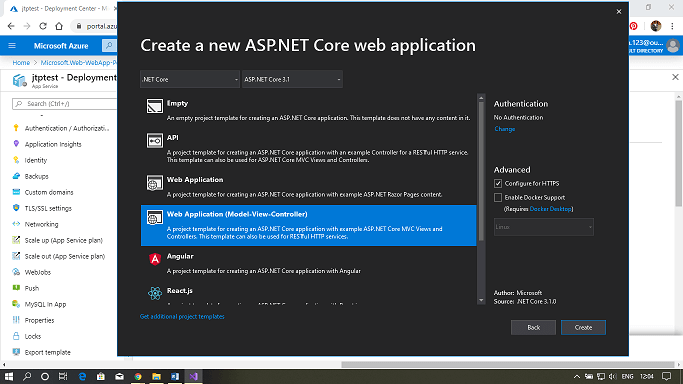
Step 7: Now select the Web application (Model View Controller) option from available templates. Then Click on create.
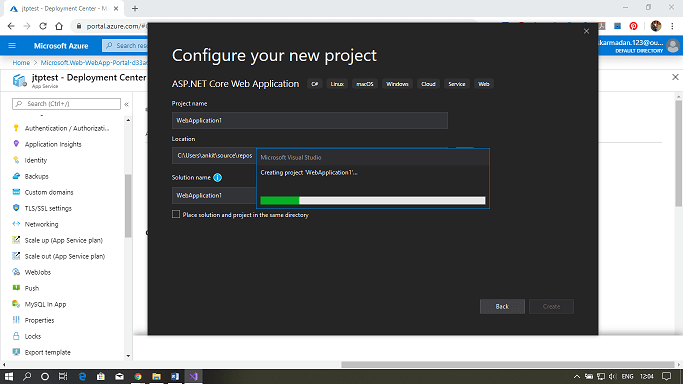
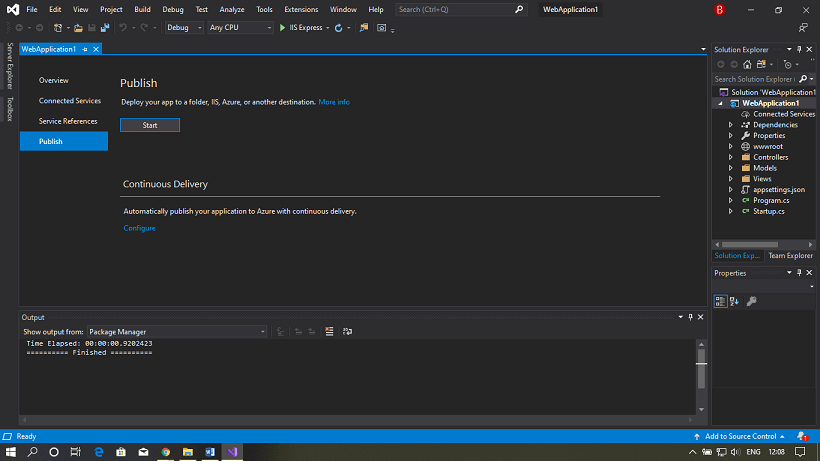
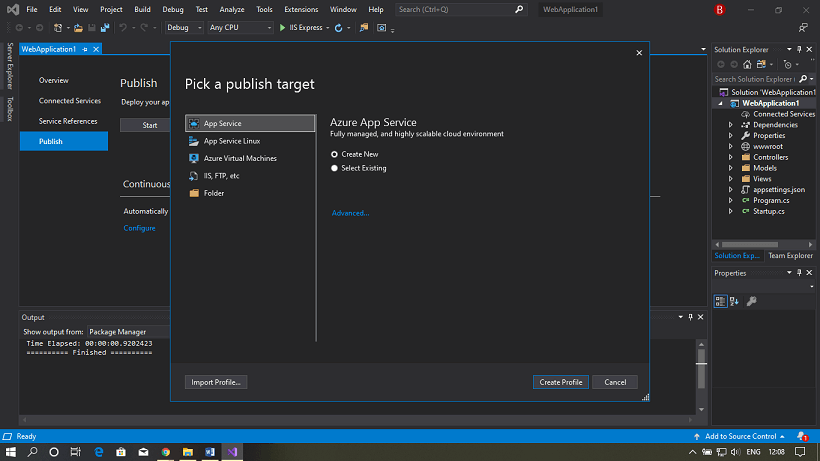
Step 8: Your project will be created, Now click on publish to configure it with the Azure portal.
Step 9: Here, either you can create a new service plan, or you can use an existing one.
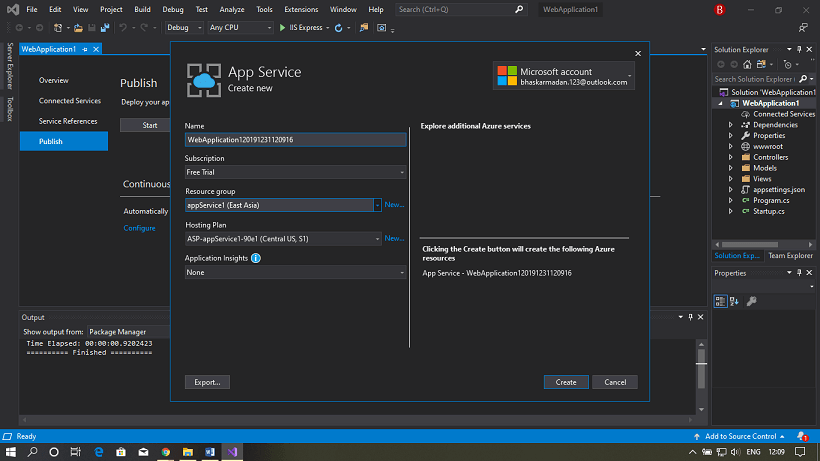
Step 10: Let's see how to create a new one, click on Create new. Fill all the details and click on create a profile.
Step 11: As we have already created an App service previously, so we are using that one here. Go back and click on Select existing.
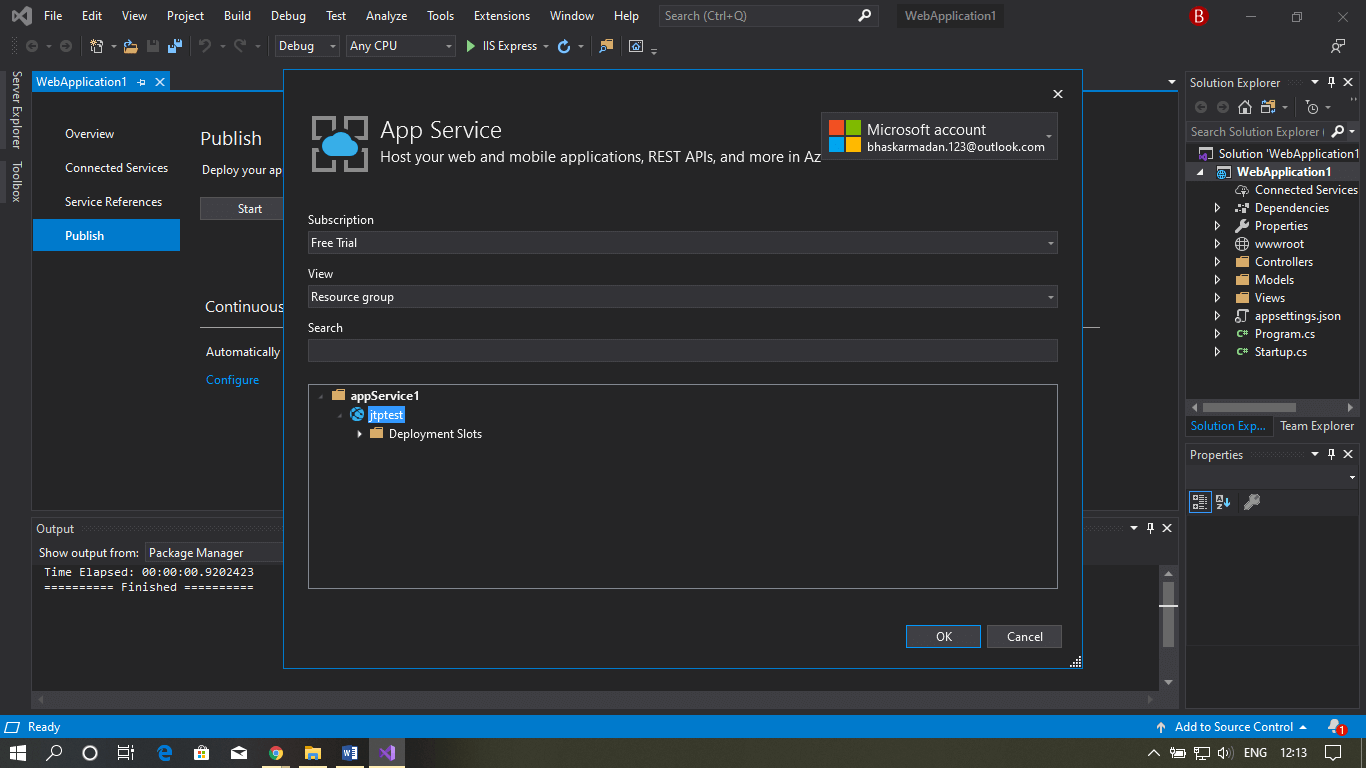
Step 12: Now, click on the file name and then click on, Ok.
Step 13: Now go to the Azure portal and click on the storage account.
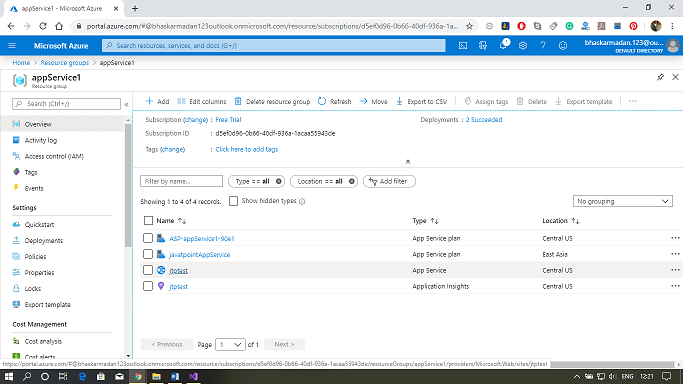
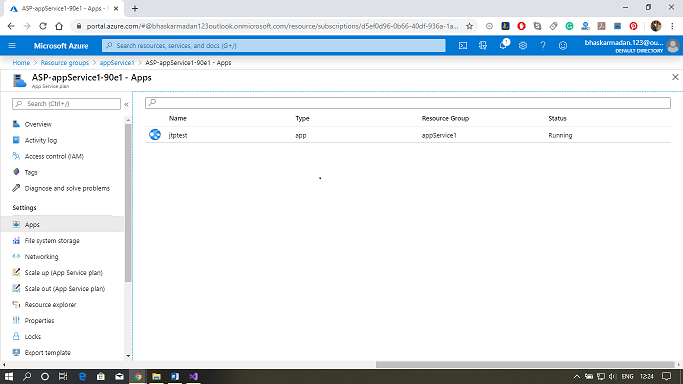
Step 14: Click on the app section, here you can view the web app that you have created.
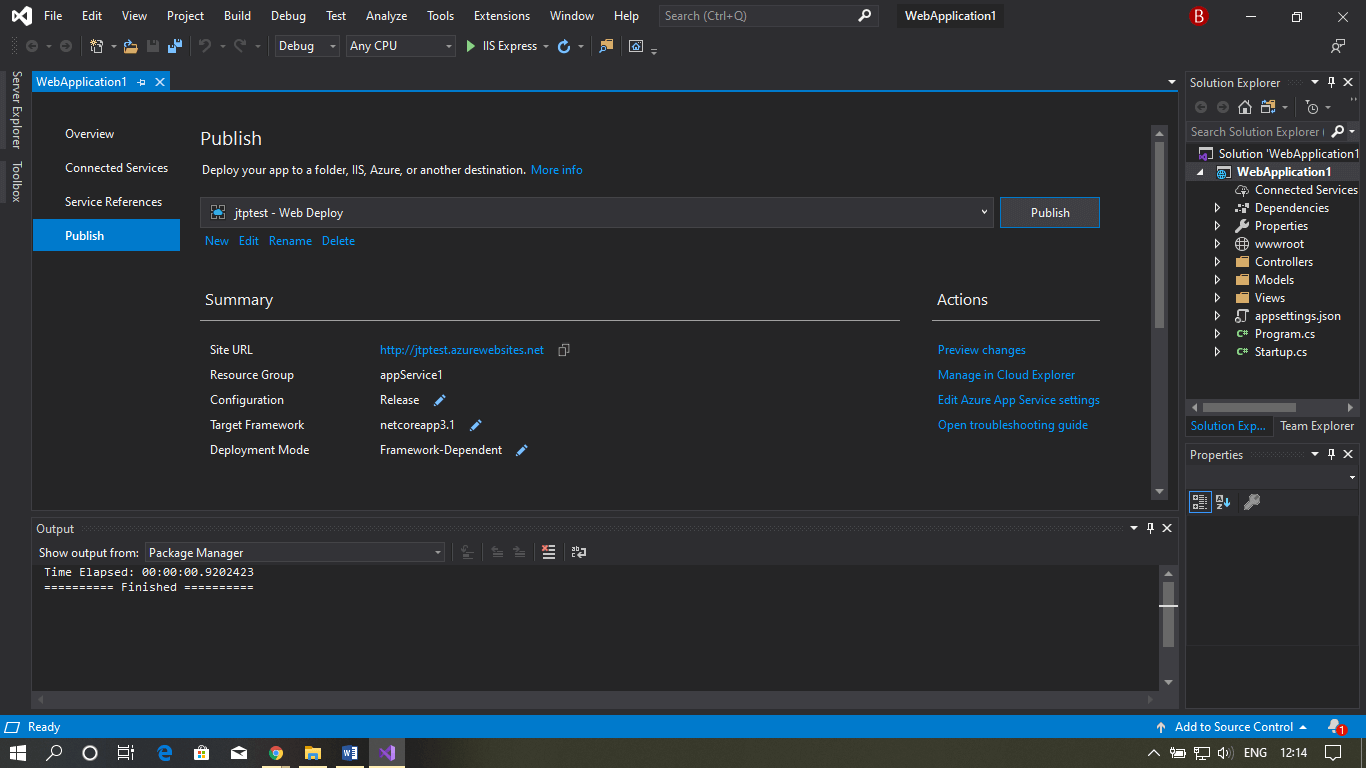
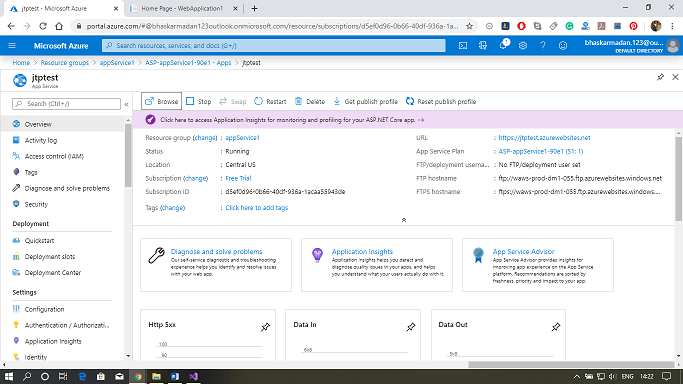
Step 15: Click on the browse button above to see that your Web app is working or not.

No comments:
Post a Comment