You can create virtual network on cloud or you can also connect to the on-premise local network to the cloud network in Windows Azure. This tutorial will first explain how to create a cloud only network.
Creating a Virtual Network in Clouds Only
Step 1 − Login in to Azure Management Portal.
Step 2 − Click on ‘New’ at the bottom left corner.
Step 3 − Click on ‘Network Services’ and then ‘Virtual Network’.
Step 4 − Click on ‘Quick Create’.
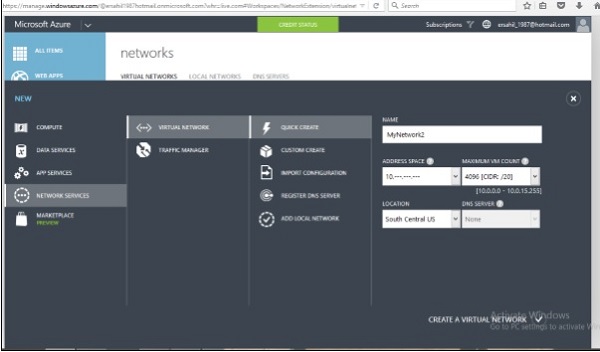
Step 5 − Enter the name and leave all other fields as they are except location. You don’t need to specify anything in this case since everything will be decided by Azure itself.
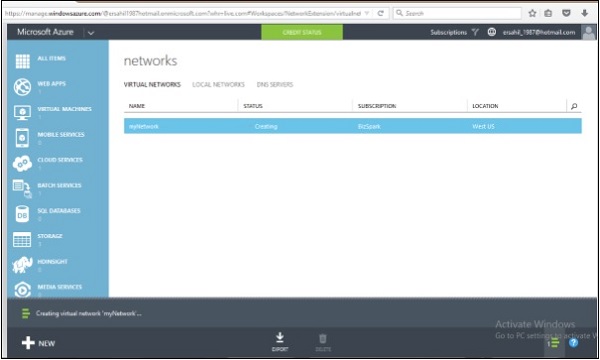
Step 6 − Click on ‘Create a Virtual Network’ and it is done.
Creating a Virtual Network in Cloud Only (Advanced Settings)
Step 1 − Click on ‘custom create’ instead of ‘quick create’ when creating a new virtual network and the following screen will appear.
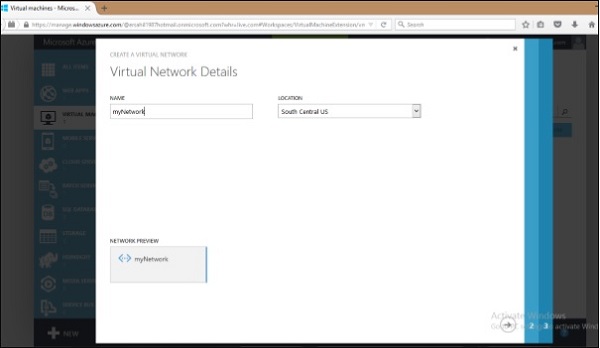
Step 2 − Enter the name of the ‘Network’ and choose a location. You will see that it will draw an image at the bottom.
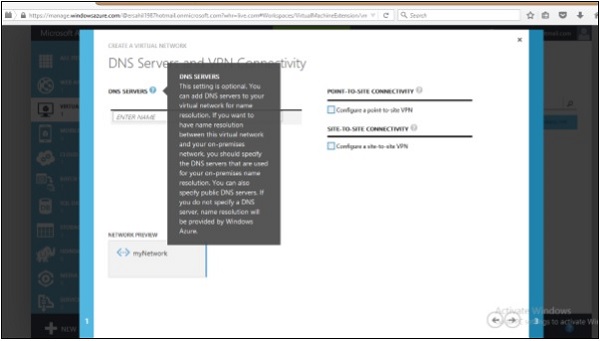
DNS Server Name is optional to enter as we are creating a cloud only network. Also, leave the options ‘Point to Site connectivity’ and ‘Site to Site connectivity’ as they are. The subsequent chapters will have a demo on configuration of these two options.
Step 3 − Click next and leave the default values on the following screen.
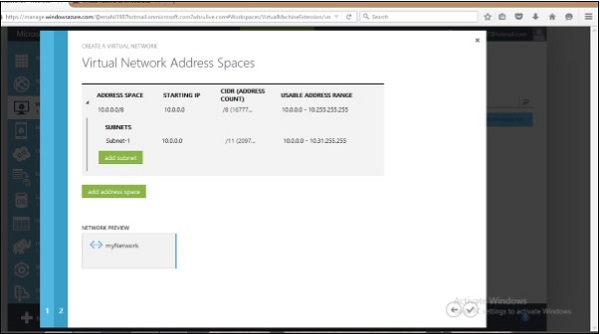
Step 4 − Click the next arrow and a virtual network is created.
You can add DNS servers and local network even after creating a virtual network.
No comments:
Post a Comment