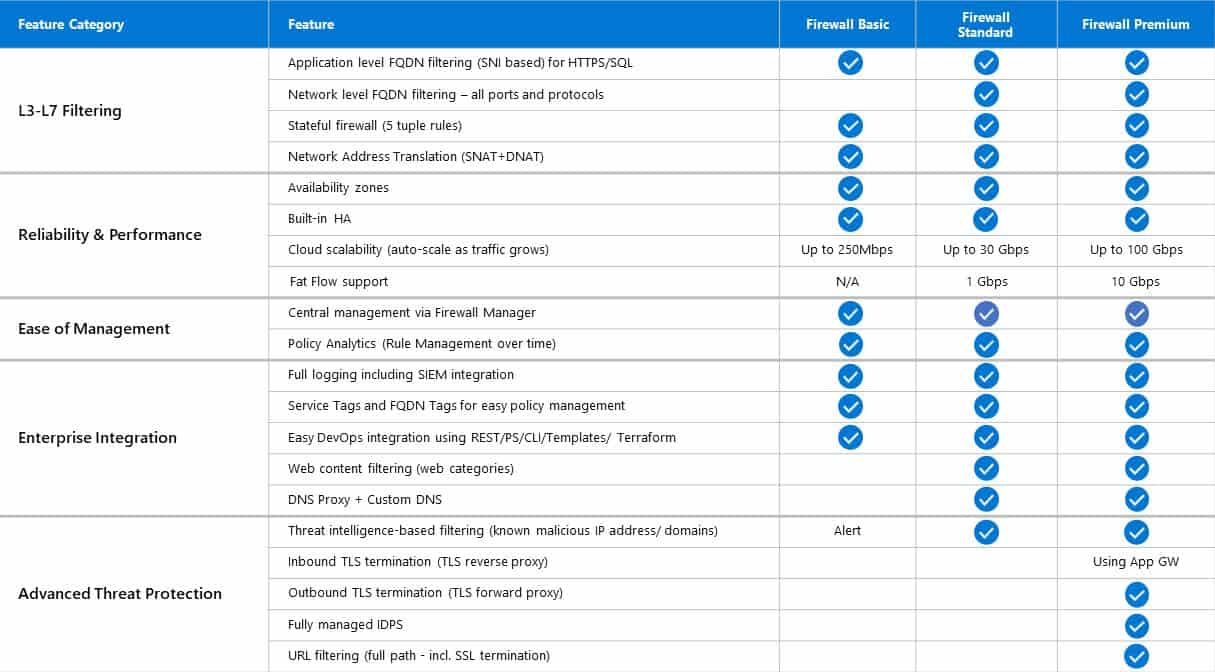
IP Groups in Azure Firewall
IP Groups allow you to group and manage IP addresses for Azure Firewall rules in the following ways:
- As a source address in DNAT rules
- As a source or destination address in network rules
- As a source address in application rules
An IP Group can have a single IP address, multiple IP addresses, one or more IP address ranges or addresses and ranges in combination.
IP Groups can be reused in Azure Firewall DNAT, network, and application rules for multiple firewalls across regions and subscriptions in Azure. Group names must be unique. You can configure an IP Group in the Azure portal, Azure CLI, or REST API. A sample template is provided to help you get started.
Sample format
The following IPv4 address format examples are valid to use in IP Groups:
- Single address: 10.0.0.0
- CIDR notation: 10.1.0.0/32
- Address range: 10.2.0.0-10.2.0.31
Create an IP Group
An IP Group can be created using the Azure portal, Azure CLI, or REST API. For more information, see Create an IP Group.
Browse IP Groups
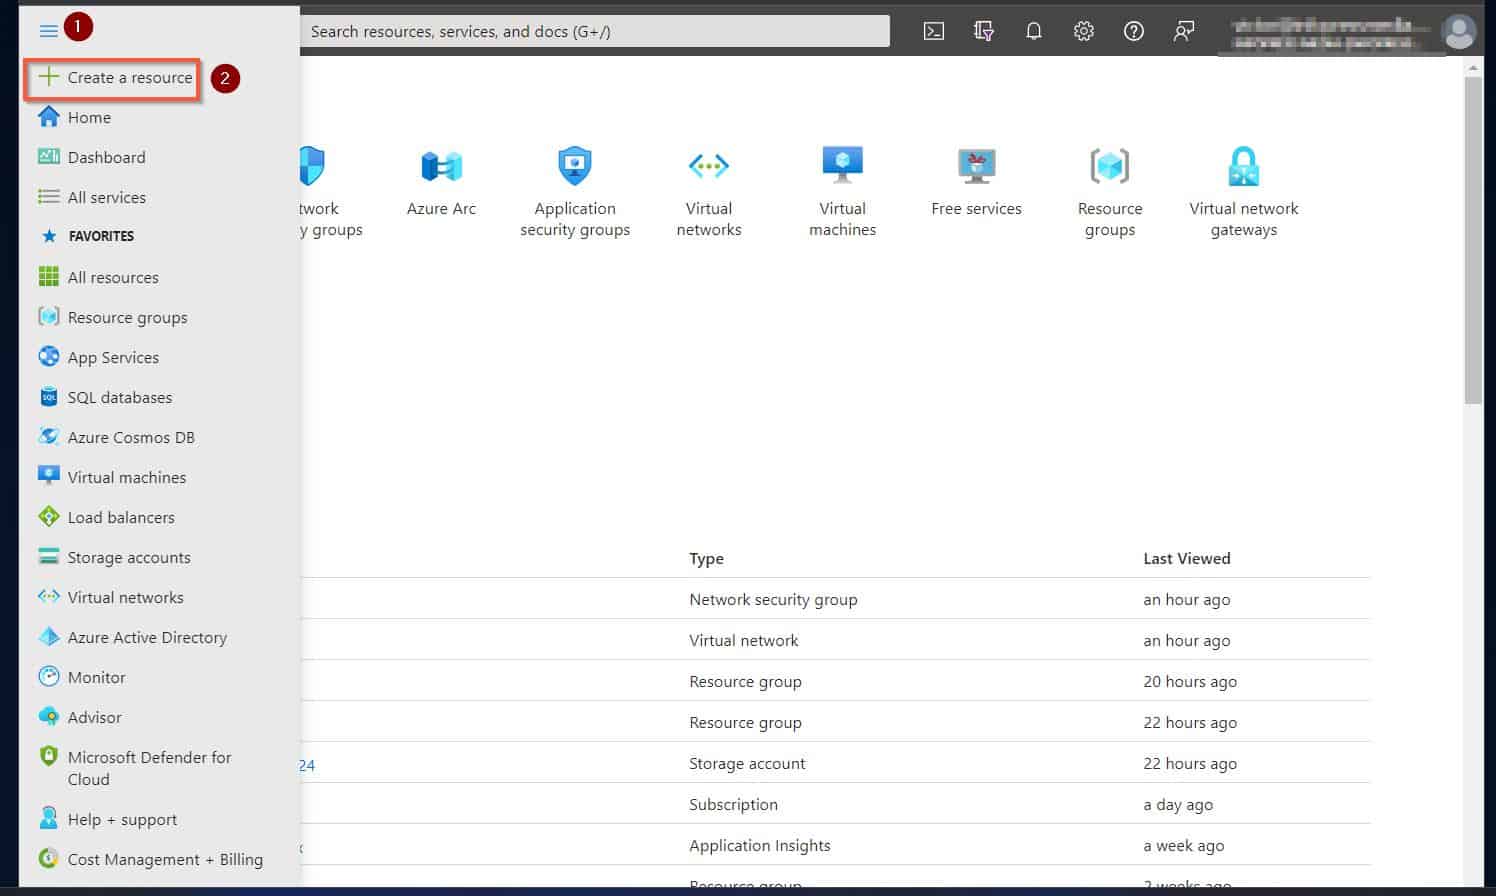
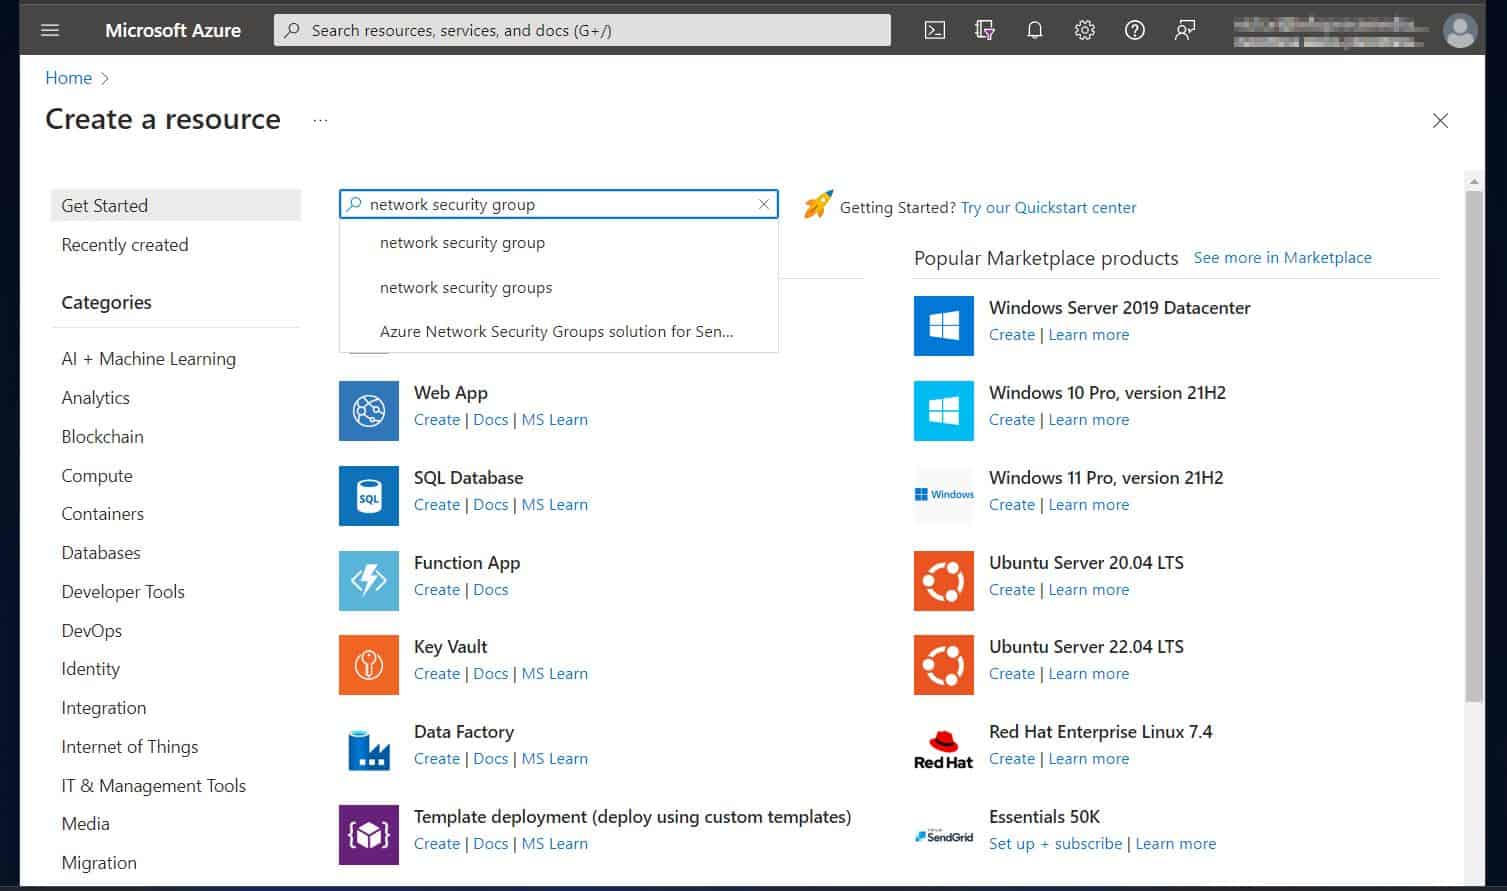
In the Azure portal search bar, type IP Groups and select it. You can see the list of the IP Groups, or you can select Add to create a new IP Group.
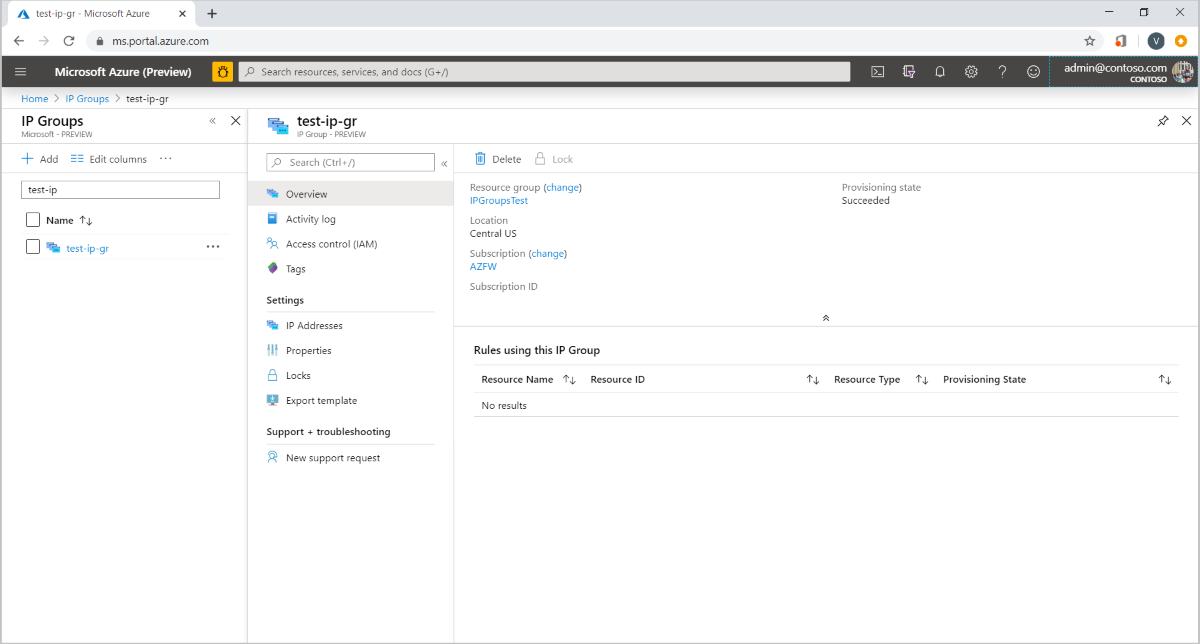
Select an IP Group to open the overview page. You can edit, add, or delete IP addresses or IP Groups.

Manage an IP Group
You can see all the IP addresses in the IP Group and the rules or resources that are associated with it. To delete an IP Group, you must first dissociate the IP Group from the resource that is using it.
- To view or edit the IP addresses, select IP Addresses under Settings on the left pane.
- To add a single or multiple IP address(es), select Add IP Addresses. This opens the Drag or Browse page for an upload, or you can enter the address manually.
- Selecting the ellipses (…) to the right to edit or delete IP addresses. To edit or delete multiple IP addresses, select the boxes and select Edit or Delete at the top.
- Finally, can export the file in the CSV file format.
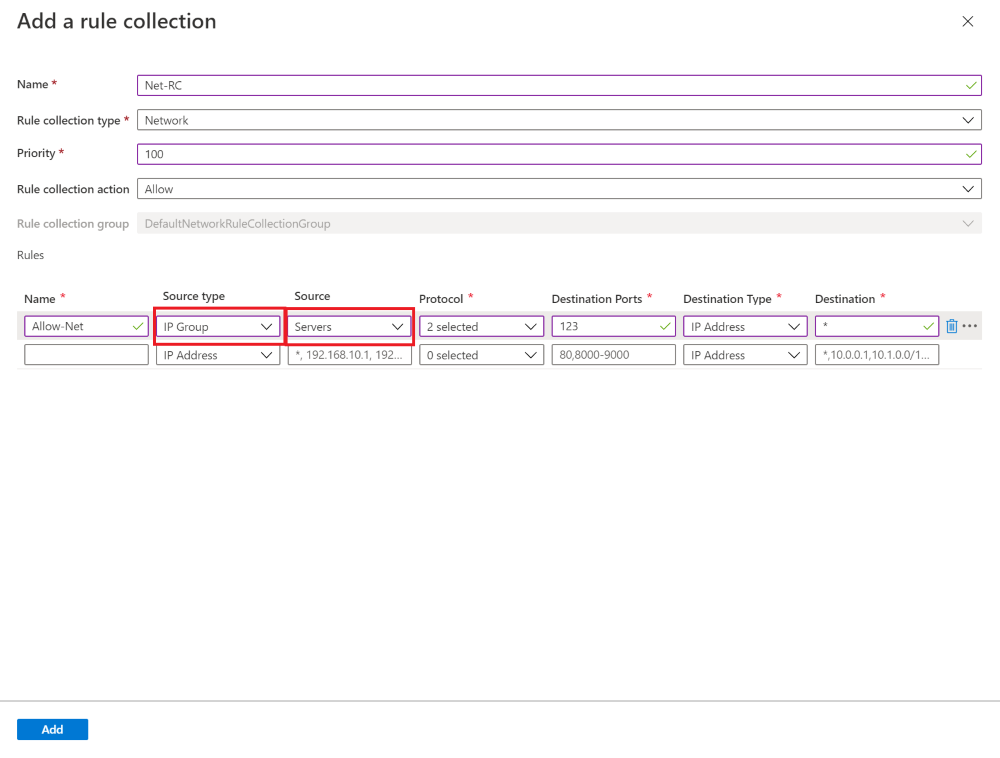
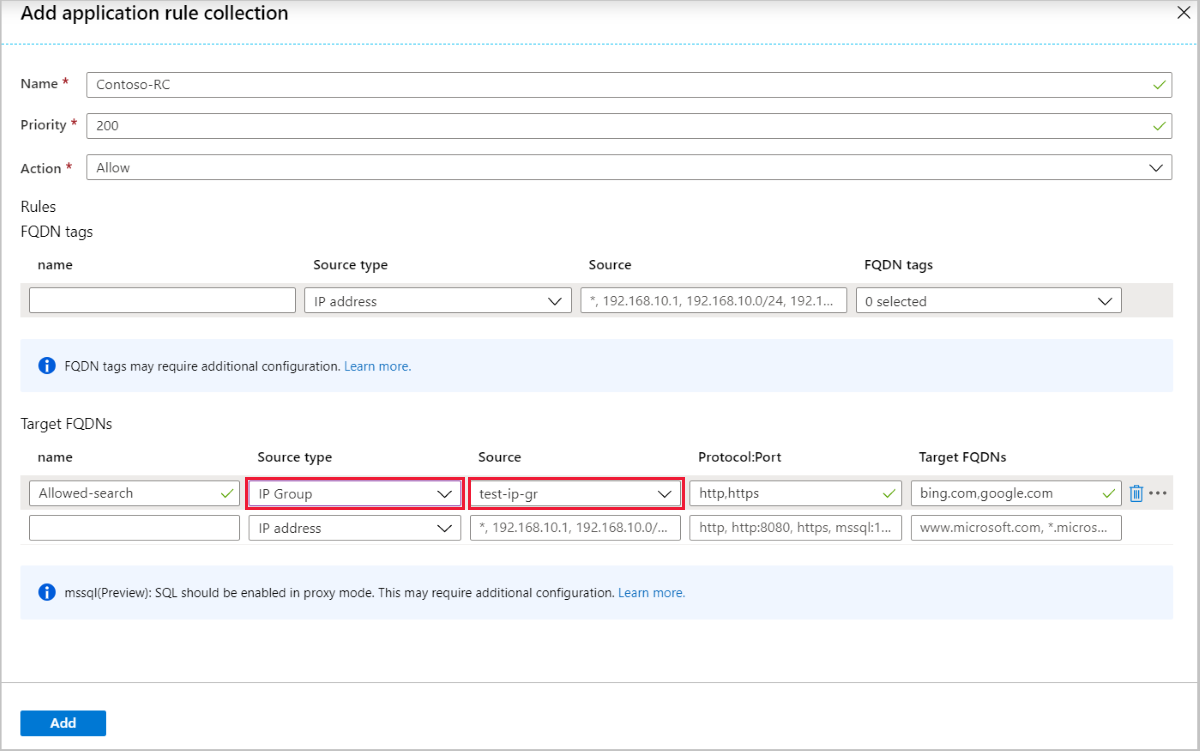
Use an IP Group
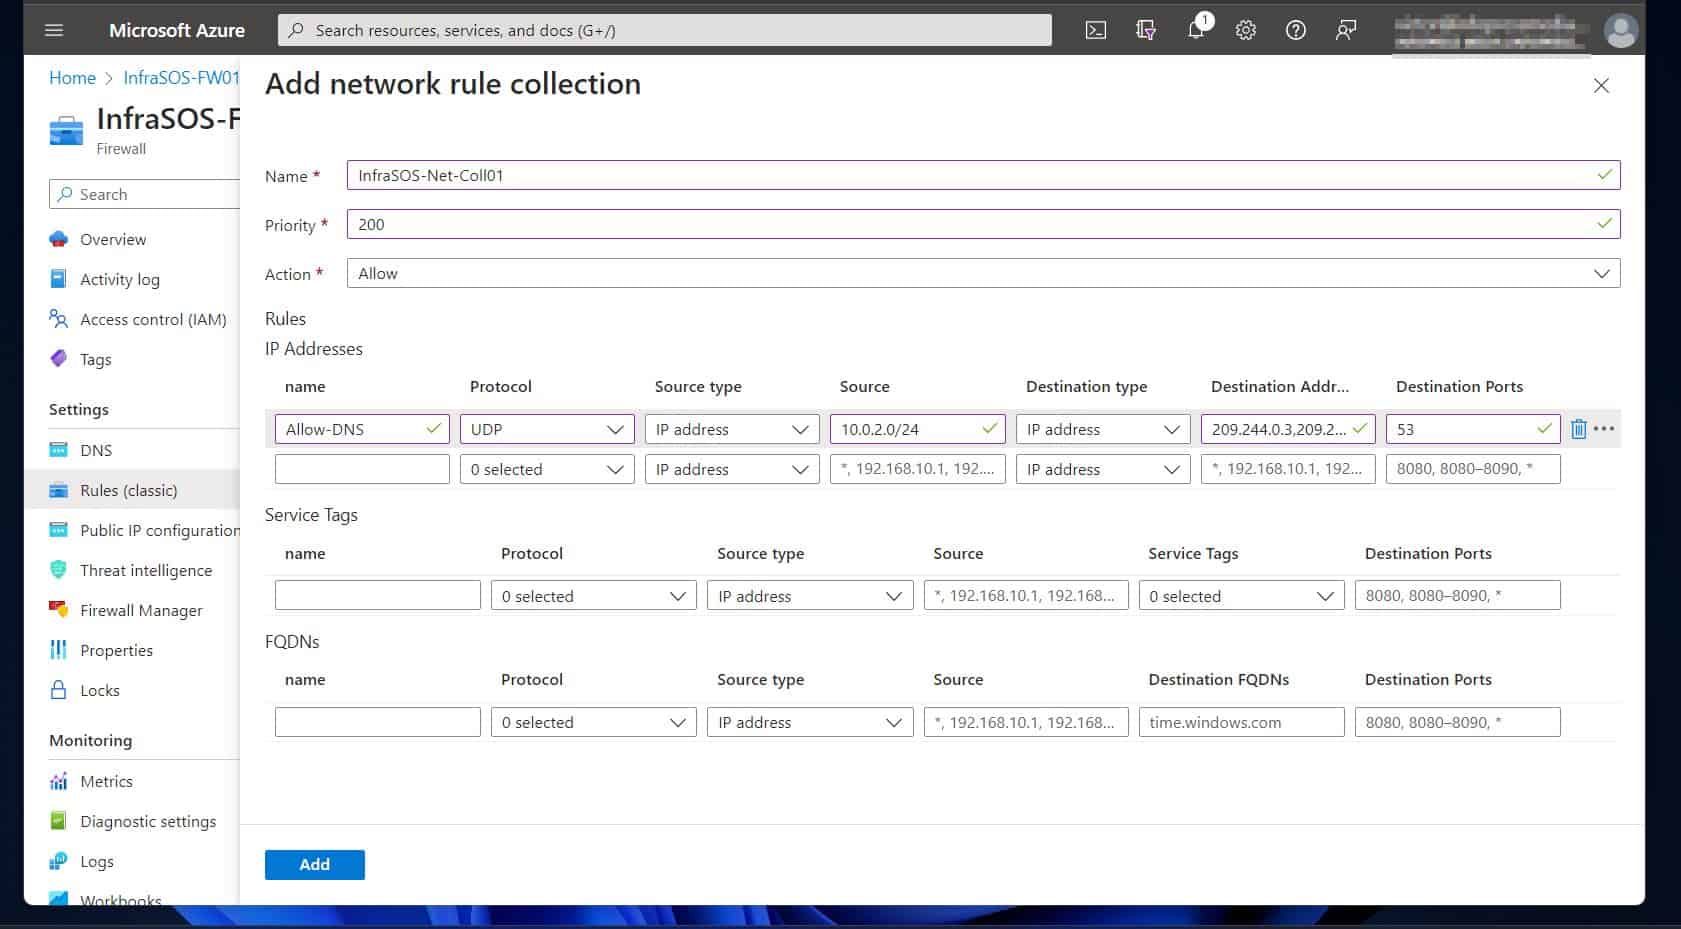
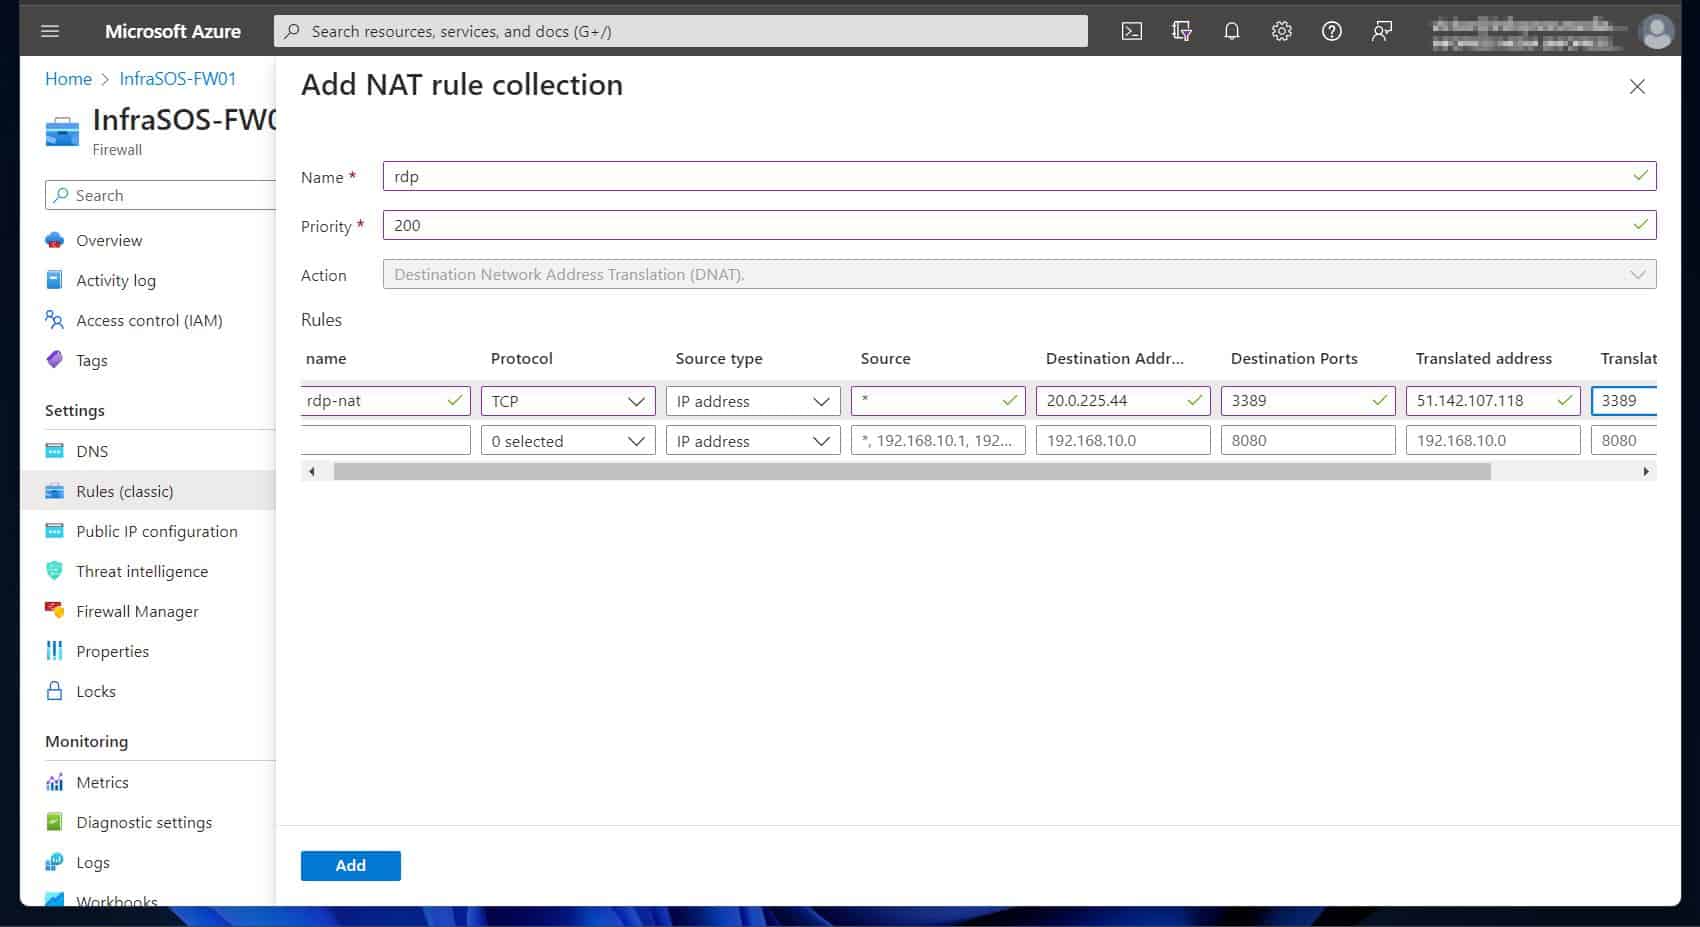
You can now select IP Group as a Source type or Destination type for the IP address(es) when you create Azure Firewall DNAT, application, or network rules.
Parallel IP Group updates (preview)
You can now update multiple IP Groups in parallel at the same time. This is particularly useful for administrators who want to make configuration changes more quickly and at scale, especially when making those changes using a dev ops approach (templates, ARM, CLI, and Azure PowerShell).
With this support, you can now:
- Update 20 IP Groups at a time
- Update the firewall and firewall policy during IP Group updates
- Use the same IP Group in parent and child policy
- Update multiple IP Groups referenced by firewall policy or classic firewall simultaneously
- Receive new and improved error messages
Fail and succeed states
For example, if there is an error with one IP Group update out of 20 parallel updates, the other updates proceed, and the errored IP Group fails. In addition, if the IP Group update fails, and the firewall is still healthy, the firewall remains in a Succeeded state. To check if the IP Group update has failed or succeeded, you can view the status on the IP Group resource.
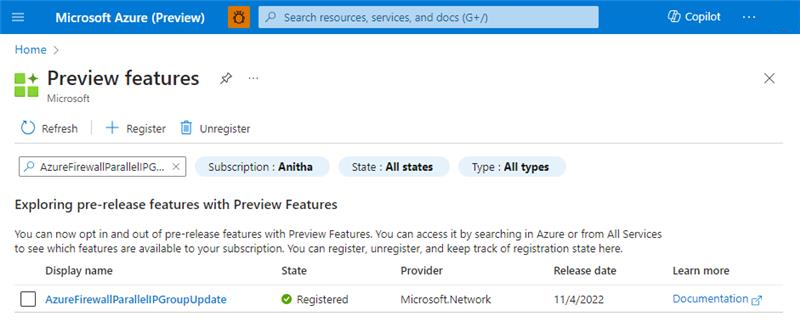
To activate Parallel IP Group support, you can register the feature using either Azure PowerShell or the Azure portal.
It can take several minutes for this to take effect. Once the feature is completely registered, consider performing an update on Azure Firewall for the change to take effect immediately.
Azure portal
- Navigate to Preview features in the Azure portal.
- Search and register AzureFirewallParallelIPGroupUpdate.
- Ensure the feature is enabled.