Installing Azure Service Fabric Cluster on Windows Server
Azure Service Fabric is a distributed systems platform that makes it easy to package, deploy, and manage scalable and reliable microservices and containers. Service Fabric also addresses the significant challenges in developing and managing cloud native applications. Developers and administrators can avoid complex infrastructure problems and focus on implementing mission-critical, demanding workloads that are scalable, reliable, and manageable. Service Fabric represents the next-generation platform for building and managing these enterprise-class, tier-1, cloud-scale applications running in containers.
In the following Step-by-Step Guide I created a Standalone Microsoft Azure Service Fabric Cluster
on Windows Server 2019 Insiders Preview for DevOps testing :
First I downloaded the Contents of Service Fabric Standalone package for Windows Server here
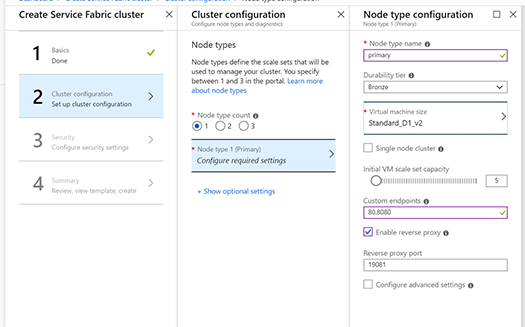
Several sample cluster configuration files are installed with the setup package. ClusterConfig.Unsecure.DevCluster.json is the simplest cluster configuration: an unsecure, three-node cluster running on a single computer. Other config files describe single or multi-machine clusters secured with X.509 certificates or Windows security. You don’t need to modify any of the default config settings for this tutorial, but look through the config file and get familiar with the settings.
I made the Unsecure three-node Cluster running on Windows Server 2019 Insiders Preview in my MVPLAB.
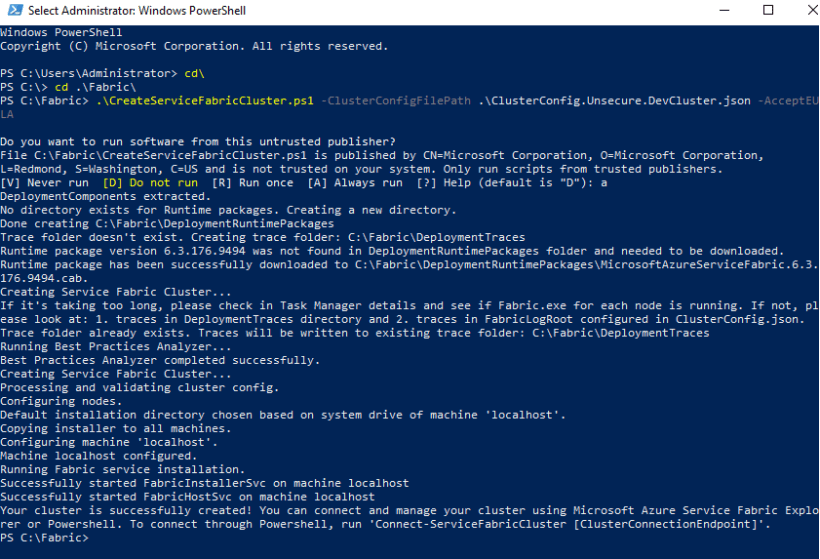
CreateServiceFabricCluster
Open Powershell in Administrator modus and run the Script :
.\CreateServiceFabricCluster.ps1 -ClusterConfigFilePath .\ClusterConfig.Unsecure.DevCluster.json -AcceptEULA
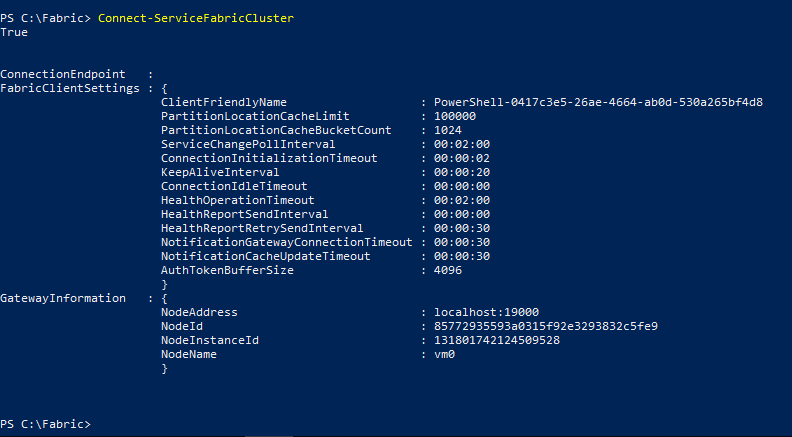
ConnectServiceFabricCluster
Connect-ServiceFabricCluster
Service Fabric Explorer (SFX) is an open-source tool for inspecting and managing Azure Service Fabric clusters. Service Fabric Explorer is a desktop application for Windows, macOS and Linux.
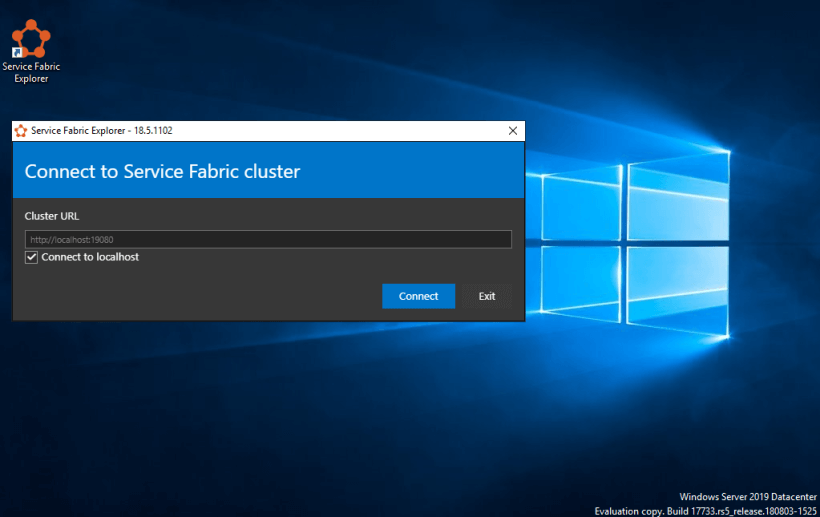
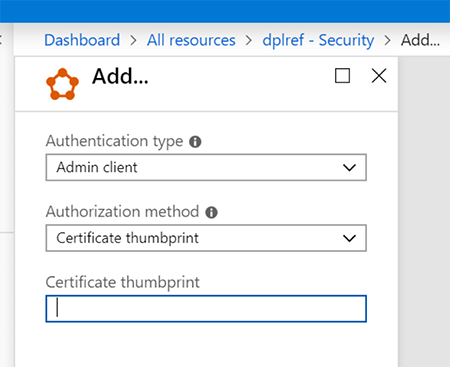
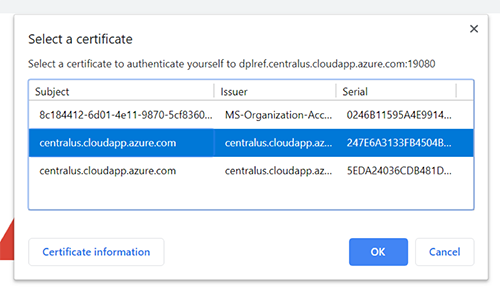
Connect to Service Fabric Cluster
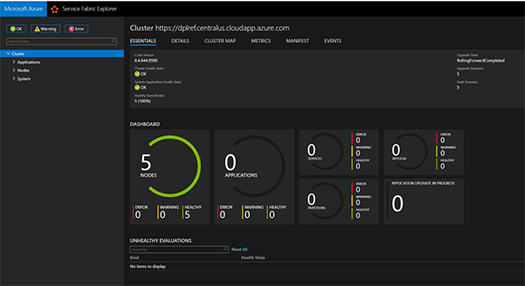
I Installed Azure Service Fabric Explorer to visualize the Cluster.
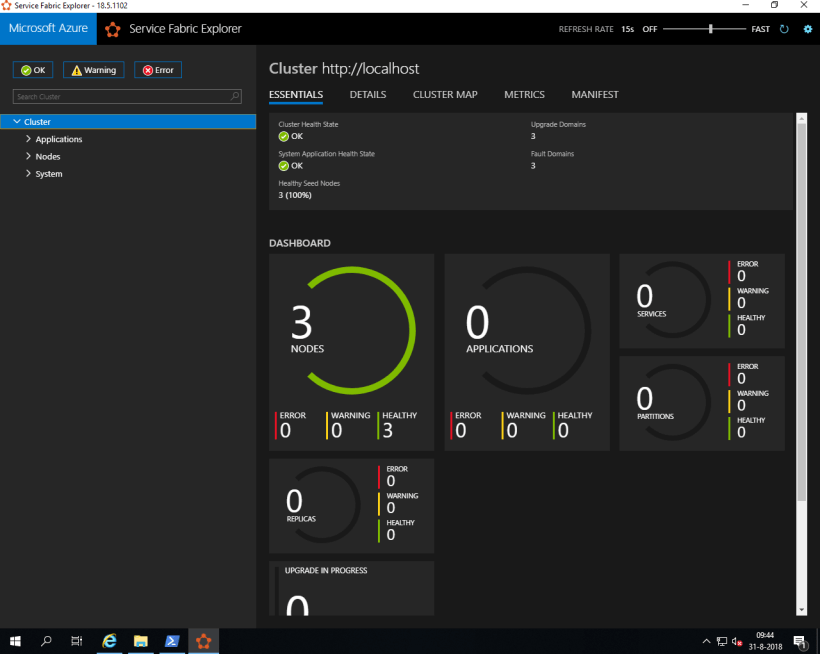
3 Nodes
Here we got Azure Service Fabric 3-Node Cluster running on Windows Server 2019 Insiders
AZURE SERVICE FABRIC CLI
The Azure Service Fabric command-line interface (CLI) is a command-line utility for interacting with and managing Service Fabric entities. The Service Fabric CLI can be used with either Windows or Linux clusters. The Service Fabric CLI runs on any platform where Python is supported.
Prior to installation, make sure your environment has both Python and pip installed.
The CLI supports Python versions 2.7, 3.5, 3.6, and 3.7. Python 3.x is the recommended version, since Python 2.7 will reach end of support soon.
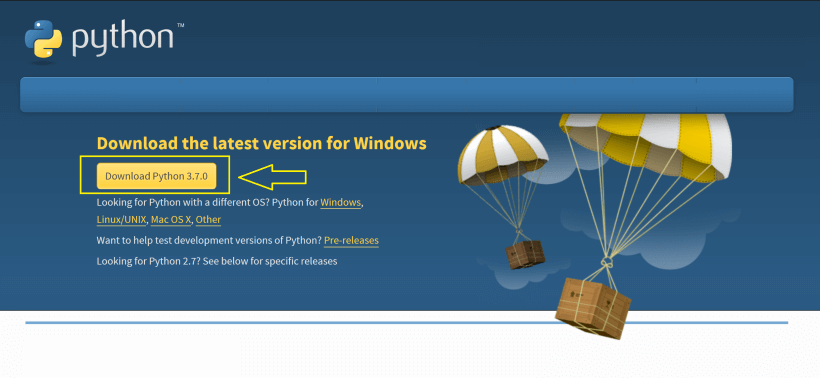
Download Python
You can download the latest Python version here
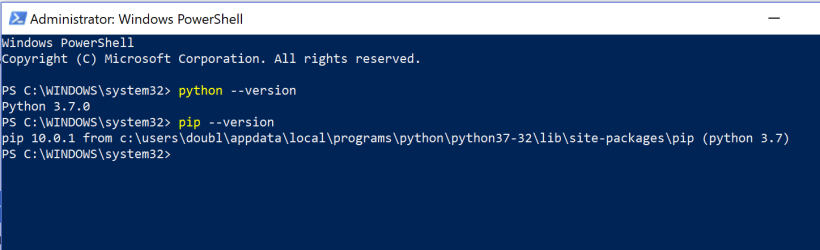
Python version
Check the Python version and the Pip version by typing :
python –version
Pip –version
Python version
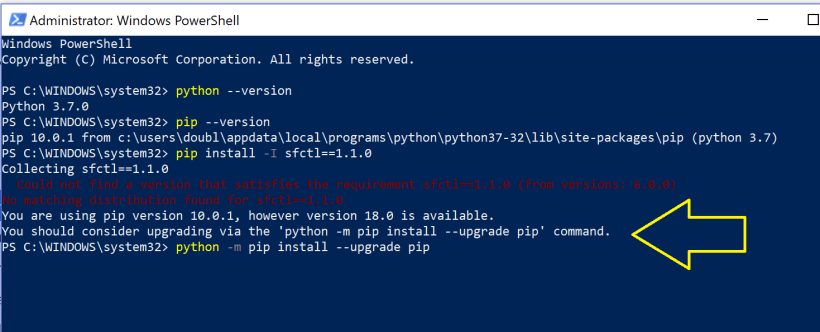
The Pip version which is delivered via Python has to be updated with the following command :
python -m pip install –upgrade pip
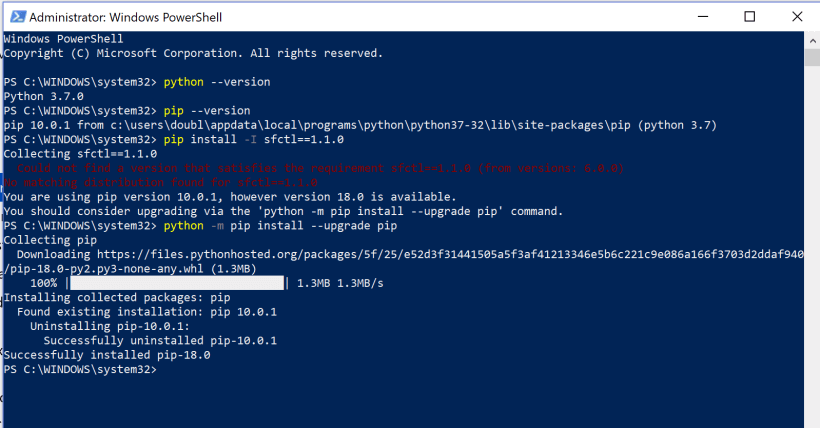
Update with python
We now have pip version 18.0 instead of 10.0.1
New pip version
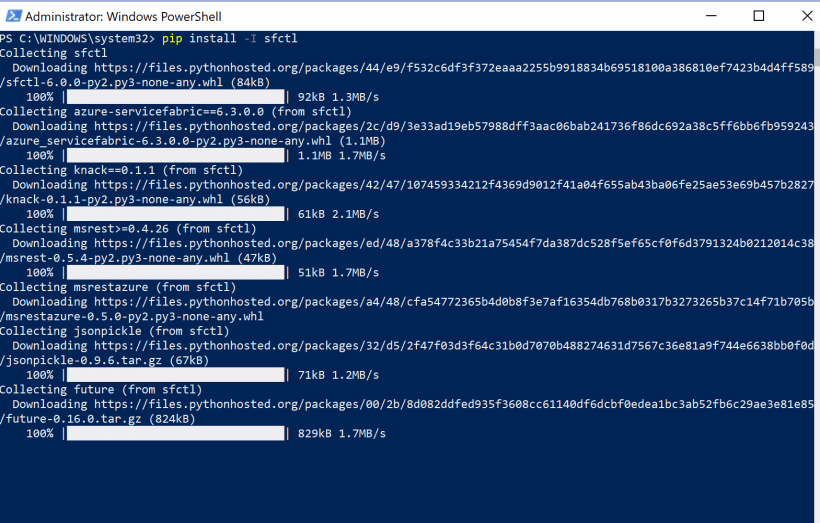
pip install -I sfctl
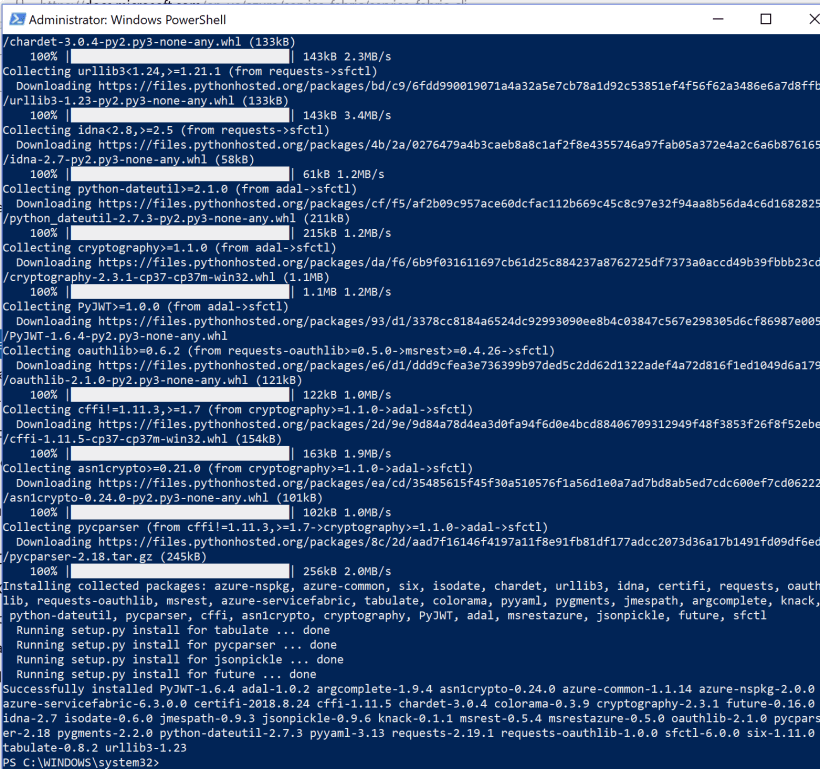
Pip command
Done ! Service Fabric CLI is installed on my Windows 10 Surface.
Service Fabric CLI is installed
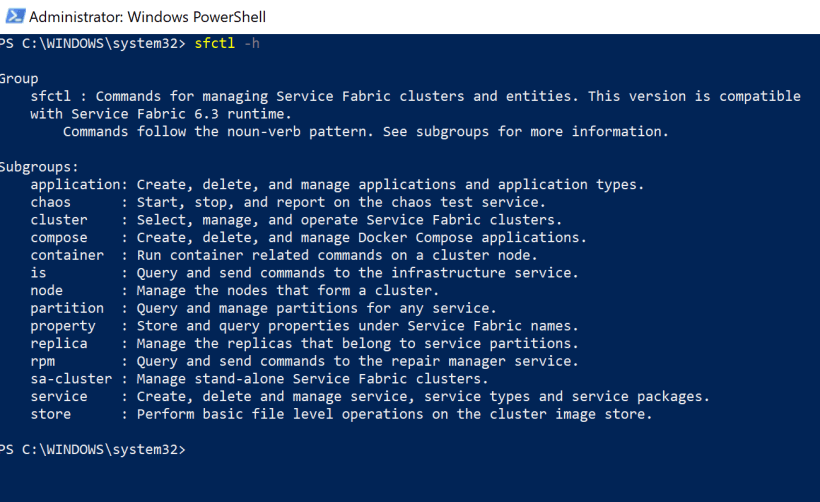
sfctl -h
Now we have installed Microsoft Azure Service Fabric Cluster on Windows Server 2019 Insiders Preview and the Service Fabric CLI on Windows 10, we now can connect to the 3-node Fabric Cluster via CLI.
Because we are working under Windows 10 and not on the host itself we have to set an endpoint connection :
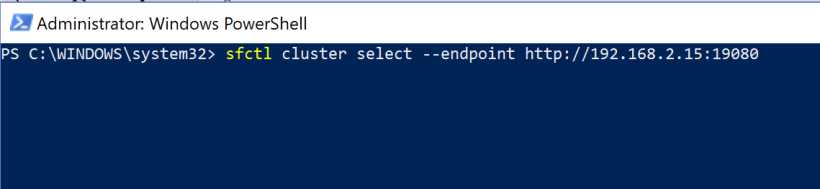
Connect to the 3-node Fabric Cluster via CLI
sfctl cluster select –endpoint http://192.168.2.15:19080
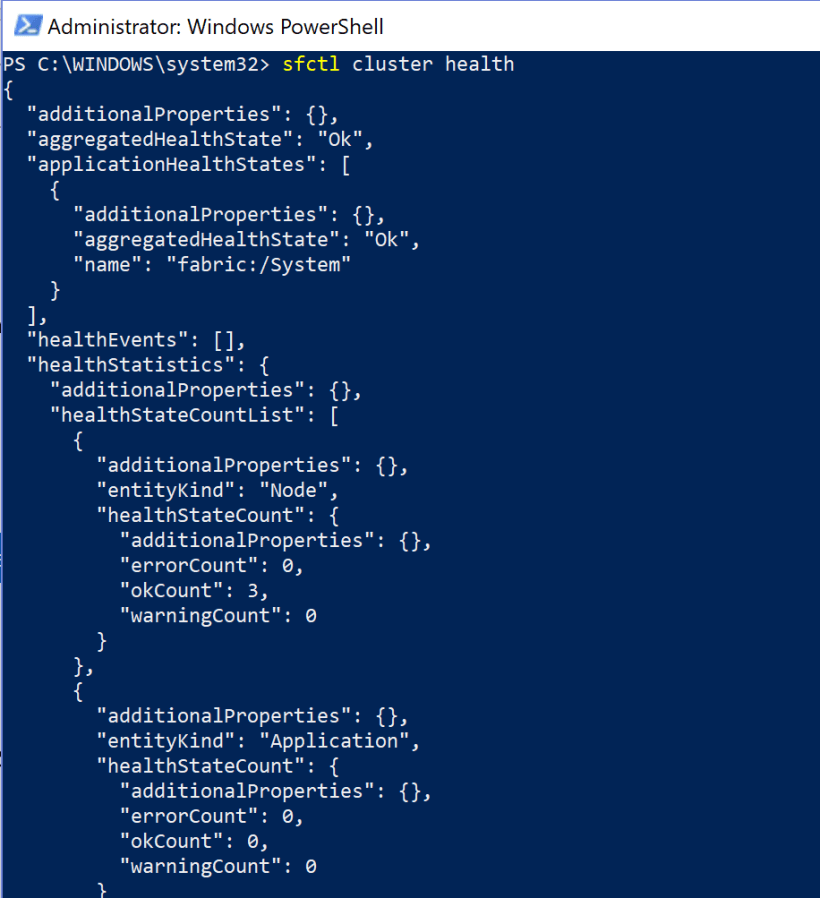
Cluster health
sfctl cluster health
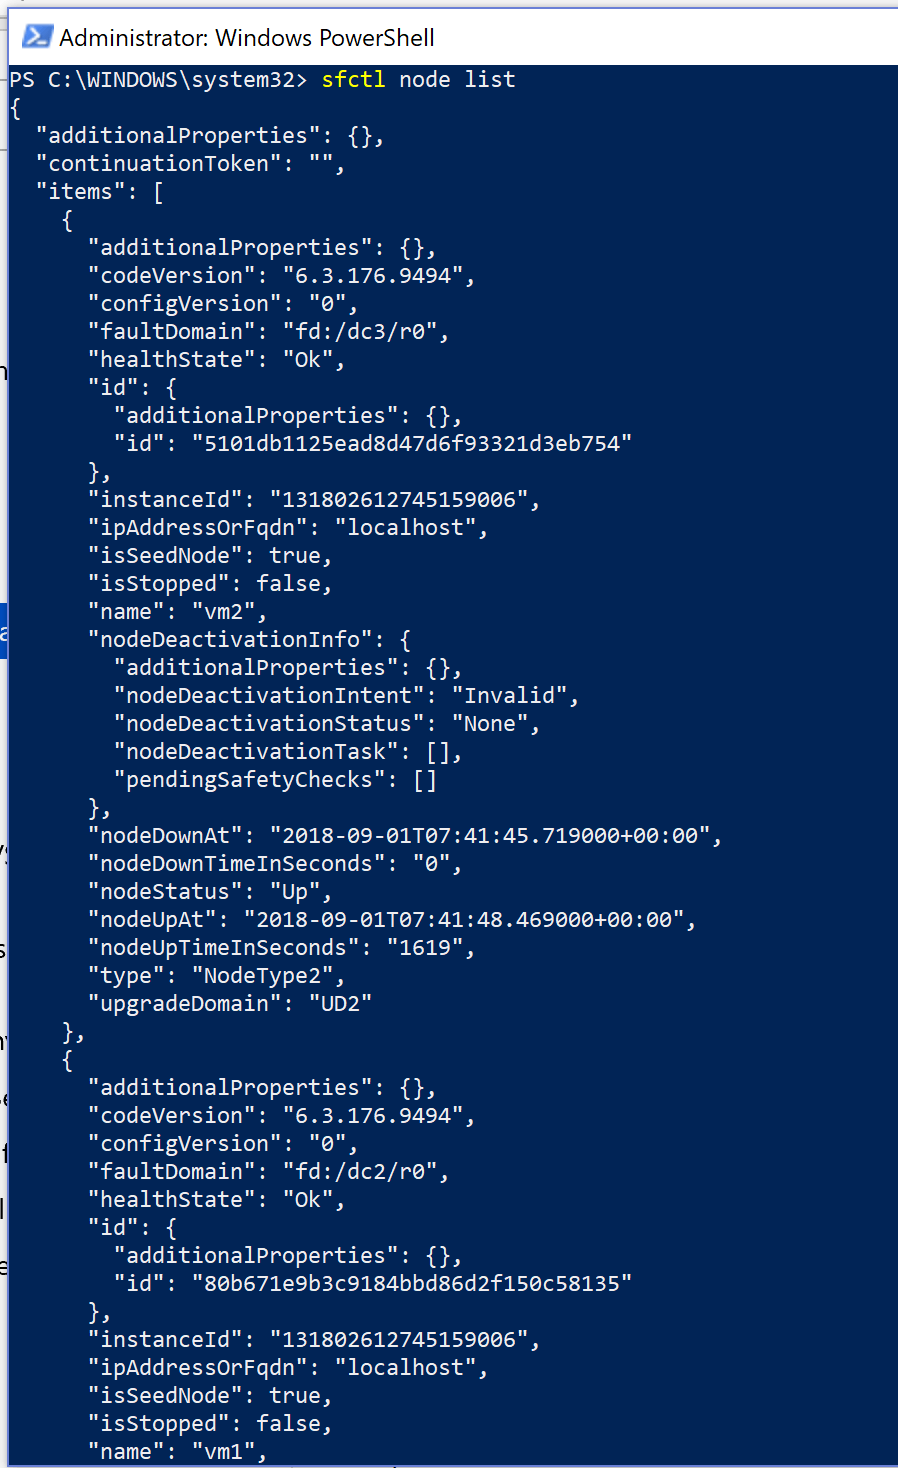
Node list
sfctl node list
MICROSOFT VISUAL STUDIO 2017 ENTERPRISE AND SERVICE FABRIC SDK
As a Developer or DevOps you like to work from Microsoft Visual Studio to deploy your Apps, Microservices or Containers to the Azure Service Fabric Cluster.
You need to install the Service Fabric SDK in Visual Studio before you can deploy :
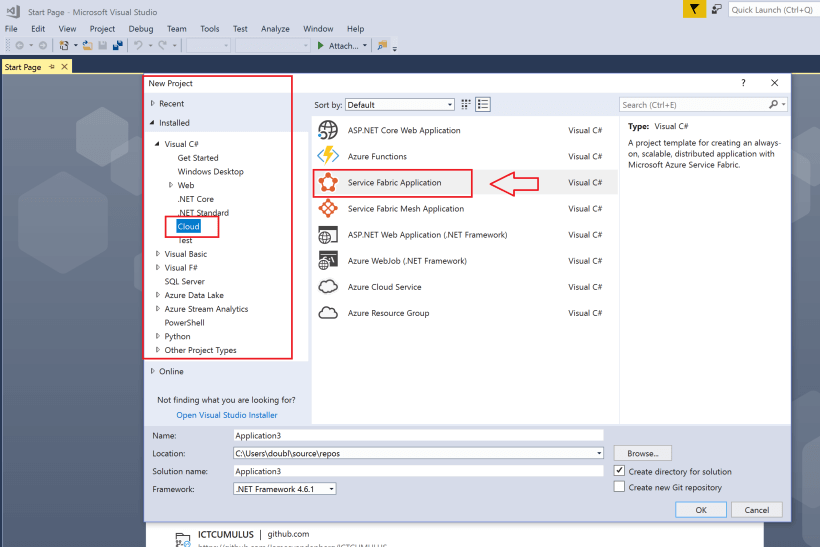
Service Fabric Application
Select Service Fabric Application at New Project
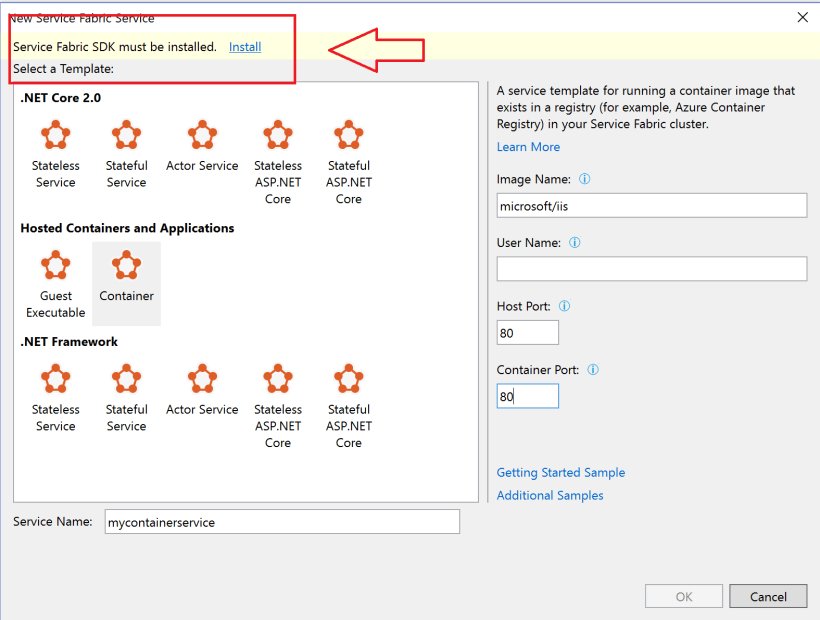
Service Fabric SDK must be installed
Visual Studio 2017 Enterprise : Service Fabric SDK must be installed

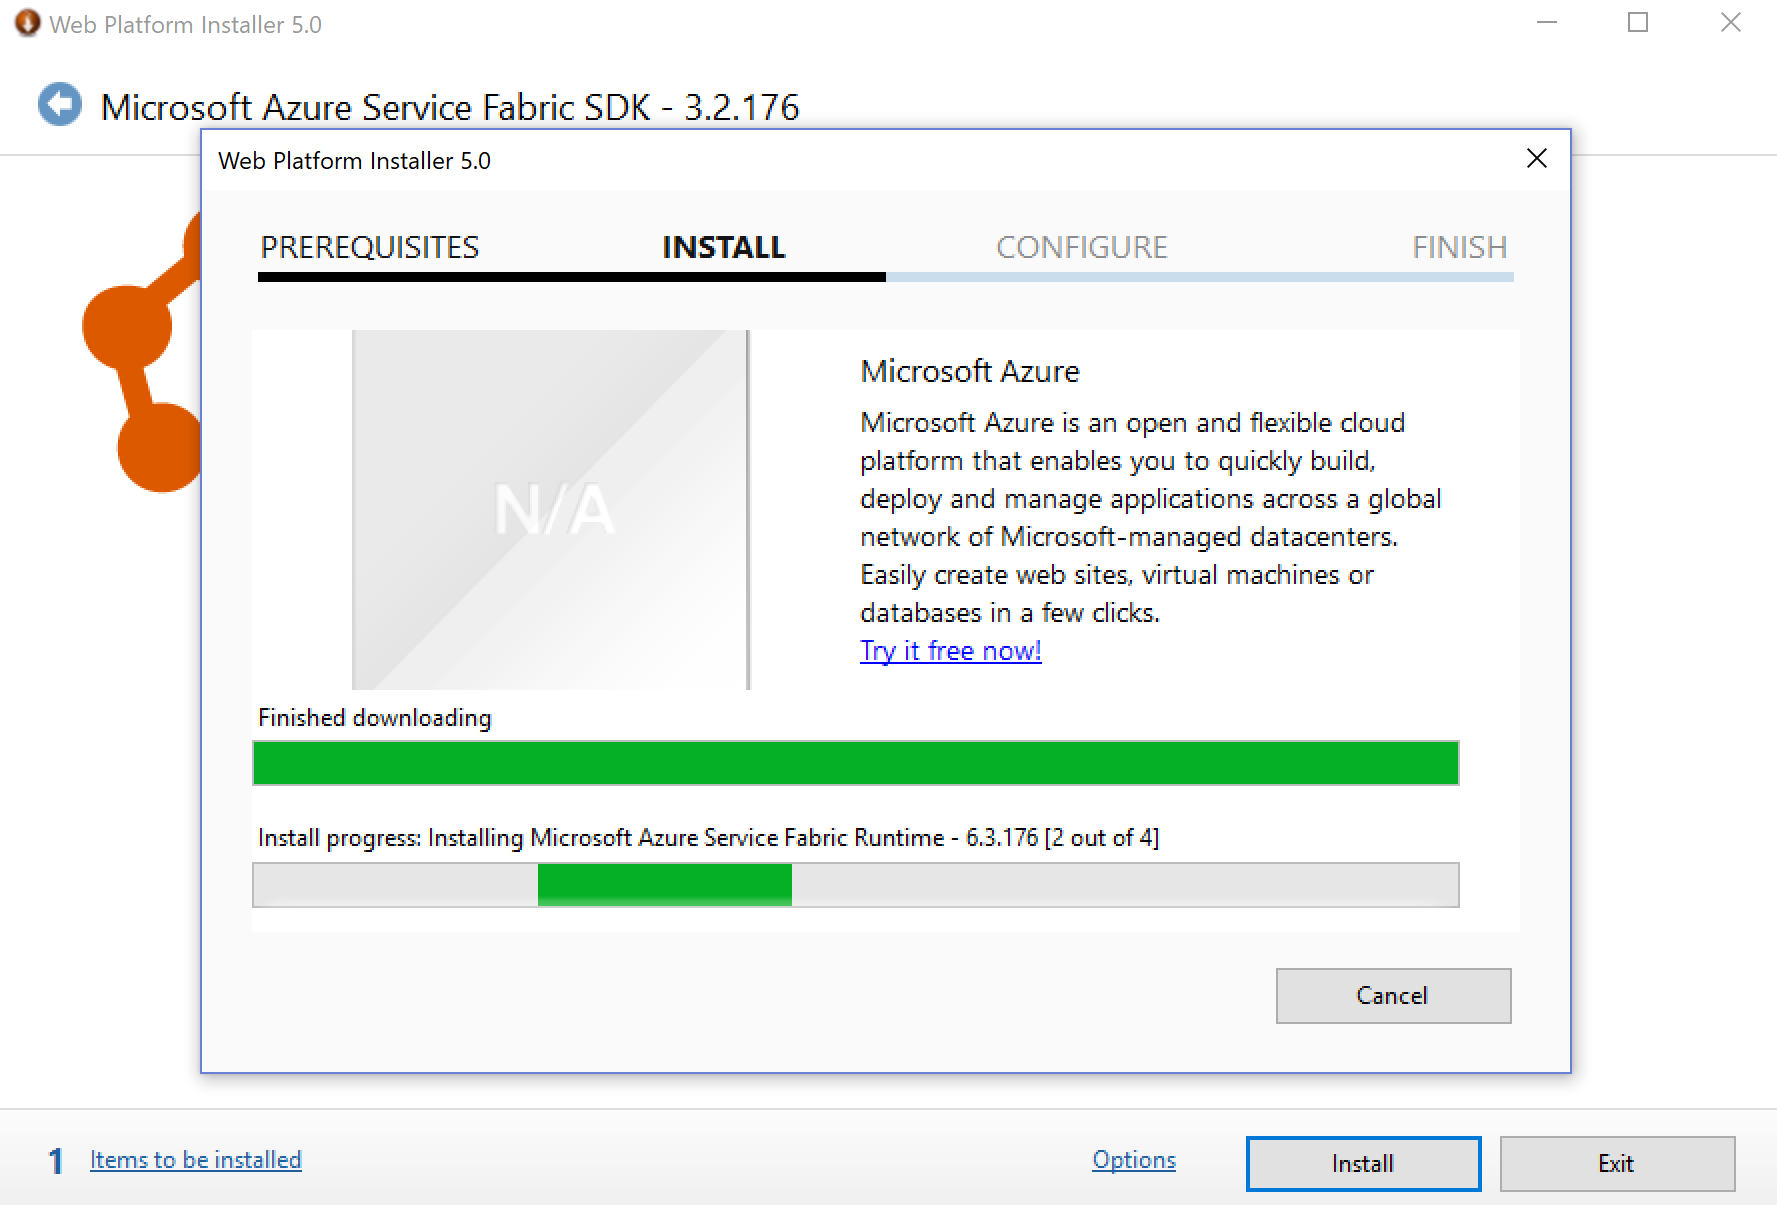
Install
Installing Microsoft Azure Service Fabric SDK
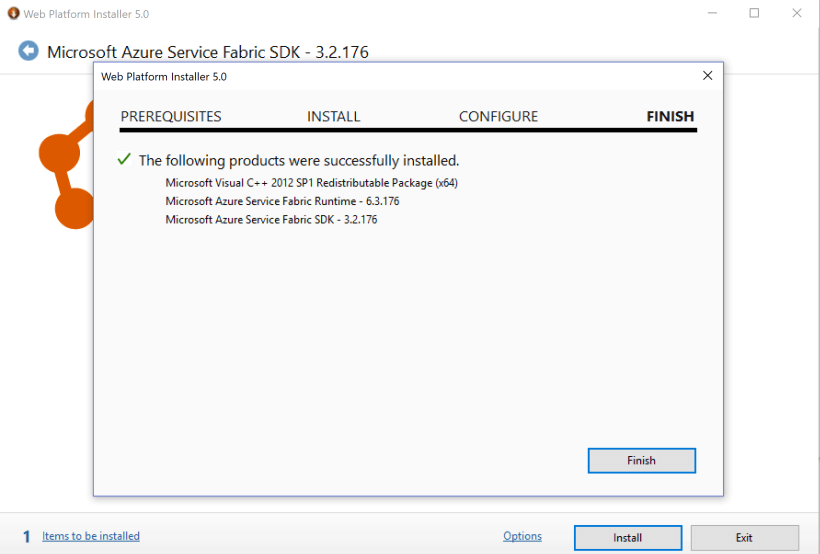
Finish the installation
Done.
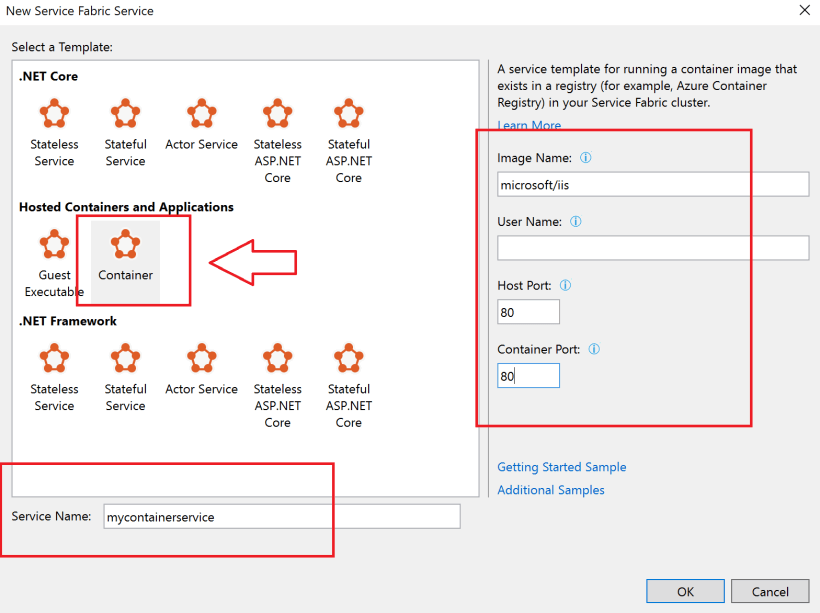
Now you can make your Service Fabric Container.