In this chapter, we will learn about website penetration testing offered by Kali Linux.
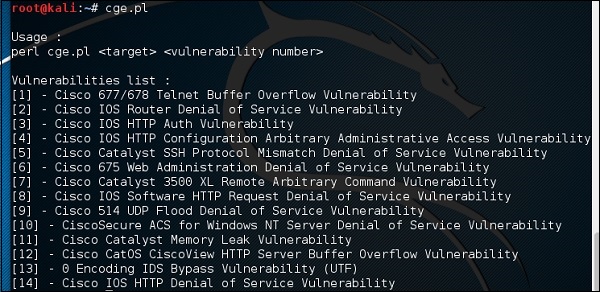
Vega Usage
Vega is a free and open source scanner and testing platform to test the security of web applications. Vega can help you find and validate SQL Injection, Cross-Site Scripting (XSS), inadvertently disclosed sensitive information, and other vulnerabilities. It is written in Java, GUI based, and runs on Linux, OS X, and Windows.
Vega includes an automated scanner for quick tests and an intercepting proxy for tactical inspection. Vega can be extended using a powerful API in the language of the web: JavaScript. The official webpage is https://subgraph.com/vega/

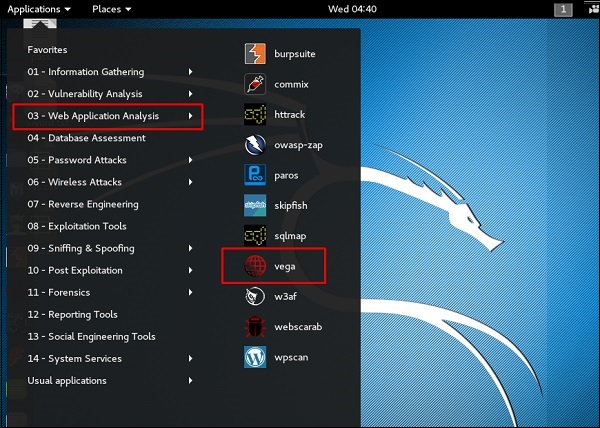
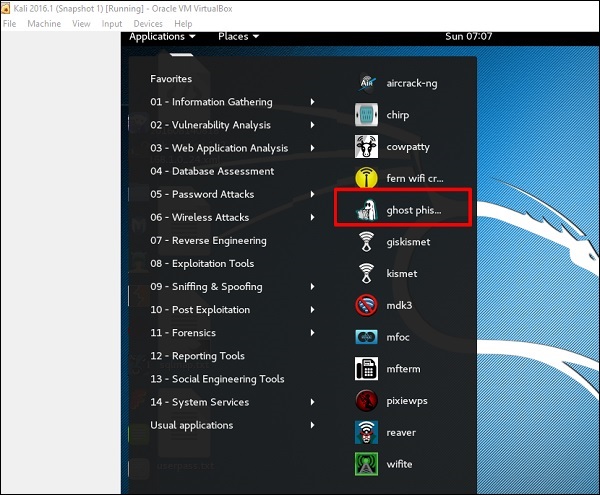
Step 1 − To open Vega go to Applications → 03-Web Application Analysis → Vega
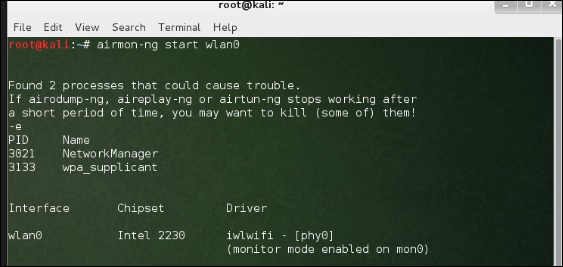
Step 2 − If you don’t see an application in the path, type the following command.
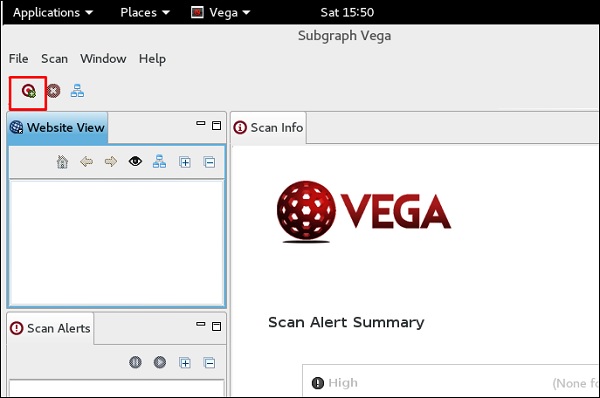
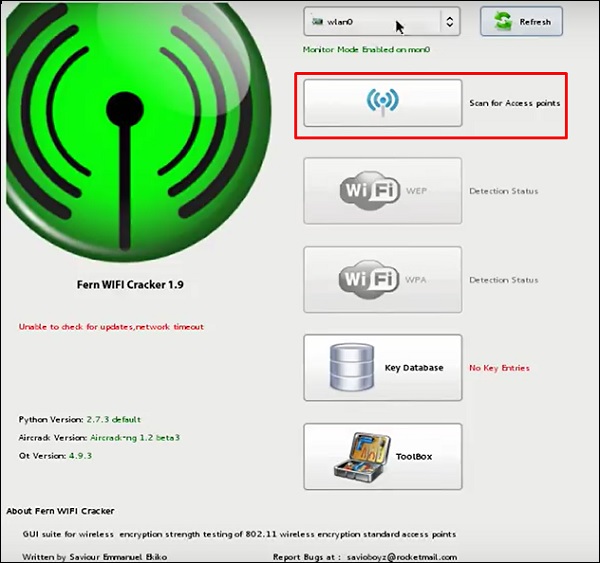
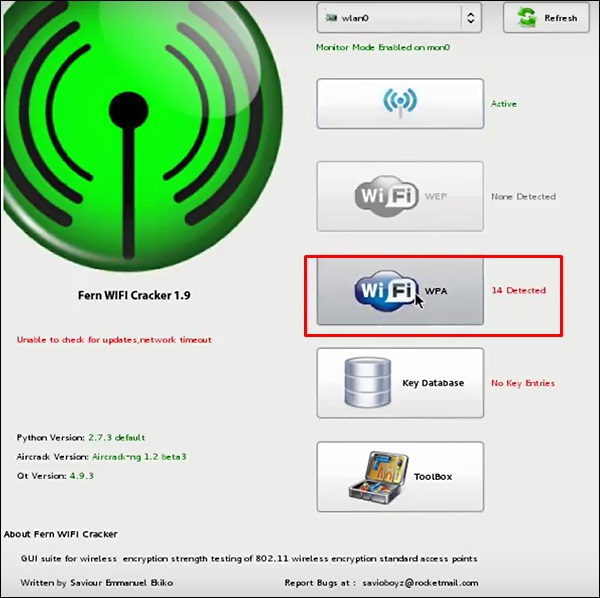
Step 3 − To start a scan, click “+” sign.
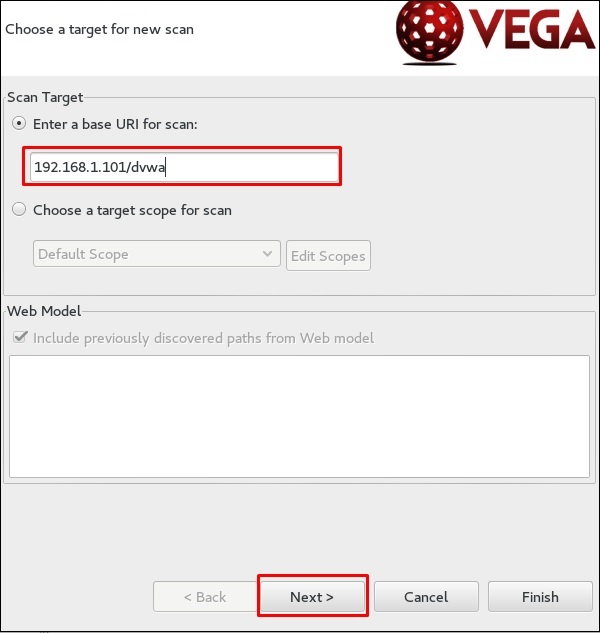
Step 4 − Enter the webpage URL that will be scanned. In this case, it is metasploitable machine → click “ Next”.
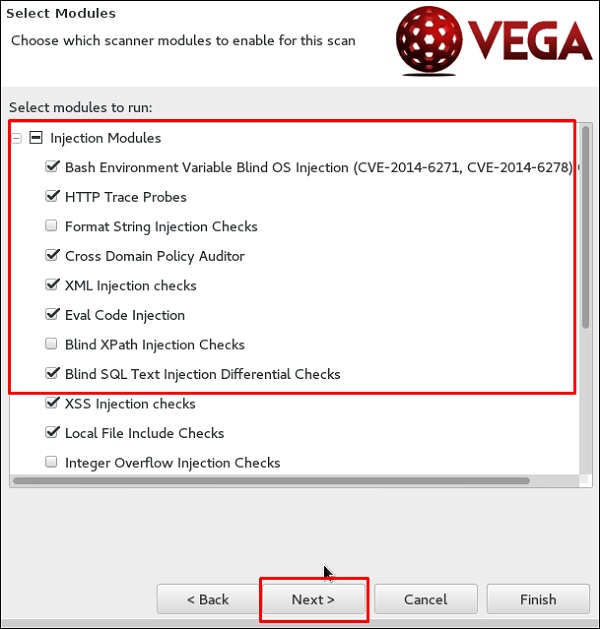
Step 5 − Check all the boxes of the modules you want to be controlled. Then, click “Next”.
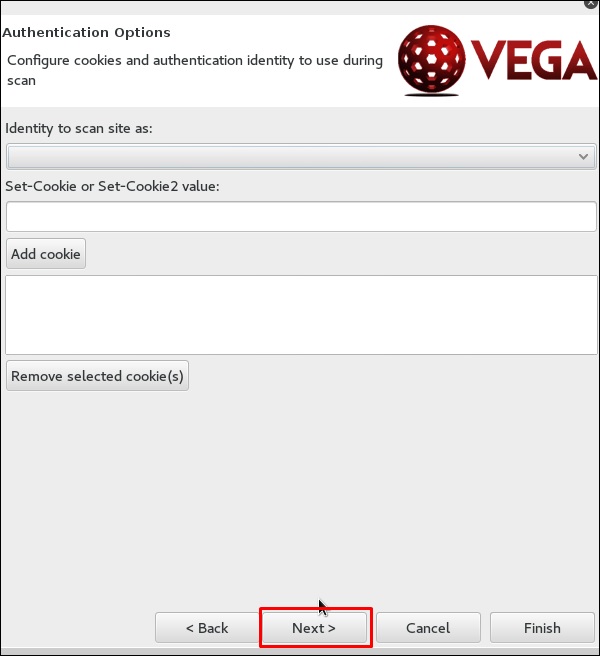
Step 6 − Click “Next” again in the following screenshot.
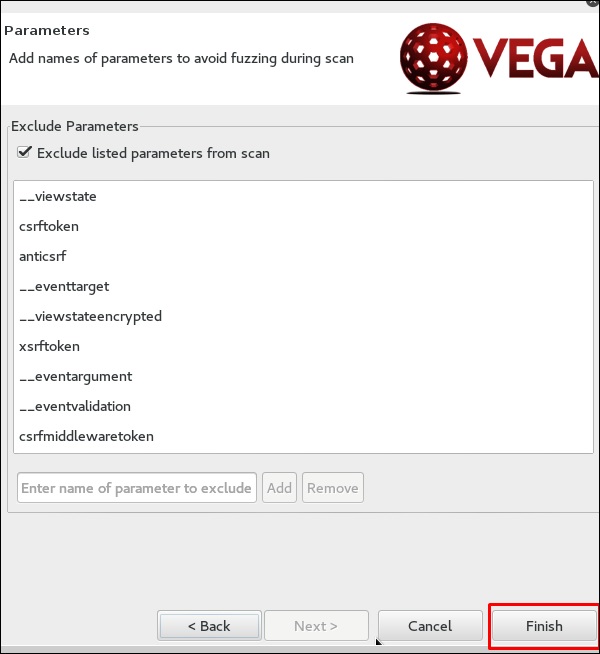
Step 7 − Click “Finish”.
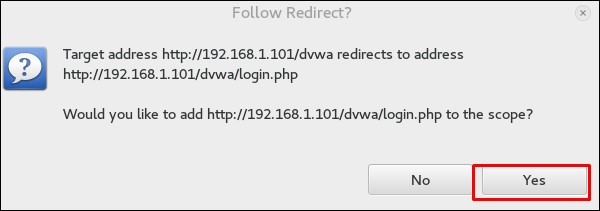
Step 8 − If the following table pops up, click “Yes”.
The scan will continue as shown in the following screenshot.
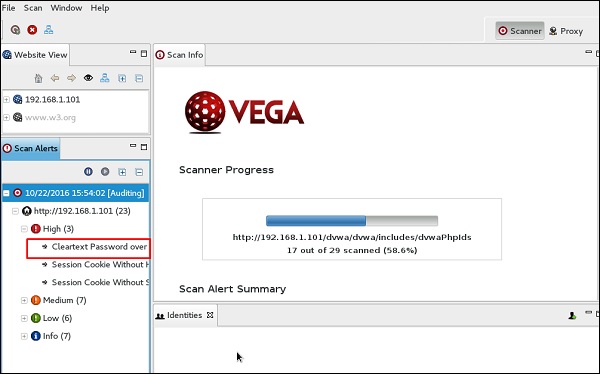
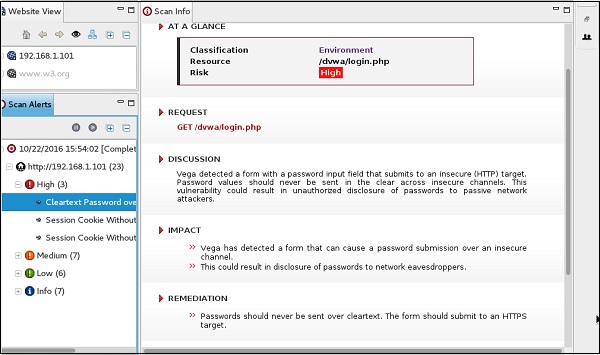
Step 9 − After the scan is completed, on the left down panel you can see all the findings, that are categorized according to the severity. If you click it, you will see all the details of the vulnerabilities on the right panel such as “Request”, ”Discussion”, ”Impact”, and ”Remediation”.
ZapProxy
ZAP-OWASP Zed Attack Proxy is an easy-to-use integrated penetration testing tool for finding vulnerabilities in web applications. It is a Java interface.
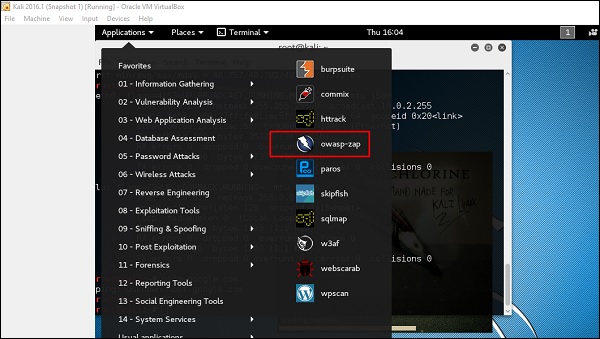
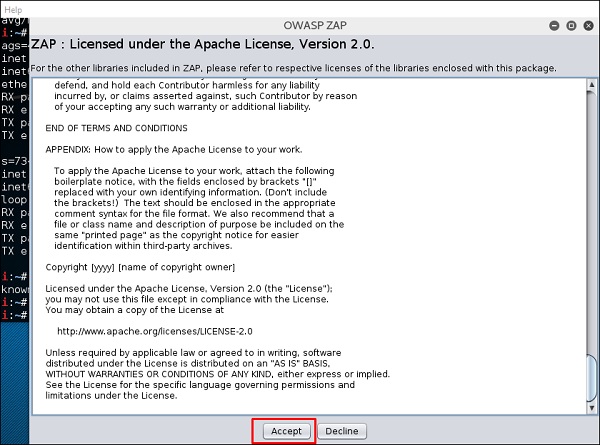
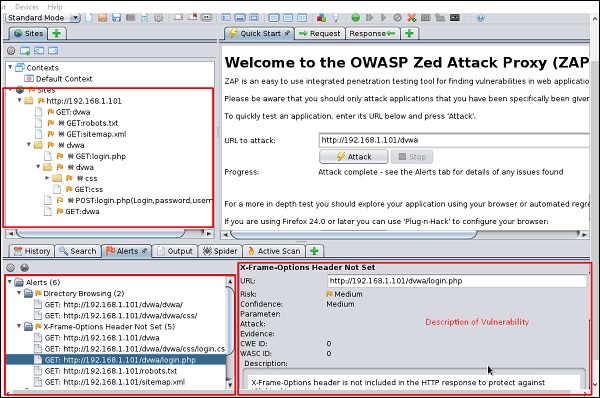
Step 1 − To open ZapProxy, go to Applications → 03-Web Application Analysis → owaspzap.
Step 2 − Click “Accept”.
ZAP will start to load.
Step 3 − Choose one of the Options from as shown in the following screenshot and click “Start”.

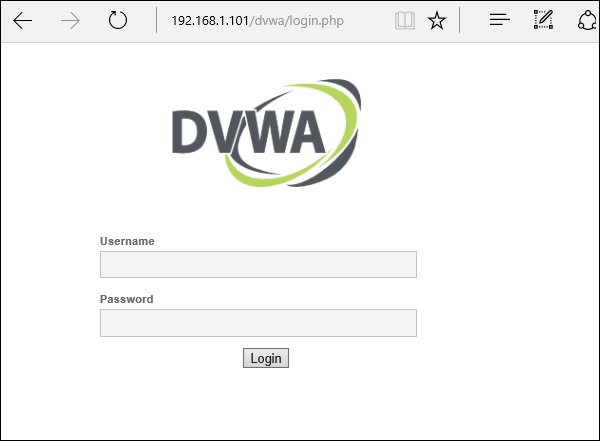
Following web is metasploitable with IP :192.168.1.101
Step 4 − Enter URL of the testing web at “URL to attack” → click “Attack”.
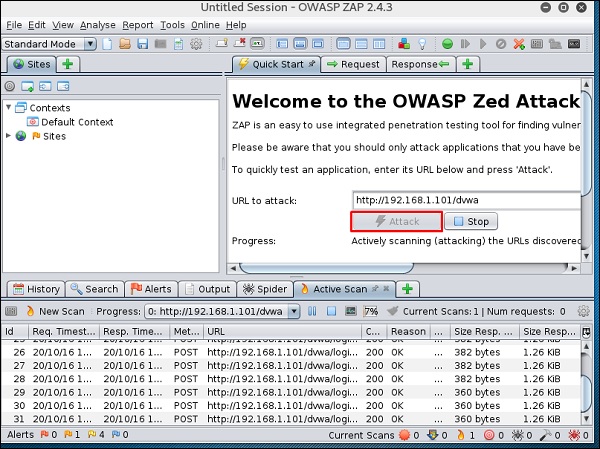
After the scan is completed, on the top left panel you will see all the crawled sites.
In the left panel “Alerts”, you will see all the findings along with the description.
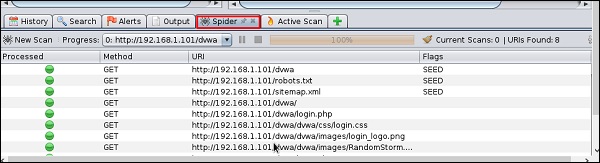
Step 5 − Click “Spider” and you will see all the links scanned.
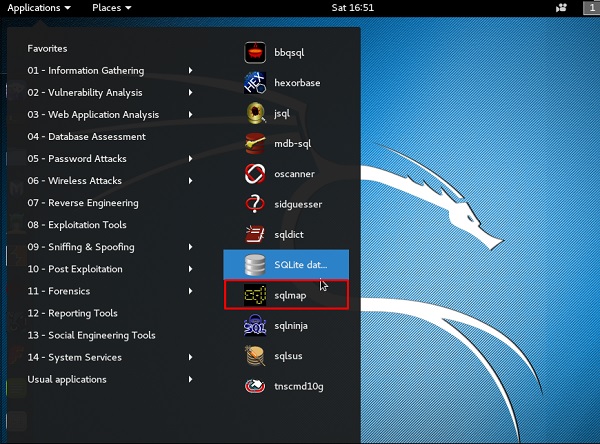
Database Tools Usage
sqlmap
sqlmap is an open source penetration testing tool that automates the process of detecting and exploiting SQL injection flaws and taking over of database servers. It comes with a powerful detection engine, many niche features for the ultimate penetration tester and a broad range of switches lasting from database fingerprinting, over data fetching from the database, to accessing the underlying file system and executing commands on the operating system via out-of-band connections.
Let’s learn how to use sqlmap.
Step 1 − To open sqlmap, go to Applications → 04-Database Assessment → sqlmap.
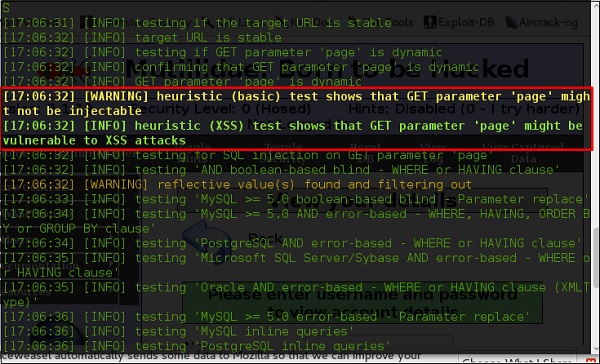
The webpage having vulnerable parameters to SQL Injection is metasploitable.
Step 2 − To start the sql injection testing, type “sqlmap – u URL of victim”

Step 3 − From the results, you will see that some variable are vulnerable.
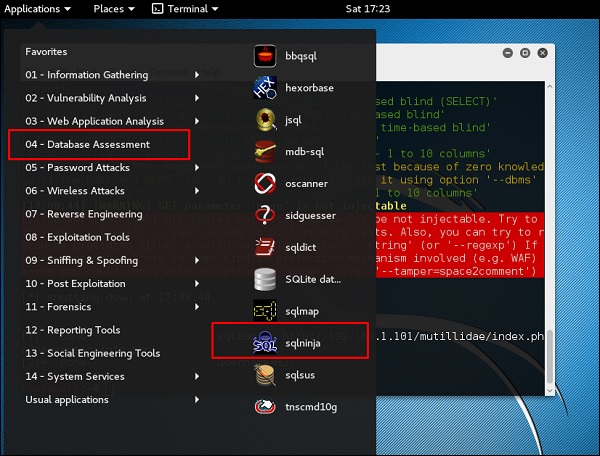
sqlninja
sqlninja is a SQL Injection on Microsoft SQL Server to a full GUI access. sqlninja is a tool targeted to exploit SQL Injection vulnerabilities on a web application that uses Microsoft SQL Server as its back-end. Full information regarding this tool can be found on http://sqlninja.sourceforge.net/
Step 1 − To open sqlninja go to Applications → 04-Database Assesment → sqlninja.
CMS Scanning Tools
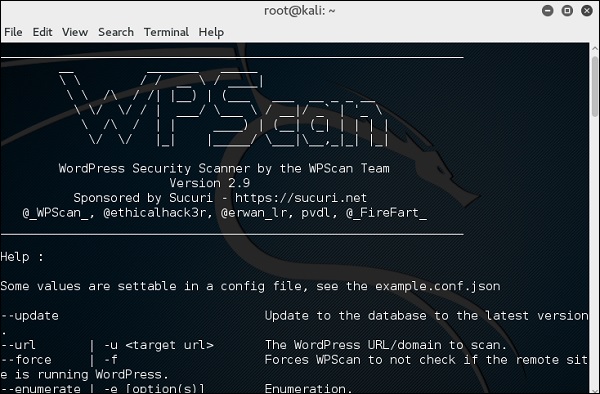
WPScan
WPScan is a black box WordPress vulnerability scanner that can be used to scan remote WordPress installations to find security issues.
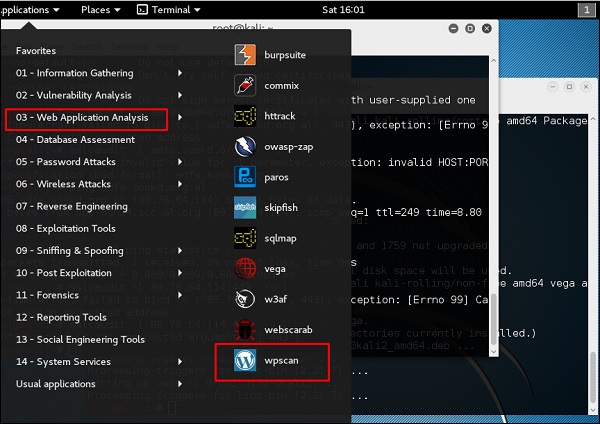
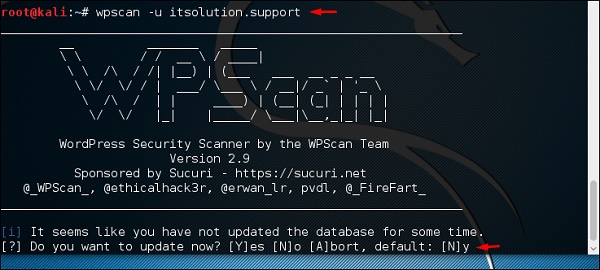
Step 1 − To open WPscan go to Applications → 03-Web Application Analysis → “wpscan”.
The following screenshot pops up.
Step 2 − To scan a website for vulnerabilities, type “wpscan –u URL of webpage”.
If the scanner is not updated, it will ask you to update. I will recommend to do it.
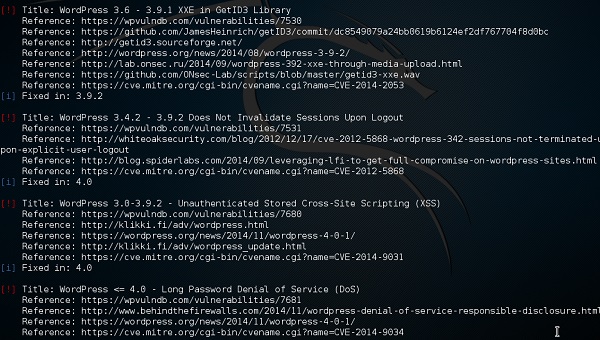
Once the scan starts, you will see the findings. In the following screenshot, vulnerabilities are indicated by a red arrow.
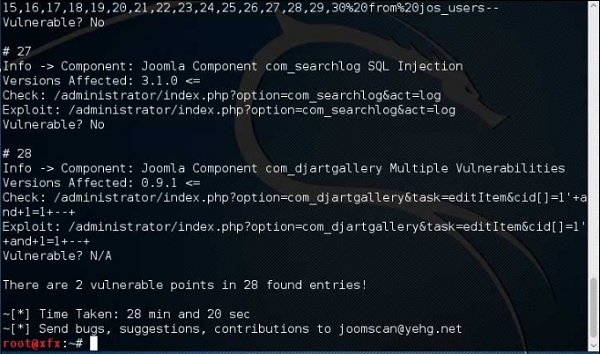
Joomscan
Joomla is probably the most widely-used CMS out there due to its flexibility. For this CMS, it is a Joomla scanner. It will help web developers and web masters to help identify possible security weaknesses on their deployed Joomla sites.
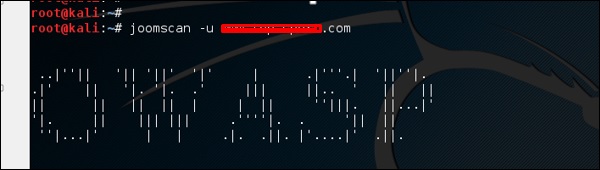
Step 1 − To open it, just click the left panel at the terminal, then “joomscan – parameter”.
Step 2 − To get help for the usage type “joomscan /?”

Step 3 − To start the scan, type “ joomscan –u URL of the victim”.
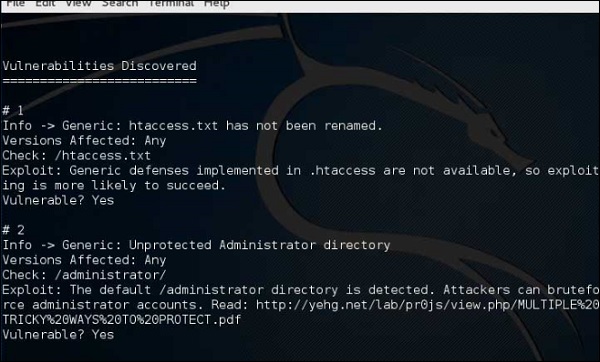
Results will be displayed as shown in the following screenshot.
SSL Scanning Tools
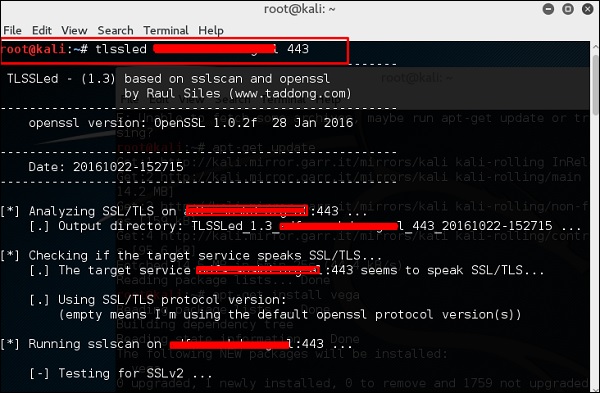
TLSSLed is a Linux shell script used to evaluate the security of a target SSL/TLS (HTTPS) web server implementation. It is based on sslscan, a thorough SSL/TLS scanner that is based on the openssl library, and on the “openssl s_client” command line tool.
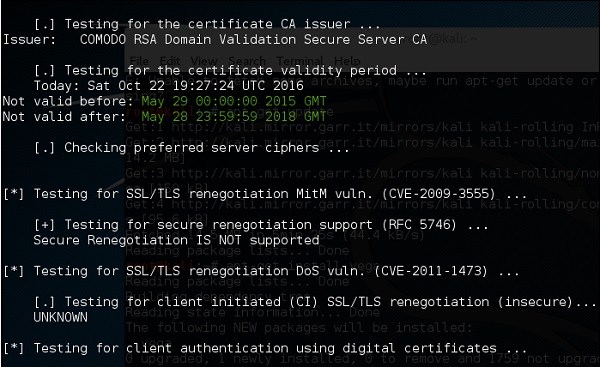
The current tests include checking if the target supports the SSLv2 protocol, the NULL cipher, weak ciphers based on their key length (40 or 56 bits), the availability of strong ciphers (like AES), if the digital certificate is MD5 signed, and the current SSL/TLS renegotiation capabilities.
To start testing, open a terminal and type “tlssled URL port“. It will start to test the certificate to find data.
You can see from the finding that the certificate is valid until 2018 as shown in green in the following screenshot.
w3af
w3af is a Web Application Attack and Audit Framework which aims to identify and exploit all web application vulnerabilities. This package provides a Graphical User Interface (GUI) for the framework. If you want a command-line application only, install w3af-console.
The framework has been called the “metasploit for the web”, but it’s actually much more as it also discovers the web application vulnerabilities using black-box scanning techniques. The w3af core and its plugins are fully written in Python. The project has more than 130 plugins, which identify and exploit SQL injection, cross-site scripting (XSS), remote file inclusion and more.
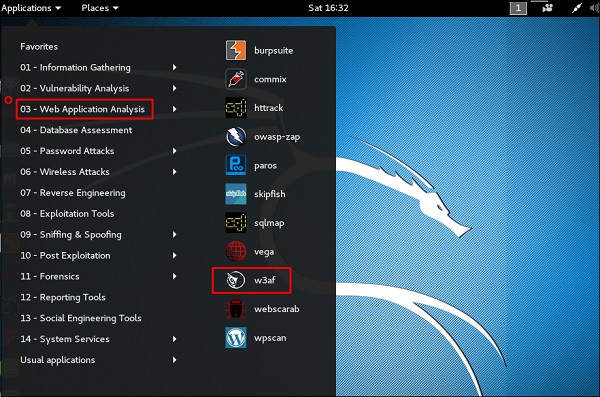
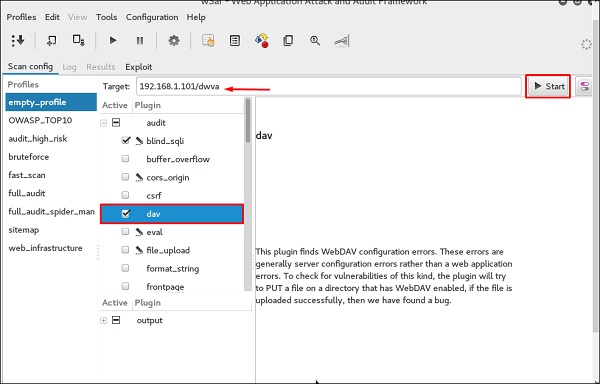
Step 1 − To open it, go to Applications → 03-Web Application Analysis → Click w3af.
Step 2 − On the “Target” enter the URL of victim which in this case will be metasploitable web address.
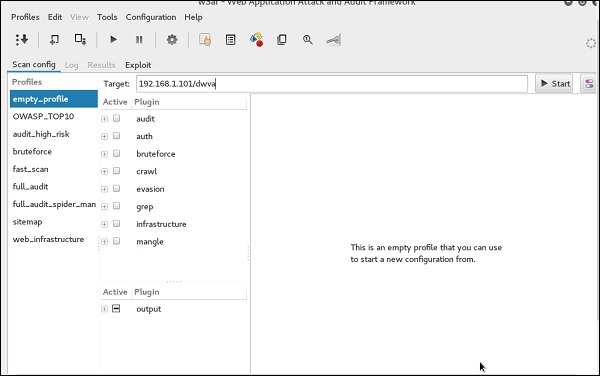
Step 3 − Select the profile → Click “Start”.
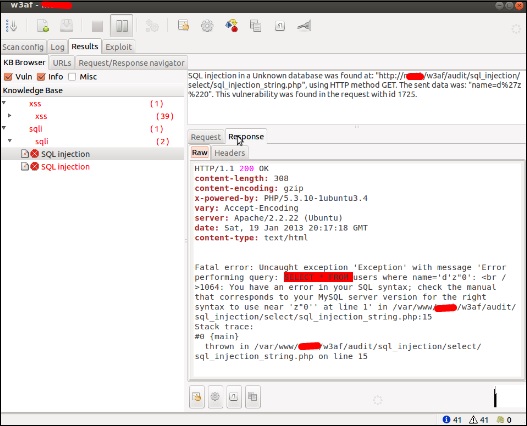
Step 4 − Go to “Results” and you can see the finding with the details.


 can stop the services.