As you know Dynamic Host Configuration Protocol (DHCP) is commonly implemented network services in today’s network environments. DHCP is primarily used to automatically distribute IP configuration settings to network clients, eliminating manually configuring hosts on TCP/IP-based networks.
To Install DHCP role, you will have to follow the steps given below.
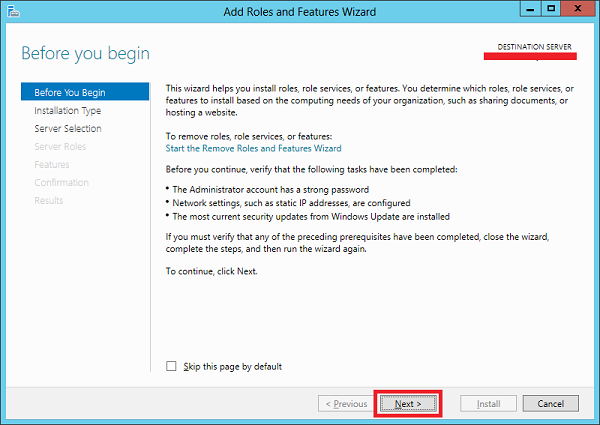
Step 1 − Go to “Server Manager” → Manage → Add Roles and Features.

Step 2 − Click Next.
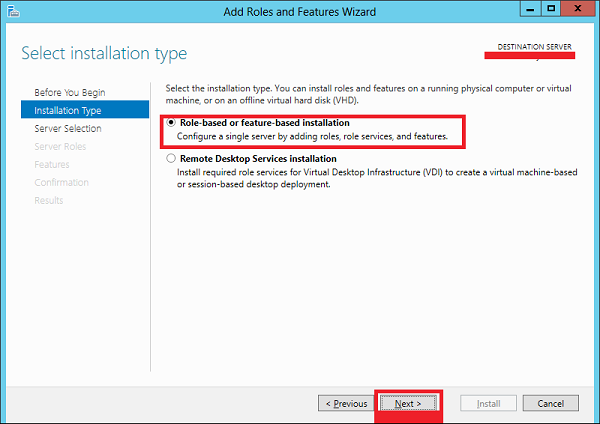
Step 3 − Select the Role-based or feature-based installation option → click Next.
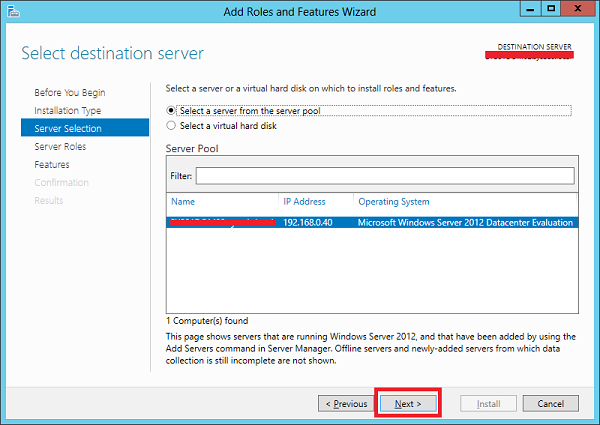
Step 4 − We will install a Local DHCP Role as it will Select a server from the Server Pool → then click Next.
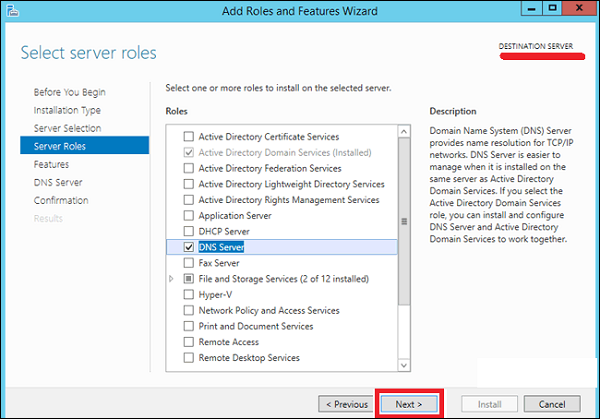
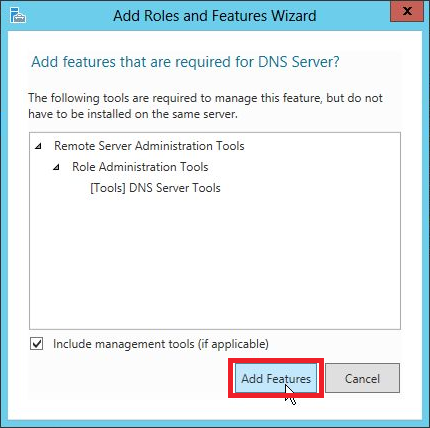
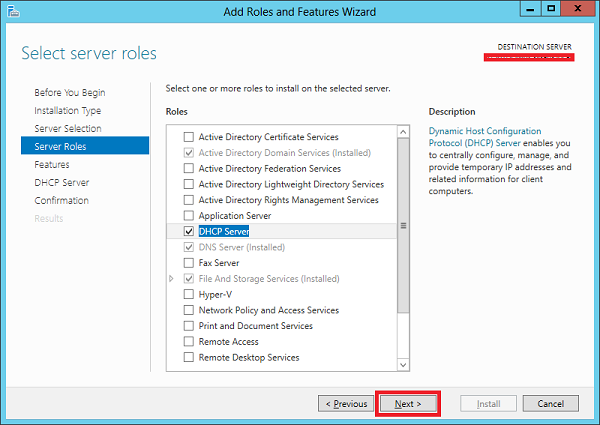
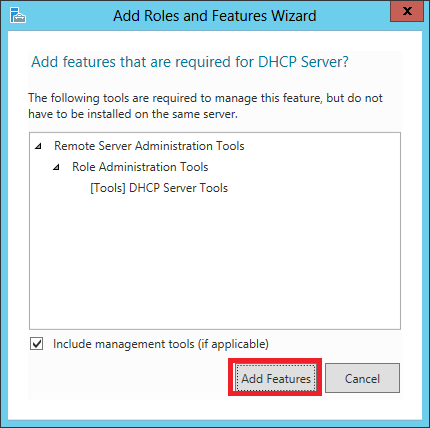
Step 5 − From the Roles lists, check the DHCP Server role → click Add Features on the popup windows as shown in the following screenshots.
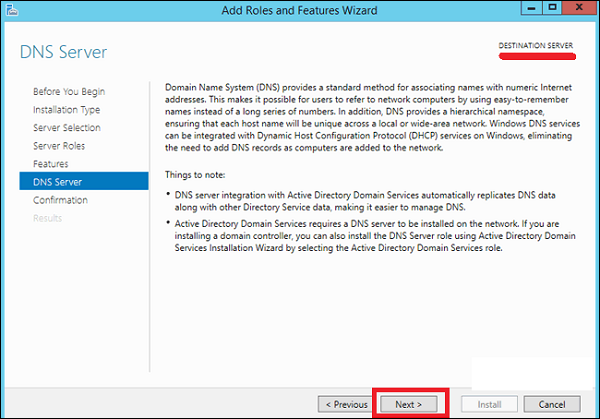
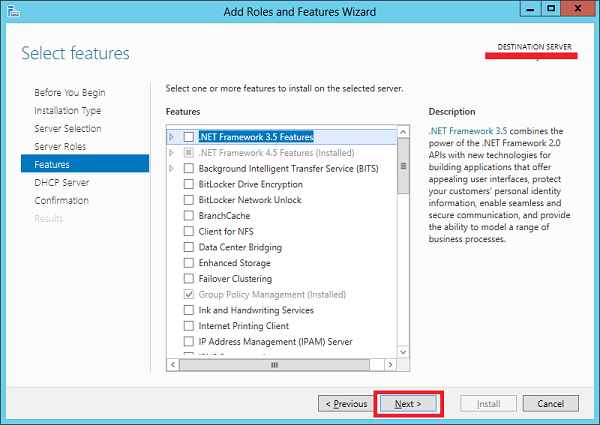
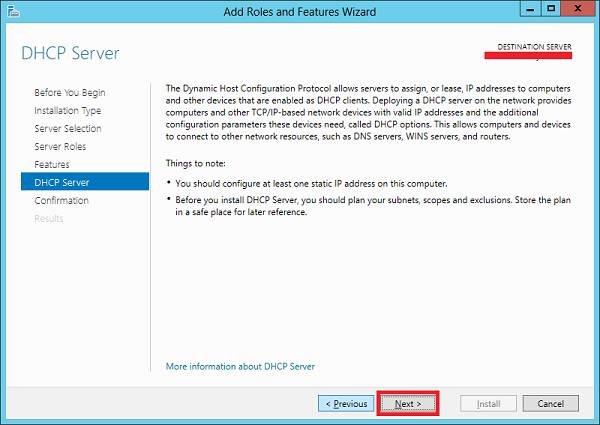
Step 6 − Click Next.
Step 7 − Click Next.
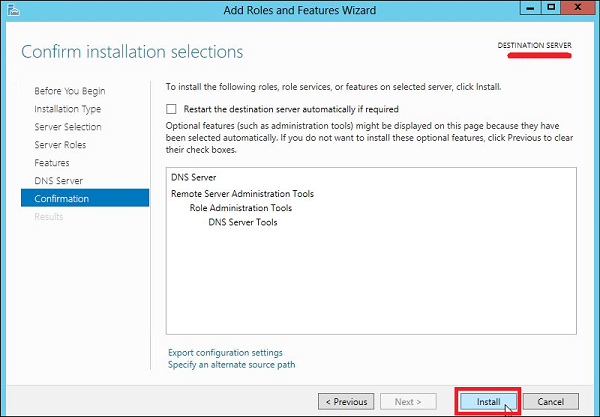
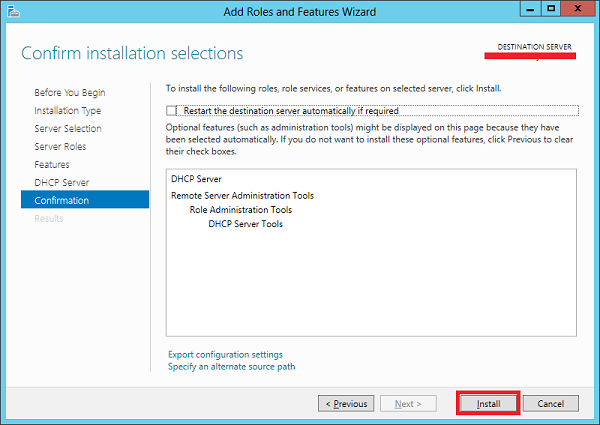
Step 8 − Click Install.
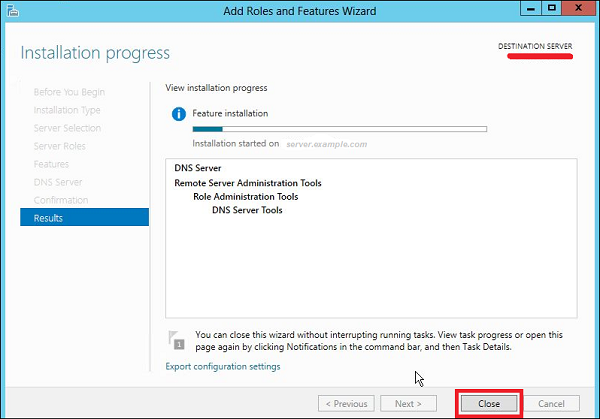
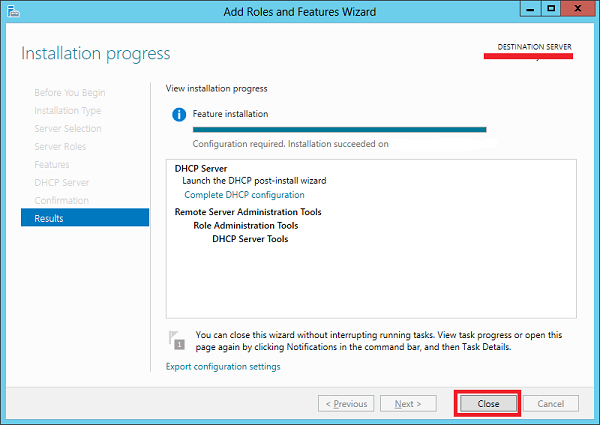
Step 9 − Click Close.
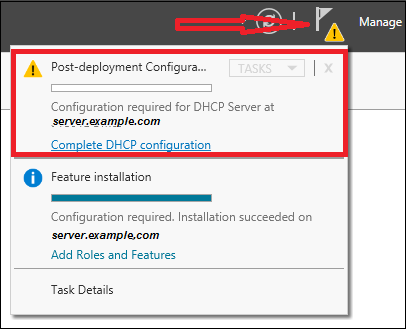
Post-deployment Configuration
In this section, we will see how to do the post-deployment configuration of the DHCP. Please follow the steps given below.
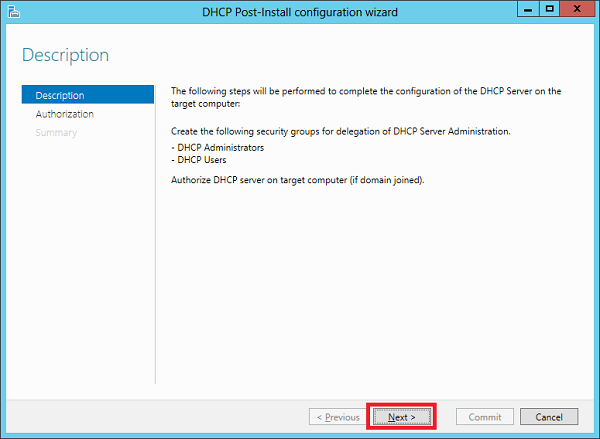
Step 1 − Click on the warning icon and then click on “Complete DHCP Configuration”.
Step 2 − Click Next.
Step 3 − Select a domain user account that has permissions to create objects in the Net Services container in Active directory or a domain admin account → click Next.

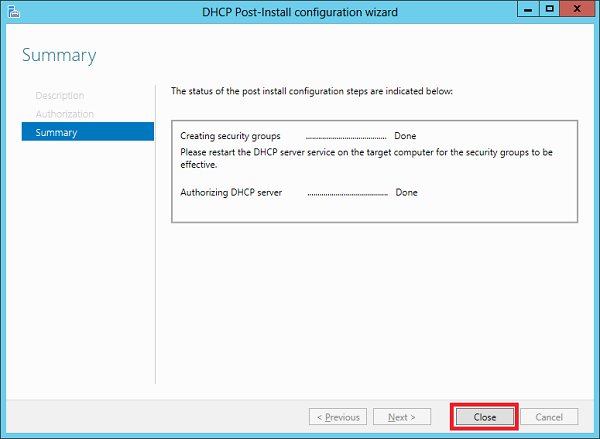
Step 4 − Click Close.
Scope Implementation of DHCP
Now we have to configure the service to make it useful for the computers. To do this, we need to follow the steps given below.
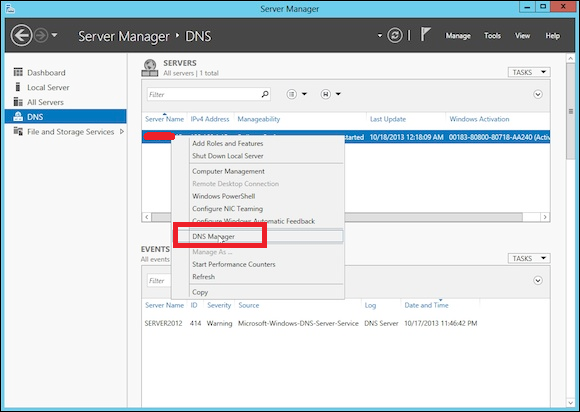
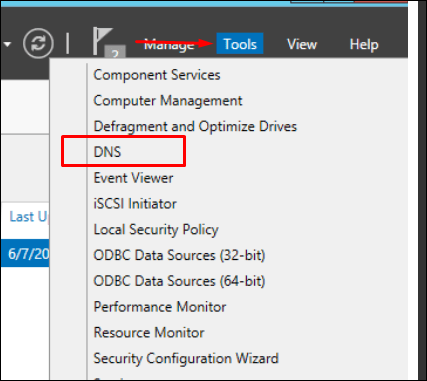
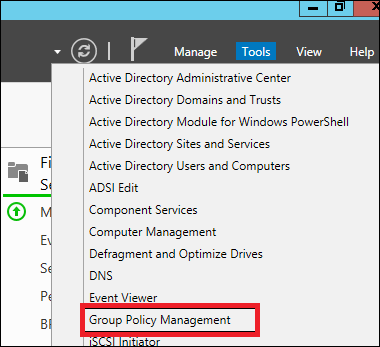
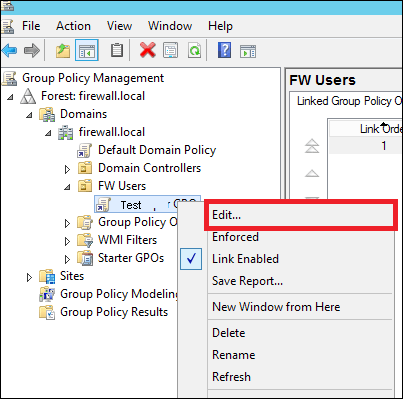
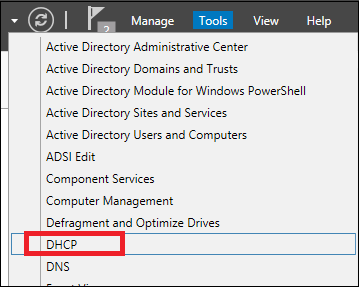
Step 1 − Server Manager screen → Tools → DHCP.
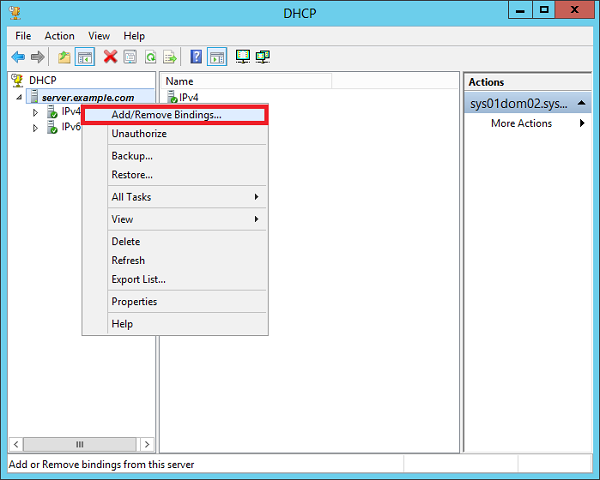
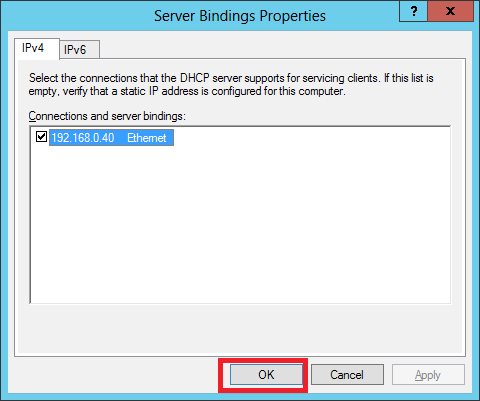
Step 2 − Right-click on the DHCP Server → then click on “Add/Remove Bindings… “
Step 3 − Ensure the static IP address of the server should appear as shown in the following screenshot.
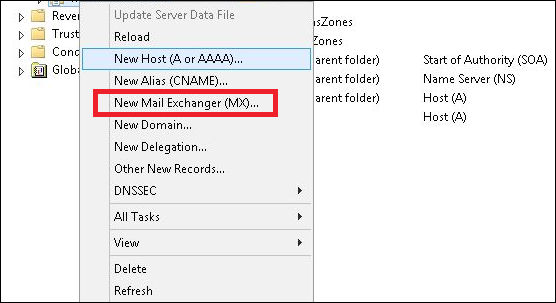
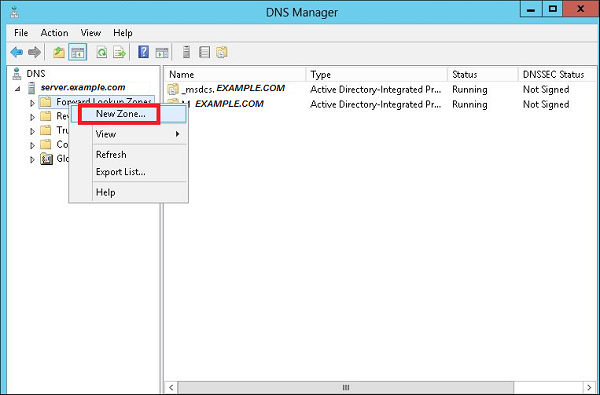
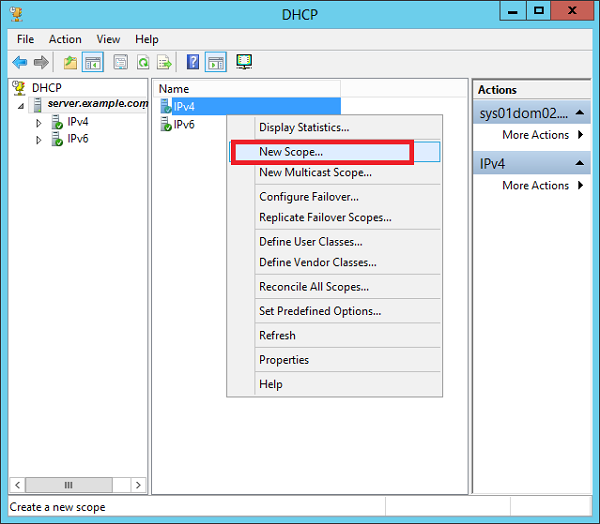
Step 4 − Right-click on IPv4 → Select “New Scope”.
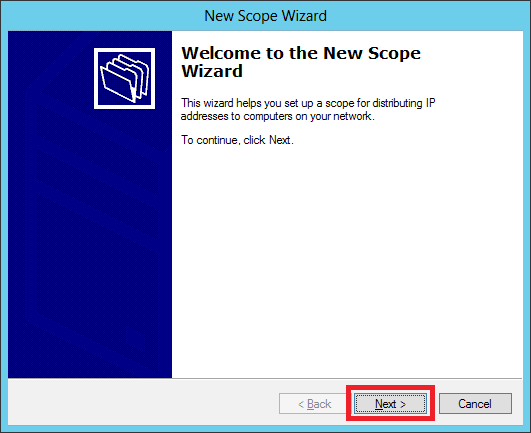
Step 5 − Click “Next”.
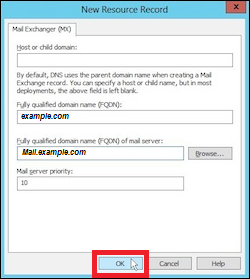
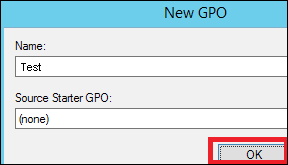
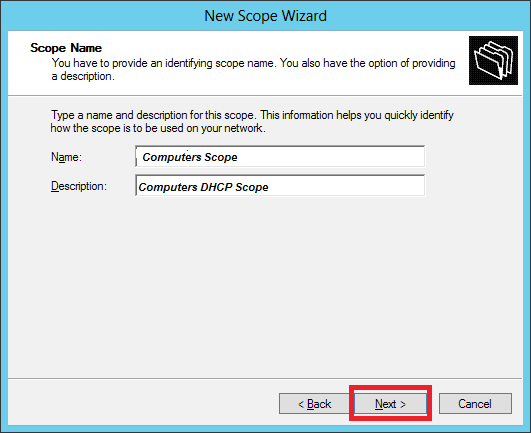
Step 6 − Enter Scope Name and description as shown in the following screenshot and then → Next.
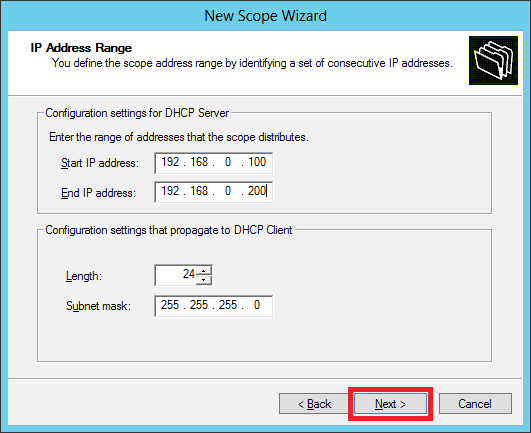
Step 7 − Enter the Start and End IP address, the Subnet mask, leave the Length as default “24” for class C subnet → click Next.
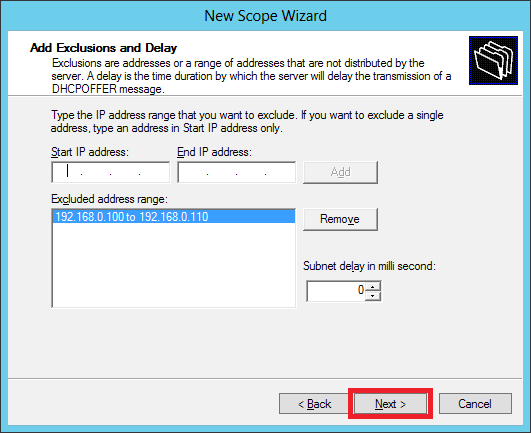
Step 8 − Enter your IP range in the exclusion list. If you have devices on the network that require static IP address and also ensure that the excluded range falls with the Start and End range earlier specified, then → click Next.
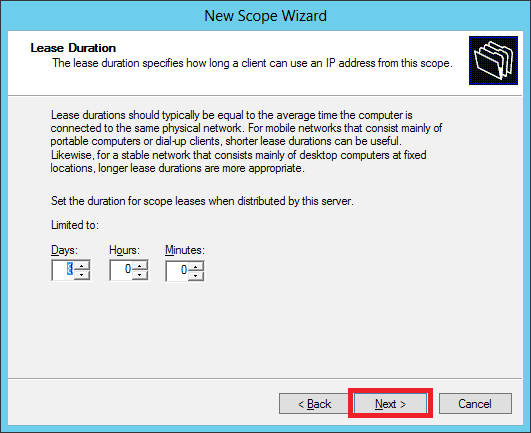
Step 9 − Enter the desired lease duration for the assigned IP’s or leave as default → then click Next.
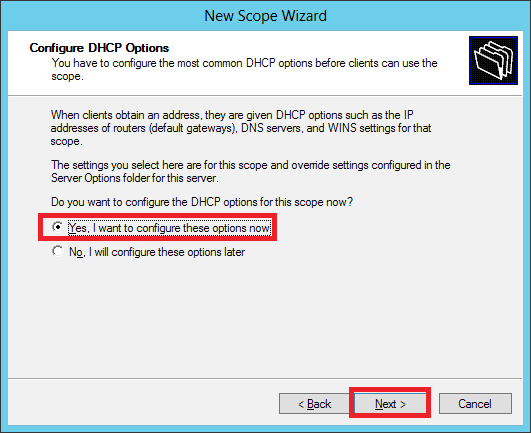
Step 10 − Select → Yes, I want to configure these options now to configure the DHCP options for the new scope → then click on Next.
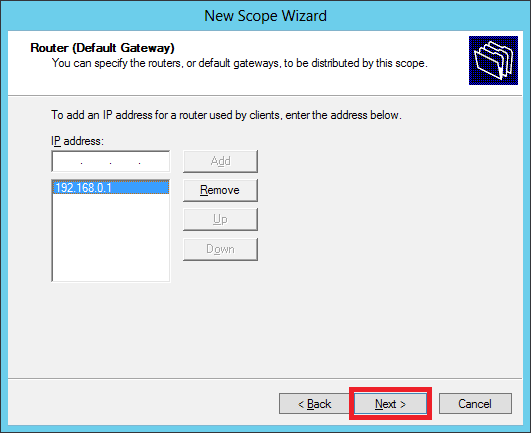
Step 11 − Enter the default gateway which is the IP of your Router → then click Next.
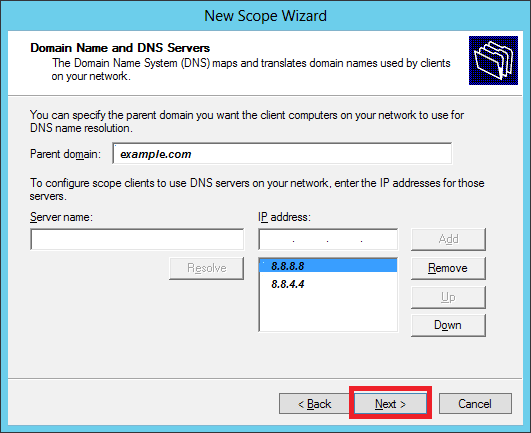
Step 12 − Add DNS IP → click Next (we can put Google DNS or if it is a Domain environment you can put the DC IP there) then click → Next.
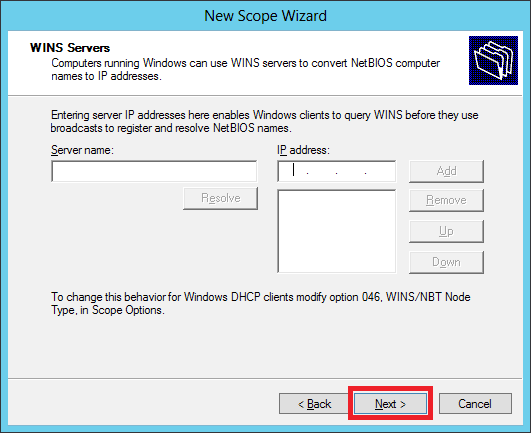
Step 13 − Specify your WINS Server if any and then click → Next.
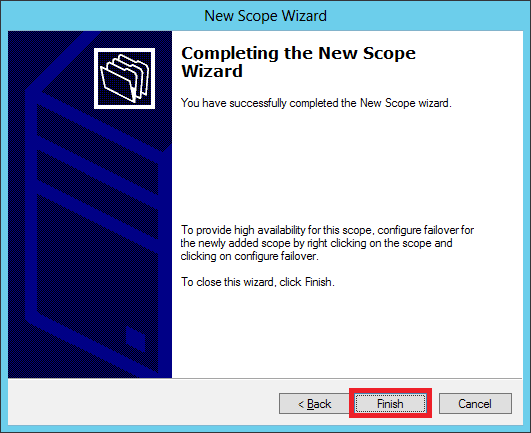
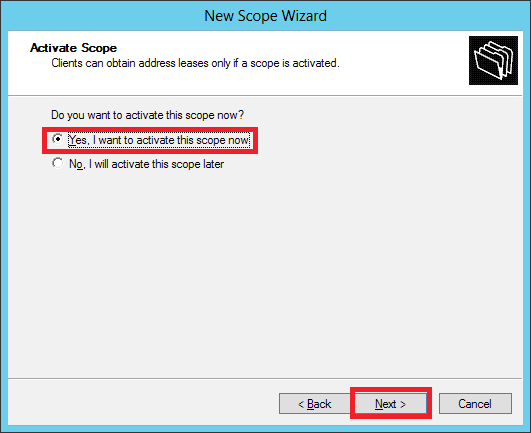
Step 14 − Select Yes, I want to activate this scope now option to activate the scope immediately and then click → Next.
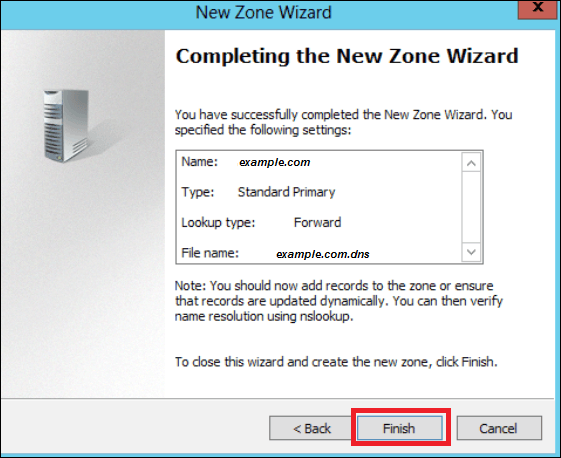
Step 15 − Click Finish.